
Dane Kouttron
This project / write up is in progress, check back for more soon!
Project Documentation: 08/2026
Running a Robot Hackathon
Six brand new 6-dof robot arms, six teams and one goal: 'Cook' a meal Follow along on the adventure of getting everything together and learning to VLA |
A quick overviewAt the moment, the east coast (the folks who brought you Boston Dynamics, Atlas, little yellow robot dogs), is wildly behind on robots. Visits to the west coast are met with somewhat autonomous cars, goofy food delivery robots, and a pile of VC money to back it. You land in SFO? A cute robot struggling to vend you a coffee and a pre-fab snack.
Where is the robots everywhere ethos, on the east coast?We're presently in this beautiful window of time when machines are in their infancy of becoming useful. Visual language models are in growing wildly, but even so, they are doing some amazing things. In an effort to spread the good word of visual robot models, the easy path forward is to get them into the hands of people and get those people excited. A hackathon is an established way of communicating to vendors provide some hardware and a great way of attracting people who those vendors may end up hiring, or at least getting the vendor hardware in the visibility of engineers who may end up opting to use that hardware. The goal is not necessarily to make something groundbreaking, but to lower the activation energy barrier and get hardware in hands, in an environment that promotes quick development. How did we fall so far backward with powerhouses like MIT, Carnegie Mellon, Columbia, Penn and other east coast dynamos? Spot the rant towards the end of this write-up. An event overview
The TaskStarting with a blank slate, you're given a 6DOF robot arm, a control computer and a user input device. Your goal is to cook, bake and prepare a meal for the judges by 4 PM on the following day One of the exciting parts of this challenge is how new these arms are. The B601 arm launched about 2 months prior to the hackathon event. This somewhat guaranteed that no one at the event had any prior experience with this particular hardware, somewhat leveling the playing field. A few days after the hackathon, I spotted the Seeed arm available through Microcenter, a local electronics store. This is wild, we're at the point where you could go grab a 6 DOF robot arm while out getting groceries. 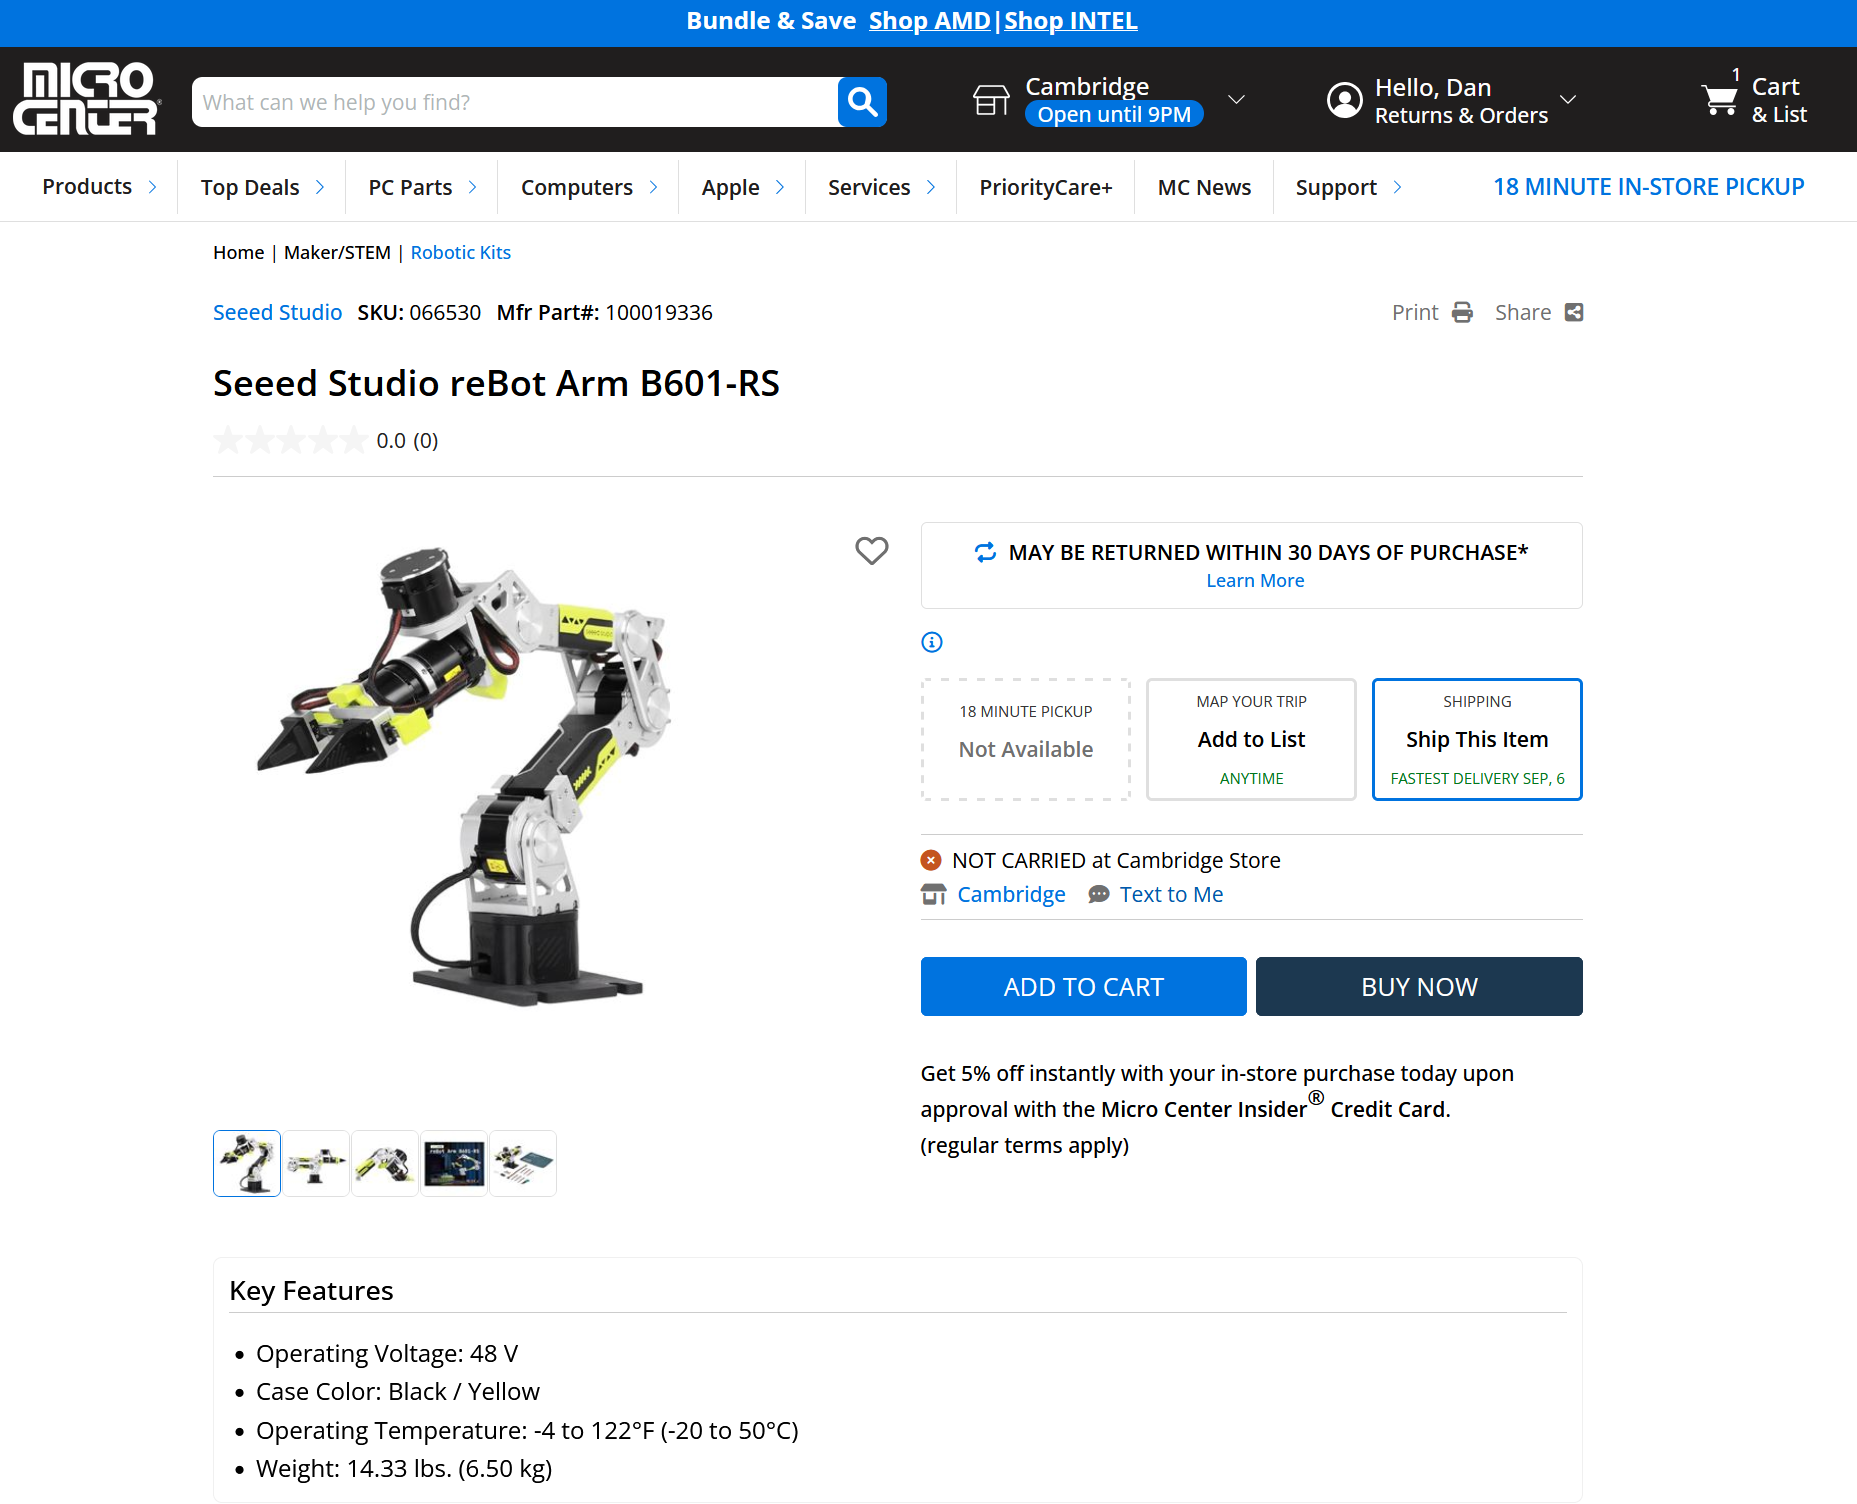
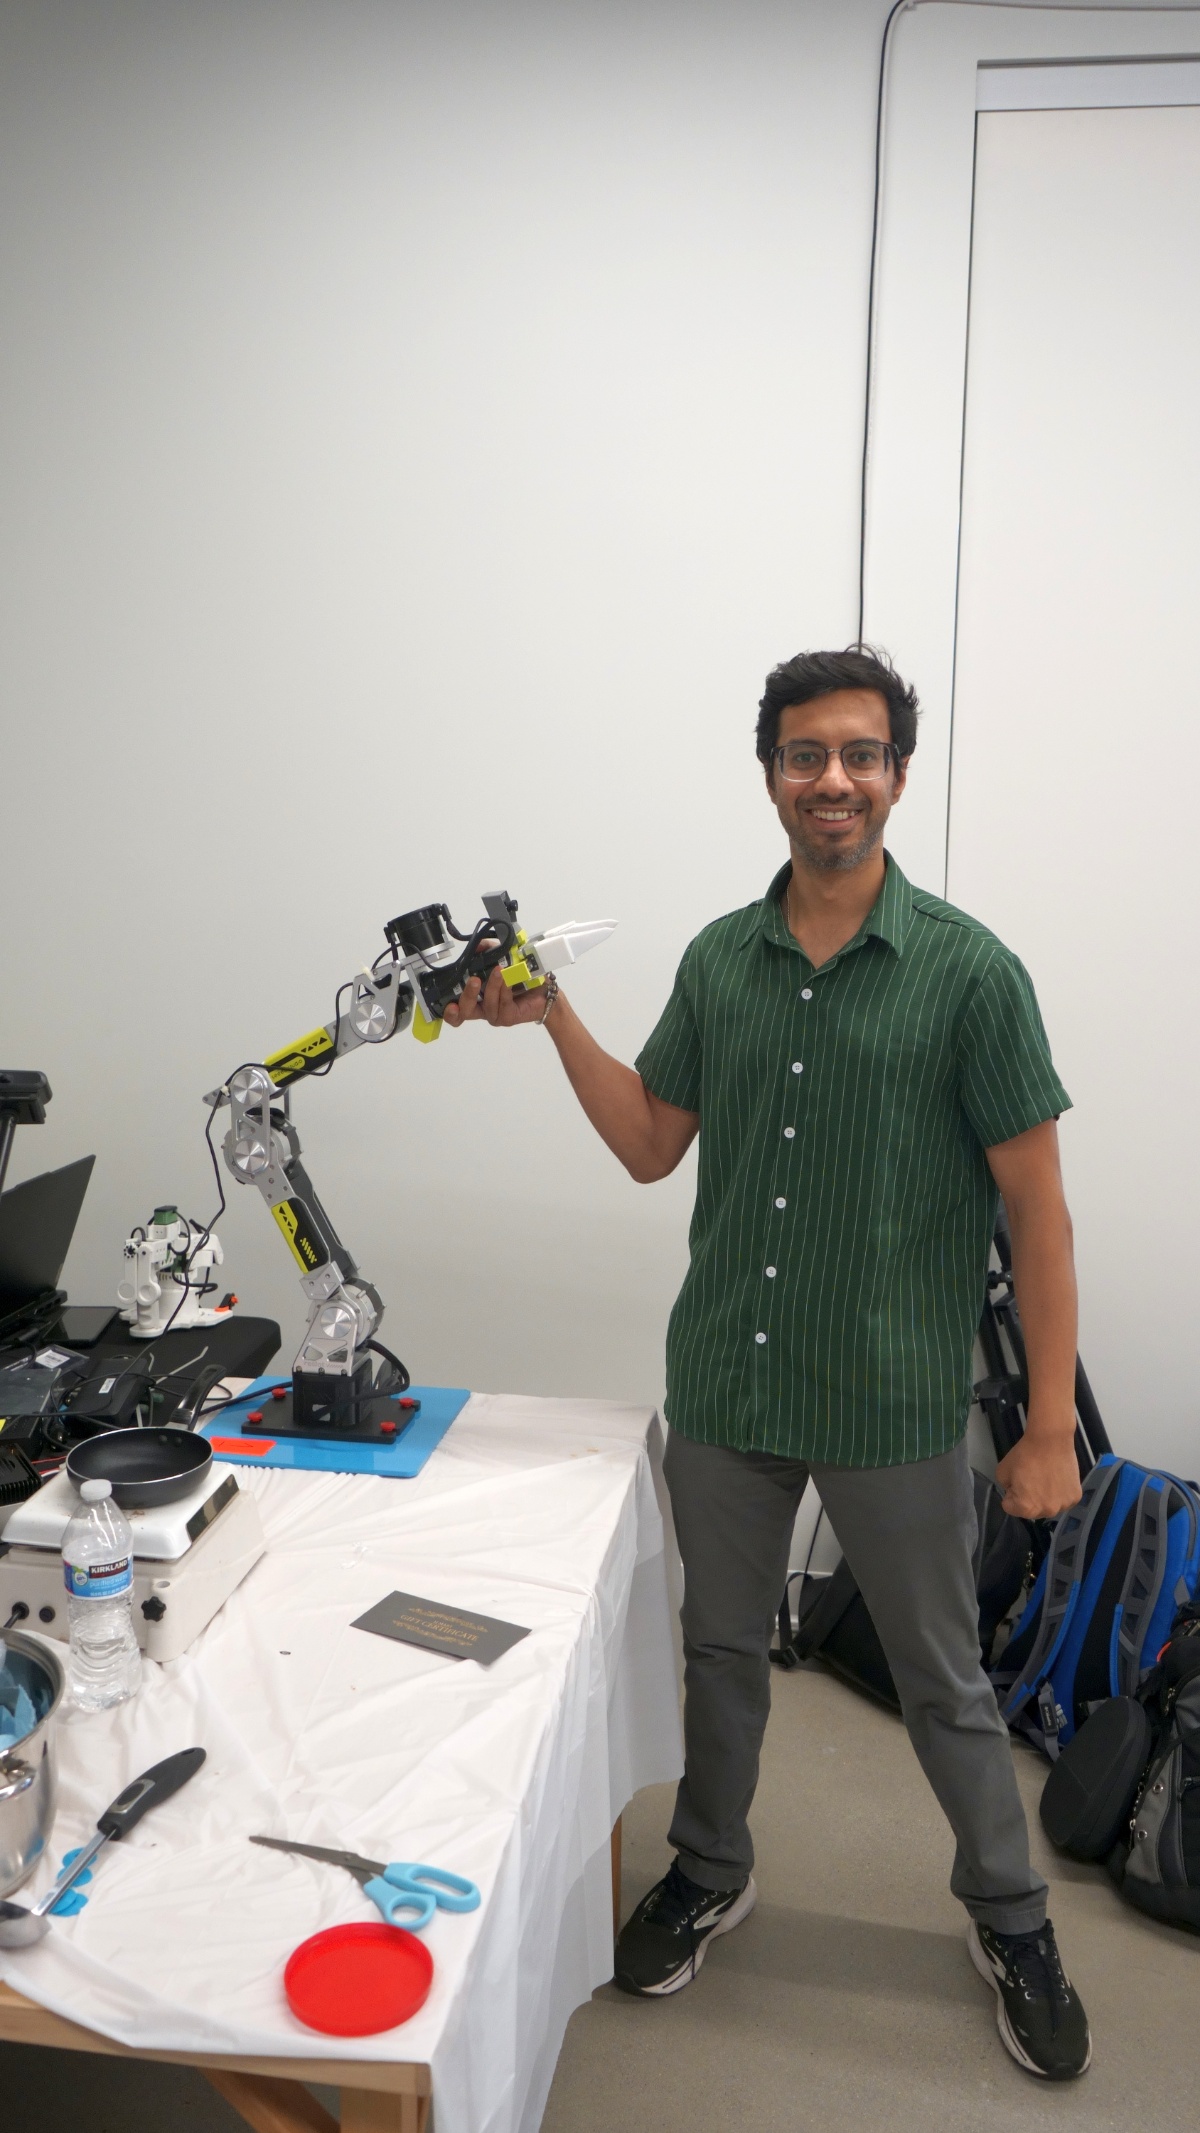
CoordinationSomething that worked exceedingly well was picking a single form of communication and posting everything there. We ended up with Discord as the main point of A LocationThe HardwareWriting up Course CurriculaWith the coarse plot for the event sketched out, next up was putting together slides and information for the teams to work from. Initial Impressions of Seeed Studio ArmThe seeed studio arm is really well done and wildly affordableStarting off with a quick overview of this arm: 
There are a number of things that i've noticed that were issues with the V1 openarm project [link], namely the cable routing. The power and CAN lines for each axis's motors on the openarm do not have a lot of clearance and it's easy to both rip out cables and also cause inadvertent short circuit situations. All of this-sized arm's use the same daimo style motor-with-controller assemblies. Seeed solved this cable problem pretty eloquently with this low height co-molded cable thing that uses the motor's case mountpoints to keep things in place. I didn't remove the cable to check that it's still connectorized but it does look amazing. 

Heavy Robot BaseplatesOne of the things that I noticed interacting with the Seeed studio arms is that every demo had them c-clamped to the edge of a table. This does work, but I did want more flexibility as the tables at the venue were somewhat unknown. With not a whole lot of time and plenty to do, I discerned the simplest option was just to rely on mass, while keeping the option of having clamps if needed. Mild steel works well here, so I was off to fashion six heavy mounting plates. A 1' x 1' x 0.25" thick steel plate weighs ~10 lbs / 4.5k kg, which should be sufficient to at least dampen quick motions. Ideally 3/8 plate could be used, which would have bumped the mass up to ~15 lbs / 7 kg, but I only had 1/4" plate stock handy. After some quick bandsawing, I had roughly 12" x 12" plates, with the goal of running the same job 6 times on an MIT campus waterjet. To make my life easier I had the jet cut out four 1/4-20 pre-drill holes that could be tapped afterwards for thumbscrews. The heavily rounded edges were mostly to keep any sharp edges at bay and to also avoid damaging any table surfaces when the plates were being used. The Hobbyshop jet is maintained by the ever-excellent Hayami & Charolette and it has saved my behind on a number of time sensitive applications. Jet time per plate was roughly 9 minutes, so I was just about able to complete all six plates in an hour. The steel does come out orange, probably due to a mixture of surface flash-rust. This all foturnatley washes off and can be removed without too much hassle. 
I did debate primer-coating these plates but was a bit shorter on time than I had hoped to be, instead I opted to lightly file the edges, remove moisture and contaminiants with some acetone and then go for some quick spray painting. Another new fixture of N52 is an actual spray booth . One of the annoyingly real things about paint is the setup time, even for spray paint, it functions so much better if it actually has a chance to fully set. While the can's boast 3-hours for a full cure, my observations have been closer to 12. Having an actual fume hood to leave things in to set is a fantastic resource. 

I painted one side, let it sit overnight, flipped and did the opposing side for it to sit throughout the day. By the following evening all that was left is tapping the thumbscrew holes and printing some adapter-washers to compensate for the difference between the 10mm height of the robot base and the 3/4" tall thumbscrews. While I could have purchased some comically thick washers from mcmaster-carr, it was way more reasonable to put a printer to work for an hour. Comically the print filament I had on hand, roughly matched the maui blue spray paint that I used. These came out pretty excellent and the paint survived heavy-c-clamp activities. The Seeed studio engineer & staff onsite at the hackathon also were pretty happy with how they worked out. Level - 0: Gathering HardwareWith the cooking theme settled, it's time to grab hardware. There was some debate as to what to use here, and some fairly easy to overlook technical boundaries. The actual constraints are power available at the venue. A normal 110v outlet is rated for about 1.2KW, however, each team would likely only get one power drop, split divided up with a power strip. Things add up; monitors, compute, and a pile of laptops. For that reason, and to not test the venue's wiring, I opted for "500w" as a boundary constraint for the hotplates. Comically, amazon-options seem to out-compete for as many watts as possible, whereas these Onilab's were way more reasonable. I was able to get four of these [link] Onilab hotplates for a reasonable price on eBay, only one was misbehaving but it was a bad solder joint. The two other hotplates came from my existing science stockpile. We did need some cookware for the teams, the local budget market options did not have anything in size small, aside from HMART. For those who are not aware, HMART is the best mart, they had these absolutely adorable tiny egg pans, which fit remarkably well on a scientific hot plate. 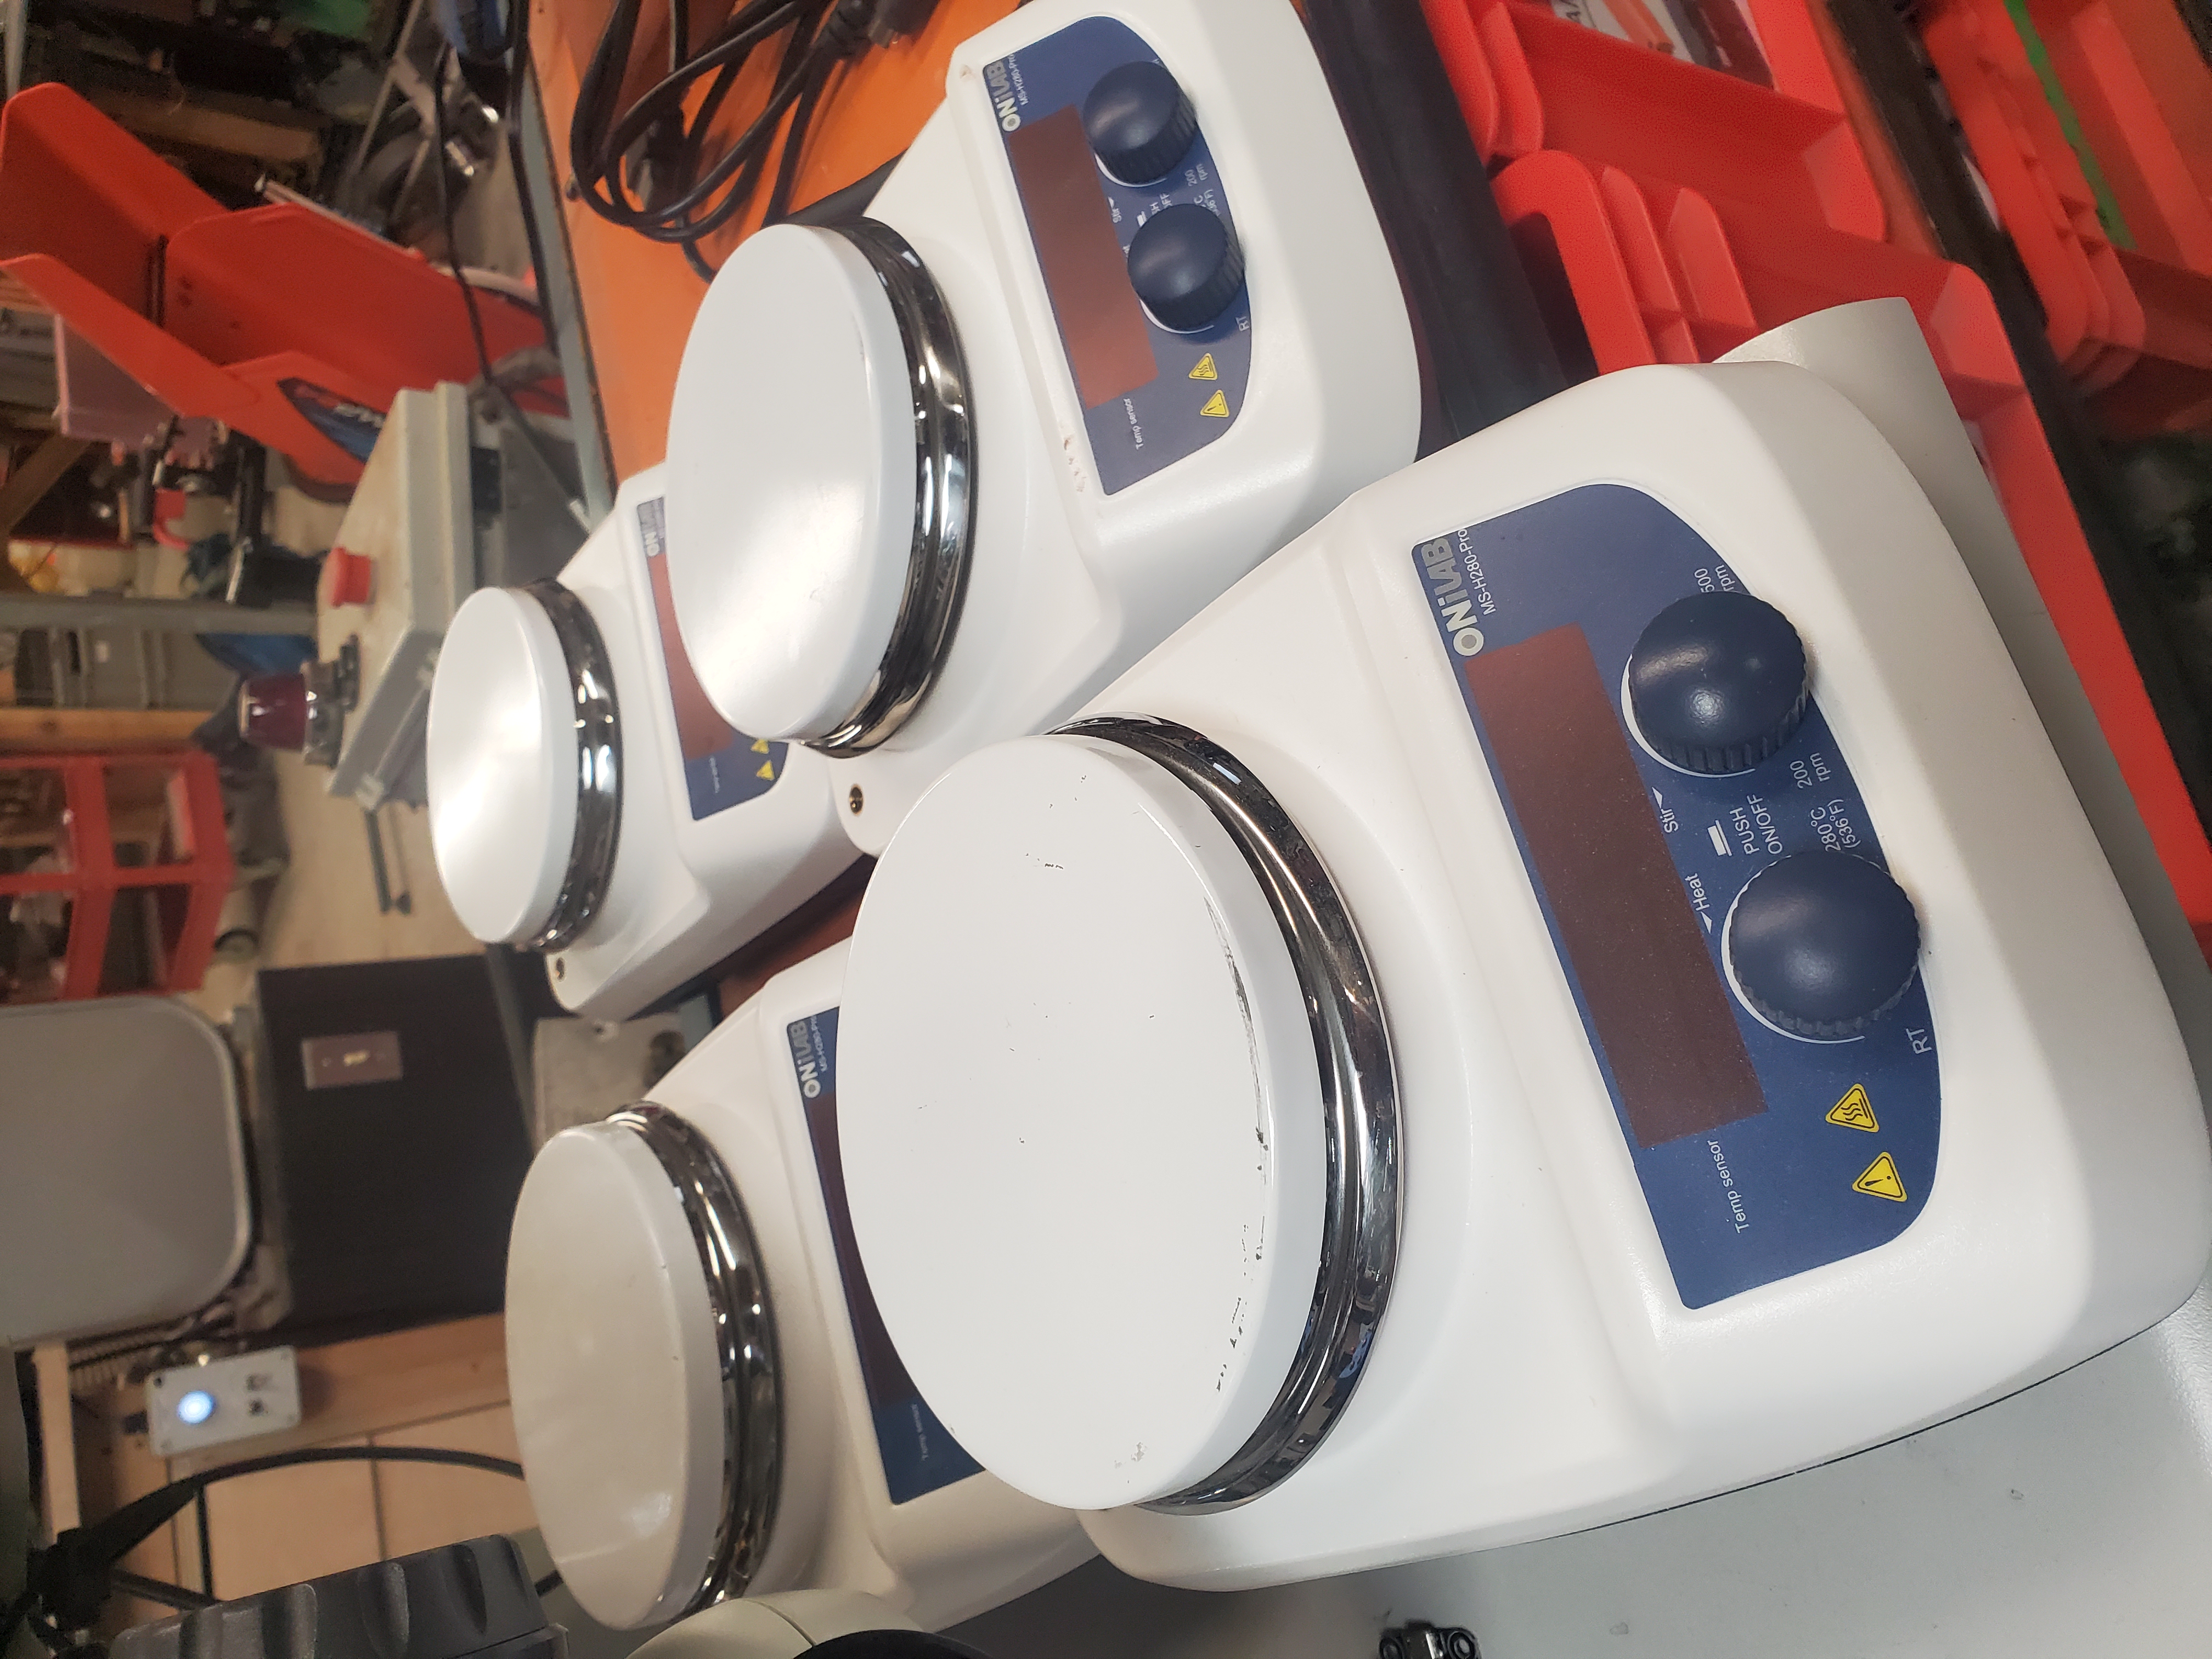
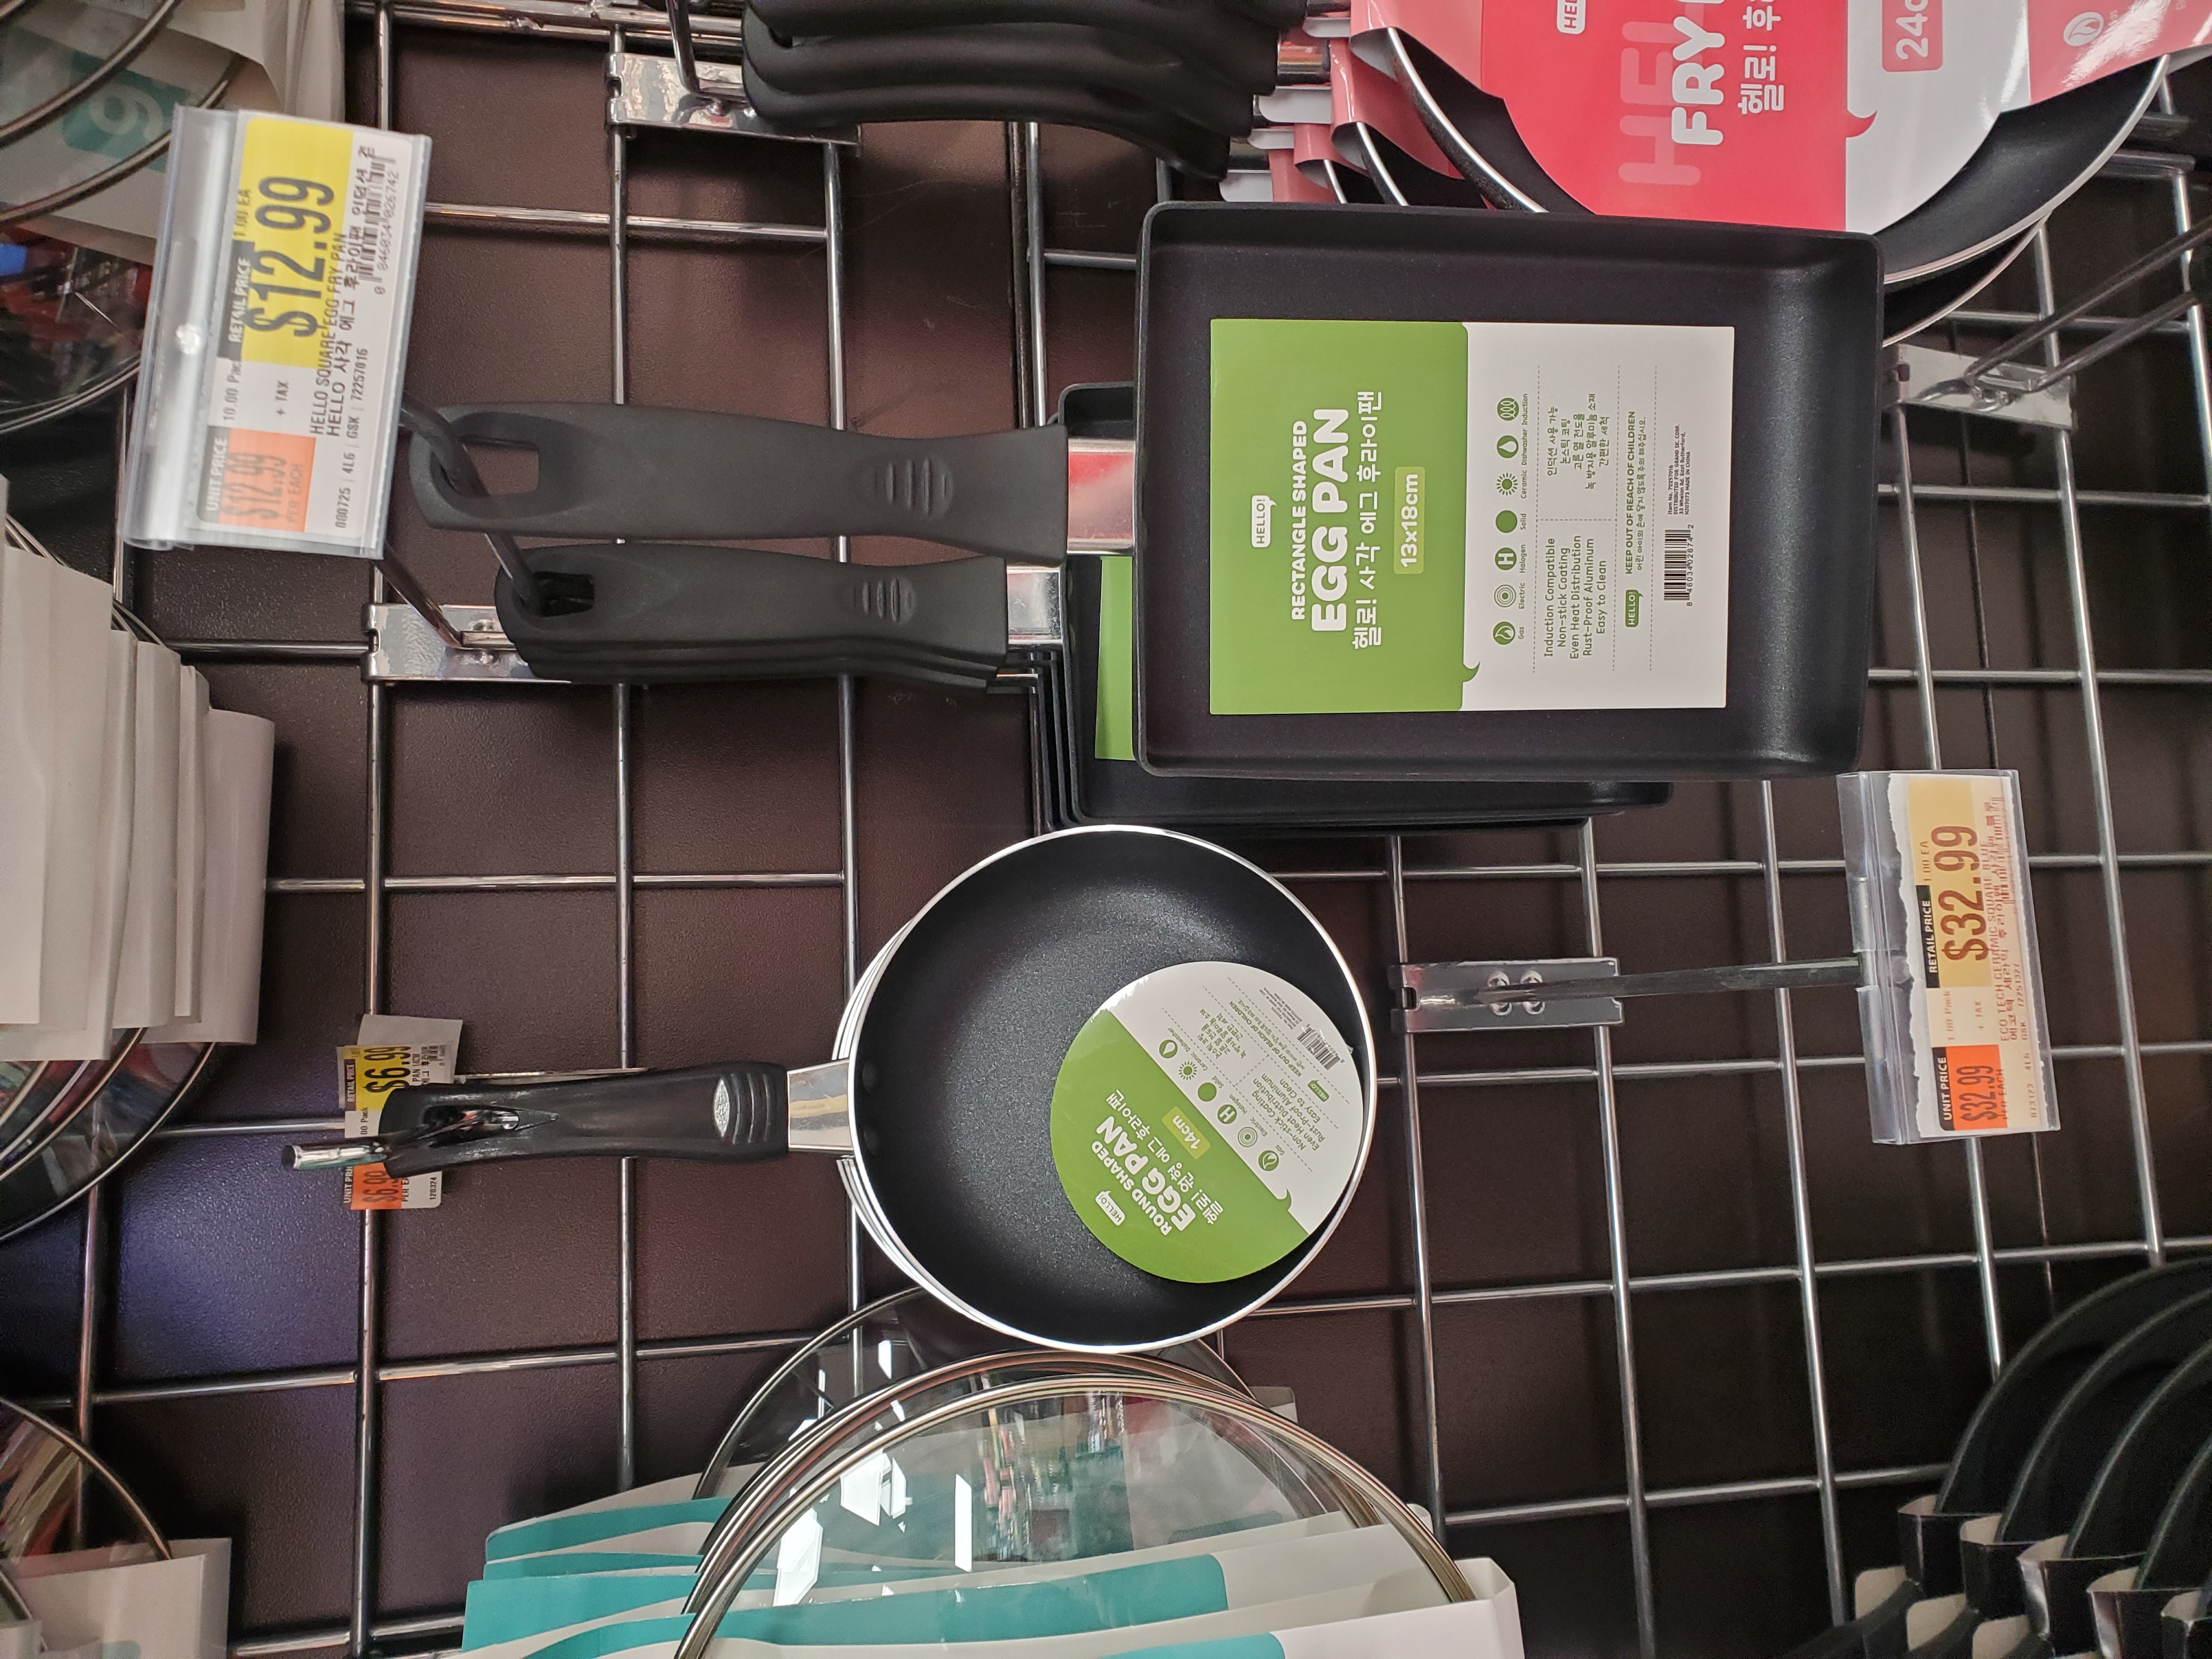
With the cookware sorted, we needed monitors, keyboards, mice and table supplies 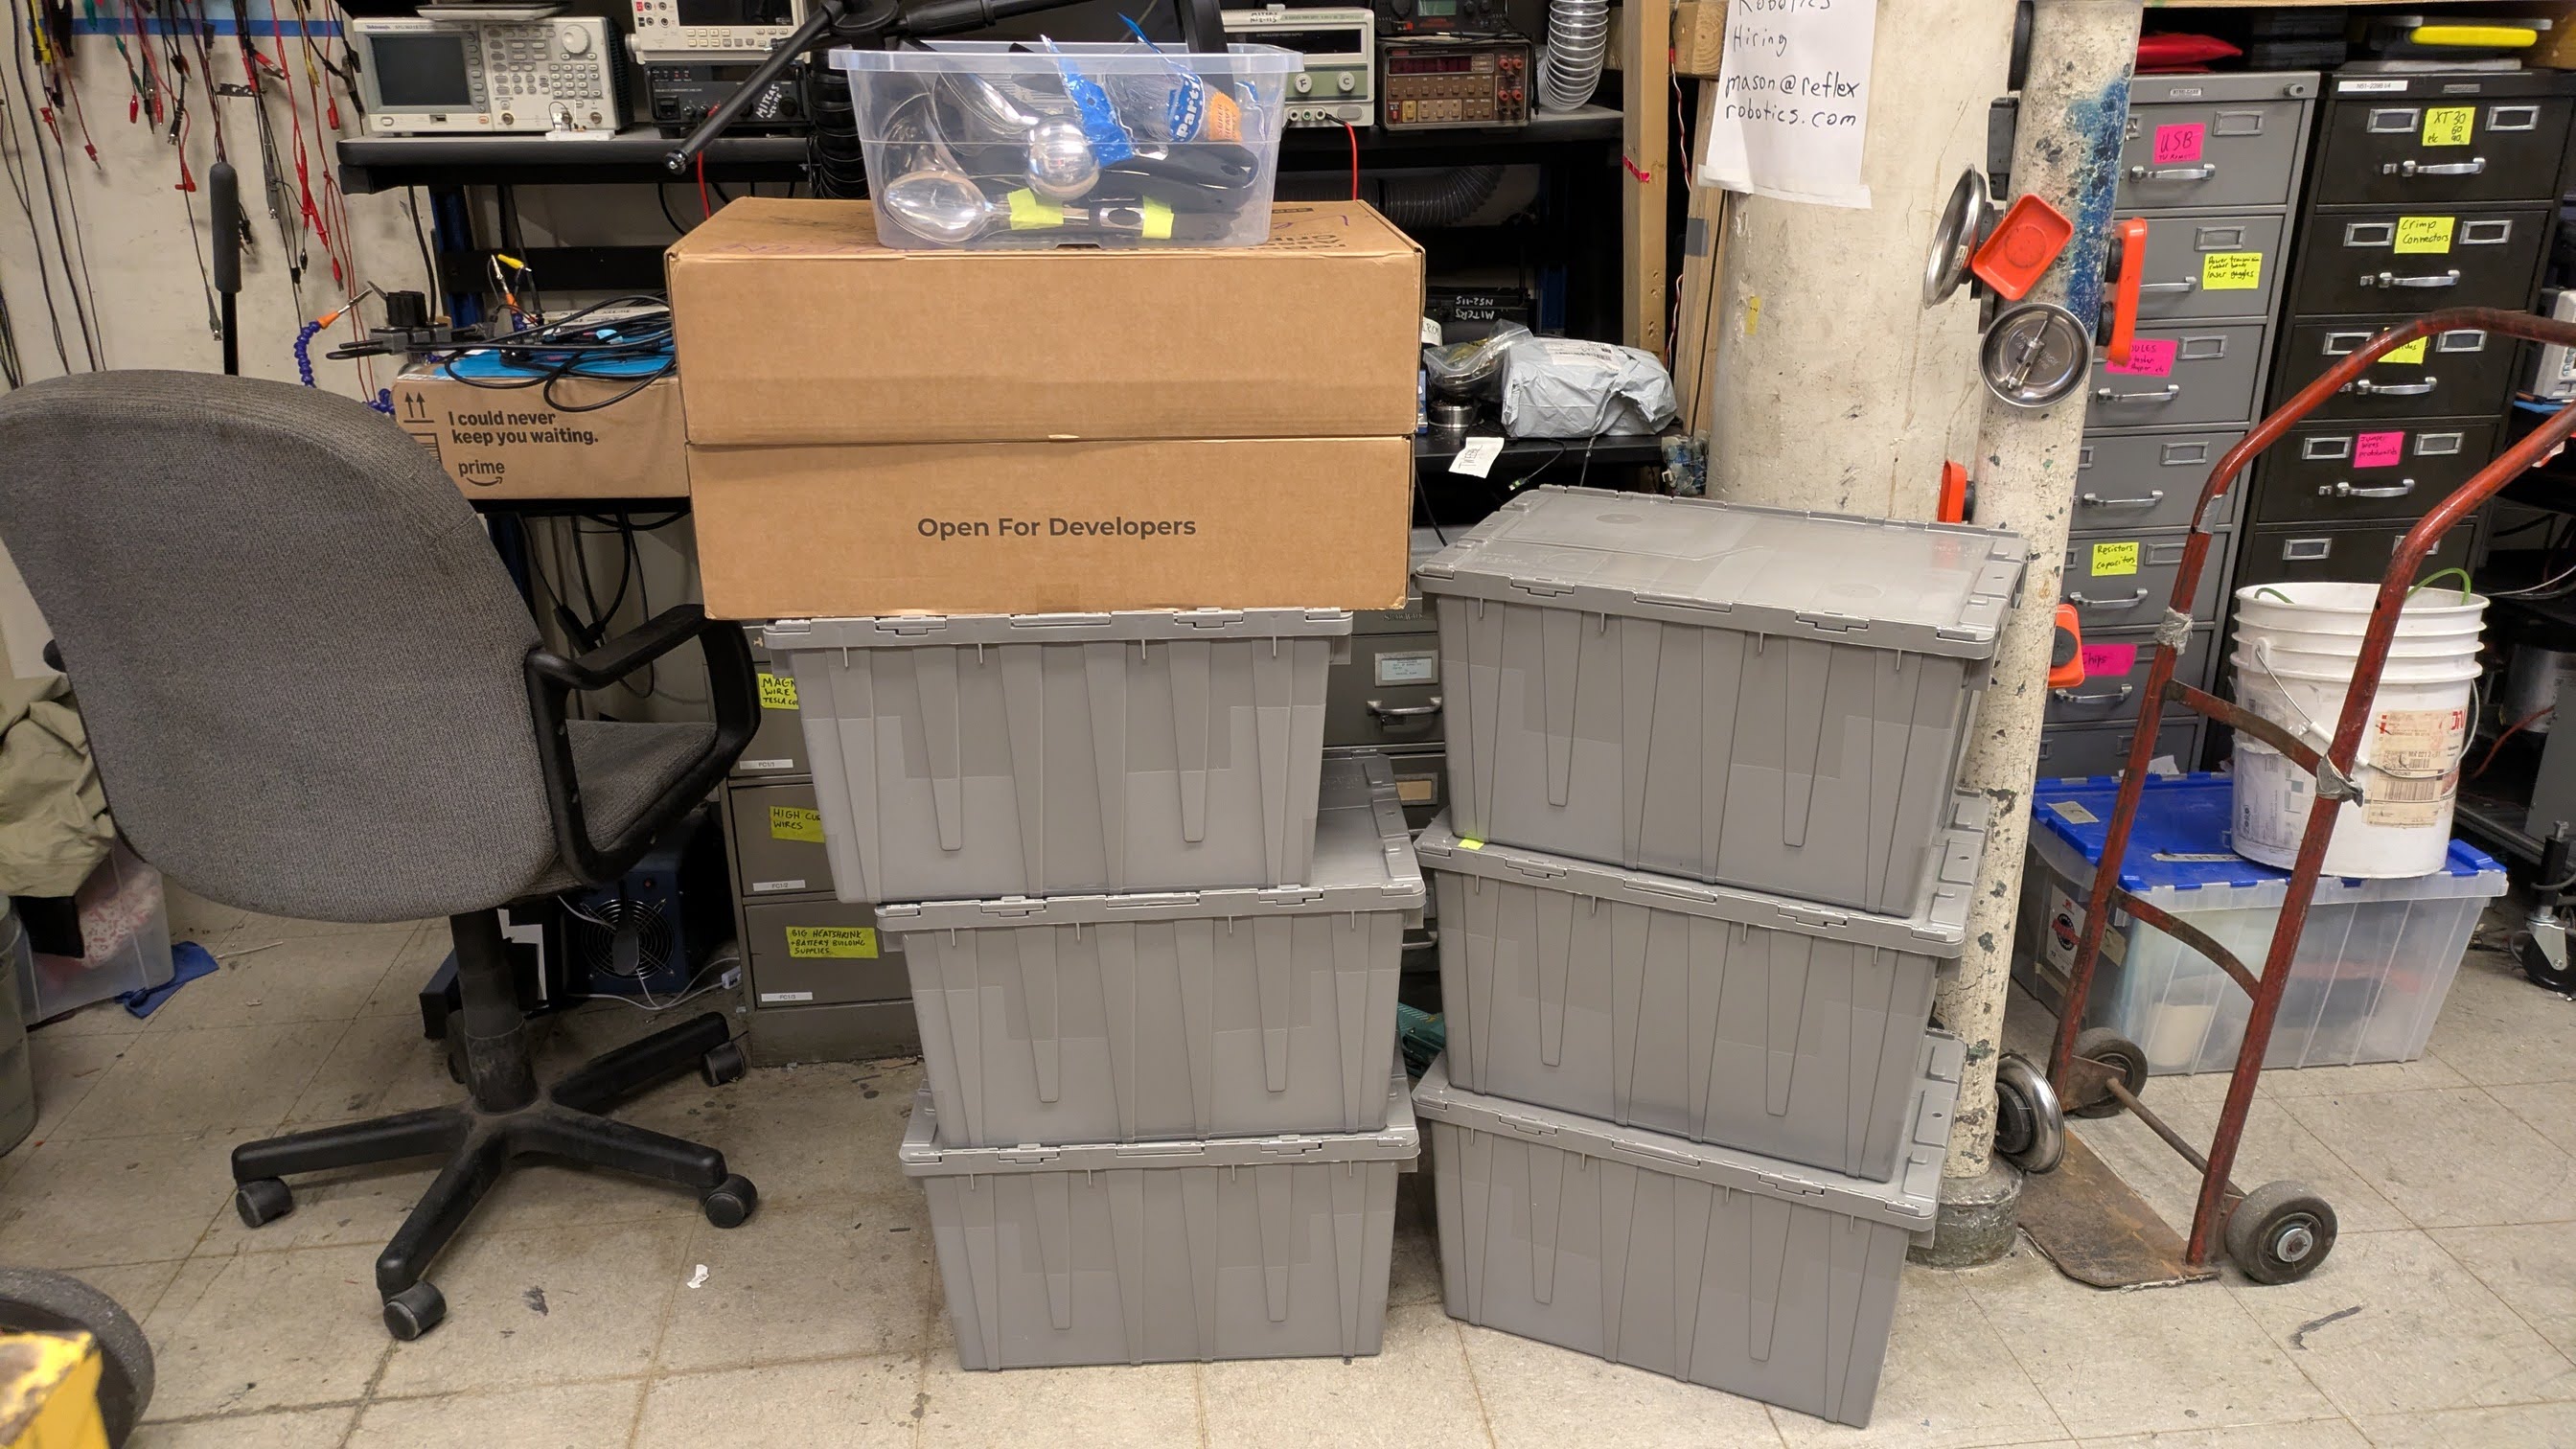
Level 1: The VenueWhat is FabLab?
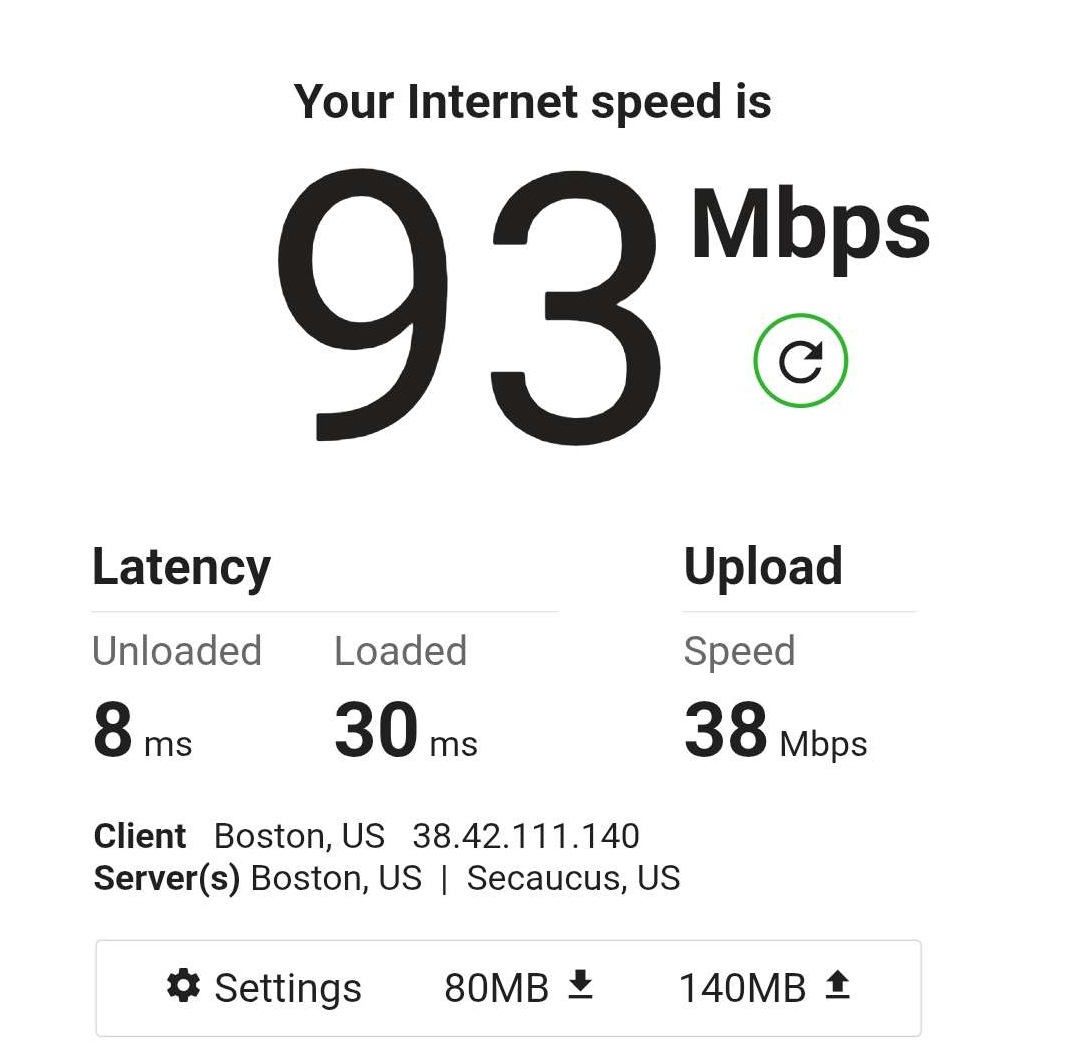
It really seems just like a makerspace with a somewhat pre-defined cookbook of hardware. It's not totally clear what the difference is, aside from nomenclature. From this 2023 MIT News article [Link], its the The MIT news article doesn't really cover the operating model of these locations, so lets do some further digging. On Site WiFi NetworkI had initially assumed FabLab was MIT affiliated and as a result, would use MIT IS&T's network policies. Comically I had reached out to IS&T and they let me know it was not their's but they also were somewhat confused. In the short window of time before the event, I walked around during their open house to see what was available. This was somewhat fortunate, as having ~100 people roaming around their shop space would be a reasonable analog to the busy hackathon network usage. I was able to jump on their network and perform a quick speed test, and all things considered it was fine. To get on their network a small browser-captive-portal was used asking for an email address, however that address was nominally un-used for auth, and just used for optionally providing more updates about FabLab. 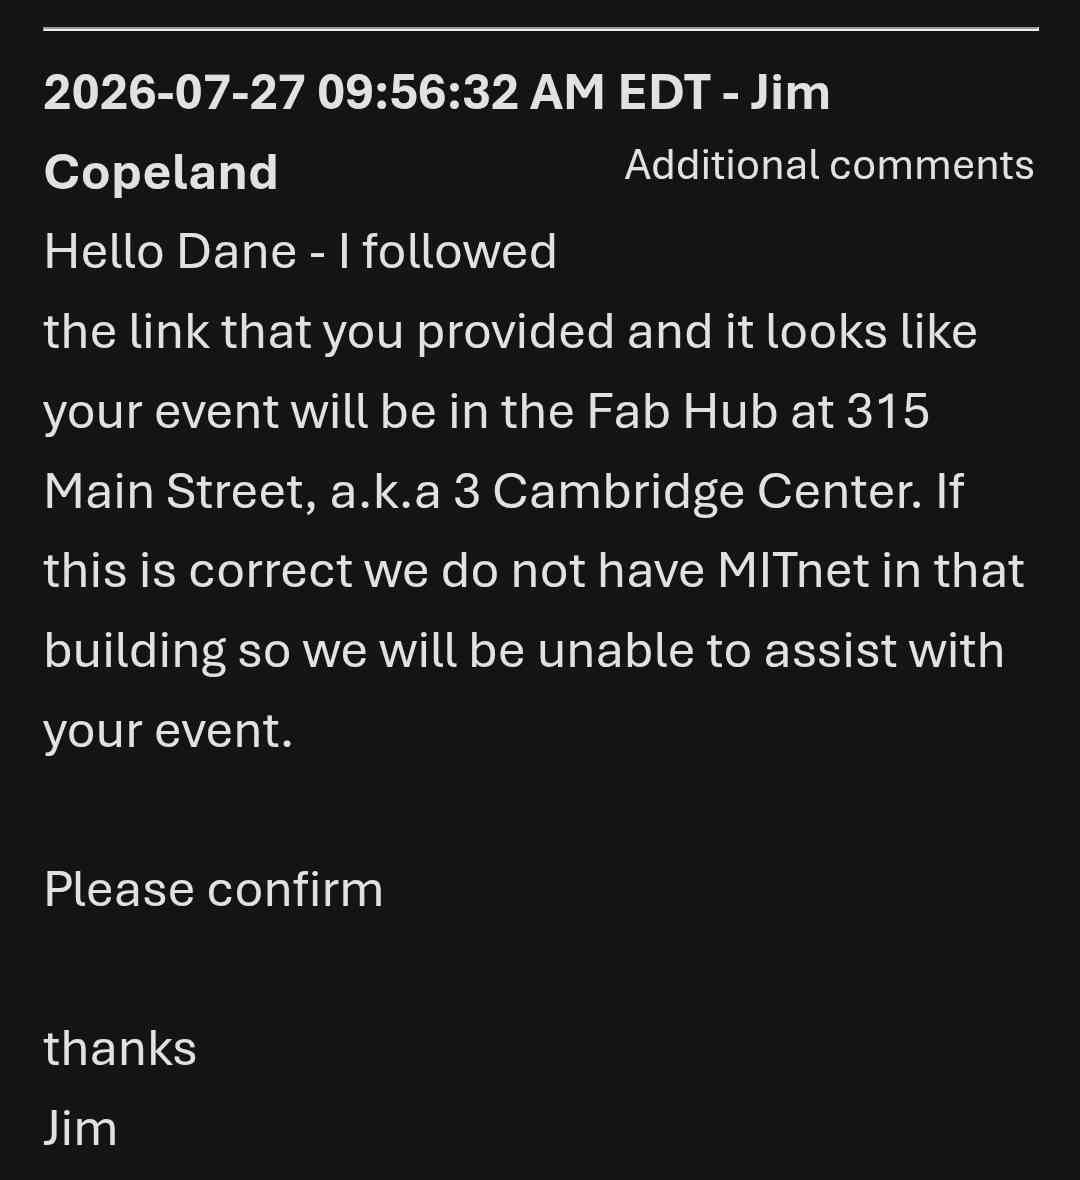
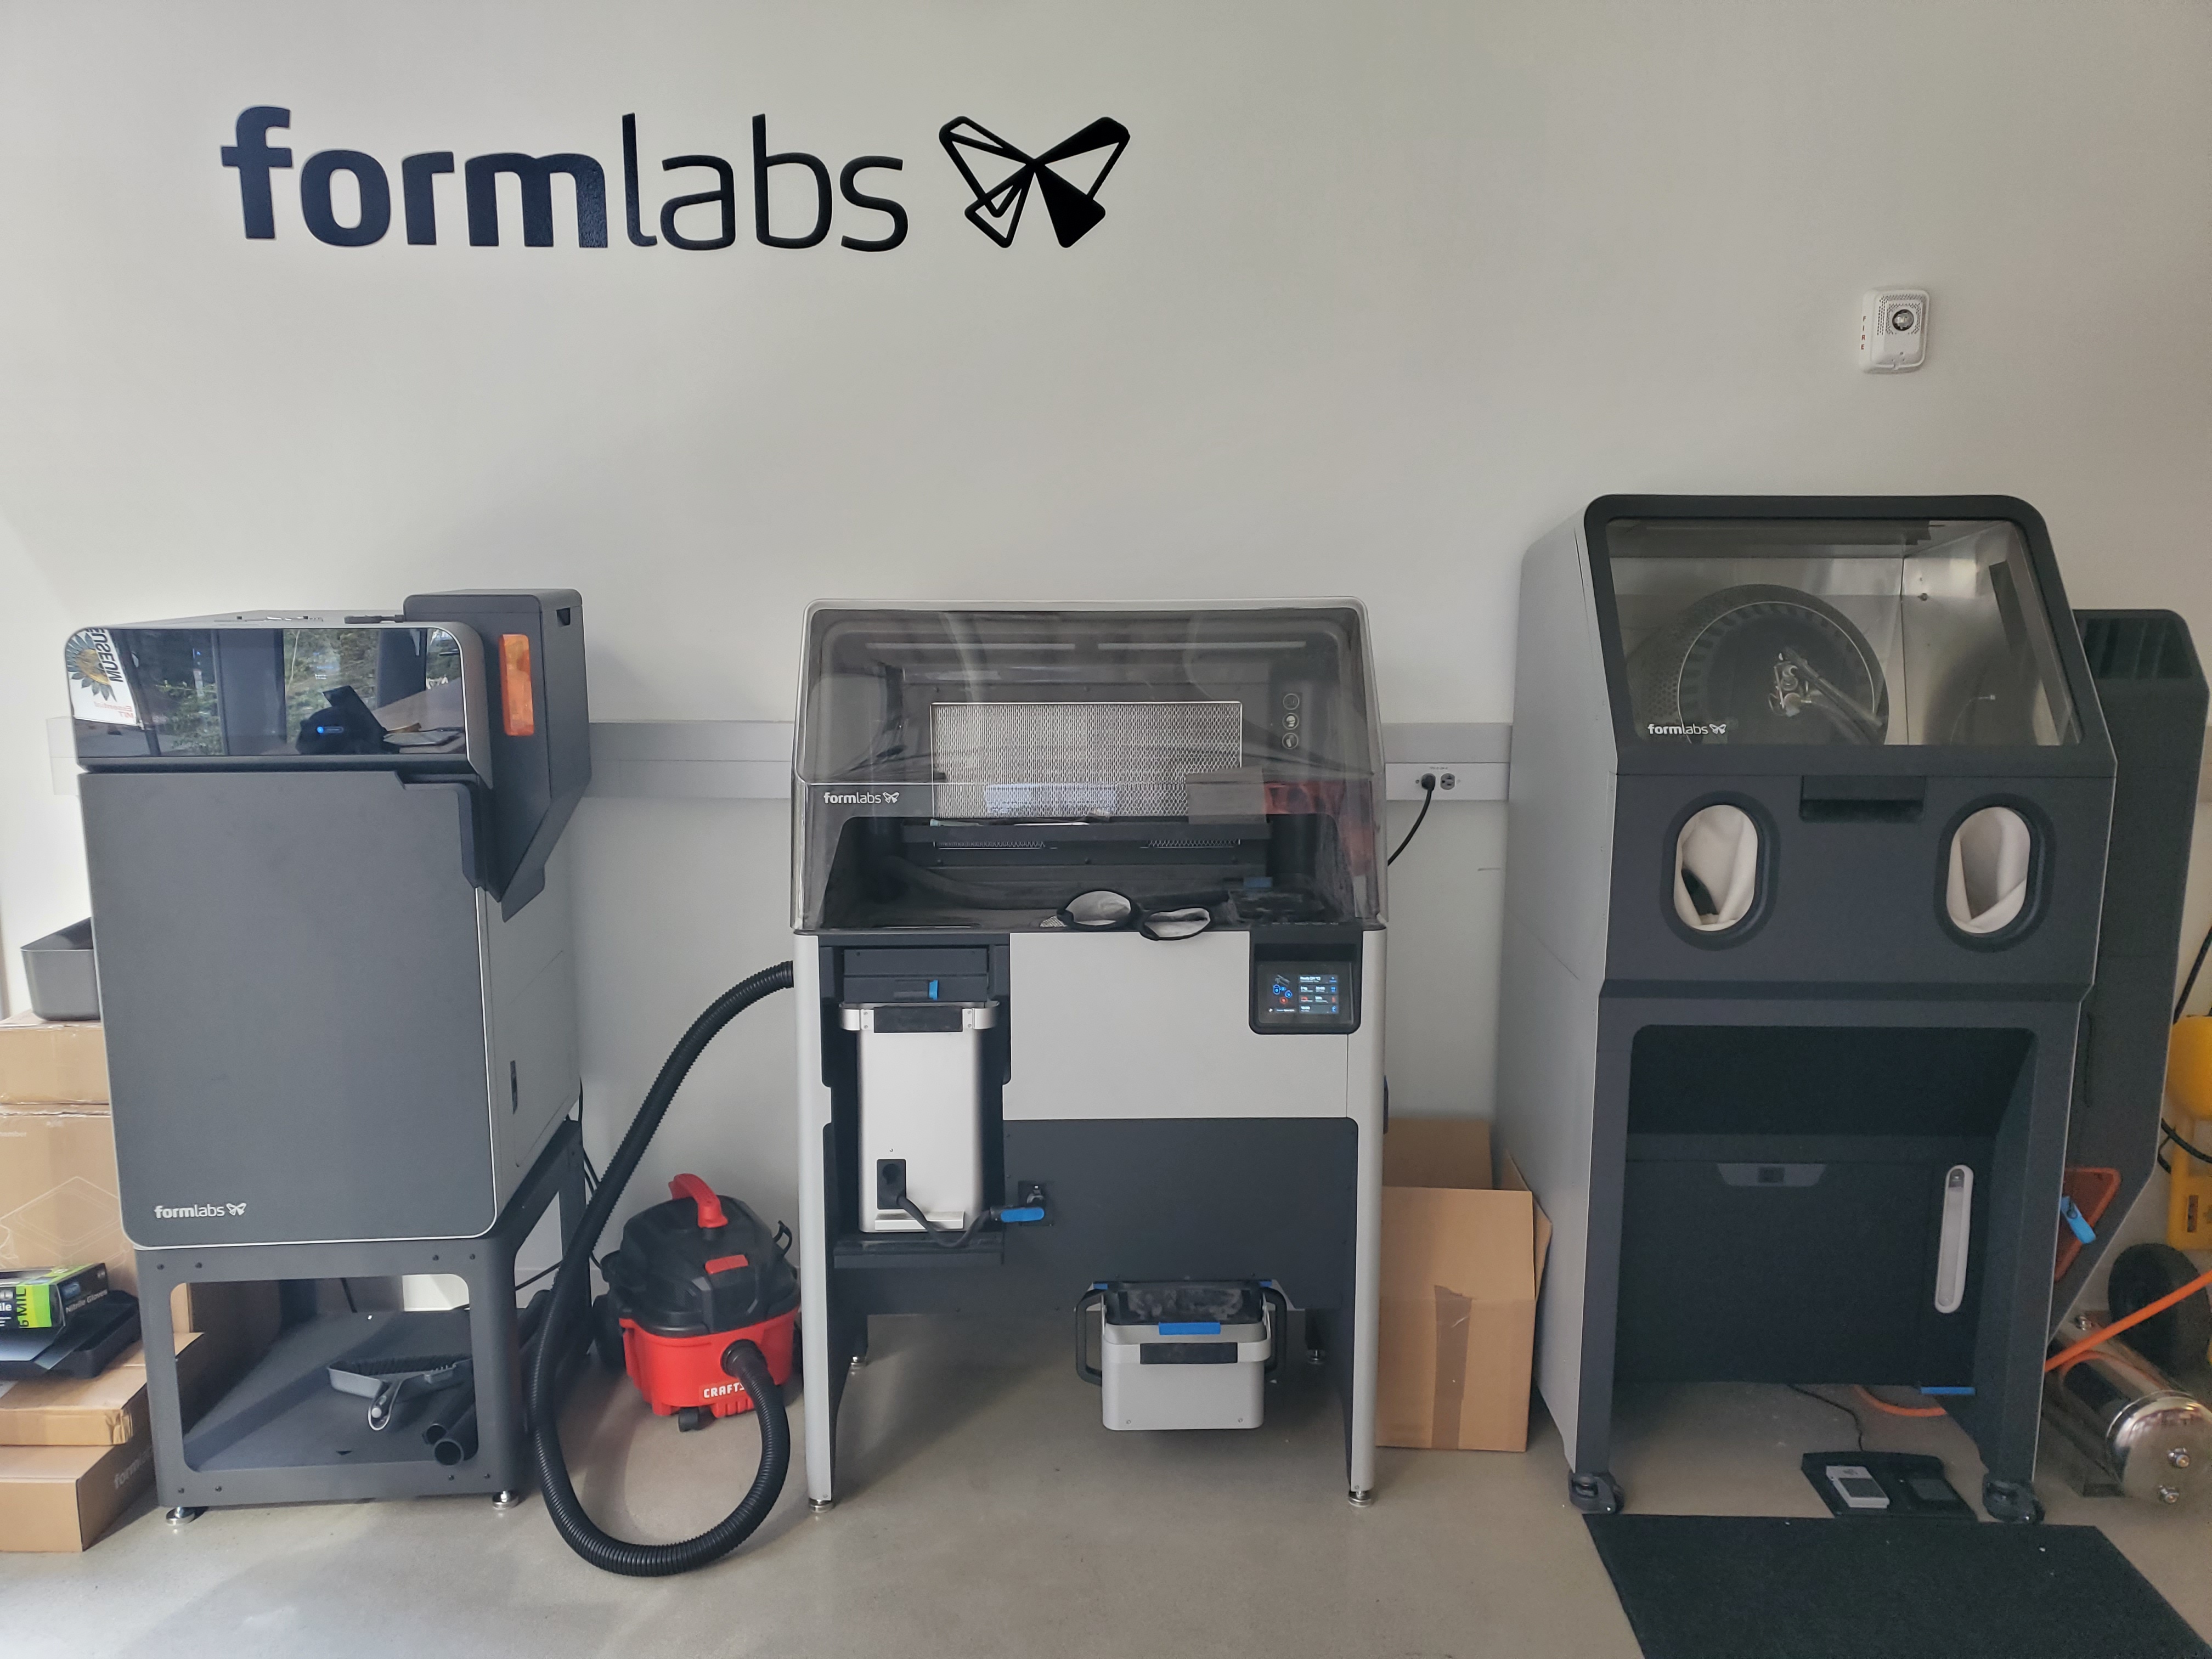
The captive portal was provided by Starry which is a WISP. This is a bit odd, as the building FabLab is in contains an enormous Google office, with, what I can only imagine as an ungodly amount of network capability. The full network actually came from a small cell modem on the wall. This is likely a temporary setup. Some wildly nice toolsJust their printer game alone is on point, an array of prusas, and a wall of formlabs SLS. This formkabs-wall alone is wild, its a full on SLS production line, just sitting there. It is somewhat clear that FabLab Kendal is still being assembled, the tiny local air compressor, the in-room filtration from the laser cutters, but there does appear to be duct-work being installed to add ventilation and the necessary support infrastructure. During the robot cooking event, the FDM printers were available to use, which was a fantastic bonus. 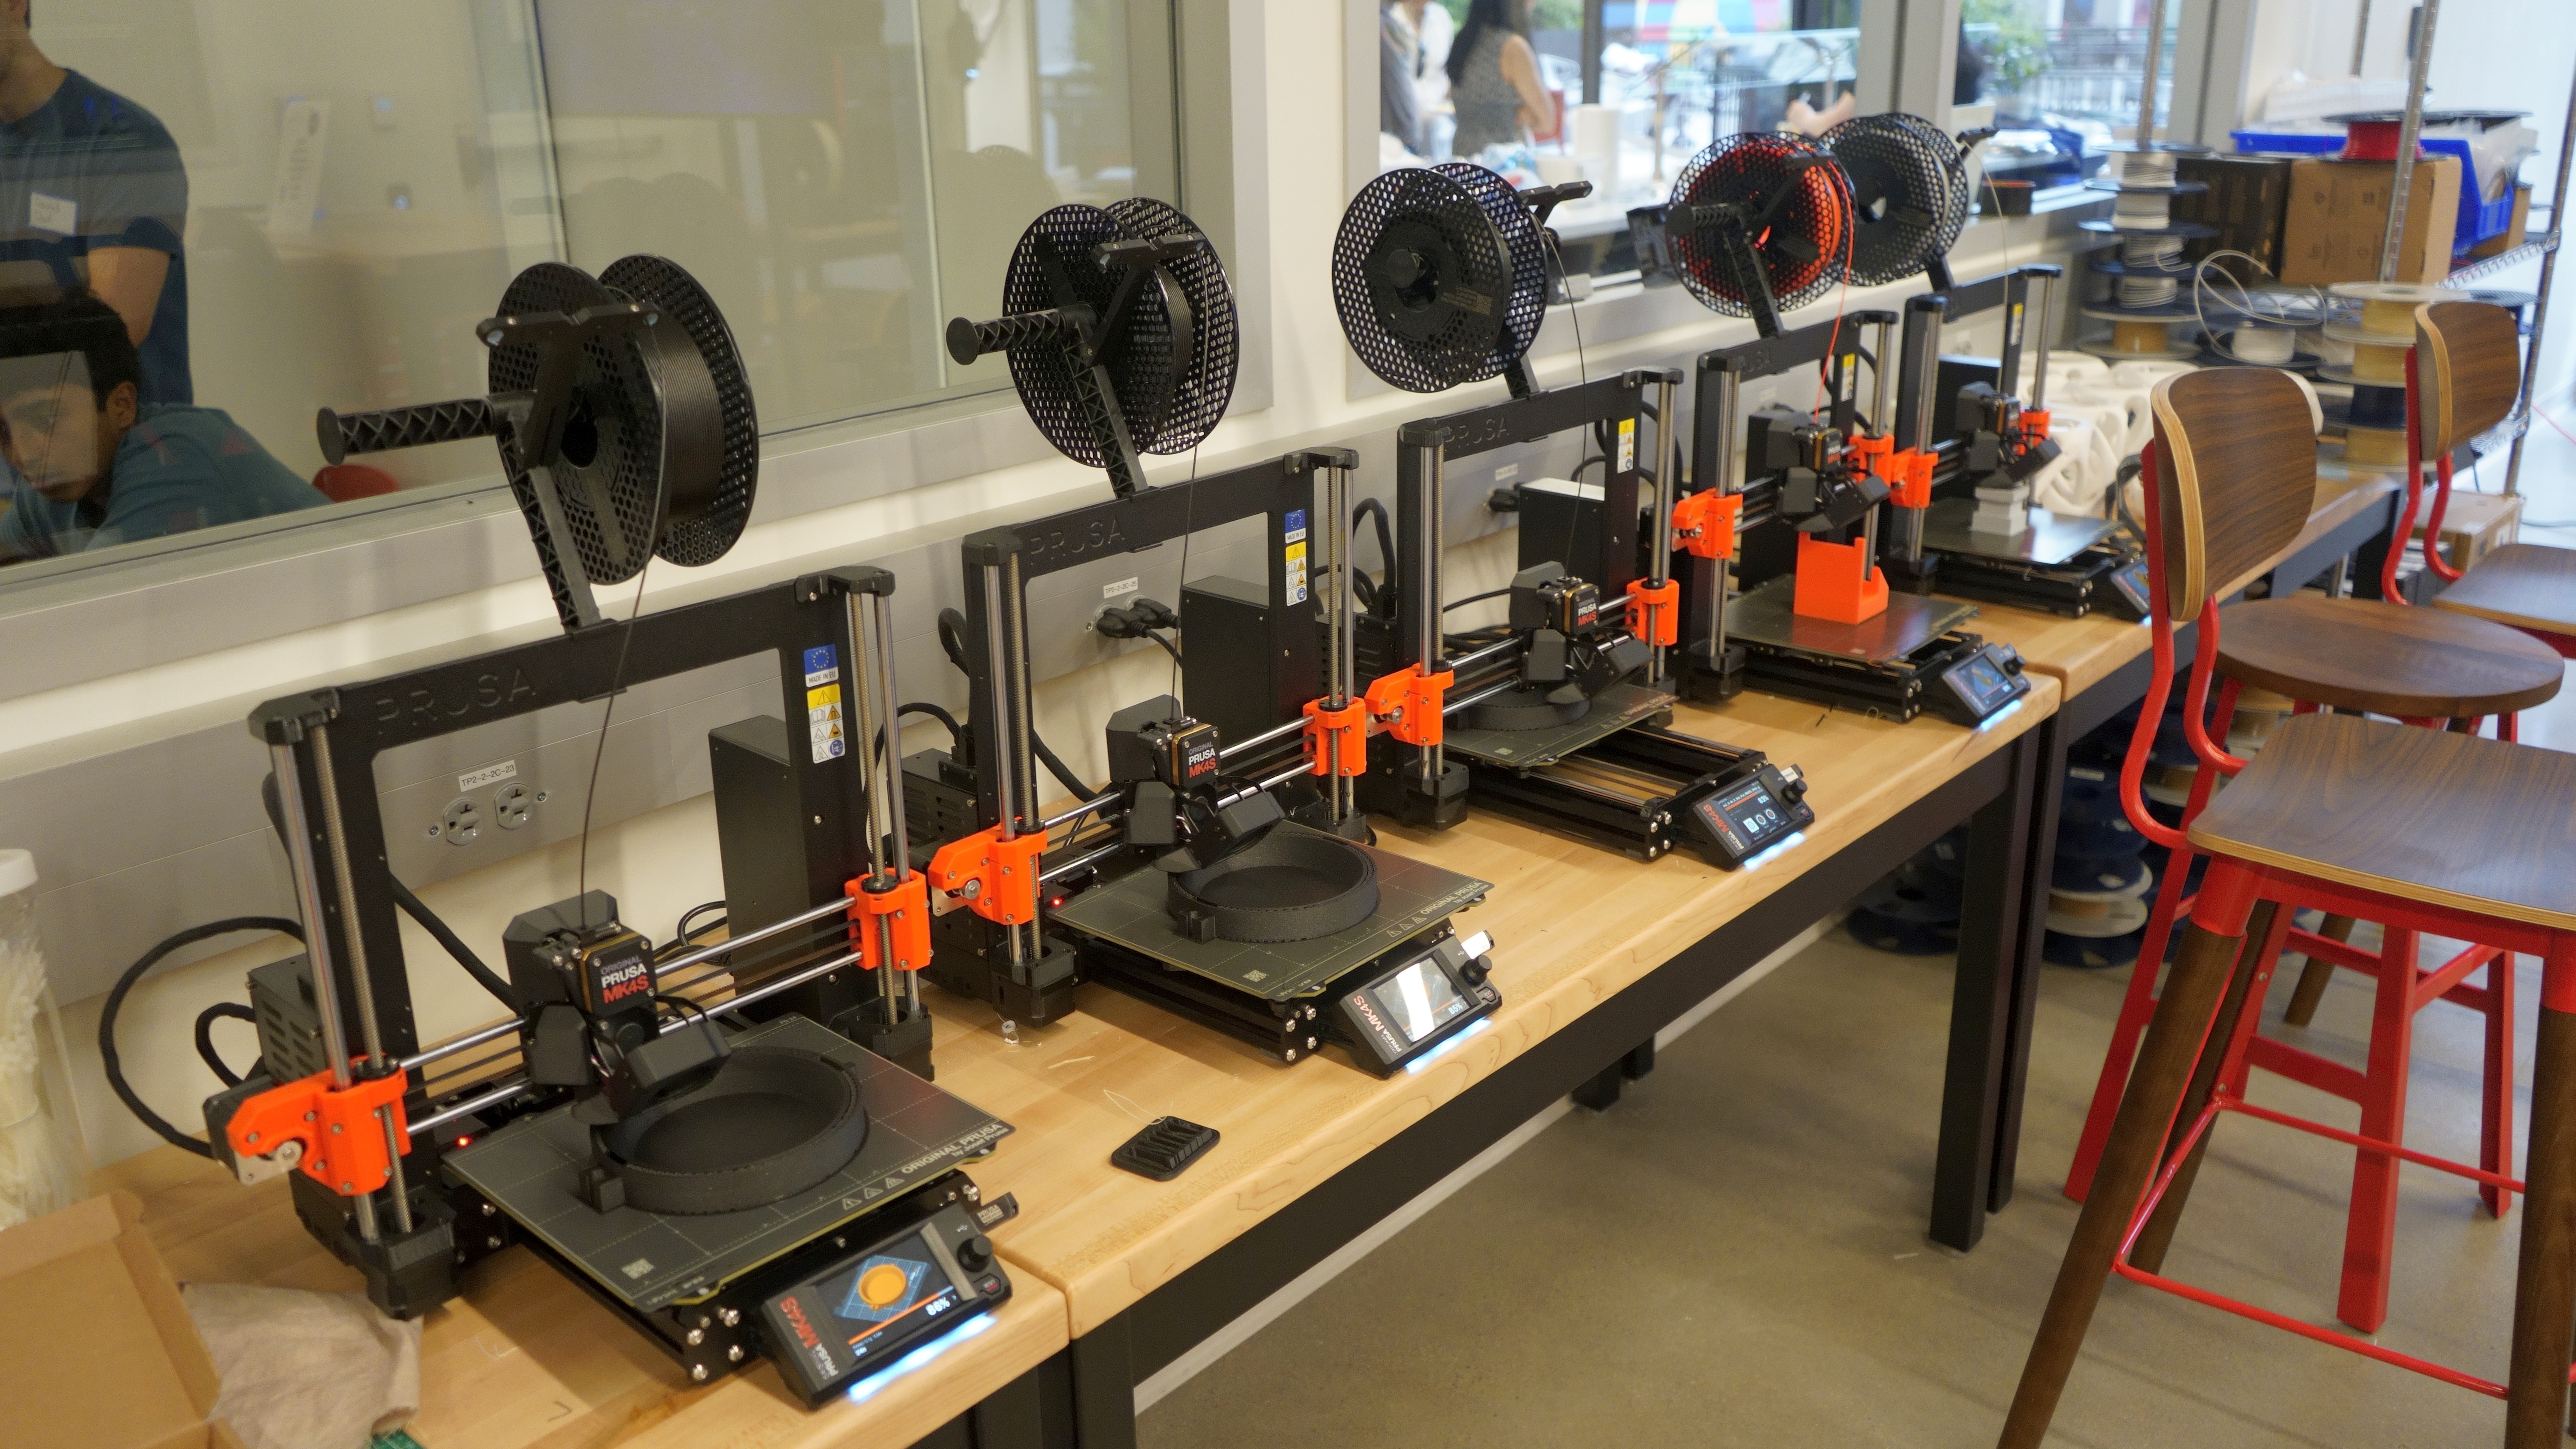
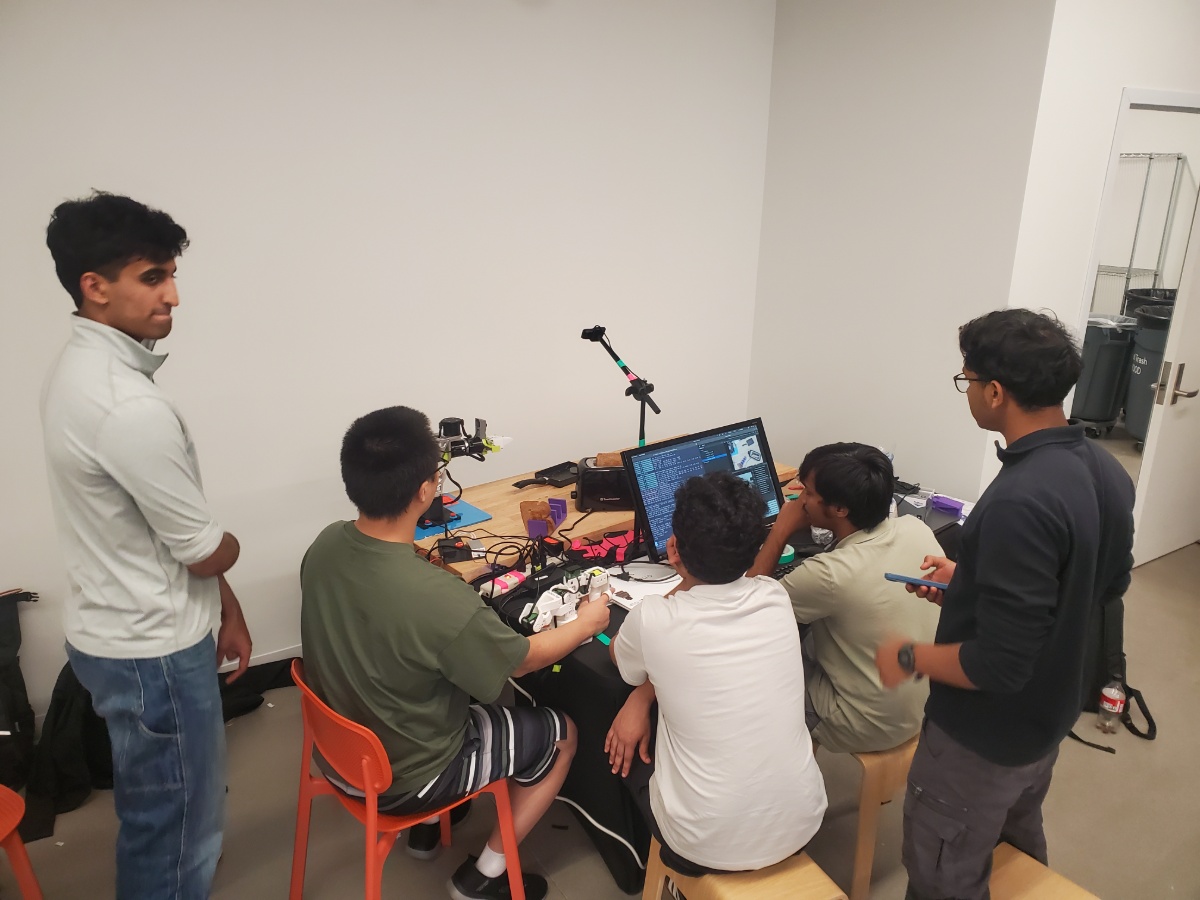
yada Level 1: Working Tele-OpThis was the highest entropy state, getting all 6 teams into a fully working setup. There's a few moving parts: The LeaderWhats a Leader? Great question. For training you need some inputs, so the leader acts as the main user input, with dynamixel-like motors acting as encoders with some gravity compensation. The leader interfaces back to the ReCompute / Jetson via usb, but requires an external 12v power supply. The ArmThe Jetson / ReComputerStep one was getting hardware working. We fortunately had a number of Jetson singleboard computers, but they do have their quirks. All of Jetson's issues appear to come from someone being turbo-cheap at nvidia and avoiding the 0.09 USD to include an actual BIOS, as a result all of the device enumeration is proprietary and likely hard coded as an xml file . This makes everything incredibly annoying for device bringup. Level 2: Actually TrainingOnce teams got tele-op working it was time to try out more advanced tasks, with the goal of eventiually repeating those tasks a number of times for VLA training. 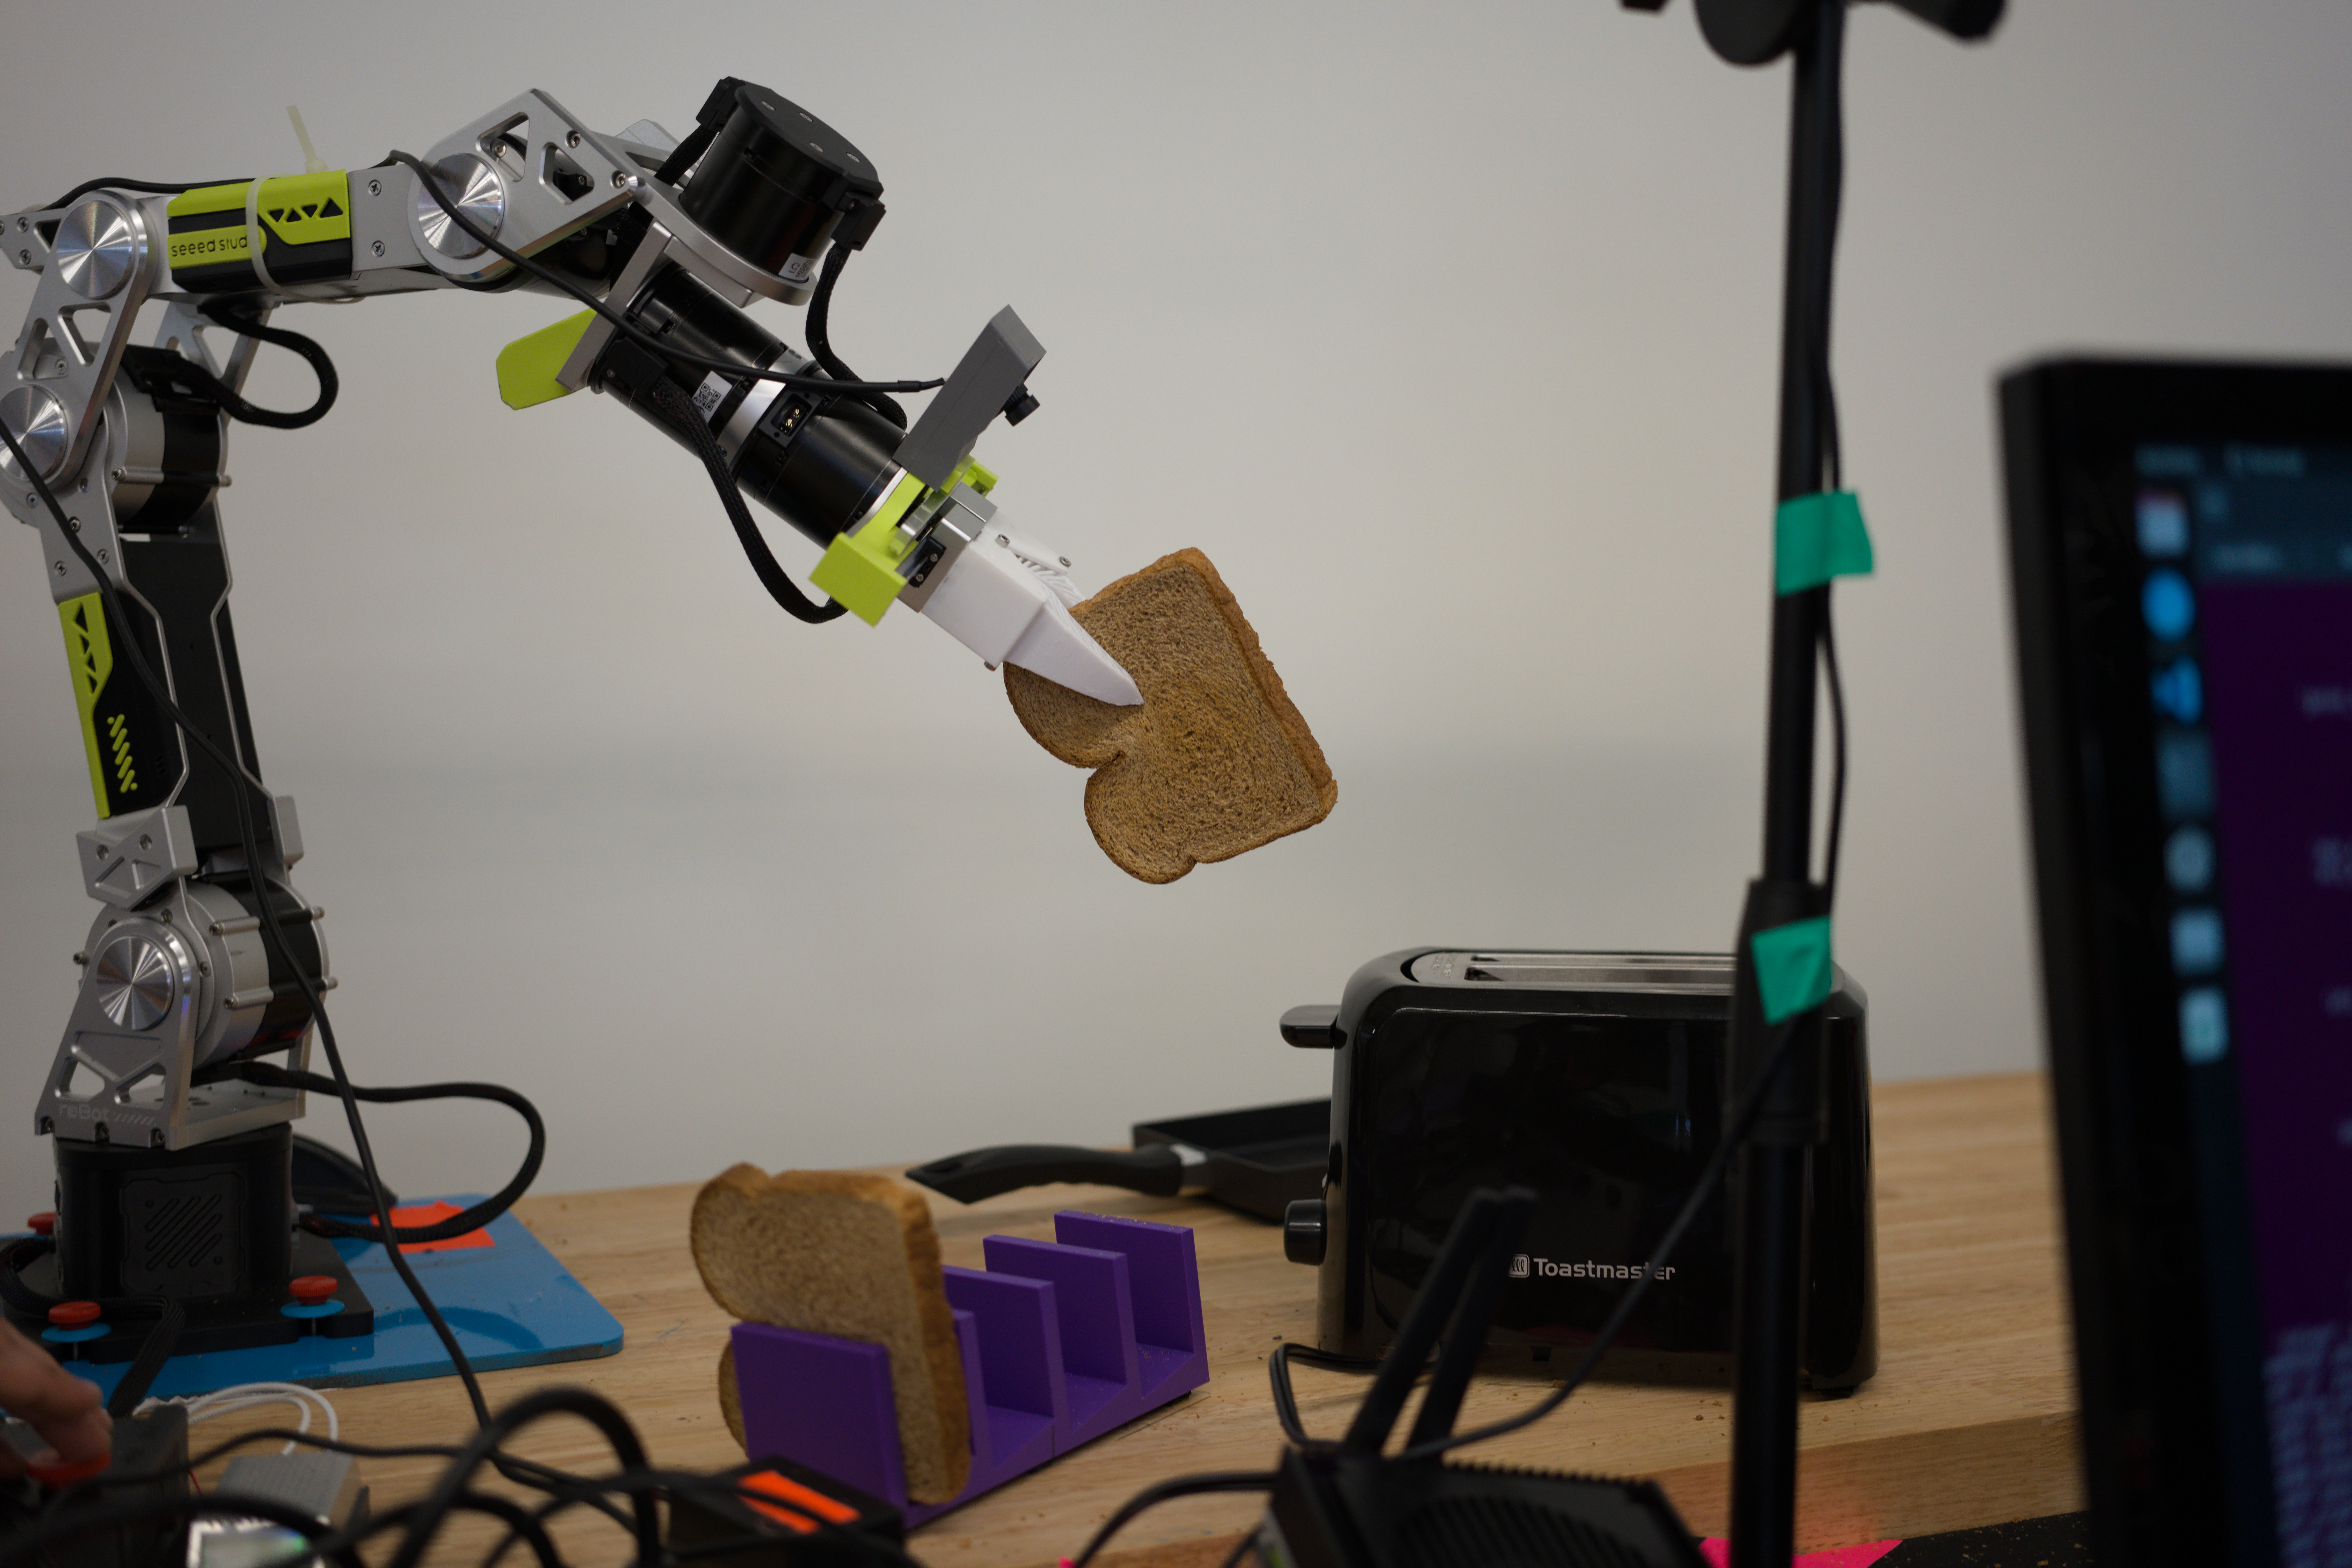
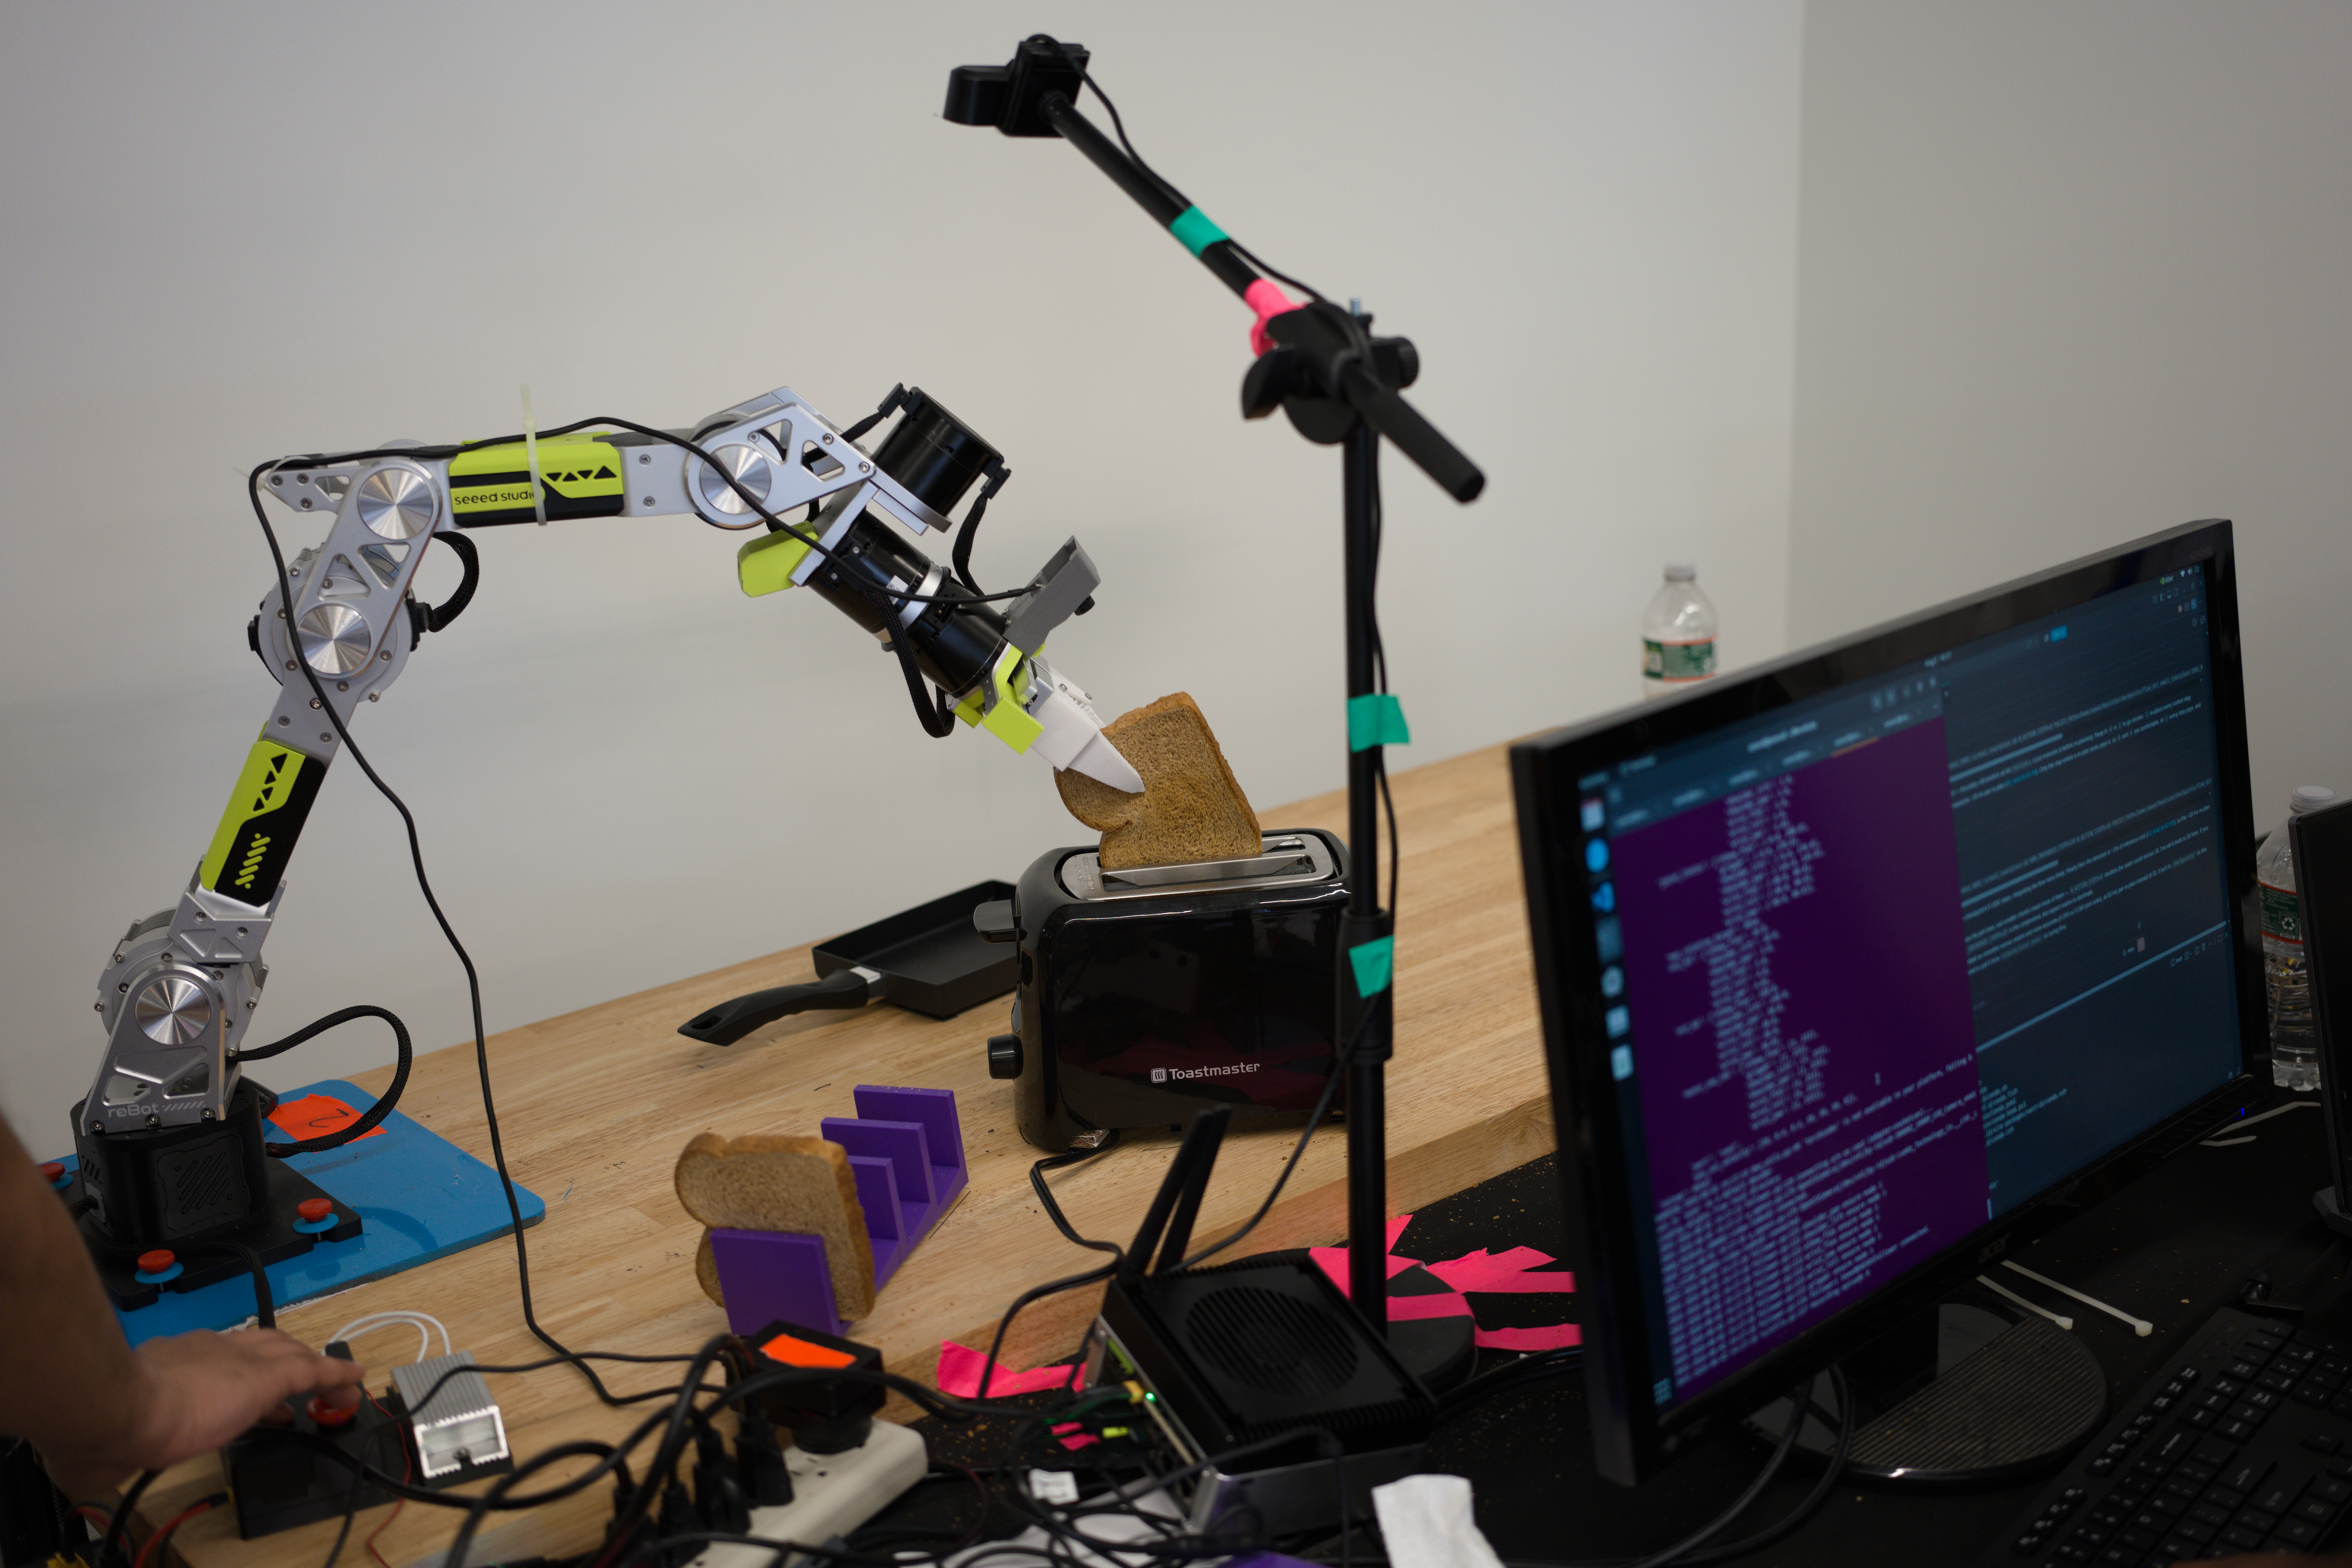
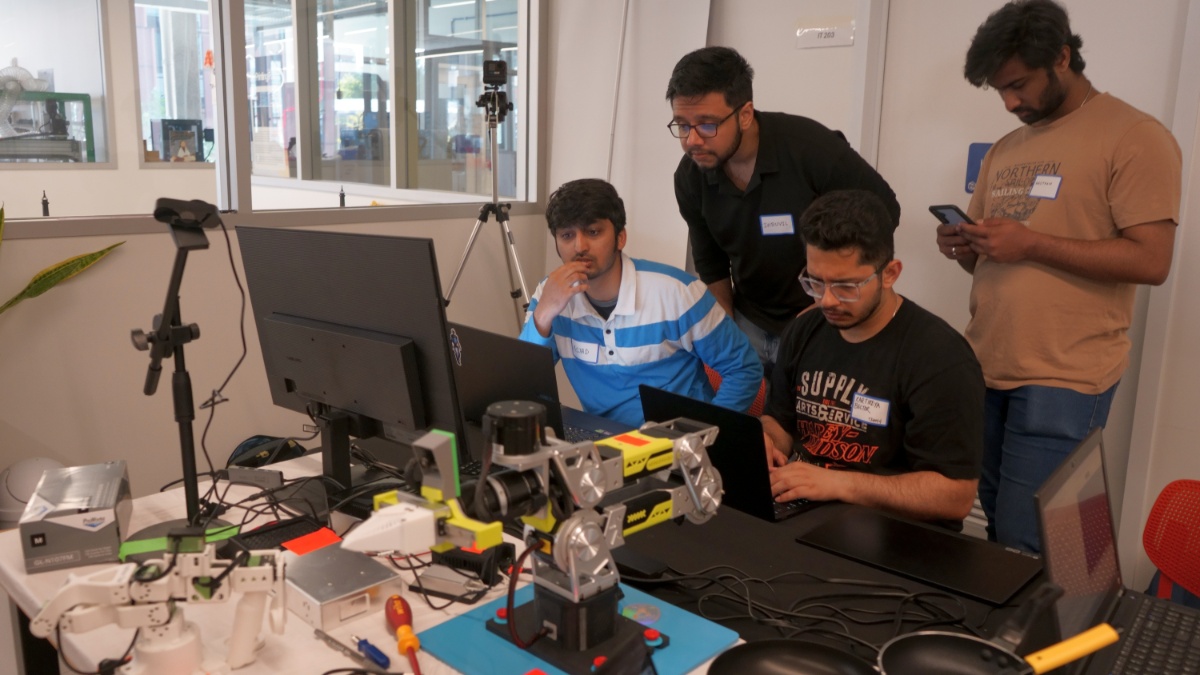
Level 3: Trained OutputThere's a few things to keep an eye out for in the shot below: The leader is sitting off to the side, the camera view is extended by placing it on some impromptu stacked boxes, and one of the team members has a hand hovering over the estop. We didn't anticipate liquid-cookware, so the teams just used some This video has audio: Click to un-mute Teams all had the same gripper, with 1 degree of freedom. To use that effectively, the teams got creative. Printed tools, specifically suited to the grippers were fabricated quickly using the on-site printers. It was really creative and worked incredibly well. For the sake of brevity the clip below was slightly sped up to show this in action. Concluding Remarks
Special ThanksAn absolutely special thanks to Jinger from Seeed Studios, she is a force of nature and really helped make everything happen. Thanks to Eric Pan for sponsoring the event, providing the arms, the resources and personnel. 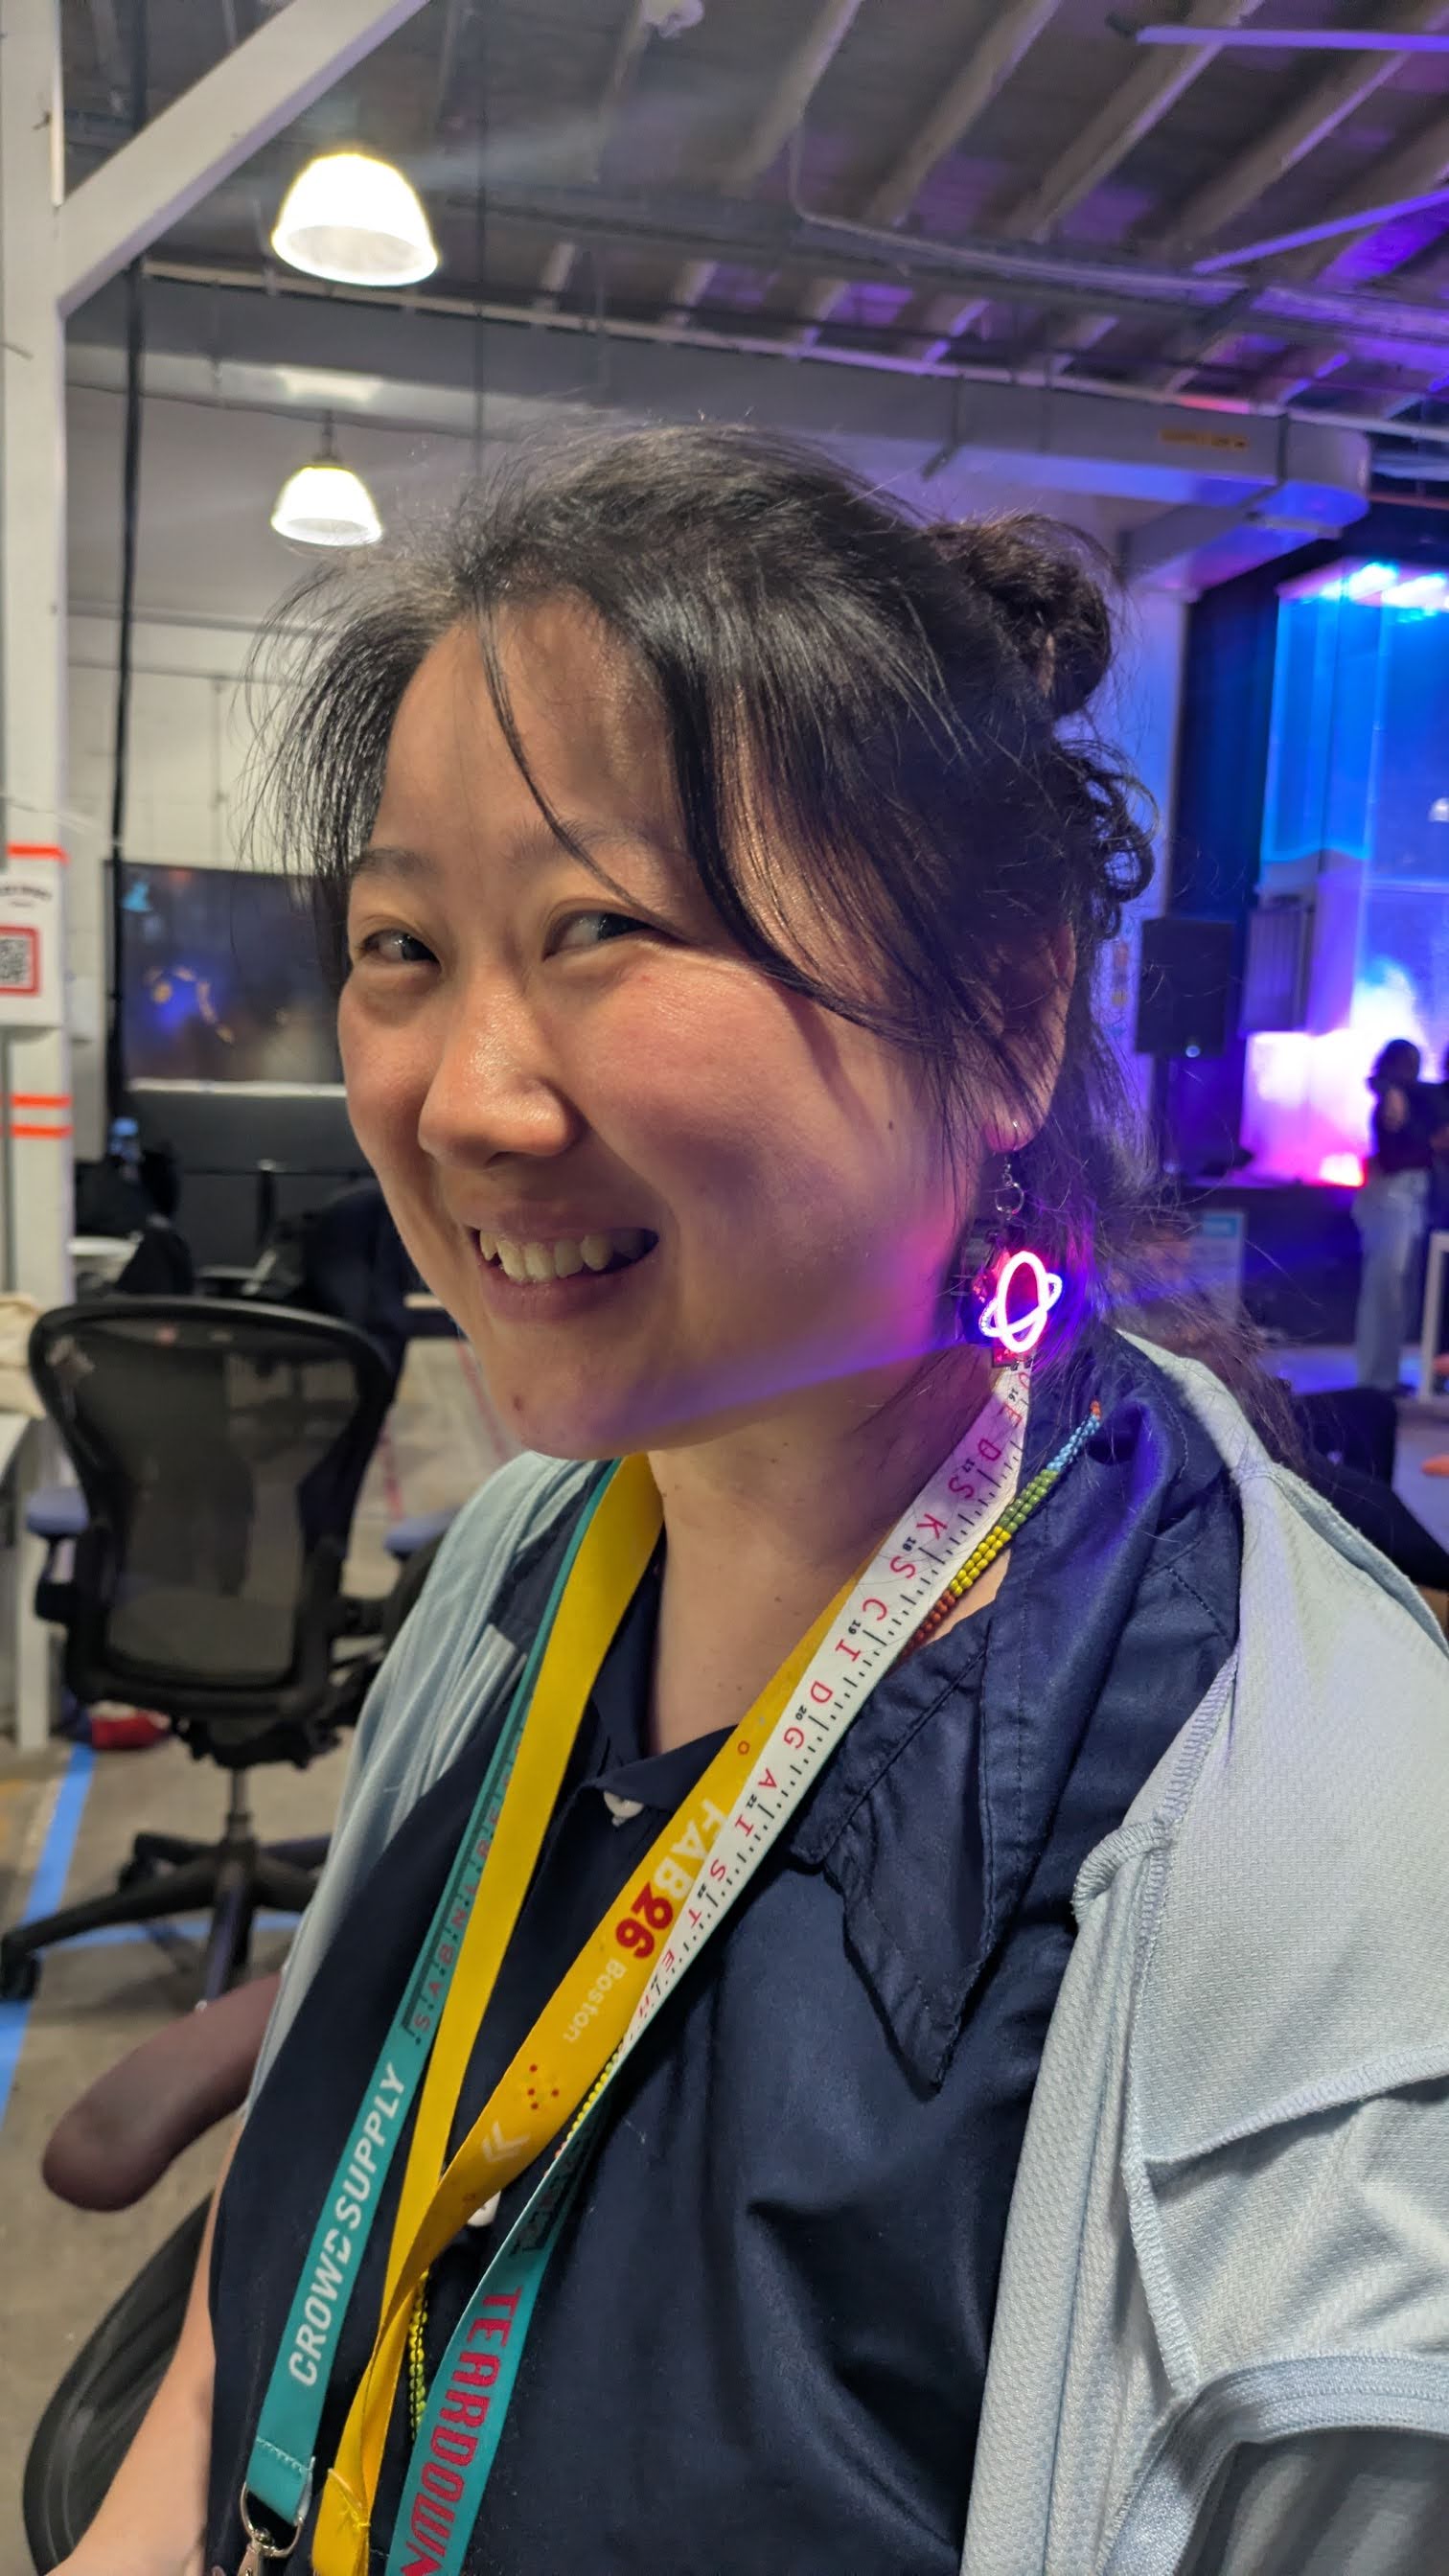
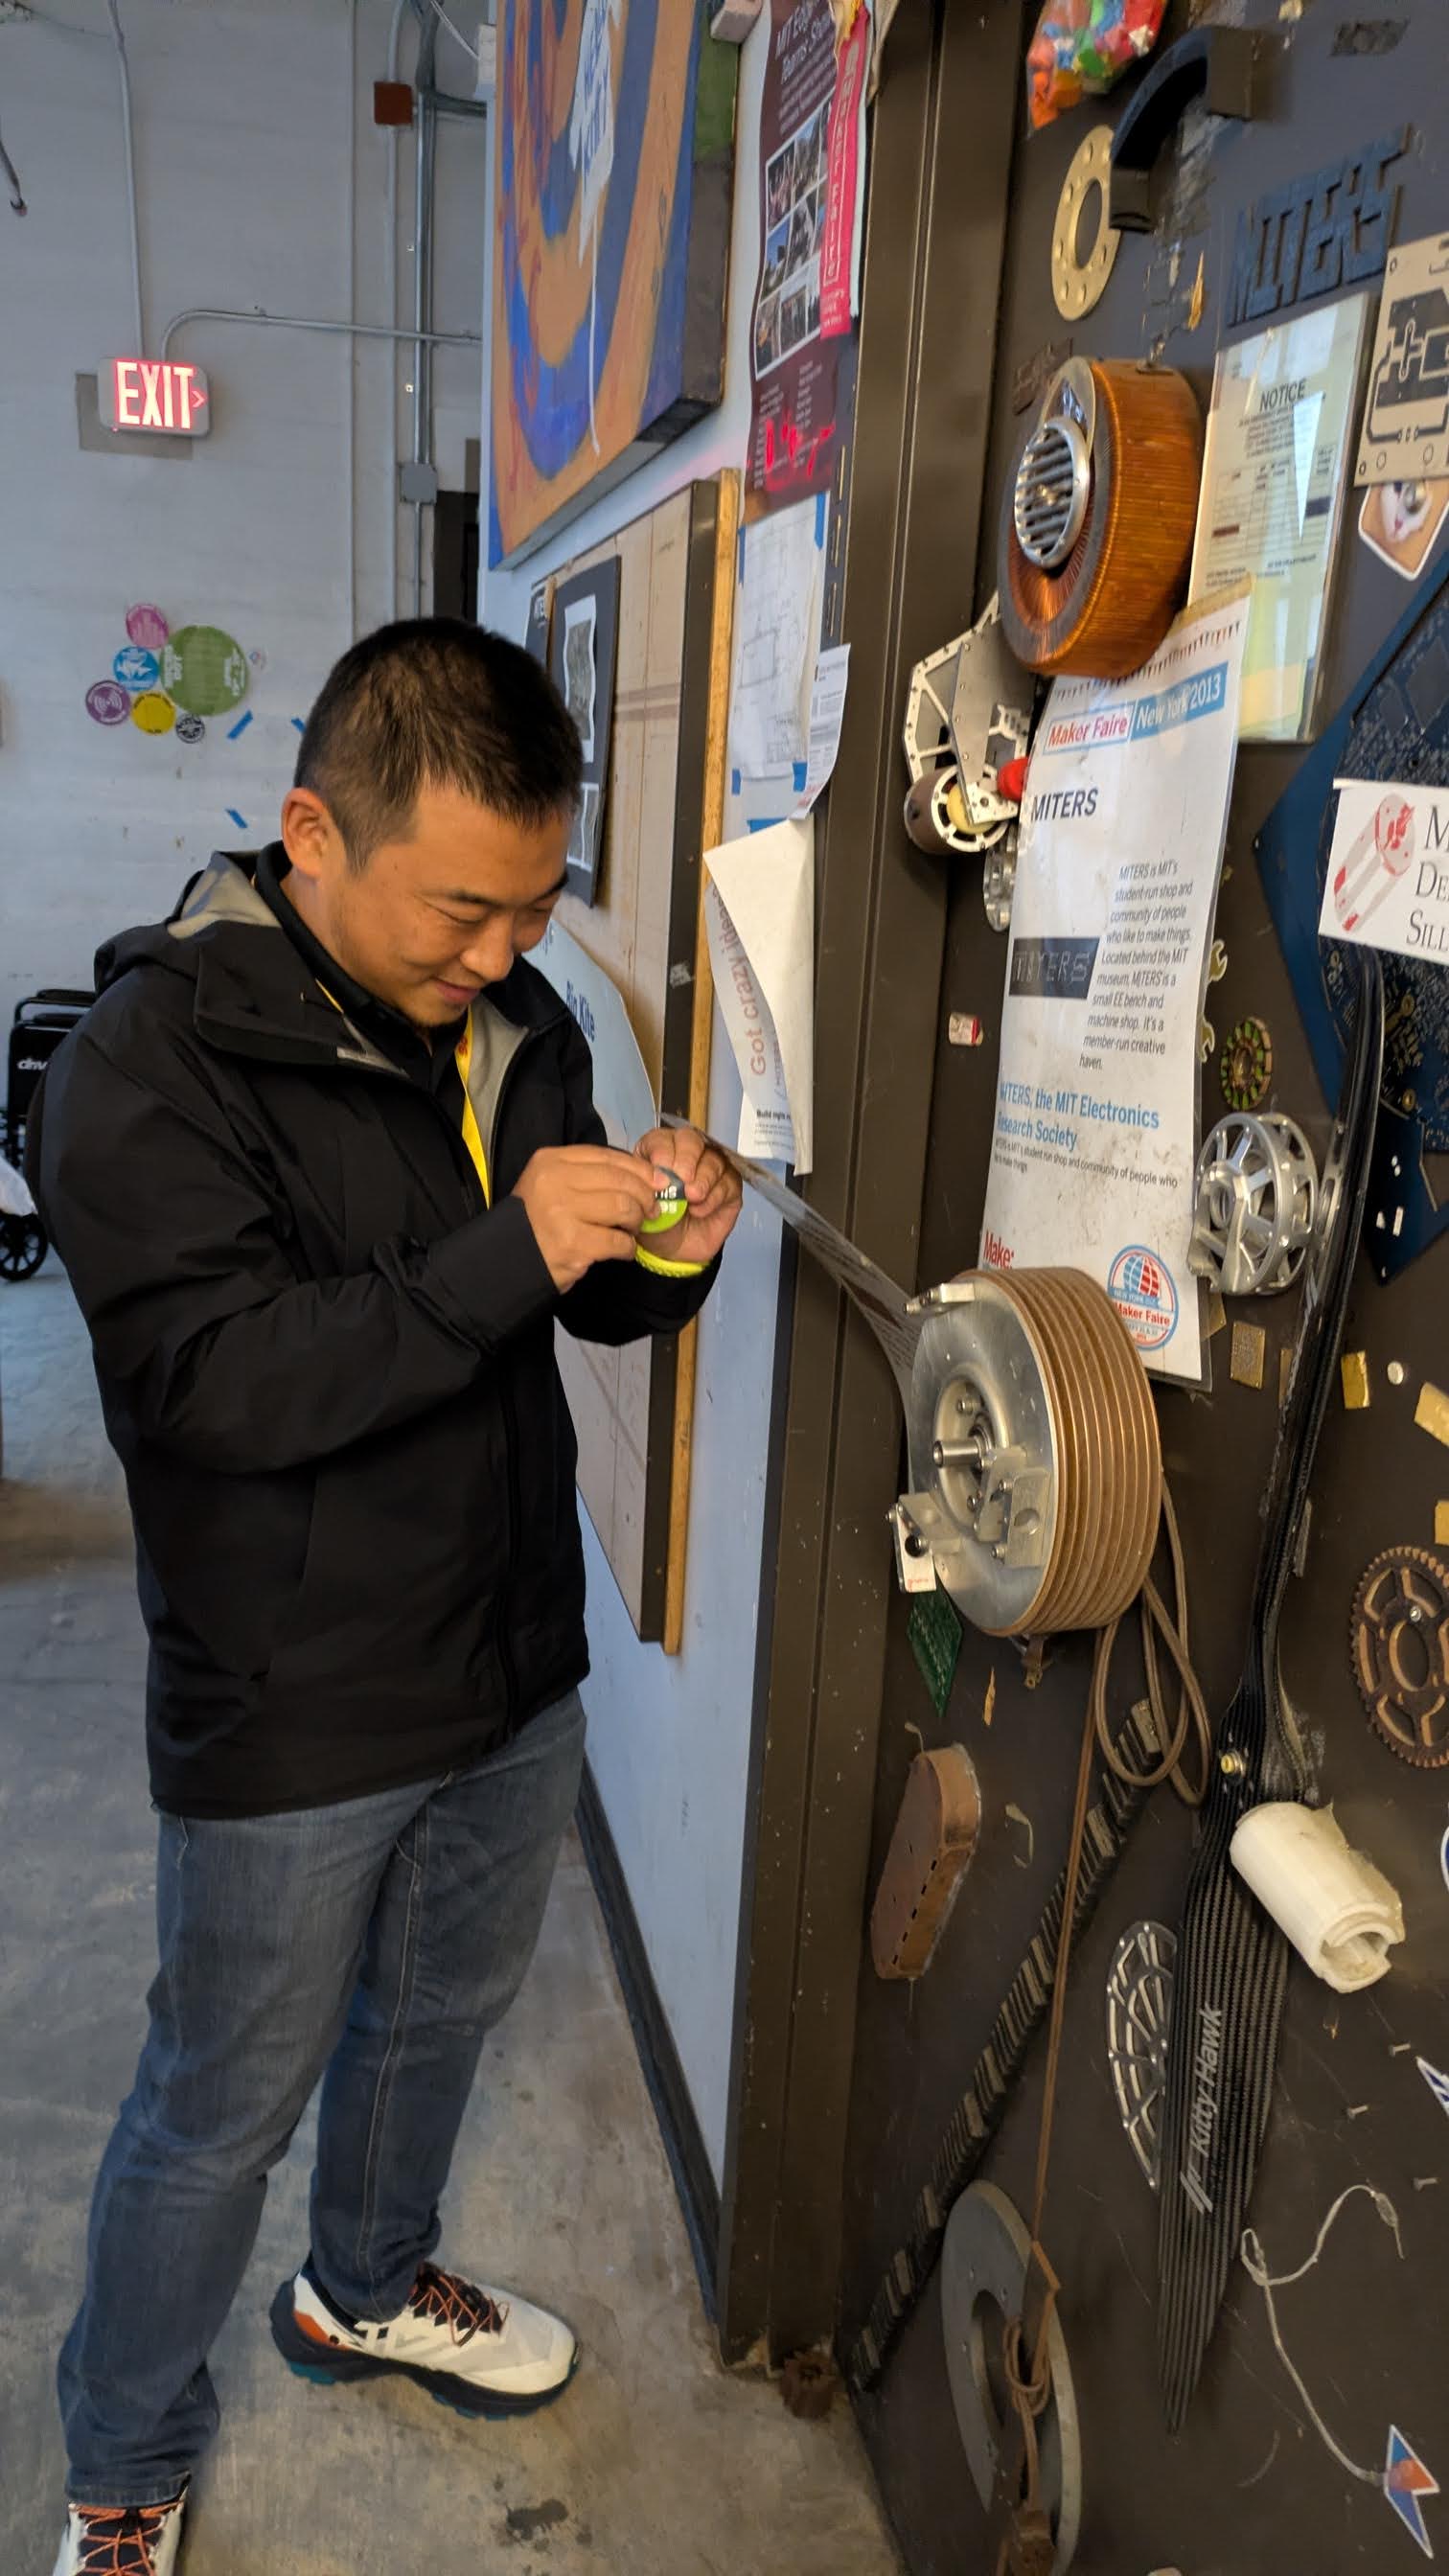
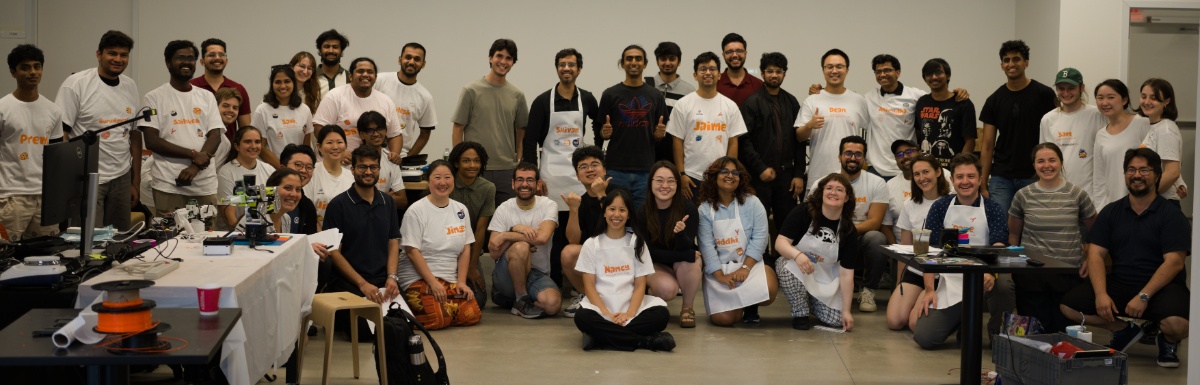
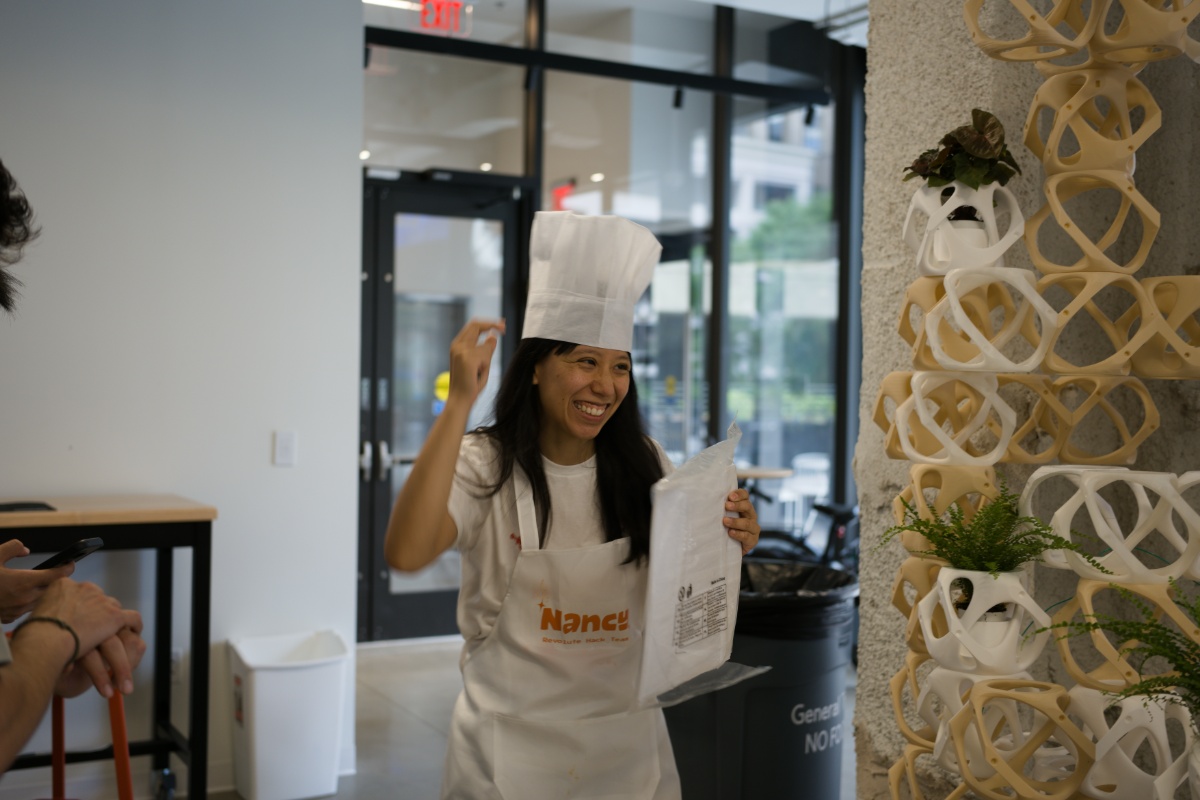
The volunteer team that made this happen. Holy moleys how did such a small group throw all of this together on such a short schedule? 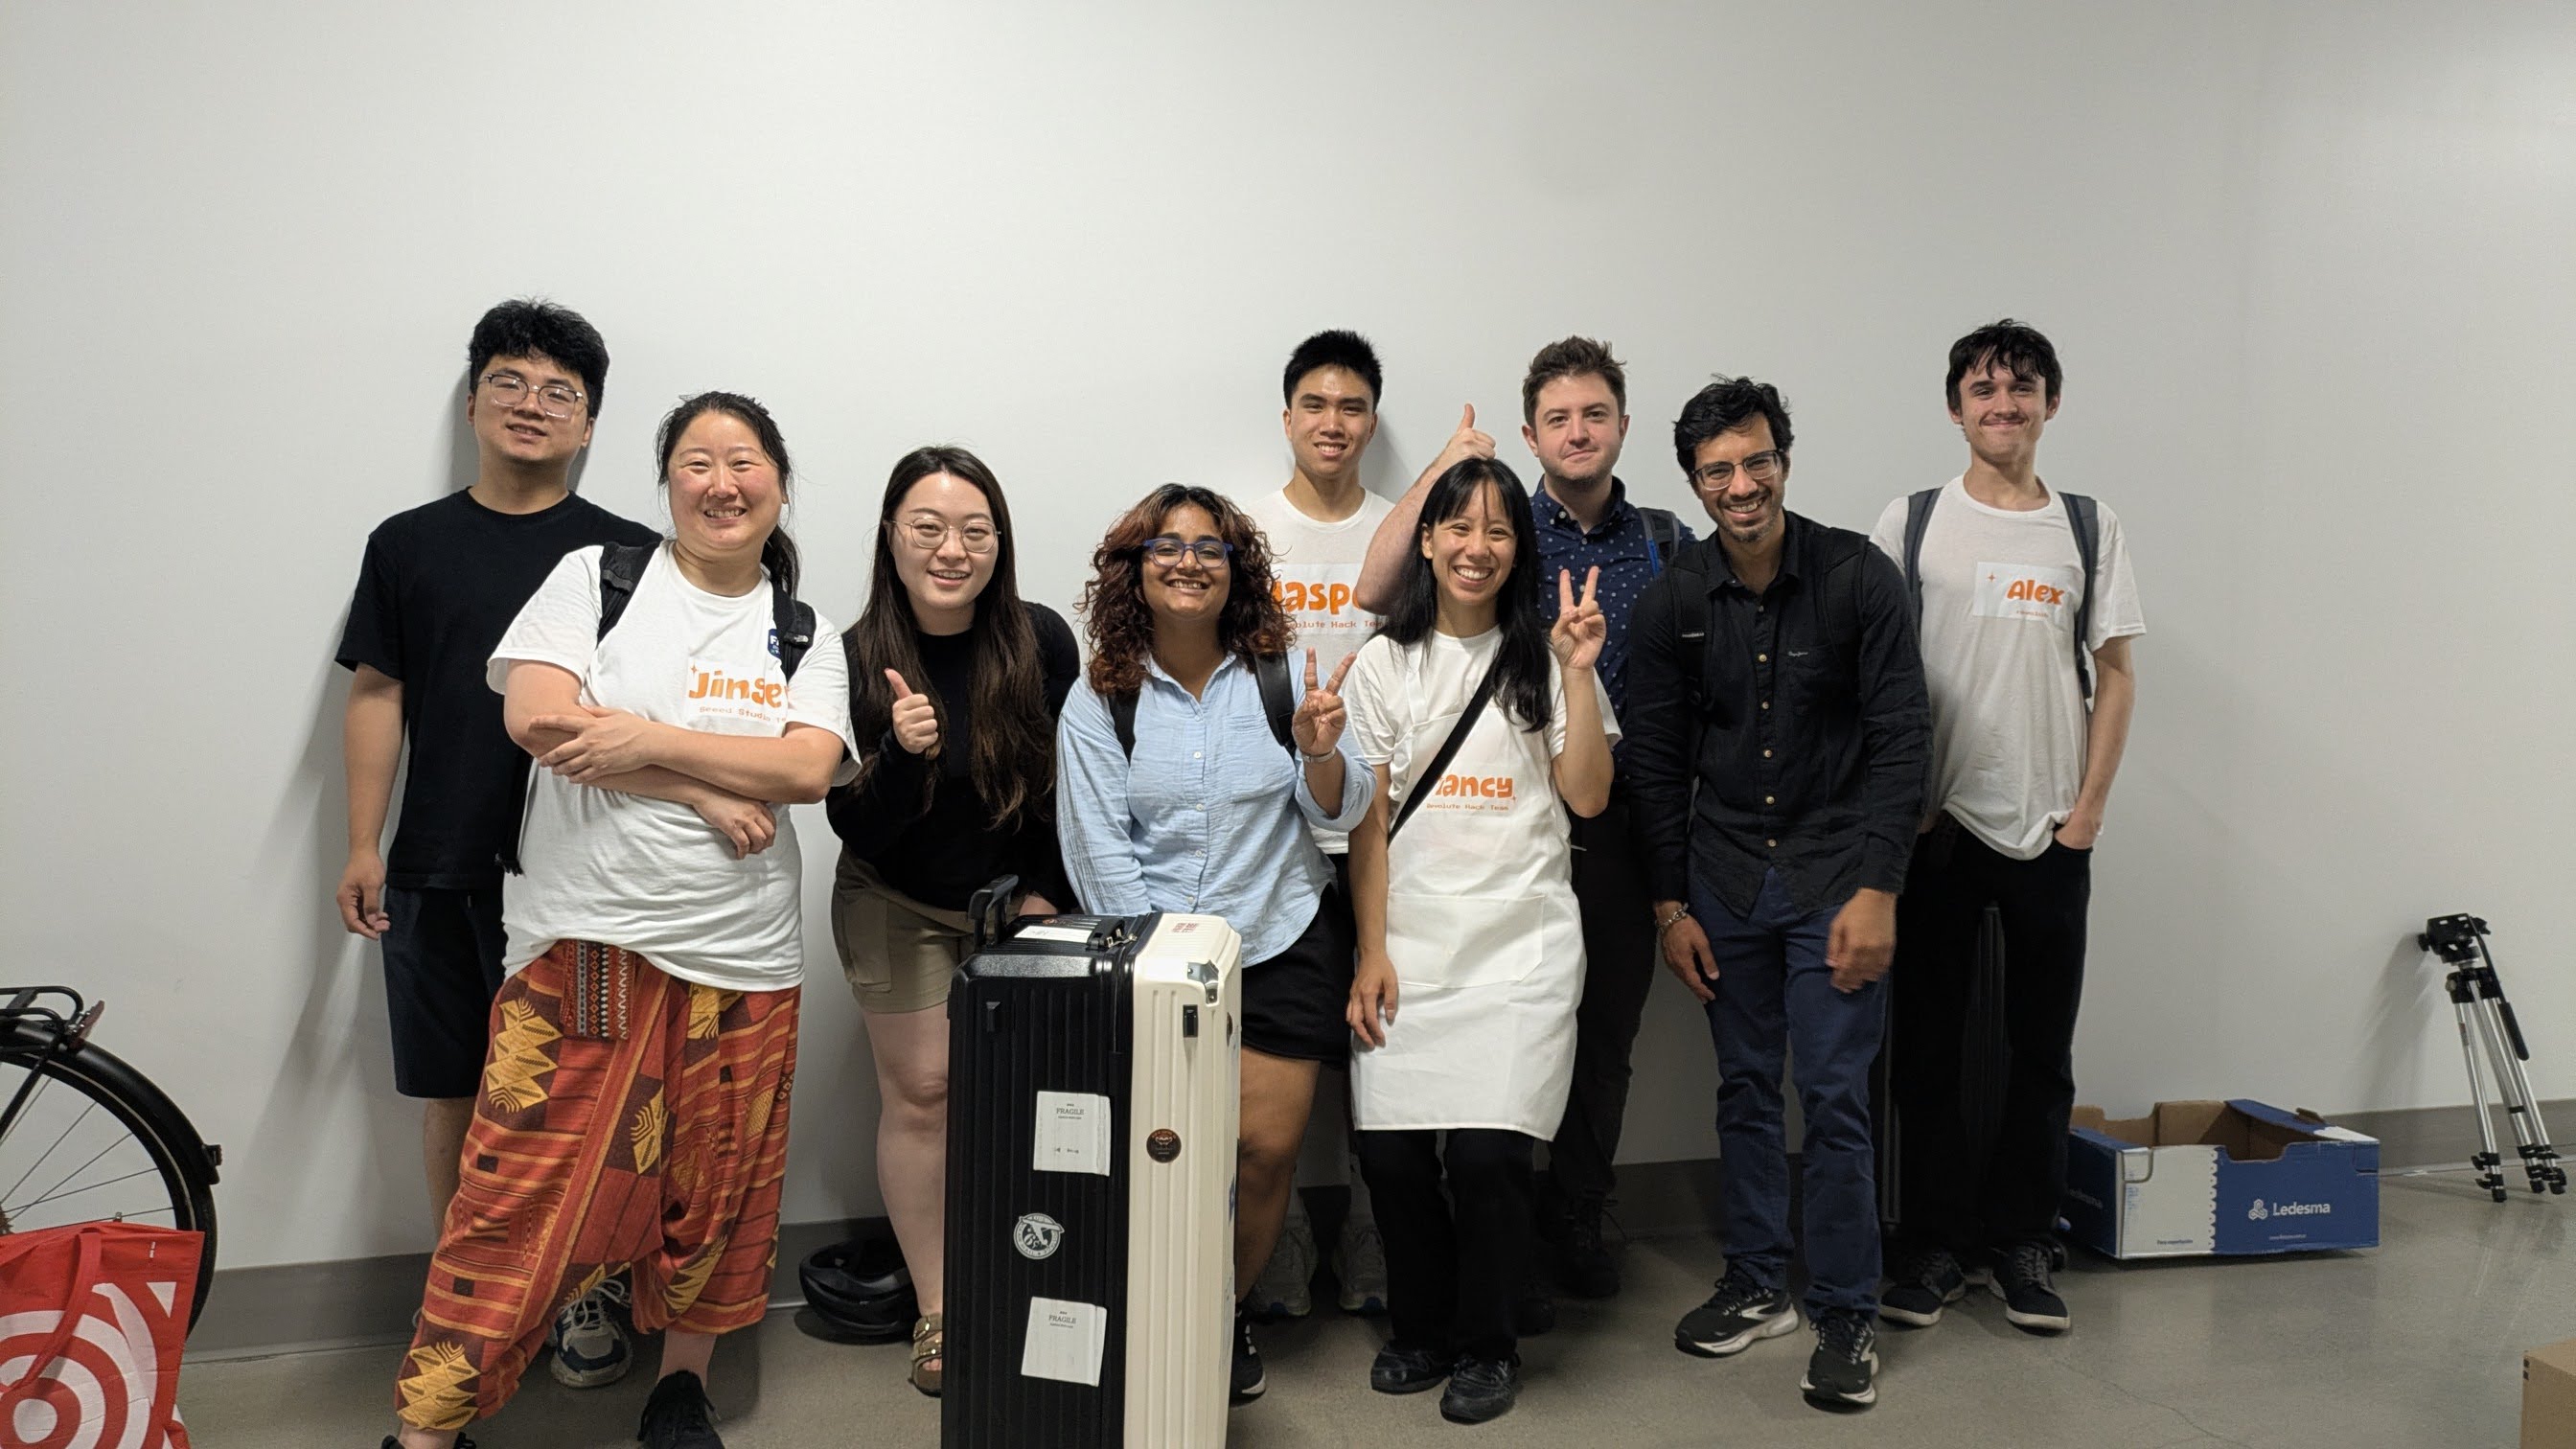
If you have questions or comments, ask below or send over an email. (be careful, you may get addicted to robots)
Have you noticed that there are no advertisements or ridiculous pop ups?
Want More?
|
Post your comments! |
|
Comment Box loading
|