Dane.Kouttron
[6.20.10] KillerCycle: Excersize Bike Game Controller
[OPERATIONAL]
What?
Excersize Bike PC Game Controller with snazz
|
| 
|
| COST? |
Image/
Media |
Cheap,
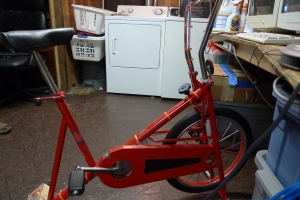
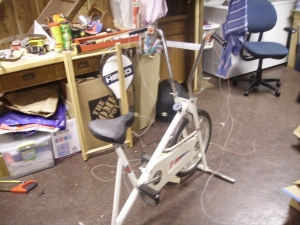
if you can scavenge the parts. The heart of this, er.. creation, is a
1980's sears exercise cycle. If there isnt one sitting in your
grandparents attic or a neighbor's garage, try hunting the craigslist. Other parts of interest:
USB keyboard: ~10$ (free if you have an extra one :)
Microcontroller & misc. components (buttons, AVR, caps, 2n3904's, led's)
~$7 worth of components
Spraypaint
~$4 |
|
| What
Do I Need |
Image/
Media | Image / Media |
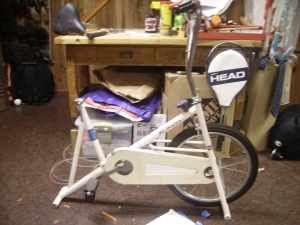
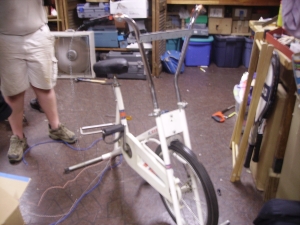
Excersize bike:
Ancient
bike, which inhabited our garage for the last decade. Make sure the
mechanics are mostly working, or fix them before starting.
A
rowing machine would also work great for this project, assuming you
could find one for cheap. In the case for the rowing machine, a method
to average the spinny part would be needed (RC integrator) |
| |
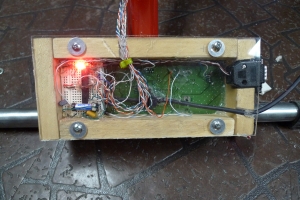
Microcontroller & old USB Keyboard innards (explained later on). Also some Debug stuff
<this project was designed to get a 12 year old interested in tinkering, so most parts are kept simple>
|
 | |
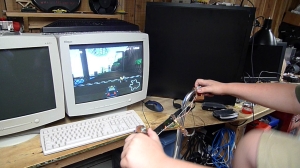
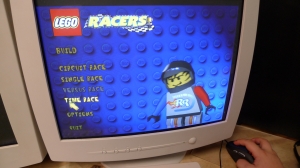
Computer that can play ancient games / emulate older consoles
YEAH THATS RIGHT, LEGO RACERS. |
| |
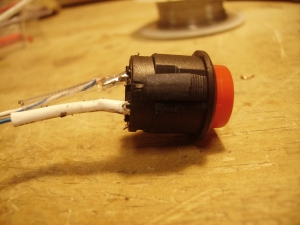
Good, strong momentary pushbuttons (mouser link)
A
note, if your going to build this, dont, for any reason use the wimpy
4pack buttons from radioshack, they may be tempting, but they fall
apart in hours. Big buttons that can take rough-housing are great. If
your scrounging for em, try cutting out buttons from those giant TV
remotes
|
| |
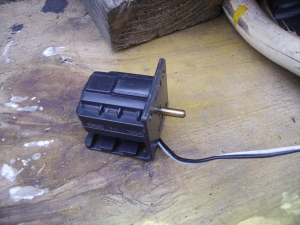
DC motor
(you could also hall effect sensor & magnet)
used for measuring wheelspeed.
|
| |
| How
to: |
Image/
Media | Image / Media |
Start
by taking off non-essentials (buzzer bell timer thing, ancient
speedometers), and repairing any 'wobble' inherent to the vehicle.
Brace any less than functional parts and start laying out where buttons / feedback sensors should go
|
| |
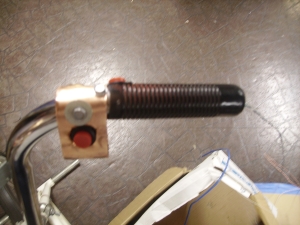
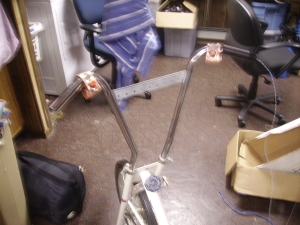
Start making button mounts.
In
this case, copper sheet was used, and bolted around the frame. The
placement of the buttons were based on a younger siblings hand size.
also, hone down any sharp edges. Four buttons were used (as this was
designed around the game 'lego racers'. a Left, Right, Shoot and
Swerve.
Forward is driven by the wheel speed & microcontroller (Discussed later)
|
|  |
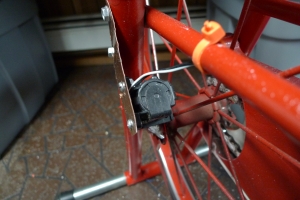
Wheel Feedback
I
didnt have any hall efect sensors floating around, so we opted
for a simple motor/generator approach. The bike had a 'speedometer' of
sorts that was cable driven. After sanding and shaping the motor (from
some toy), it was mounted to the geared wheelspeed apparattus. RPM
translated into a voltage produced by the DC motor, readable by
microcontroller's onboard ADC. |
| |
Keyboard Pinout- ing
The first revision of the system didnt actually use a usb keyboard,
|
| |
|
| |
Wait
an hour, add water to the mixture regularly, it should be nearly
boiling for the whole time.
As a rule of thumb, (longer in the mix = darker, shorter = lighter),
Keep
in mind, the substrate started as pale / dark brown, lighter colored
dyes (pink / whatnot) will come out odd. I left mine in for
an
hour and 39 minutes,
(i lost track of time doing a hw assignment) |
| |
| Before
/ After |
Before |
After |
First
off, the board i used was over-etched. The Dying was a test,
to determine if the fiberglass pcb would absorb Dark Green RIT Dye,
IT DID.
|
|
|
UPDATE [4.5.10] Crimson PCB Dyeing
| Process |
Before
|
After
|
Using
the same dyeing
procedures, another pcb that was left over (over etched / under
exposed) was dyed crimson red. total cost <2$, time = less than 2
hours.
|
|
|
| More info about the Crimson Dye
used |
|
|
| More Crimson PCB |
|
|
Concluding
Remarks:
I
was actually suprised how well this worked. If i did this again, i
wouldve just found a wireless keyboard, instead of wired, and run the
bike on rechargeable AA's / generator.
(be
careful, im not responsible for your exploded computer, or newly chisled legs)
Dane.Kouttron
Rensselaer Polytechnic Institute
Electrical & Electrical Power
631.978.1650


