Dane.Kouttron
[4.21.10] Imaging Balloon of Science
| What?
Creating a near-space imaging vehicle in under 30 hours (aka
a beer cooler, that ran
linux) |
 |  |
 |
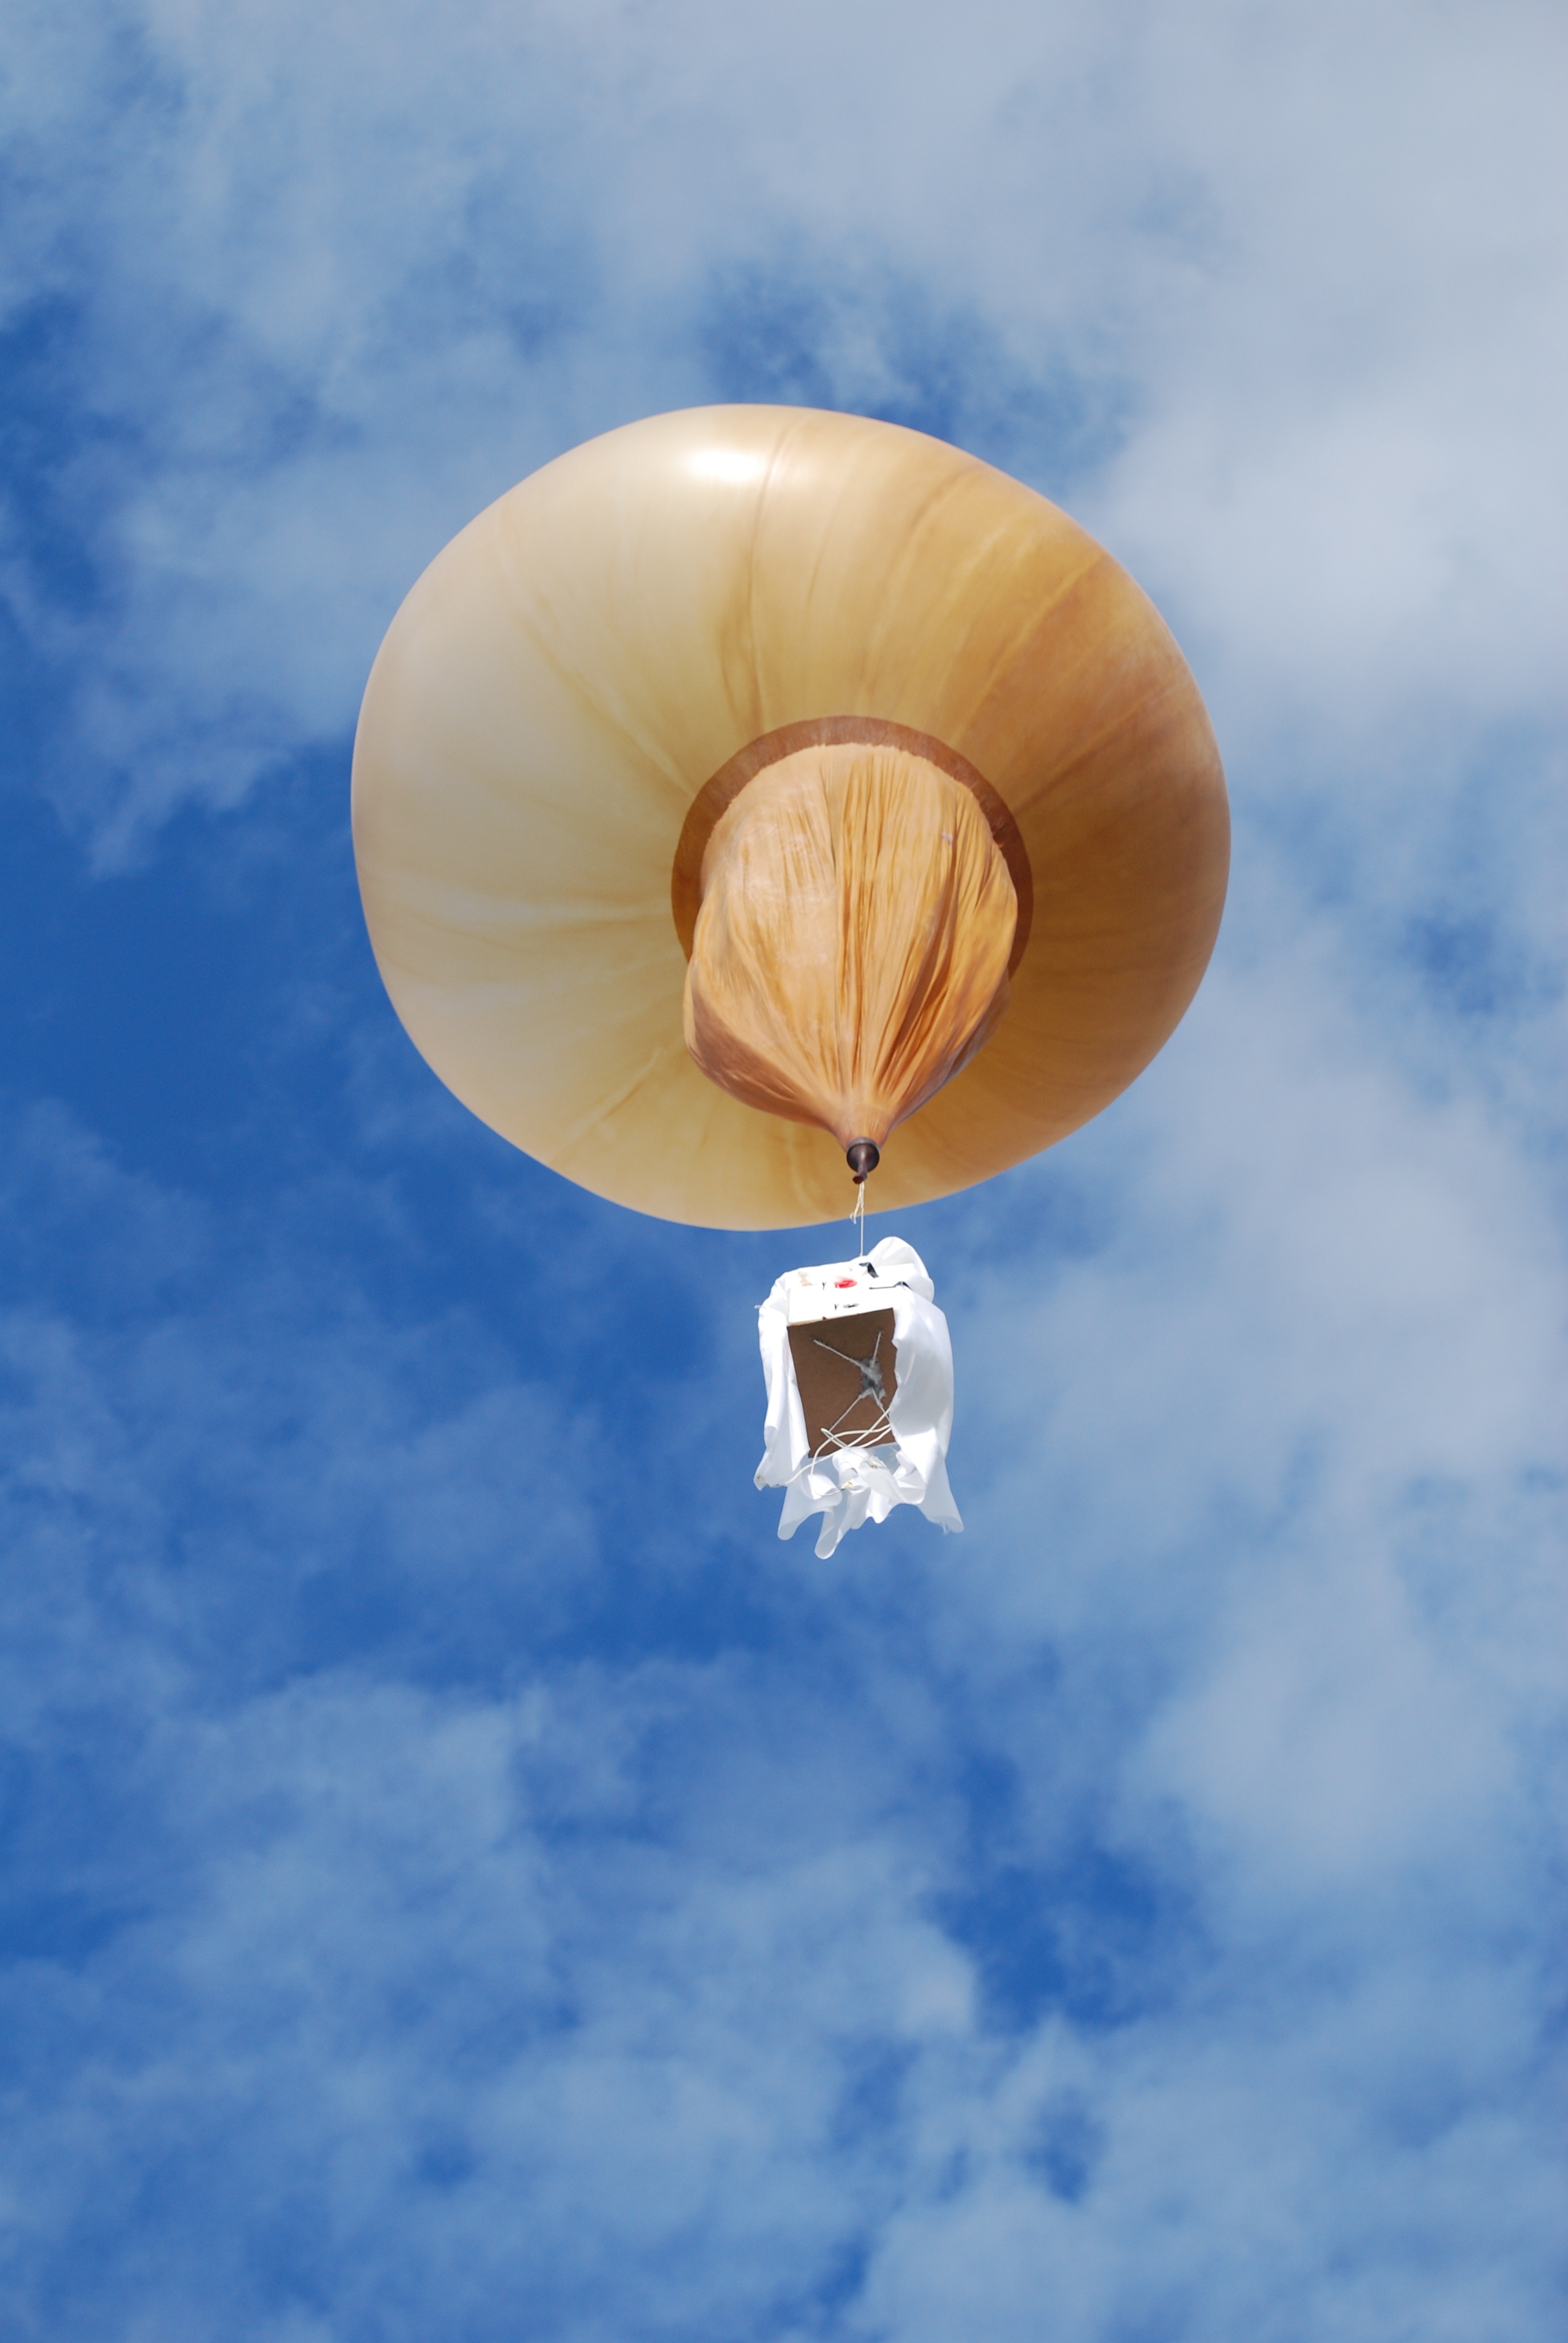
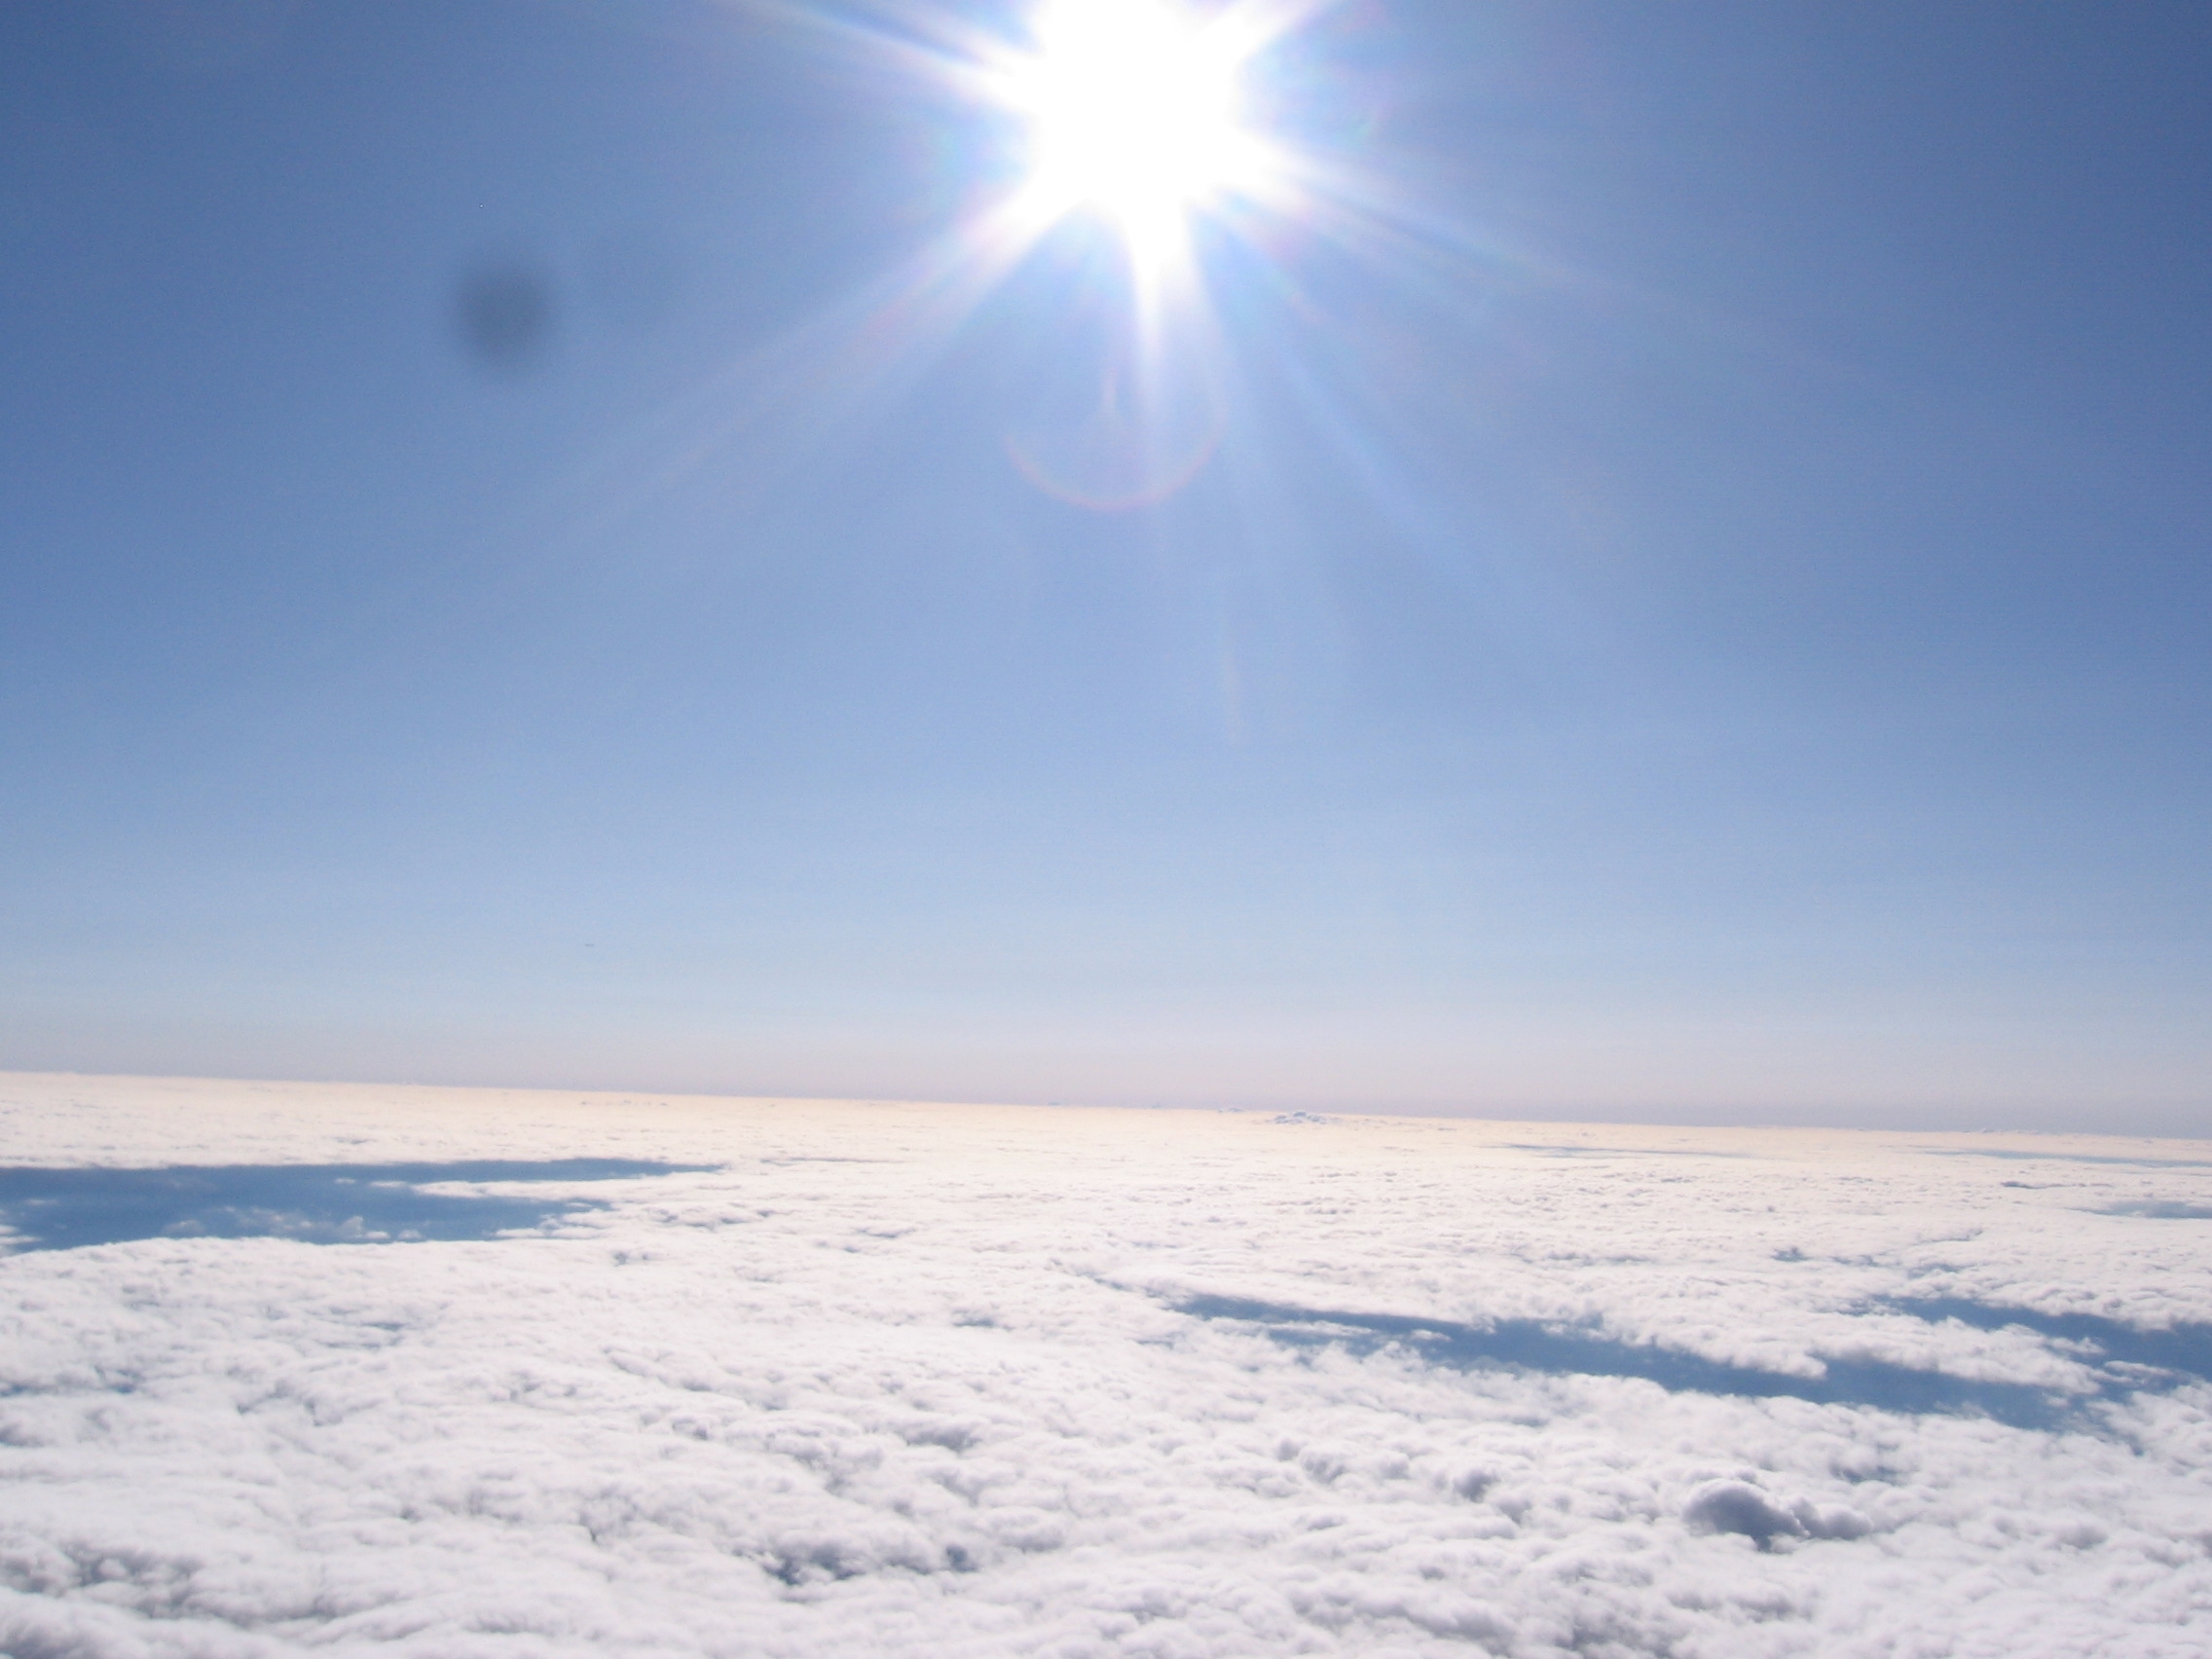
| Seeing the curvature of the earth from the eyes of your own machine is awesome. Myself and a group of friends sought out to build an imaging balloon for cheap, all in the course of one weekend. We wanted to document our findings for subsequent launches and for the Internet. I wanted to do this, made some phone calls, motivated some folks and did a bunch of leg-work. The results speak for themselves |
| Video of Operation: | Vid |
| IMAGER-1 Development and launch video [Source] |
| Design and Hardware | Development Pictures | Images From Craft | Images From Ground | Who Built It & Conclusion |
 |
 |
 |
 |
 |
Design and Hardware
| How to | Image / Media | Image / Media |
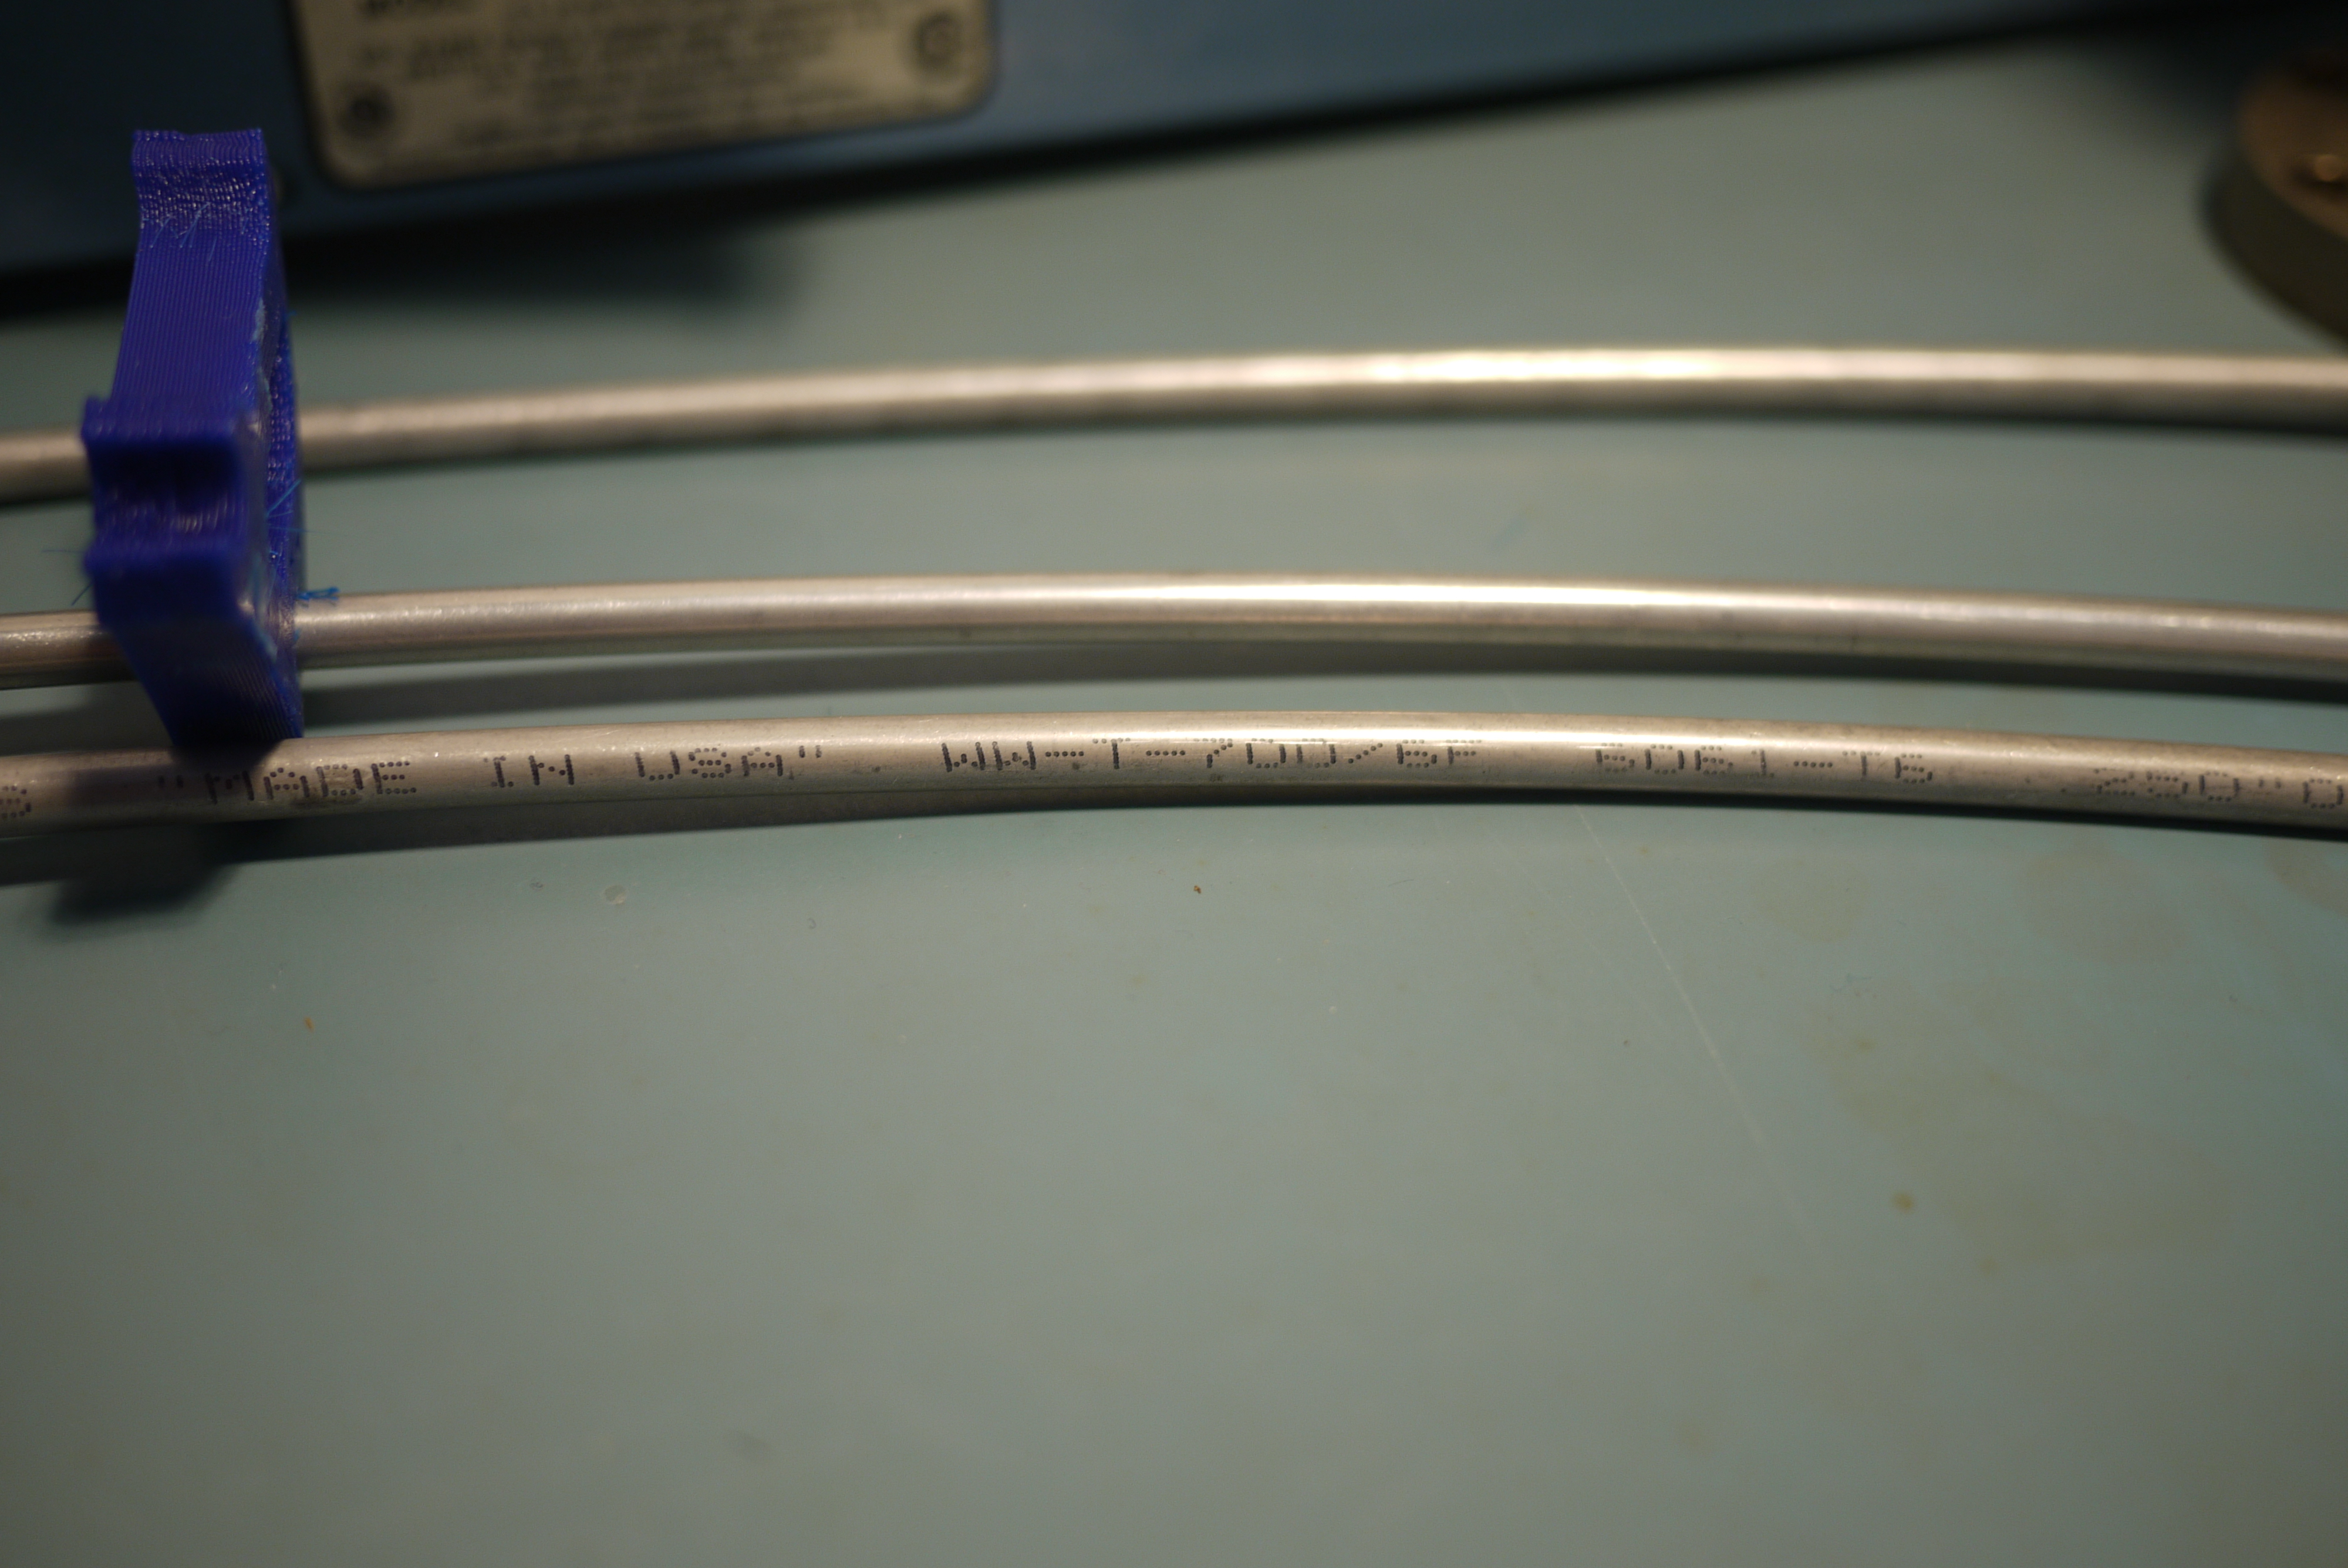
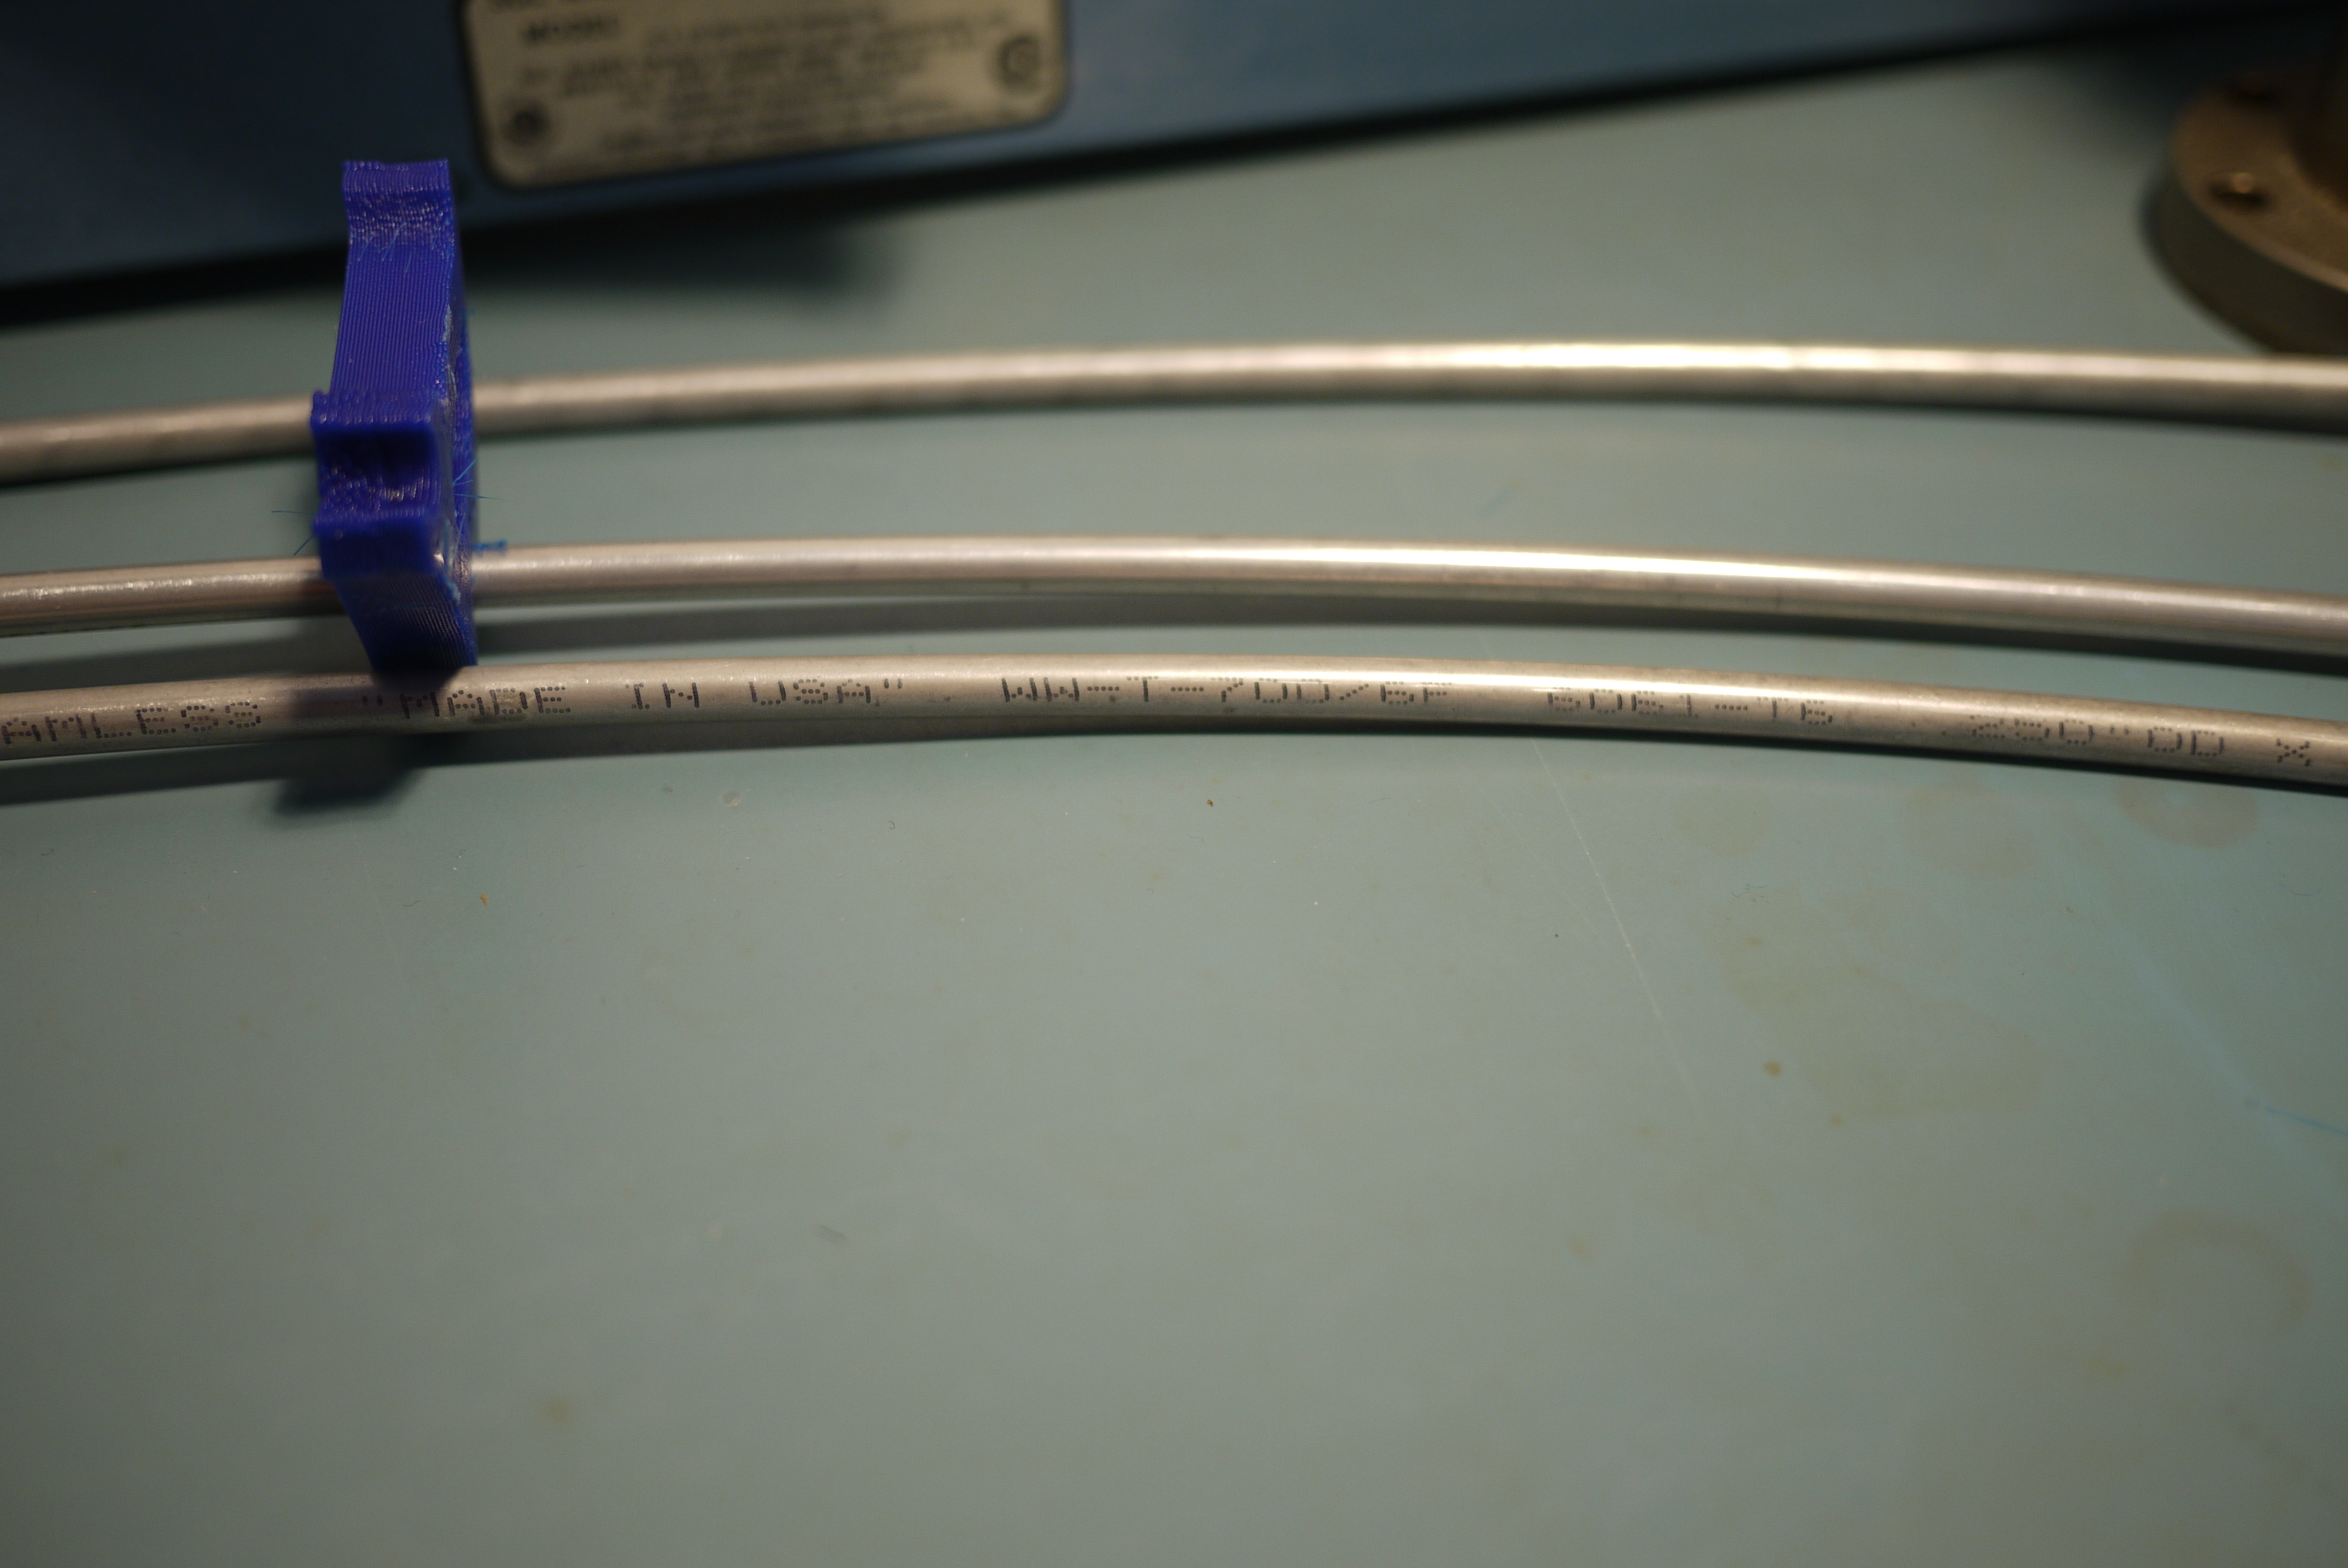
| One
day i found some stray tubing Three pieces of 0.25" diameter tubing, covered in dust, were hiding in a pile of cruft. Without the free tubing i would not have taken this approach. I started by bending the tubing by hand, then finally around a 55 gallon drum (as i did not have an english wheel / tube bender apparattus at the time). This worked fairly well and each of the tubes were roughly the same bend radius. As the tubes are springy, they did not match up directly with the 55 gallon drum, |
 |
|
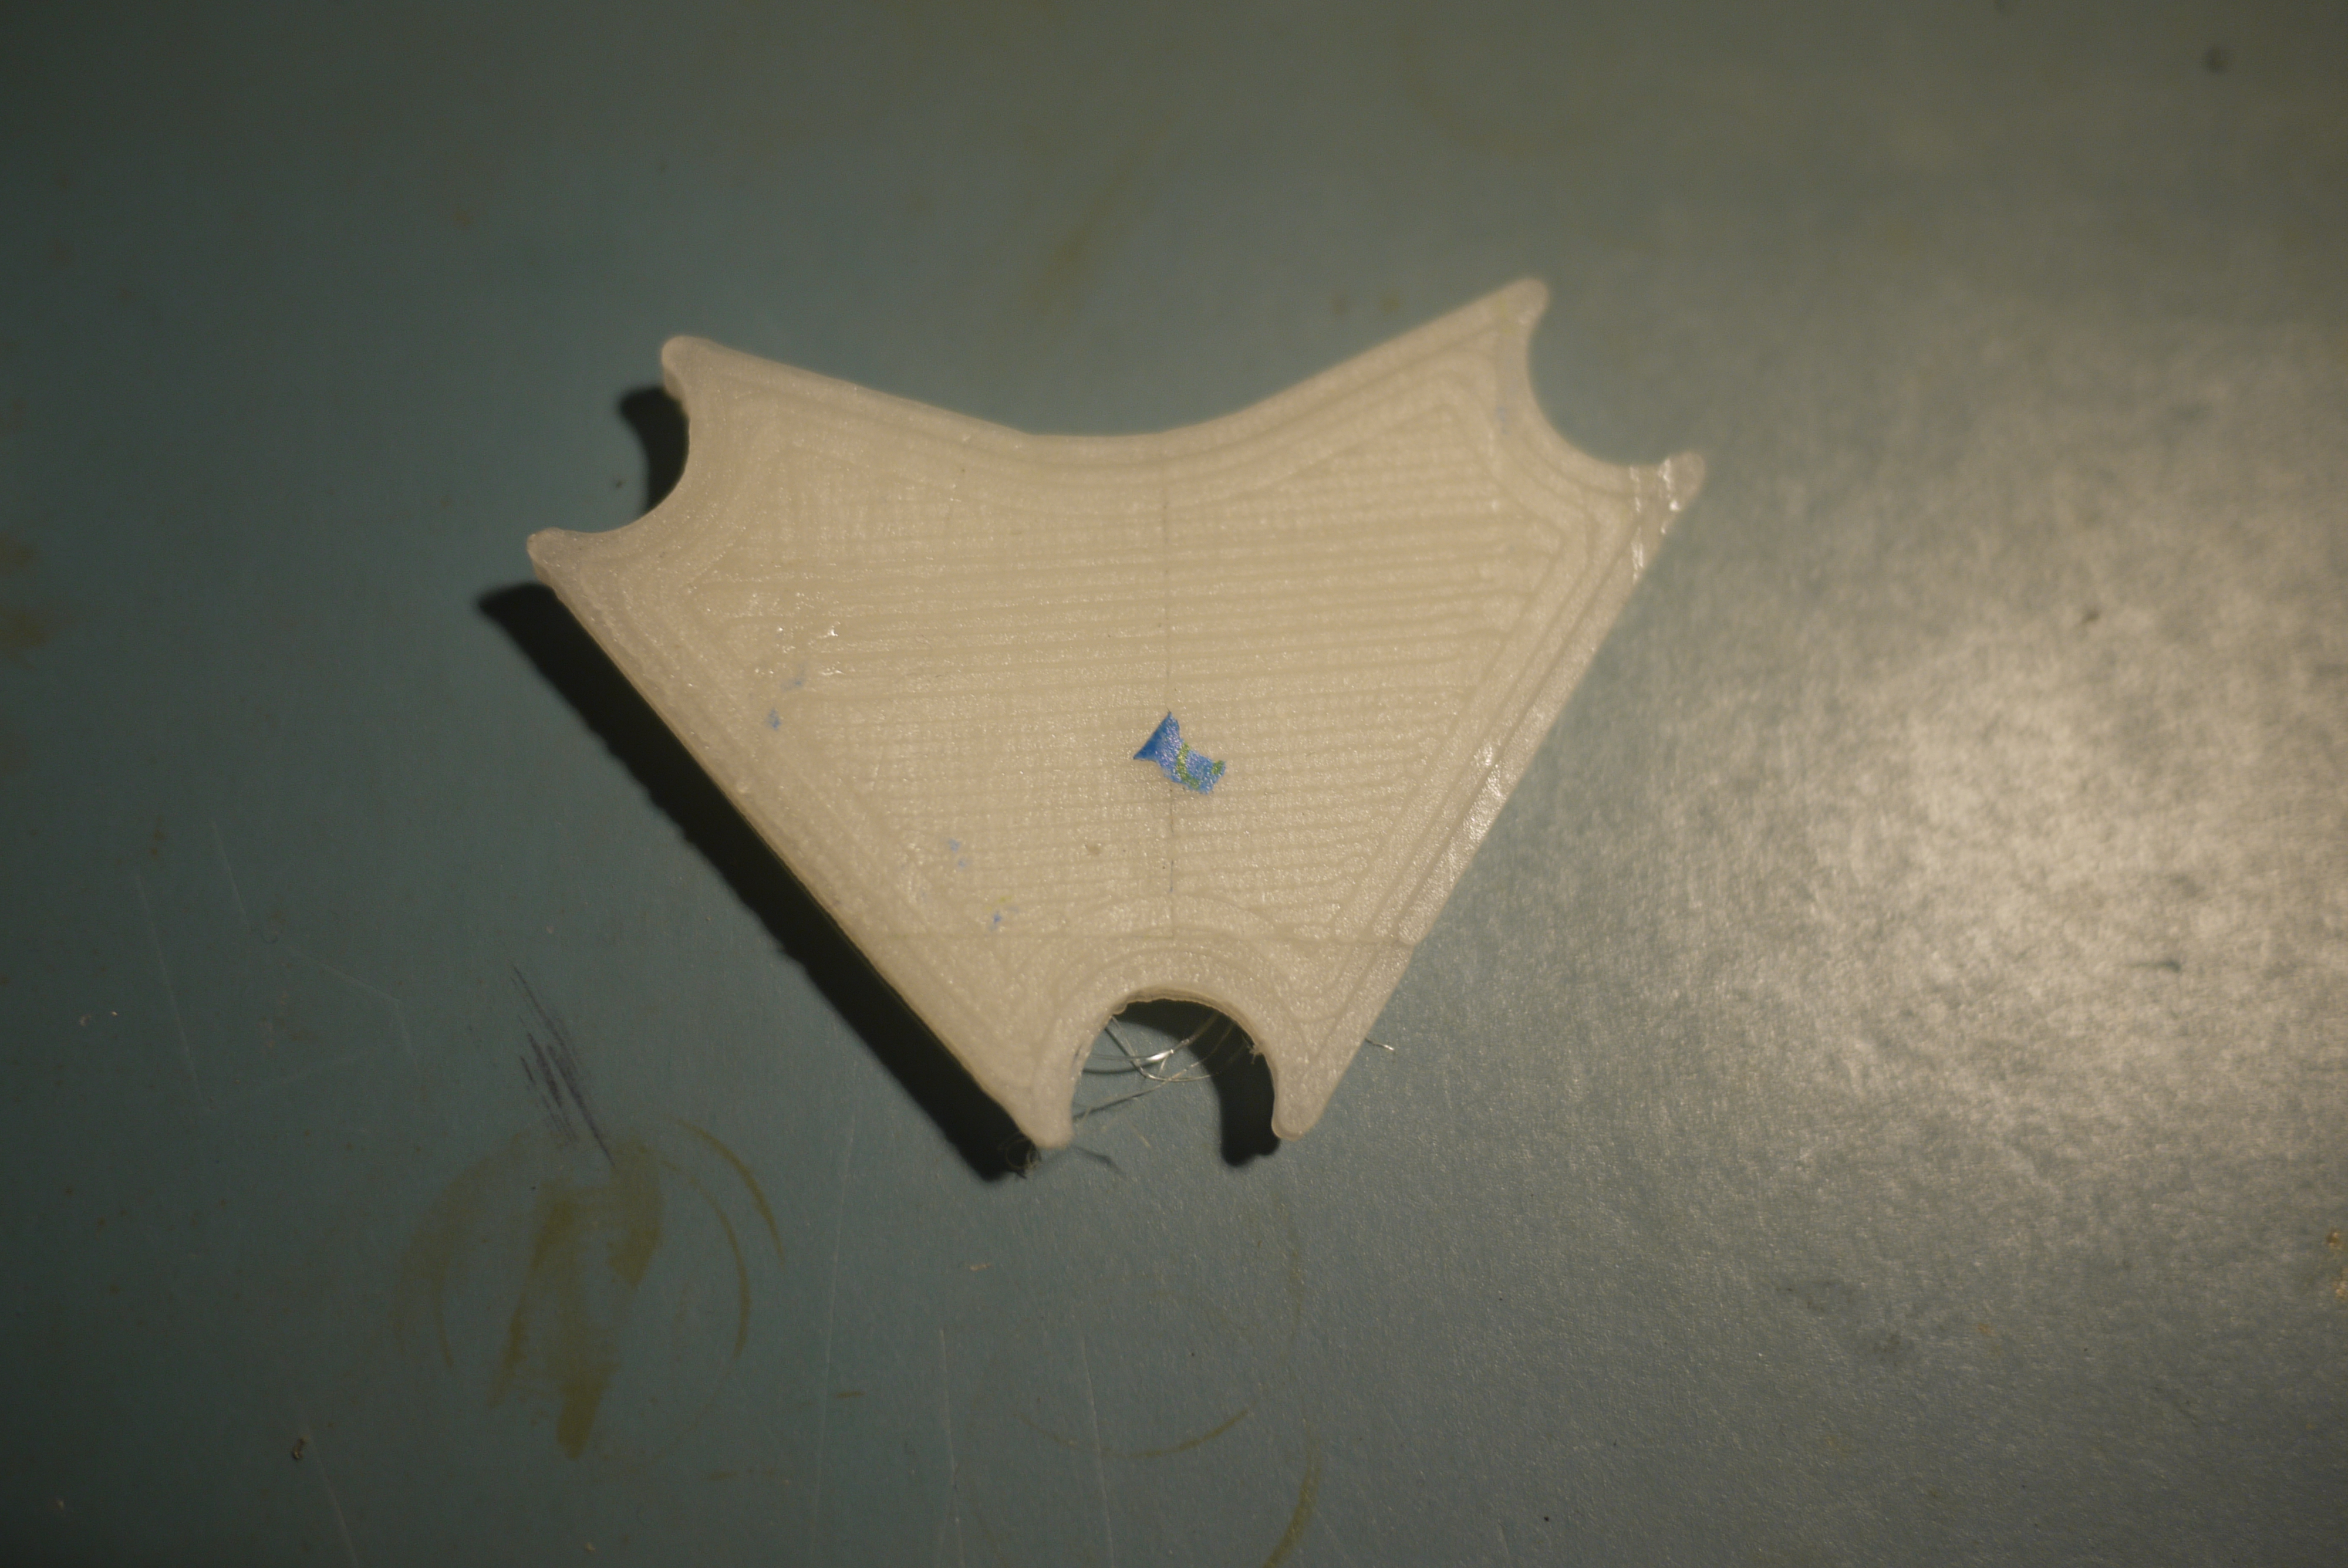
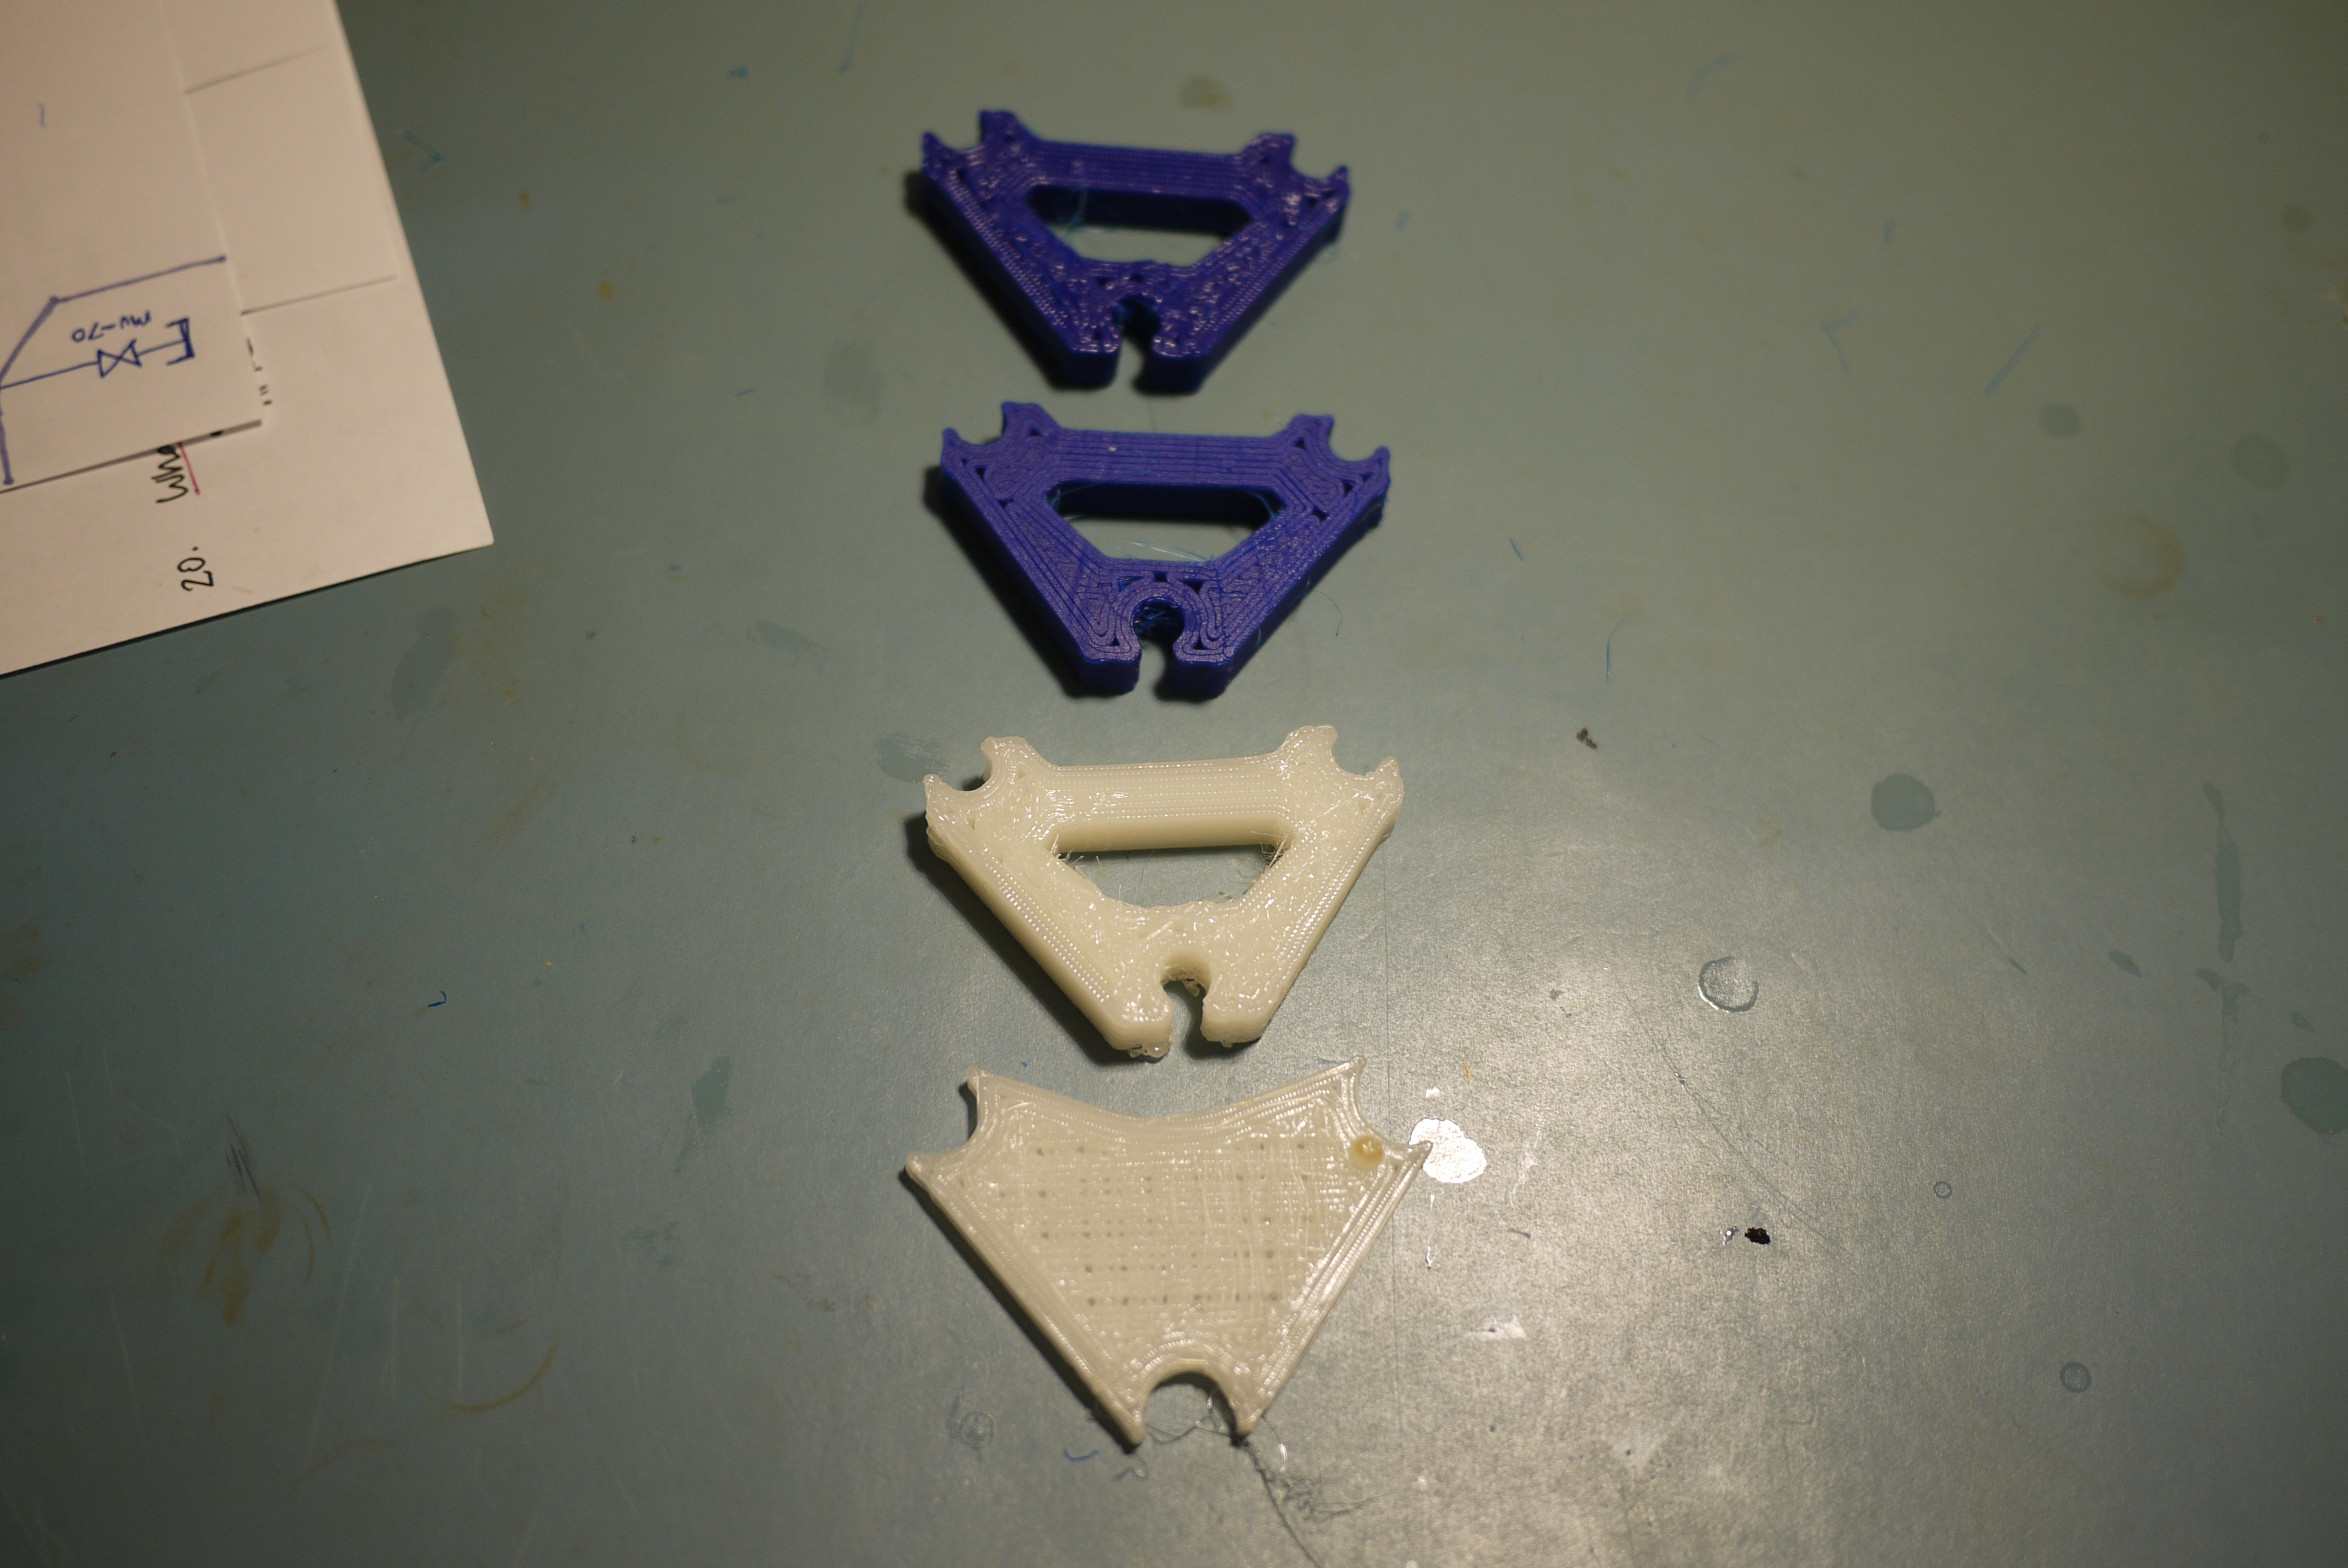
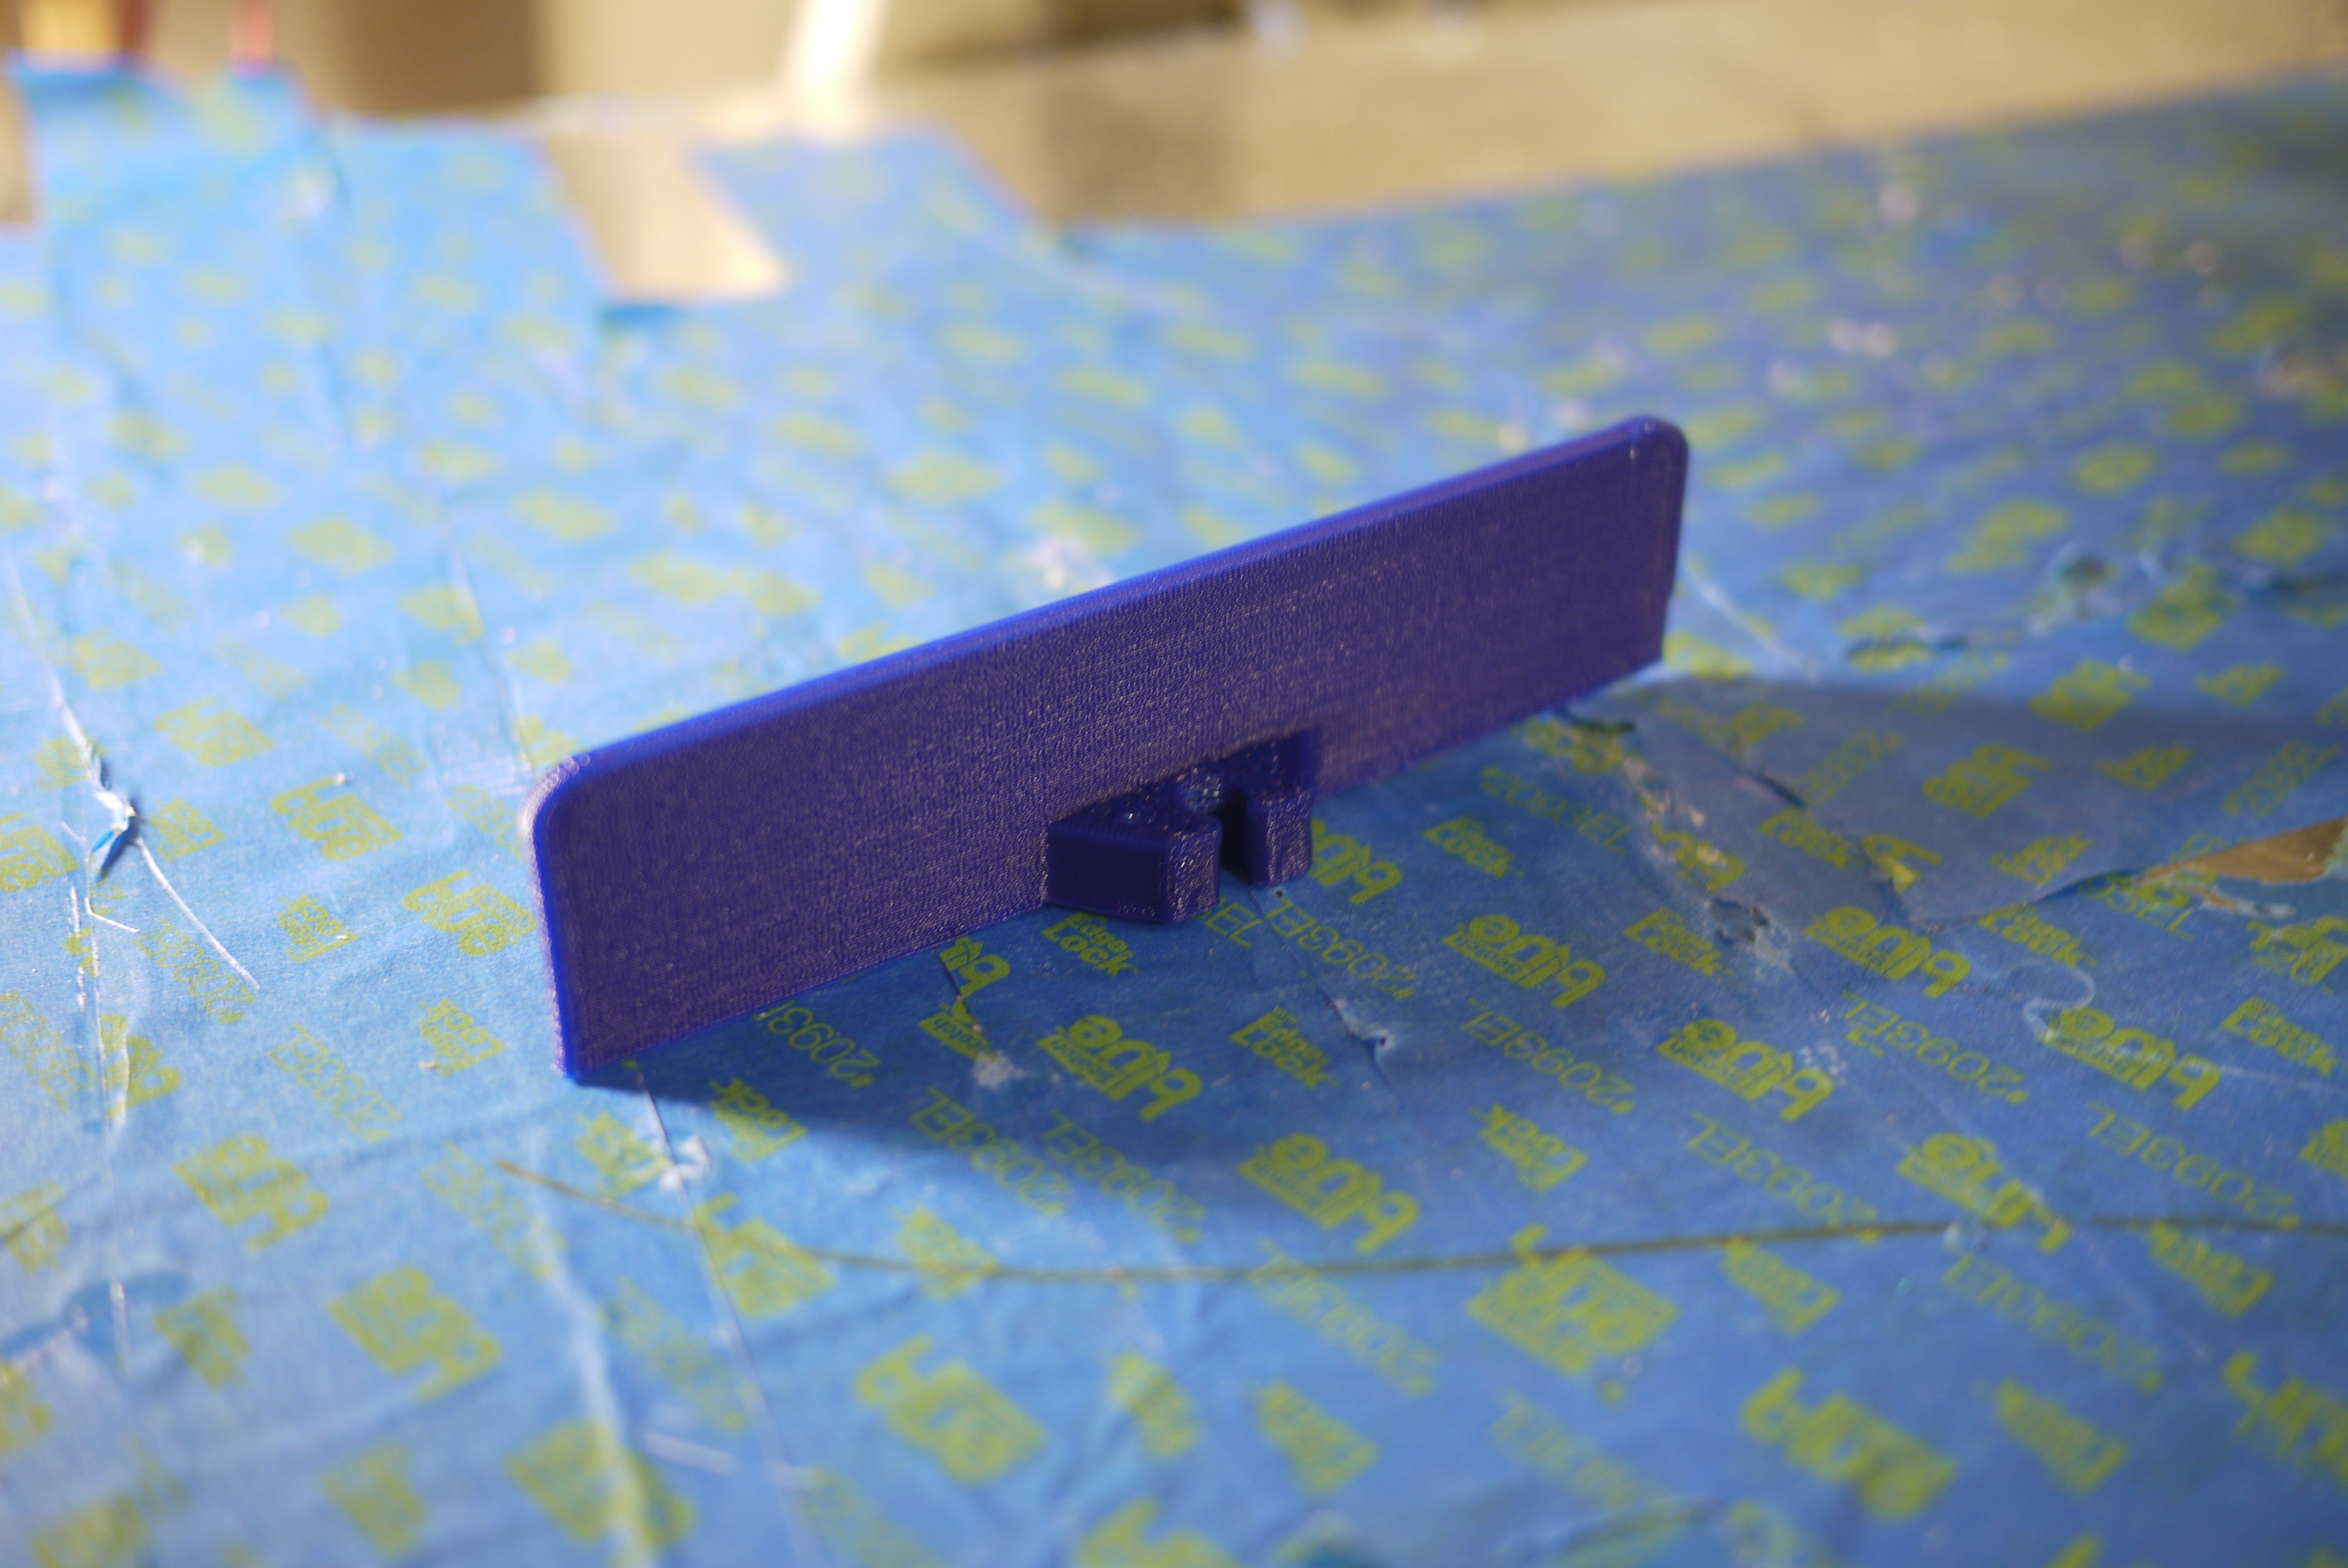
| Spacers, a tricky part After a bit of back and forth / incremental design revs, i found a spacer design that gripped the track but still allowed for the cart to slide smootly above. CAD for spacer [STL] [Solidworks] [Thingiverse] |
 |
 |
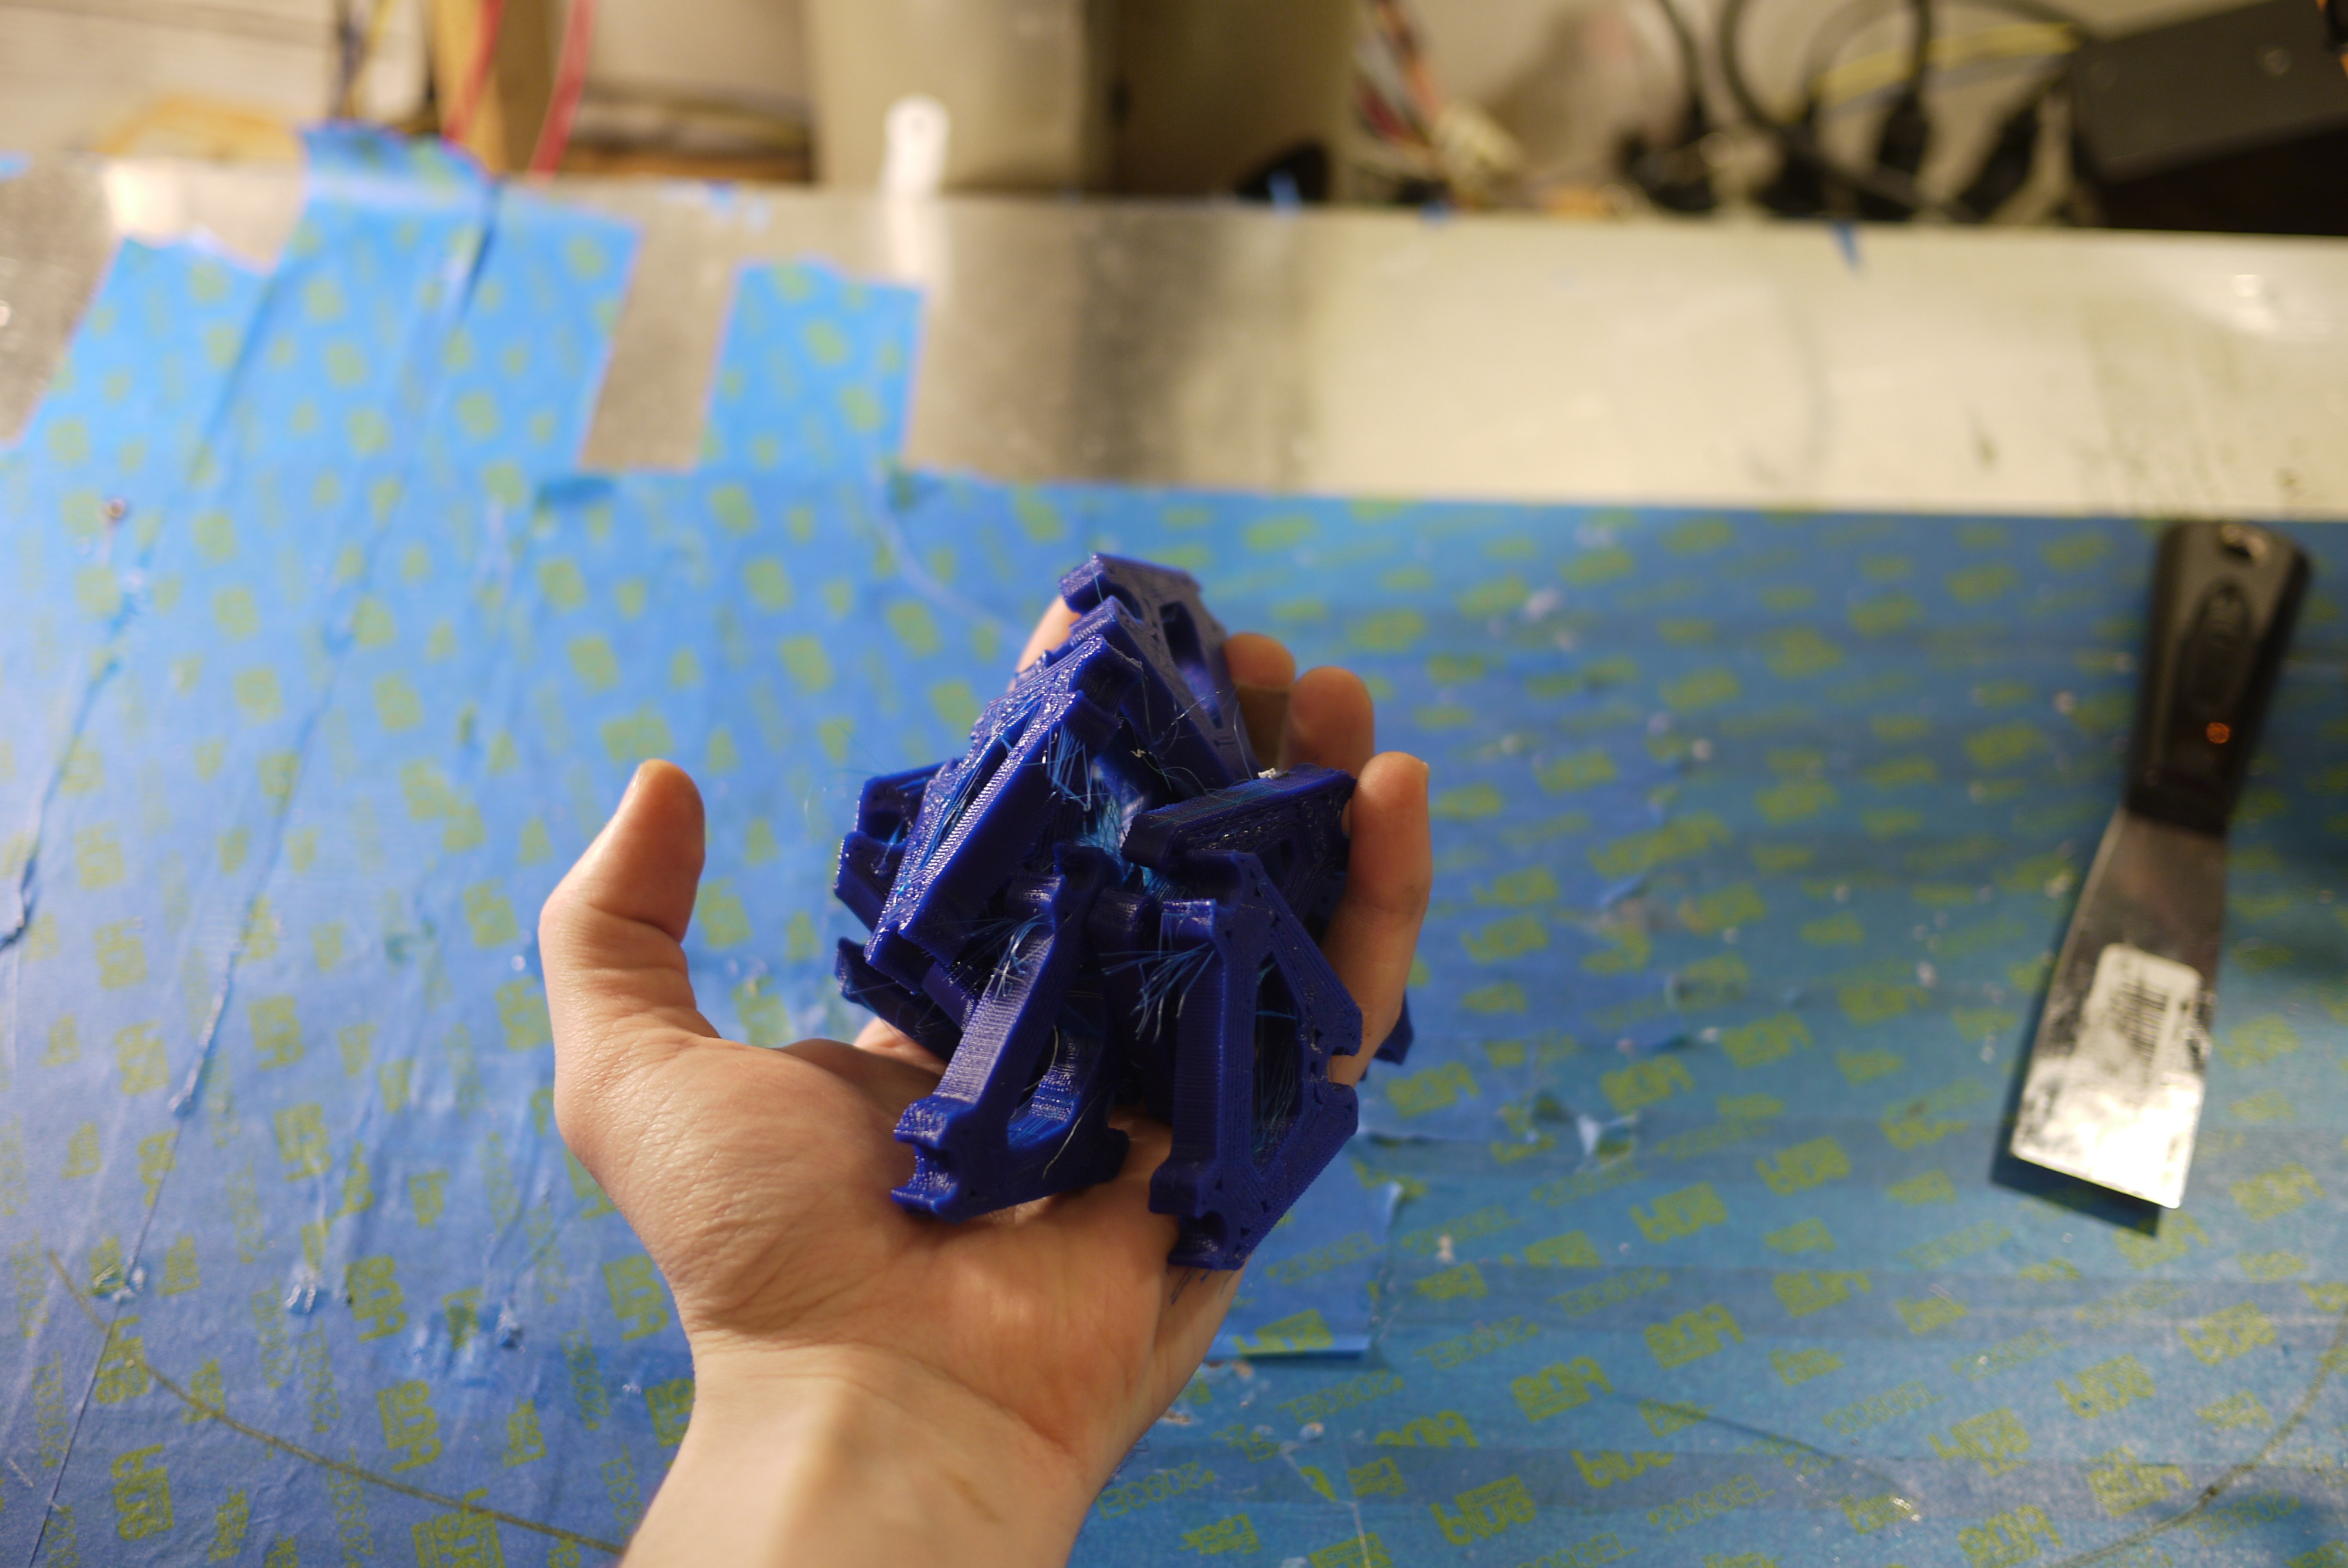
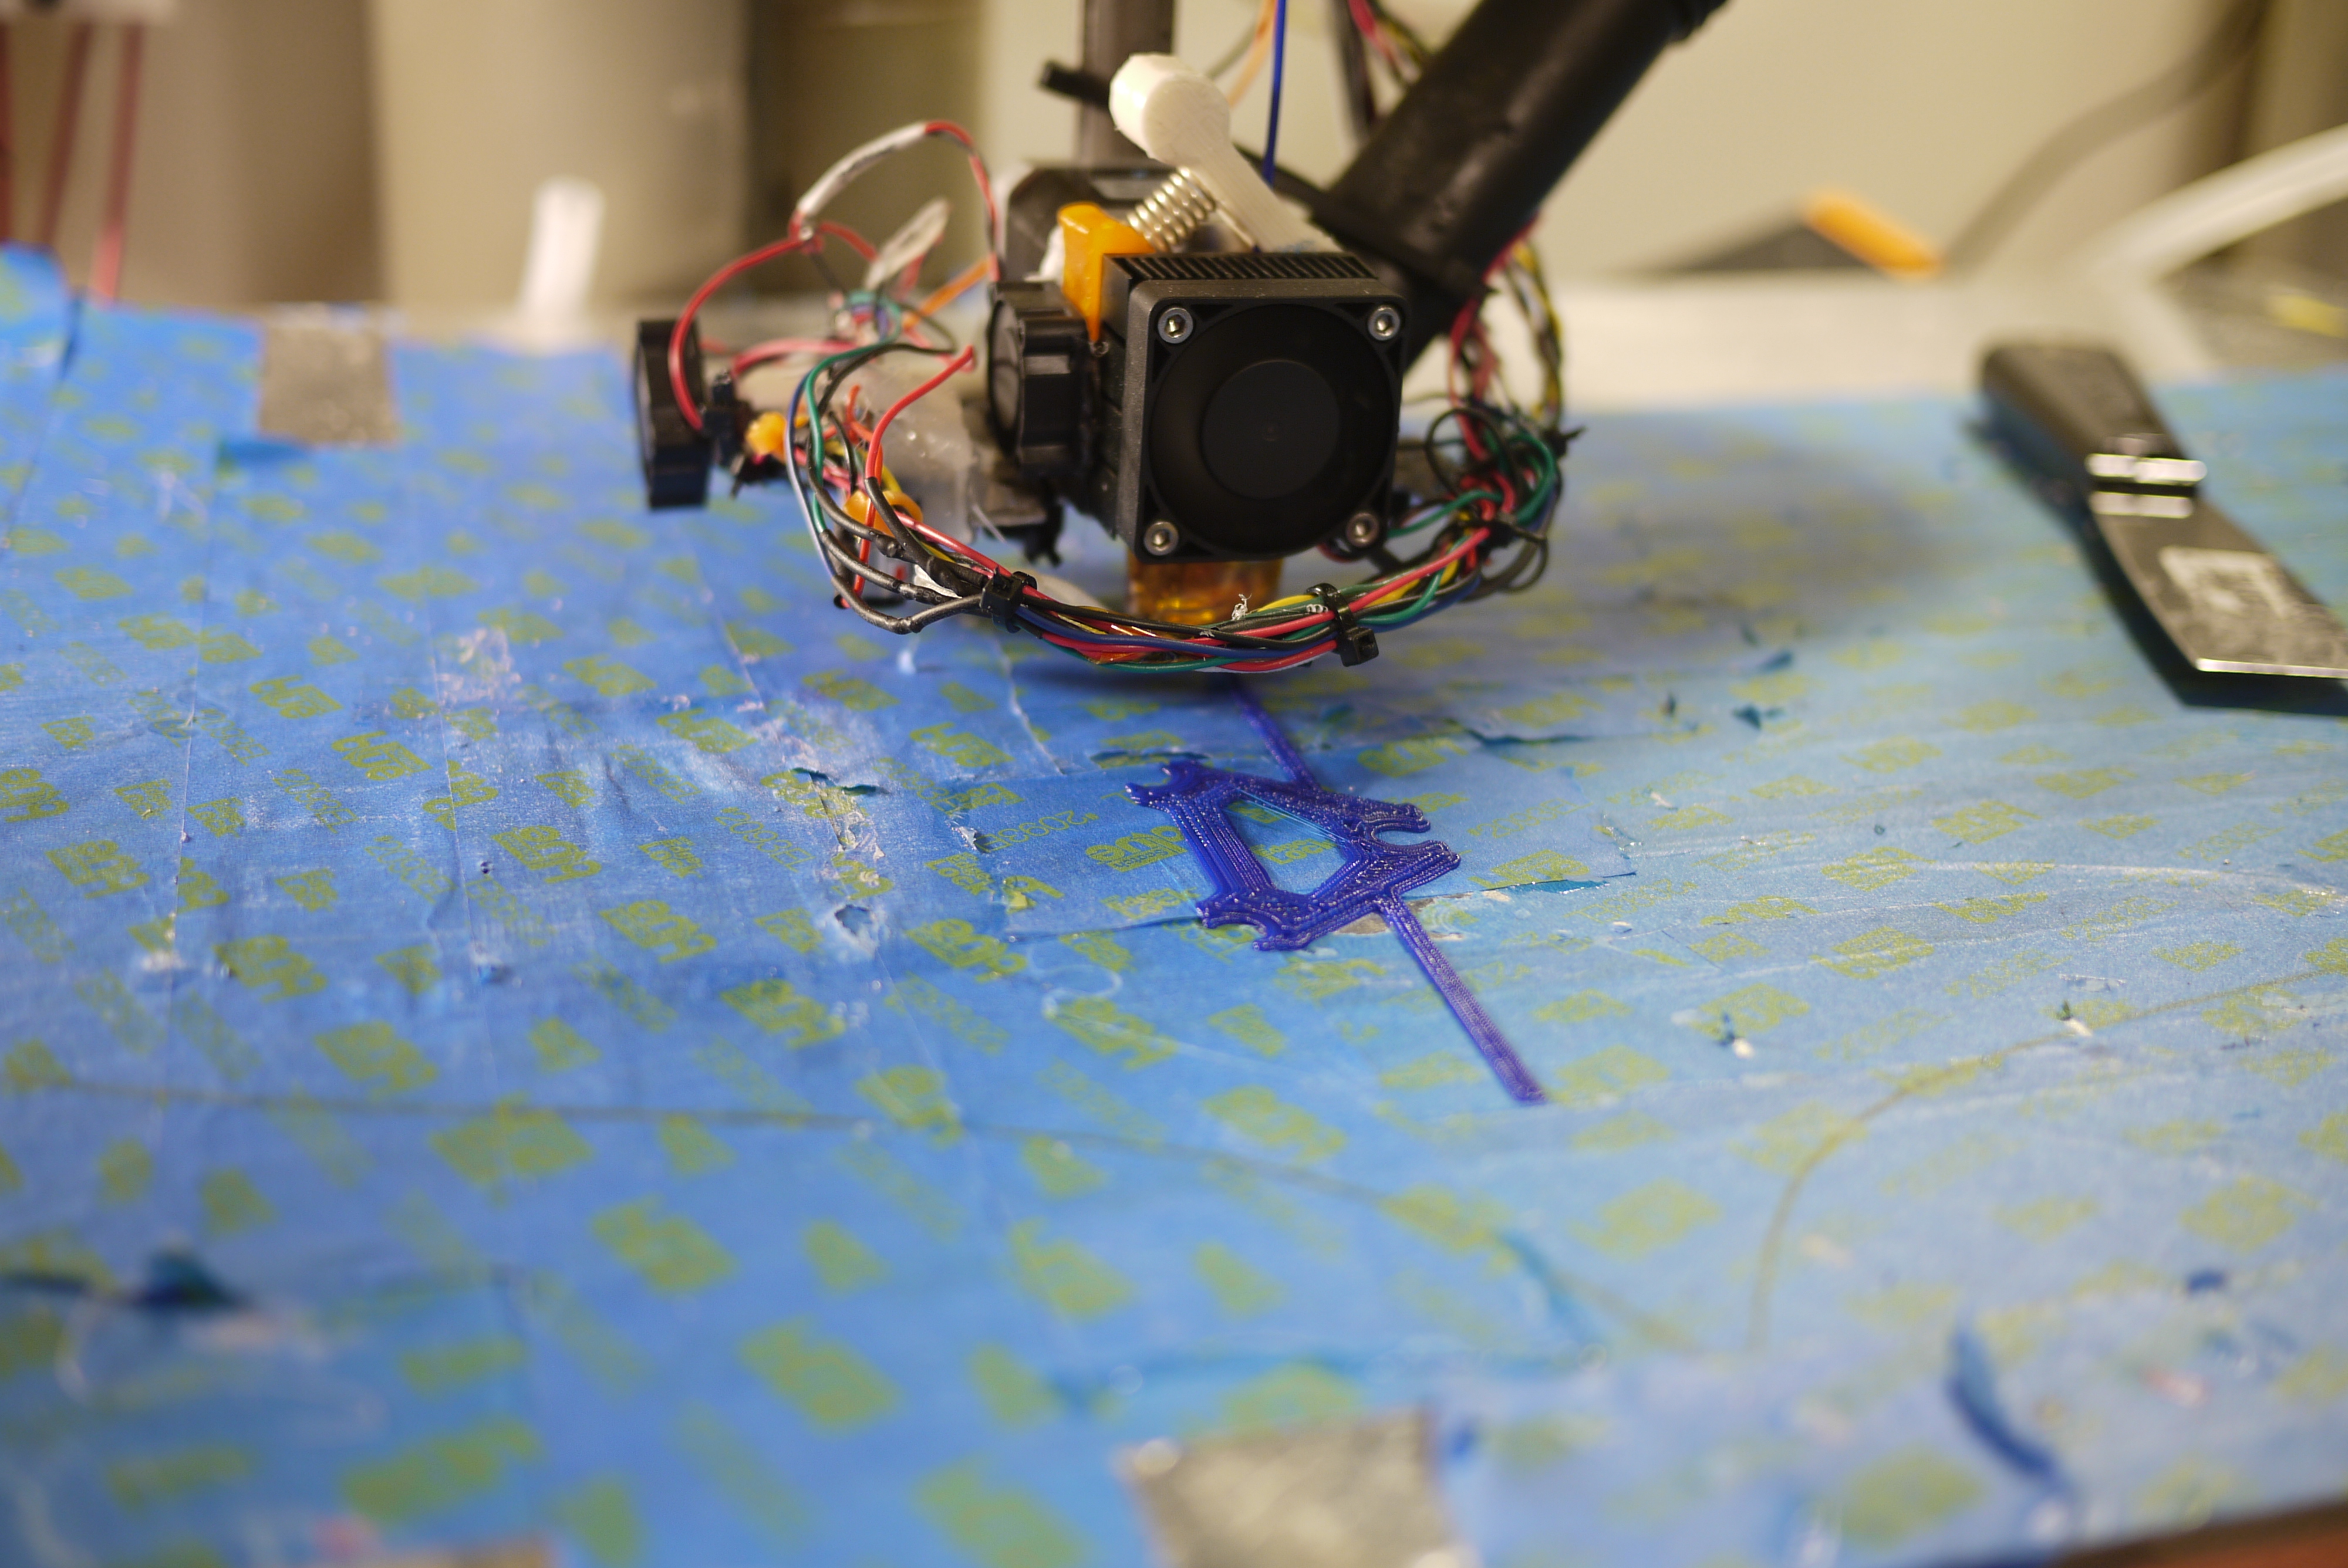
| 10
at a time, yeah skeinforge After waiting 20 minutes for each revision to be ready, and finding the right layout, i realized skeinforge's multiply' tool would come in handy. Why print 1 when you can print 10 at a time? |
 |
 |
| Tripod
holster-vairant For the tripod-track variant of the holder, I added a big plane through the part. After it was printed, i drilled and tapped a hole to mate to the tripod. Cad for tripod spacer [STL] [Solidworks] [Thingiverse] |
 |
|
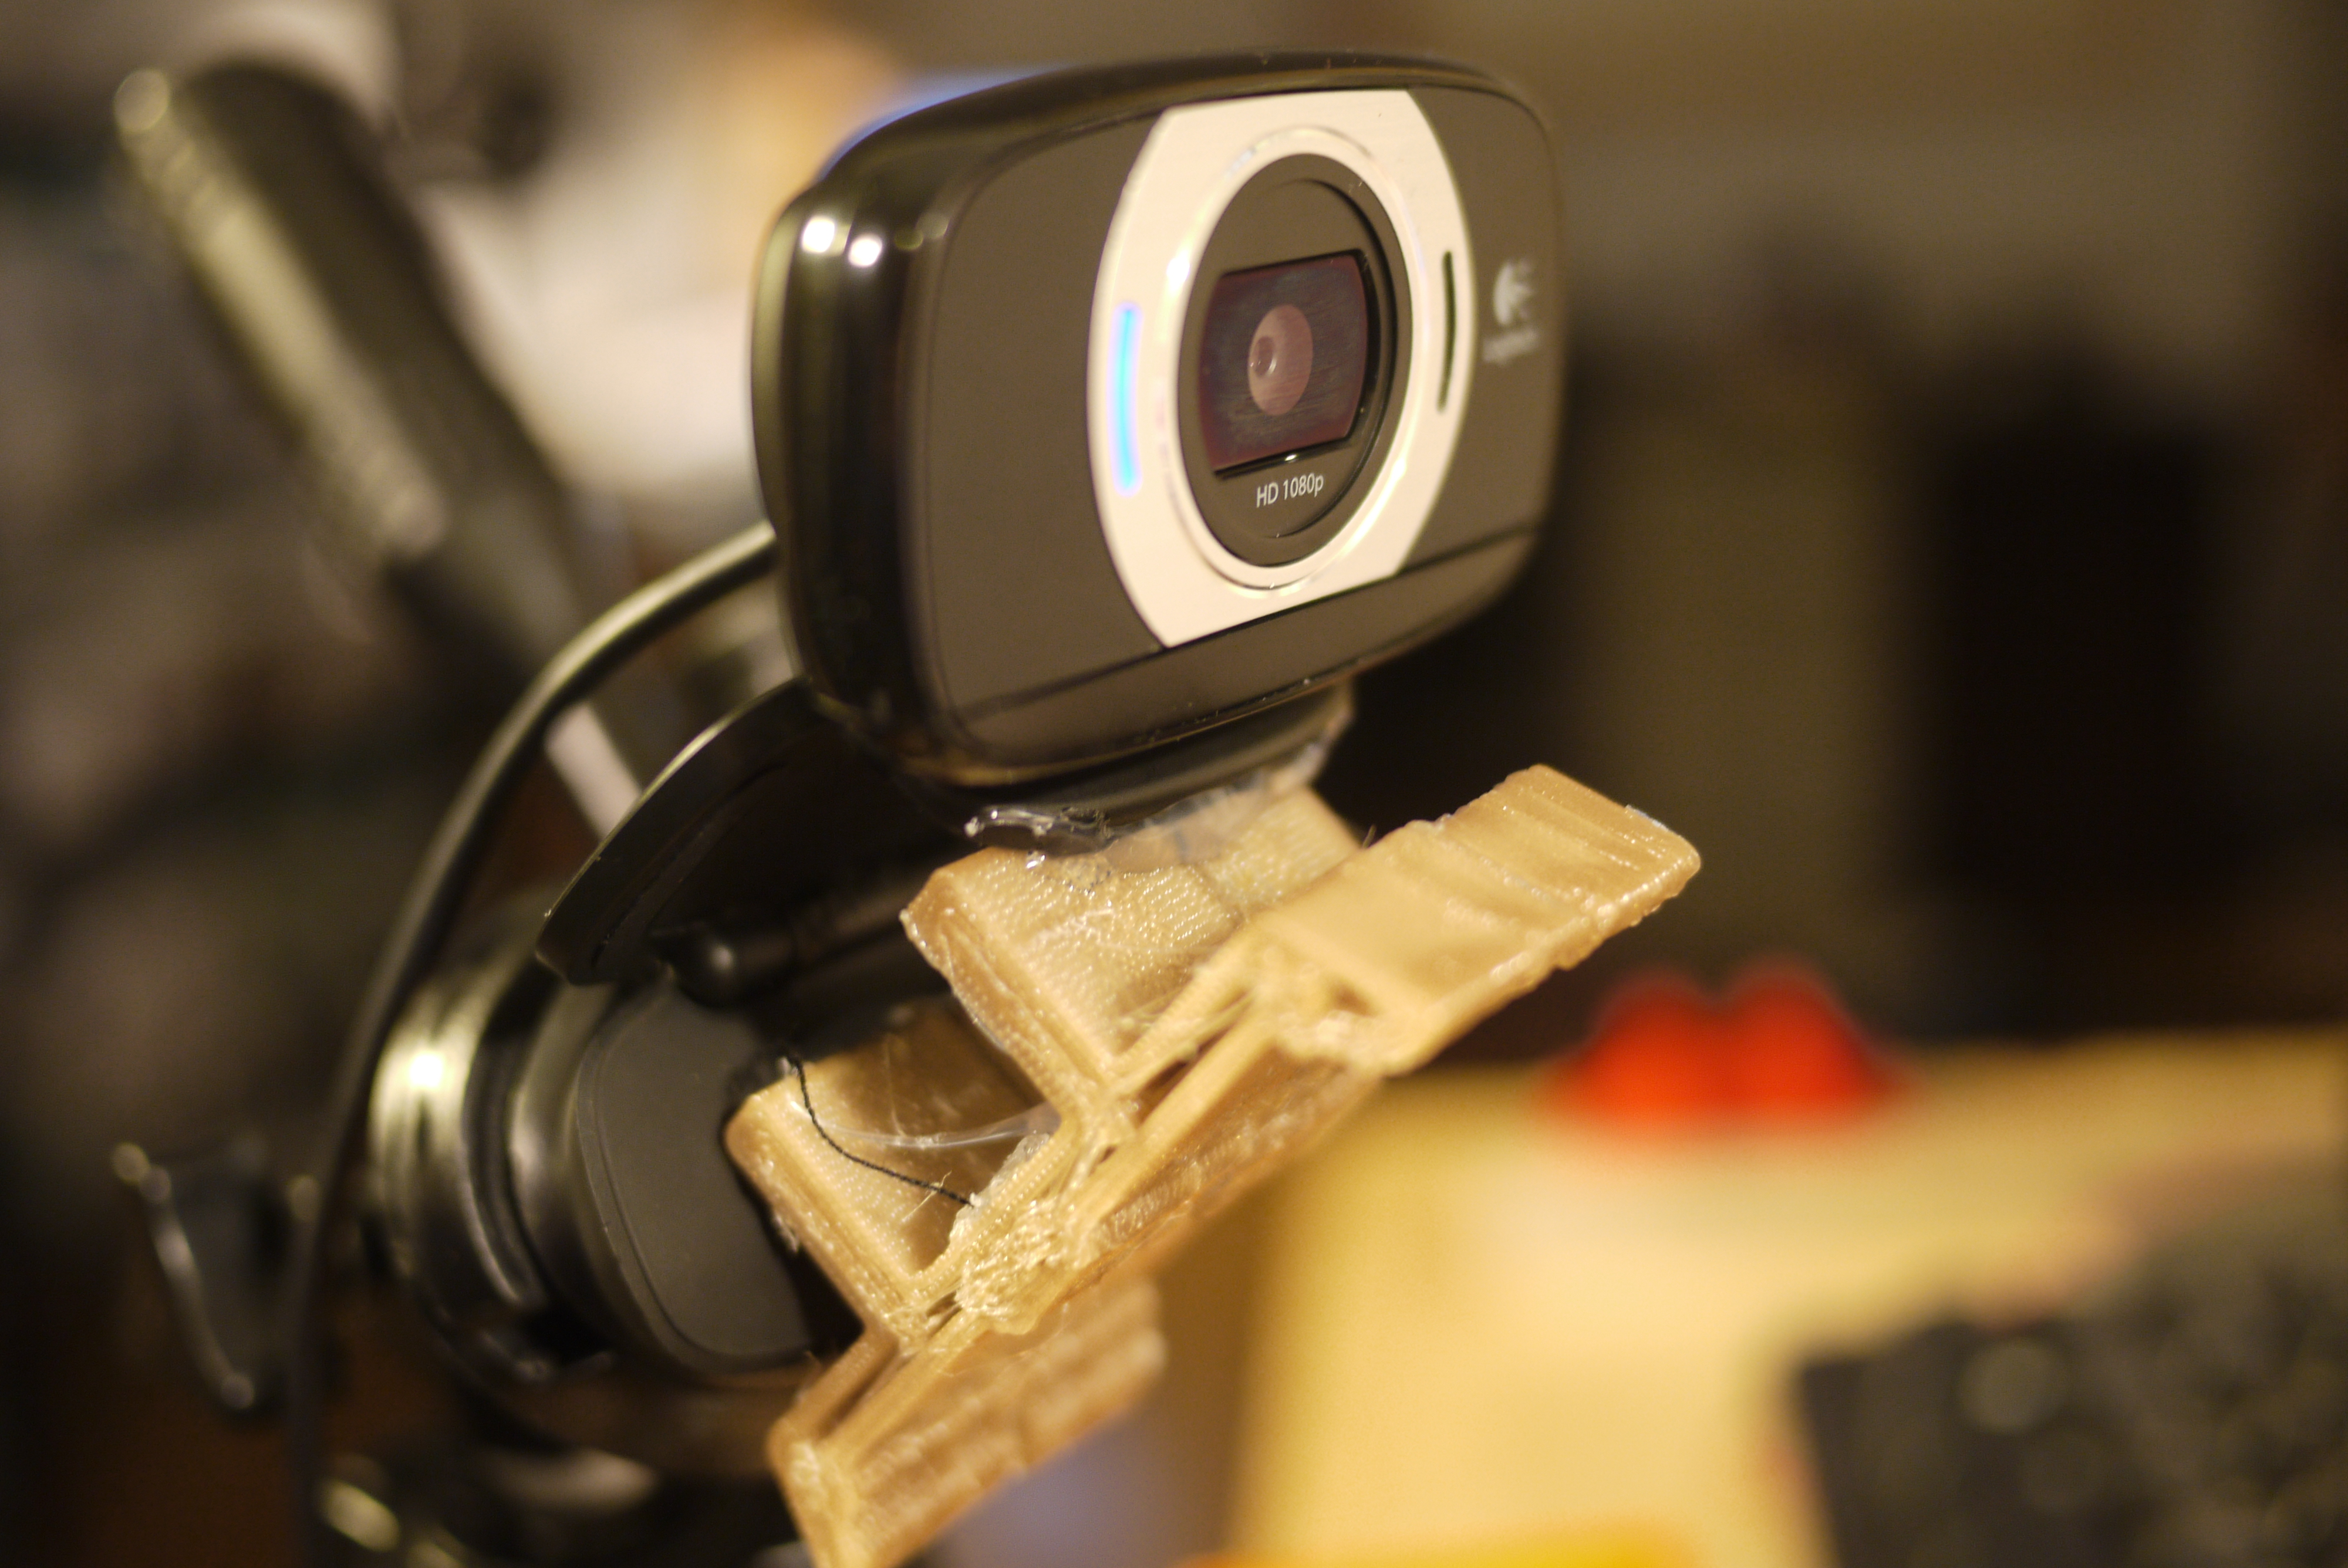
| A
web-camera-cart For a webcam, i finally 'upgraded' after noticing how far webcams have come since the 800x600 ones i'm used to. I purchased a used Logitech C615 webcam, it has a suprisingly excellent picture quality. The cart was pulled along the track with a geared-down dc motor and string Cad for cart [STL] [Solidworks] [Thingiverse] |
 |
 |
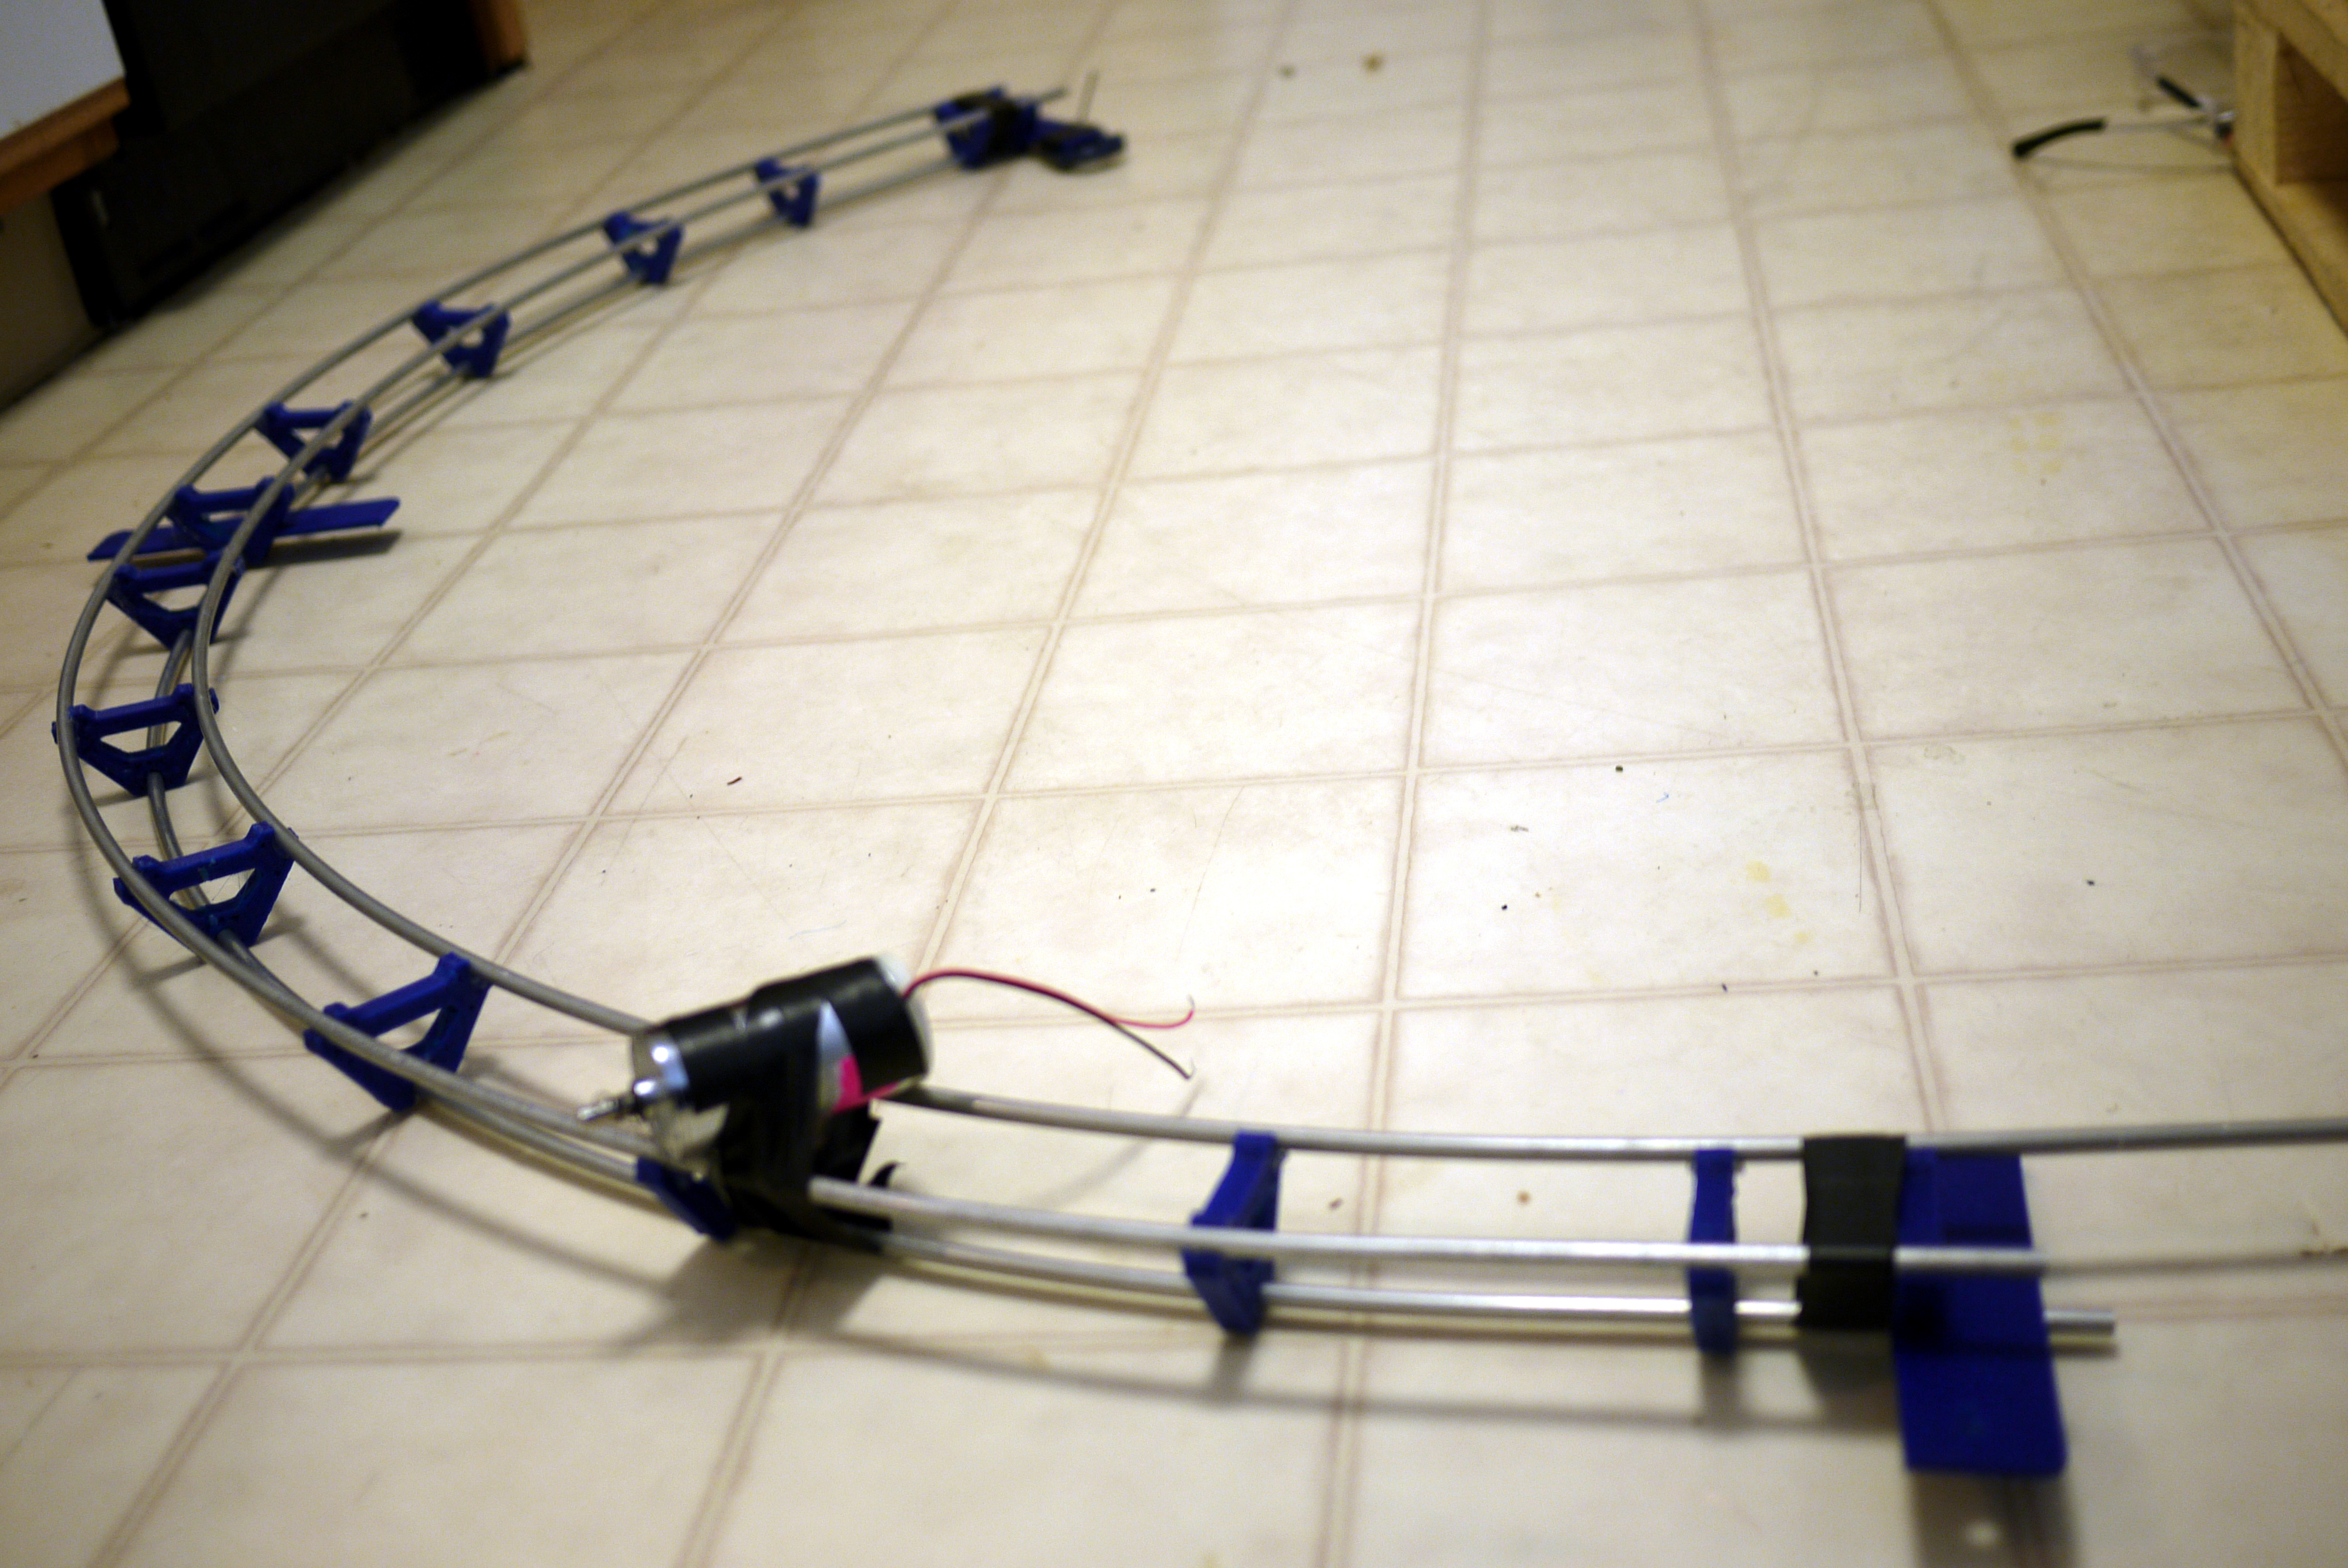
| Assemble
Track After all the spacers and tripod-holder spacers were done, i inserted them onto the rails (most could be clipped on, some needed some hot-glue). Note the dc gearmotor taped to the track. This was for testing. |
 |
 |
Development Pictures
| How to | Image / Media | Image / Media |
| One
day i found some stray tubing Three pieces of 0.25" diameter tubing, covered in dust, were hiding in a pile of cruft. Without the free tubing i would not have taken this approach. I started by bending the tubing by hand, then finally around a 55 gallon drum (as i did not have an english wheel / tube bender apparattus at the time). This worked fairly well and each of the tubes were roughly the same bend radius. As the tubes are springy, they did not match up directly with the 55 gallon drum, |
|
|
| Spacers, a tricky part After a bit of back and forth / incremental design revs, i found a spacer design that gripped the track but still allowed for the cart to slide smootly above. CAD for spacer [STL] [Solidworks] [Thingiverse] |
|
|
| 10
at a time, yeah skeinforge After waiting 20 minutes for each revision to be ready, and finding the right layout, i realized skeinforge's multiply' tool would come in handy. Why print 1 when you can print 10 at a time? |
|
|
| Tripod
holster-vairant For the tripod-track variant of the holder, I added a big plane through the part. After it was printed, i drilled and tapped a hole to mate to the tripod. Cad for tripod spacer [STL] [Solidworks] [Thingiverse] |
|
|
| A
web-camera-cart For a webcam, i finally 'upgraded' after noticing how far webcams have come since the 800x600 ones i'm used to. I purchased a used Logitech C615 webcam, it has a suprisingly excellent picture quality. The cart was pulled along the track with a geared-down dc motor and string Cad for cart [STL] [Solidworks] [Thingiverse] |
|
|
| Assemble
Track After all the spacers and tripod-holder spacers were done, i inserted them onto the rails (most could be clipped on, some needed some hot-glue). Note the dc gearmotor taped to the track. This was for testing. |
|
|
Images From The Craft
| How to | Image / Media | Image / Media |
| One
day i found some stray tubing Three pieces of 0.25" diameter tubing, covered in dust, were hiding in a pile of cruft. Without the free tubing i would not have taken this approach. I started by bending the tubing by hand, then finally around a 55 gallon drum (as i did not have an english wheel / tube bender apparattus at the time). This worked fairly well and each of the tubes were roughly the same bend radius. As the tubes are springy, they did not match up directly with the 55 gallon drum, |
|
|
| Spacers, a tricky part After a bit of back and forth / incremental design revs, i found a spacer design that gripped the track but still allowed for the cart to slide smootly above. CAD for spacer [STL] [Solidworks] [Thingiverse] |
|
|
| 10
at a time, yeah skeinforge After waiting 20 minutes for each revision to be ready, and finding the right layout, i realized skeinforge's multiply' tool would come in handy. Why print 1 when you can print 10 at a time? |
|
|
| Tripod
holster-vairant For the tripod-track variant of the holder, I added a big plane through the part. After it was printed, i drilled and tapped a hole to mate to the tripod. Cad for tripod spacer [STL] [Solidworks] [Thingiverse] |
|
|
| A
web-camera-cart For a webcam, i finally 'upgraded' after noticing how far webcams have come since the 800x600 ones i'm used to. I purchased a used Logitech C615 webcam, it has a suprisingly excellent picture quality. The cart was pulled along the track with a geared-down dc motor and string Cad for cart [STL] [Solidworks] [Thingiverse] |
|
|
| Assemble
Track After all the spacers and tripod-holder spacers were done, i inserted them onto the rails (most could be clipped on, some needed some hot-glue). Note the dc gearmotor taped to the track. This was for testing. |
|
|
Images From The Ground
| How to | Image / Media | Image / Media |
| One
day i found some stray tubing Three pieces of 0.25" diameter tubing, covered in dust, were hiding in a pile of cruft. Without the free tubing i would not have taken this approach. I started by bending the tubing by hand, then finally around a 55 gallon drum (as i did not have an english wheel / tube bender apparattus at the time). This worked fairly well and each of the tubes were roughly the same bend radius. As the tubes are springy, they did not match up directly with the 55 gallon drum, |
|
|
| Spacers, a tricky part After a bit of back and forth / incremental design revs, i found a spacer design that gripped the track but still allowed for the cart to slide smootly above. CAD for spacer [STL] [Solidworks] [Thingiverse] |
|
|
| 10
at a time, yeah skeinforge After waiting 20 minutes for each revision to be ready, and finding the right layout, i realized skeinforge's multiply' tool would come in handy. Why print 1 when you can print 10 at a time? |
|
|
| Tripod
holster-vairant For the tripod-track variant of the holder, I added a big plane through the part. After it was printed, i drilled and tapped a hole to mate to the tripod. Cad for tripod spacer [STL] [Solidworks] [Thingiverse] |
|
|
| A
web-camera-cart For a webcam, i finally 'upgraded' after noticing how far webcams have come since the 800x600 ones i'm used to. I purchased a used Logitech C615 webcam, it has a suprisingly excellent picture quality. The cart was pulled along the track with a geared-down dc motor and string Cad for cart [STL] [Solidworks] [Thingiverse] |
|
|
| Assemble
Track After all the spacers and tripod-holder spacers were done, i inserted them onto the rails (most could be clipped on, some needed some hot-glue). Note the dc gearmotor taped to the track. This was for testing. |
|
|
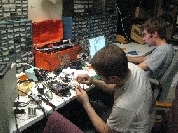
Who Built it and Conclusion
| How to | Image / Media | Image / Media |
| One
day i found some stray tubing Three pieces of 0.25" diameter tubing, covered in dust, were hiding in a pile of cruft. Without the free tubing i would not have taken this approach. I started by bending the tubing by hand, then finally around a 55 gallon drum (as i did not have an english wheel / tube bender apparattus at the time). This worked fairly well and each of the tubes were roughly the same bend radius. As the tubes are springy, they did not match up directly with the 55 gallon drum, |
|
|
| Spacers, a tricky part After a bit of back and forth / incremental design revs, i found a spacer design that gripped the track but still allowed for the cart to slide smootly above. CAD for spacer [STL] [Solidworks] [Thingiverse] |
|
|
| 10
at a time, yeah skeinforge After waiting 20 minutes for each revision to be ready, and finding the right layout, i realized skeinforge's multiply' tool would come in handy. Why print 1 when you can print 10 at a time? |
|
|
| Tripod
holster-vairant For the tripod-track variant of the holder, I added a big plane through the part. After it was printed, i drilled and tapped a hole to mate to the tripod. Cad for tripod spacer [STL] [Solidworks] [Thingiverse] |
|
|
| A
web-camera-cart For a webcam, i finally 'upgraded' after noticing how far webcams have come since the 800x600 ones i'm used to. I purchased a used Logitech C615 webcam, it has a suprisingly excellent picture quality. The cart was pulled along the track with a geared-down dc motor and string Cad for cart [STL] [Solidworks] [Thingiverse] |
|
|
| Assemble
Track After all the spacers and tripod-holder spacers were done, i inserted them onto the rails (most could be clipped on, some needed some hot-glue). Note the dc gearmotor taped to the track. This was for testing. |
|
|
A quick python script
| How to | Image / Media |
| uvccapture,
you're excellent I wanted to do a timelapse, and didnt need to record 1hr of video just to capture 60 seconds of imagery, so i threw the following together. Note uvccapture needs to be installed (a simple 'sudo apt-get install uvccapture' will do most of the time). Note, create a directory titled 'f' in the directory the script runs from. You also may have to change the /dev/video0 to /dev/video1 based on your system. Realistically, there are plenty of alternatives with nice gui's, especially for the windows os, use one of those if you get stuck here. |
|
| Directory
of images into video For the directory of images -> video, I cheated and used the stopmotion. |
(There's
other photos in the photo gallery)
Concluding
Remarks:There are a number of ways to achieve the same outcome, if there were semi-flexible O-gauge train track lying about, i would have absolutley used it instead of spacing, truing, and bending and playing around with string. The one downside to this fixed track approach is that it requires multiple tripods and isn't collapsable. From this design I came up with a slighlty more flexible alternative, to be detailed when its complete.
| From the sponsors: |
If you have questions or comments, ask below or send over an email.
| Comments: |
|
HTML Comment Box
is loading comments...
|
(be
careful, im not responsible for you constantly dropping a webcam
because the silly cart doesnt fit on the track just-right)
Dane.Kouttron
Rensselaer Polytechnic Institute
Electrical & Electrical Power
631.978.1650
