
Dane Kouttron
Project Documentation: 09/2016 Reformatted: 01/2024
Aluminum Boat Upgrades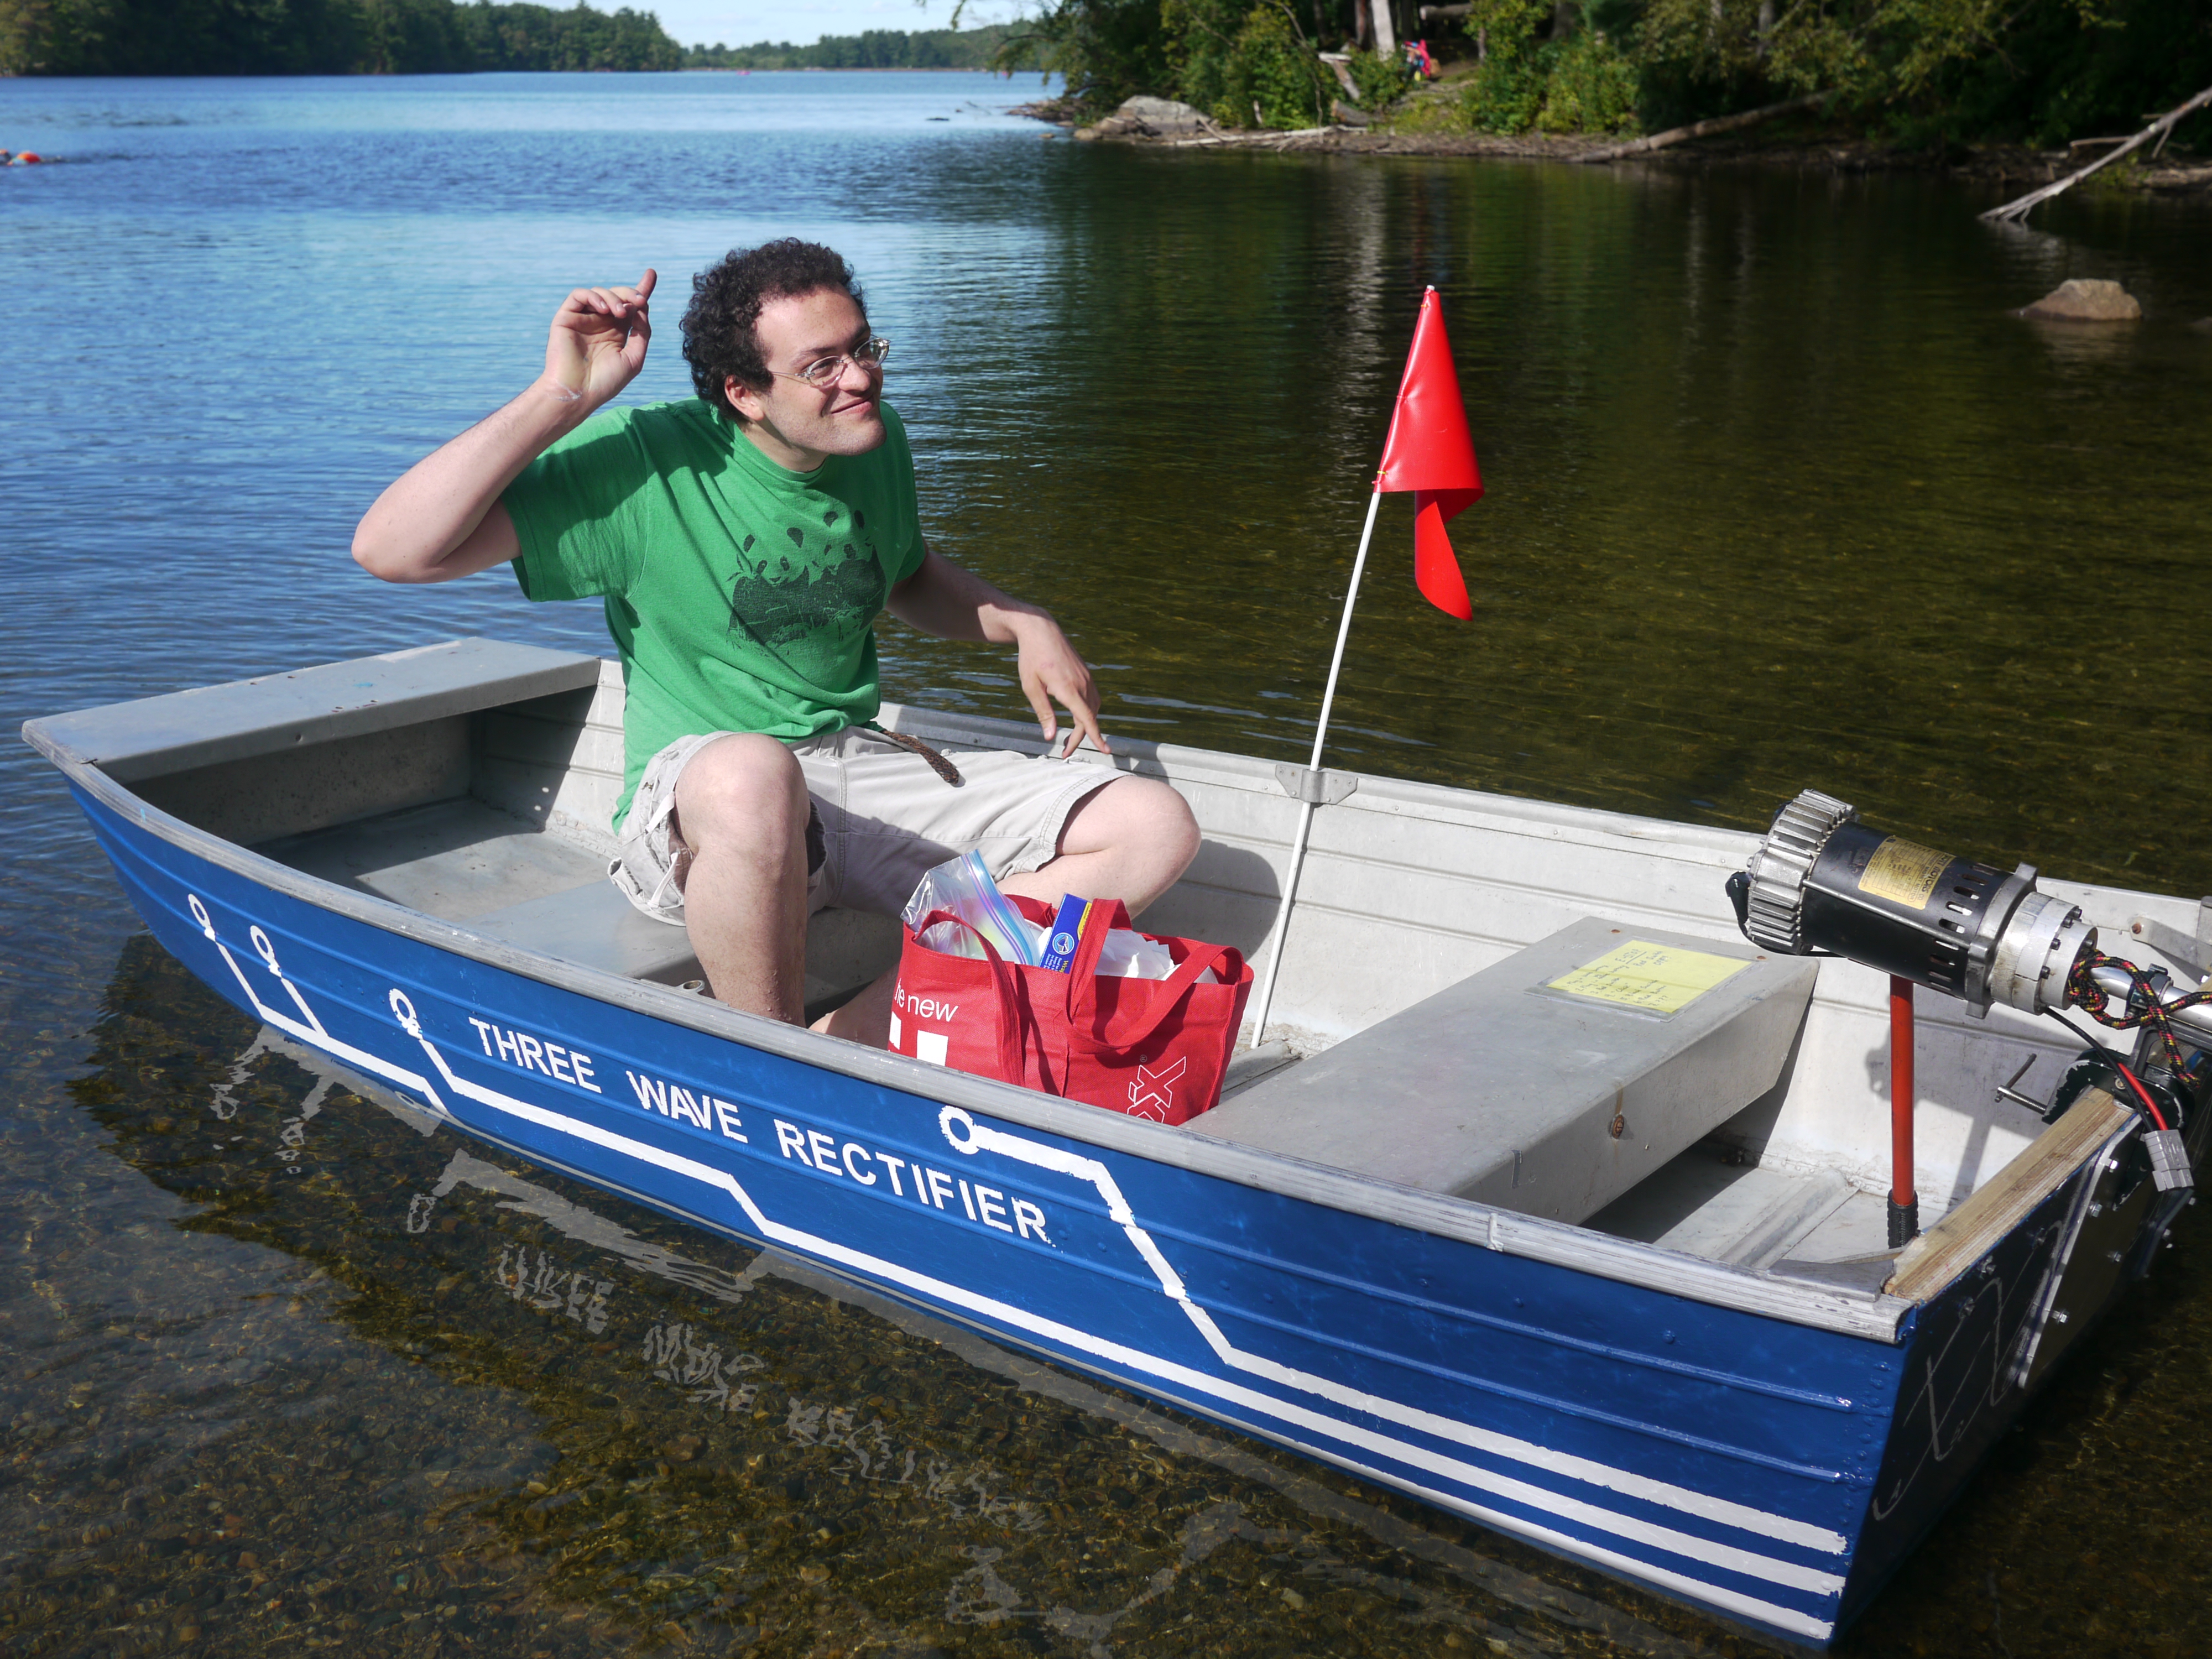
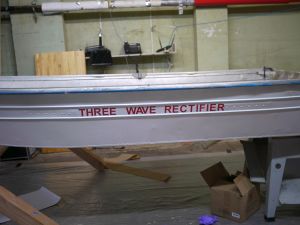
The following details the repair and rejuvenation of a relatively low cost aluminum row-boat. Nicknamed 'jon boats', this shape craft are super low maintaince and fairly lightweight. The aluminum also allows them to be recyclable, whereas fiberglass boats end up requiring elaborate repair / reuse processes. This page documents the cleaning, de-painting, riveting, epoxy coating and painting of an 8 ft aluminum 'jon' boat. Behold the "THREE WAVE RECTIFIER" |
Epoxy time ahoy!Pulling all the old paint and scum off was fairly intense, going from 'greenish hints of algae to two-part sealing primer was a time consuming process. Shown here is the first layer of primer being applied. A julian appeared halfway through the process to observe the gloriousness. 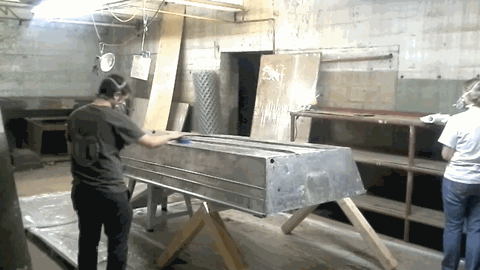
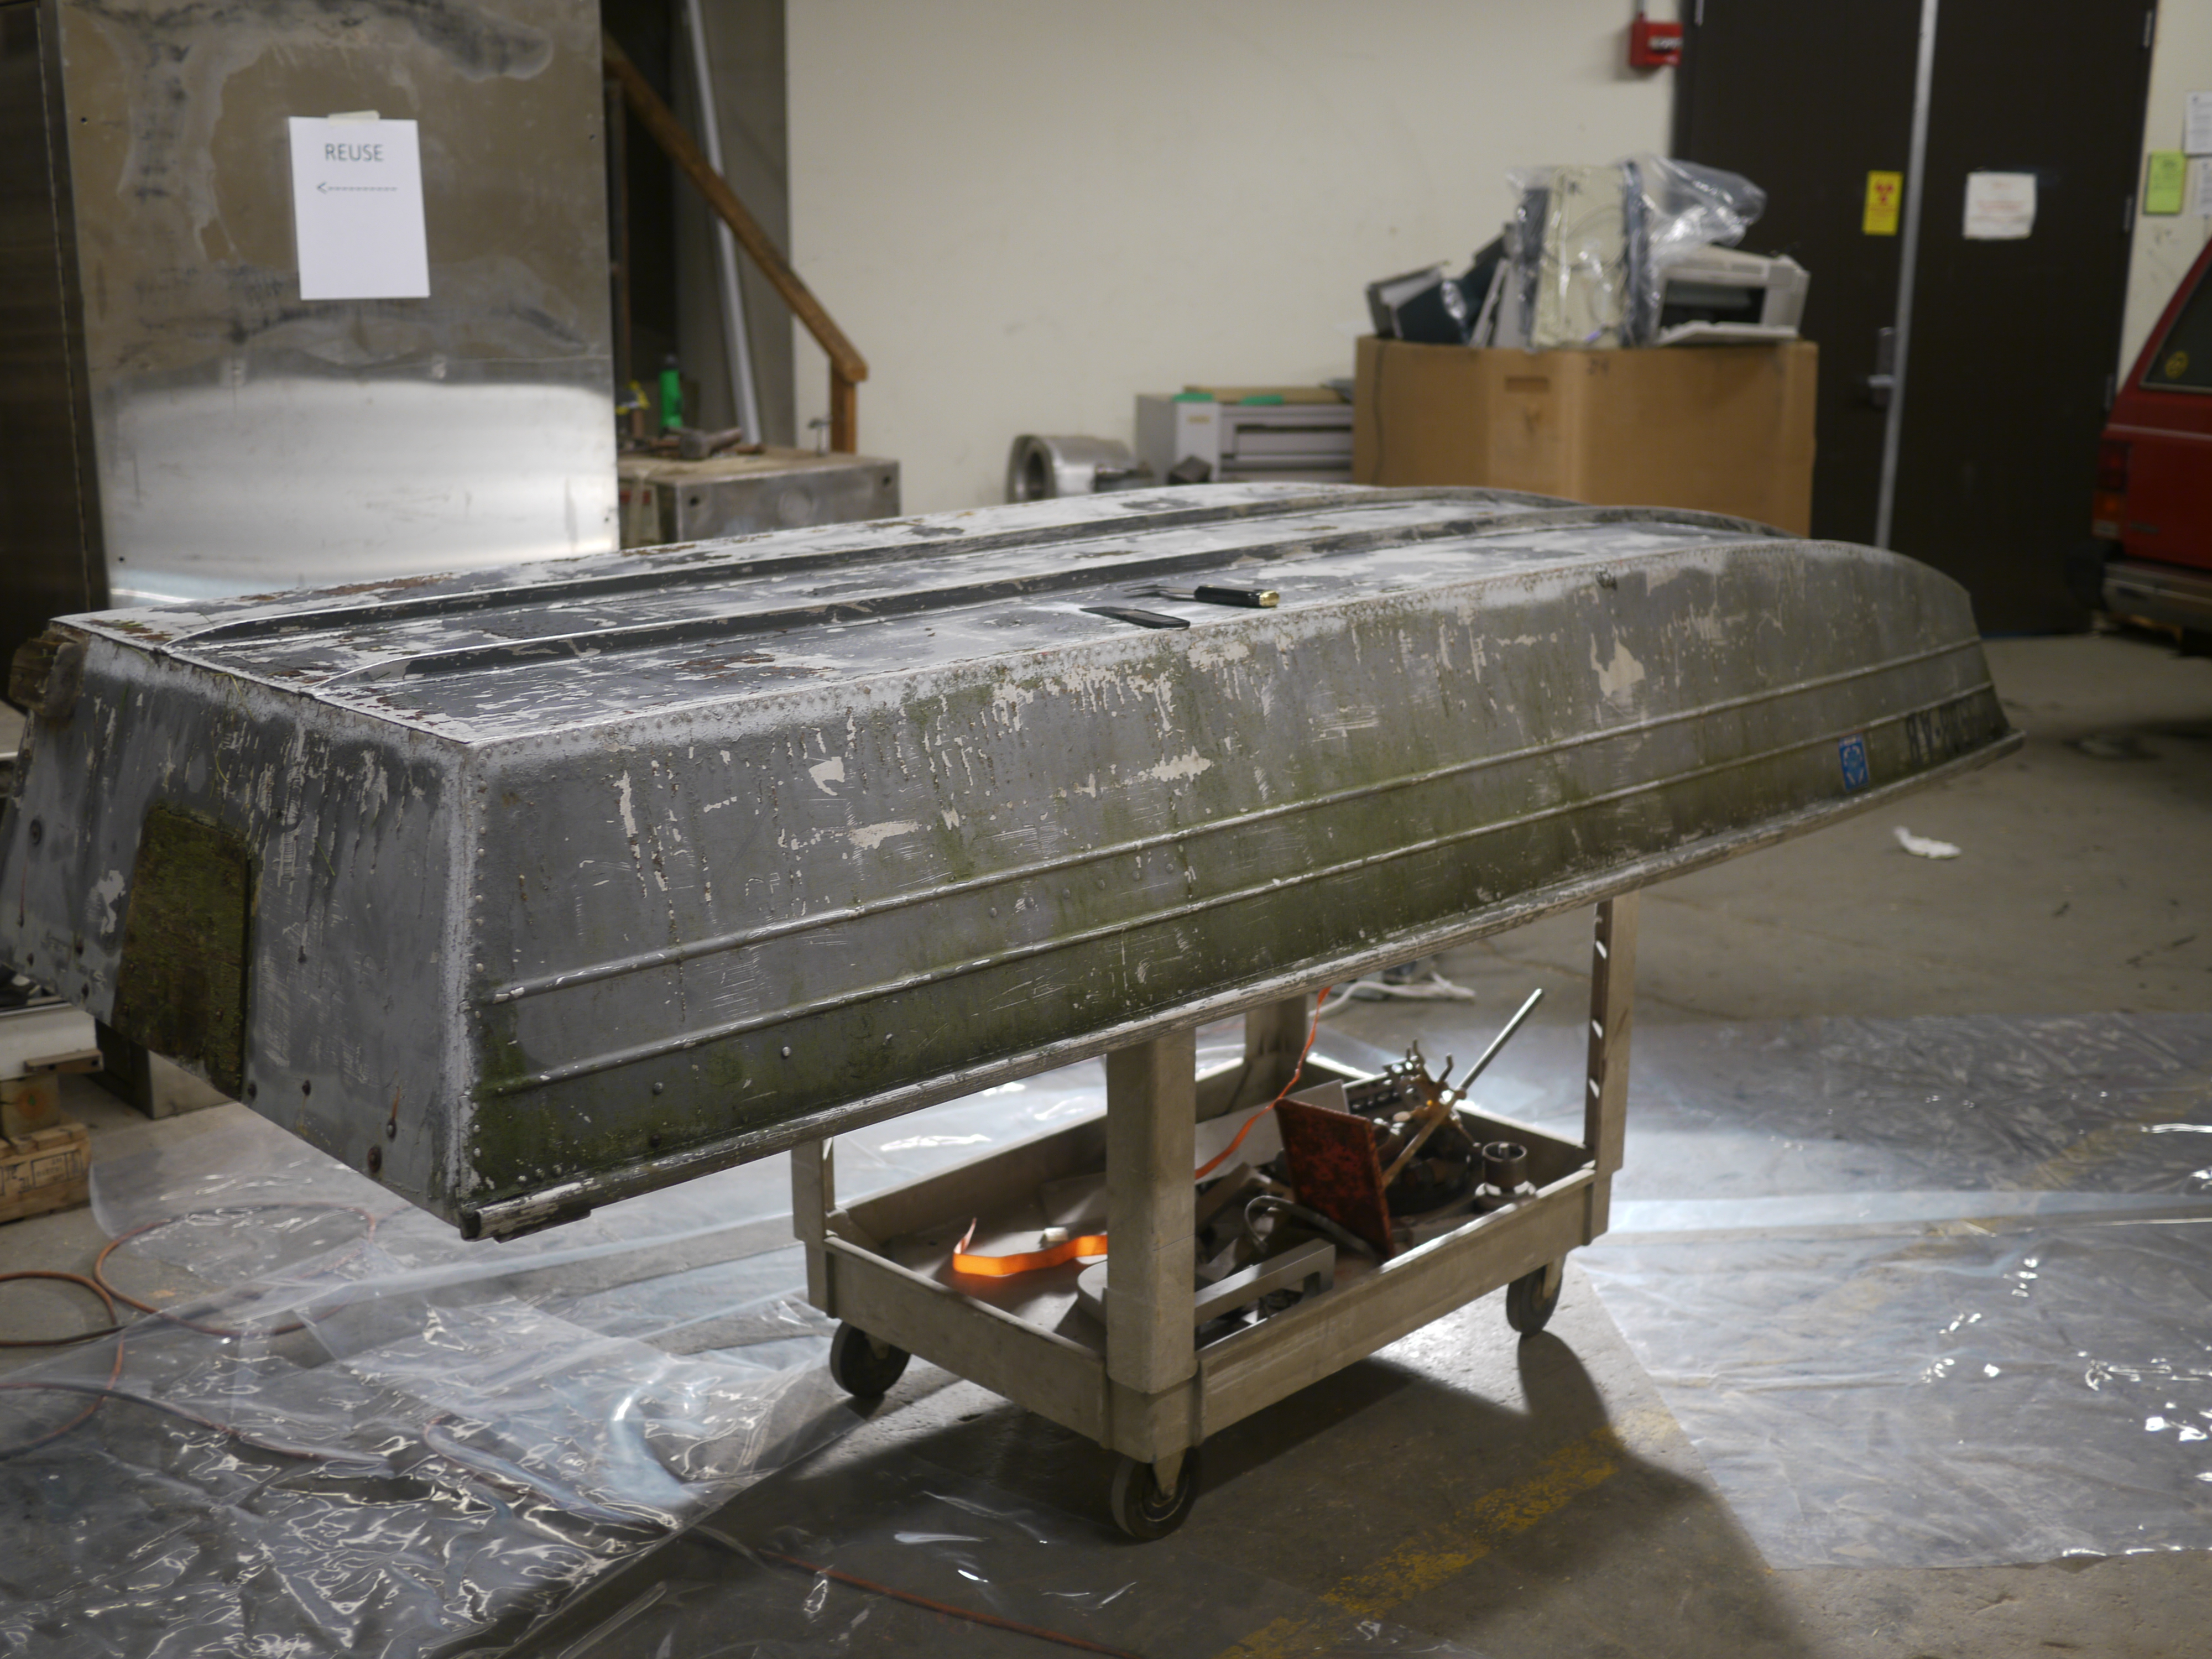
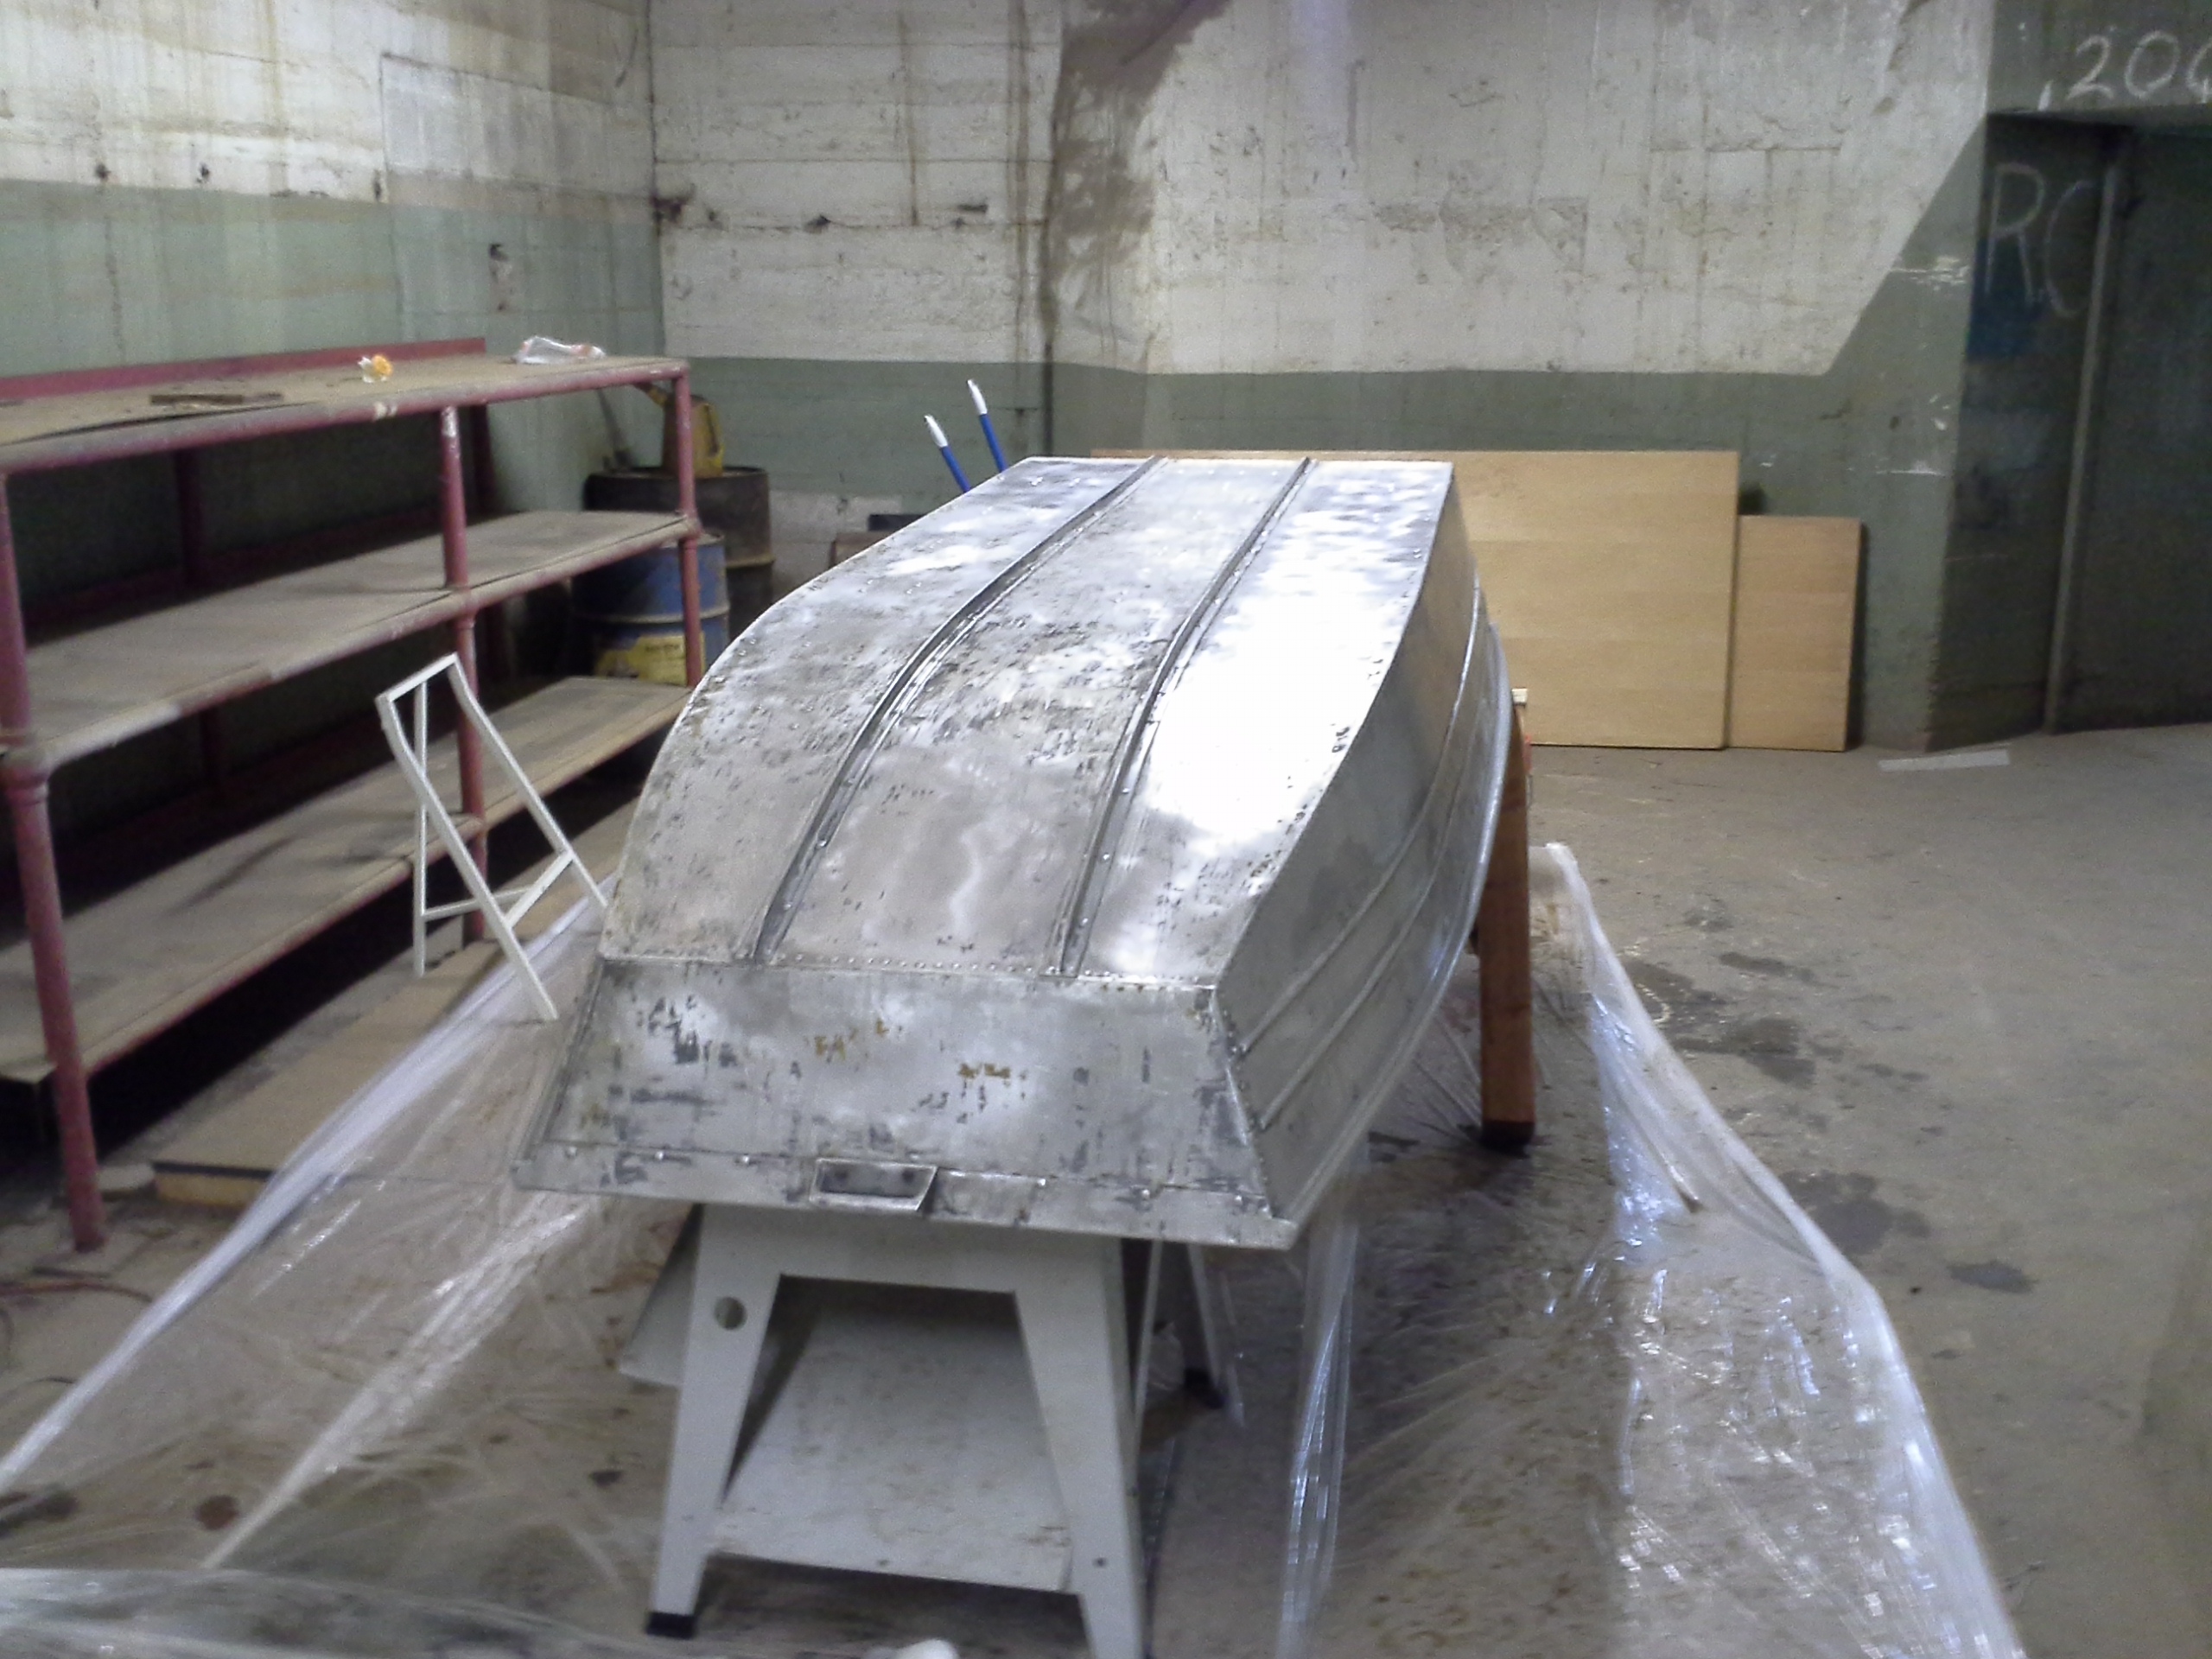
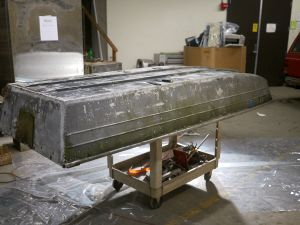
The Craft awaiting a new lifeThe return of 8' Jon Boat. Last episode we took the craft out with the experimental 1kw dc thruster. This boat was a heavily used 'craigslist deluxe' craft and a bit sketchy in terms of flotation. The main qualm was while the vessel was structural there were a number of slowly leaking rivets and an odd 'wood screwed into wood' plug for the rear drain port. 
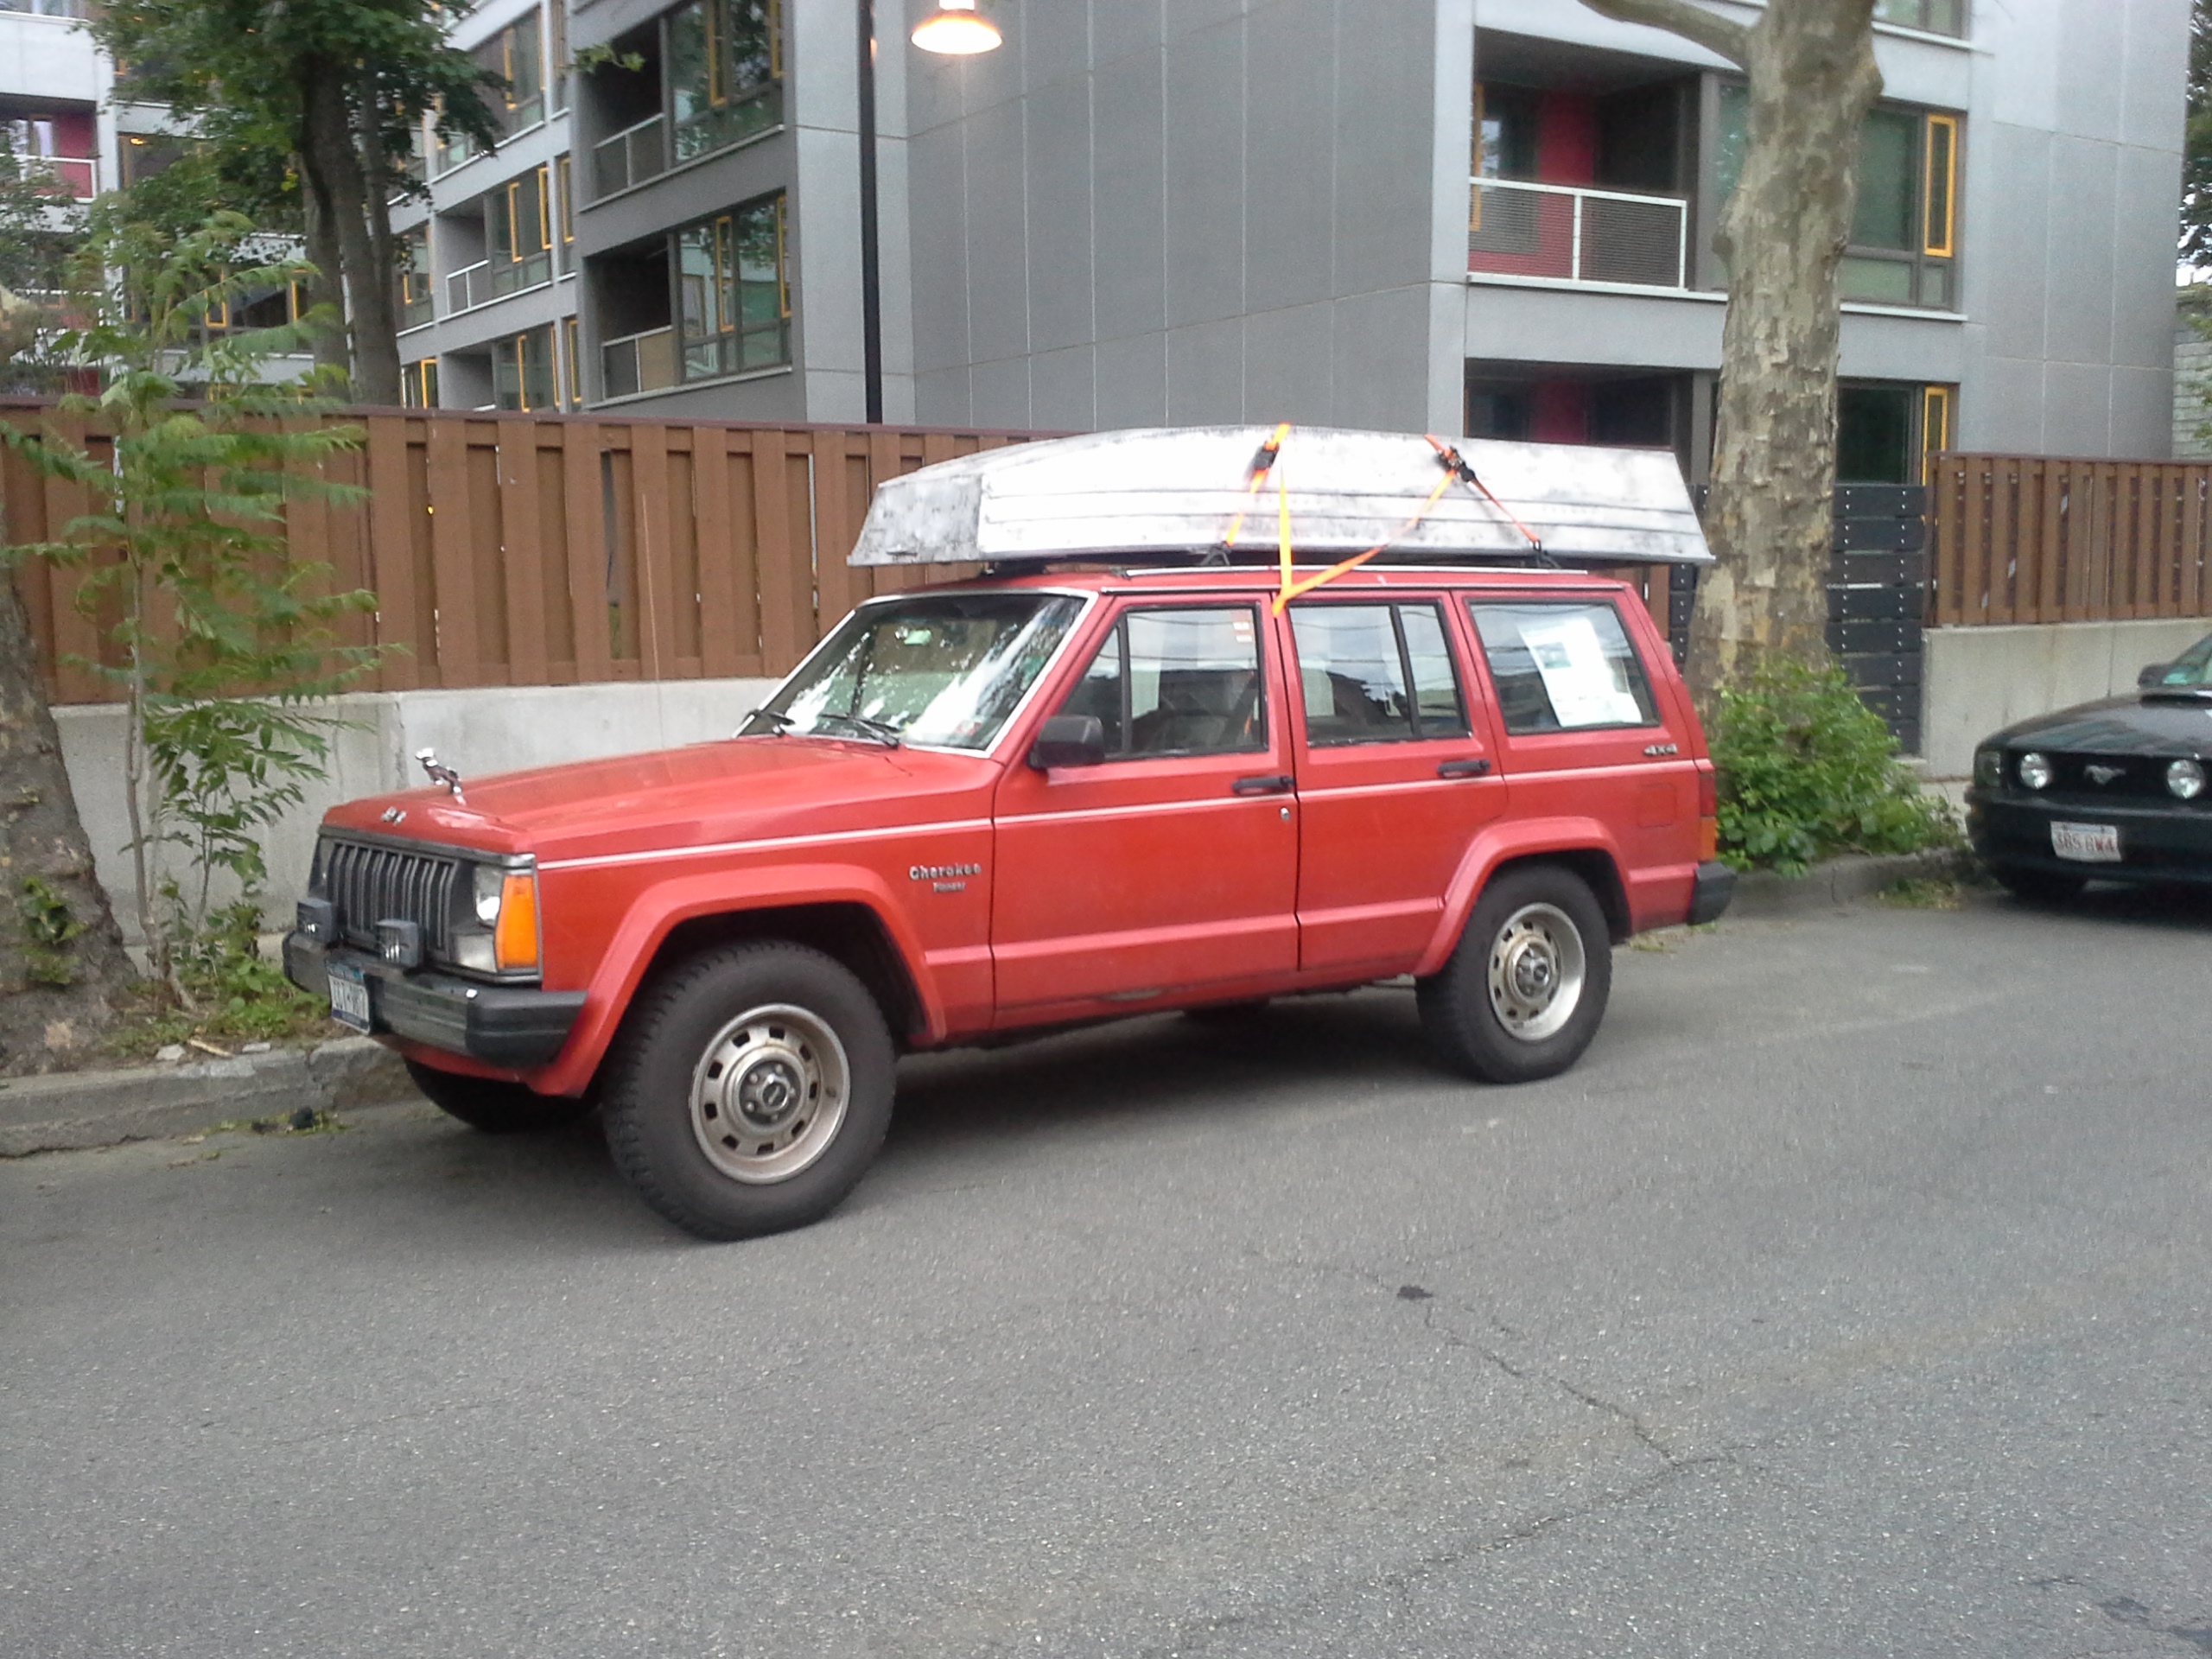
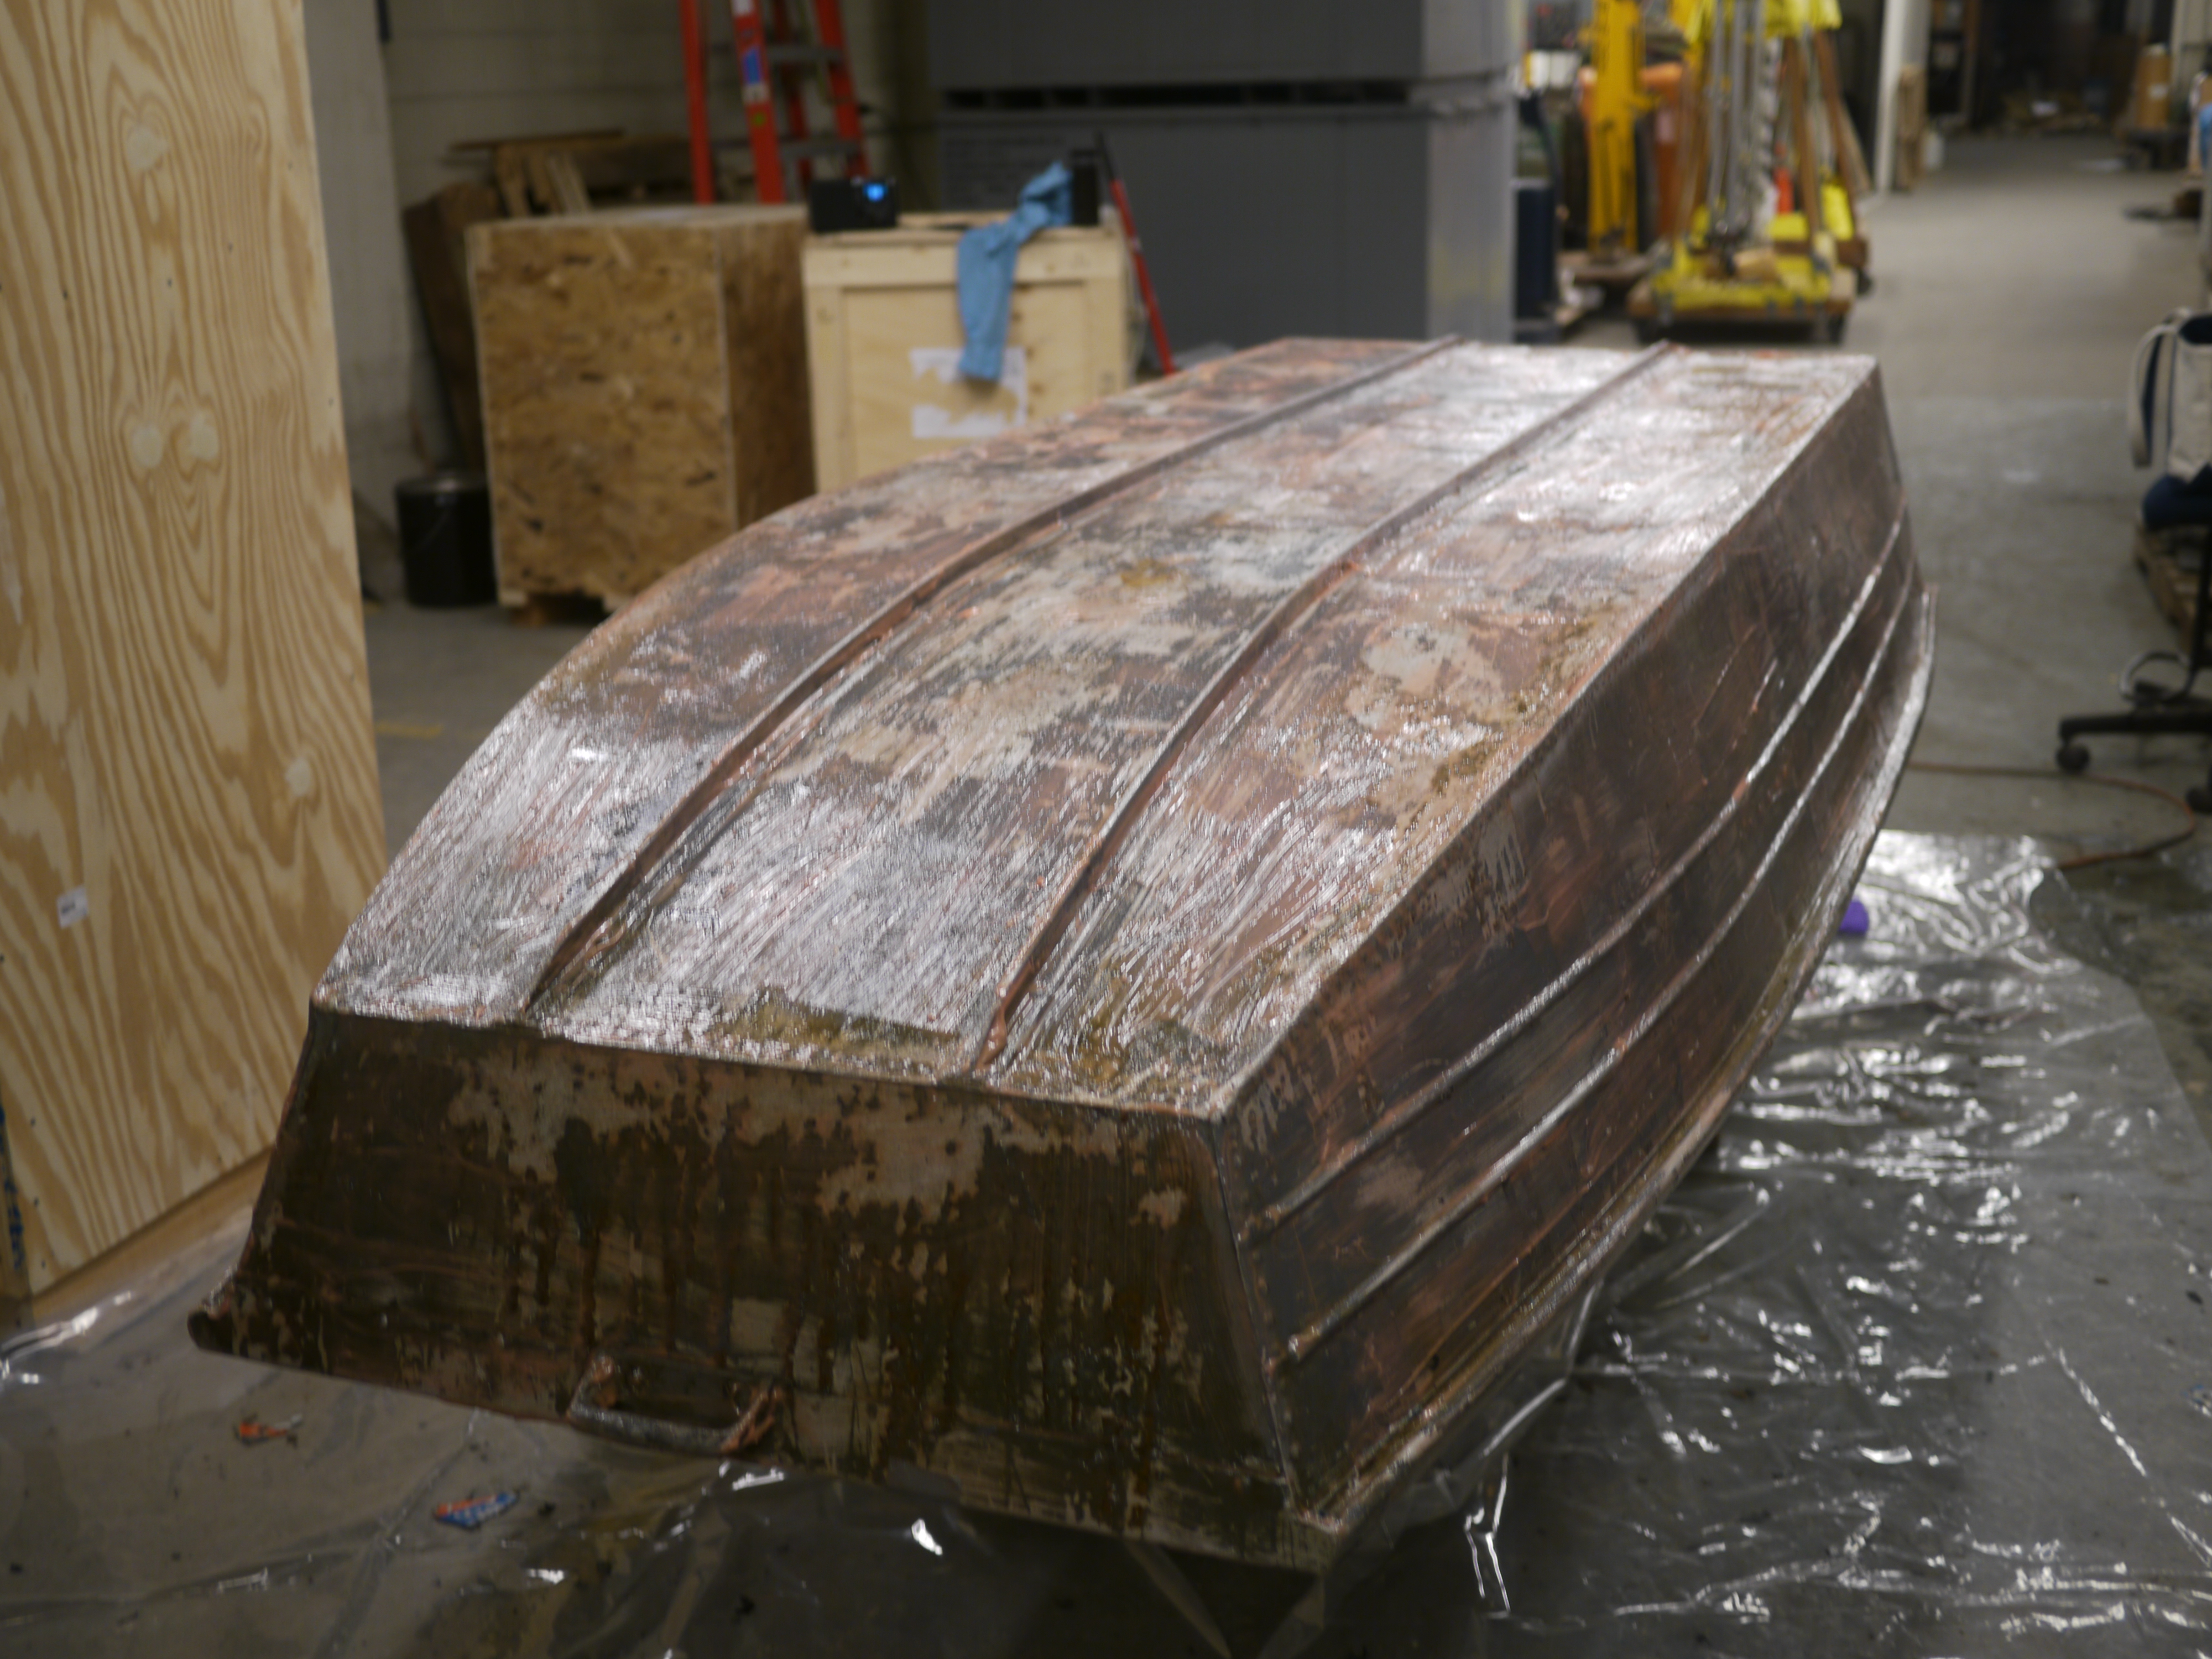
The craft's paint was wearing off and it appears a previous attempt at covering leaky rivets was also showing through. The transom itself was riddled with rusting bolts and starting to become less, er, structural. Time for some summertime upgrades! 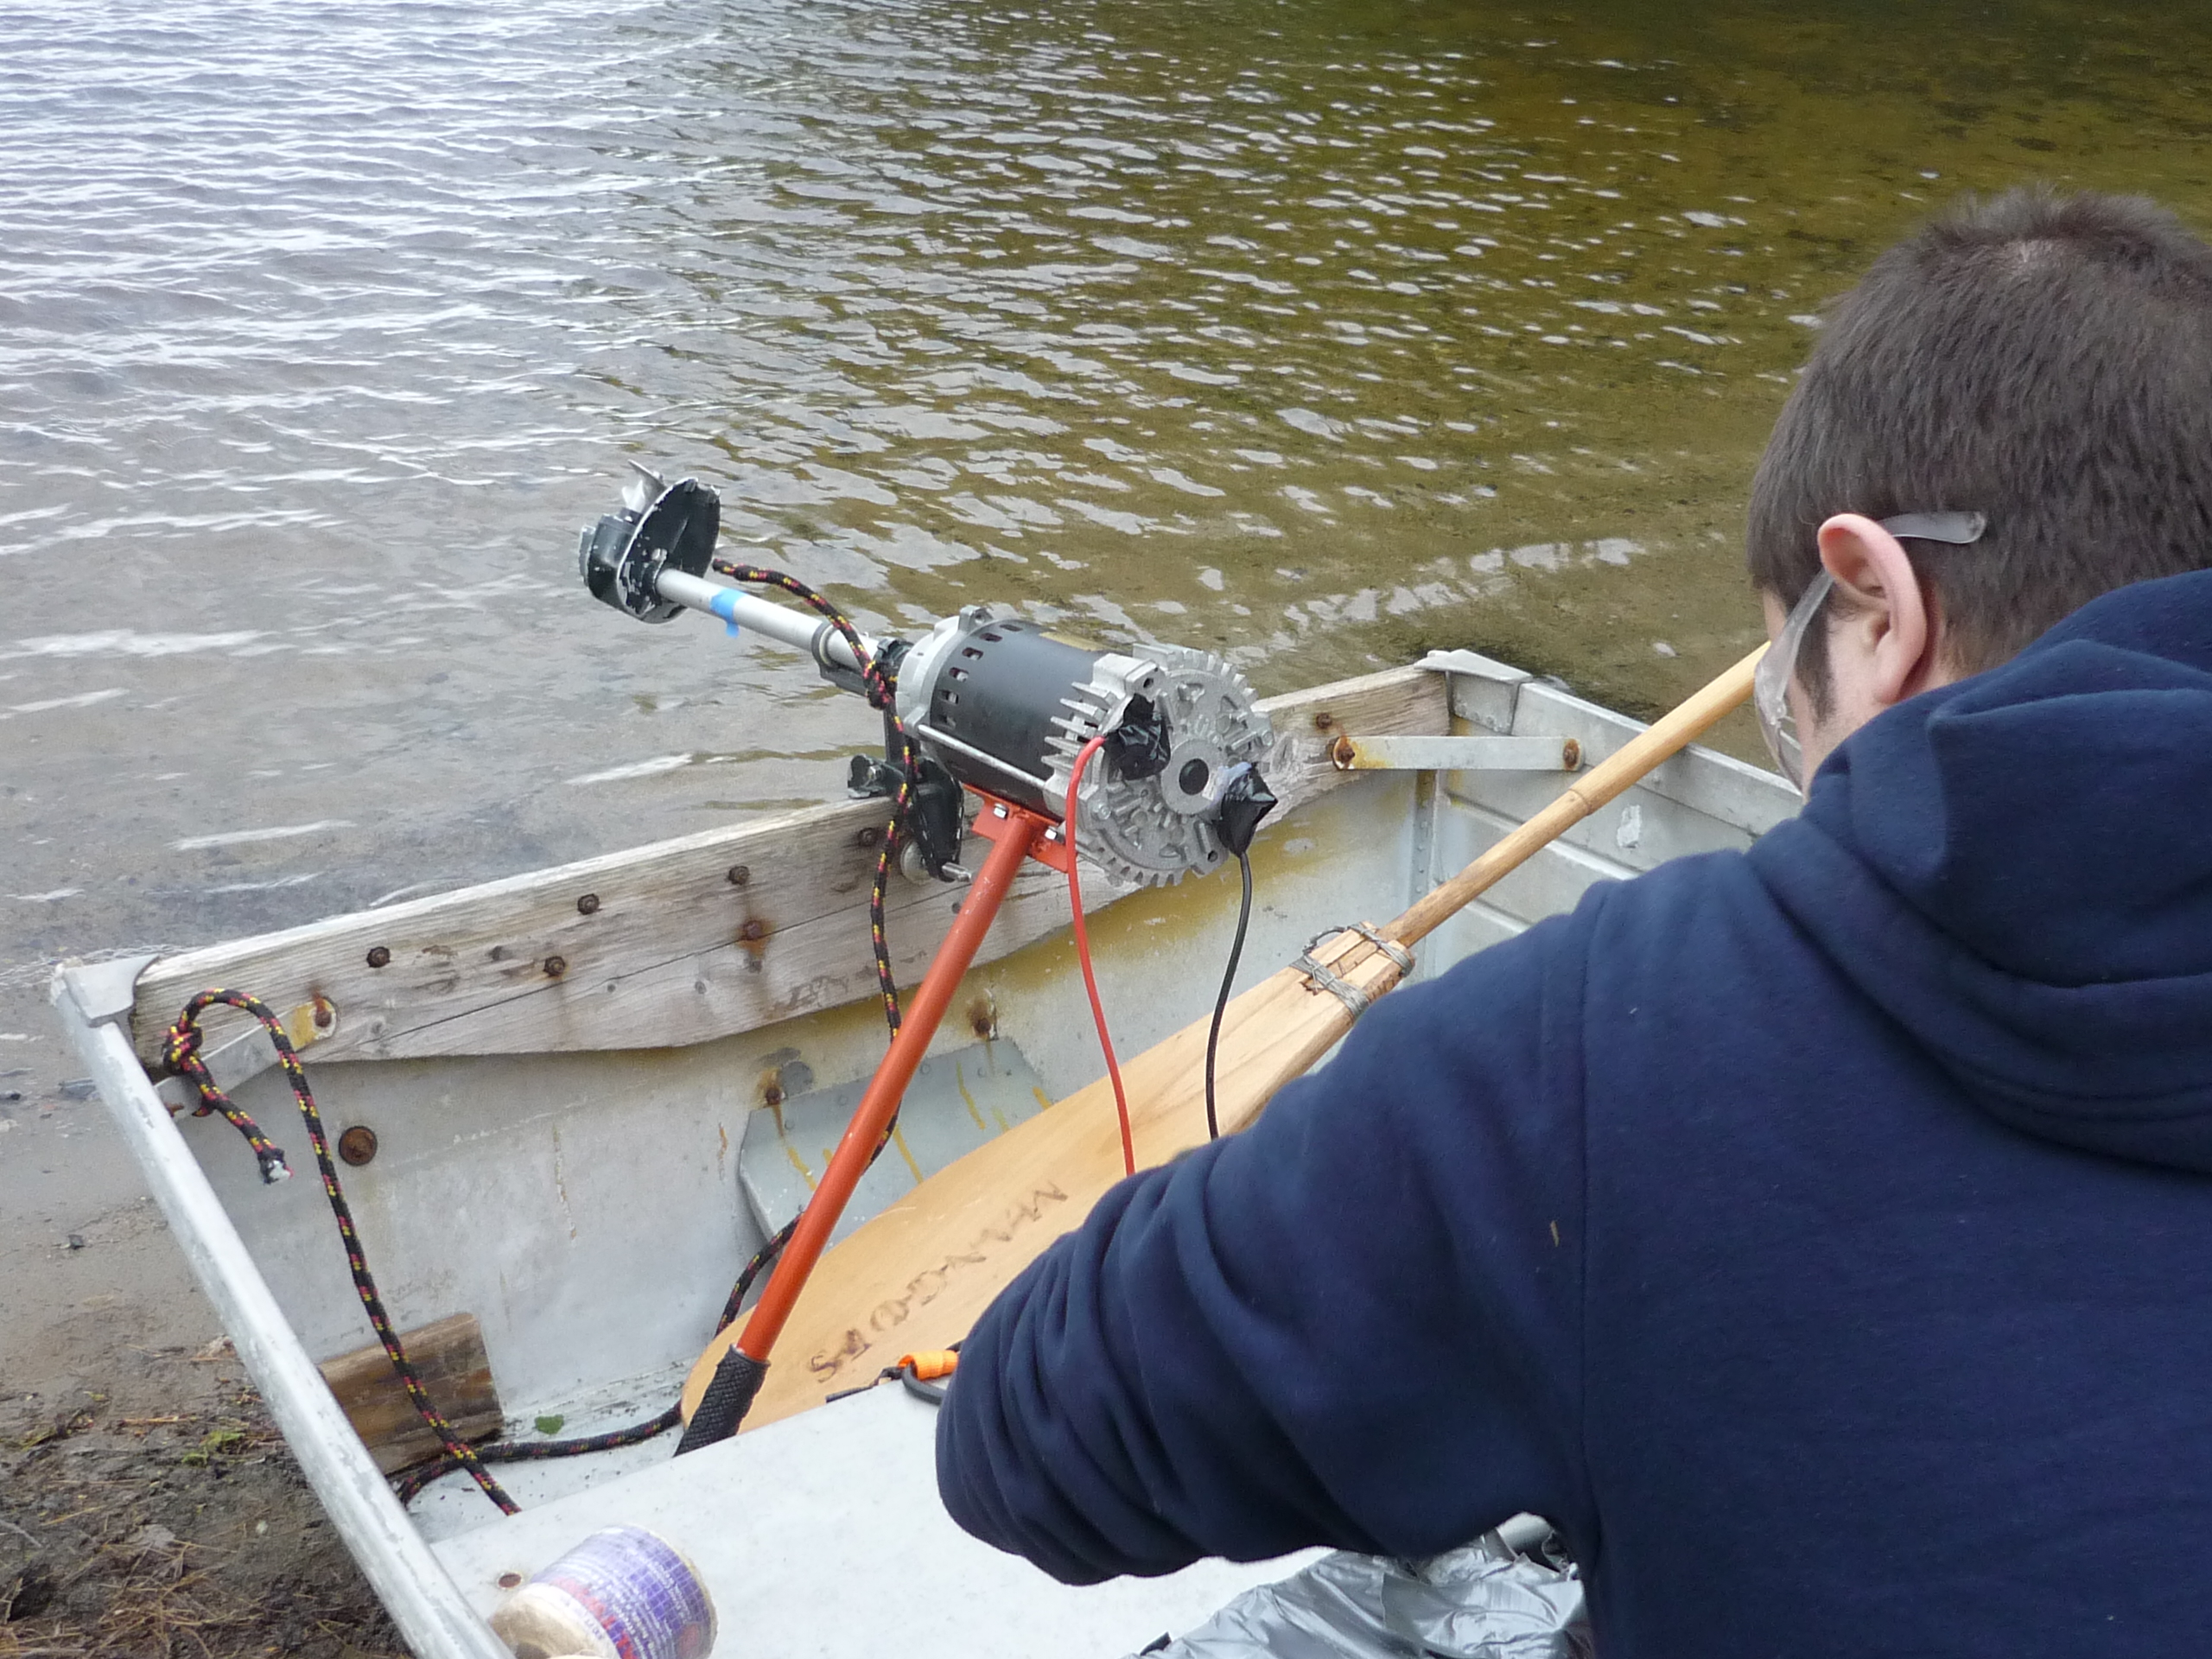
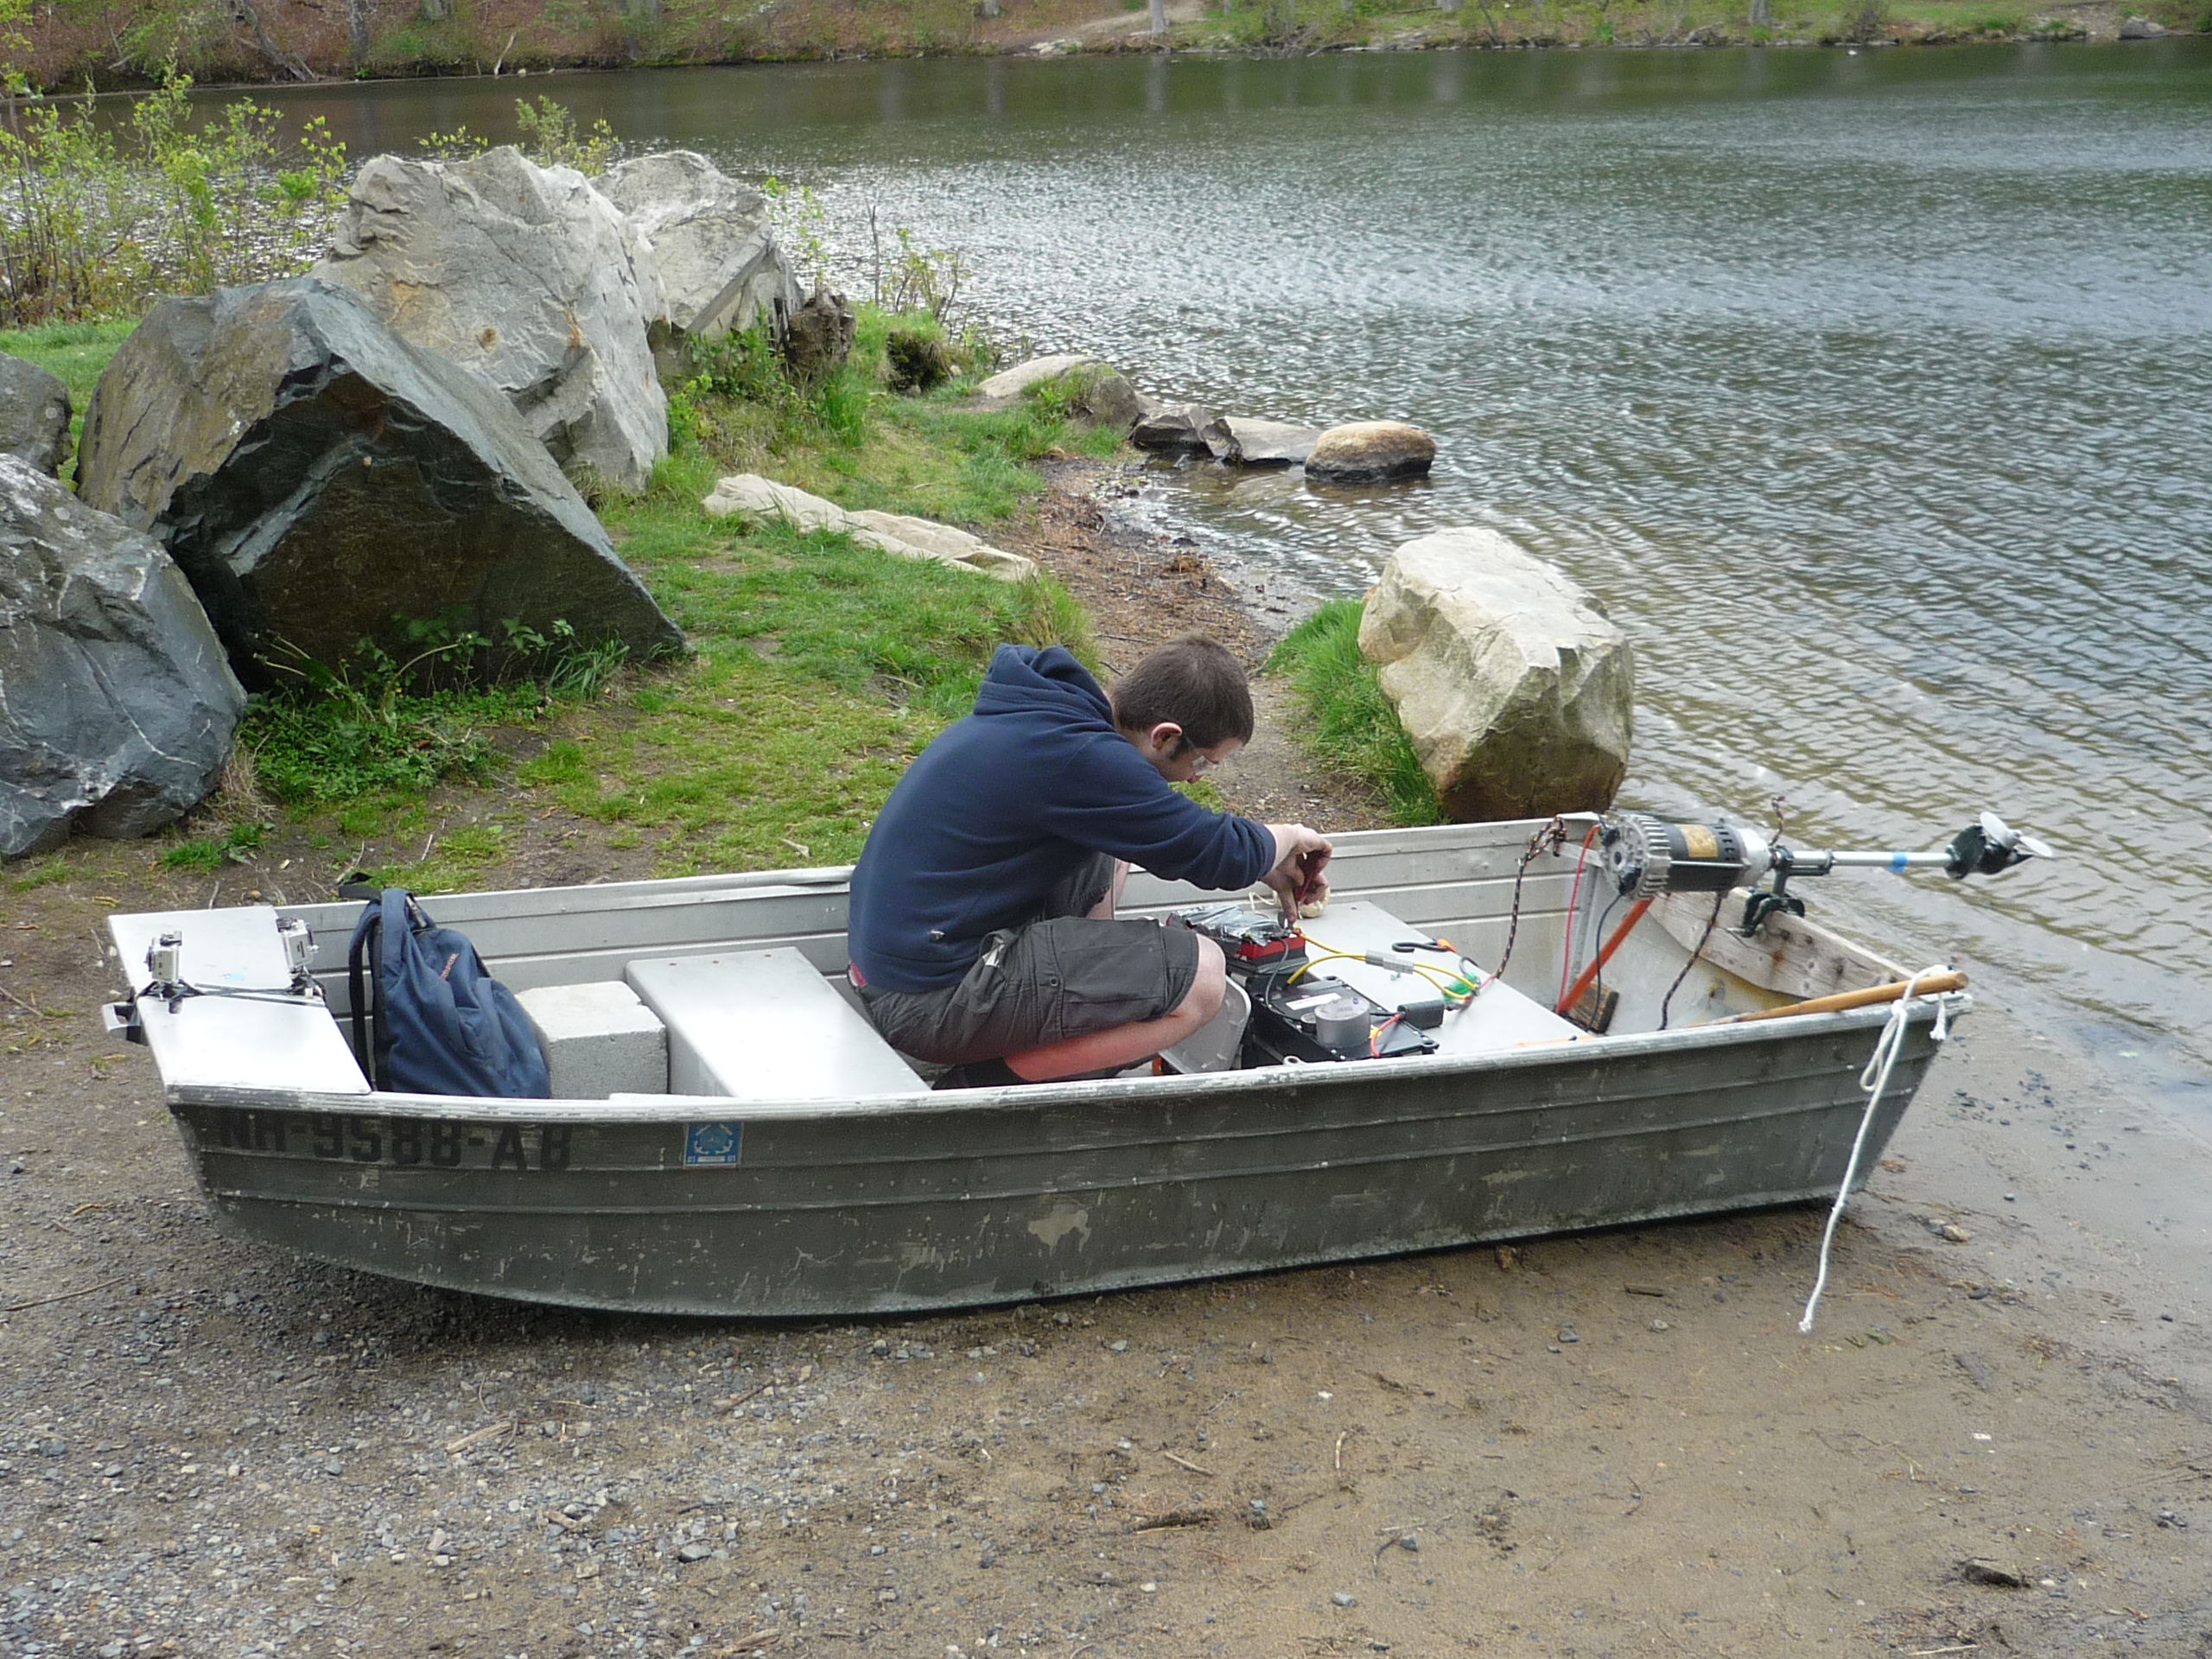
De-PaintingThe craft itself had seen better days, from the initial test, with the 1kw dc thruster, it was a tad leaky, the outboard mount was a mostly rotted plywood sheet and the outside was covered with patches of sad paint and 'biological stuff'. 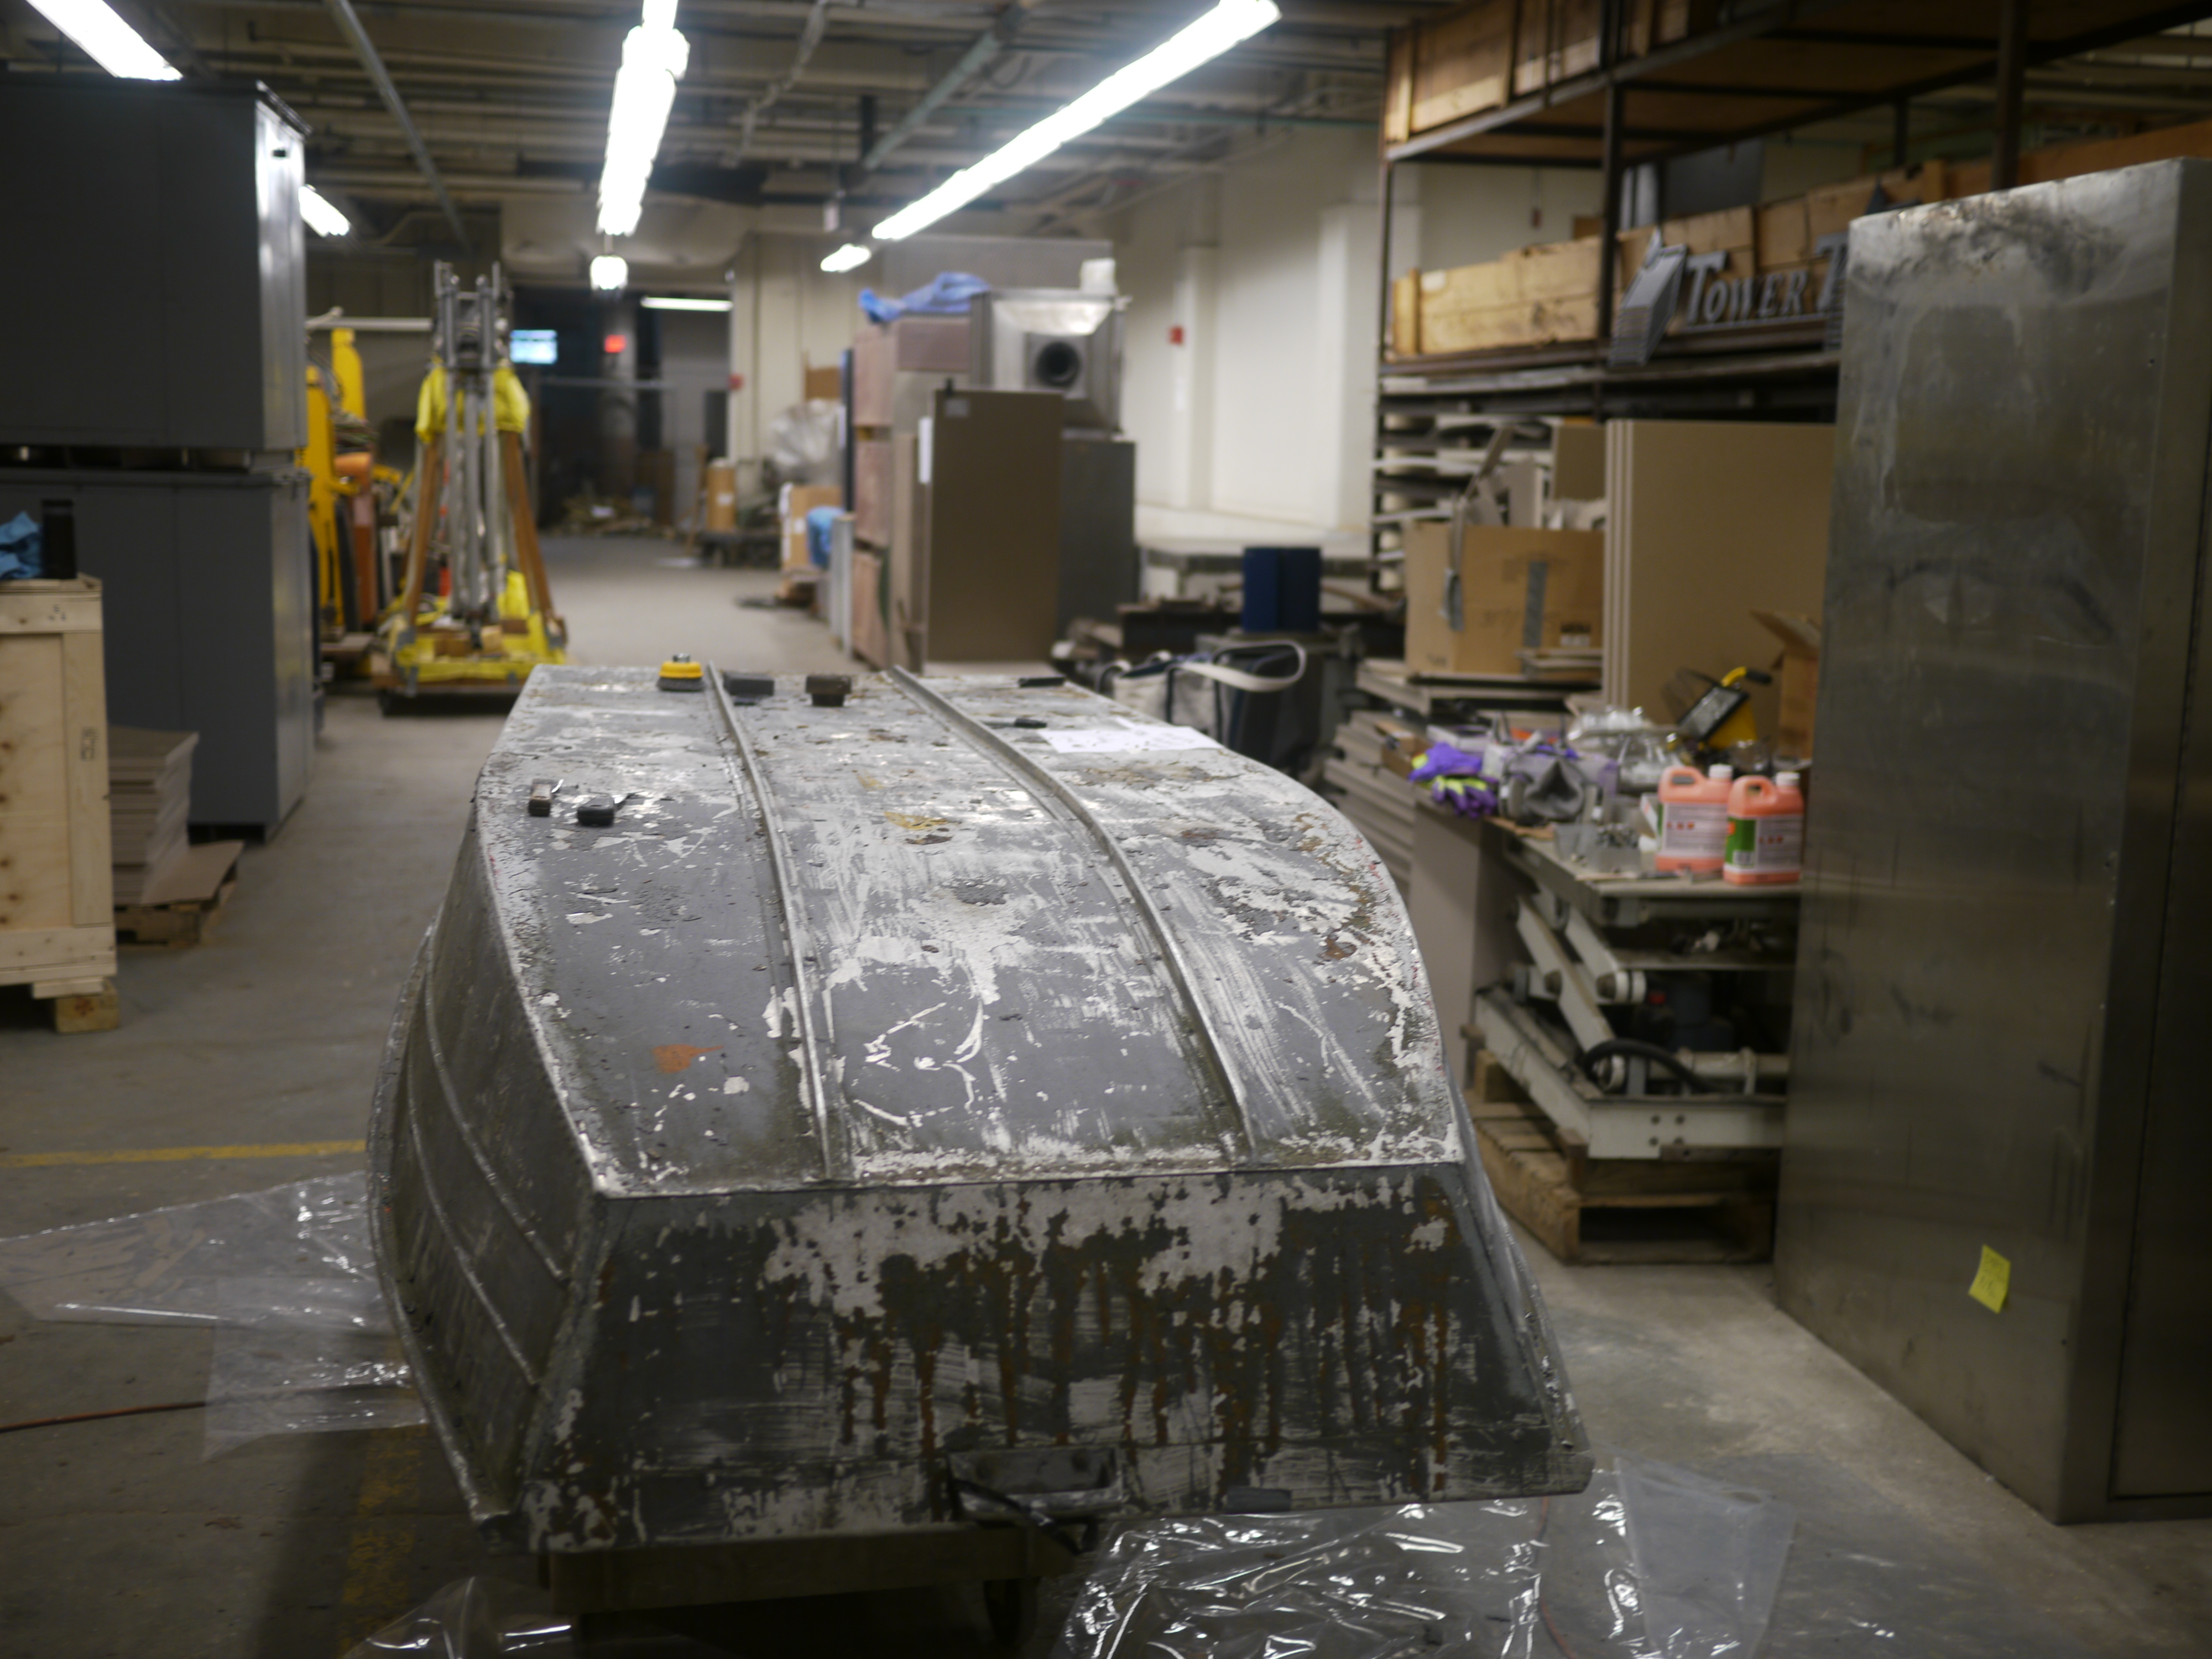
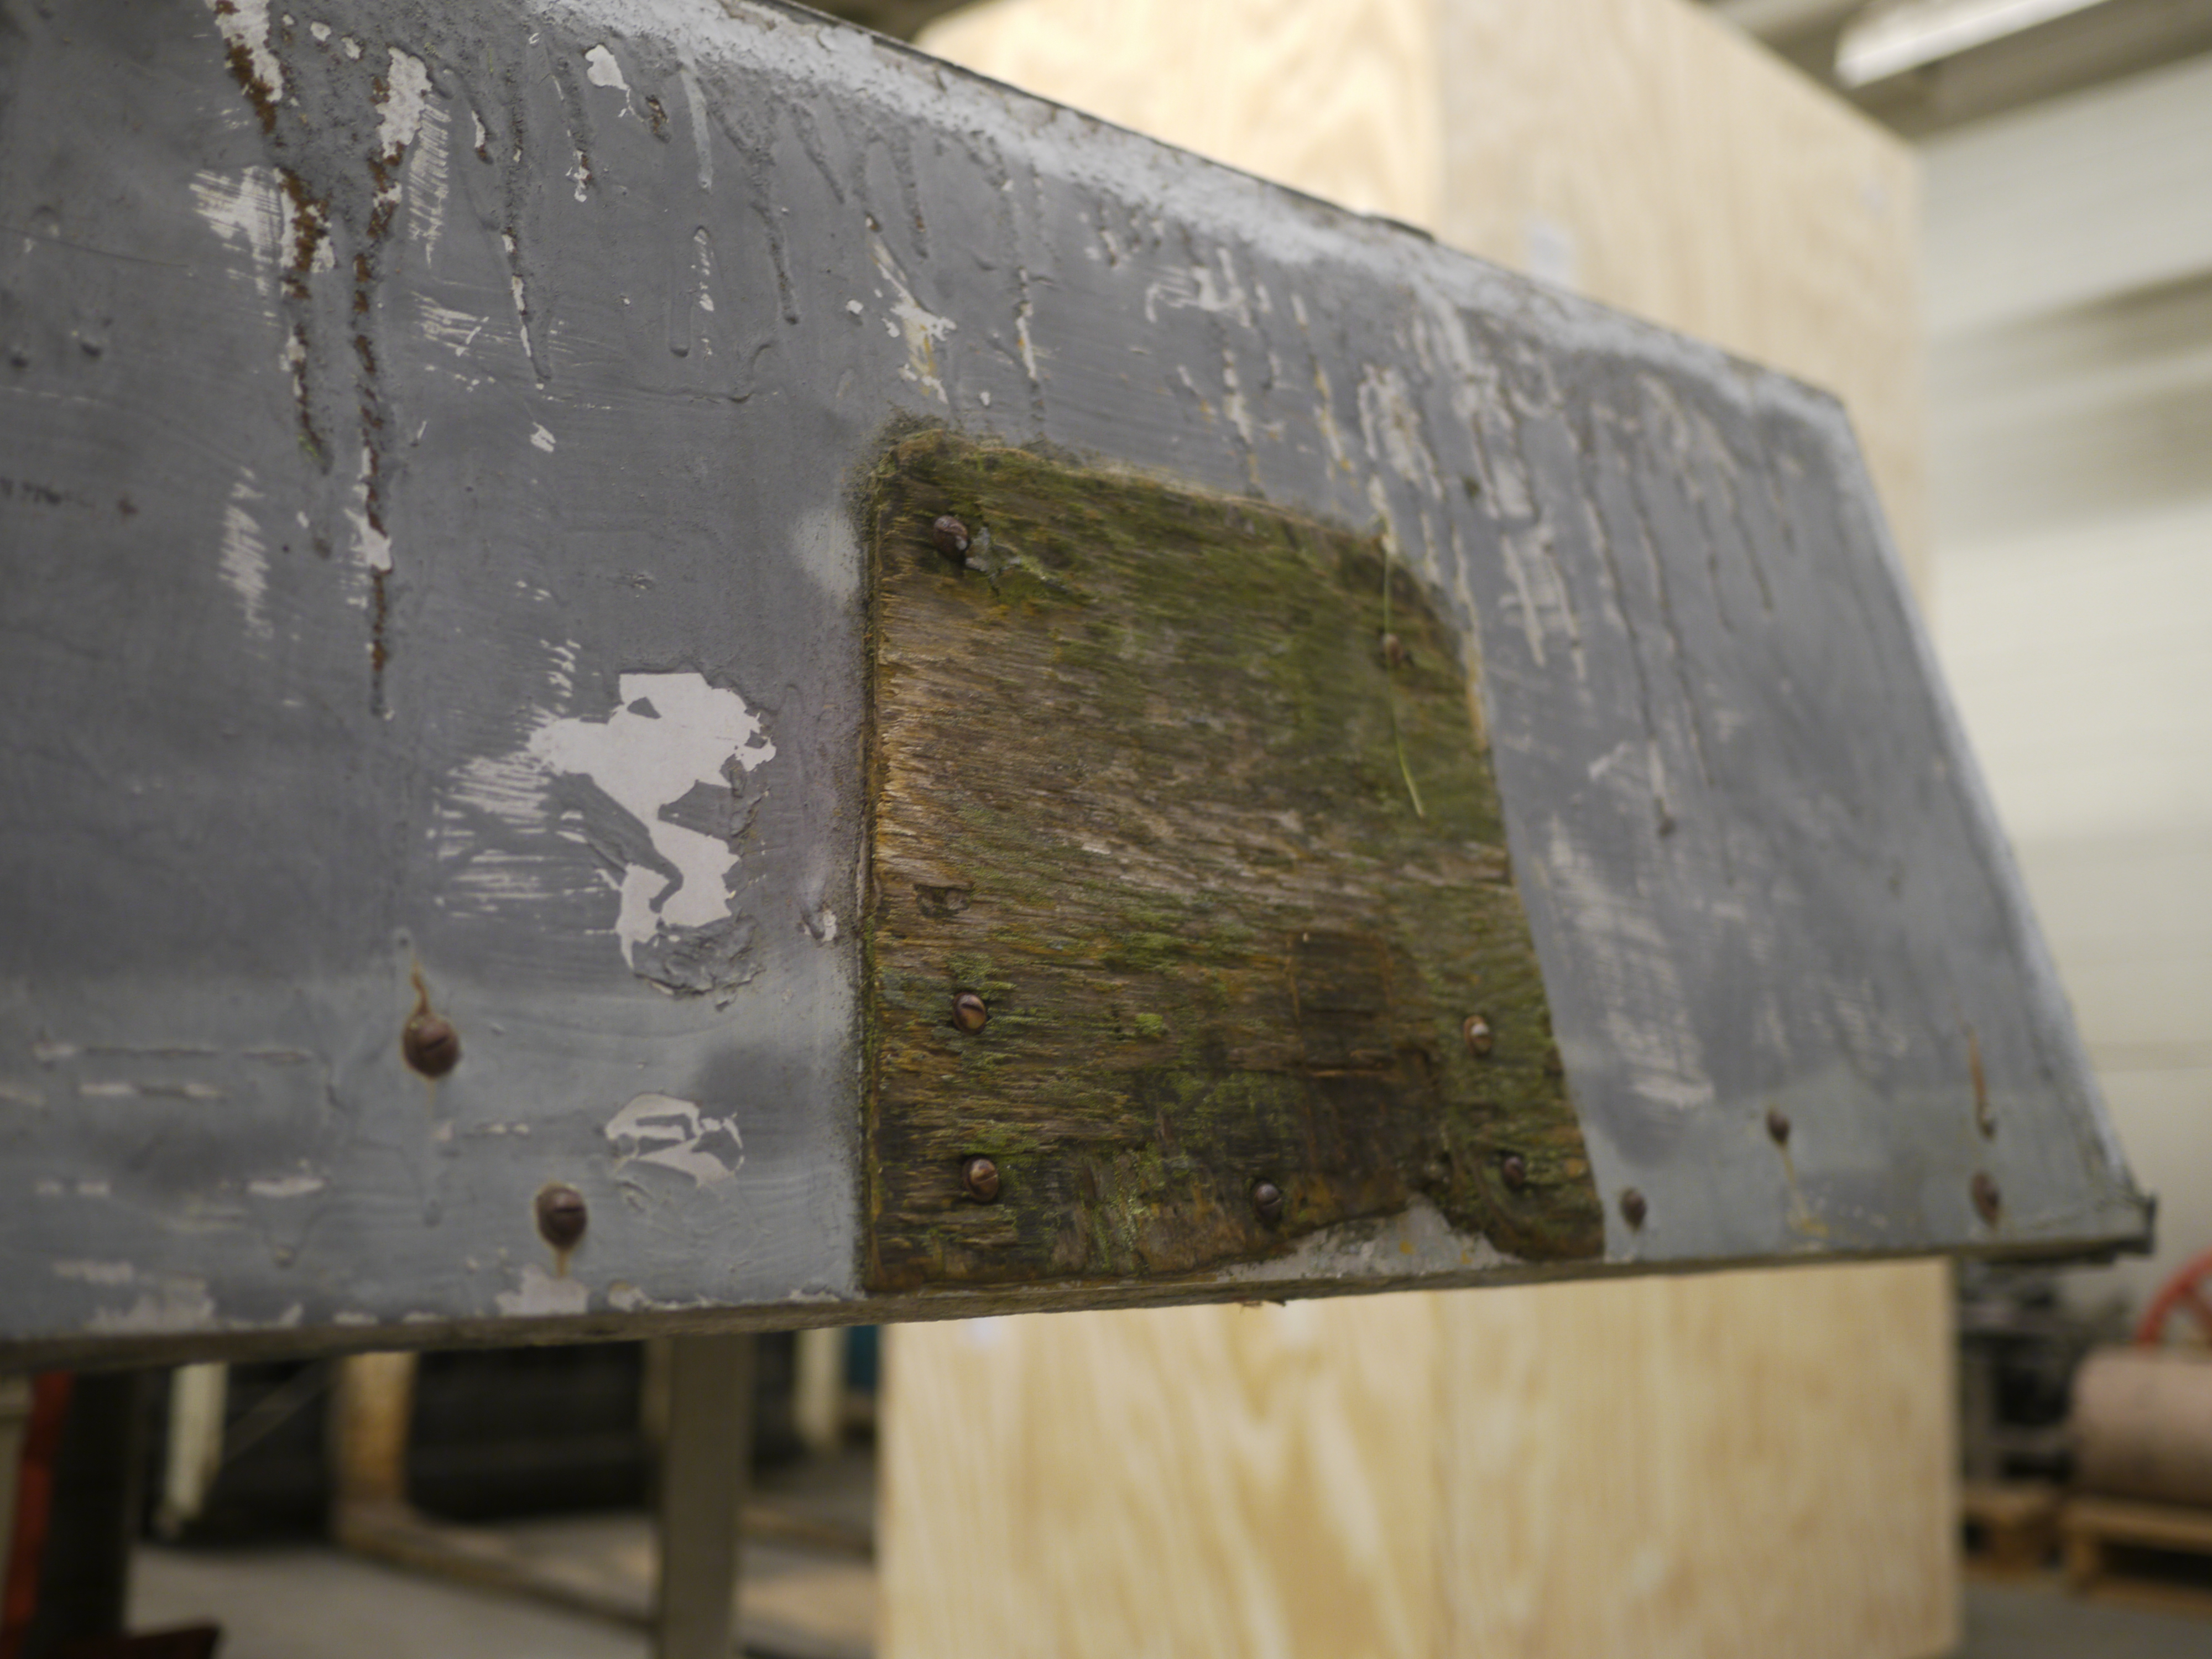
Plywood in a marine environment didn't survive, at all. It peeled off fairly easily. Removing the transom and backplate were incredibly straight forward, the bolts quite literally broke in two when yanked on. 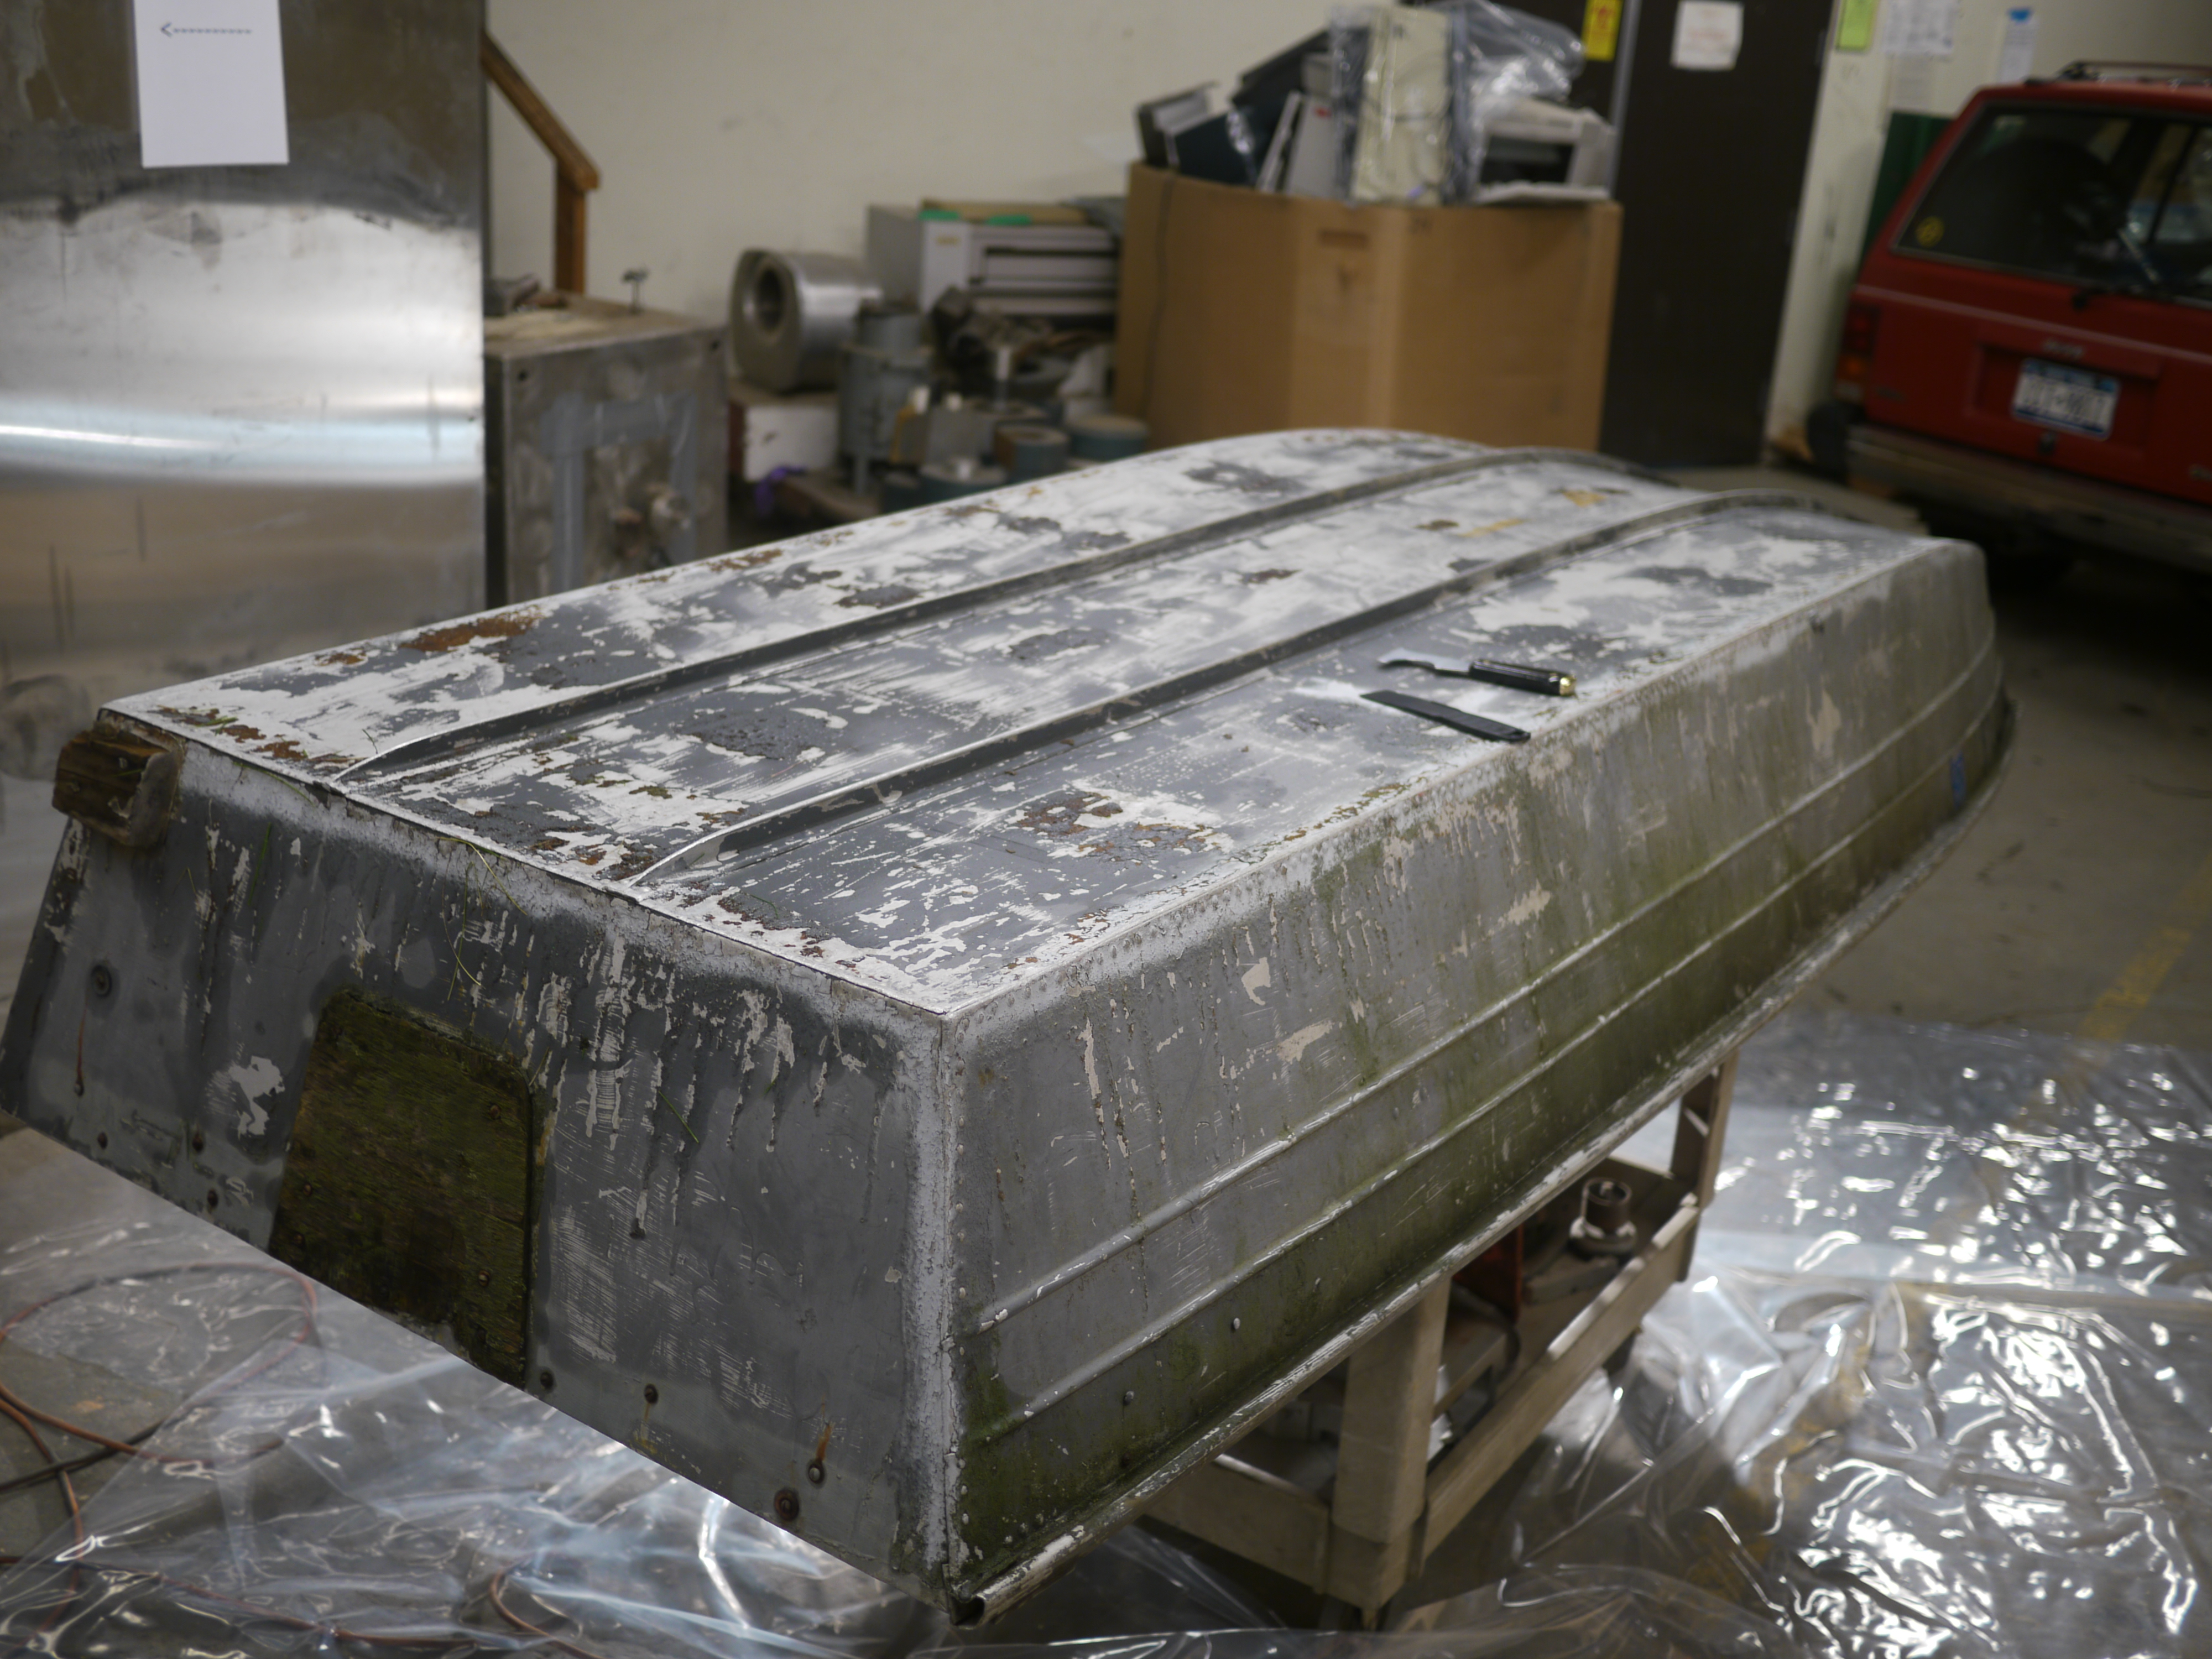
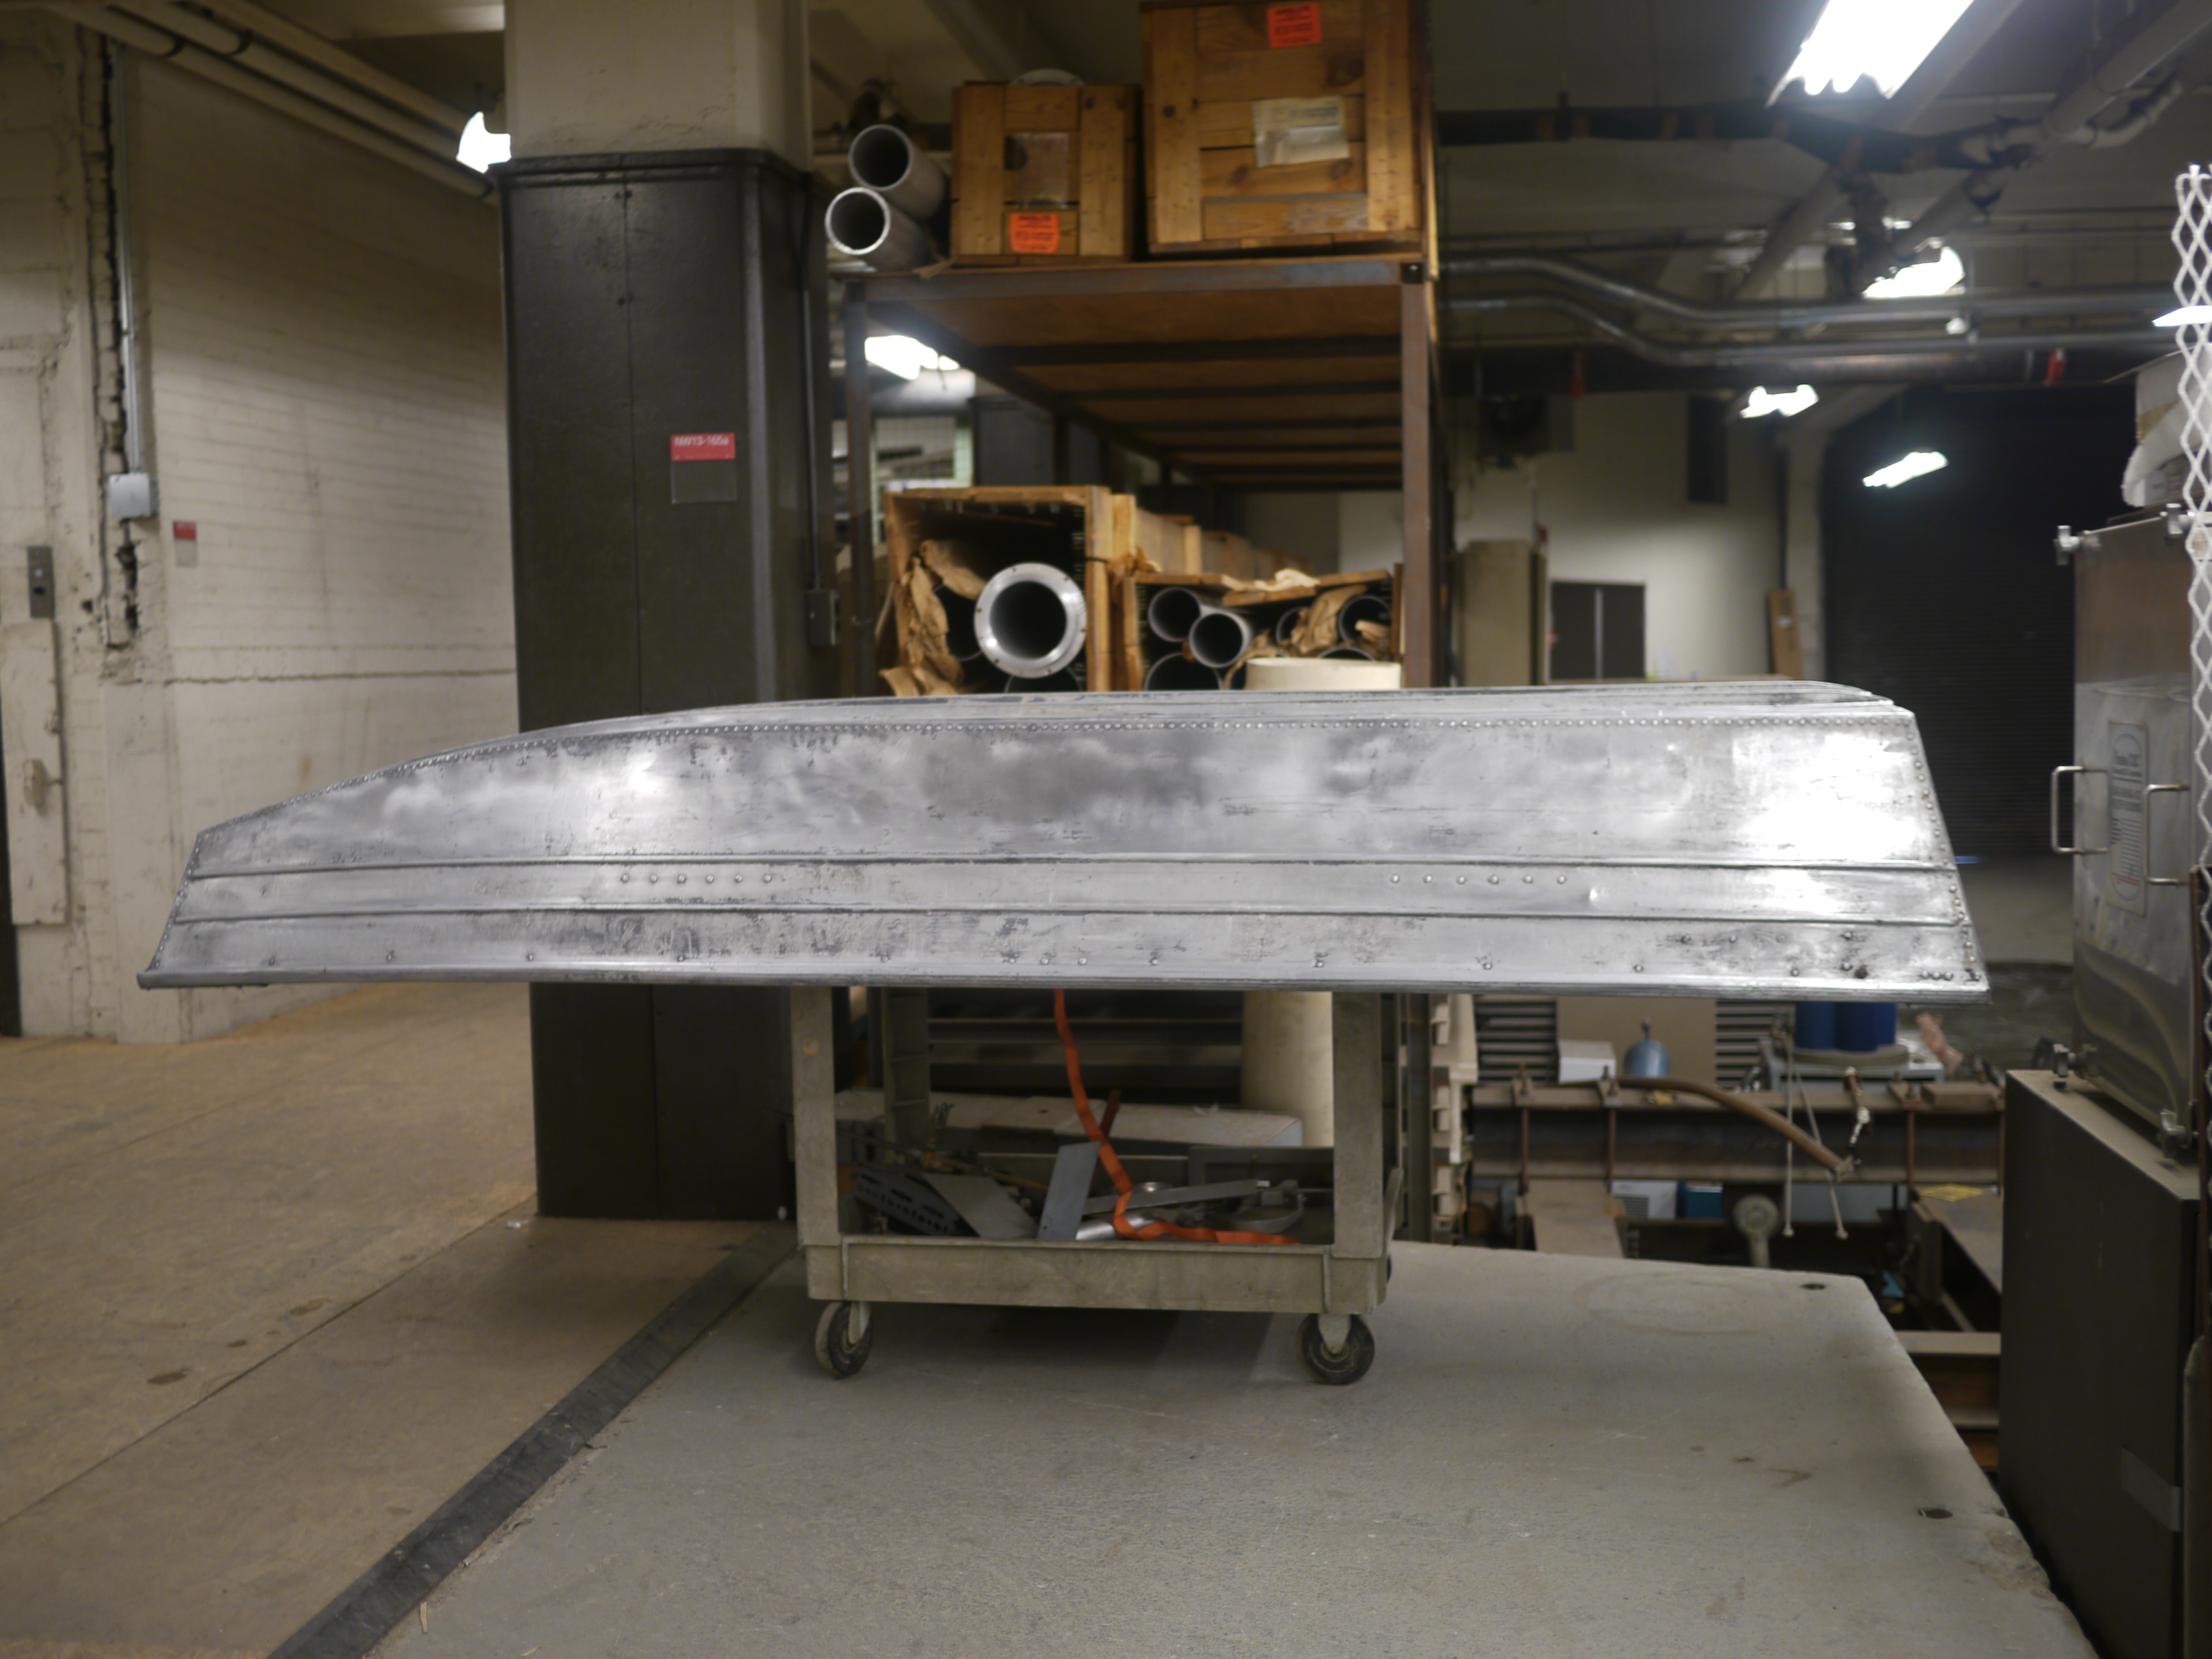
A good space to work. The stripping process is messy, the paint that gets removed needs to go somewhere. For this, an unused garage bay did the trick, I purchased 14' square painting sheeting and taped it to the floor to act as a 'goop pickup' scoop. It worked fairly well. The boat itself was raised from the ground and ratchet strapped to a cart. This allowed the stripper application and paint scraping to occur up in the air versus bent over on the ground. 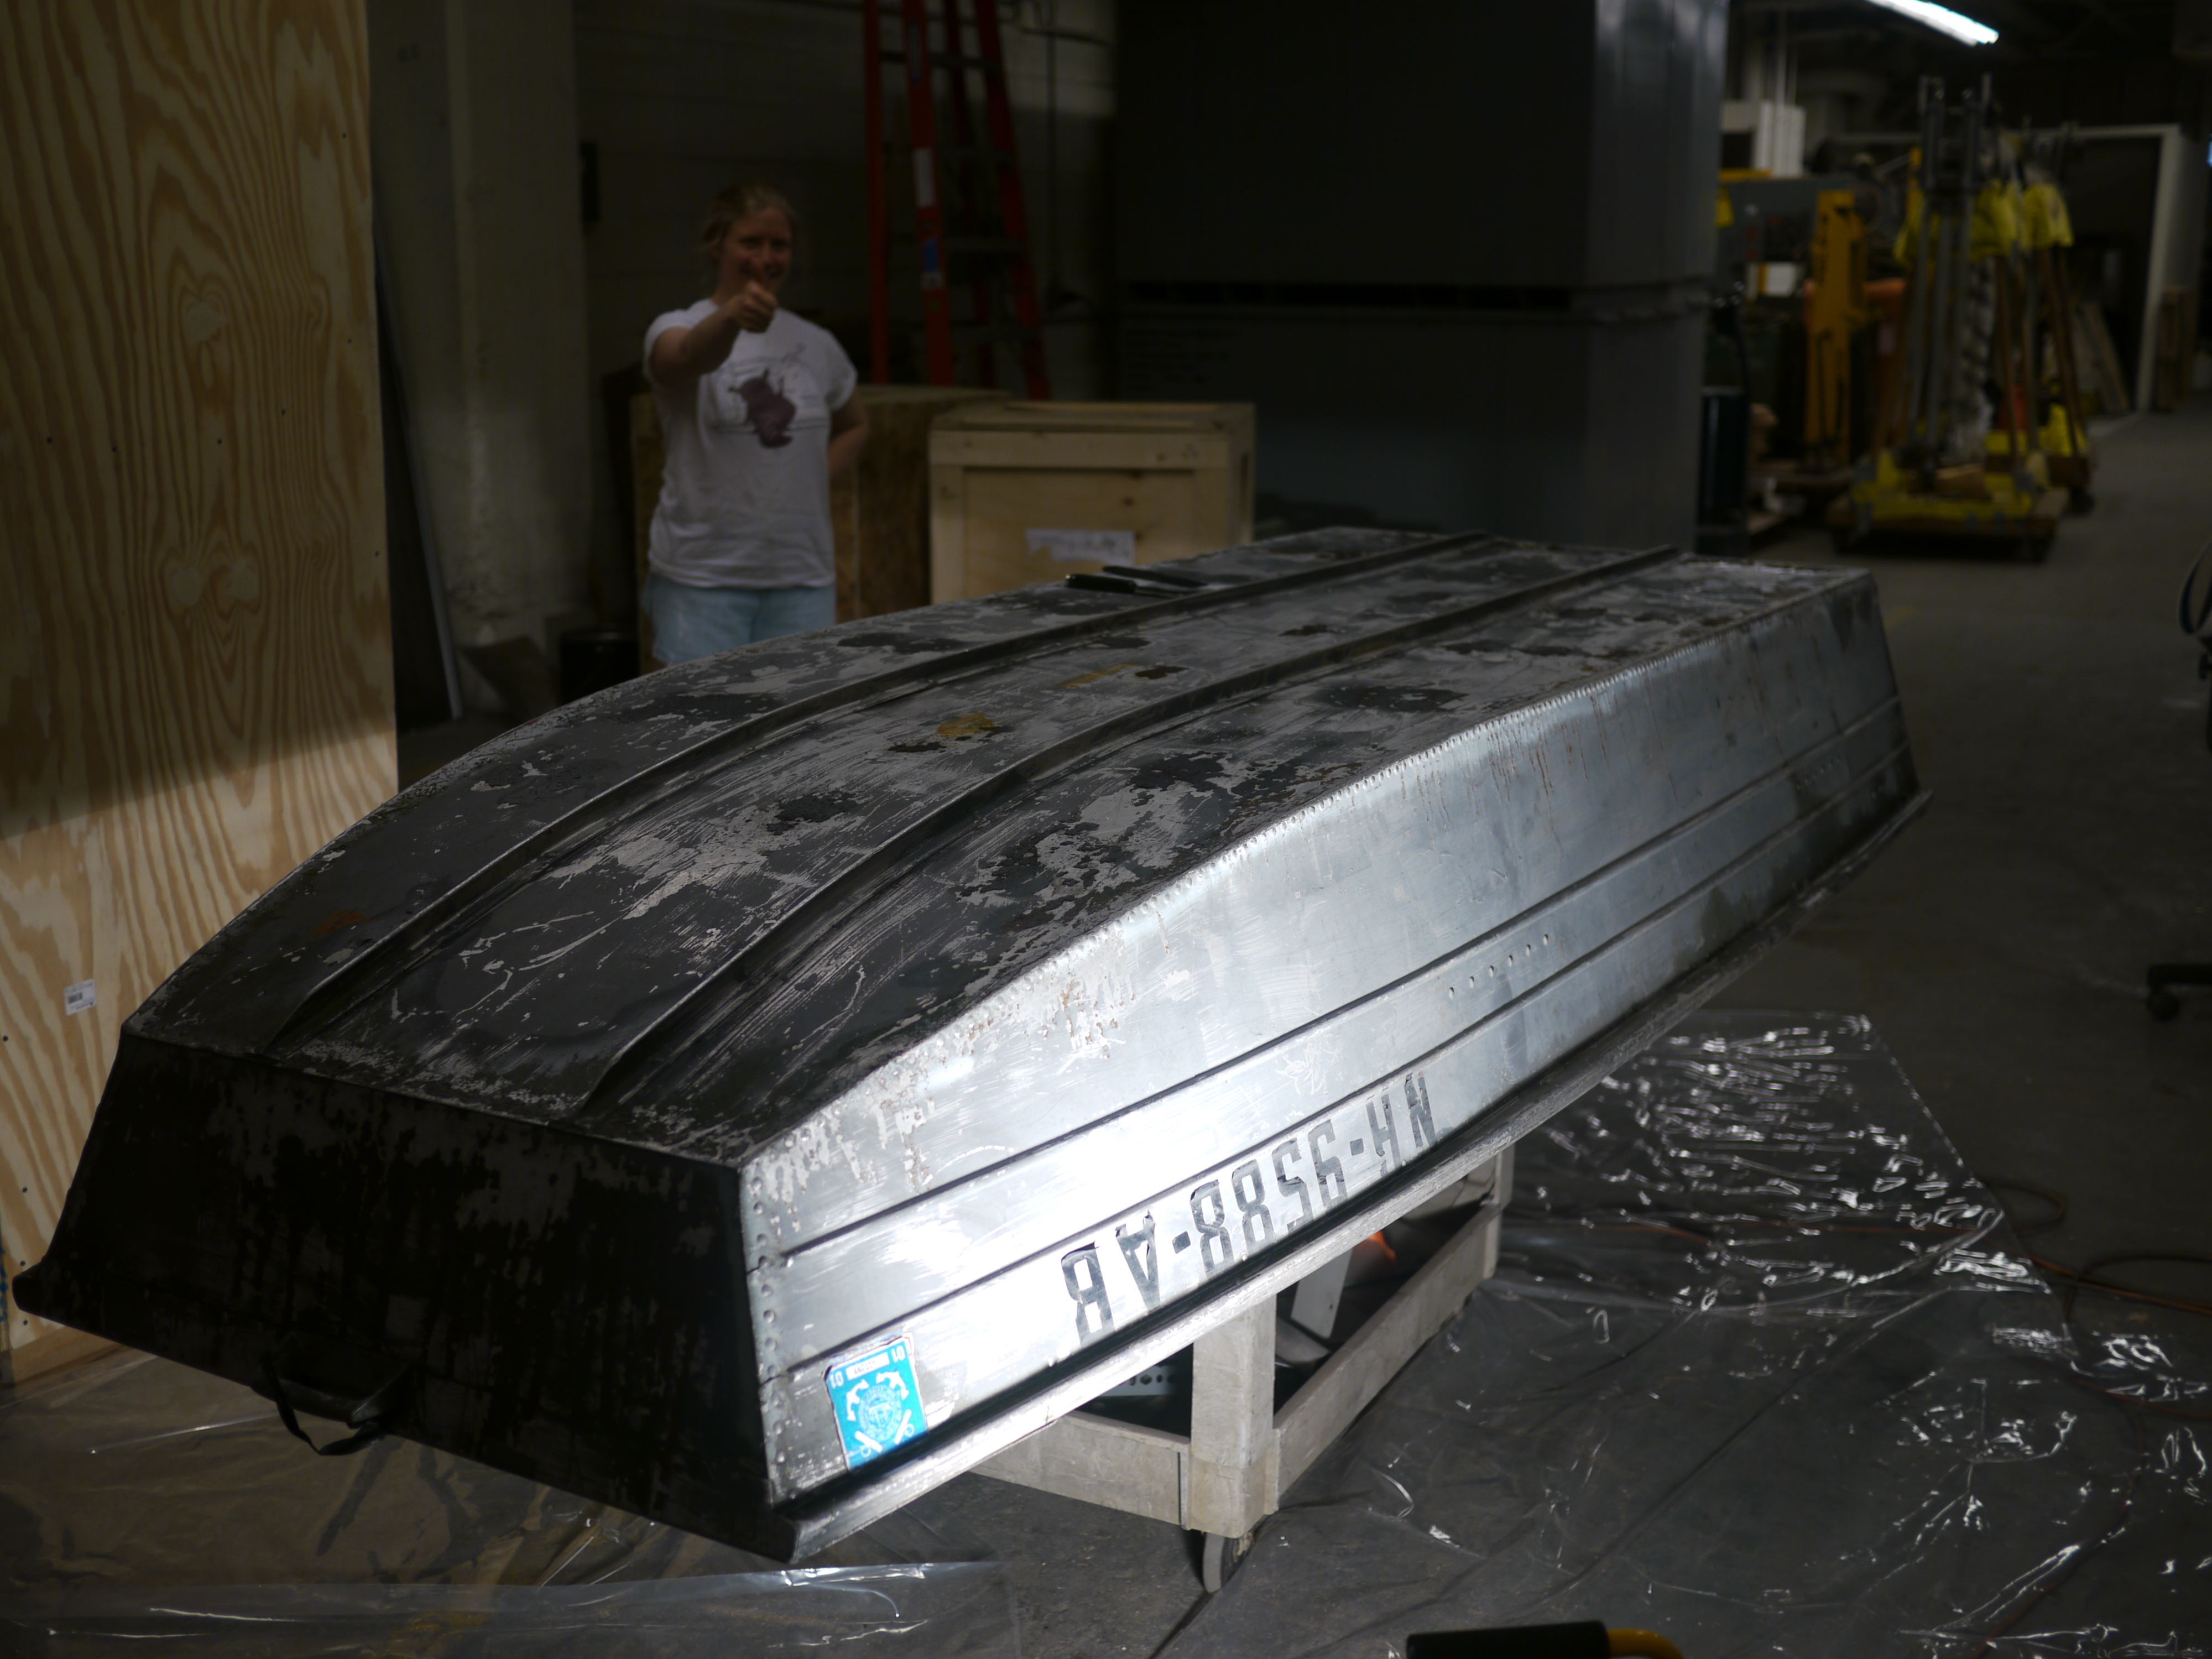
The De-painting began with an environmentally friendly Citri-Strip QCG73801T stripper. It's available [link] and purports to be non toxic. I was mostly concerned with the stripper eating through the aluminum on the boat. About two containers of goo were used to begin the stripping process. Paintbrushes were used to spread the goo and form a layer over all of the boat surfaces. The ever excellent Sam helped make this possible, as there's quite a bit of boat to cover with only one set of hands. Note, gloves were mighty useful during the goo spreading. I think we burned through a dozen sets of gloves. 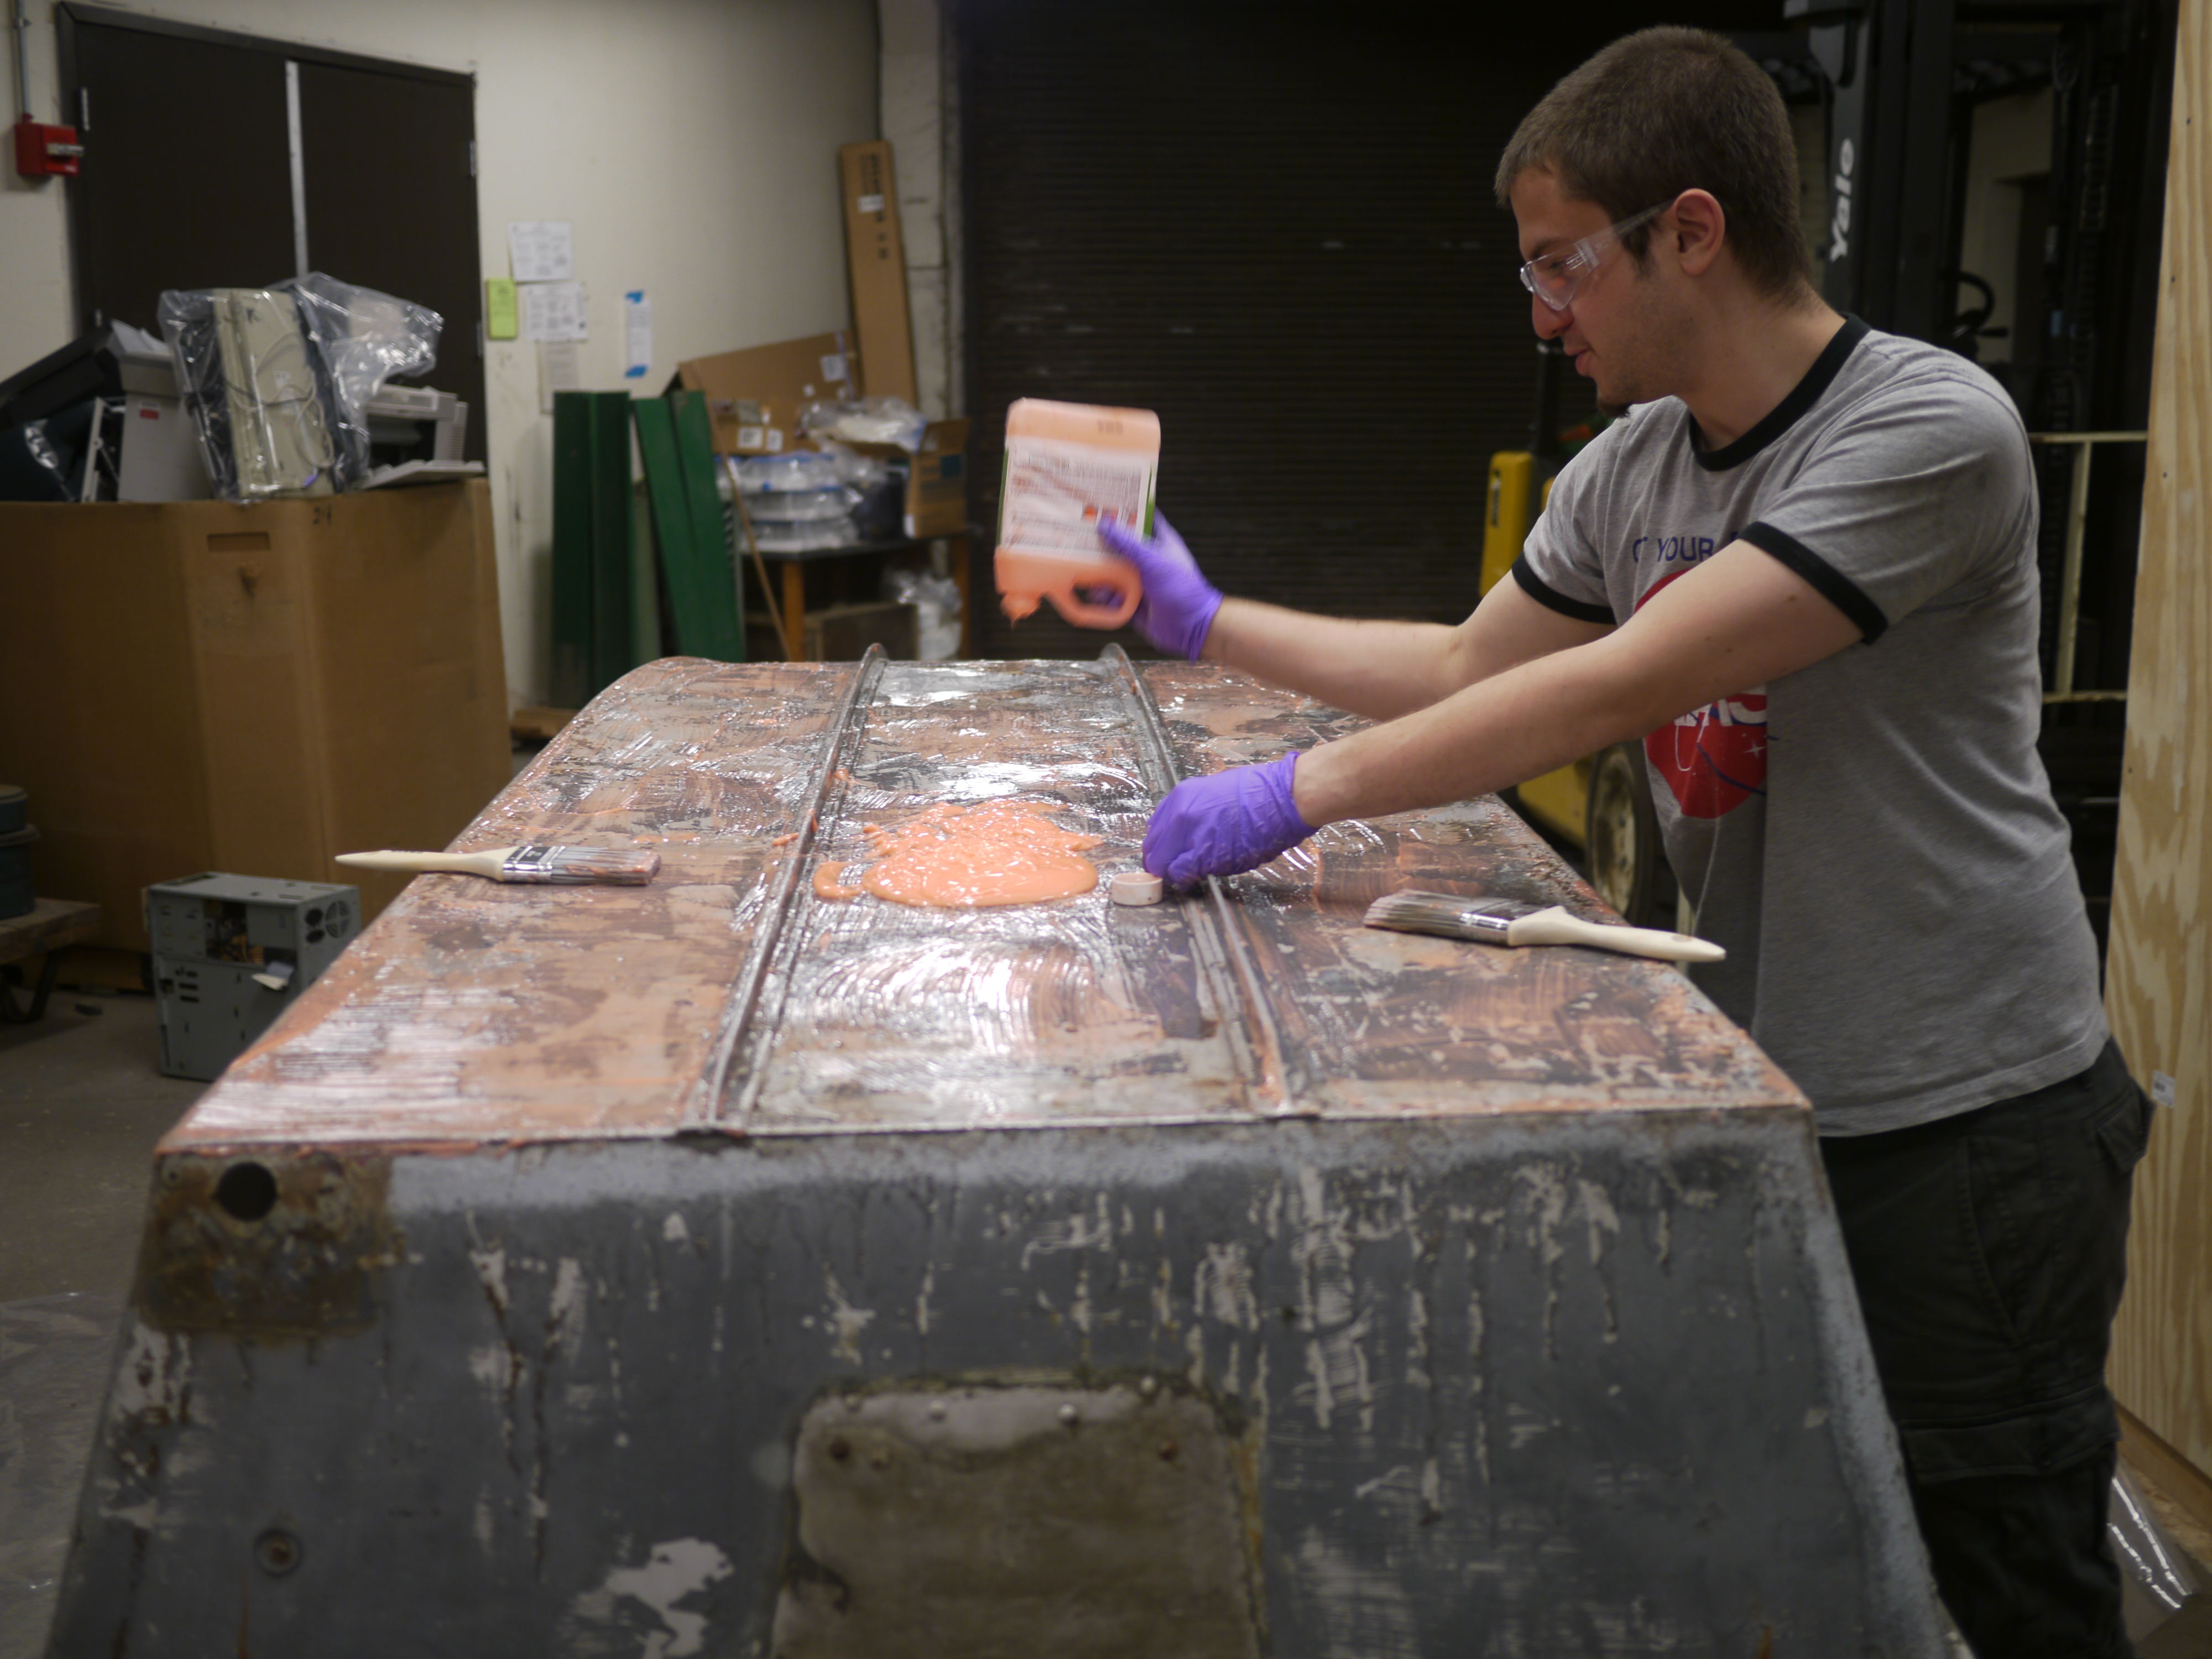
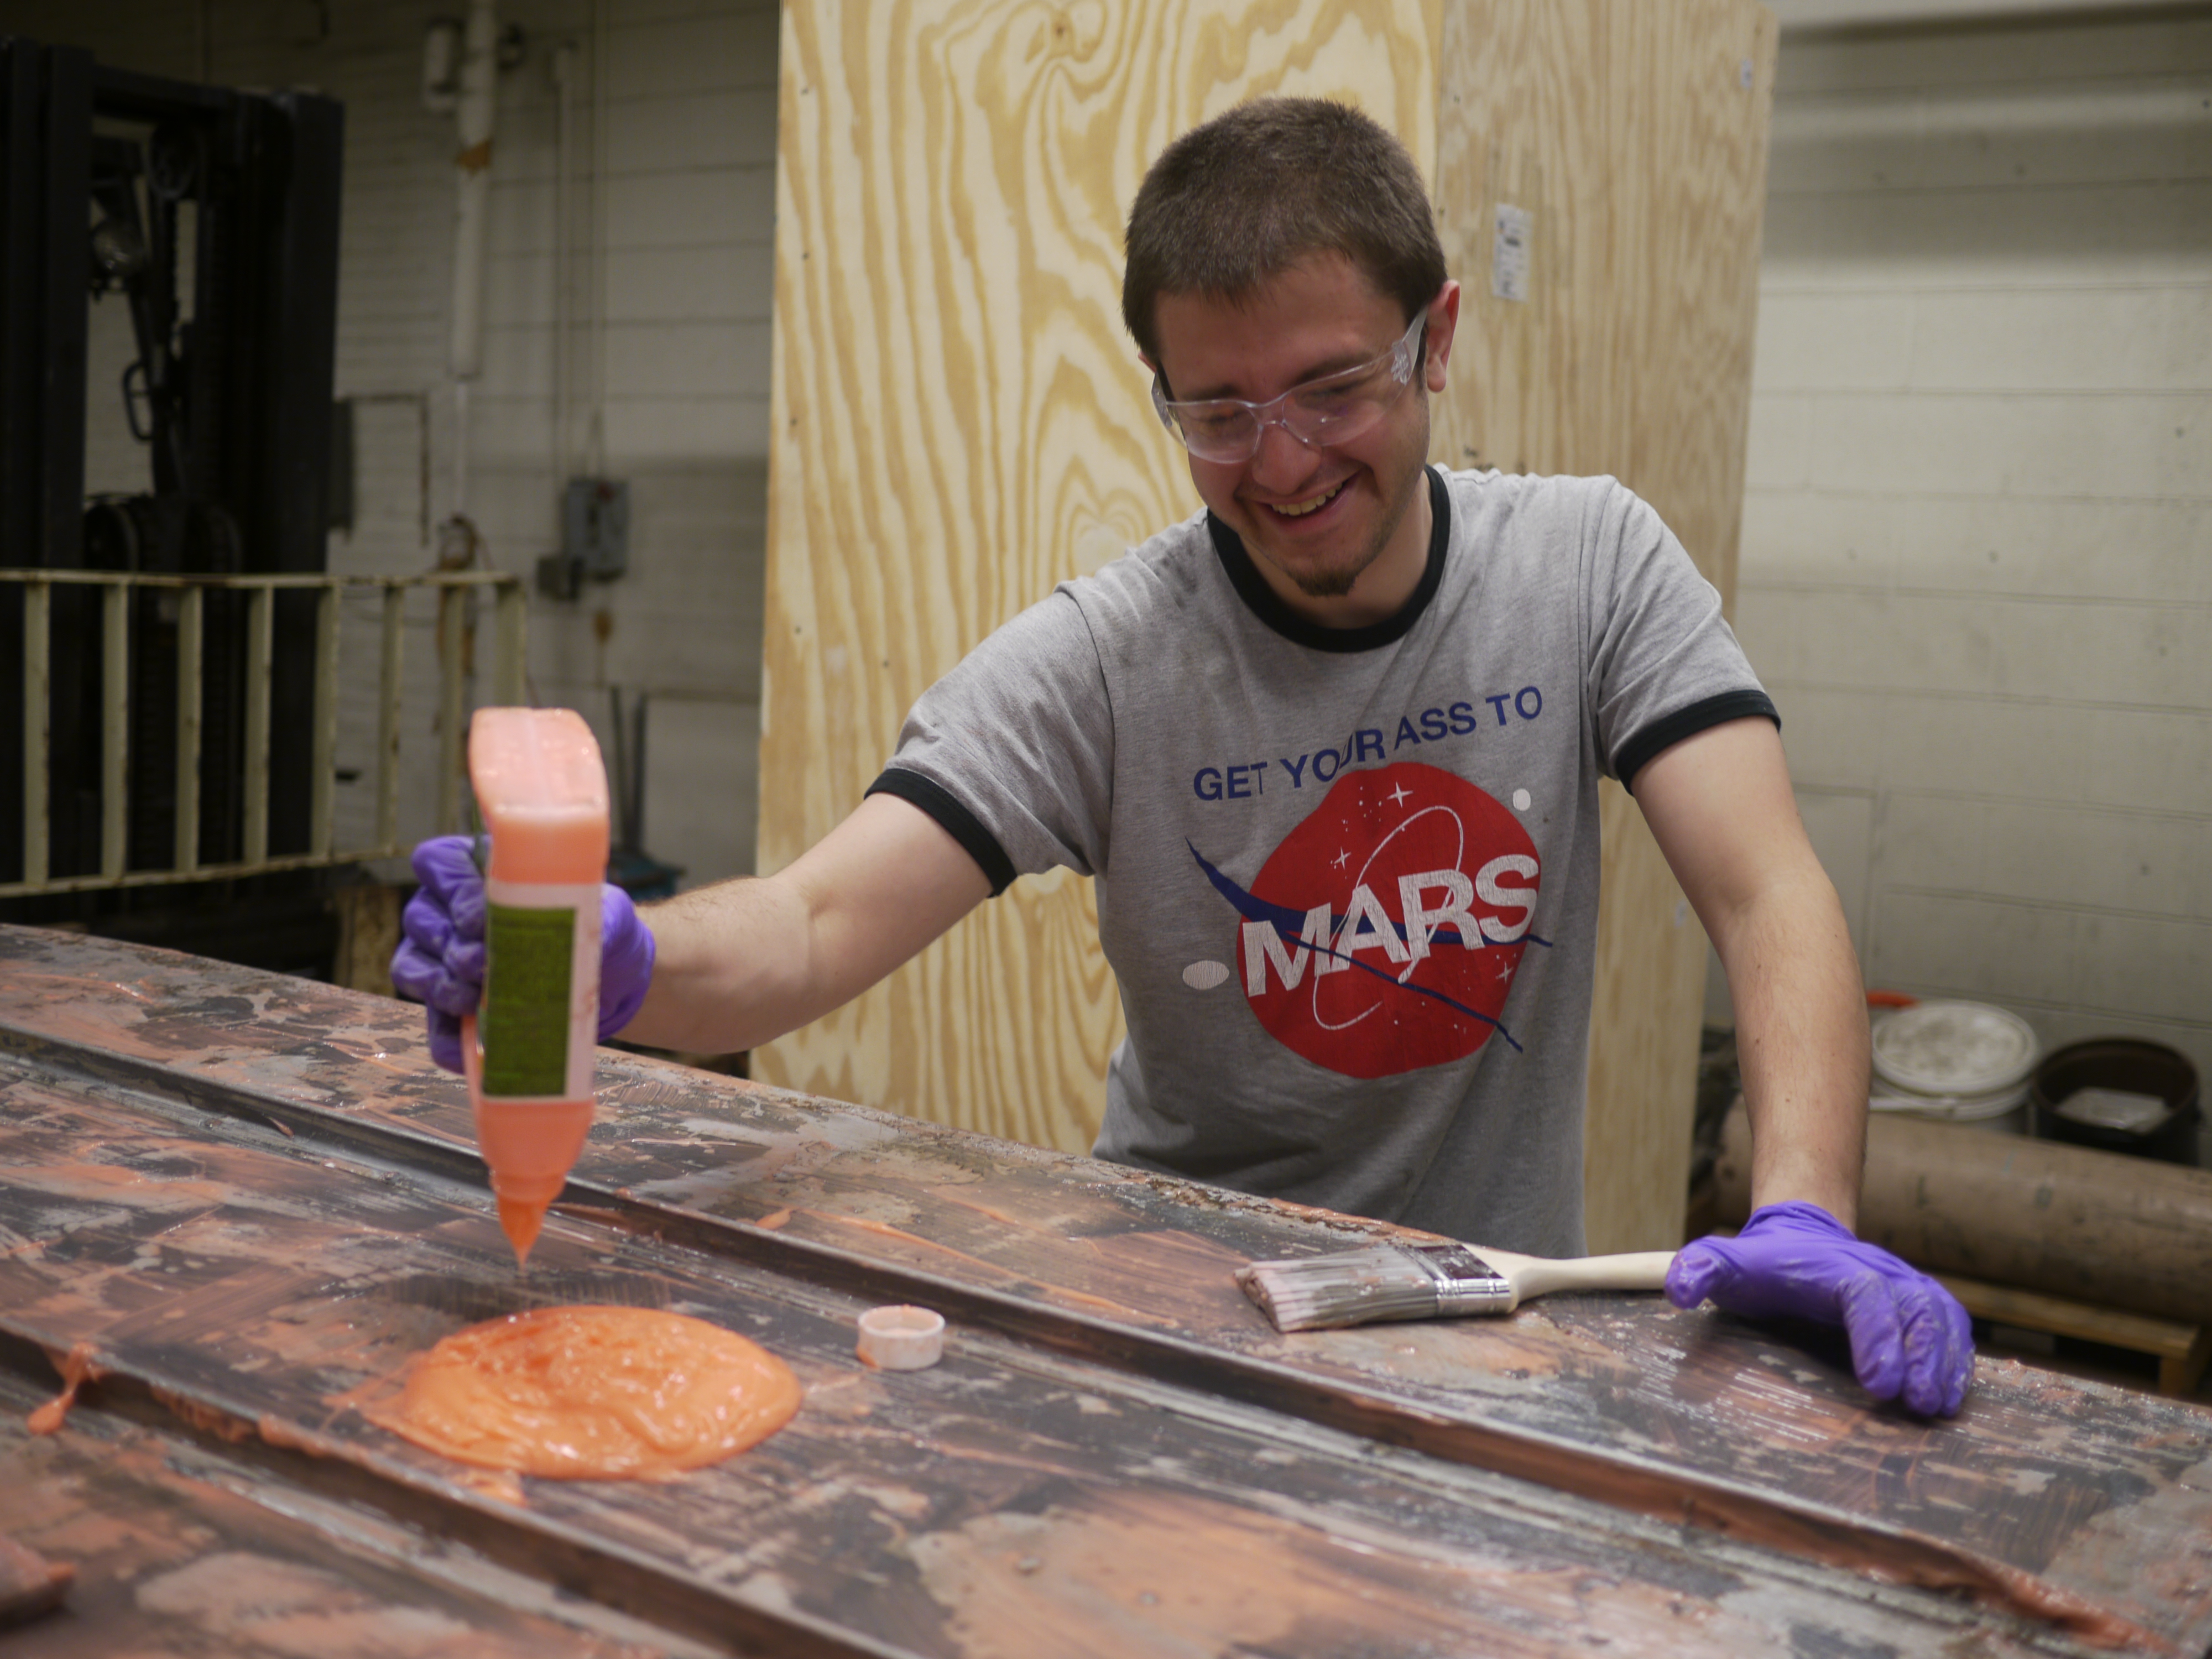
With the goo painted on just about every surface the process began. We let the whole boat sit overnight and let the paint stripper do its magic. I was fairly suspicious, as the stripper had no volatile scent or eye-burning sensation when nearby. I put up a sign in case anyone got curious as the pink goo went to work. 
ONE DAY LATER. To both me and Sam's surprise, the paint started peeling off! The goo had worked. Slowly, using a scraper, sheets of the paint and goo started coming off, piles of disgusting paint were everywhere. We ended up going through a box of gloves. 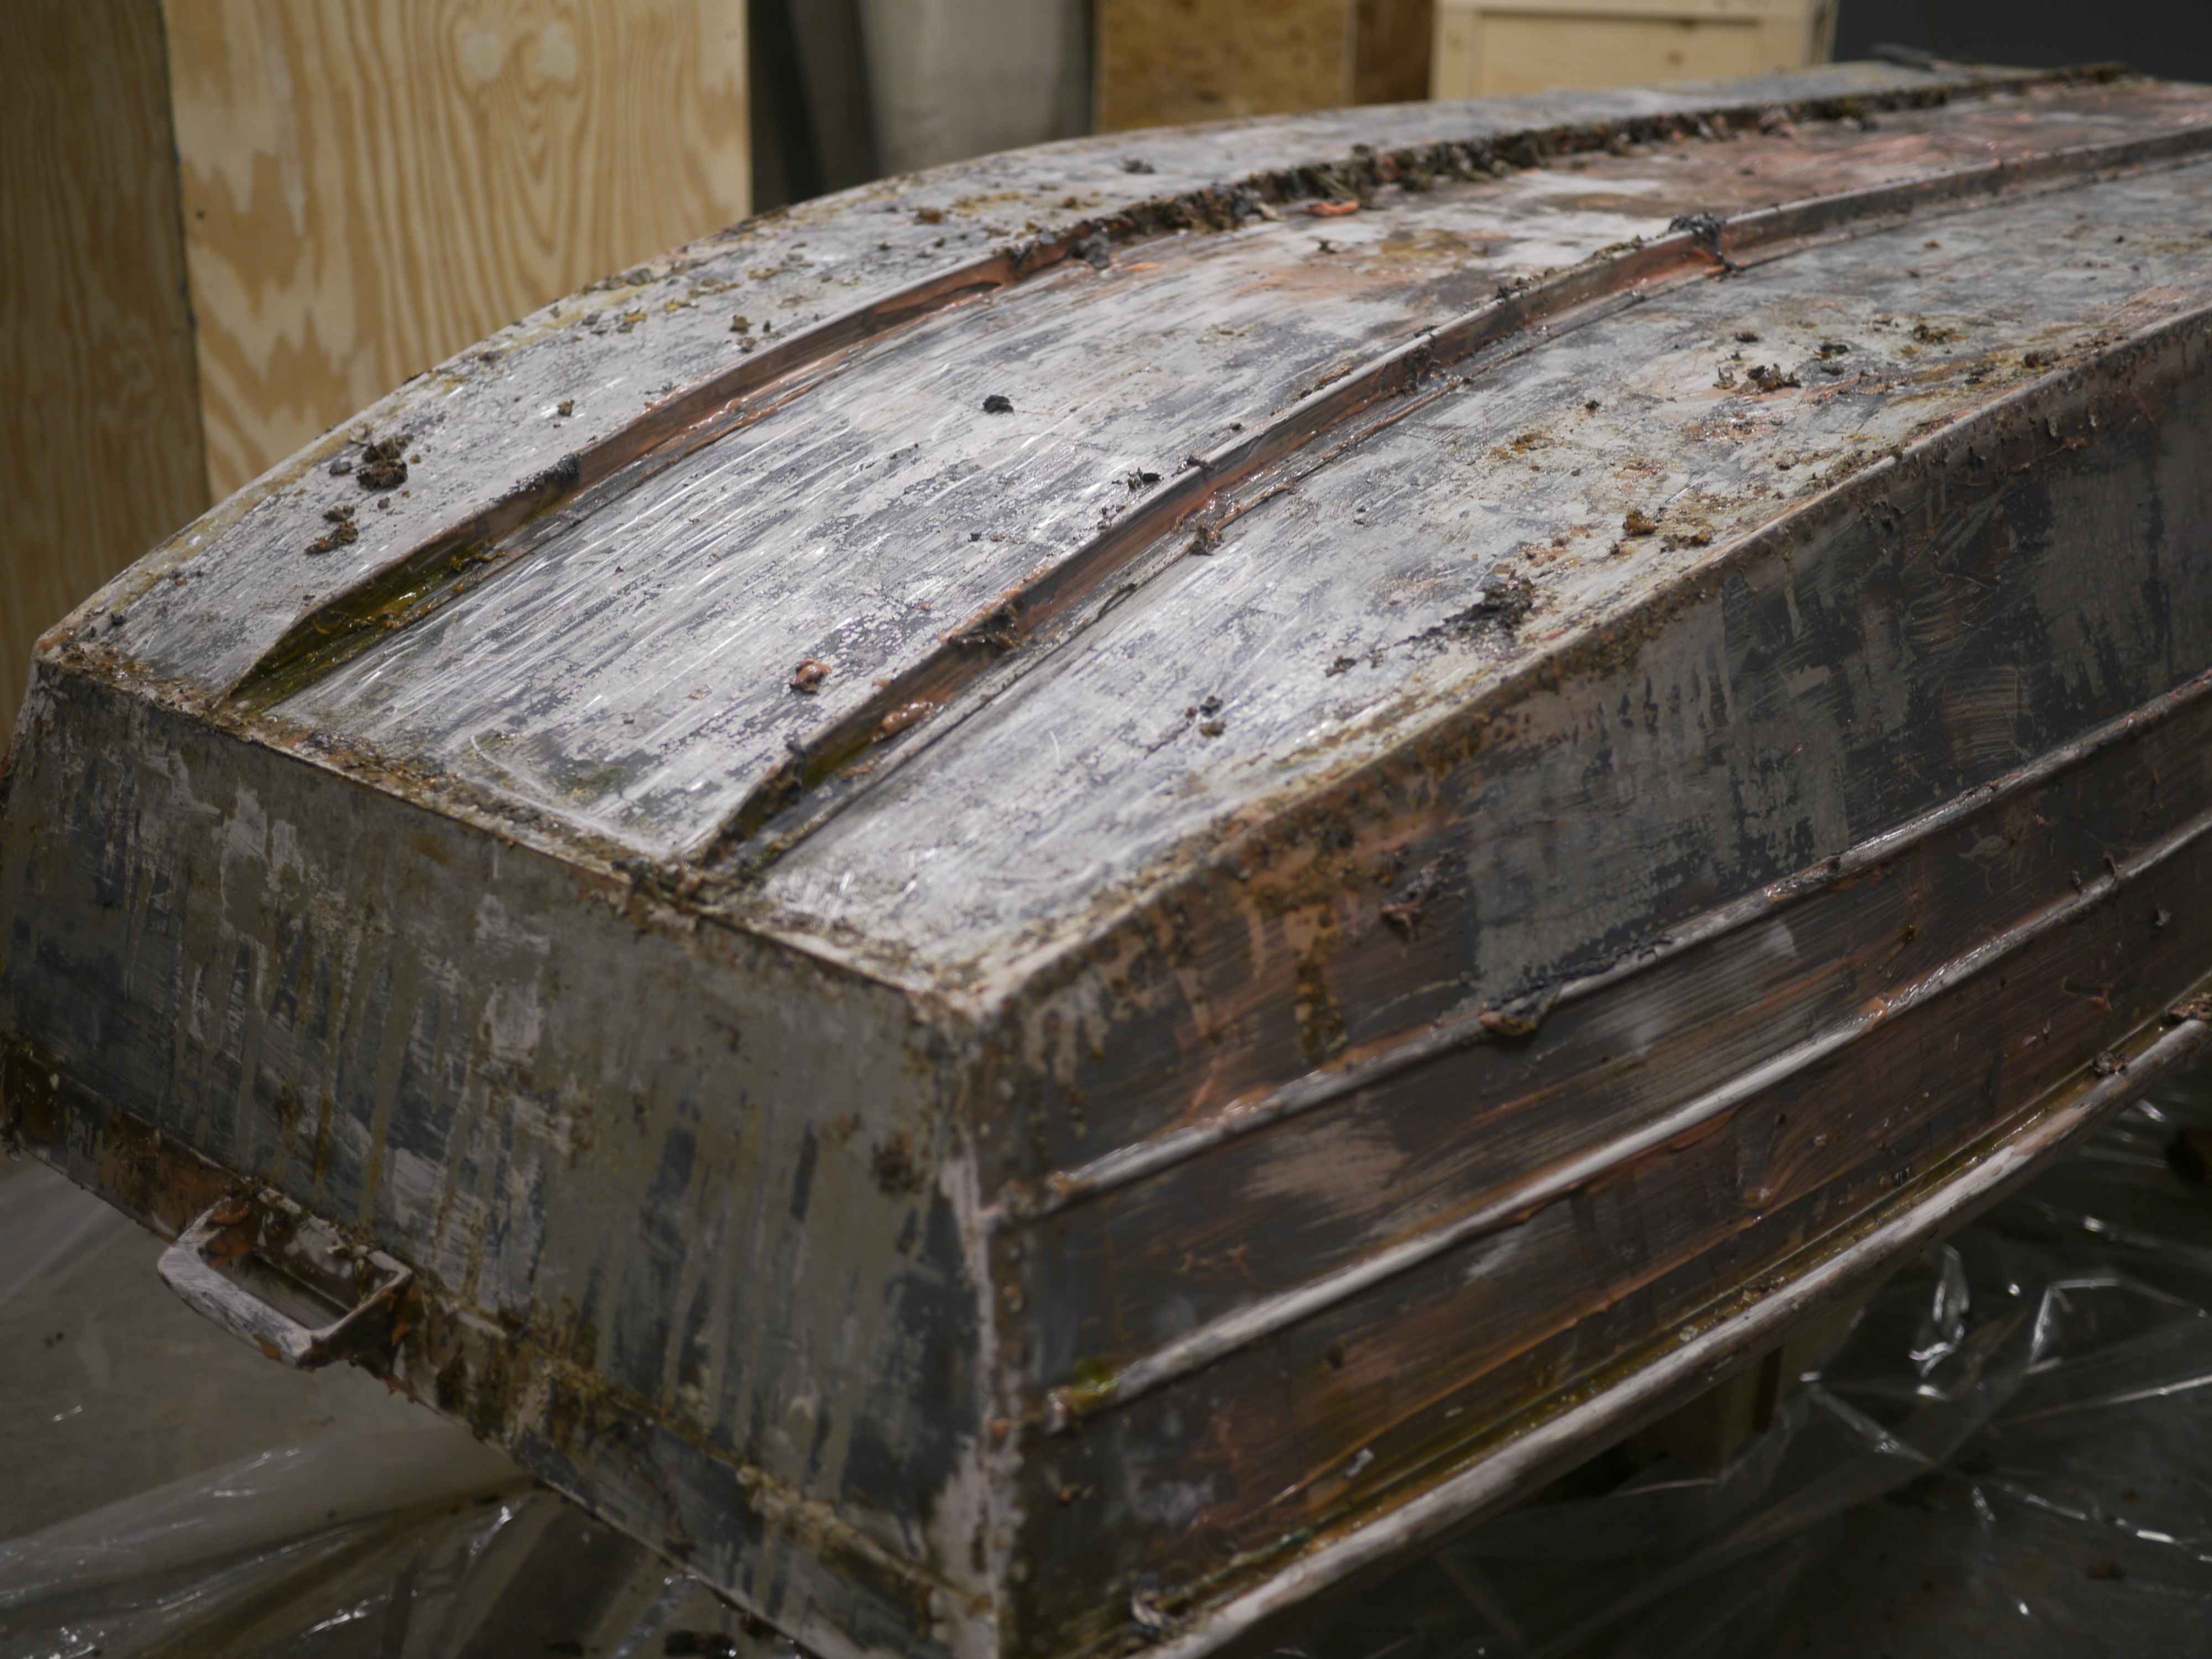

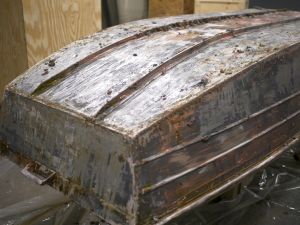
With a pass of the scraper the goo peeled off. The difference between the scraped and unscraped are shown on the top versus the bottom. There were some curious parts, we did find particular buildup of 'stuff' around the rivets. I was convinced it was, er, 'biologicals' or 'coral' or something, as it turned out, after we arduously removed most of it, it was most likely sealing epoxy... So that happened... 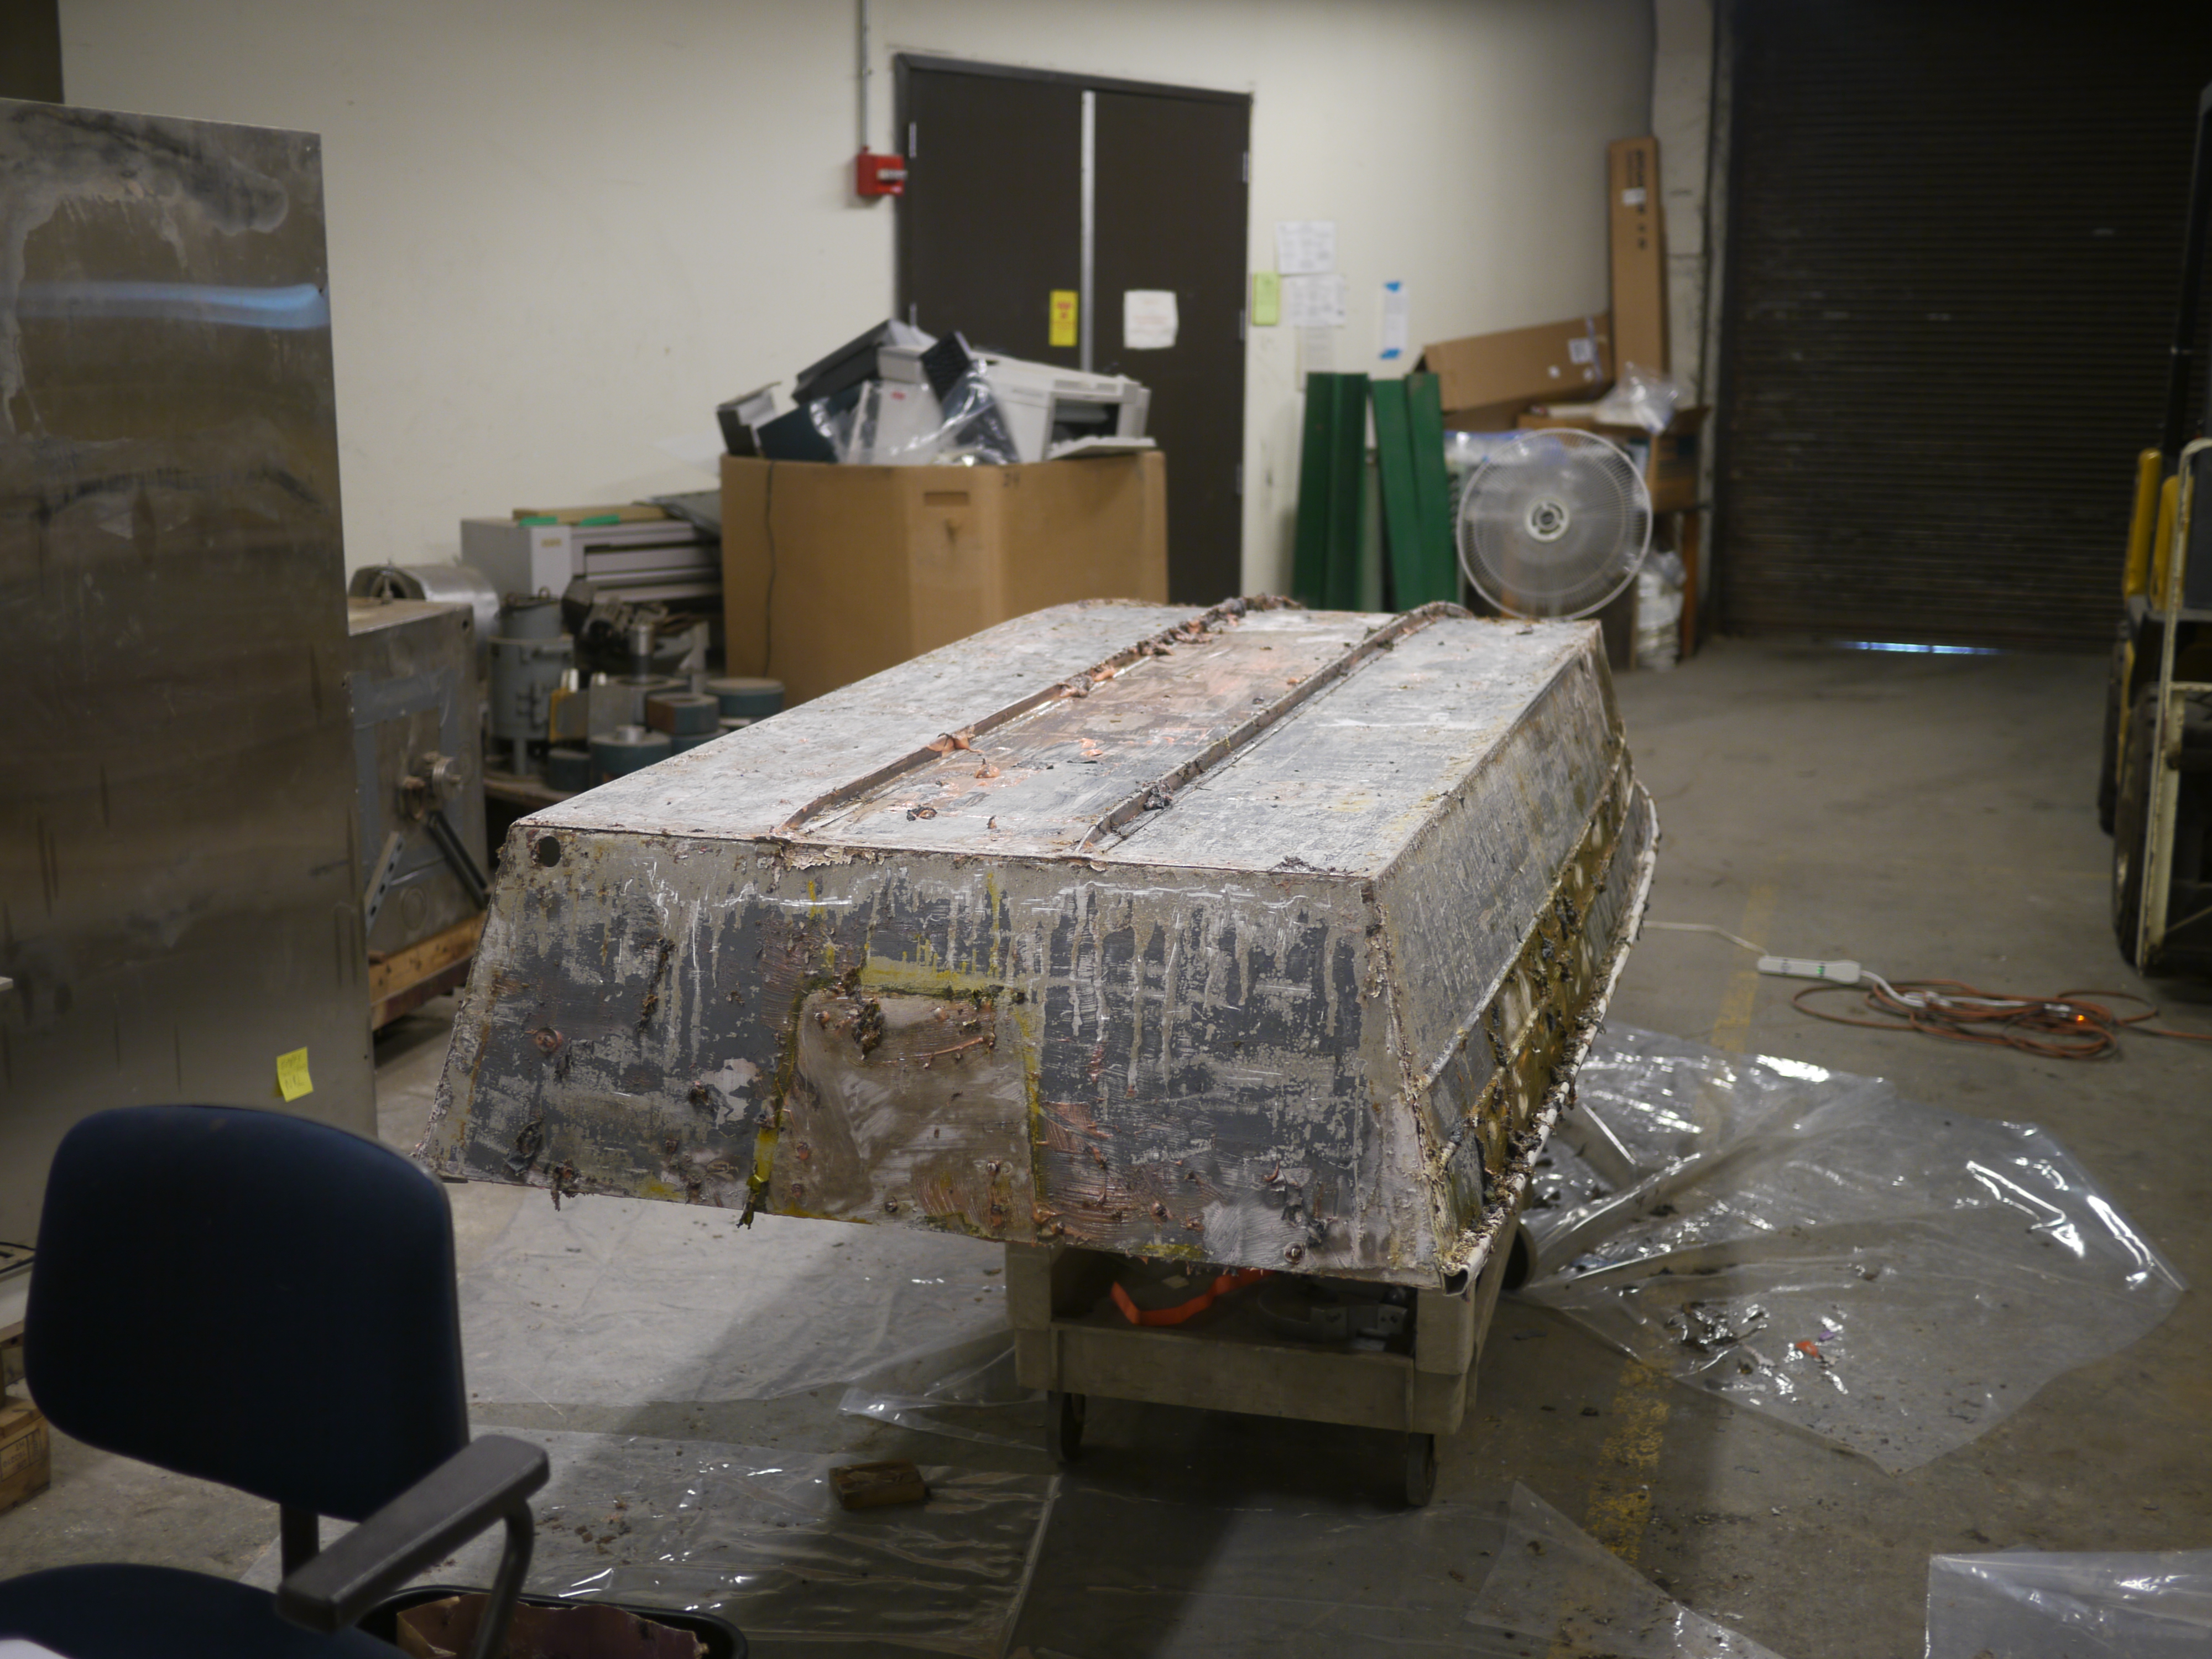
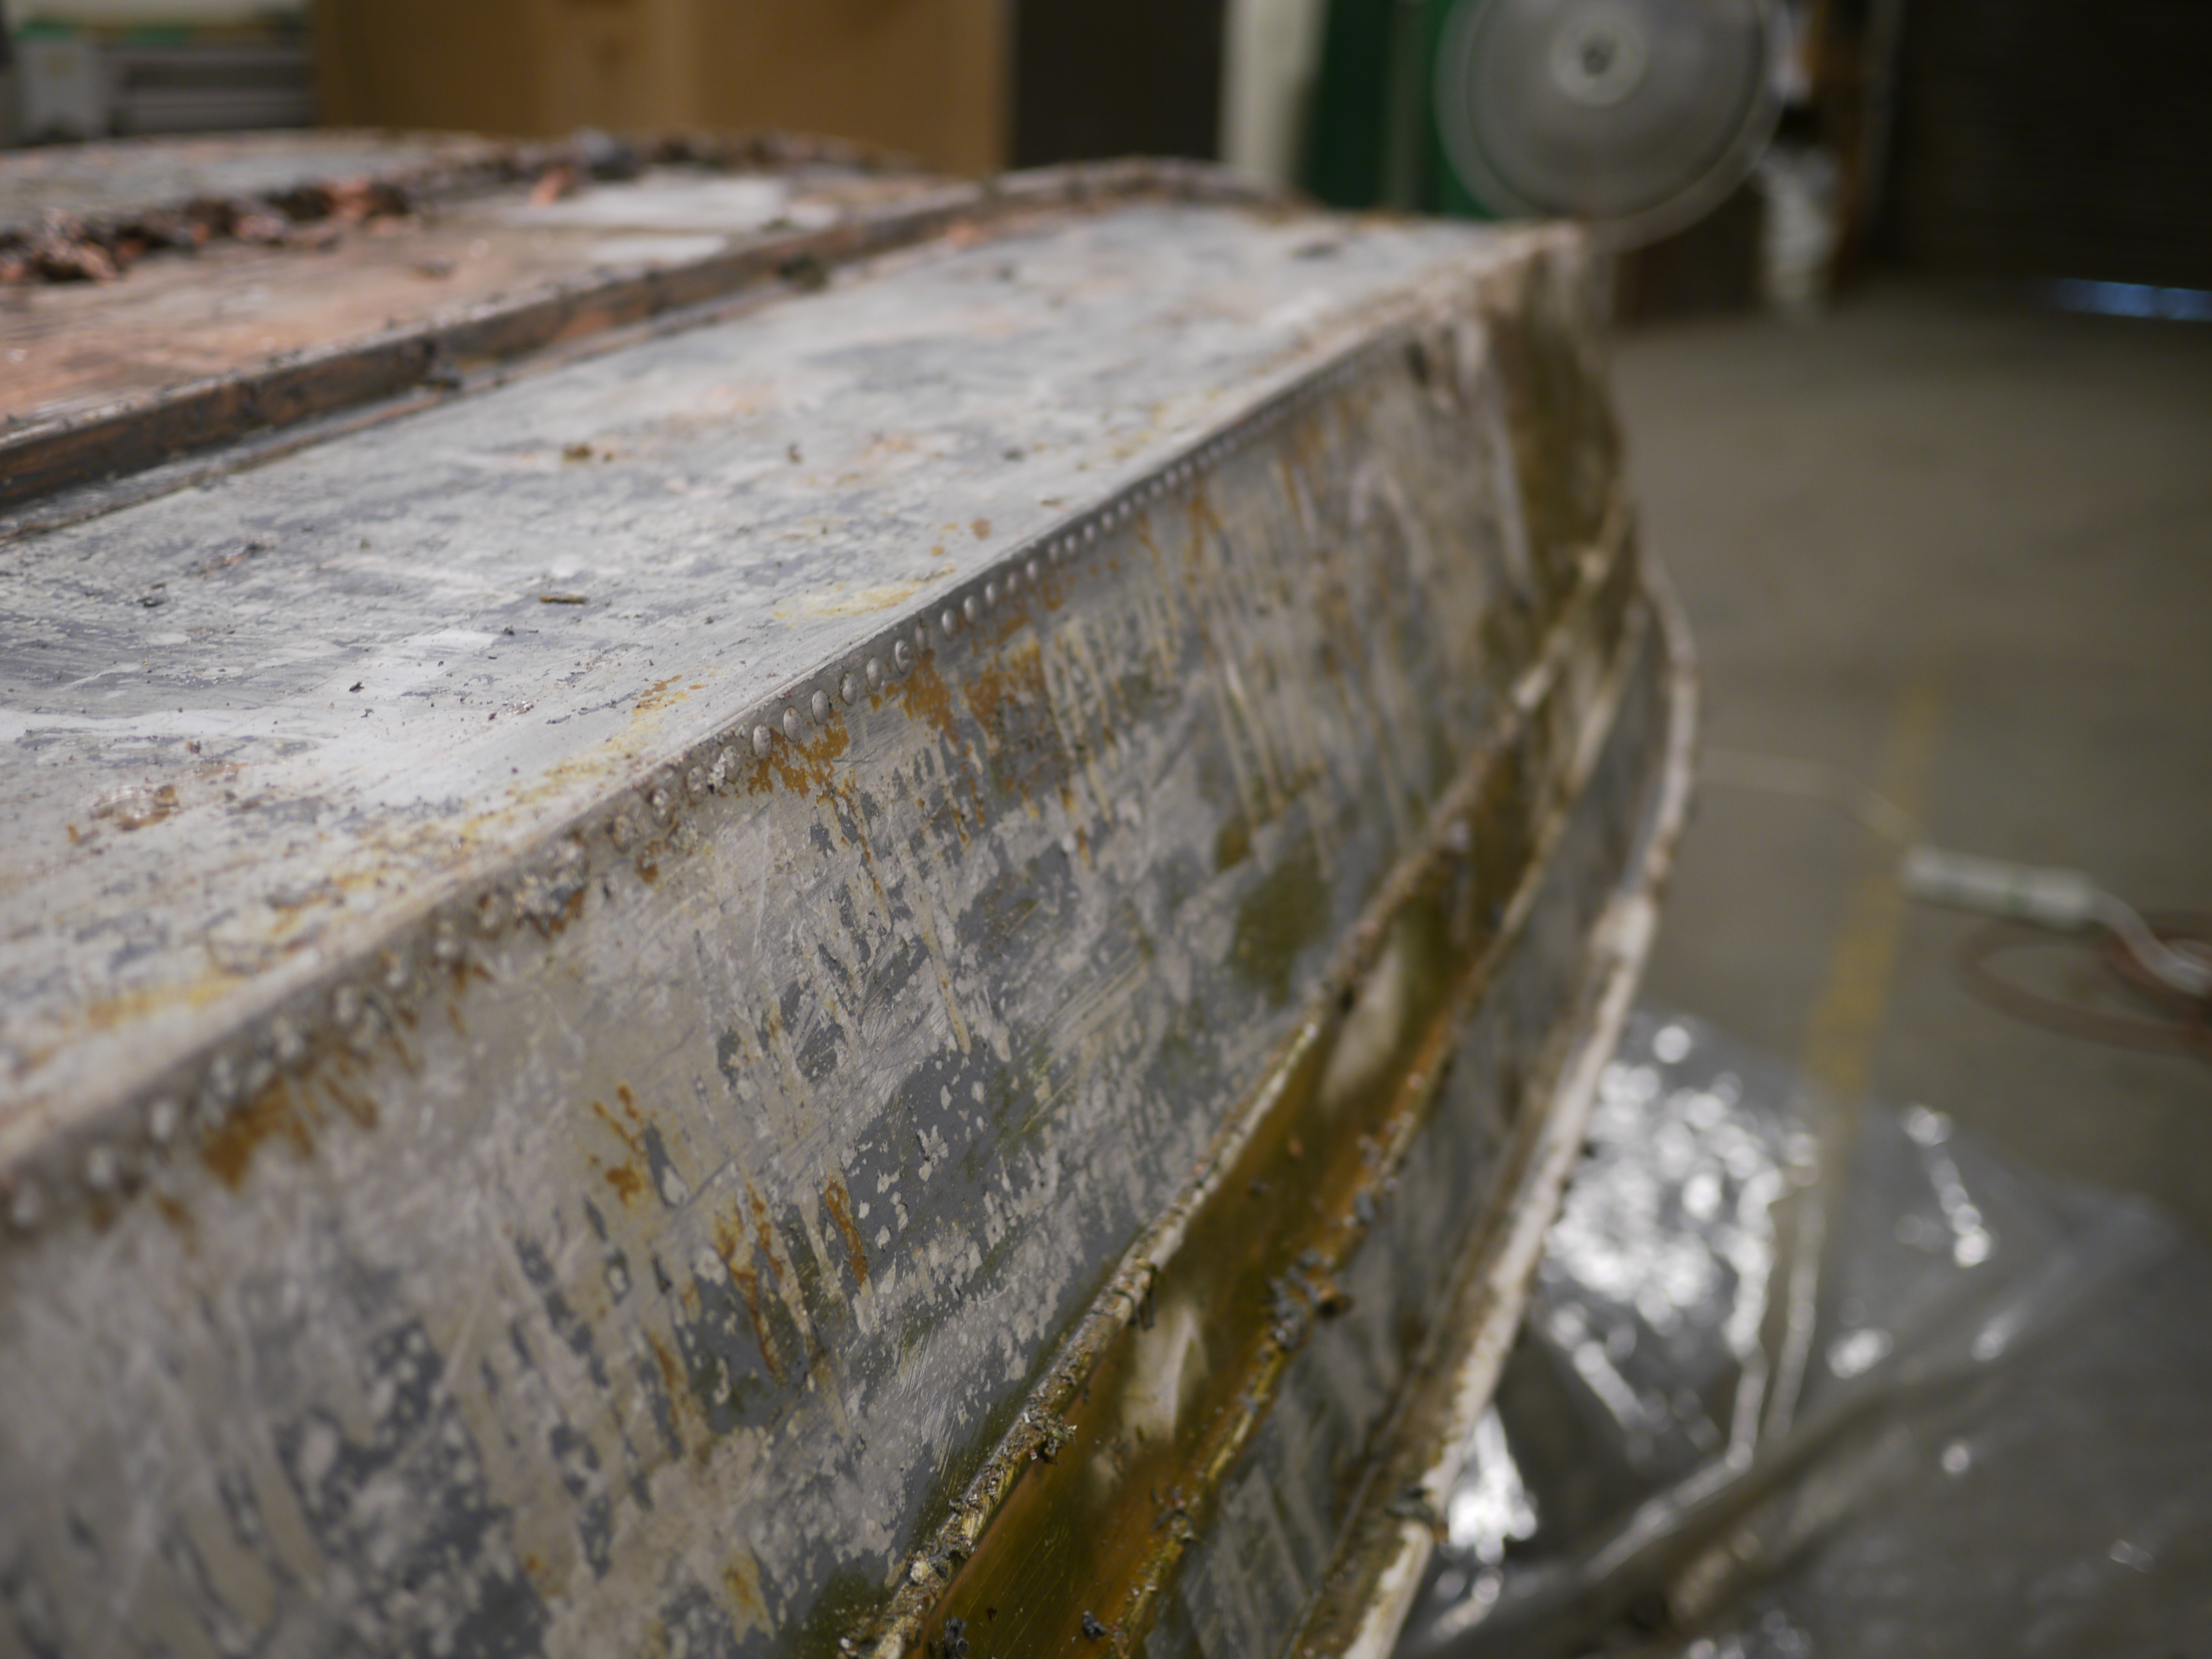
Wire brushes, brillow pads and grinders, oh my! With a lot of hard work and scrubbing the aluminum started to appear from under the weathered outsides. 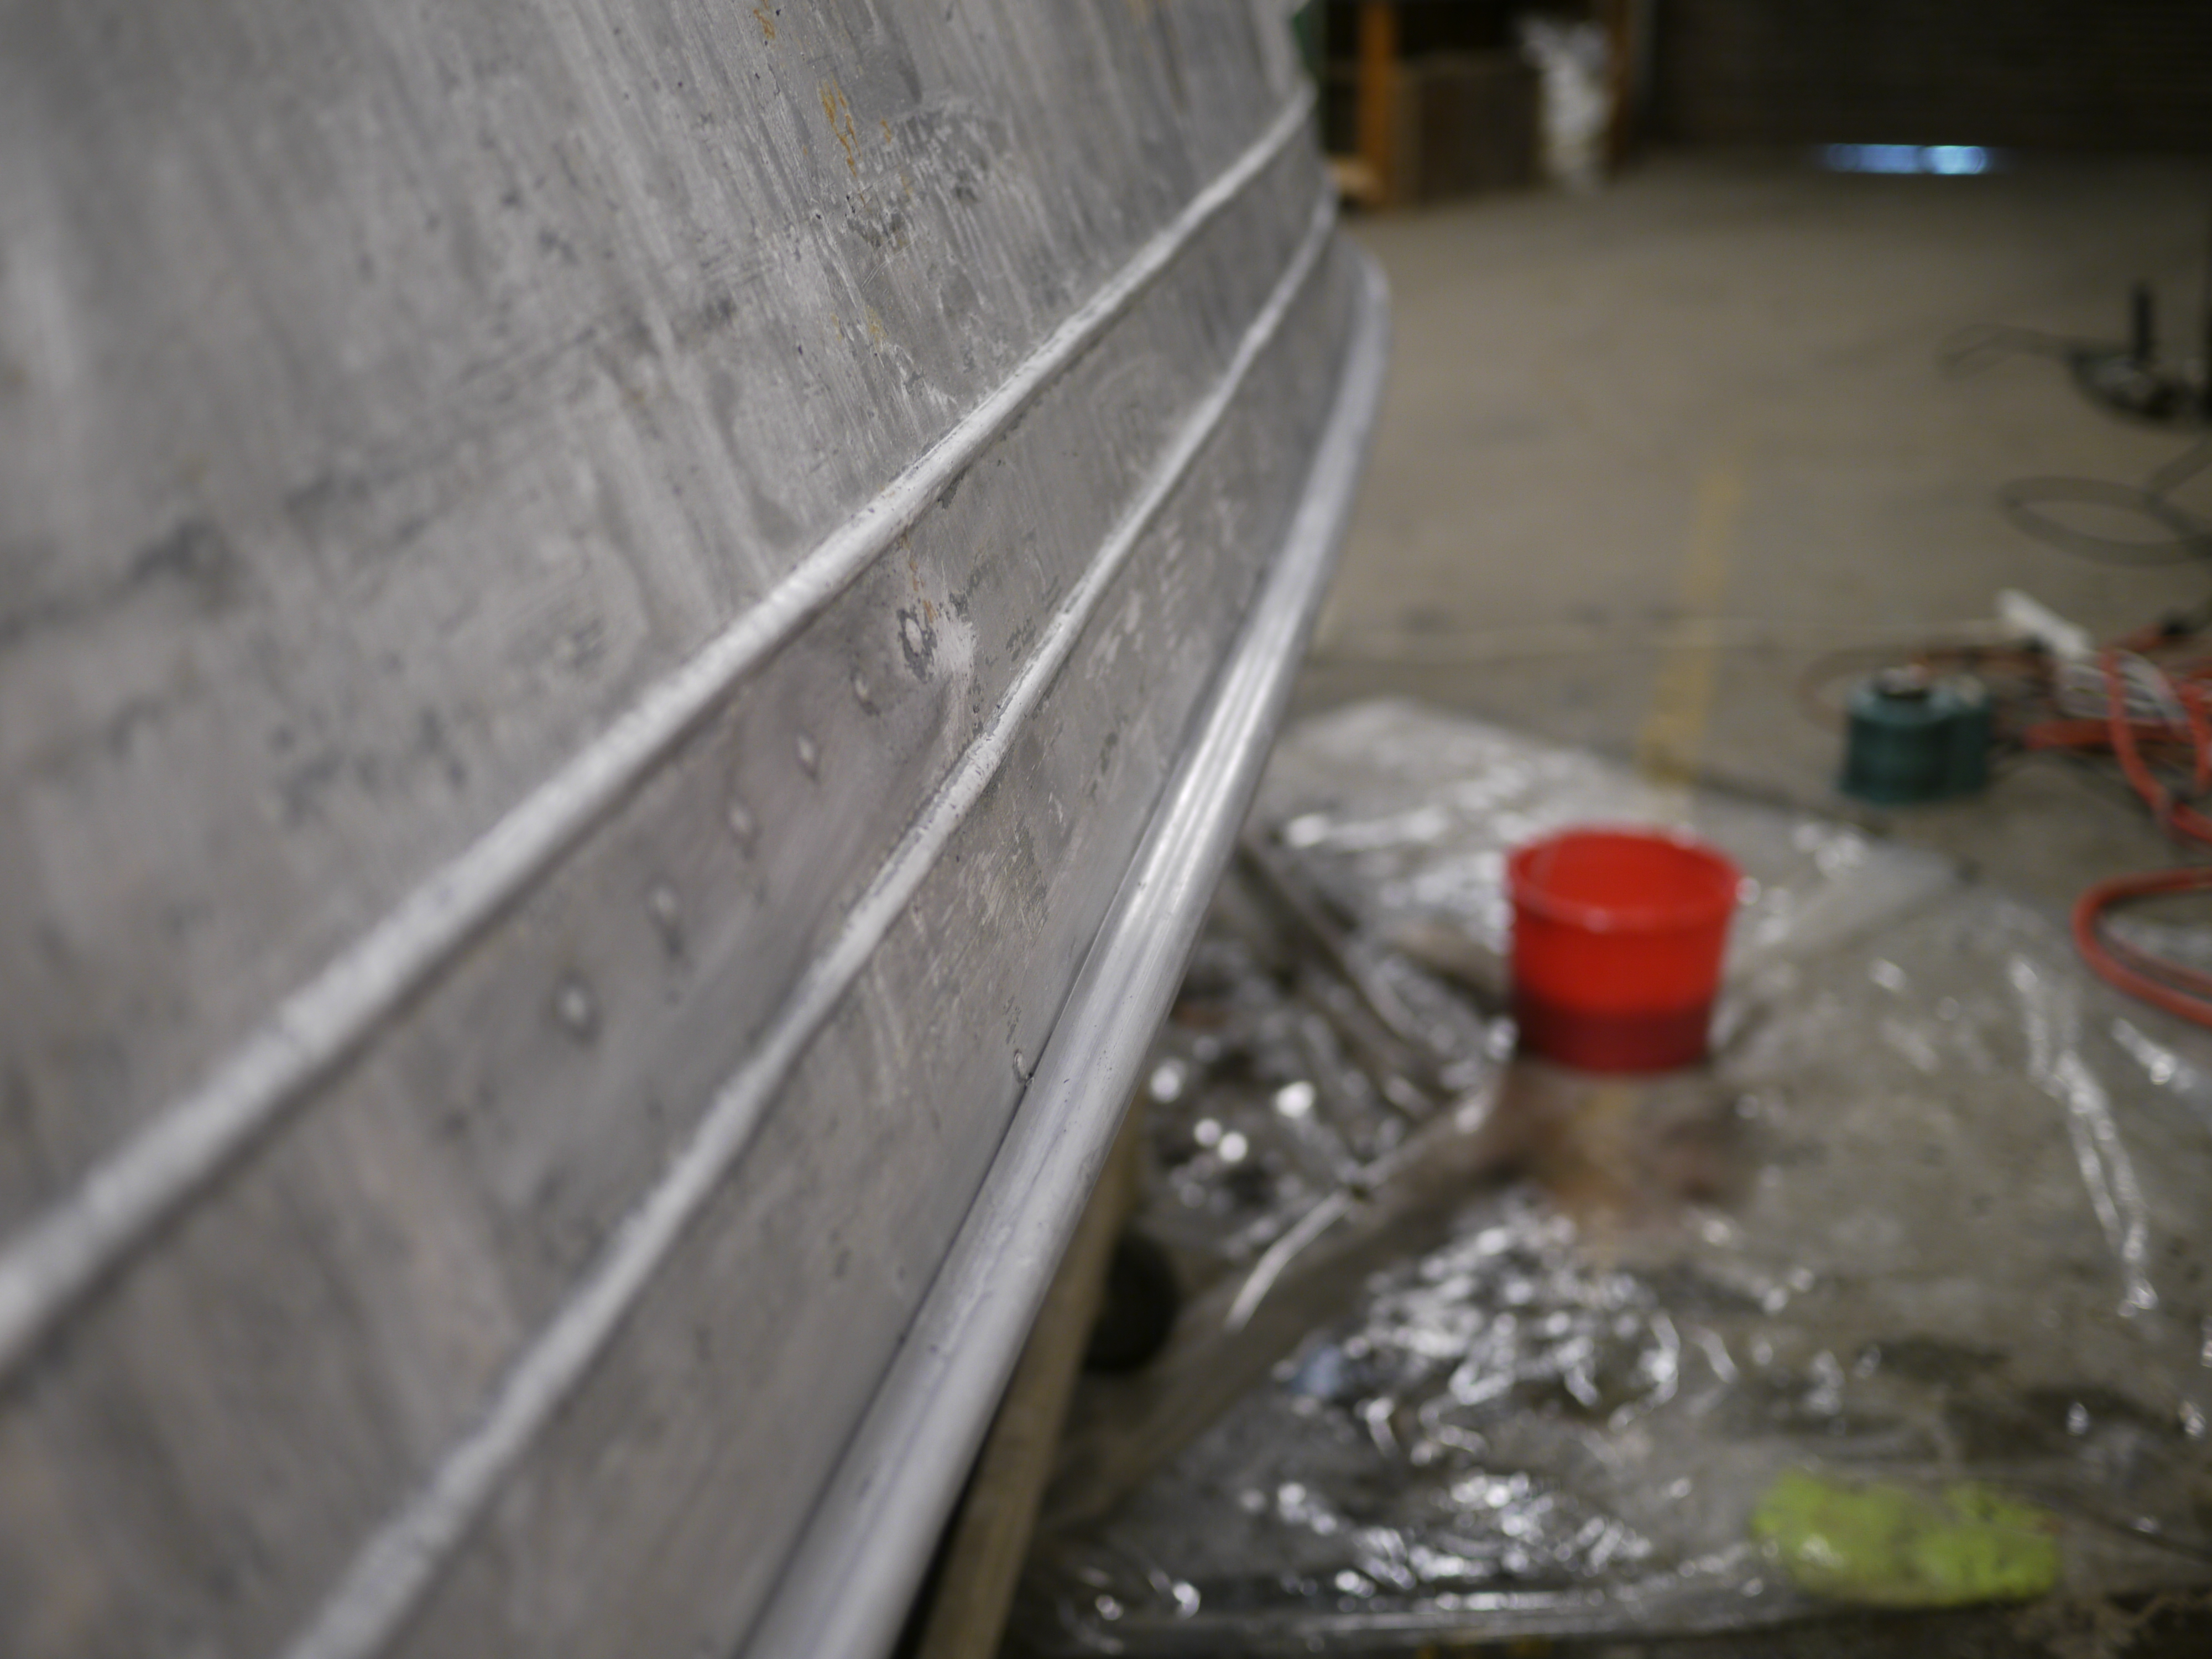
Tools of the trade. As it turned out, wire brushes attached to angle grinders are fairly ineffective. While they are coarse, they also surprisingly get clogged fairly quickly. The quick solution was 'smush a scotch brite pad into the wire brush and go to town'. The 120vac angle grinder was run through a variac to limit the voltage to a more reasonable ~40 vAC. FRED lent his 18v dewalt-grinder-of-science and lo, there was some excellence. The poor battery would get chewed through in a few minutes. 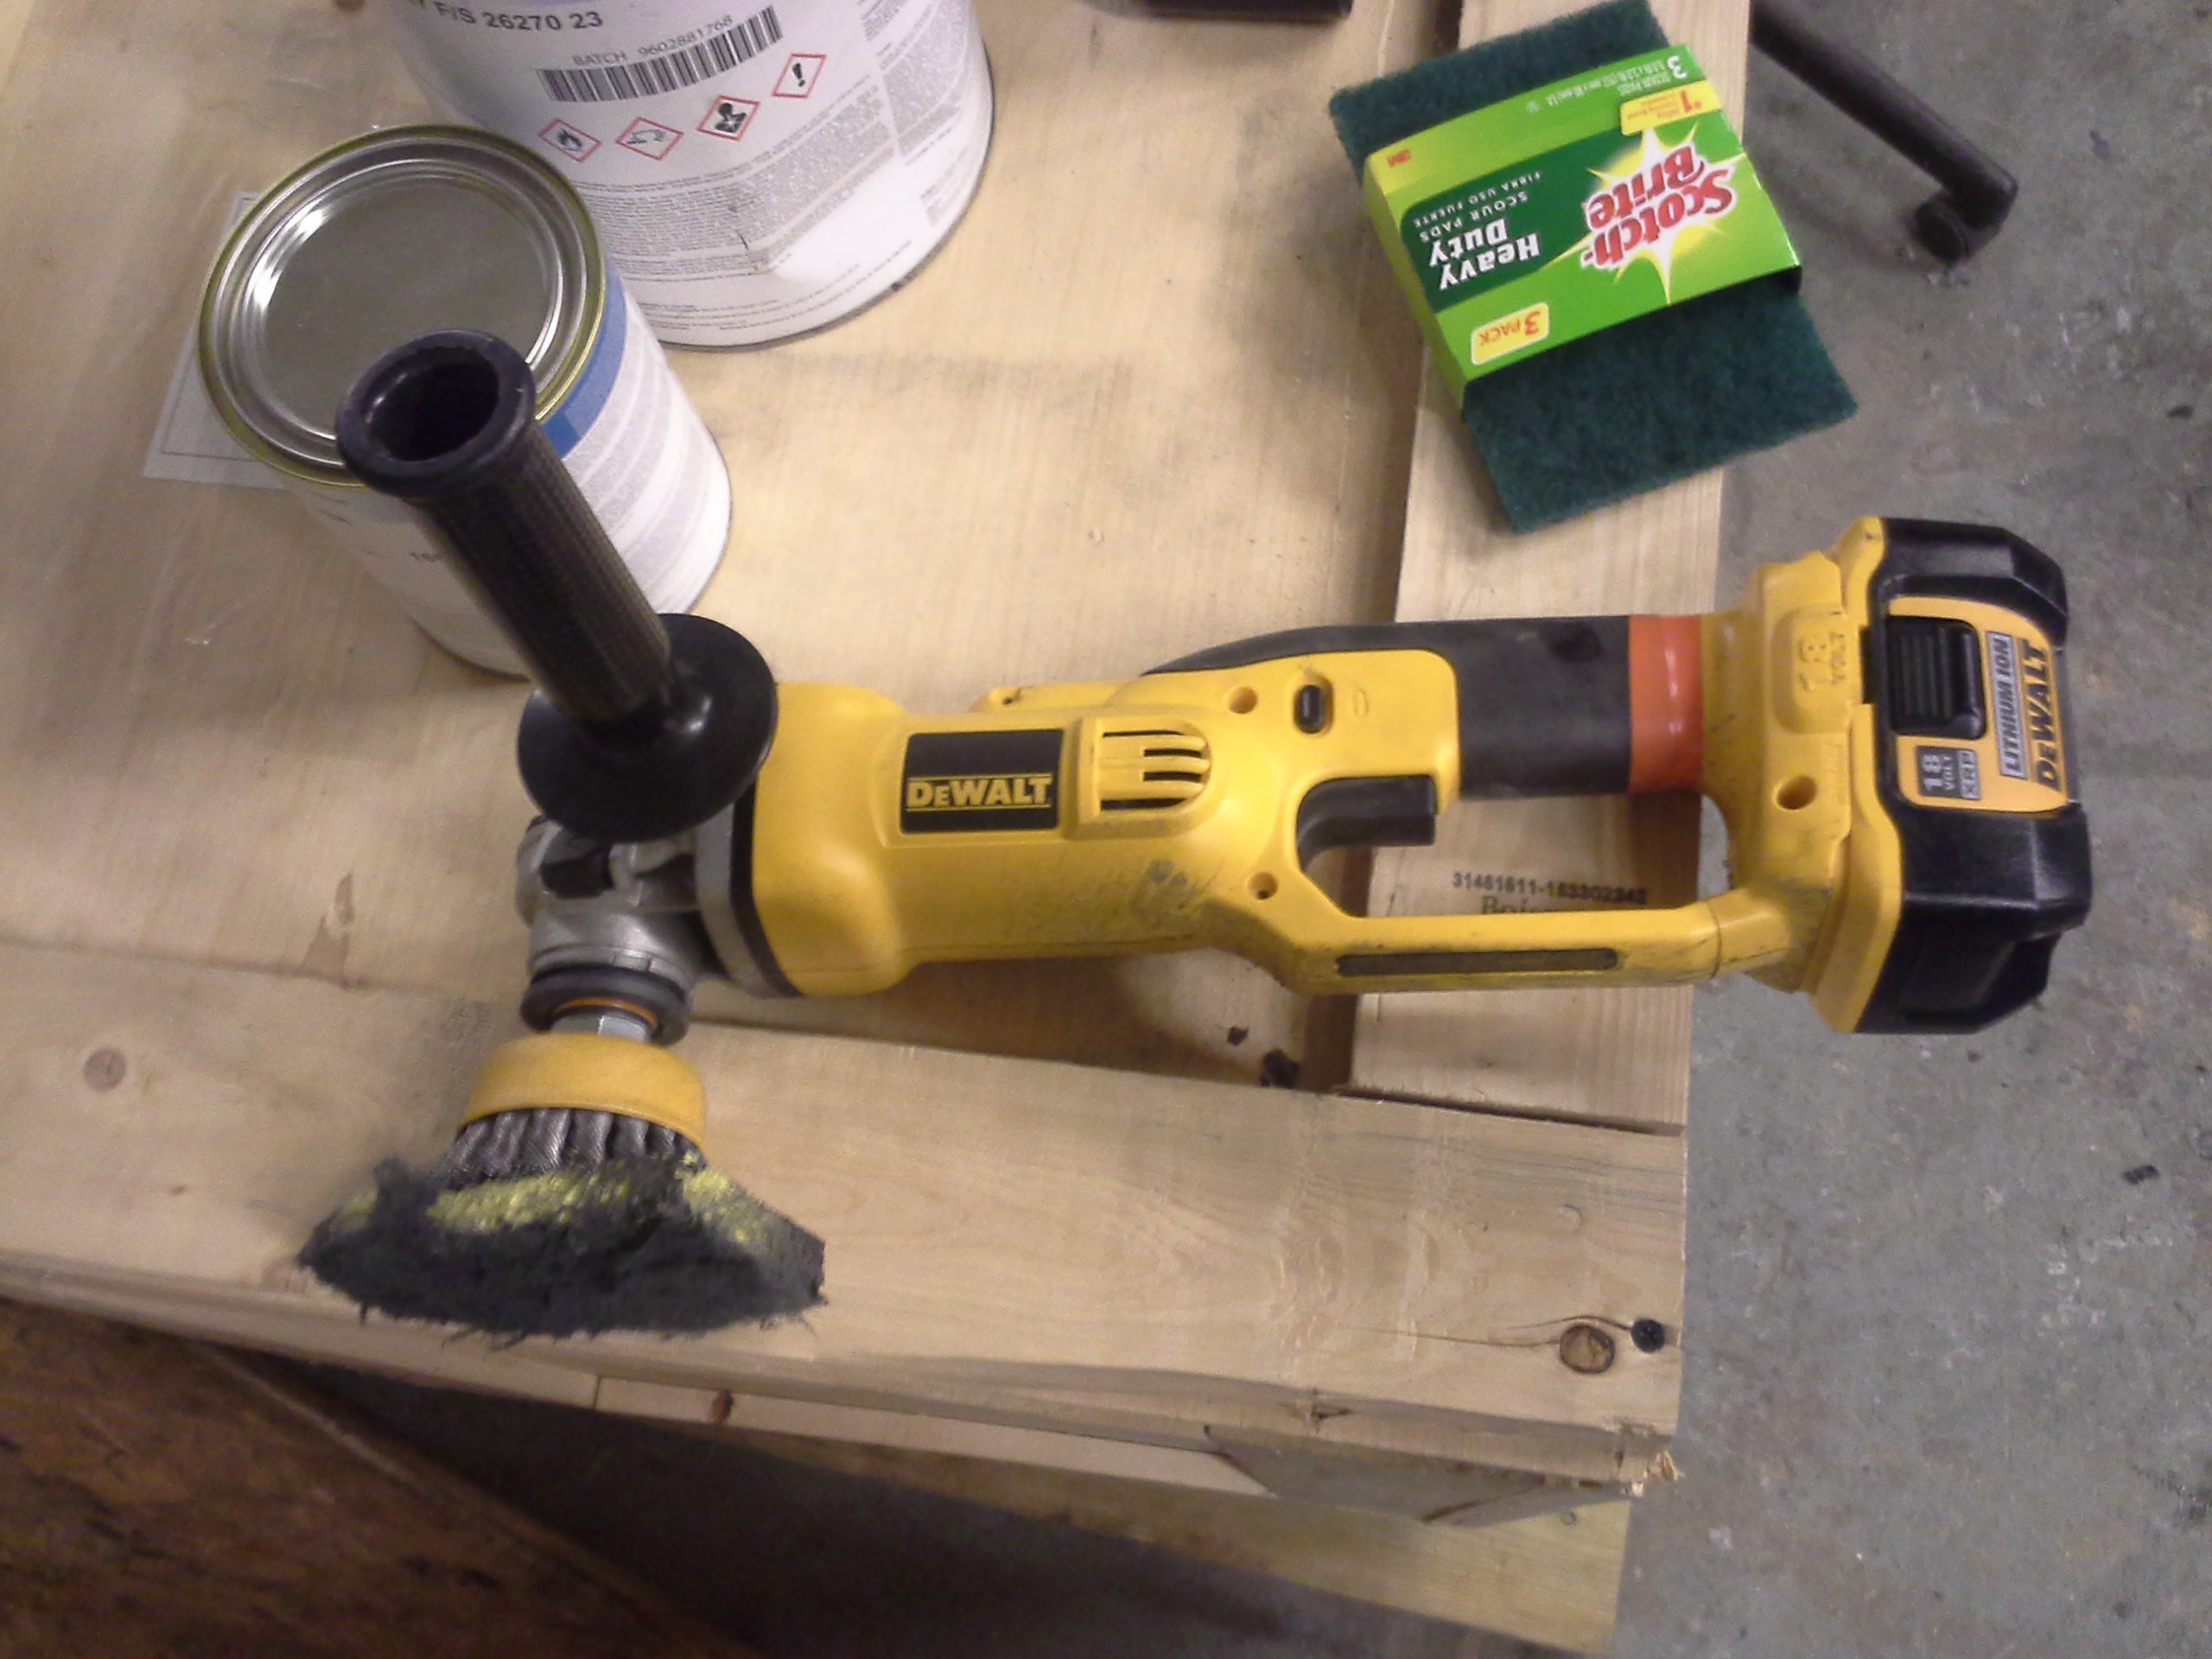

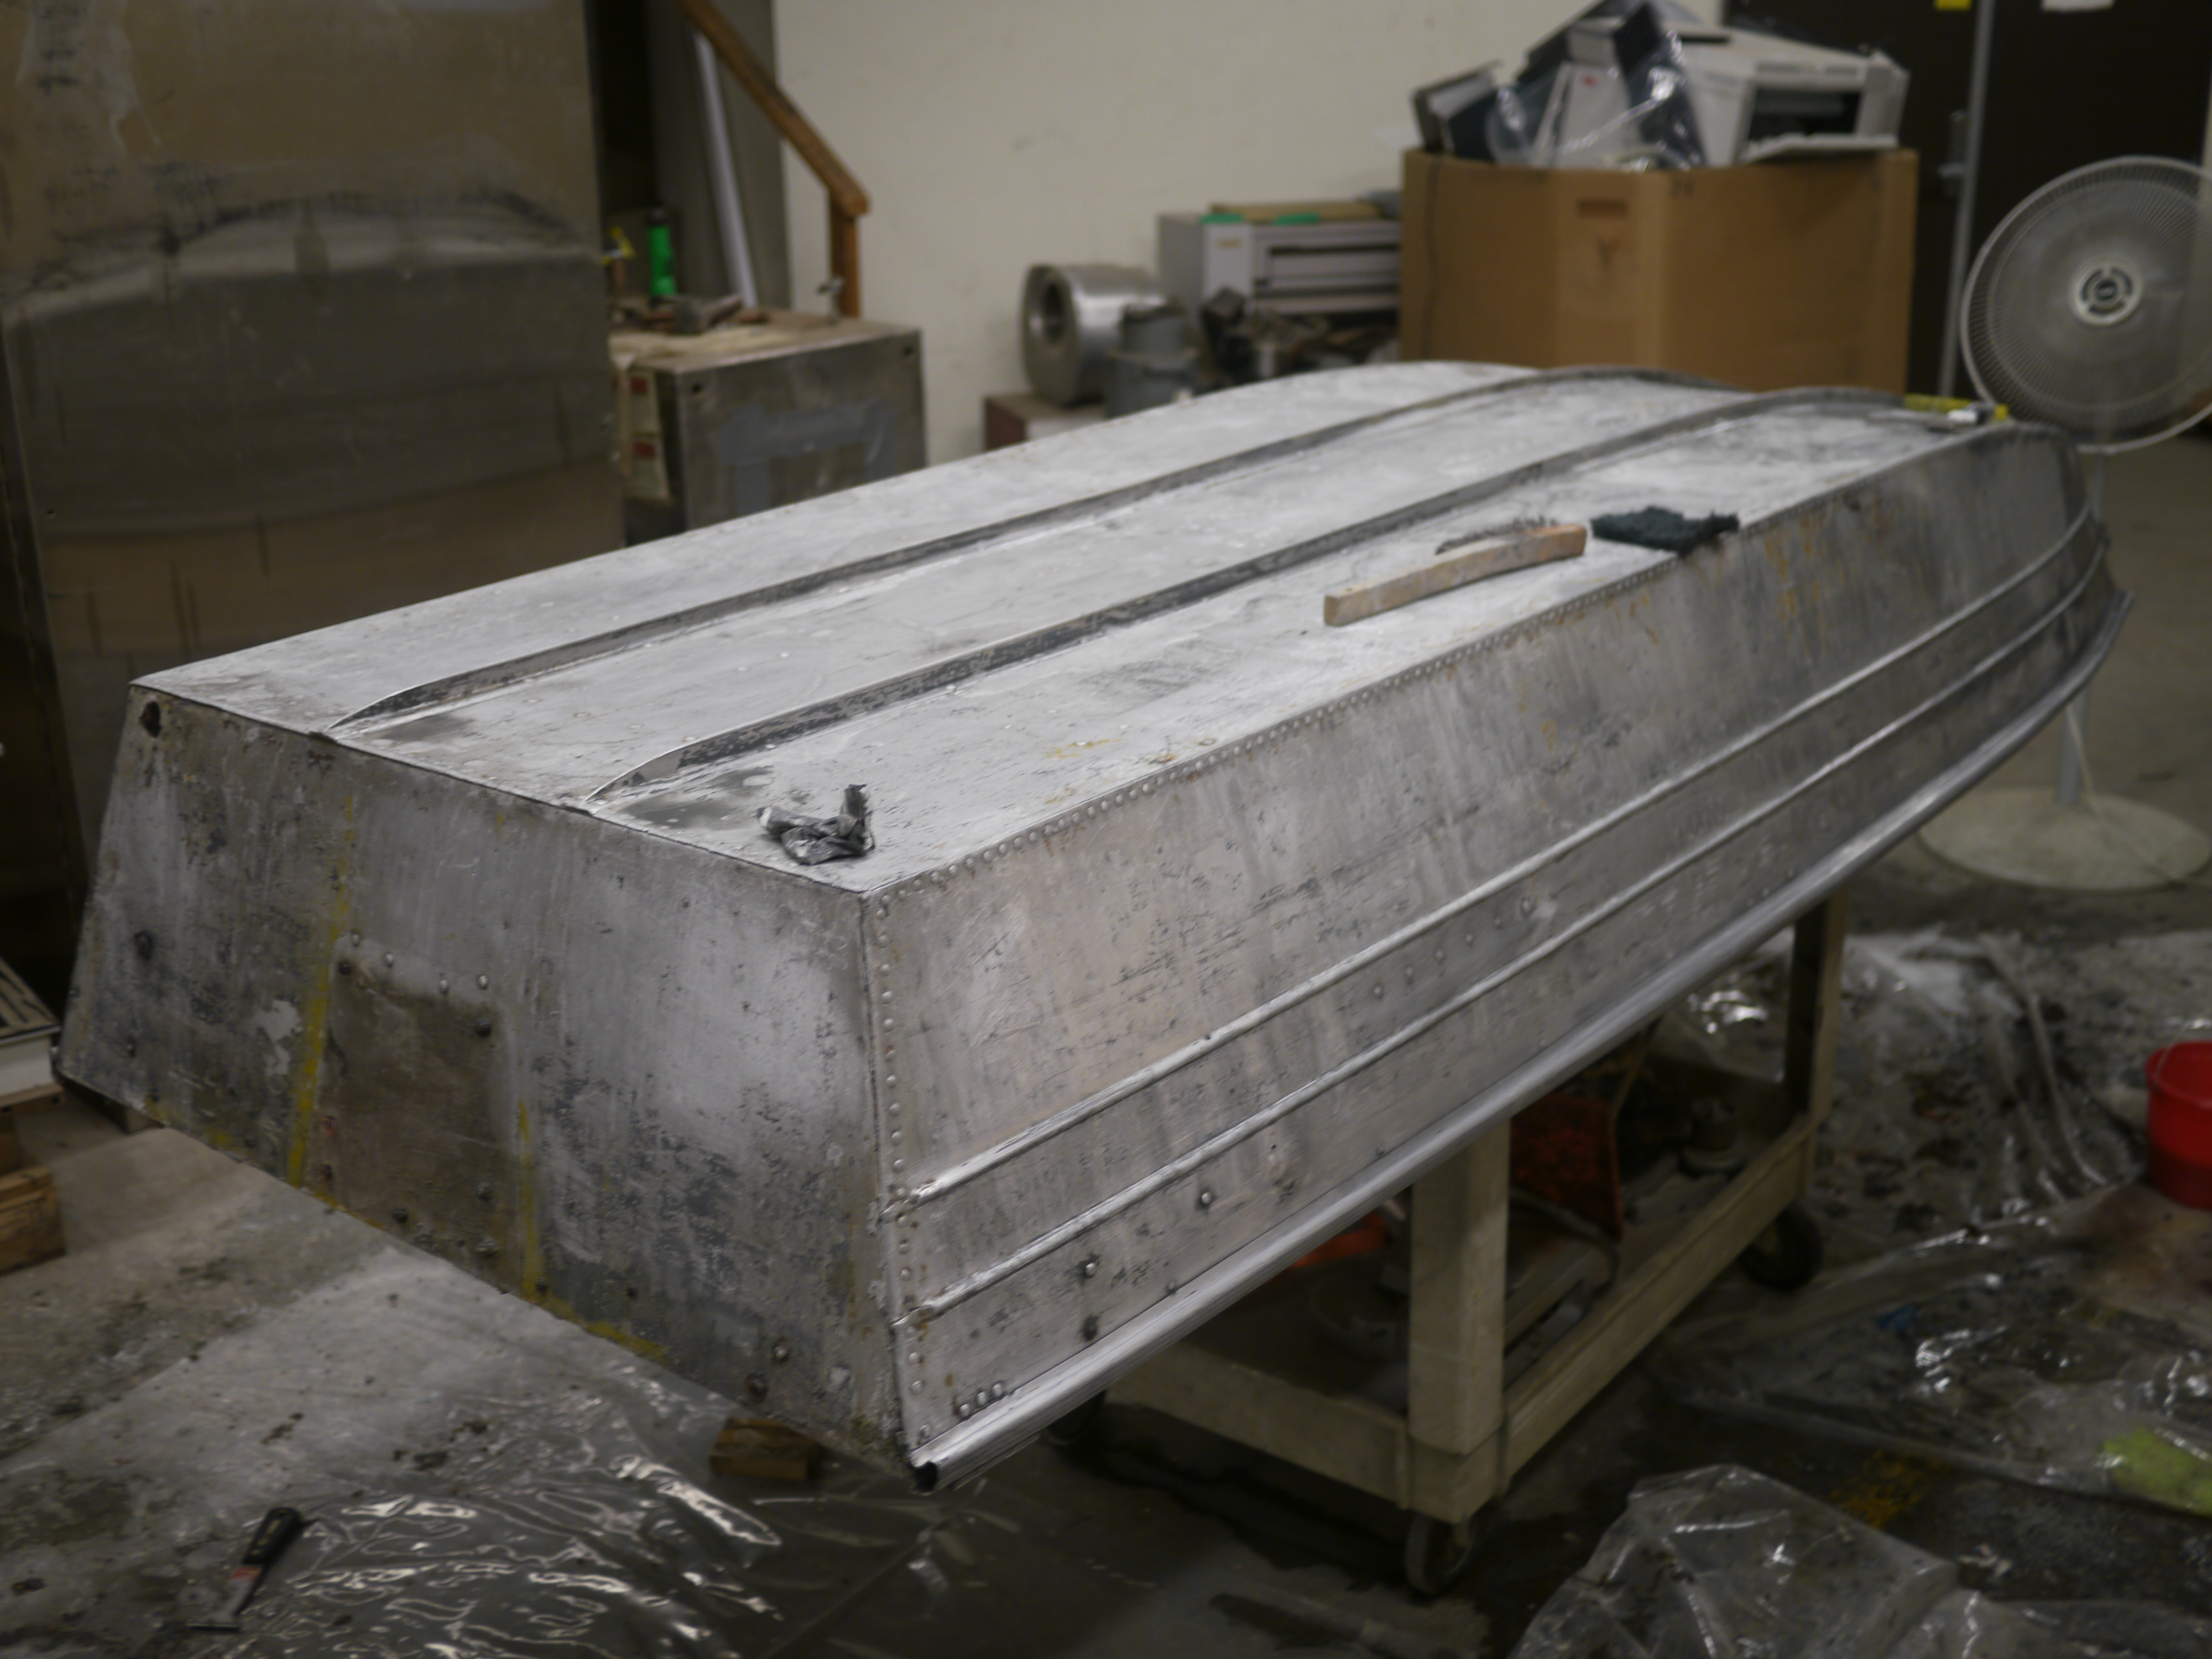
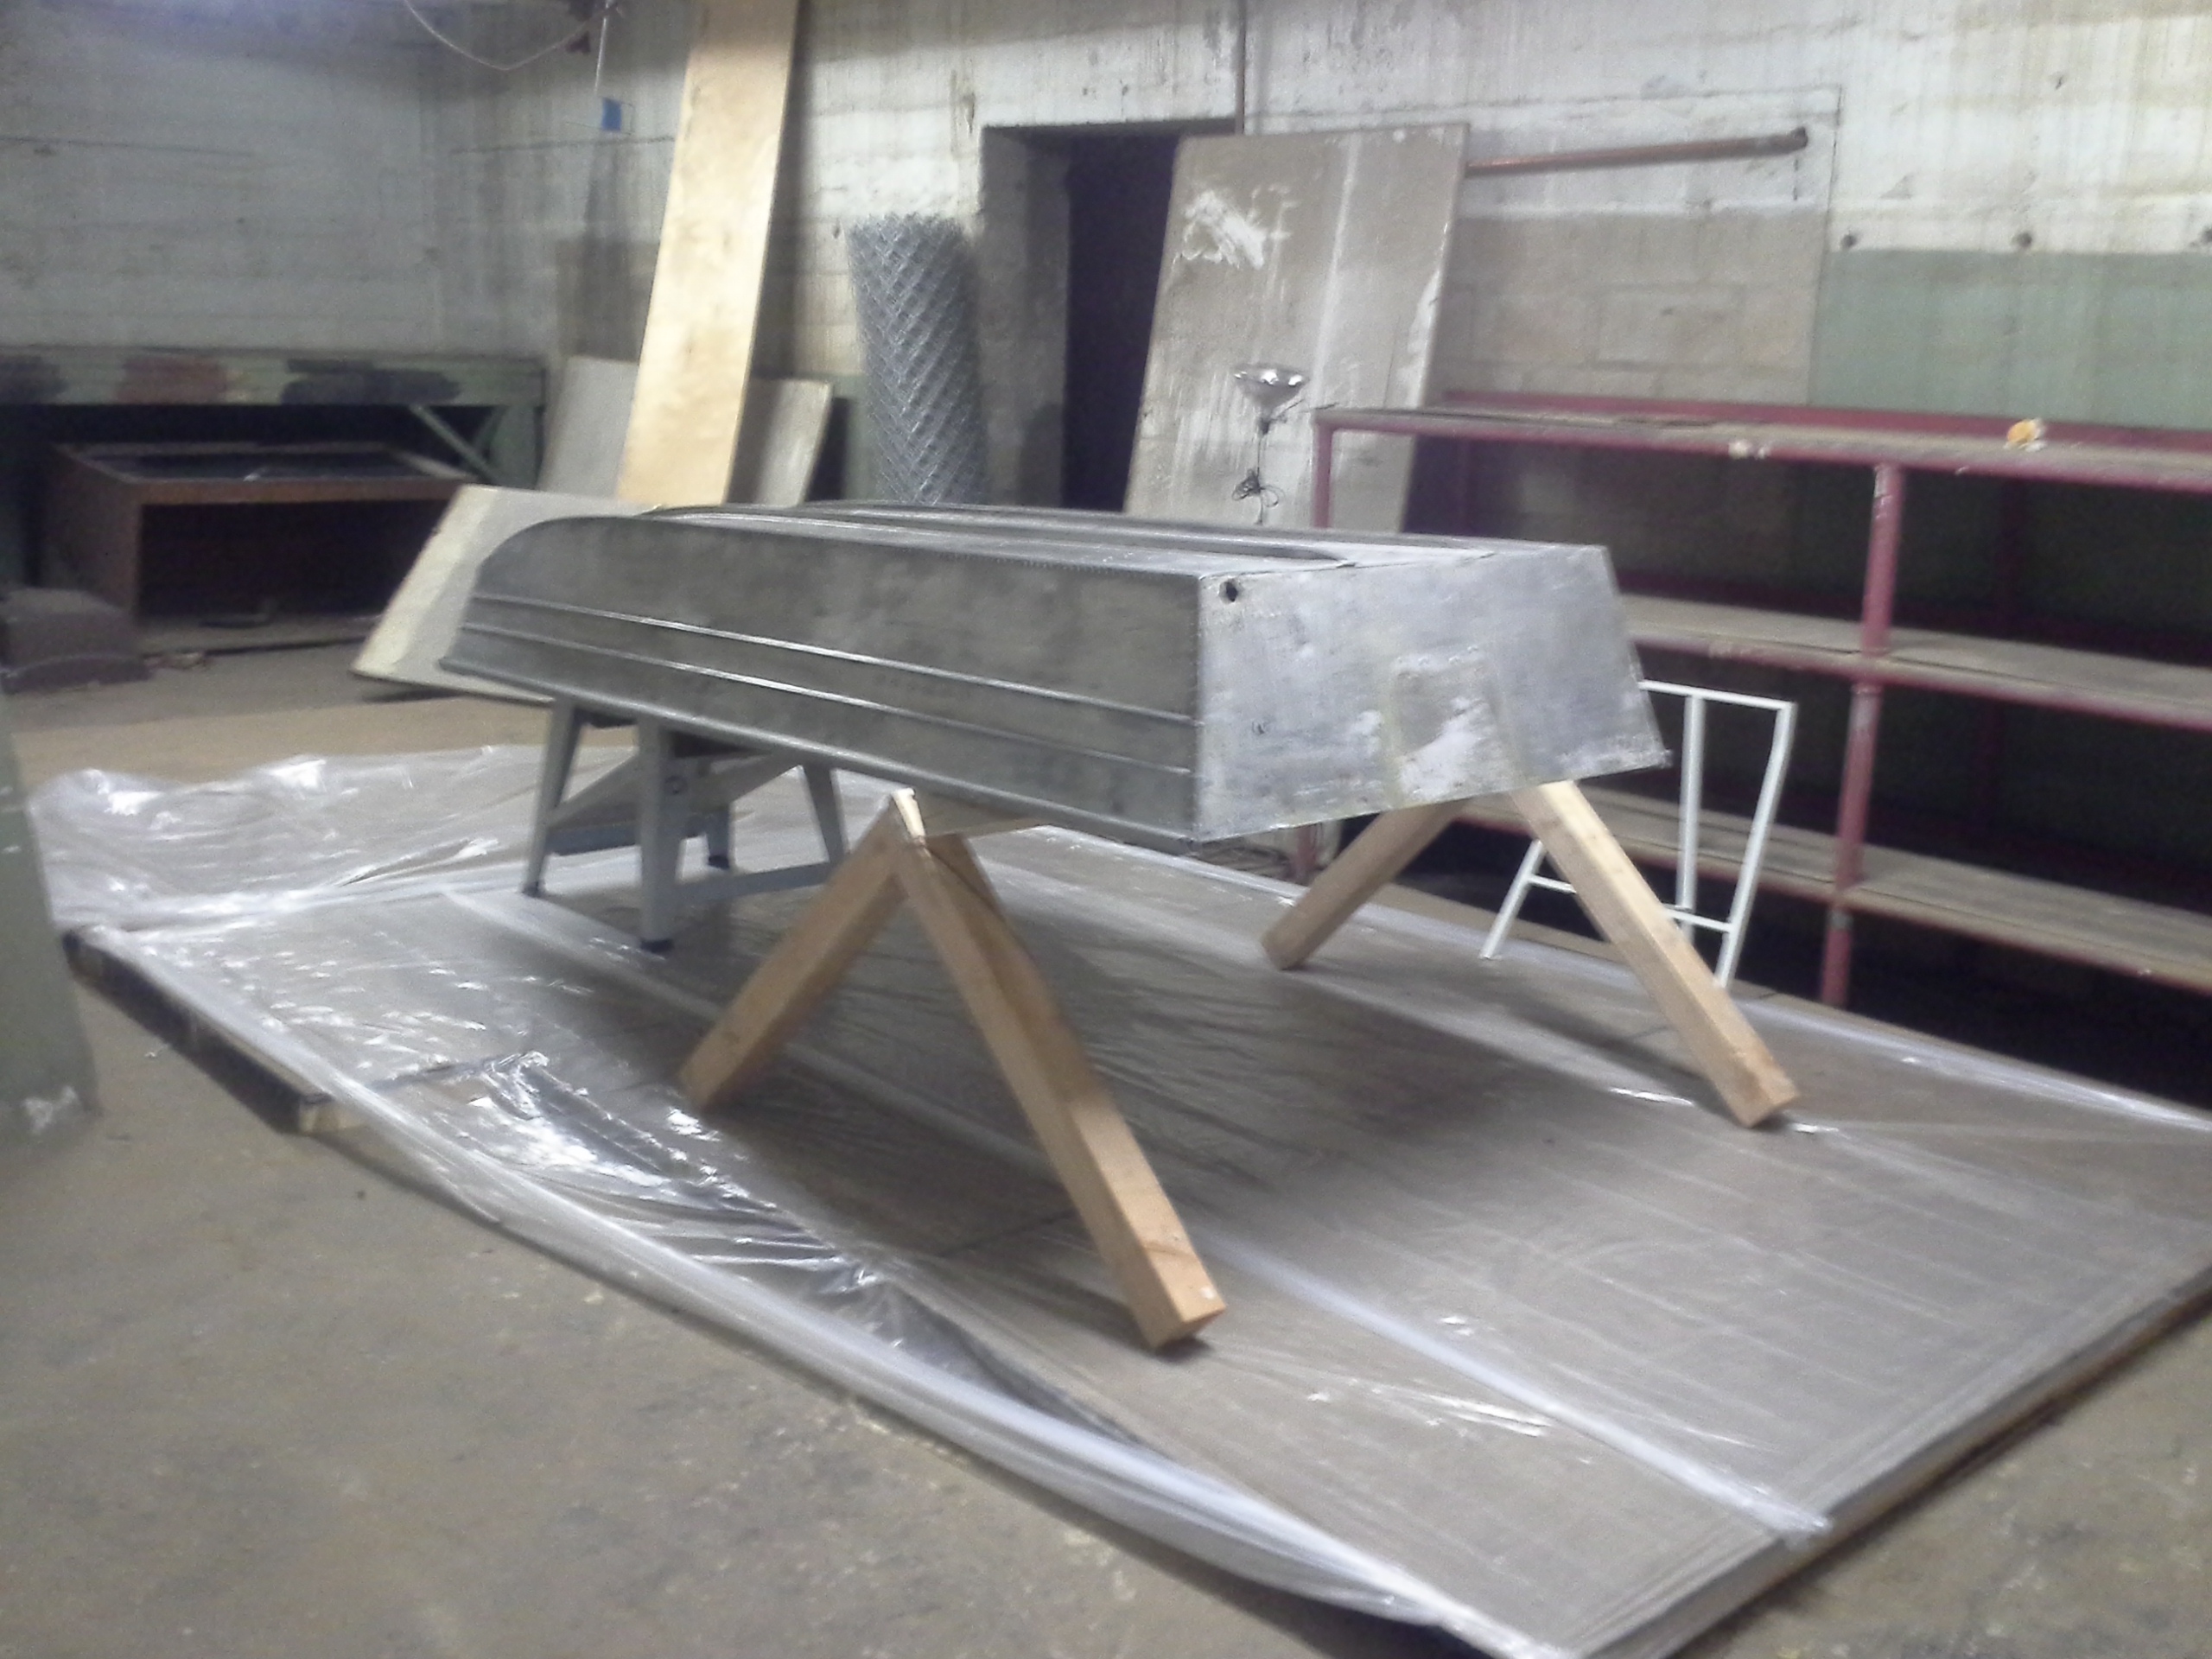
Most of the crevices and ribs were cleaned by hand, which, took a while. Finally it was ready for painting prep! Ratchet strapped boat-to-cart worked phenomenally well. 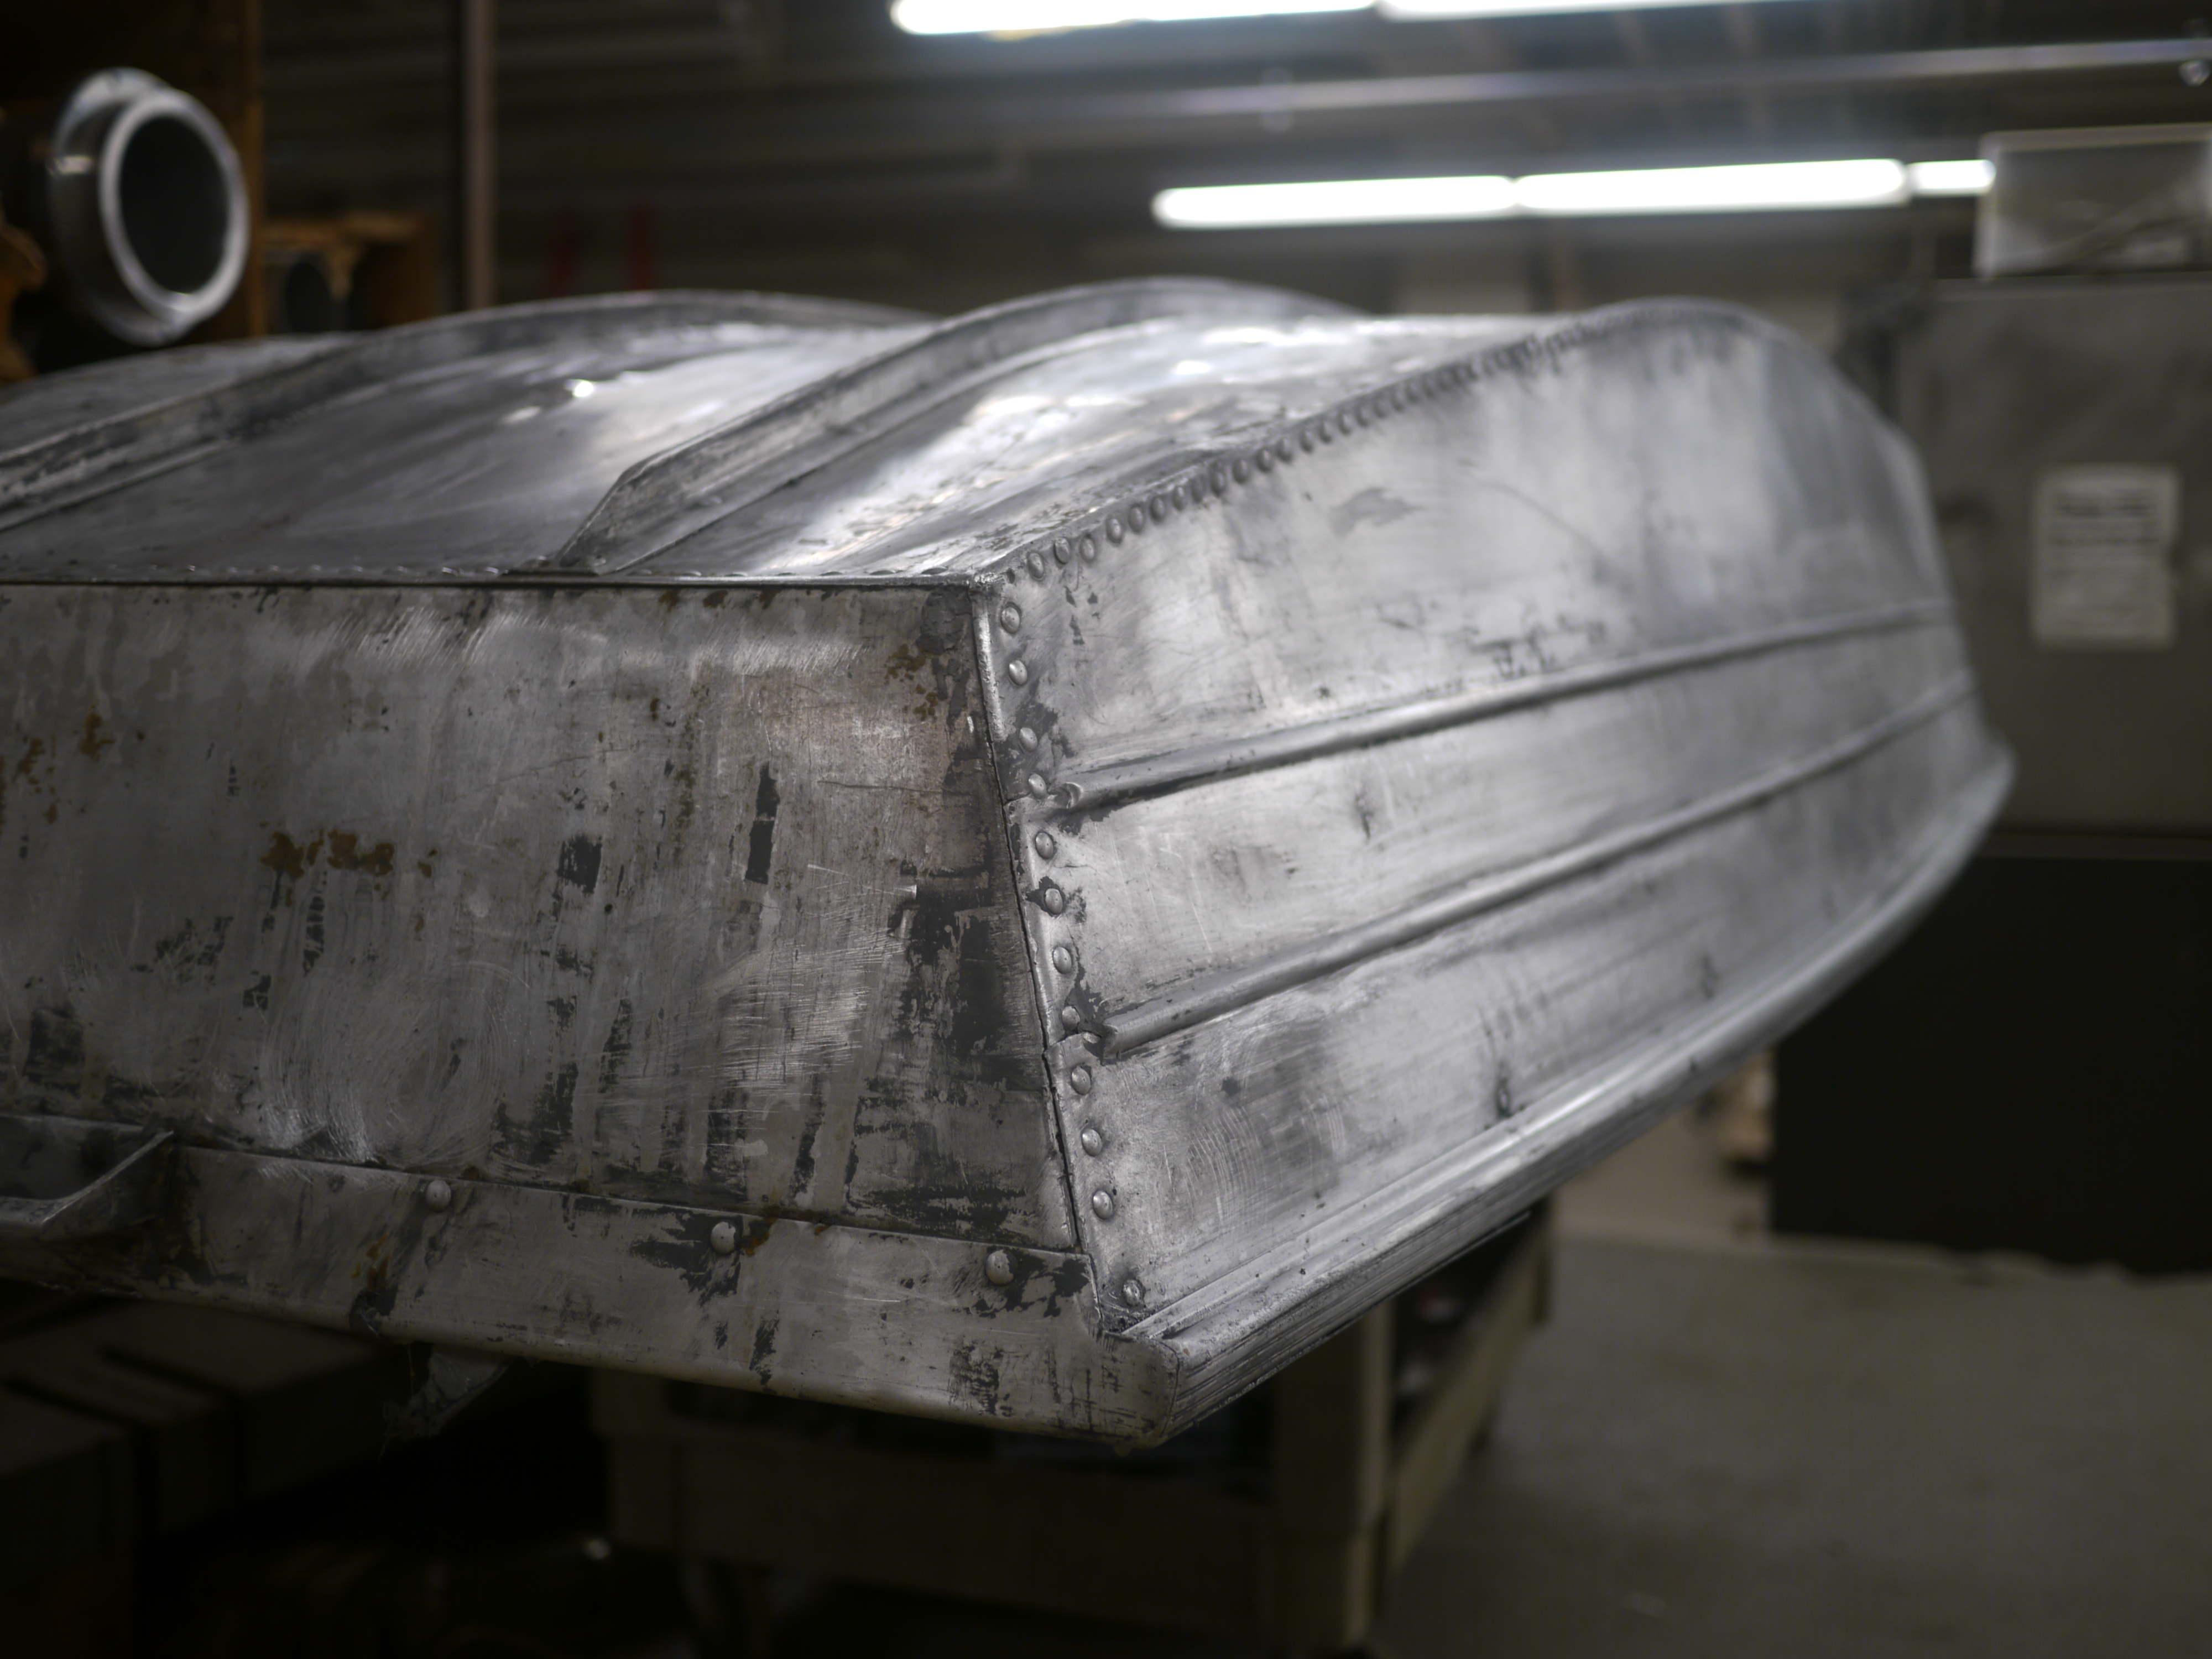
Paint PrepBefore painting, the area was prepped with some plastic sheet, staple hammered to the floor. A sawhorse was assembled and the boat was prepped by de-dusting with simple-green and a boatload of towels. A long 'brush on a stick' worked really effectively for reaching across and down the boat. 
Steel wool was used on the final cleaning of any areas that still had cruft left over from the de-painting process. 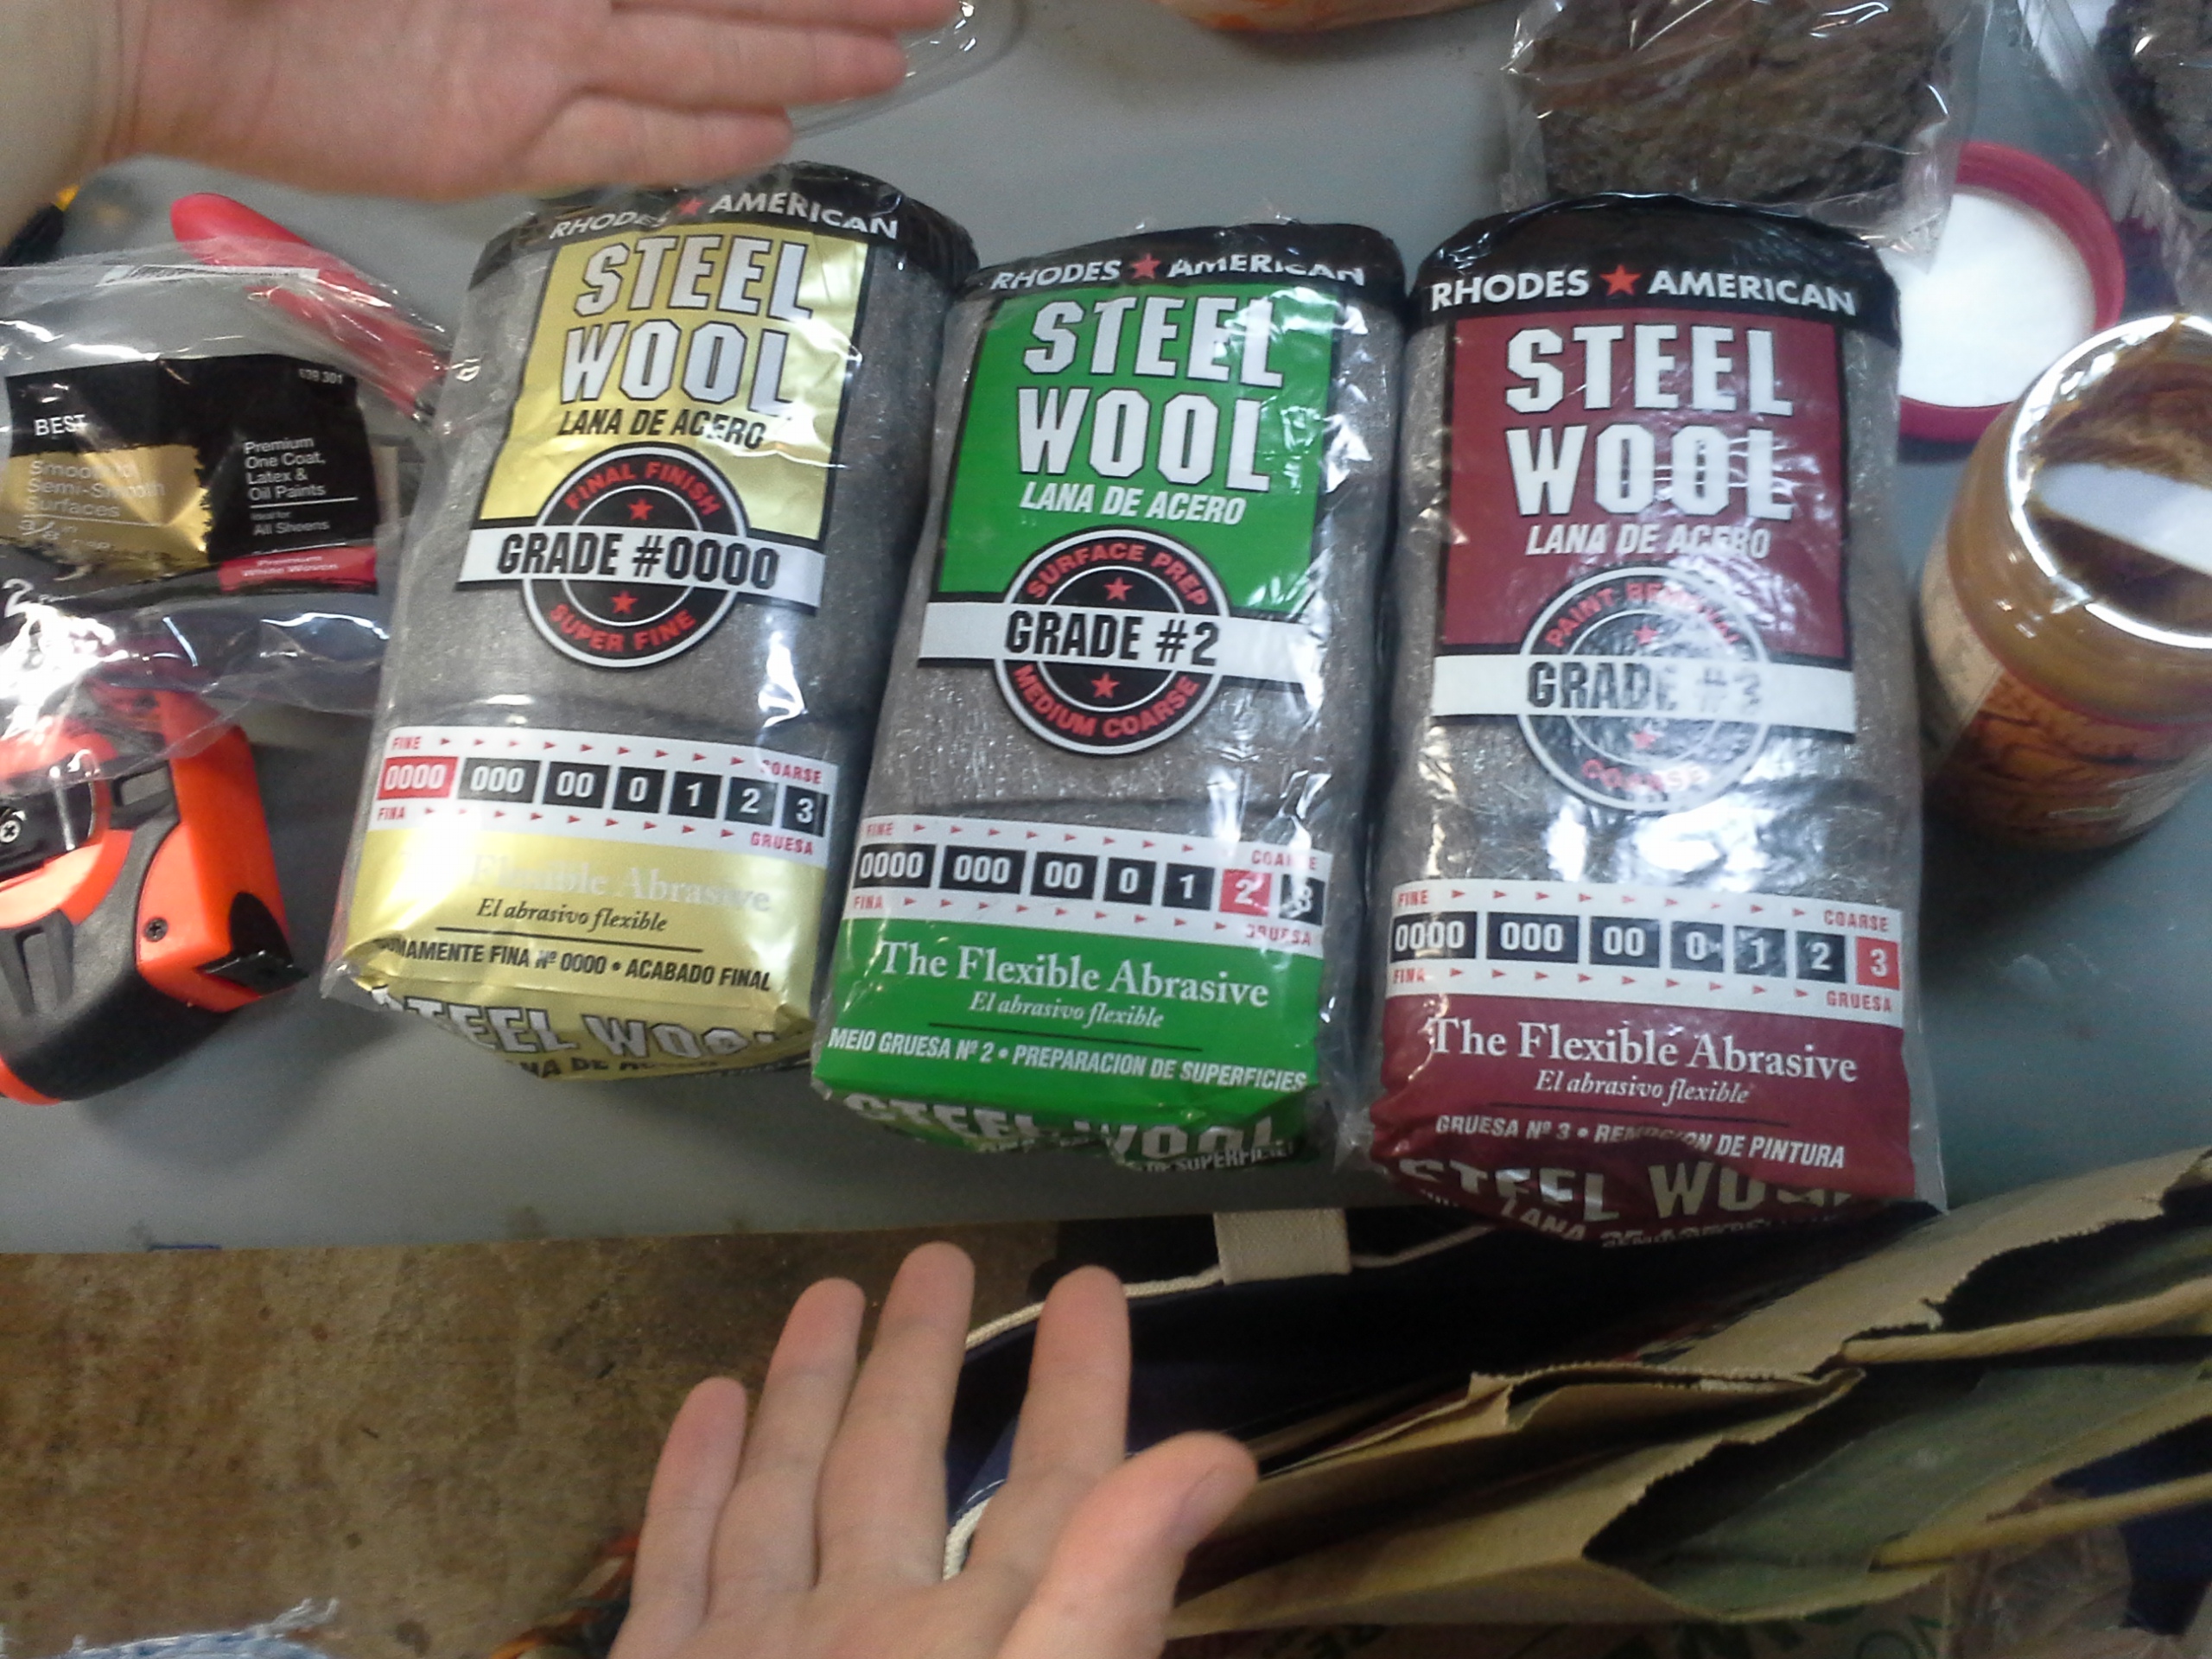
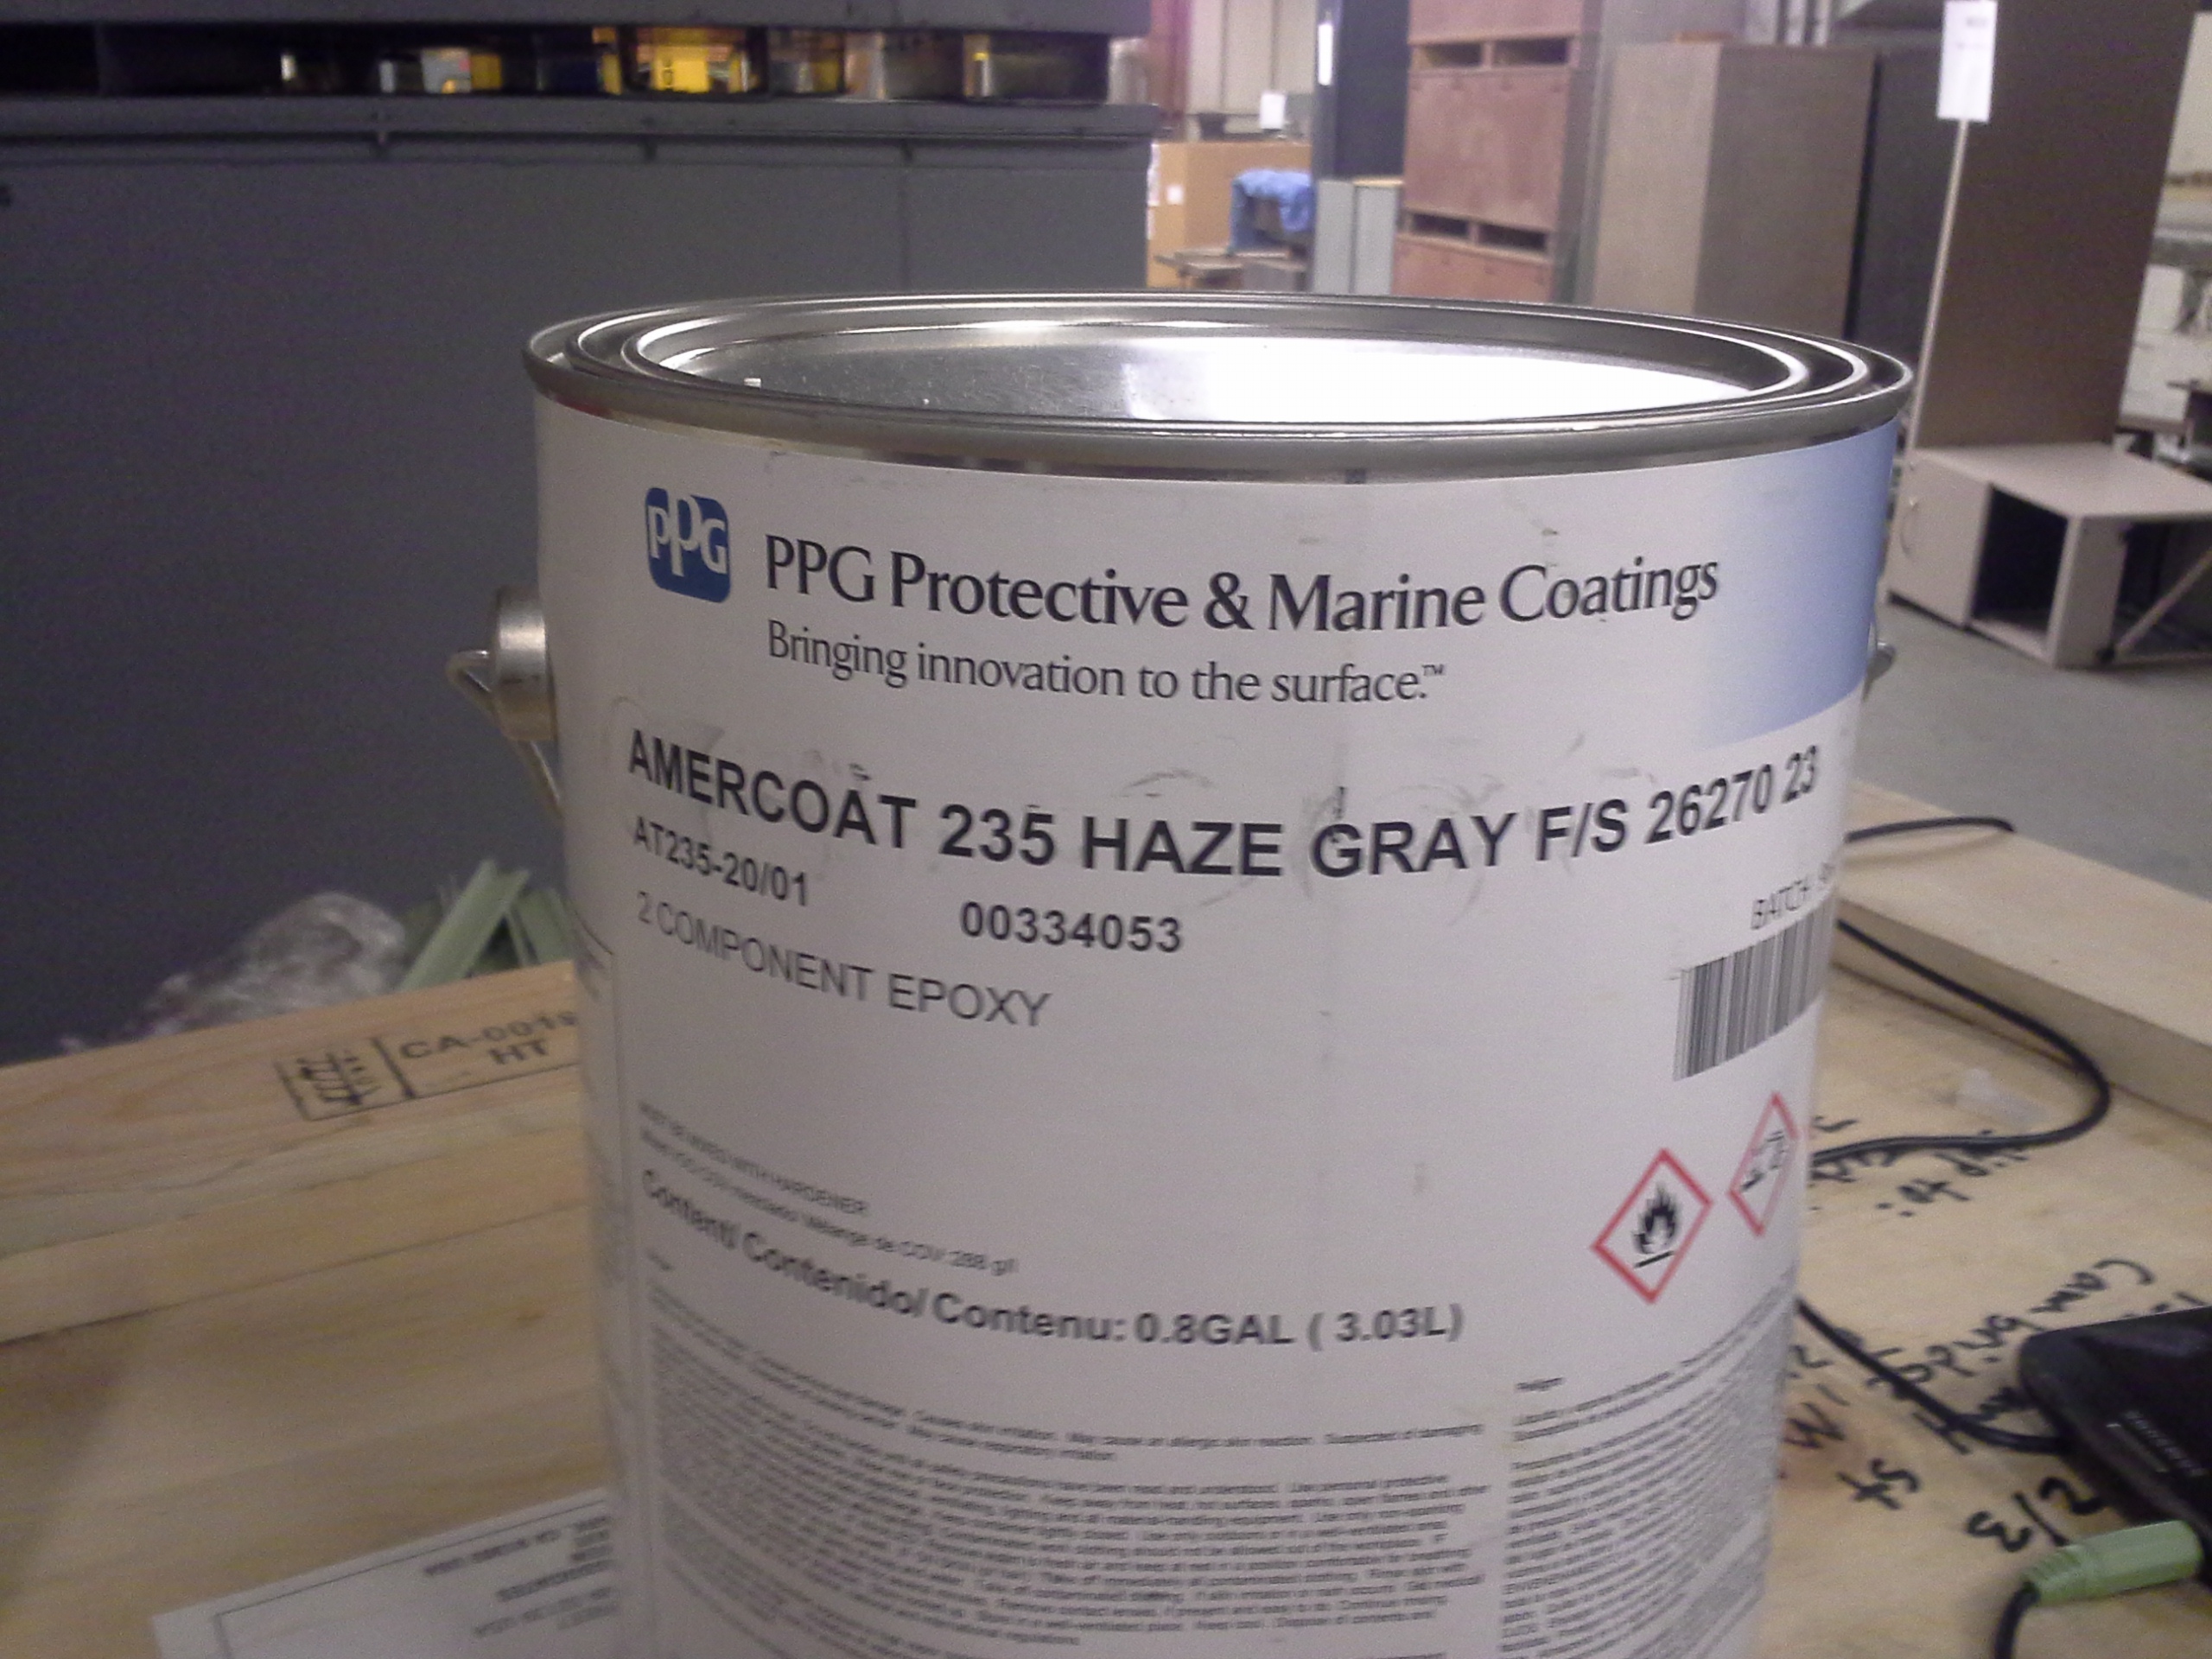
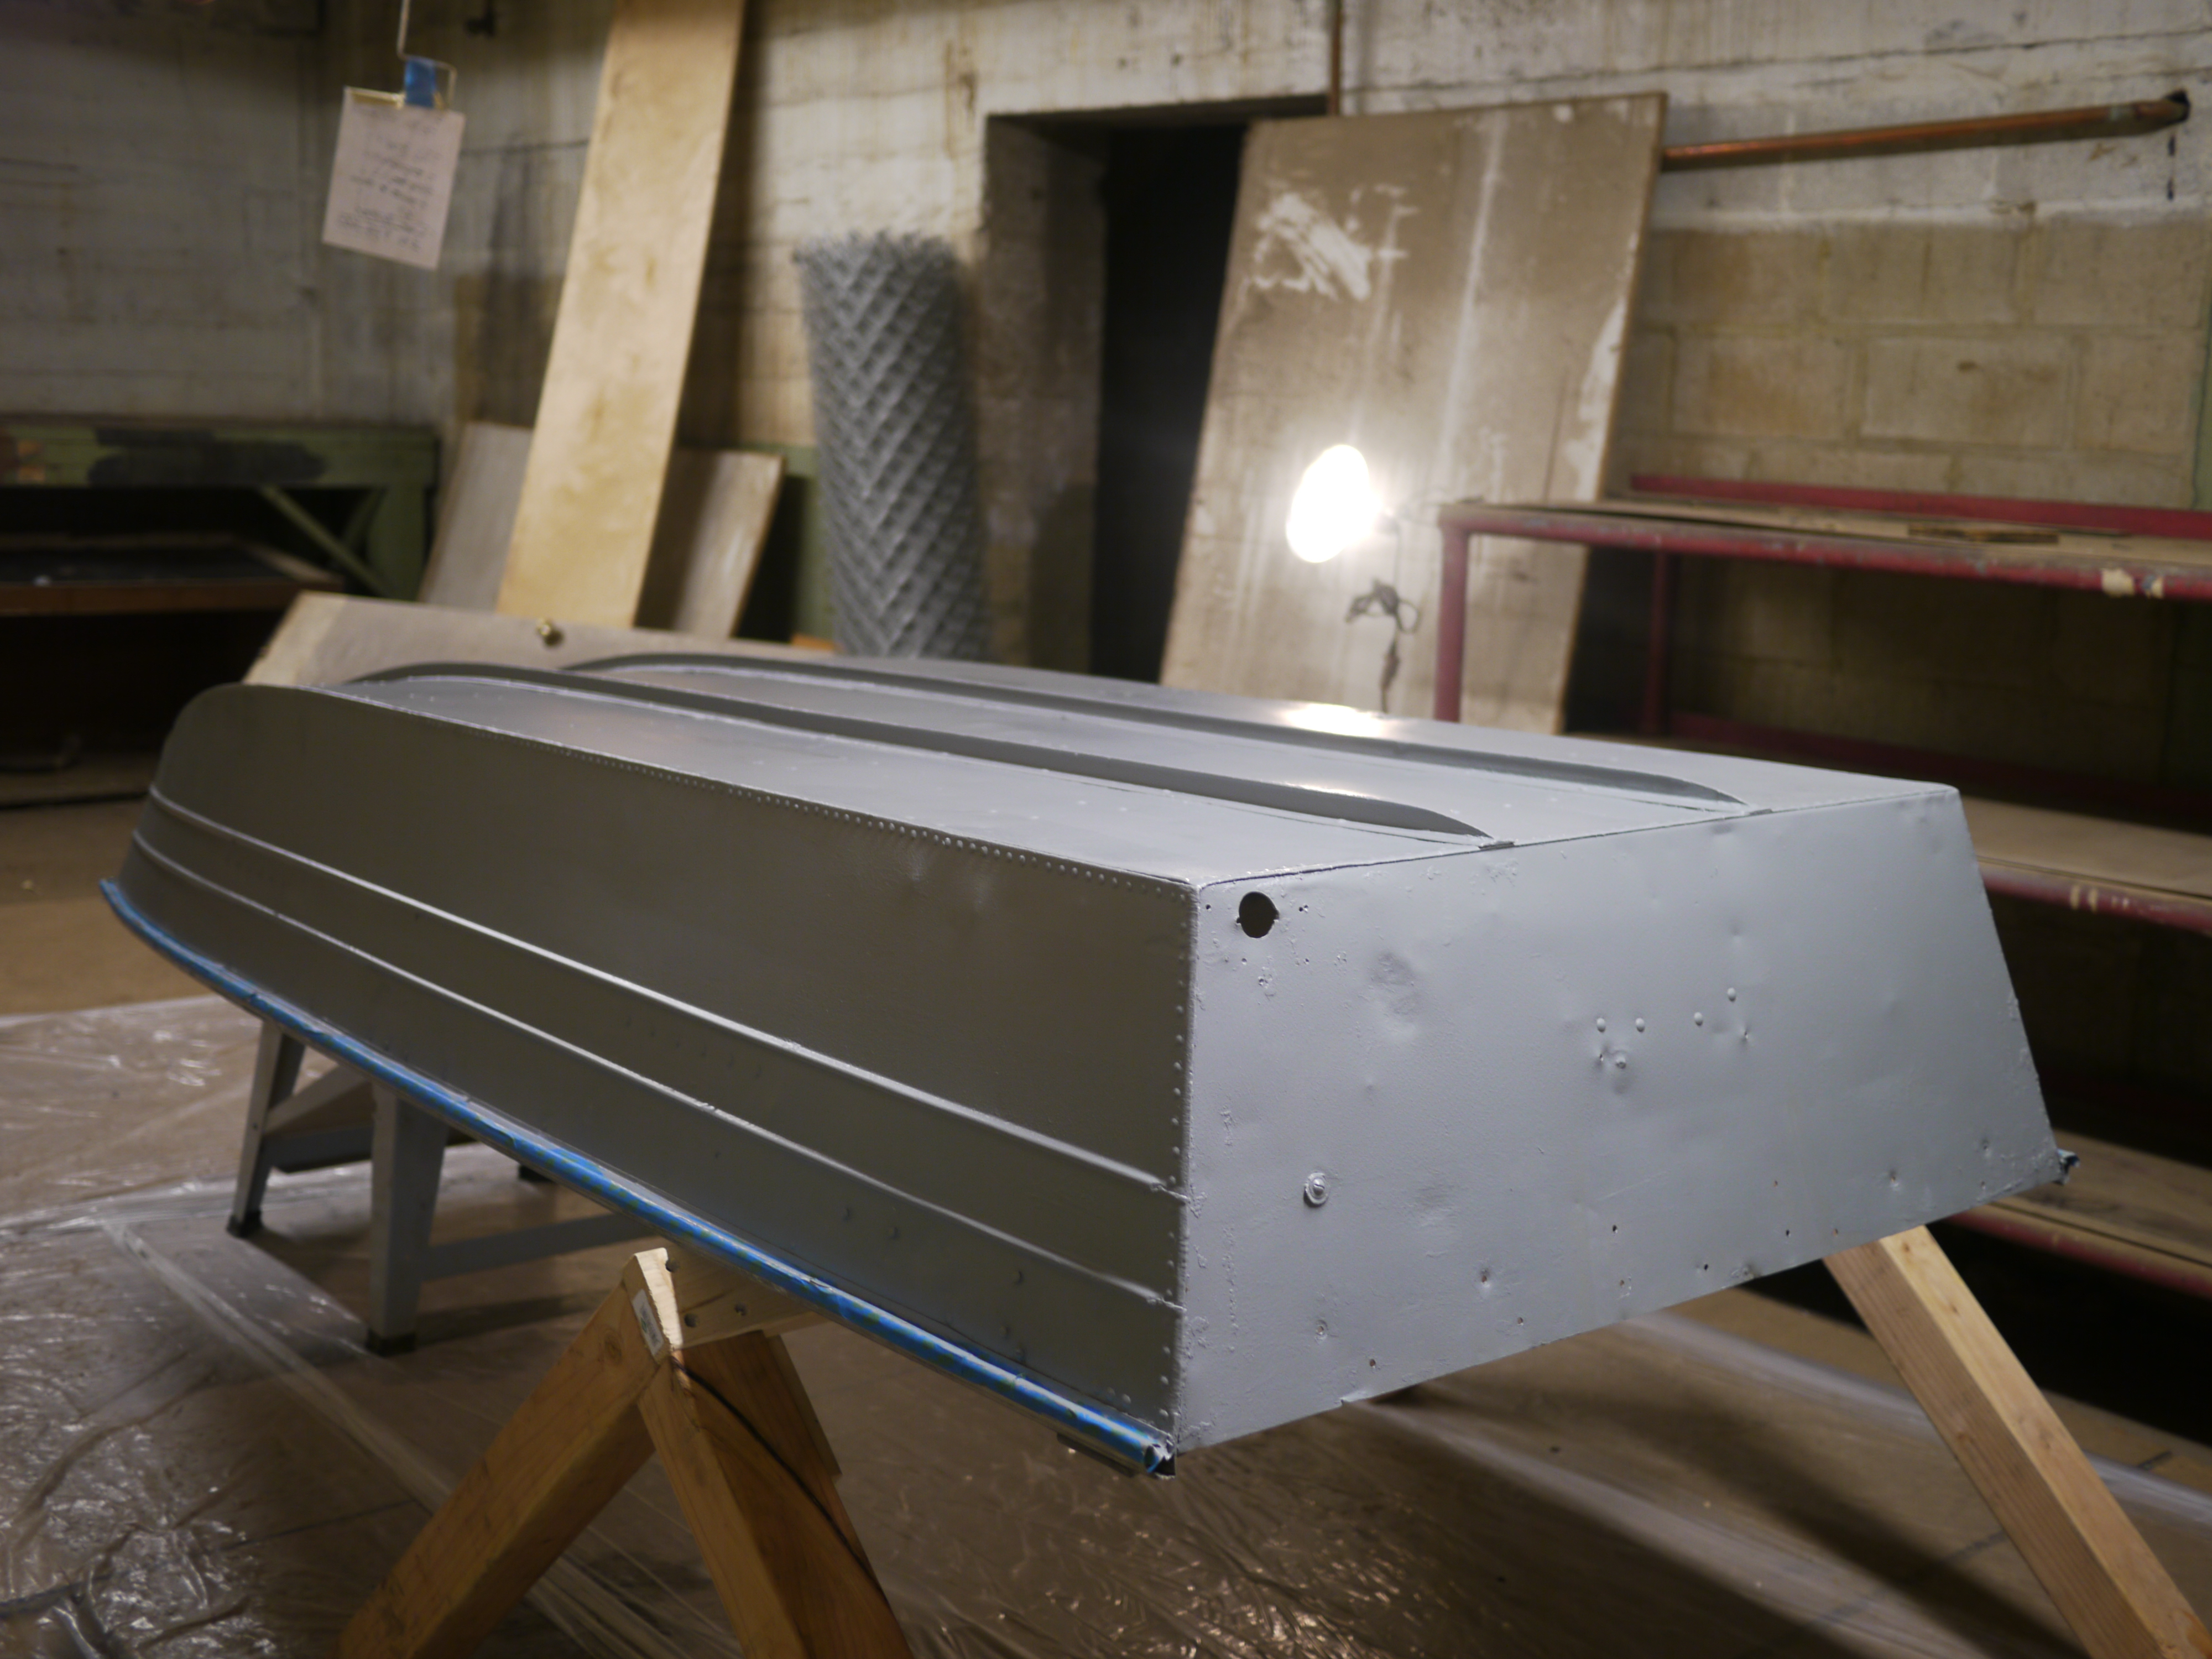
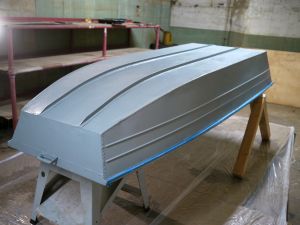
PRIMER TIME. For a primer, we used Amercoat 235 2-part epoxy primer. Holy moleys do you need a respirator to use this stuff. Mix well, really, really well before using. Both myself and Sam garnered these [link] and prepped with rollers and gratuitous amounts of gloves. Note this is proper marine coating goodness, intended for aluminum hulled crafts. This was acquired from C. G Edwards Marine supply over in Boston Ma. Covering the boat twice consumed roughly 1/3 of the epoxy. 
The actual painting process didn't have too many photos, as, well my gloves were covered in paint. Here's the first coat after about a day of drying. Honestly it looked fantastic. The 'its all the same color' and 'its not covered in biological stuff' really stuck out. A second coat was applied about 3 days later to ensure that all the rivets were completely covered. Note that the epoxy primer was intended to seal any rivet related leaks. 
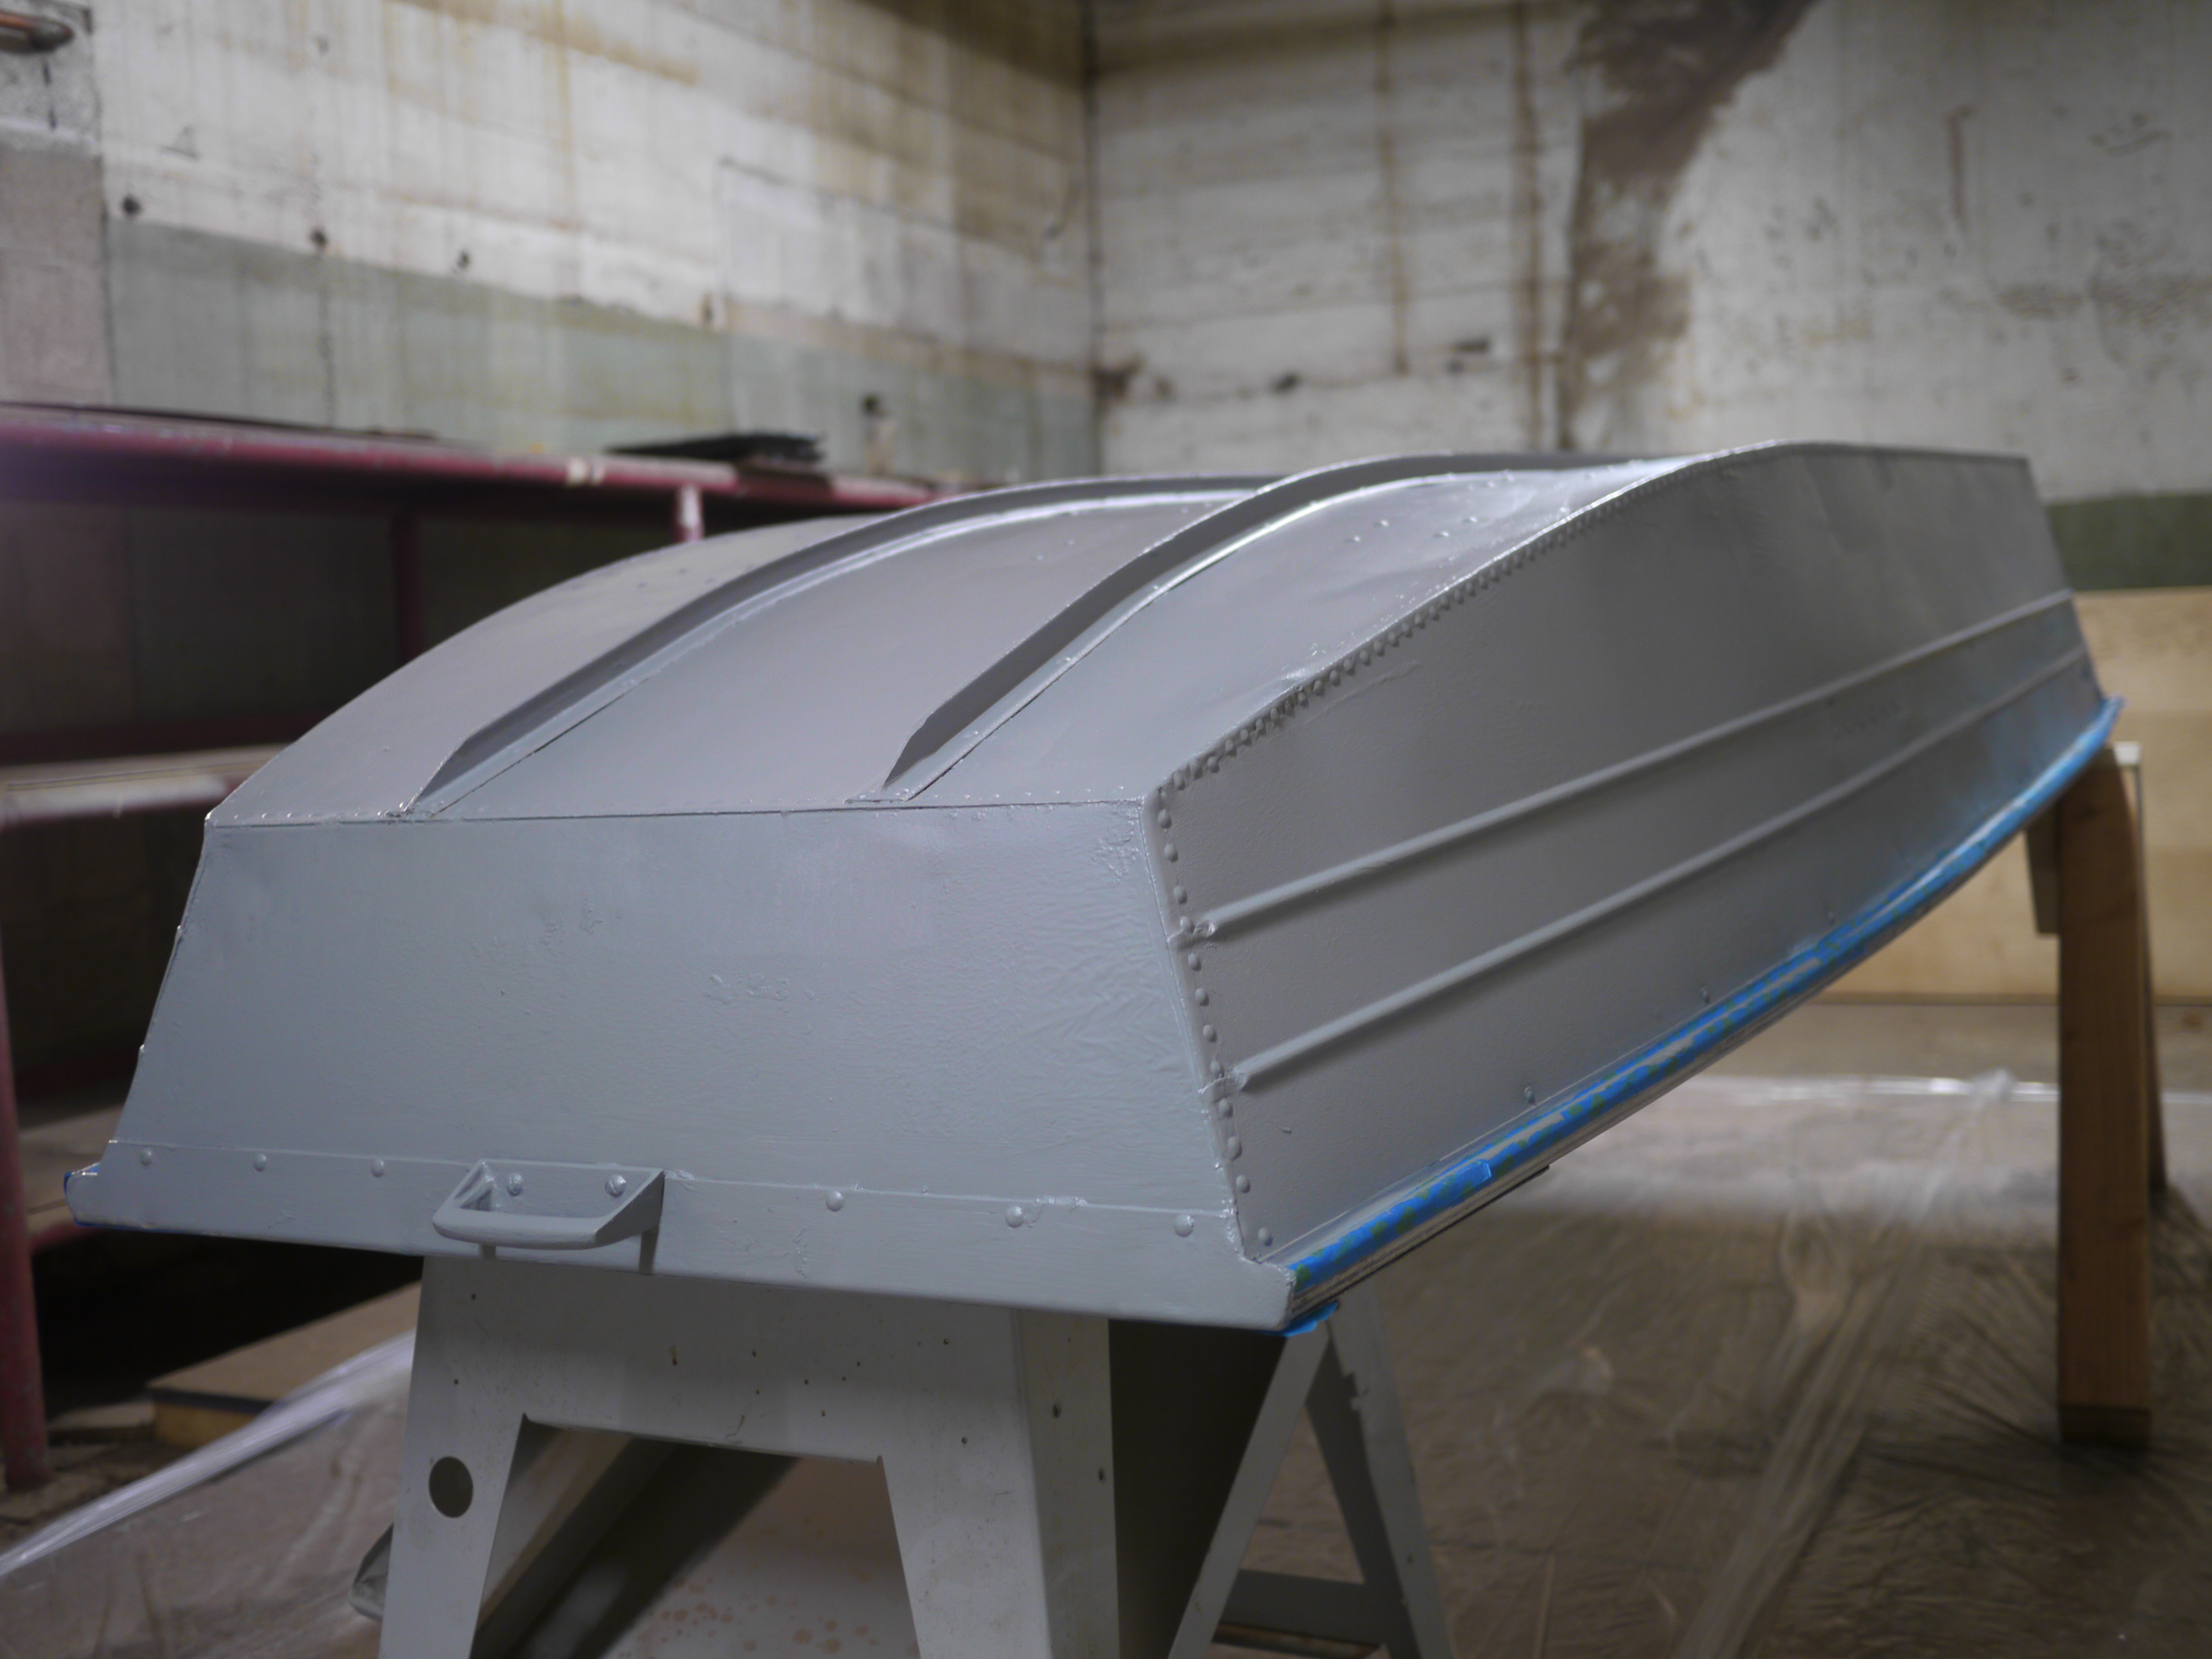
The back was focused on a bit to ensure the seam between the bottom and sides of the boat had a decent amount of sealant. The back plate itself is rather thin with the transom board removed. Also a hole is present on the back for a drain plug, or something similar. This was previously sealed with two blocks of wood and some rtv sealant. 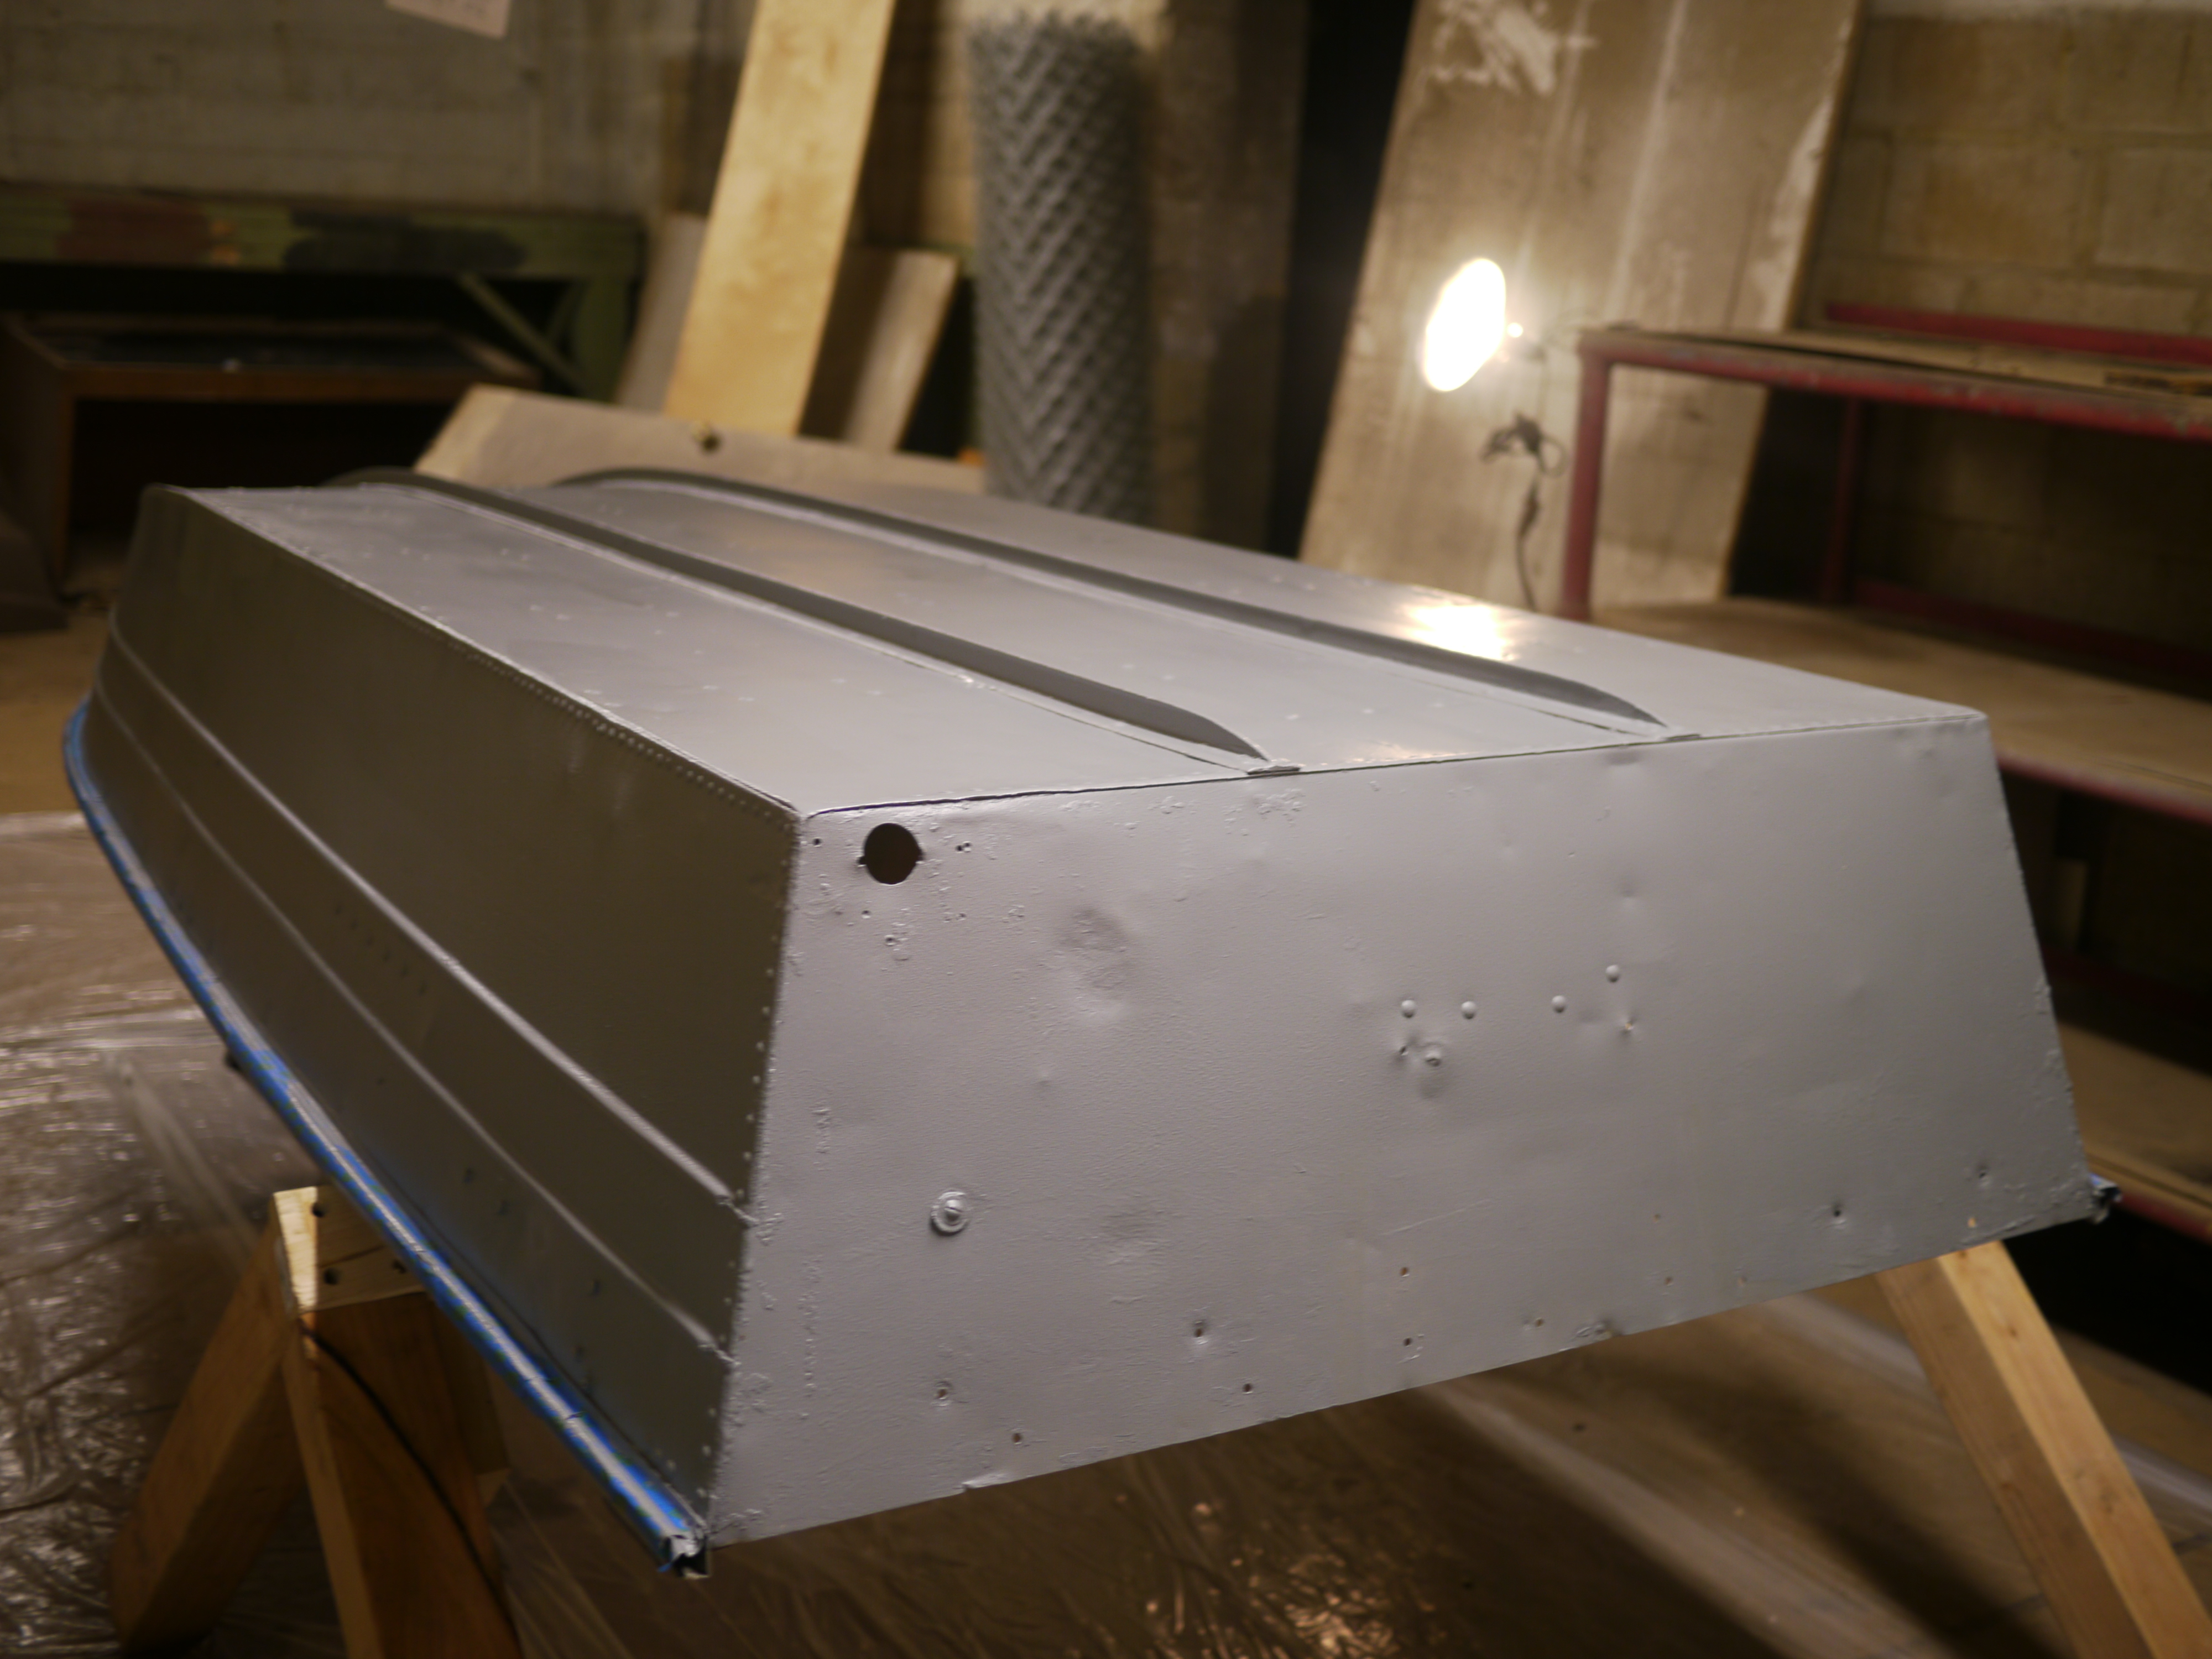
Style and PaintingFor style, two-tone painting was the go-to. The place where the ultra-coating came from suggested yacht enamel. Two cans of "Endeavor Blue' and one can of 'Mountain White' was acquired. These came from the same place as the two-part epoxy and may have been a bit on the old side. 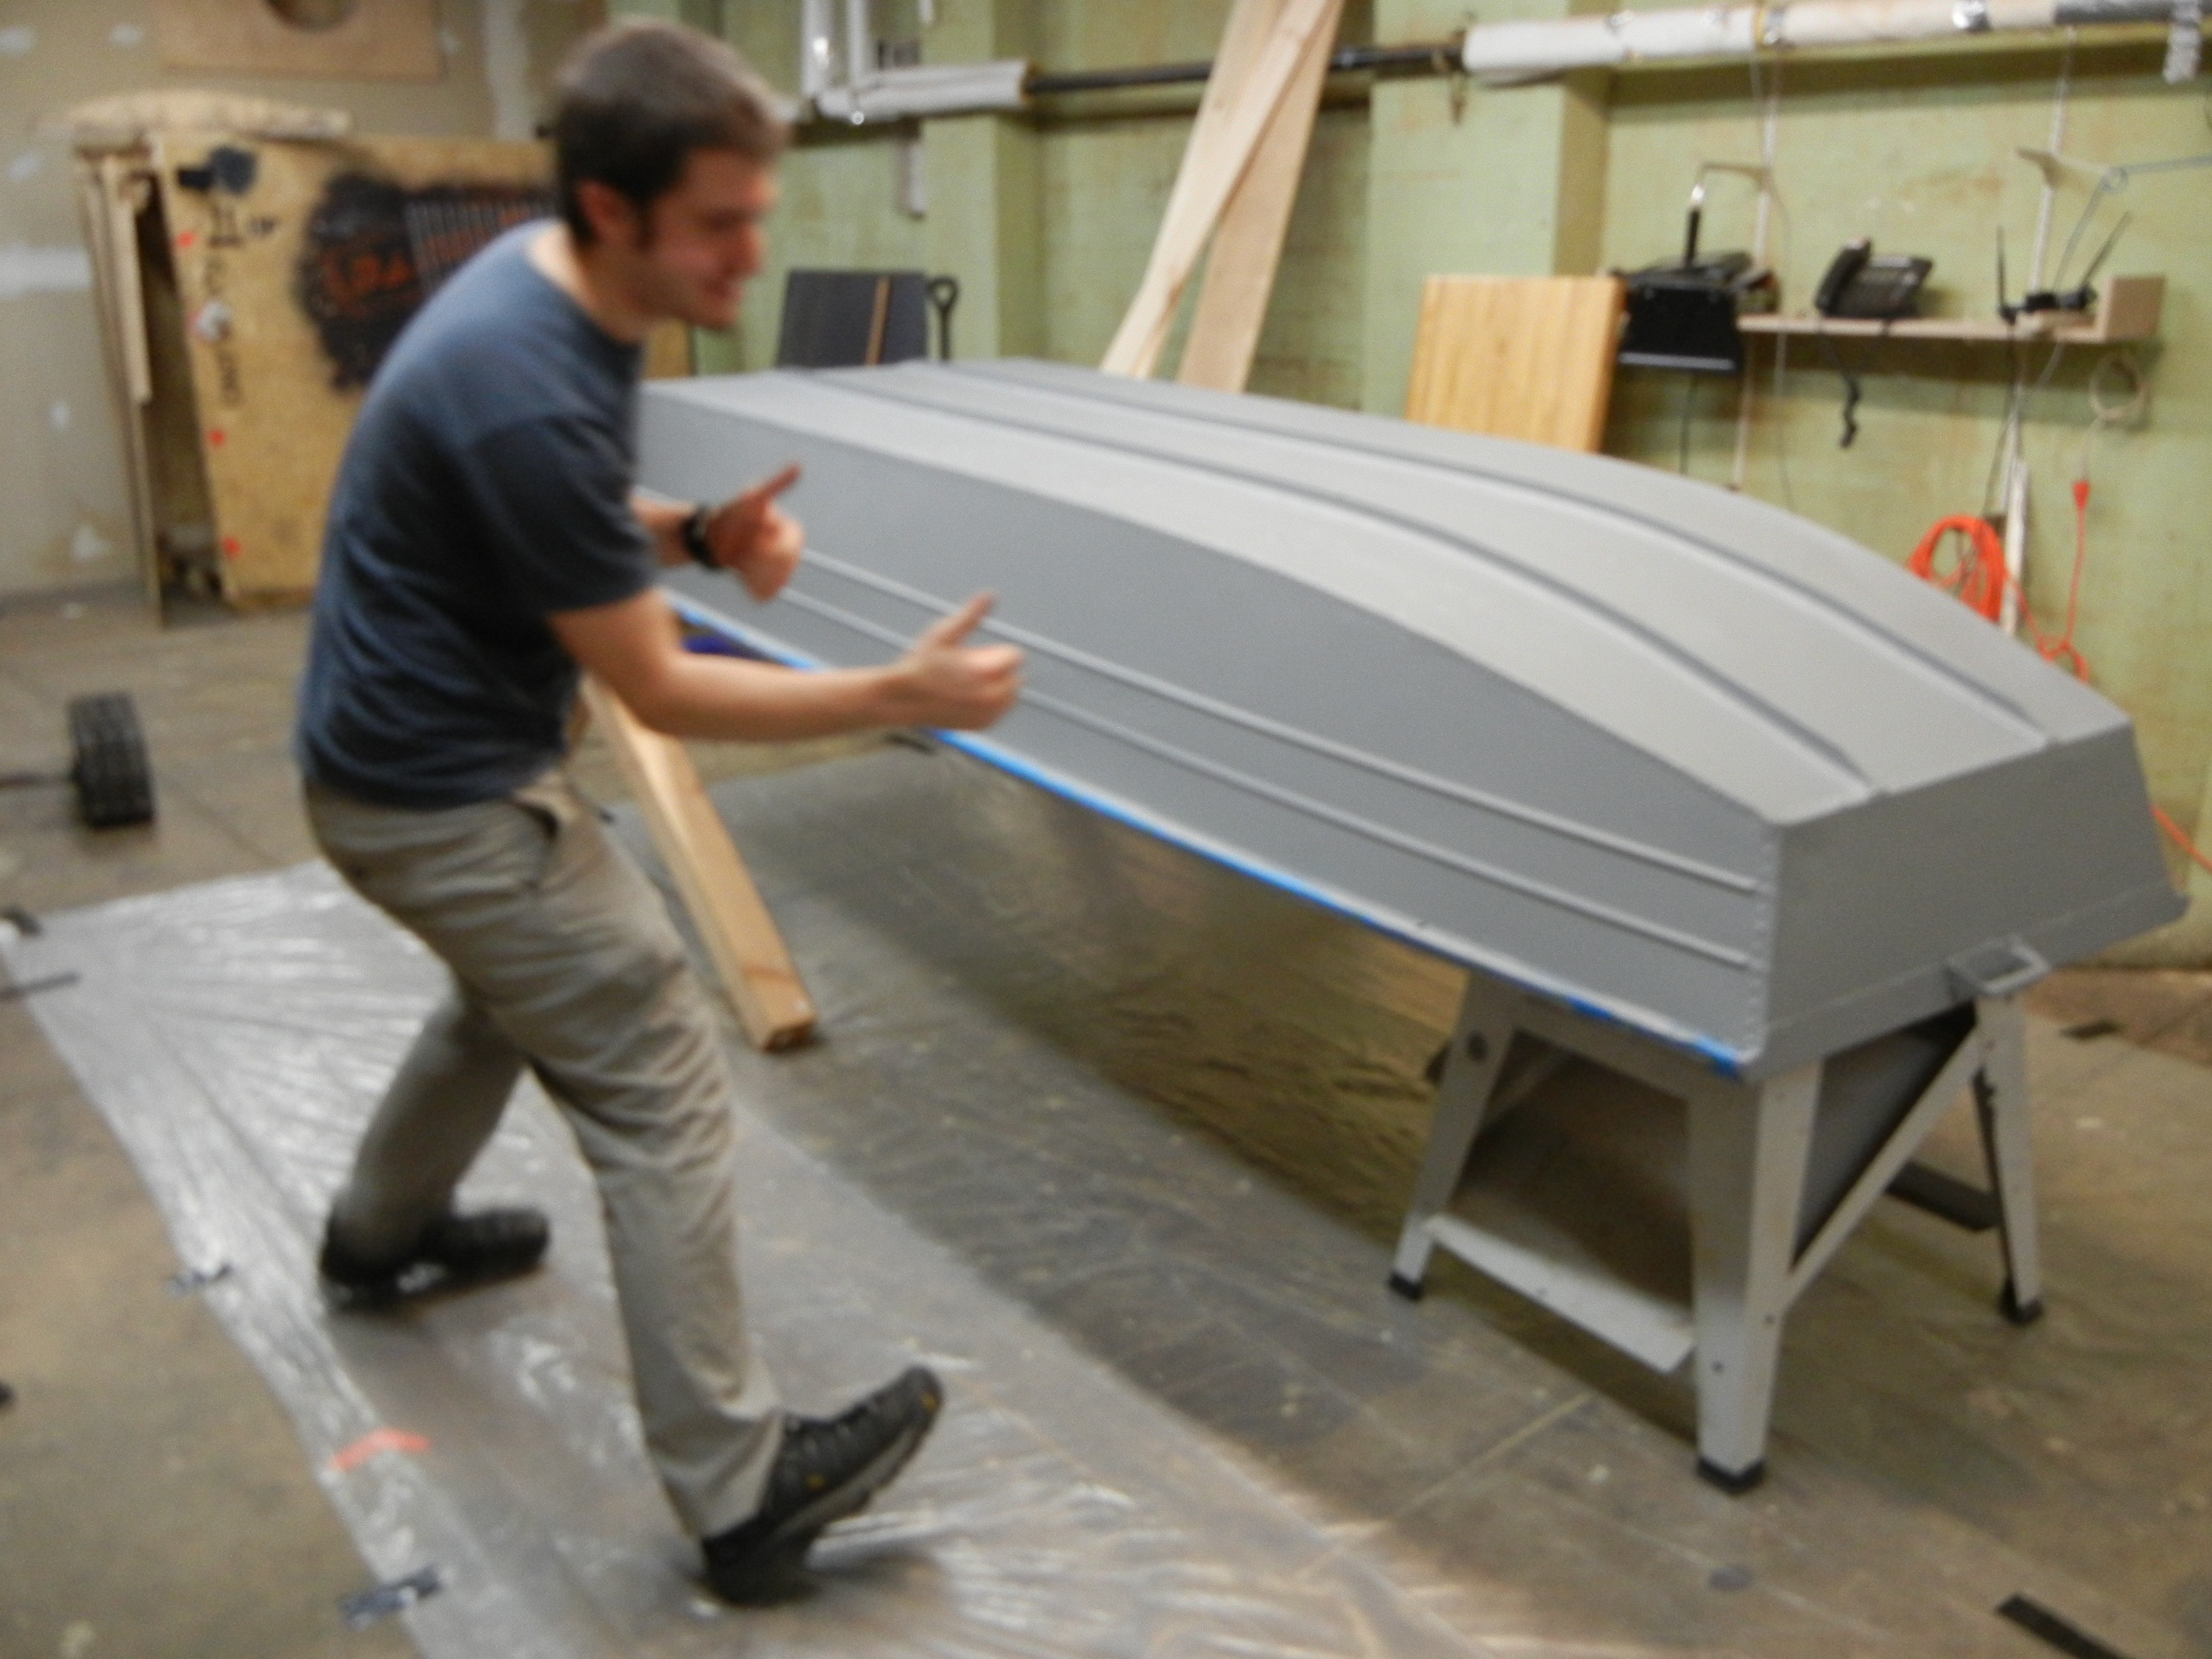

The hull was coated in Mountain white first. Because this is a one-part paint, it air-dries. As it turns out, stagnant air doesn't really allow paint to set. Three days after painting, we found the white paint still tacky. Lesson two was then learned, when painting 'out of a can thats old, its important to mix the frigging paint. The paint was a bit separated and as a result took a bit longer to set than anticipated. Finally It was time for some snazz. 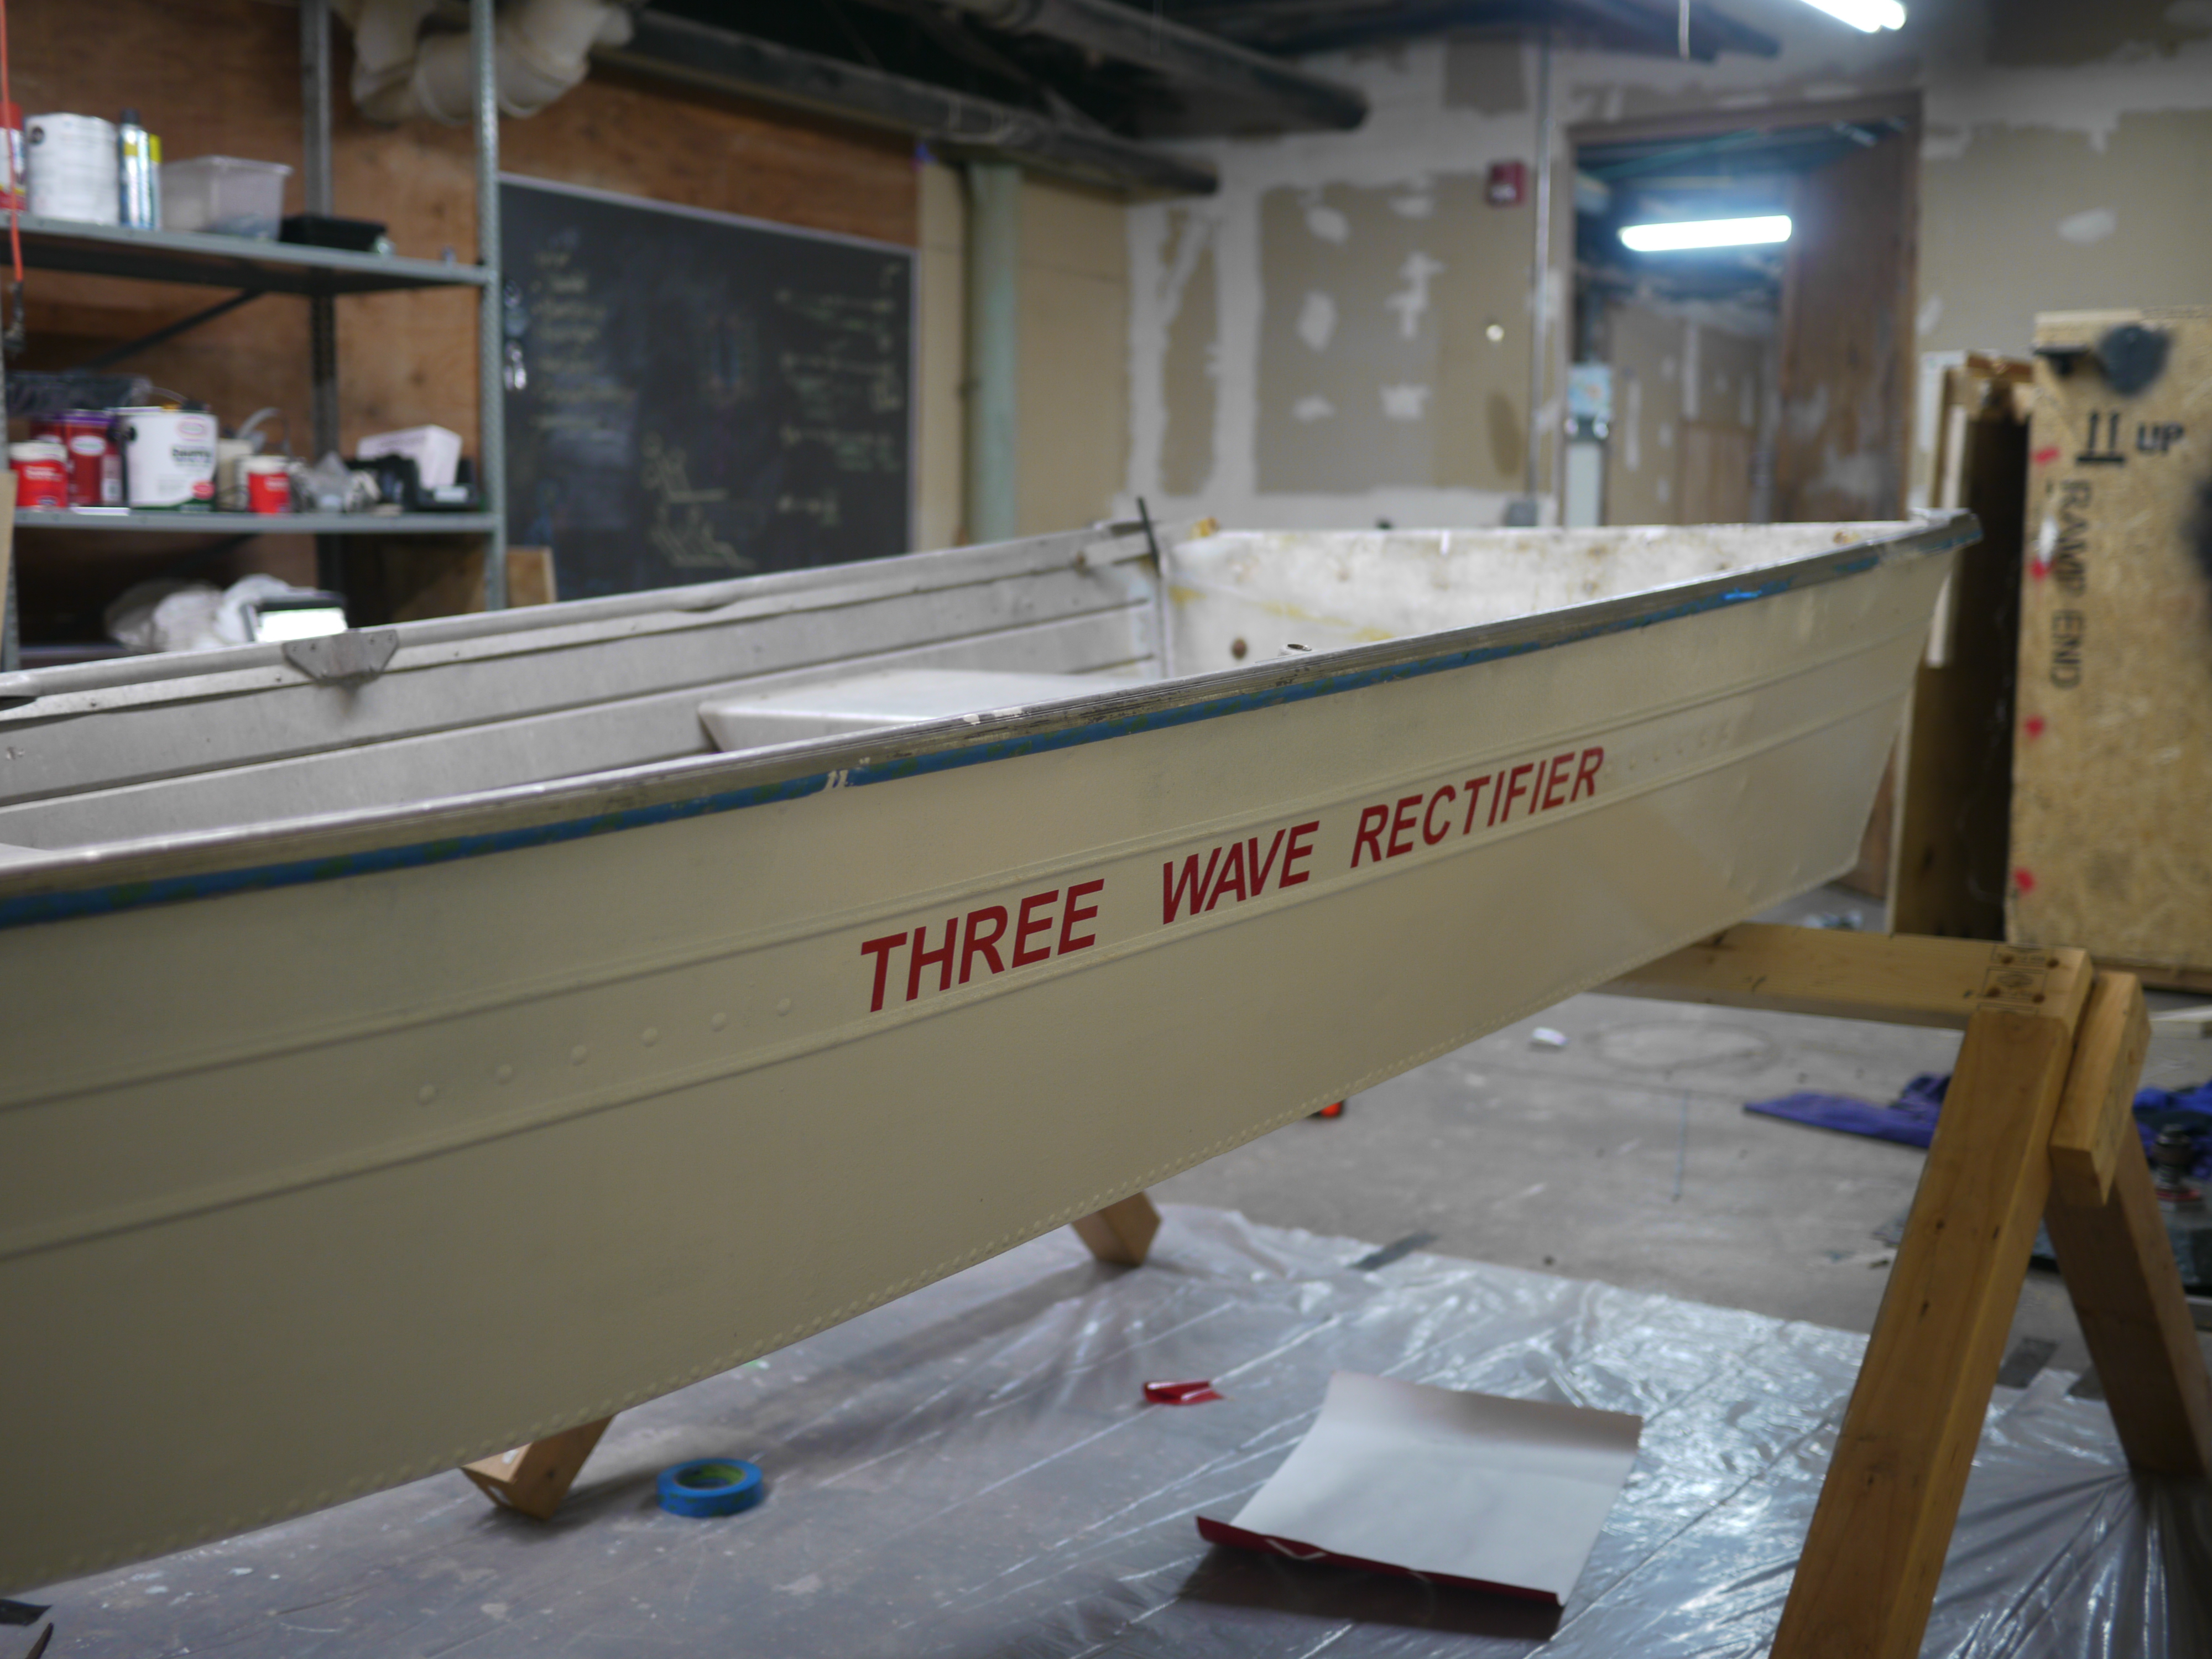

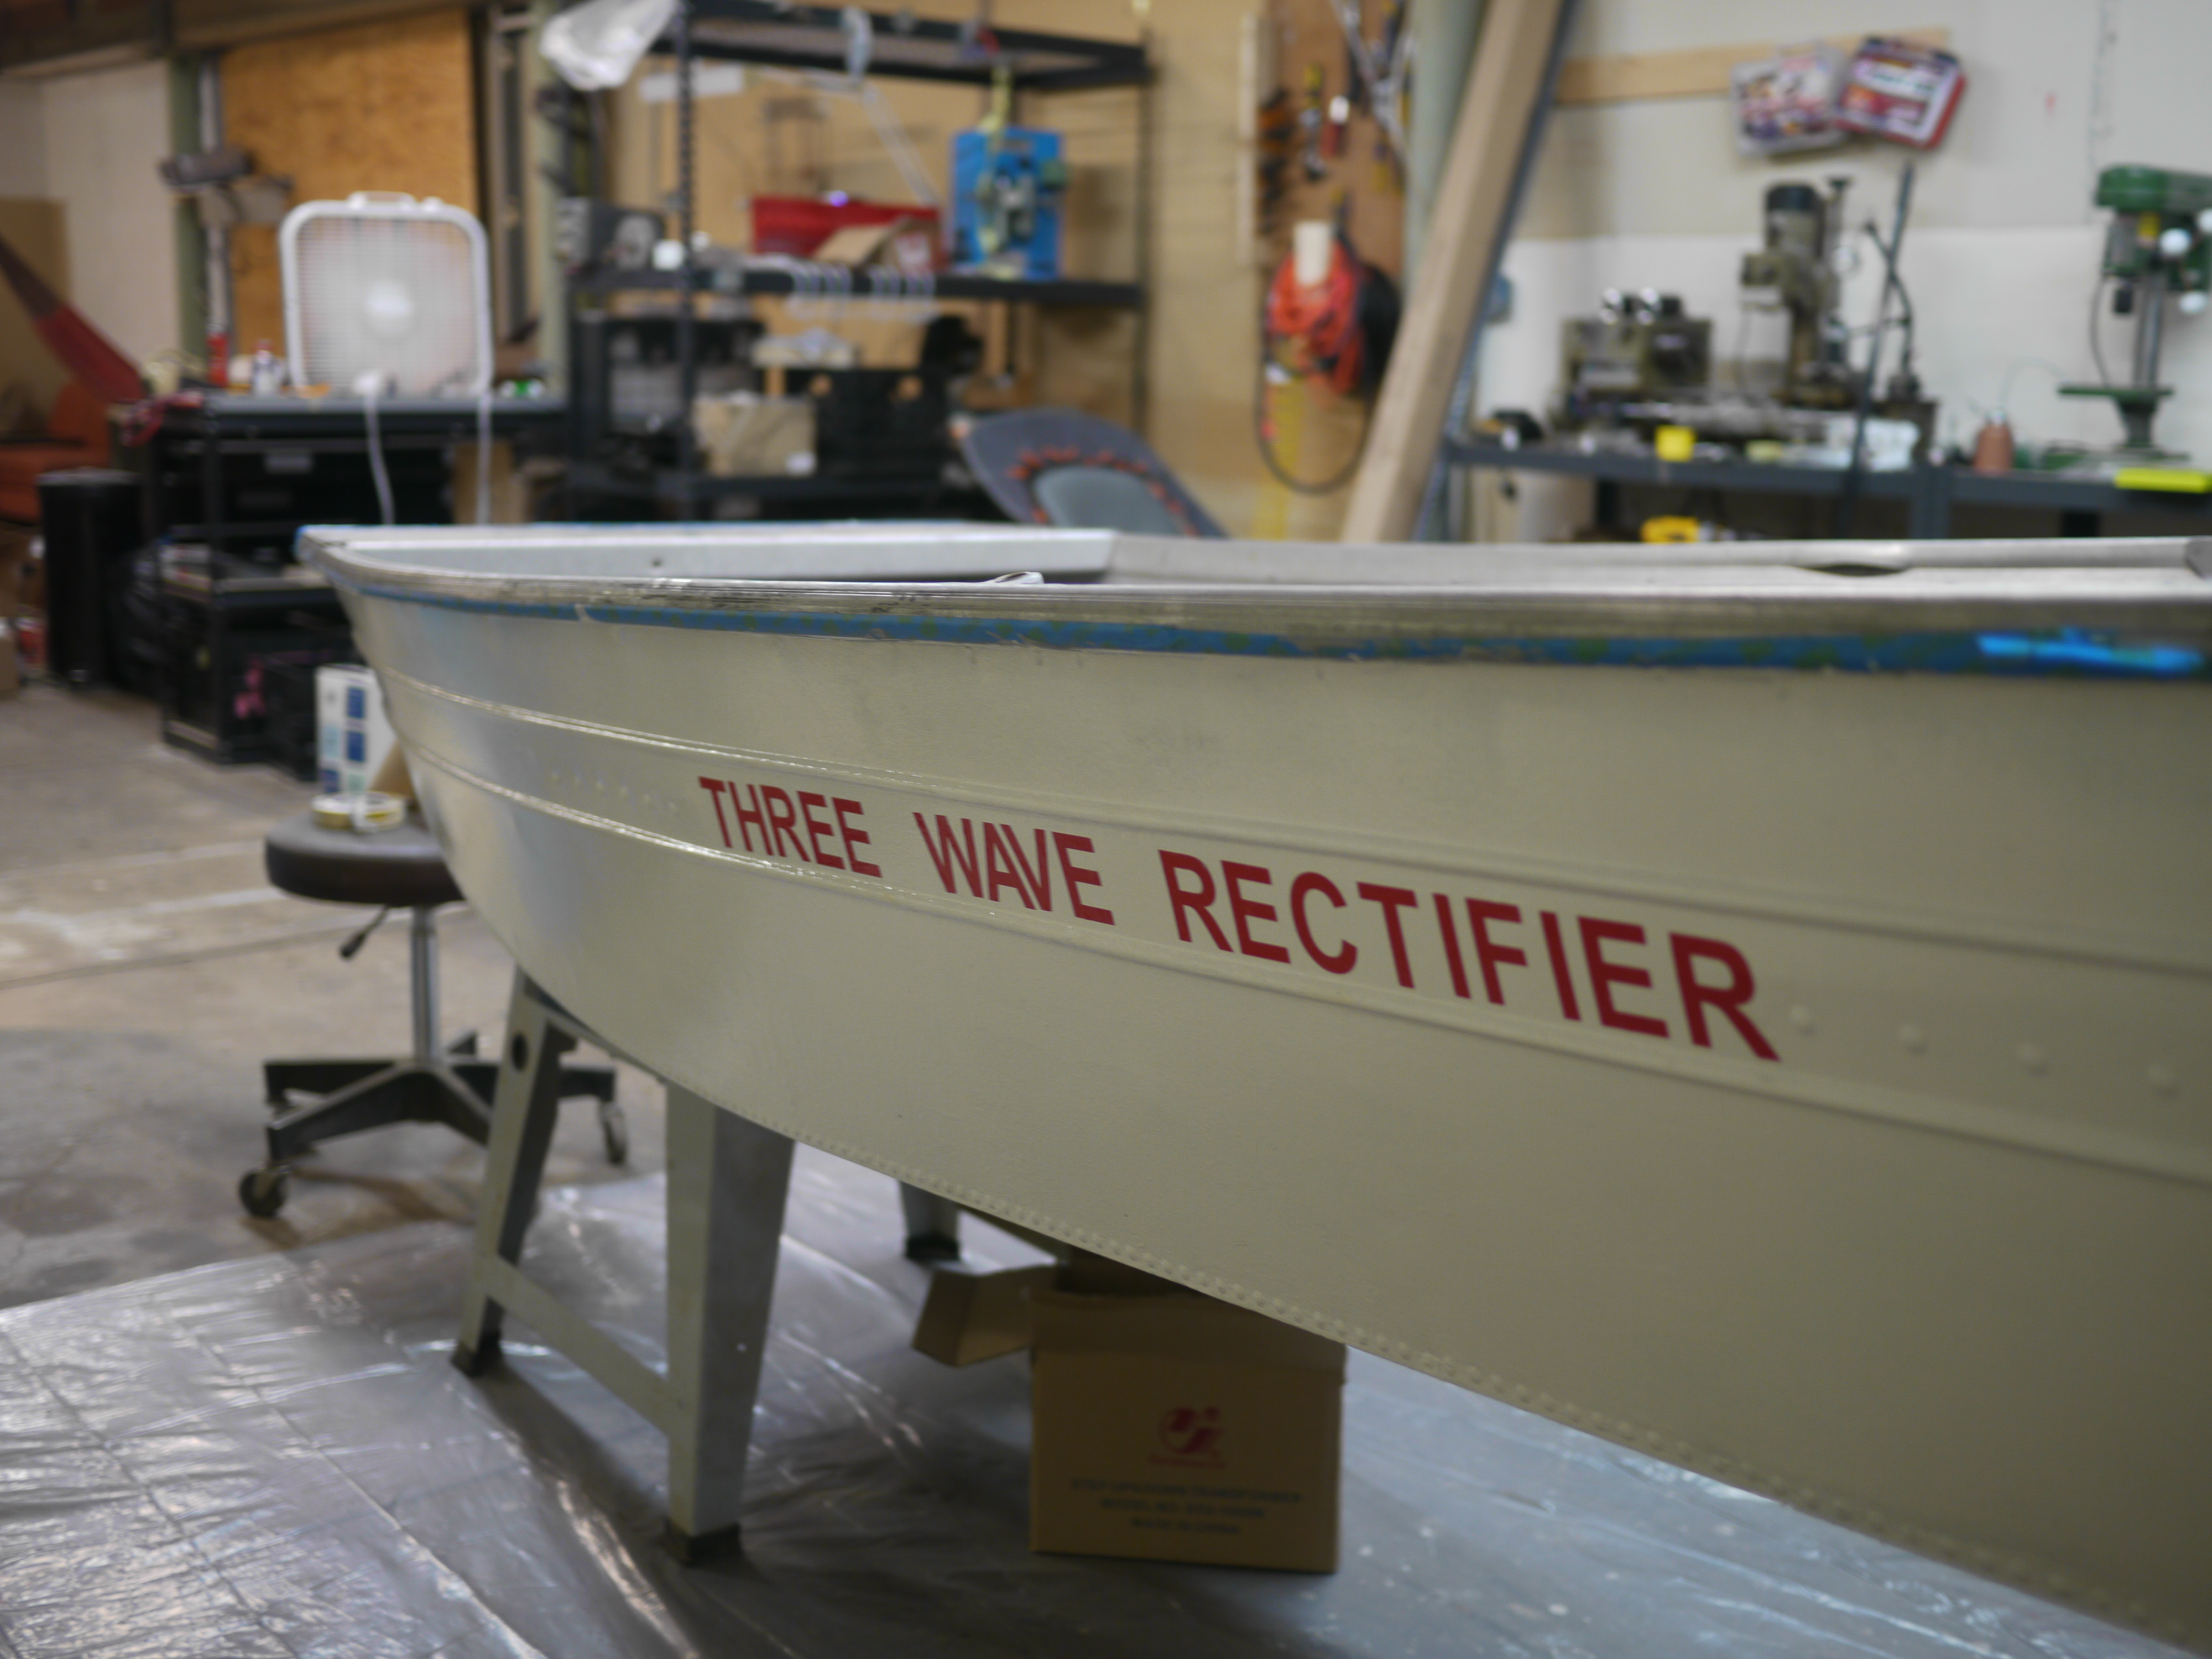
Using the IDC vinyl cutter, Stencils were born. As this craft was soon to acquire a 'boatload of power' the name 'THREE WAVE RECTIFIER" was chosen. The only reason the letters even came so excellently straight was due to Sam's attention to detail. Each letter was peeled off a sheet and eyeballed in place. IT CAME OUT FANTASTICALLY EXCELLENT. 
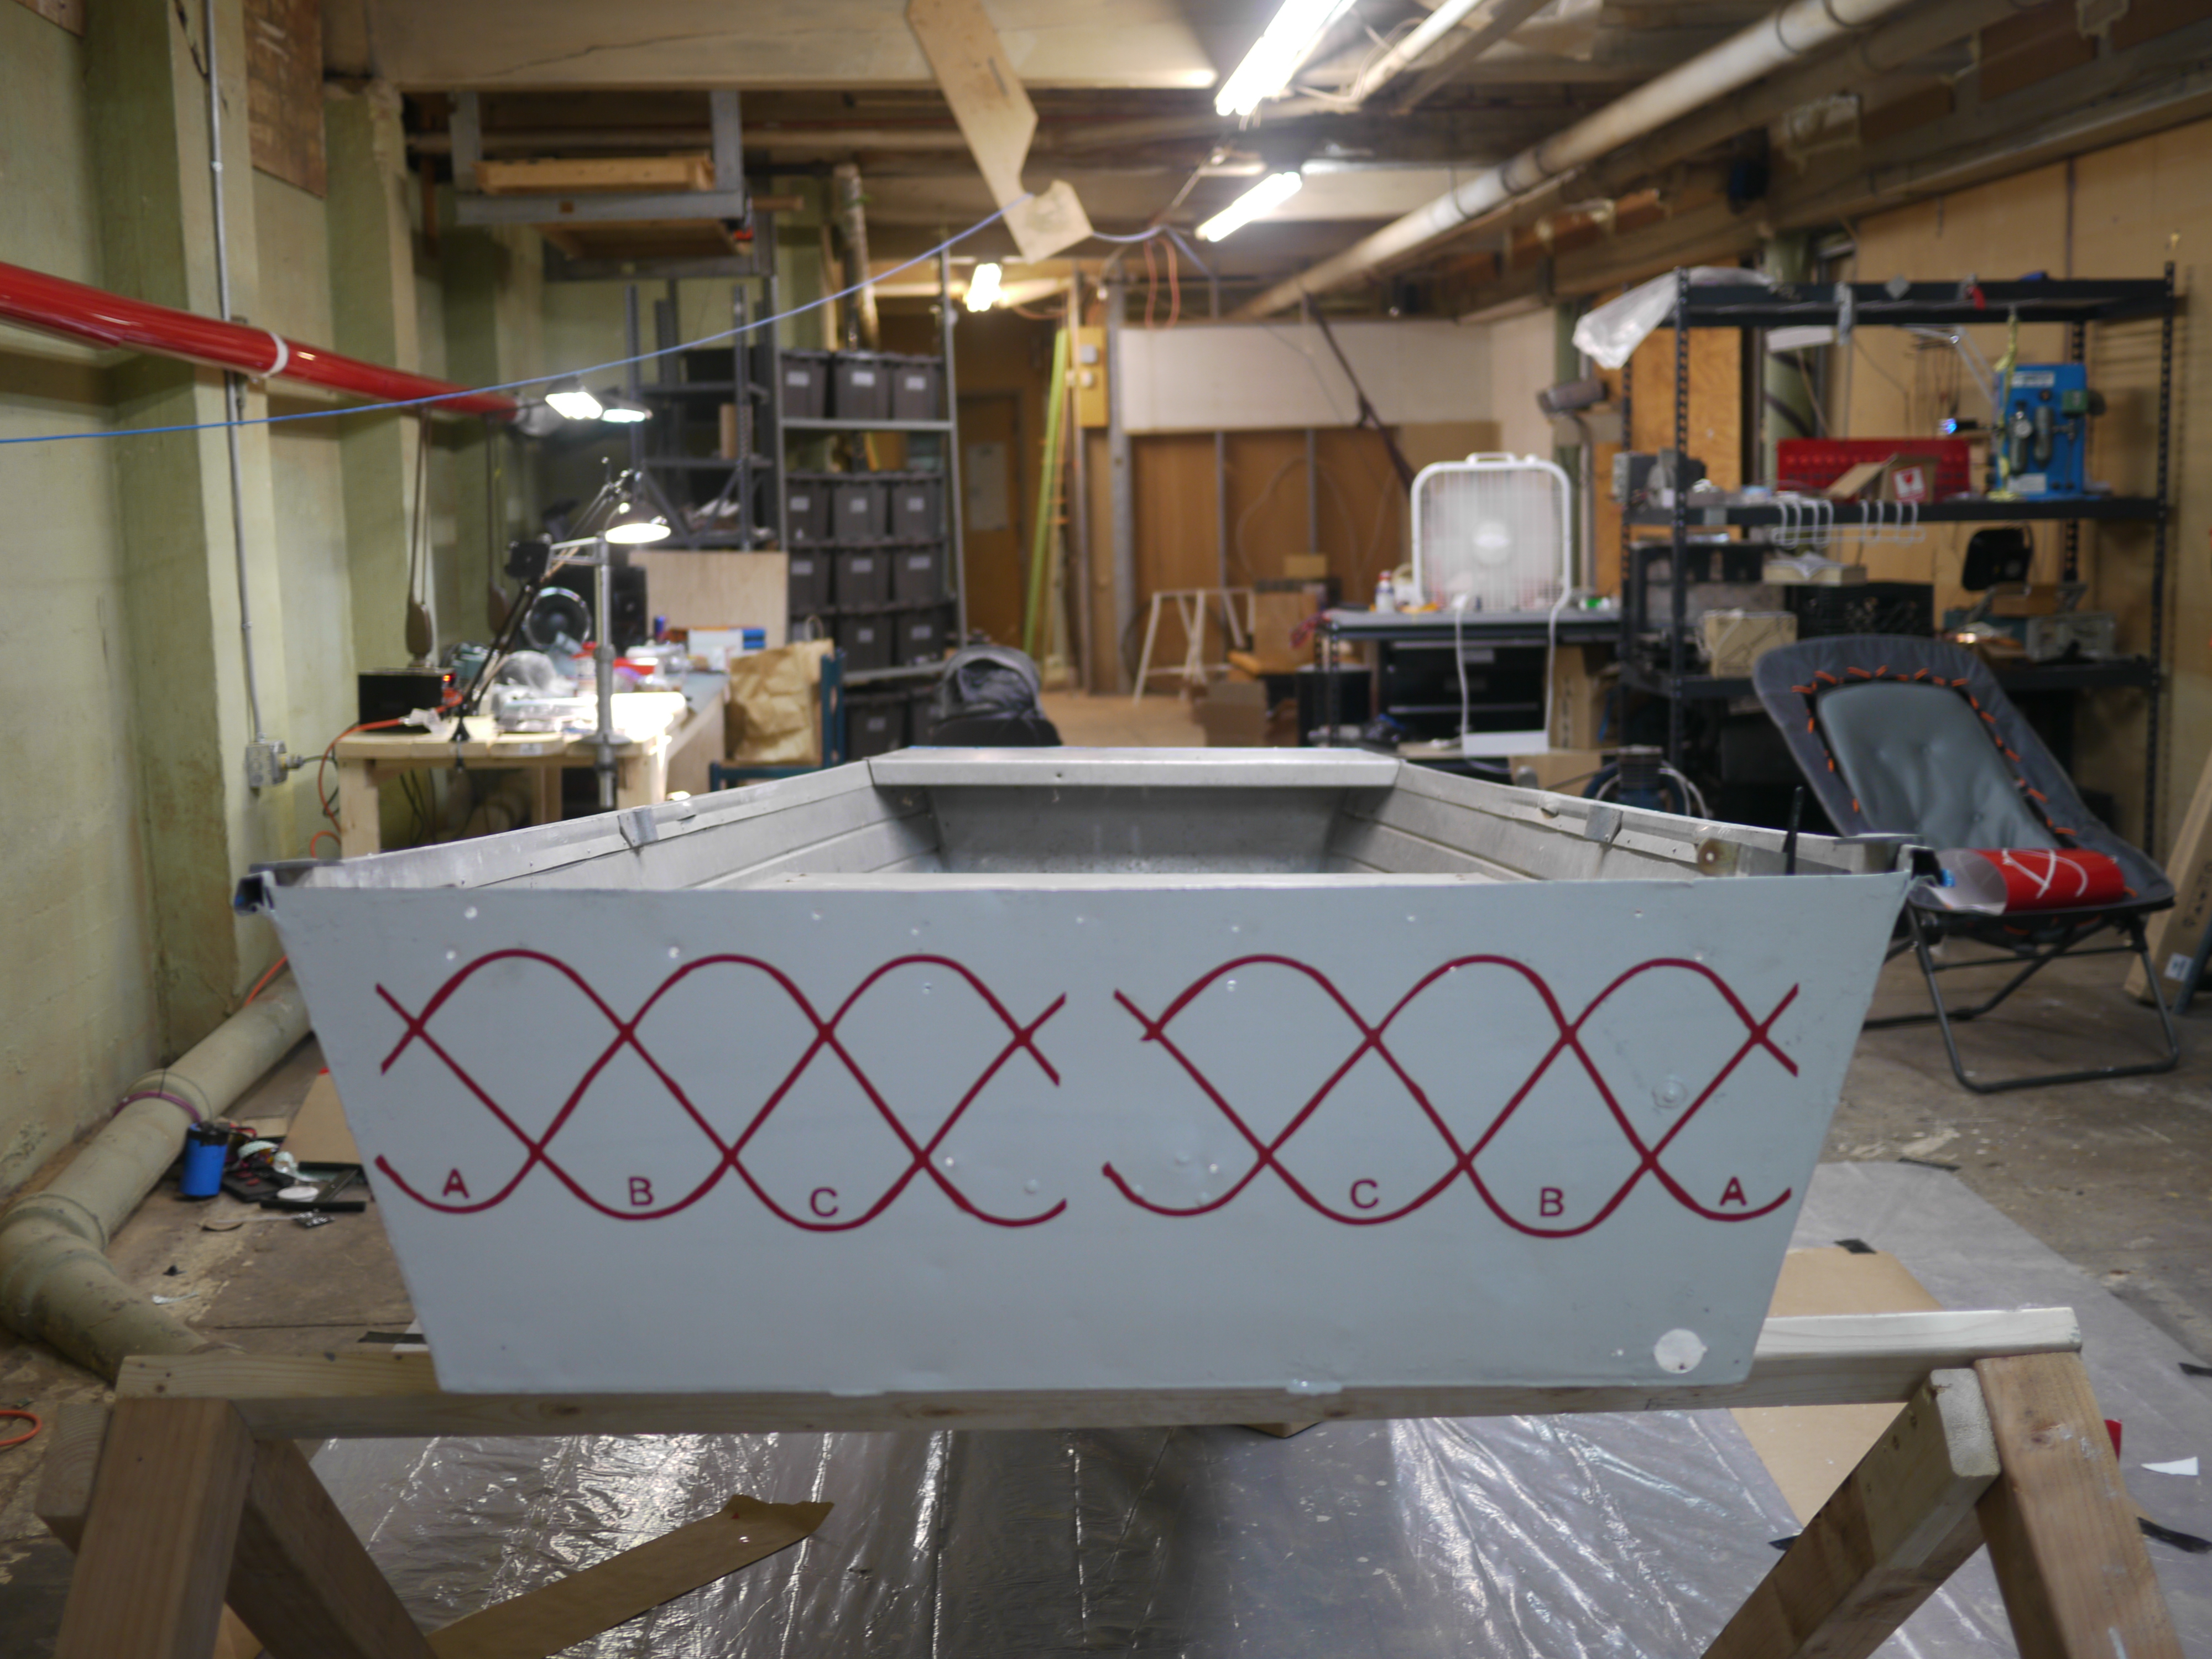
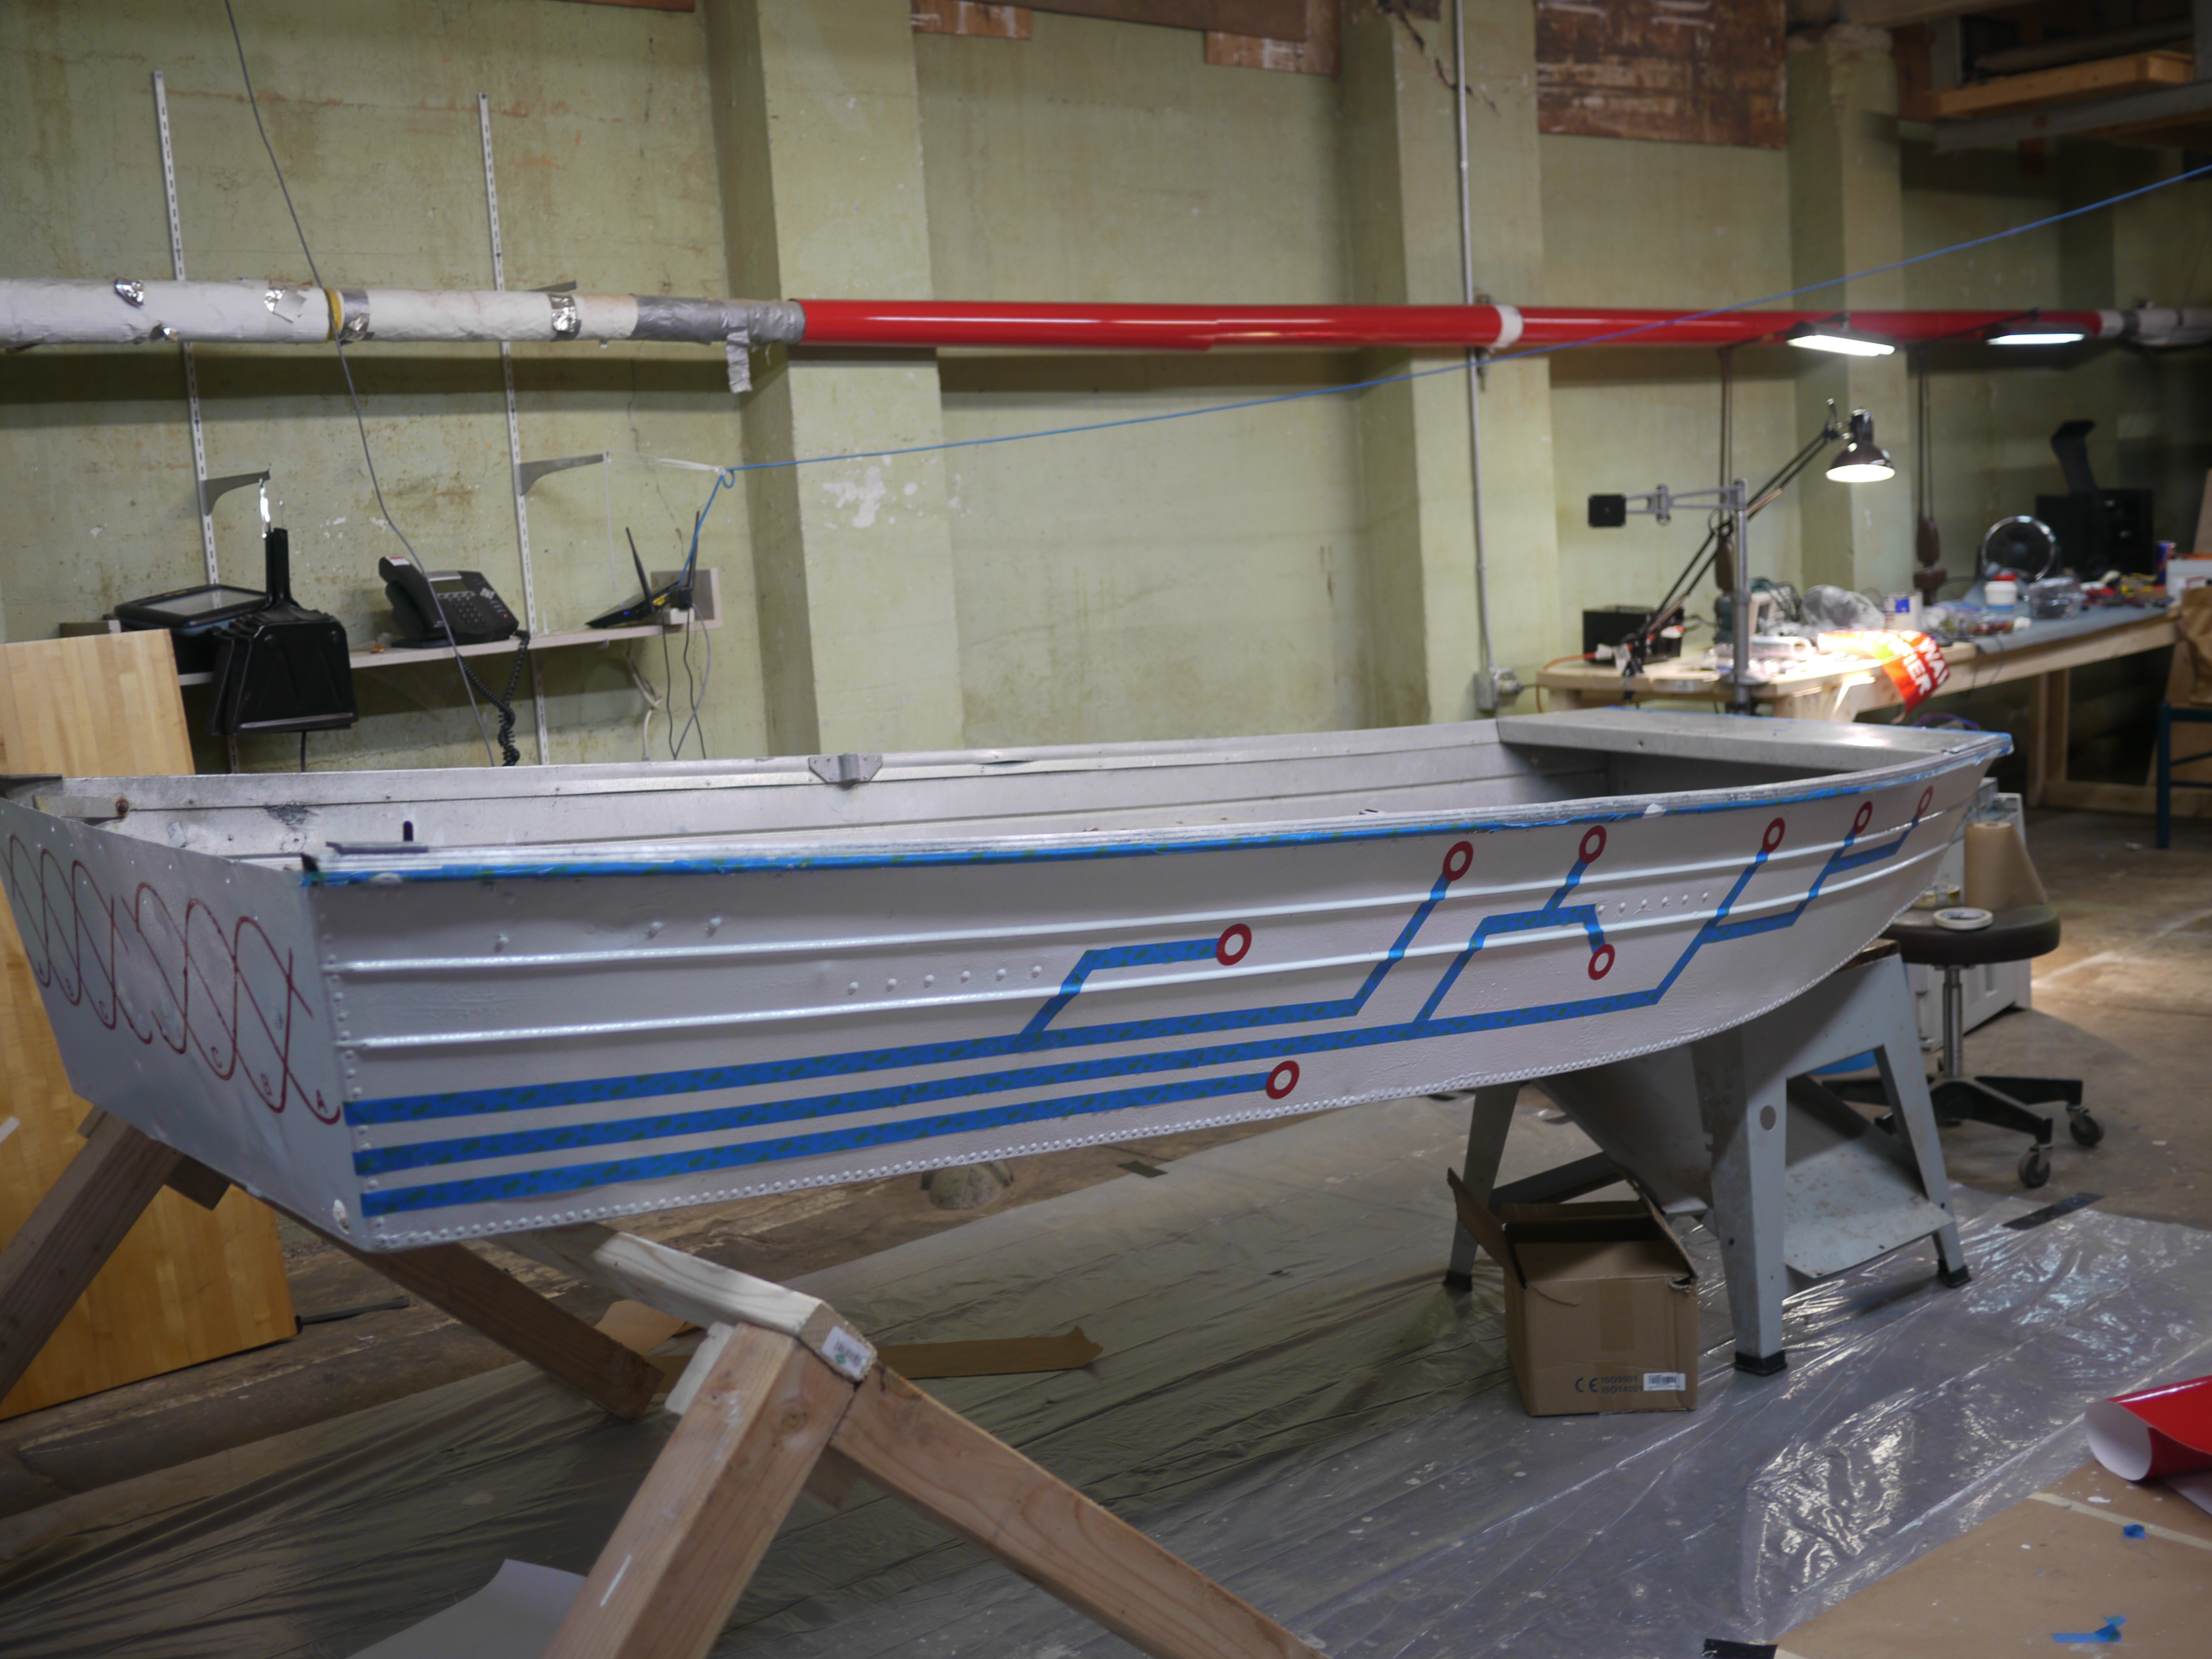
Stenciling continued with the actual three-waves. This took ~6 sets of hands to apply, but, steadfastly so, we did it. The three sinusoidal waves were stickered on the back. Note that a rear transom plate mounts in the middle of the rear of the boat and as such there wasnt a need for the two decals to mate in the middle. 
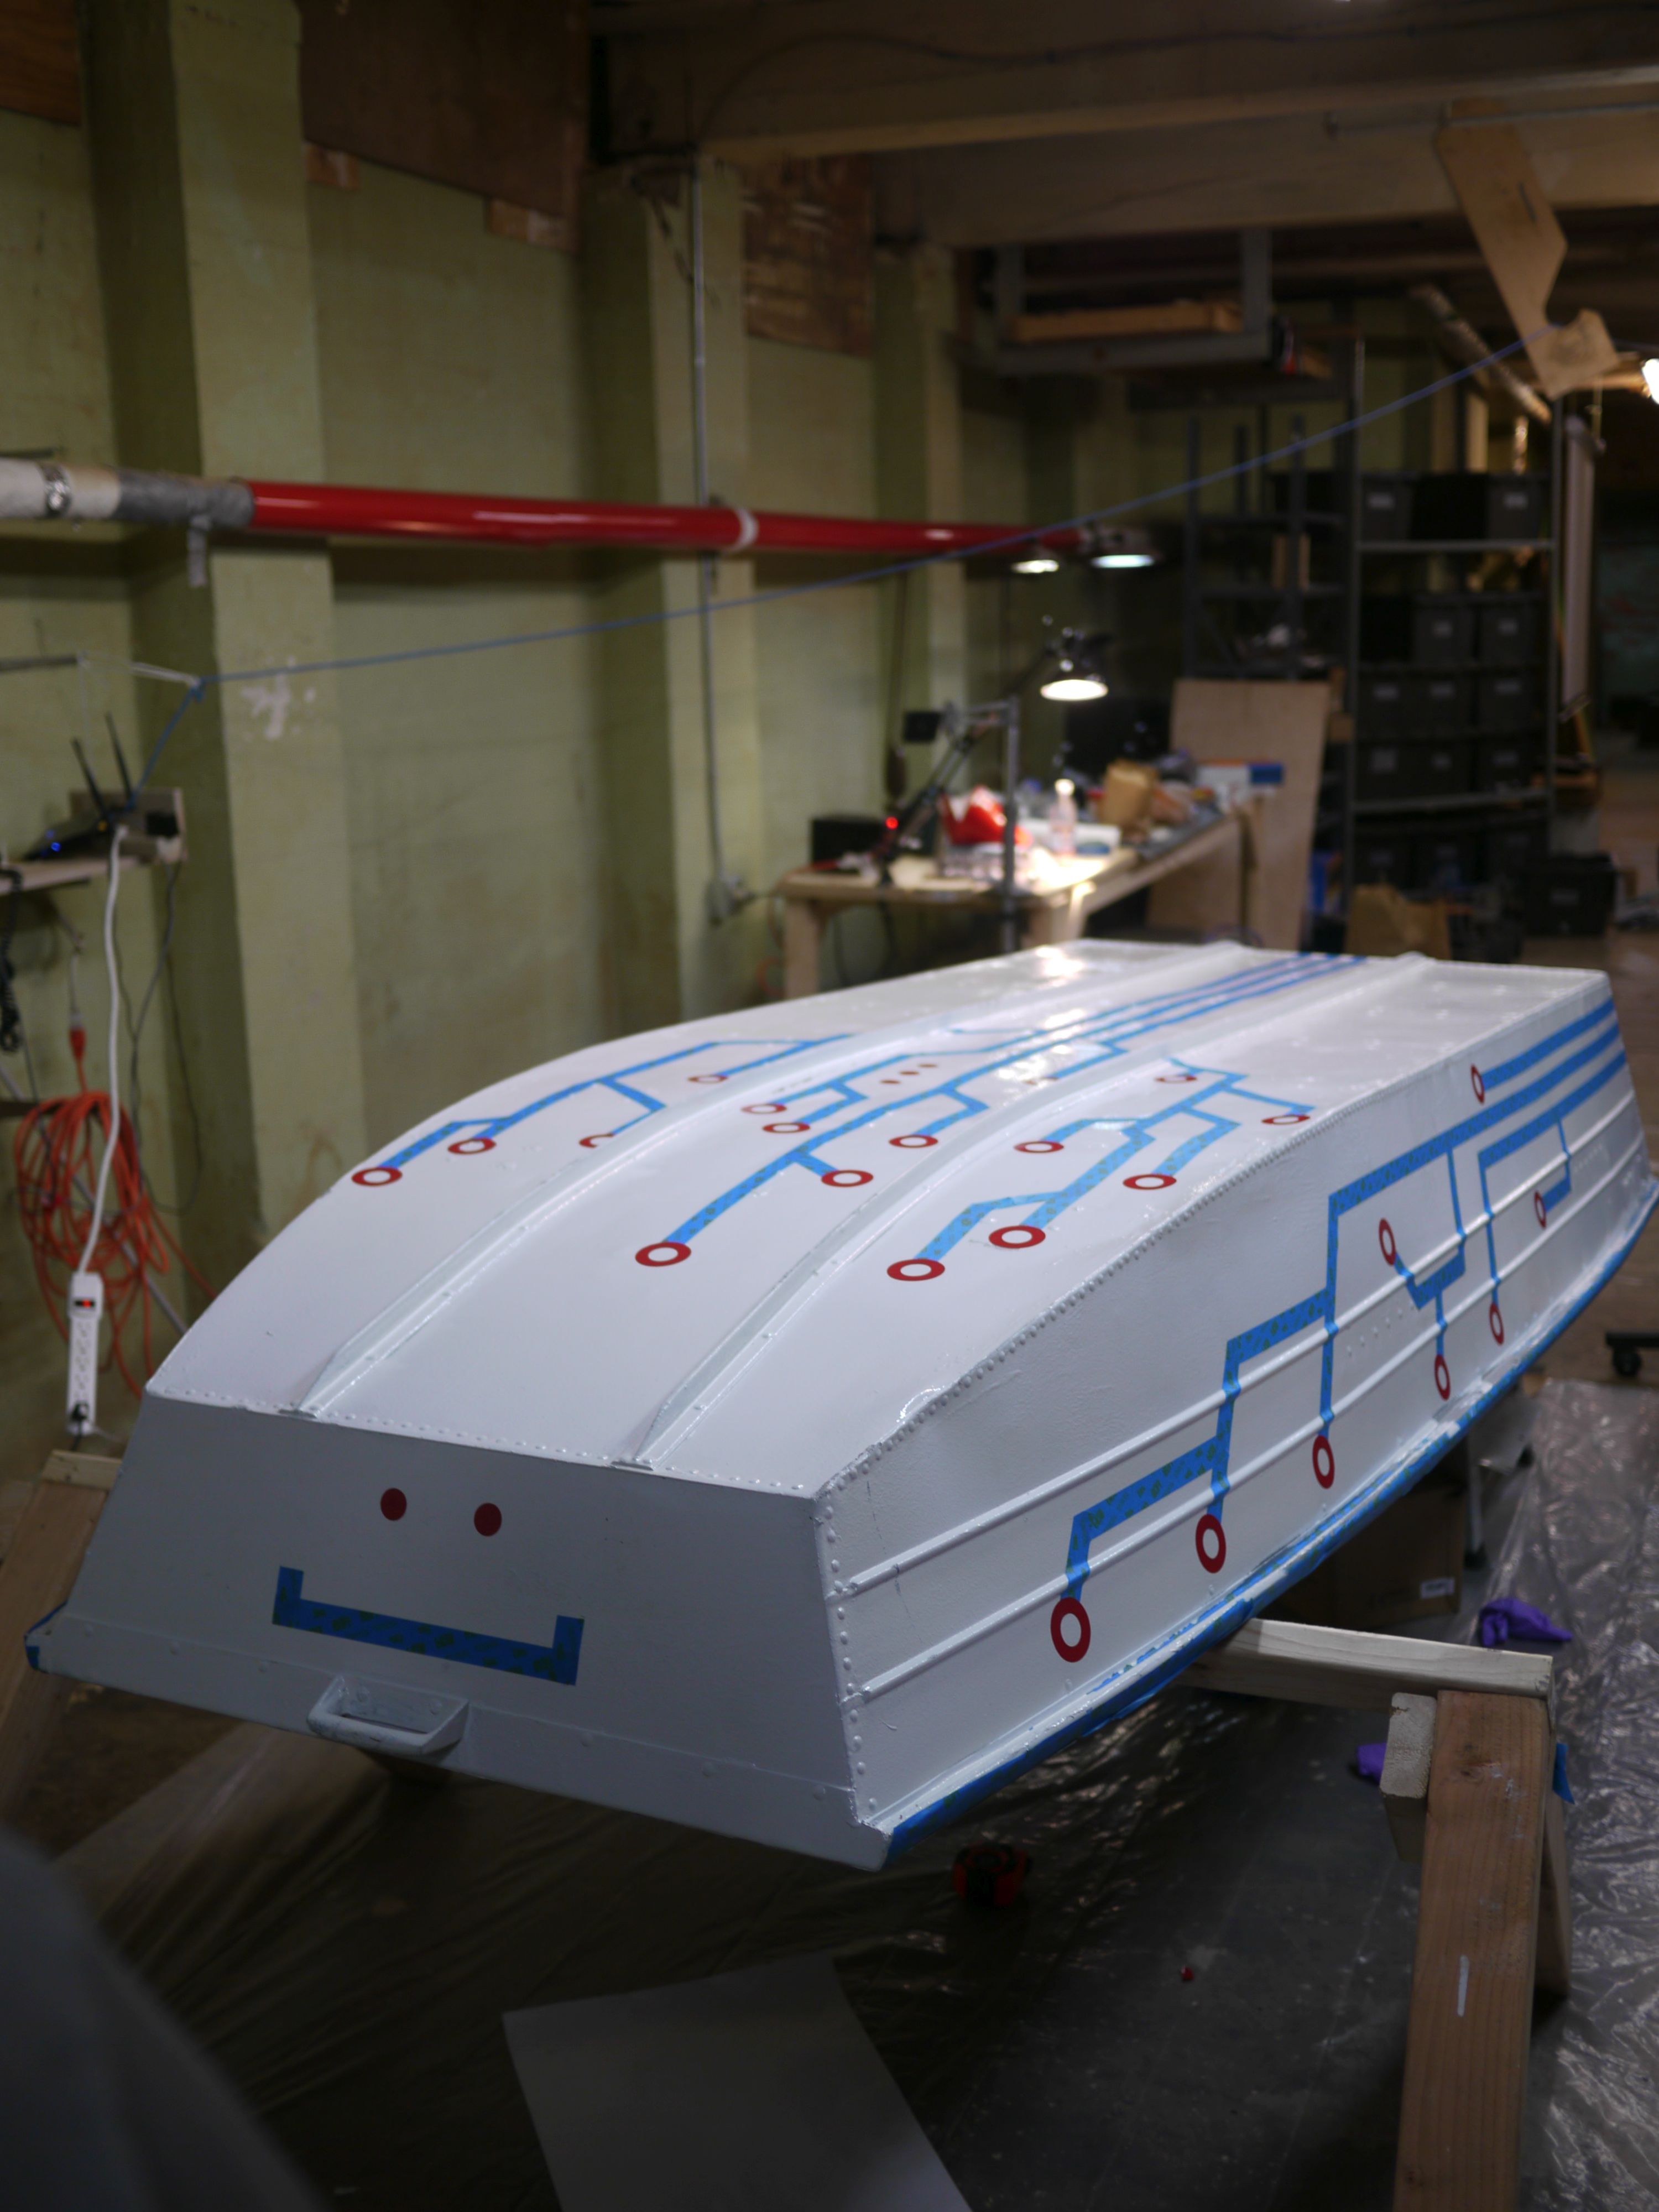
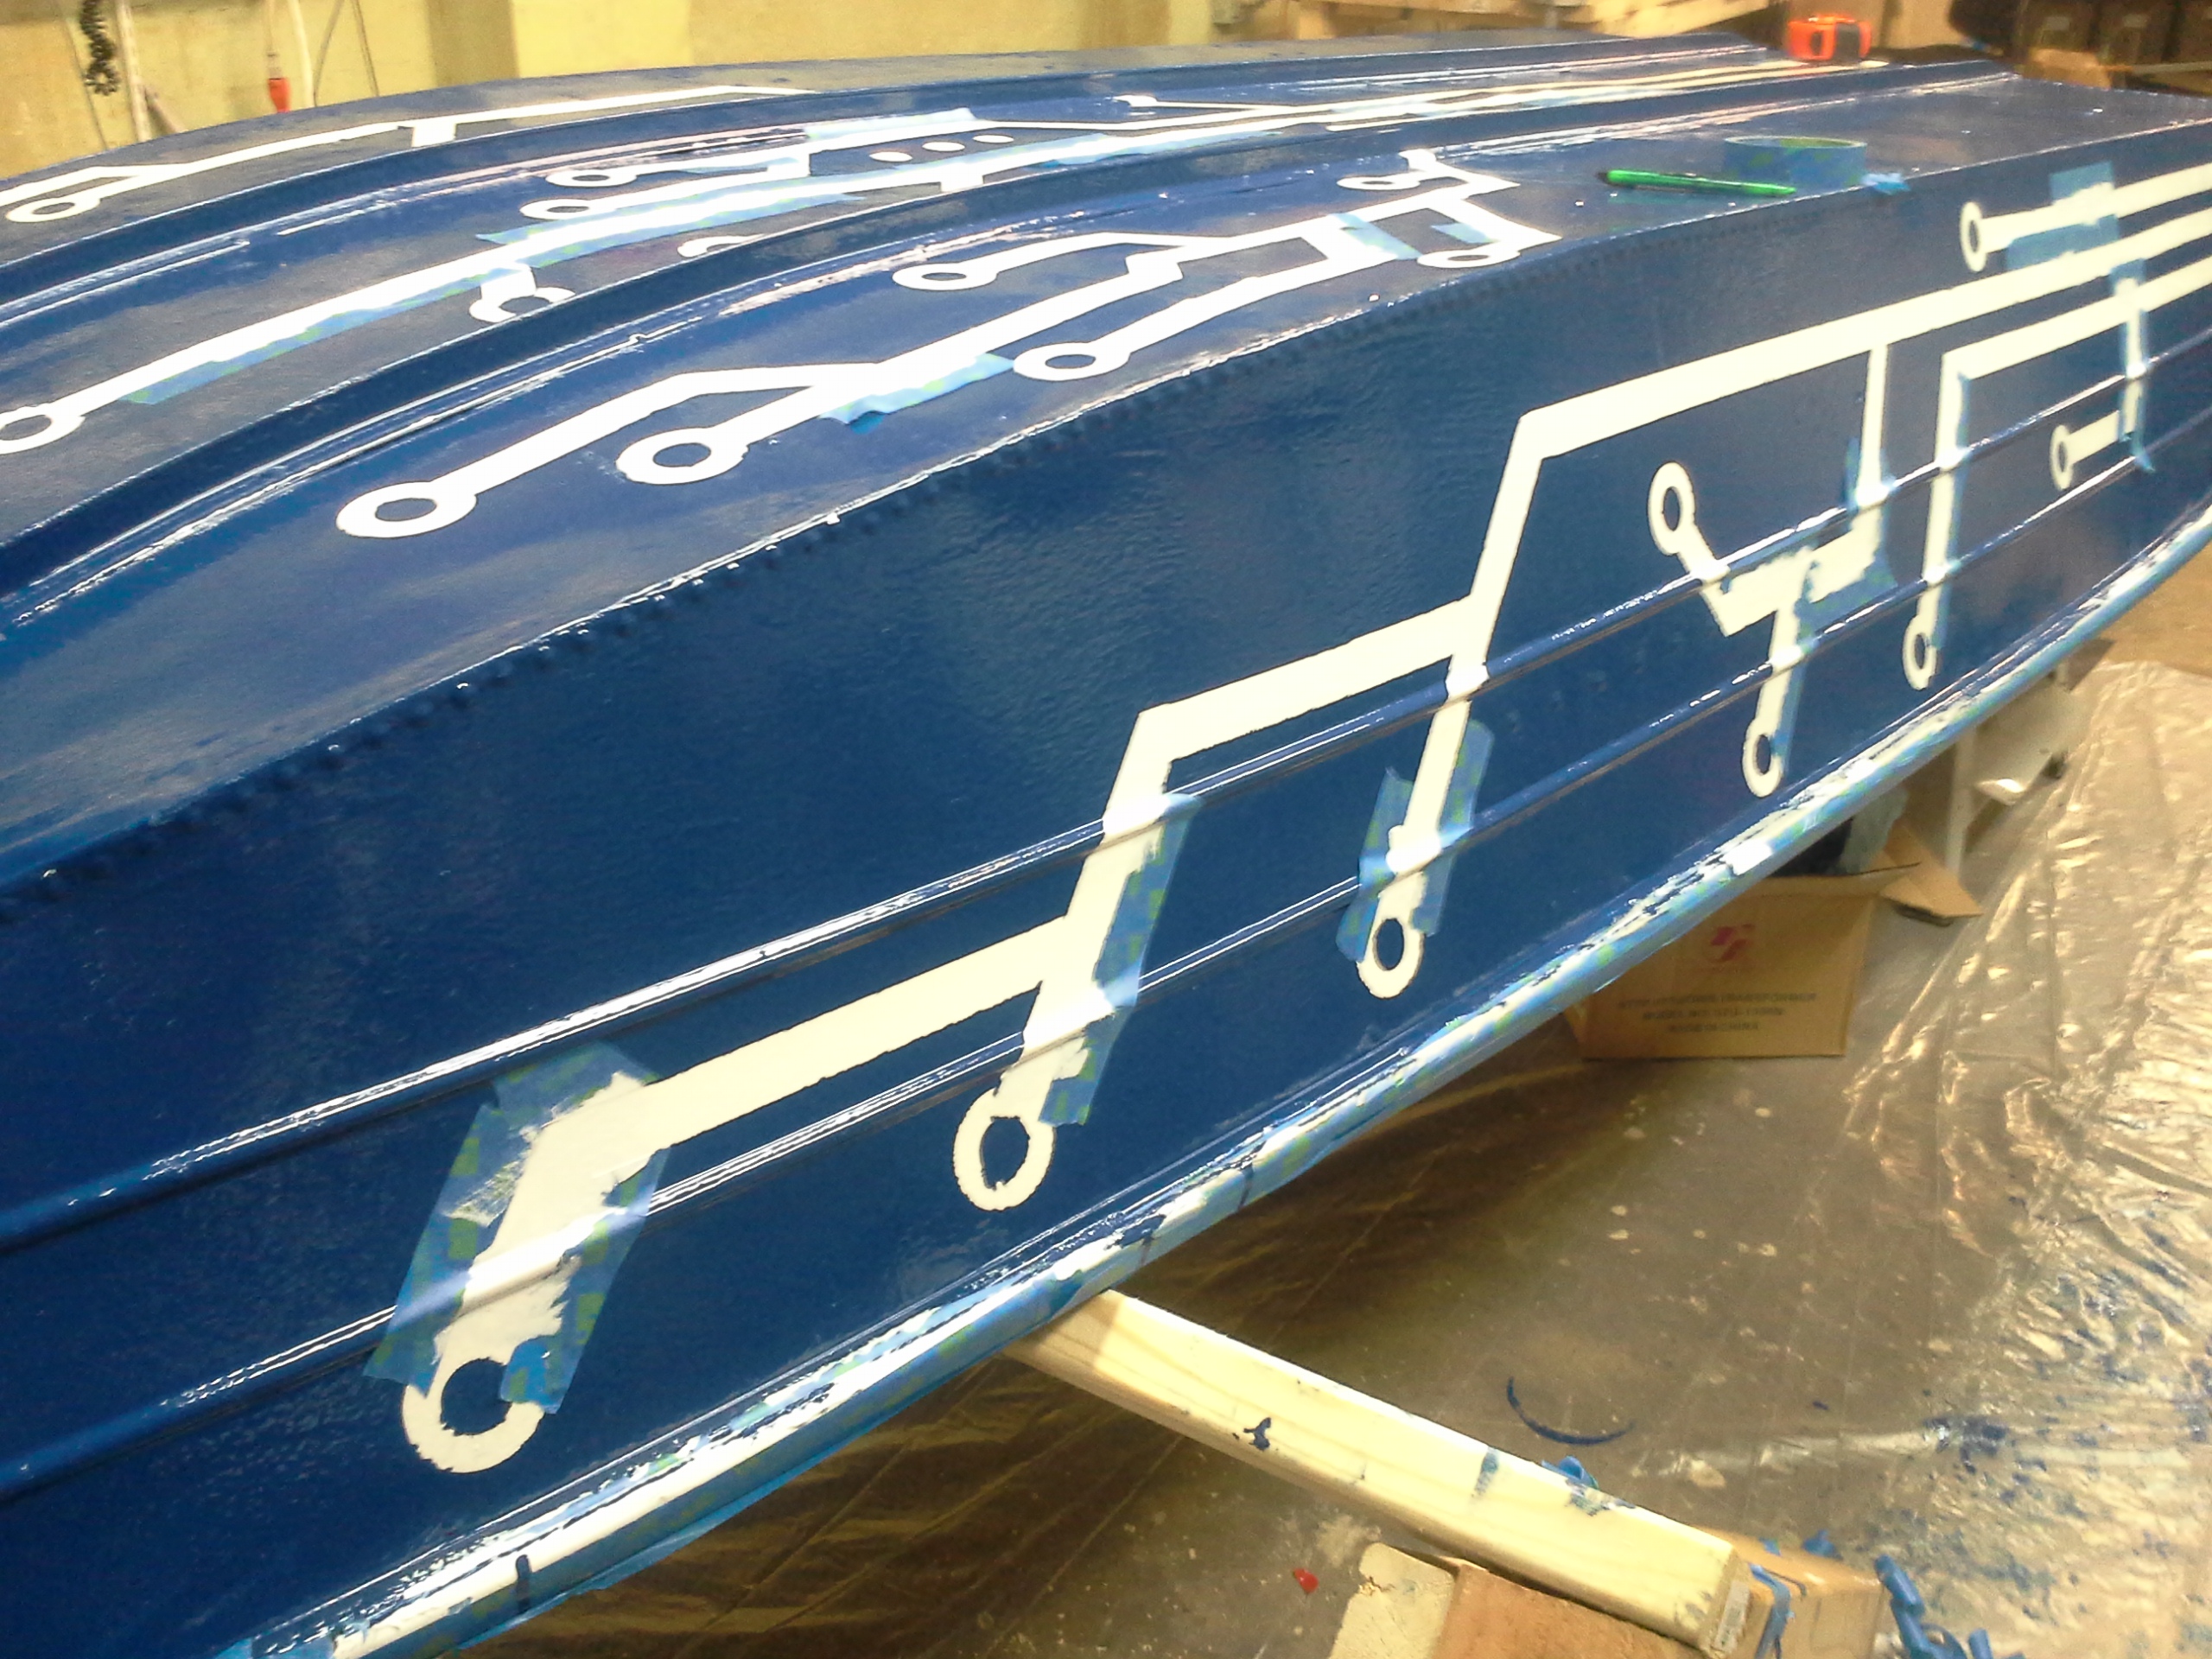
Free hand traces and vias time! Using 1" diameter blue painters tape and some imagination, traces and vias were added. Because the white paint was still 'a bit tacky' we went light with the tape, realistically a firm-er hand may have resulted in a bit more solid of a trace. The vias were actually more vinyl cut parts that were manually added to the ends of the traces. 
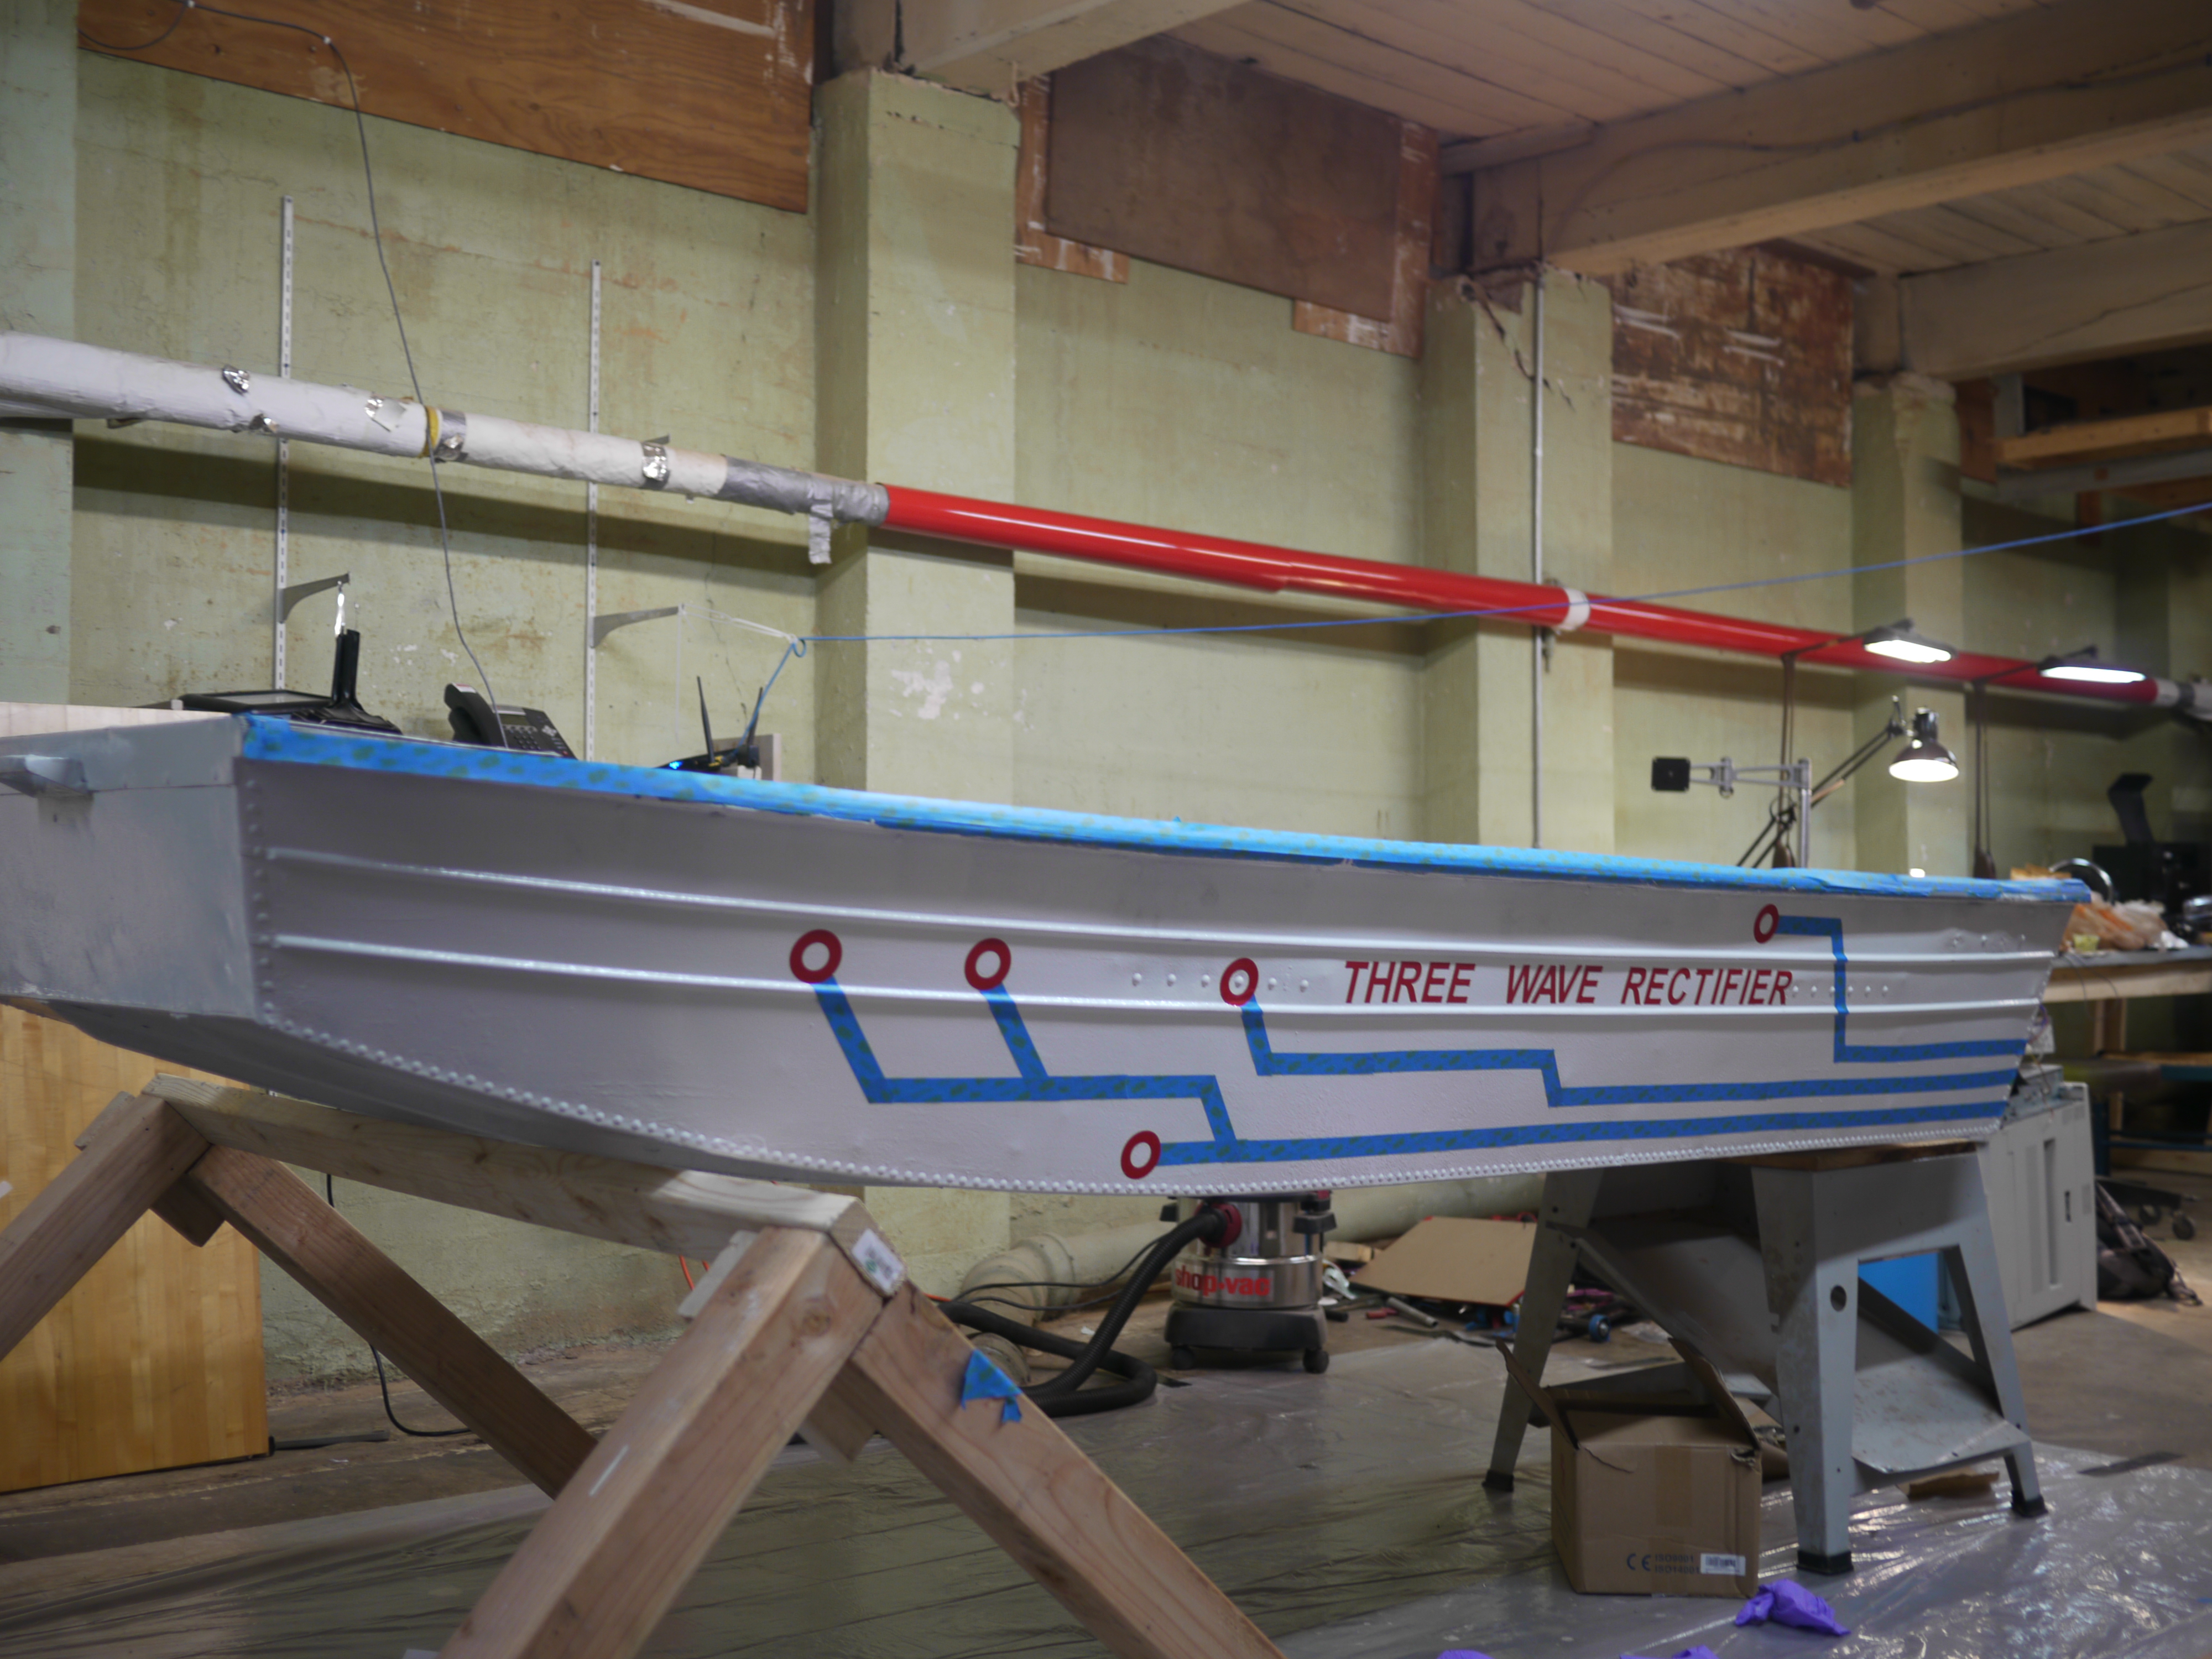
The traces continue. Along the top and sides the traces continue.. Clearly a three dimensional kicad layout happening here. 
Finally some finishing touches were added on: The Smiley face was intended so that when the boat sat atop a vehicle it would be smiling. When underway in the water the face itself isnt quite visible. 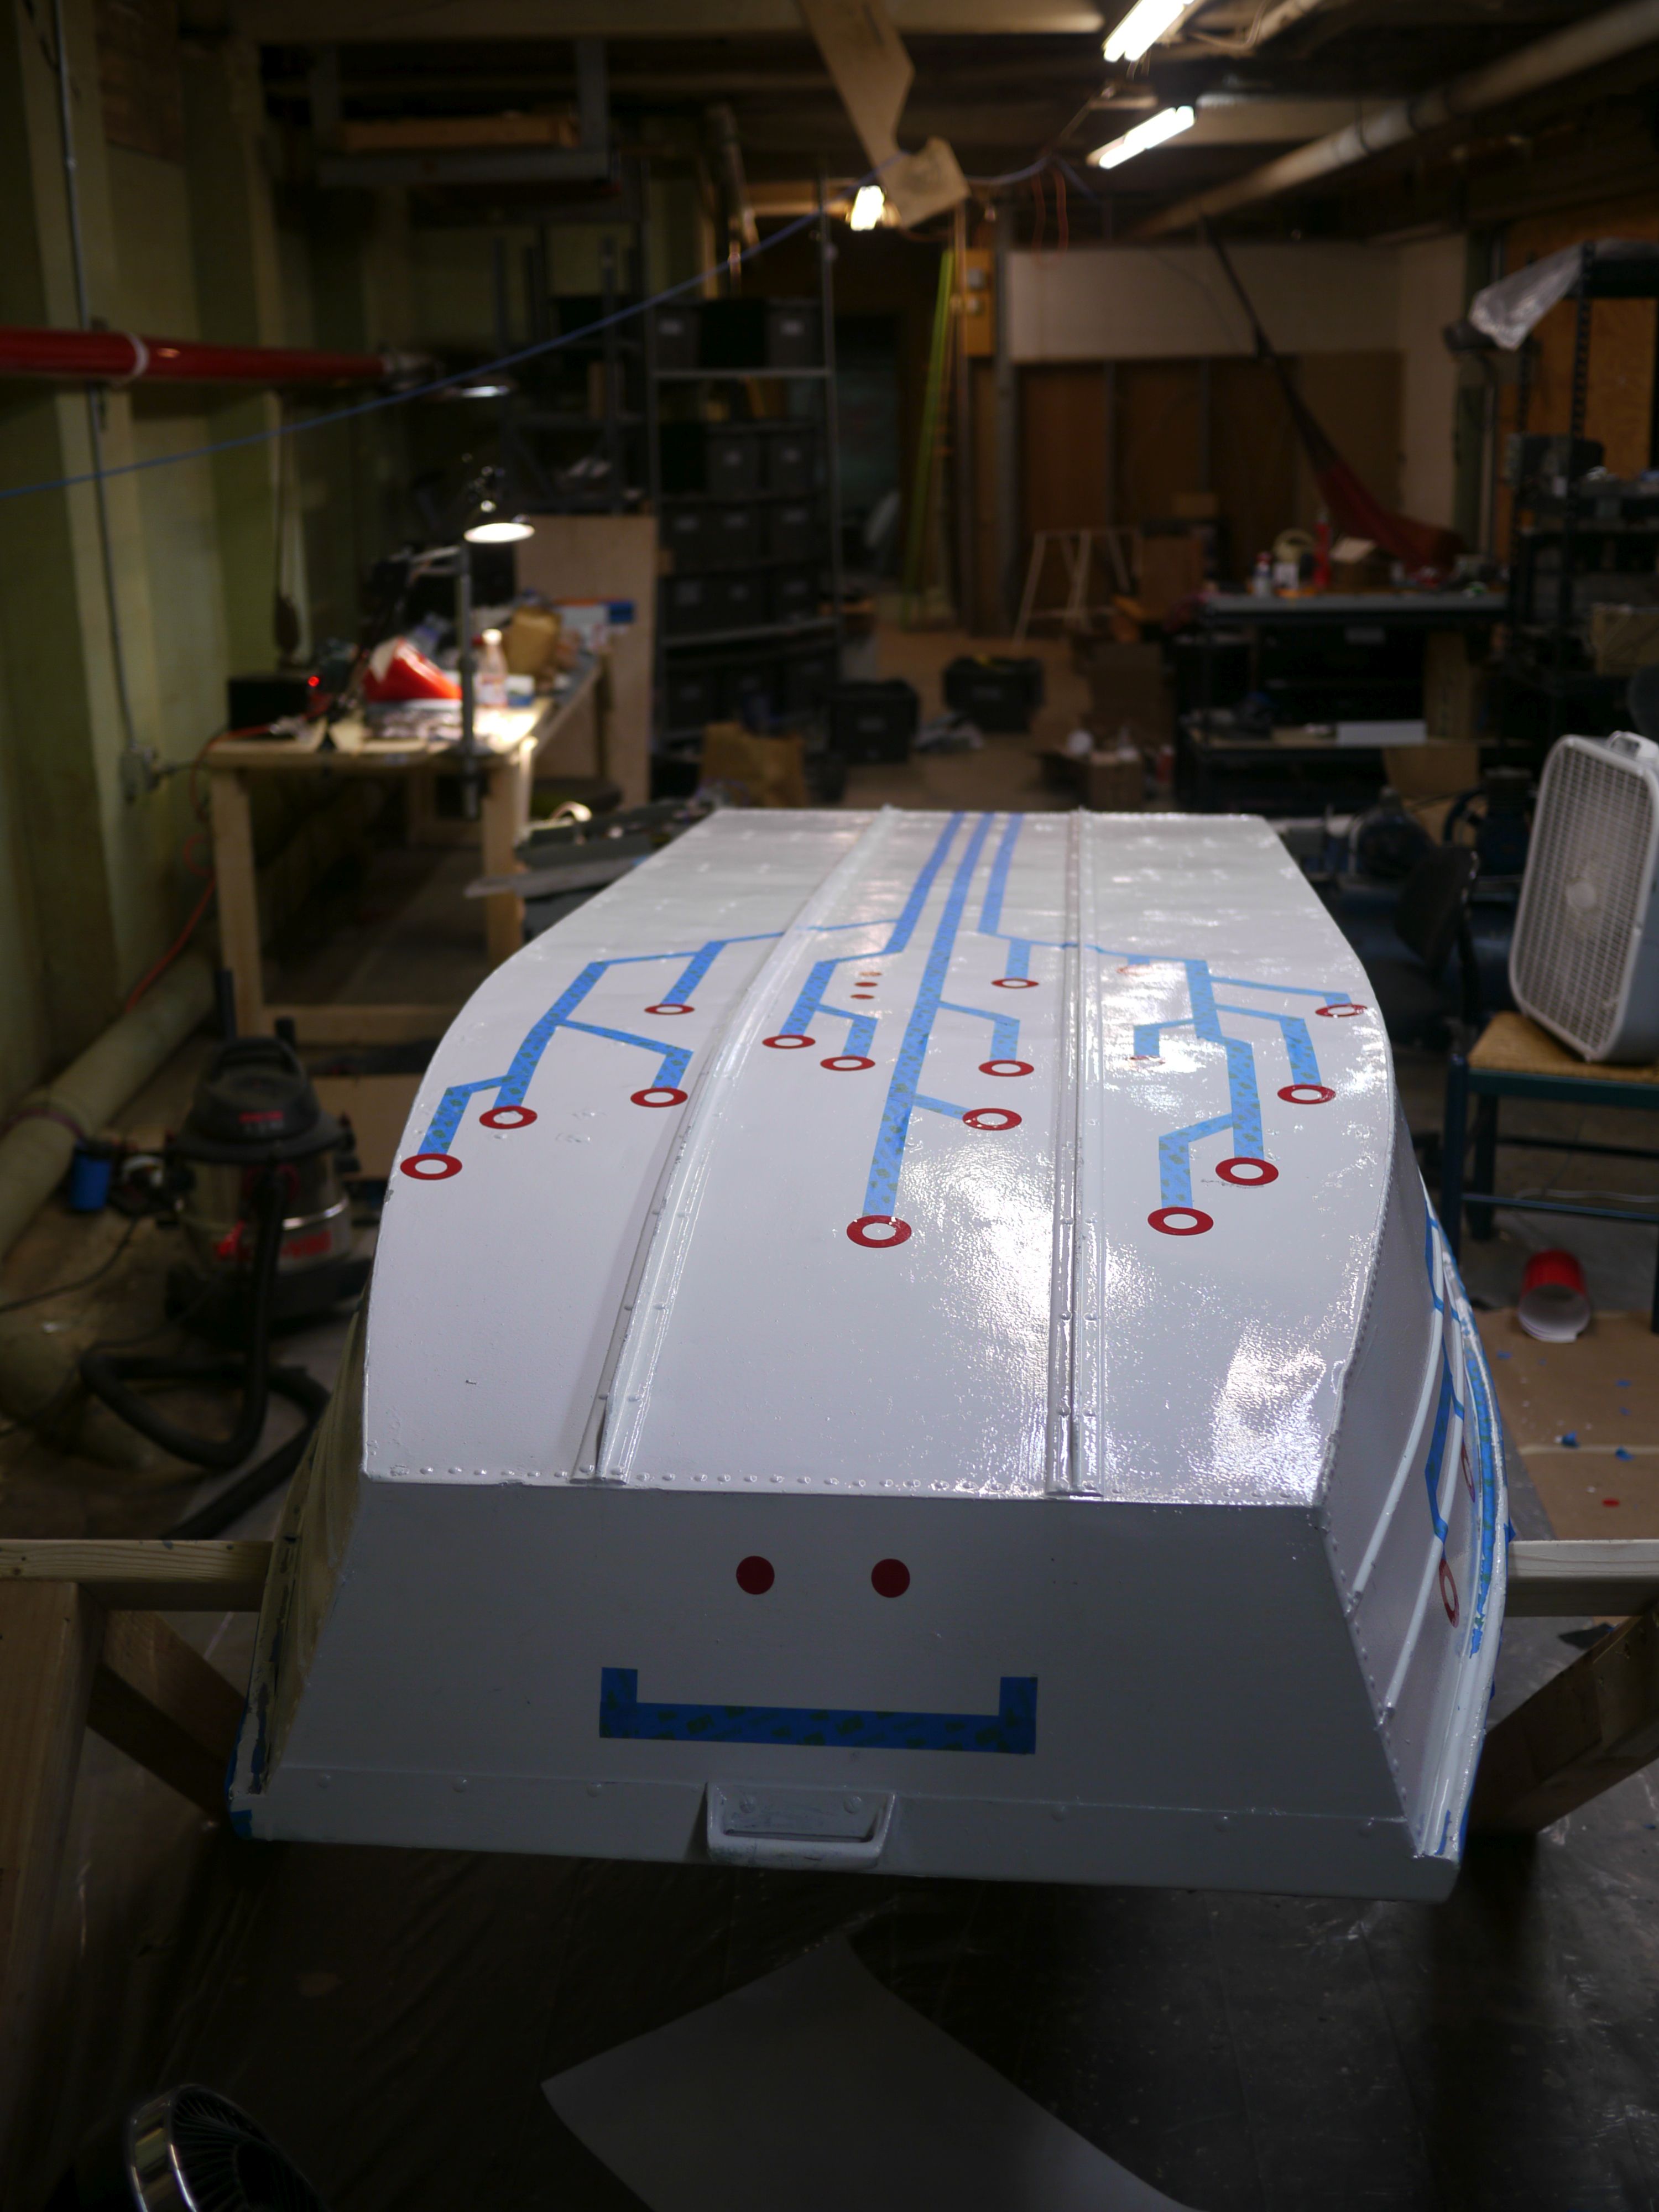
BLUE PAINT EVERYWHERE. Two coats of blue paint later and the painters tape was barely visible. 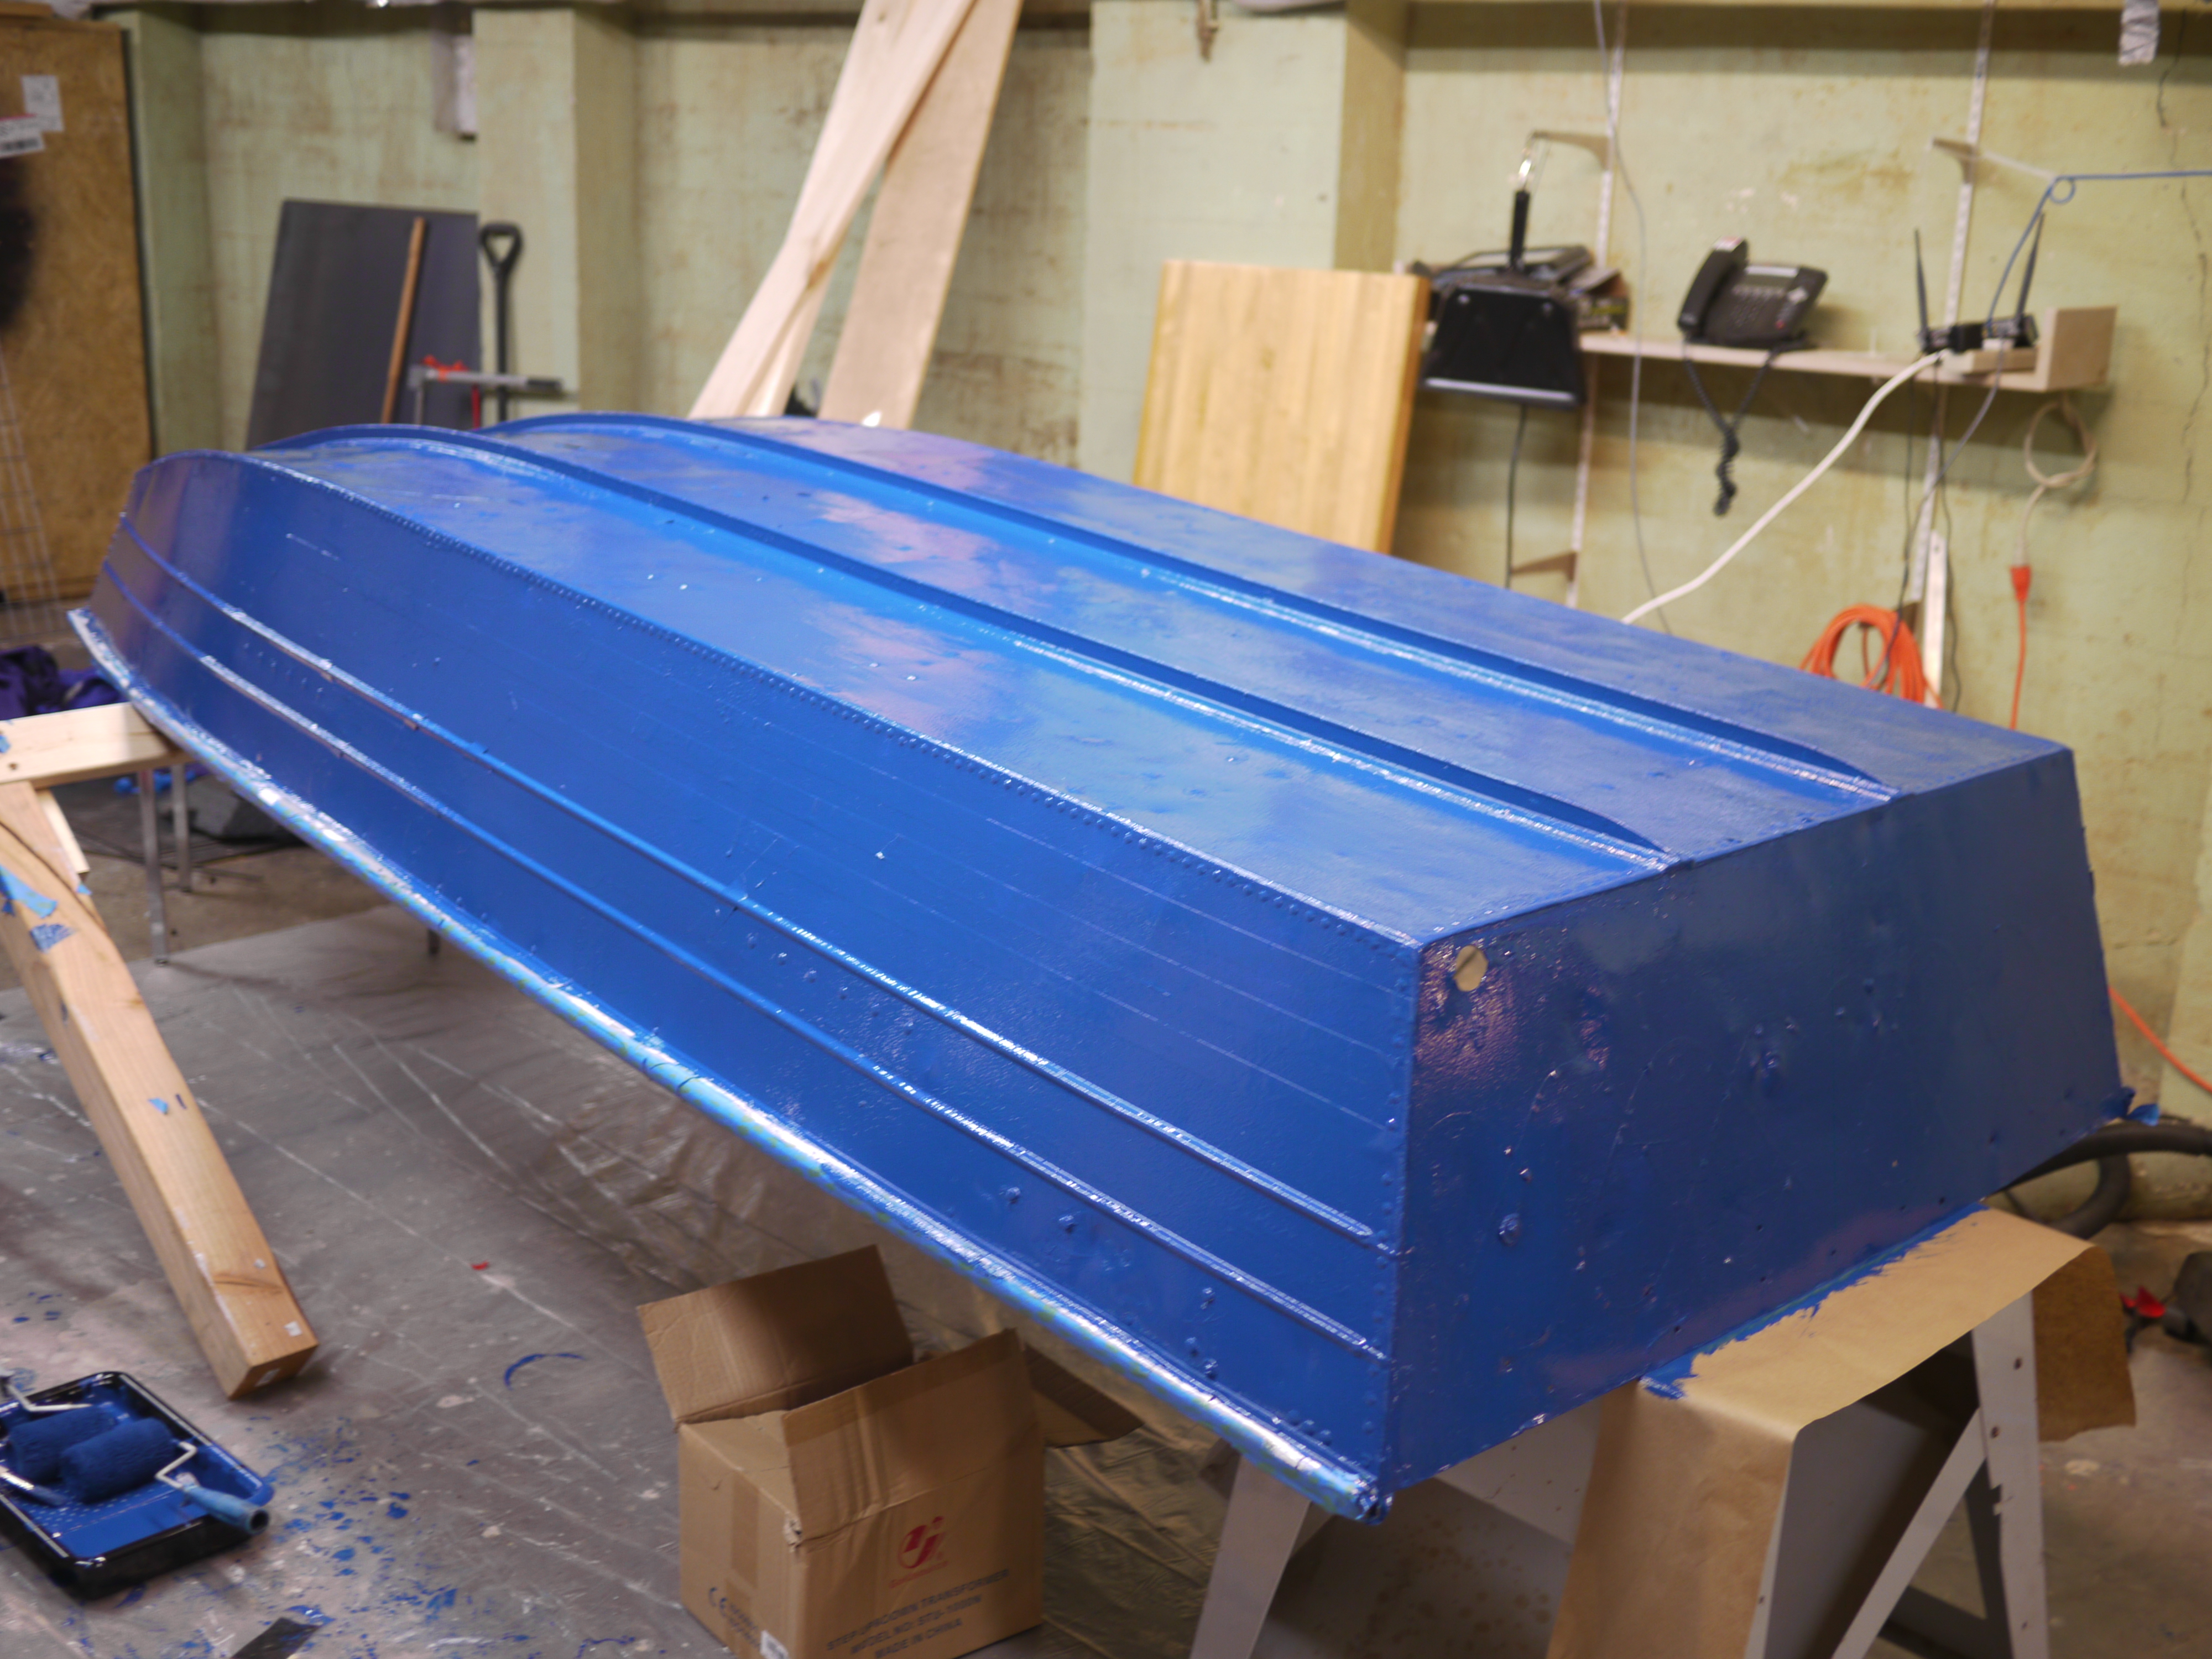
Letters and decals scattered about the floor. While the blue was tacky, the painters tape and labels were pelled back. 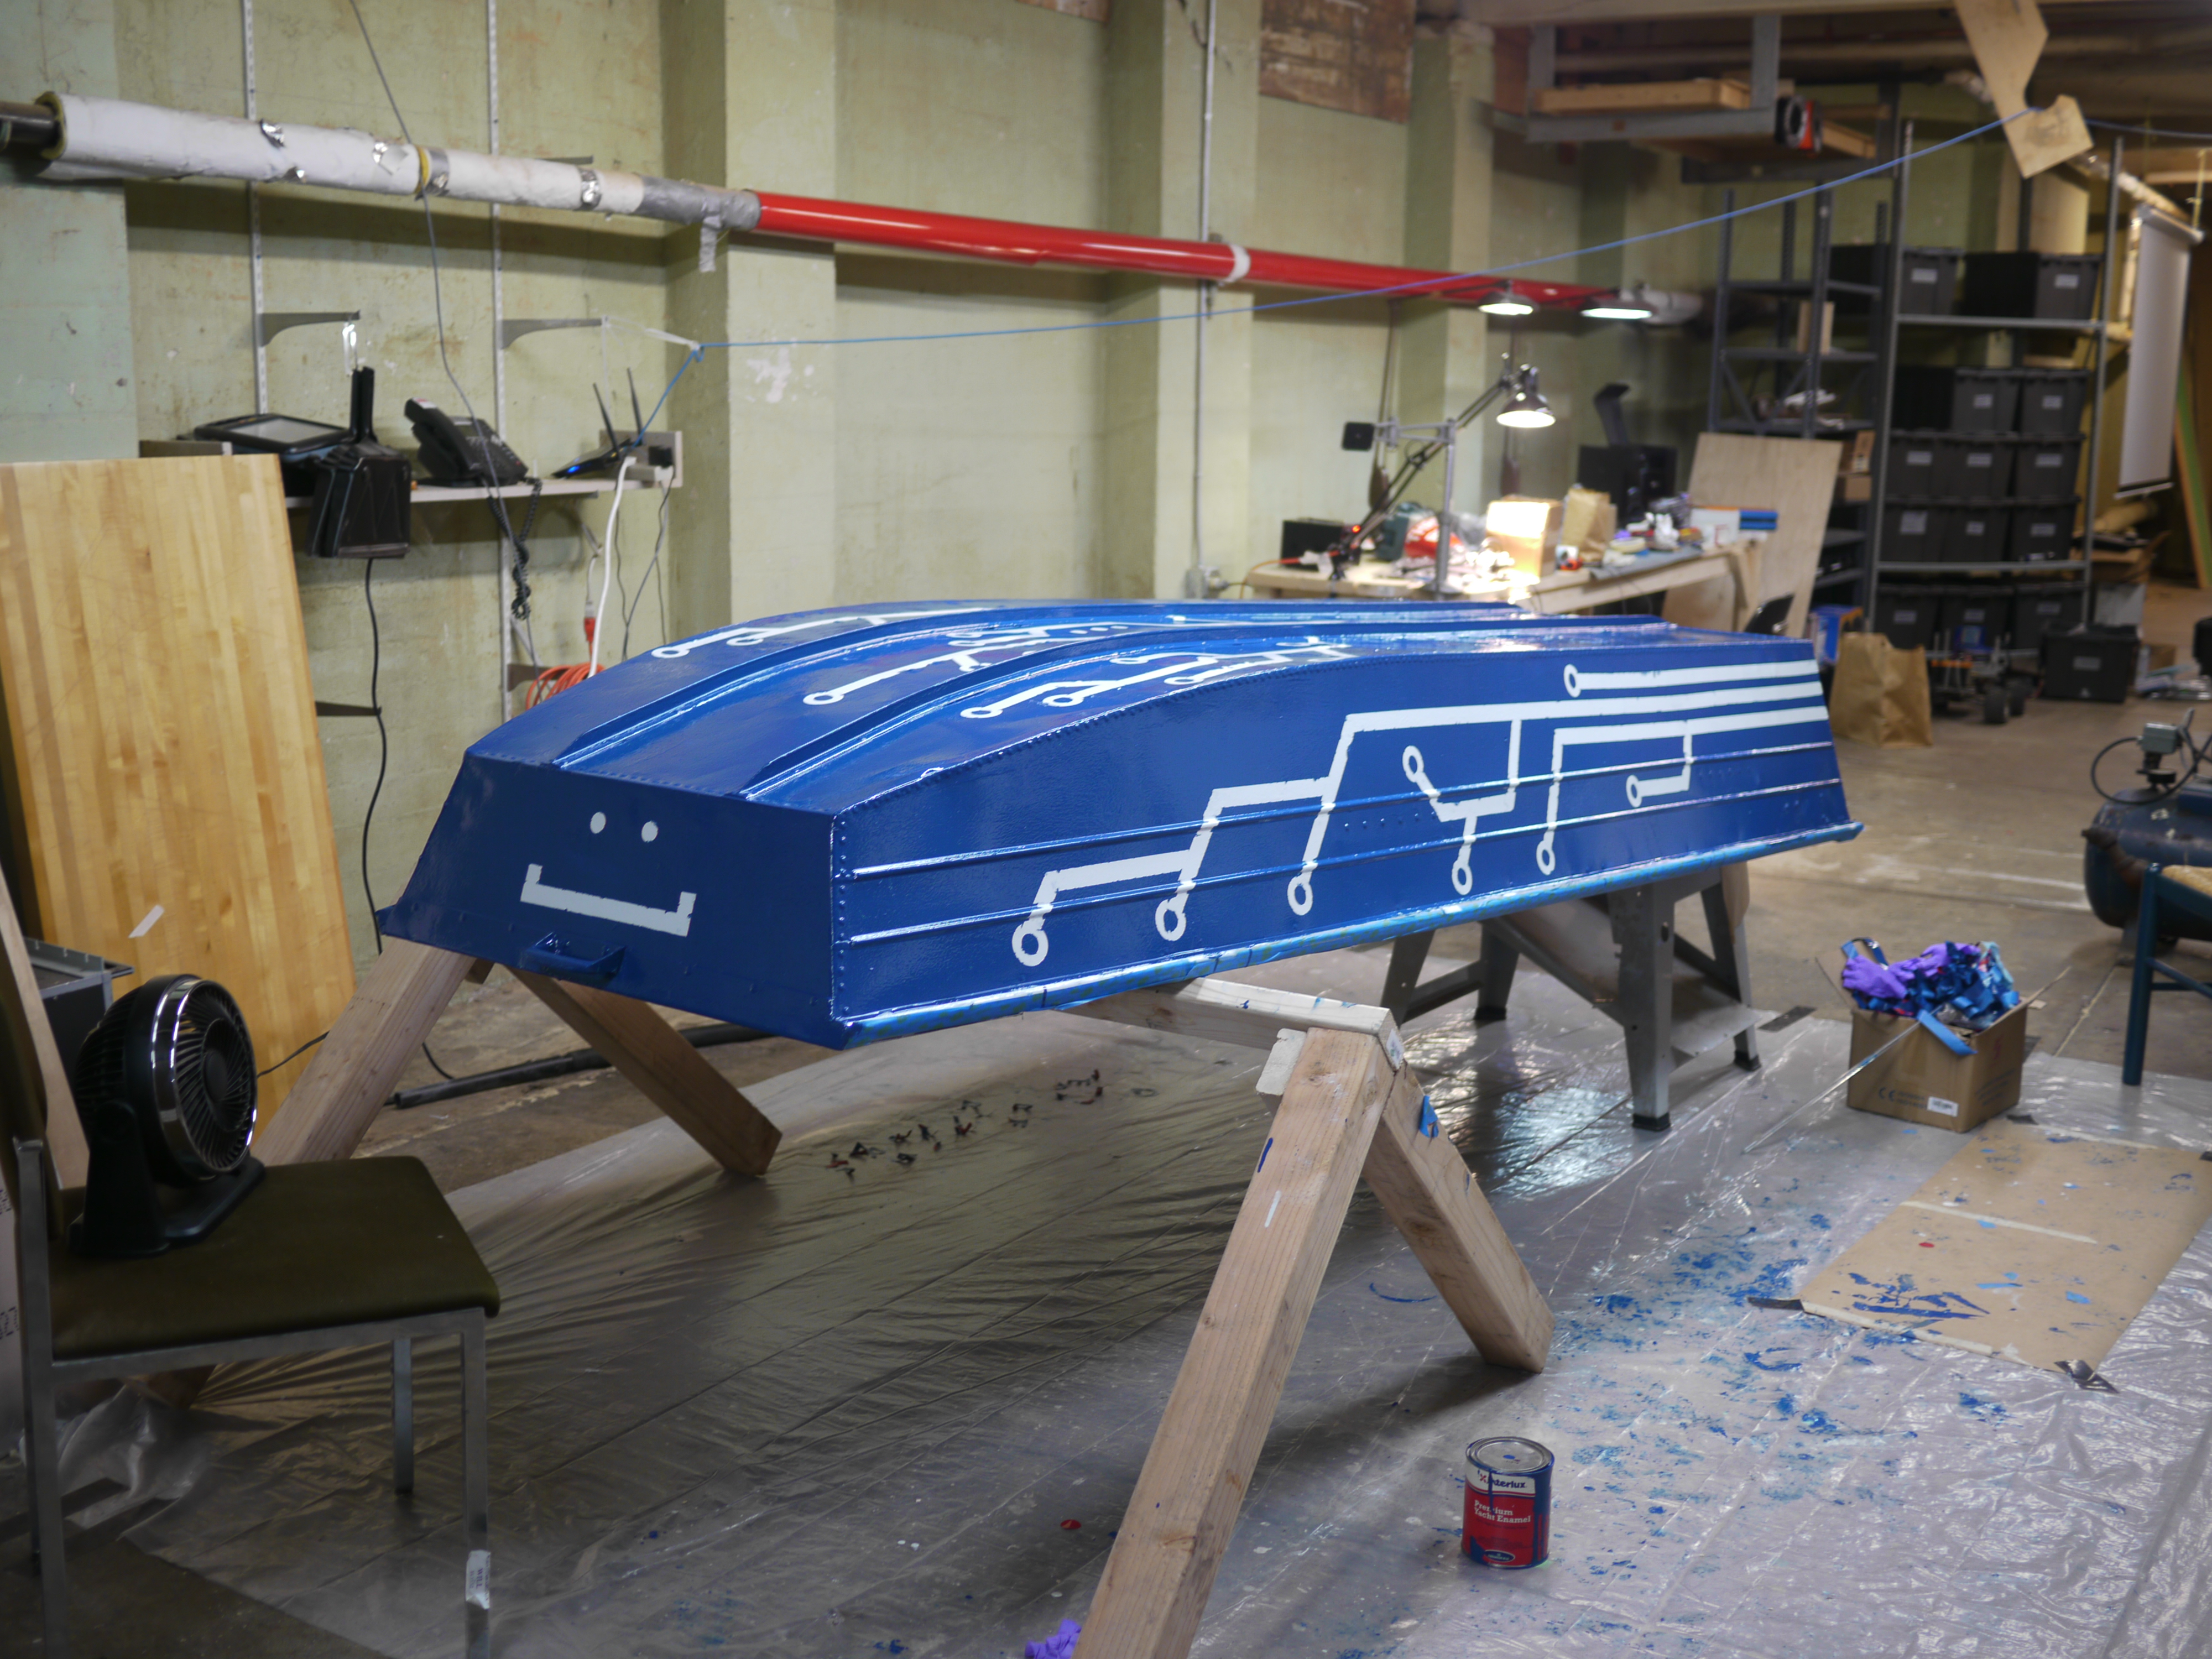

Slowly the painters tape was peeled back, the vinyl cut vias were removed and the giant three phase label yanked off. It was frigging beautiful. A bit more aromatic than I initially thought it would be, but just frigging fantastic. 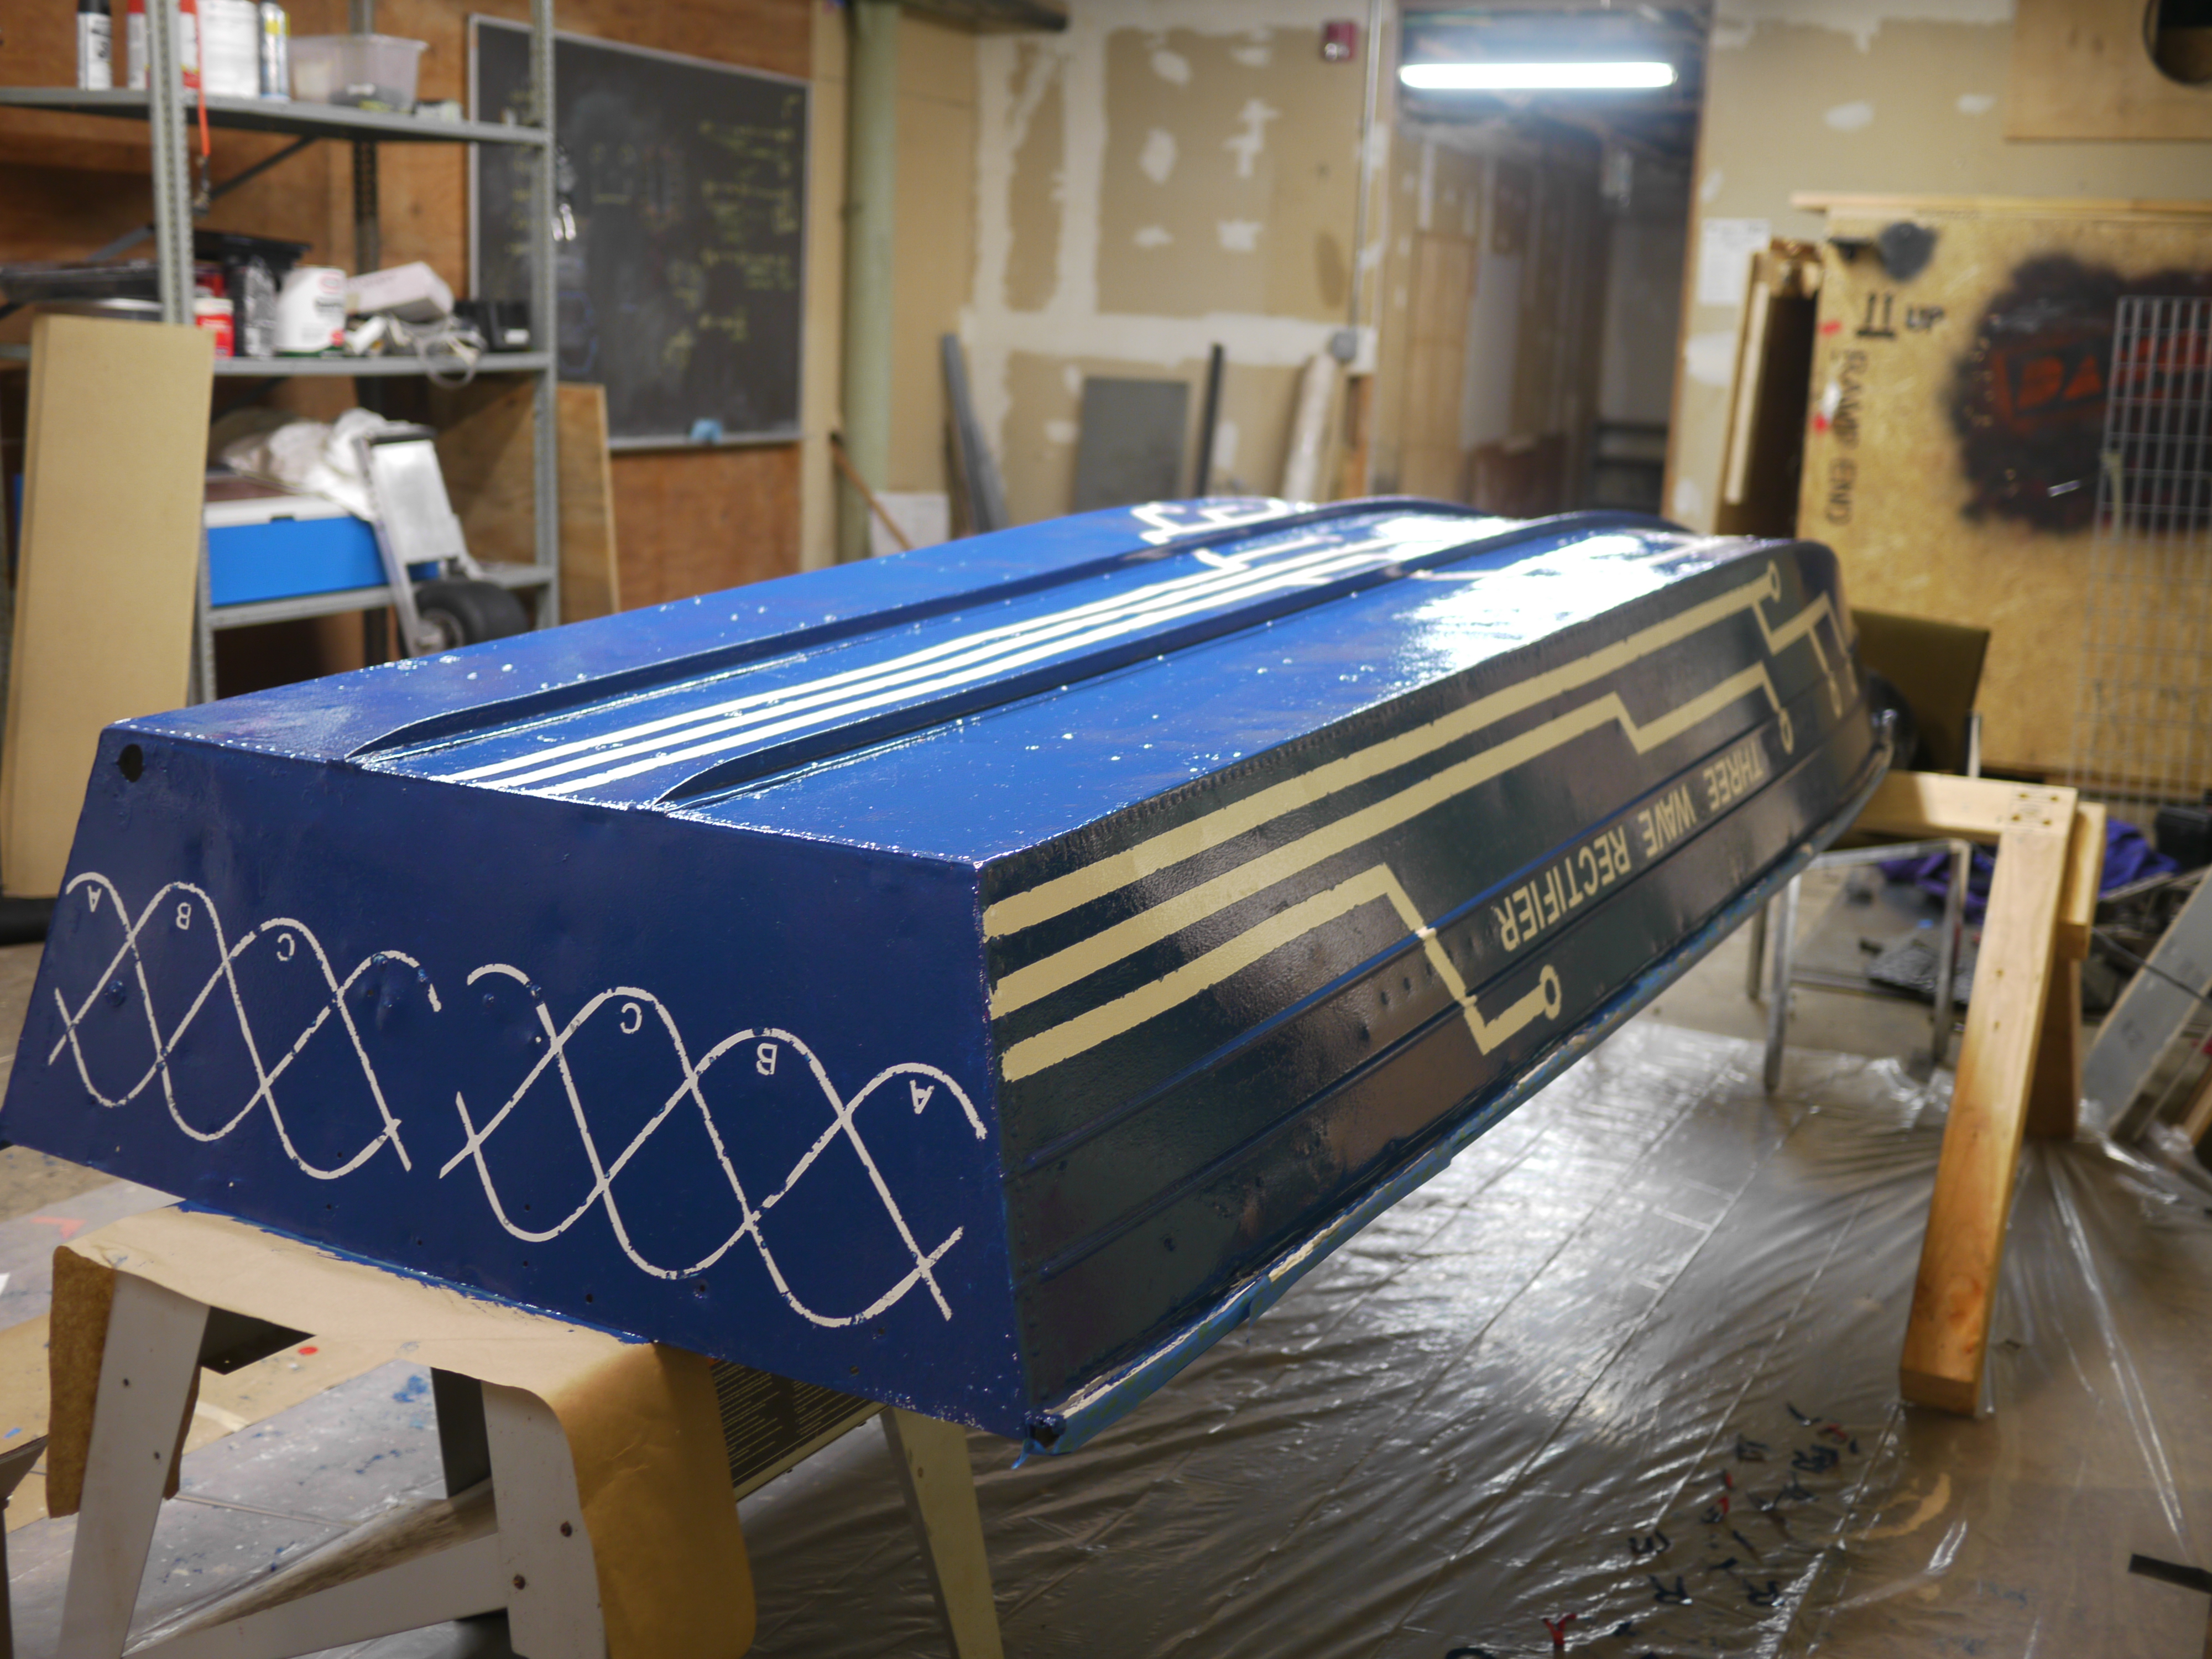
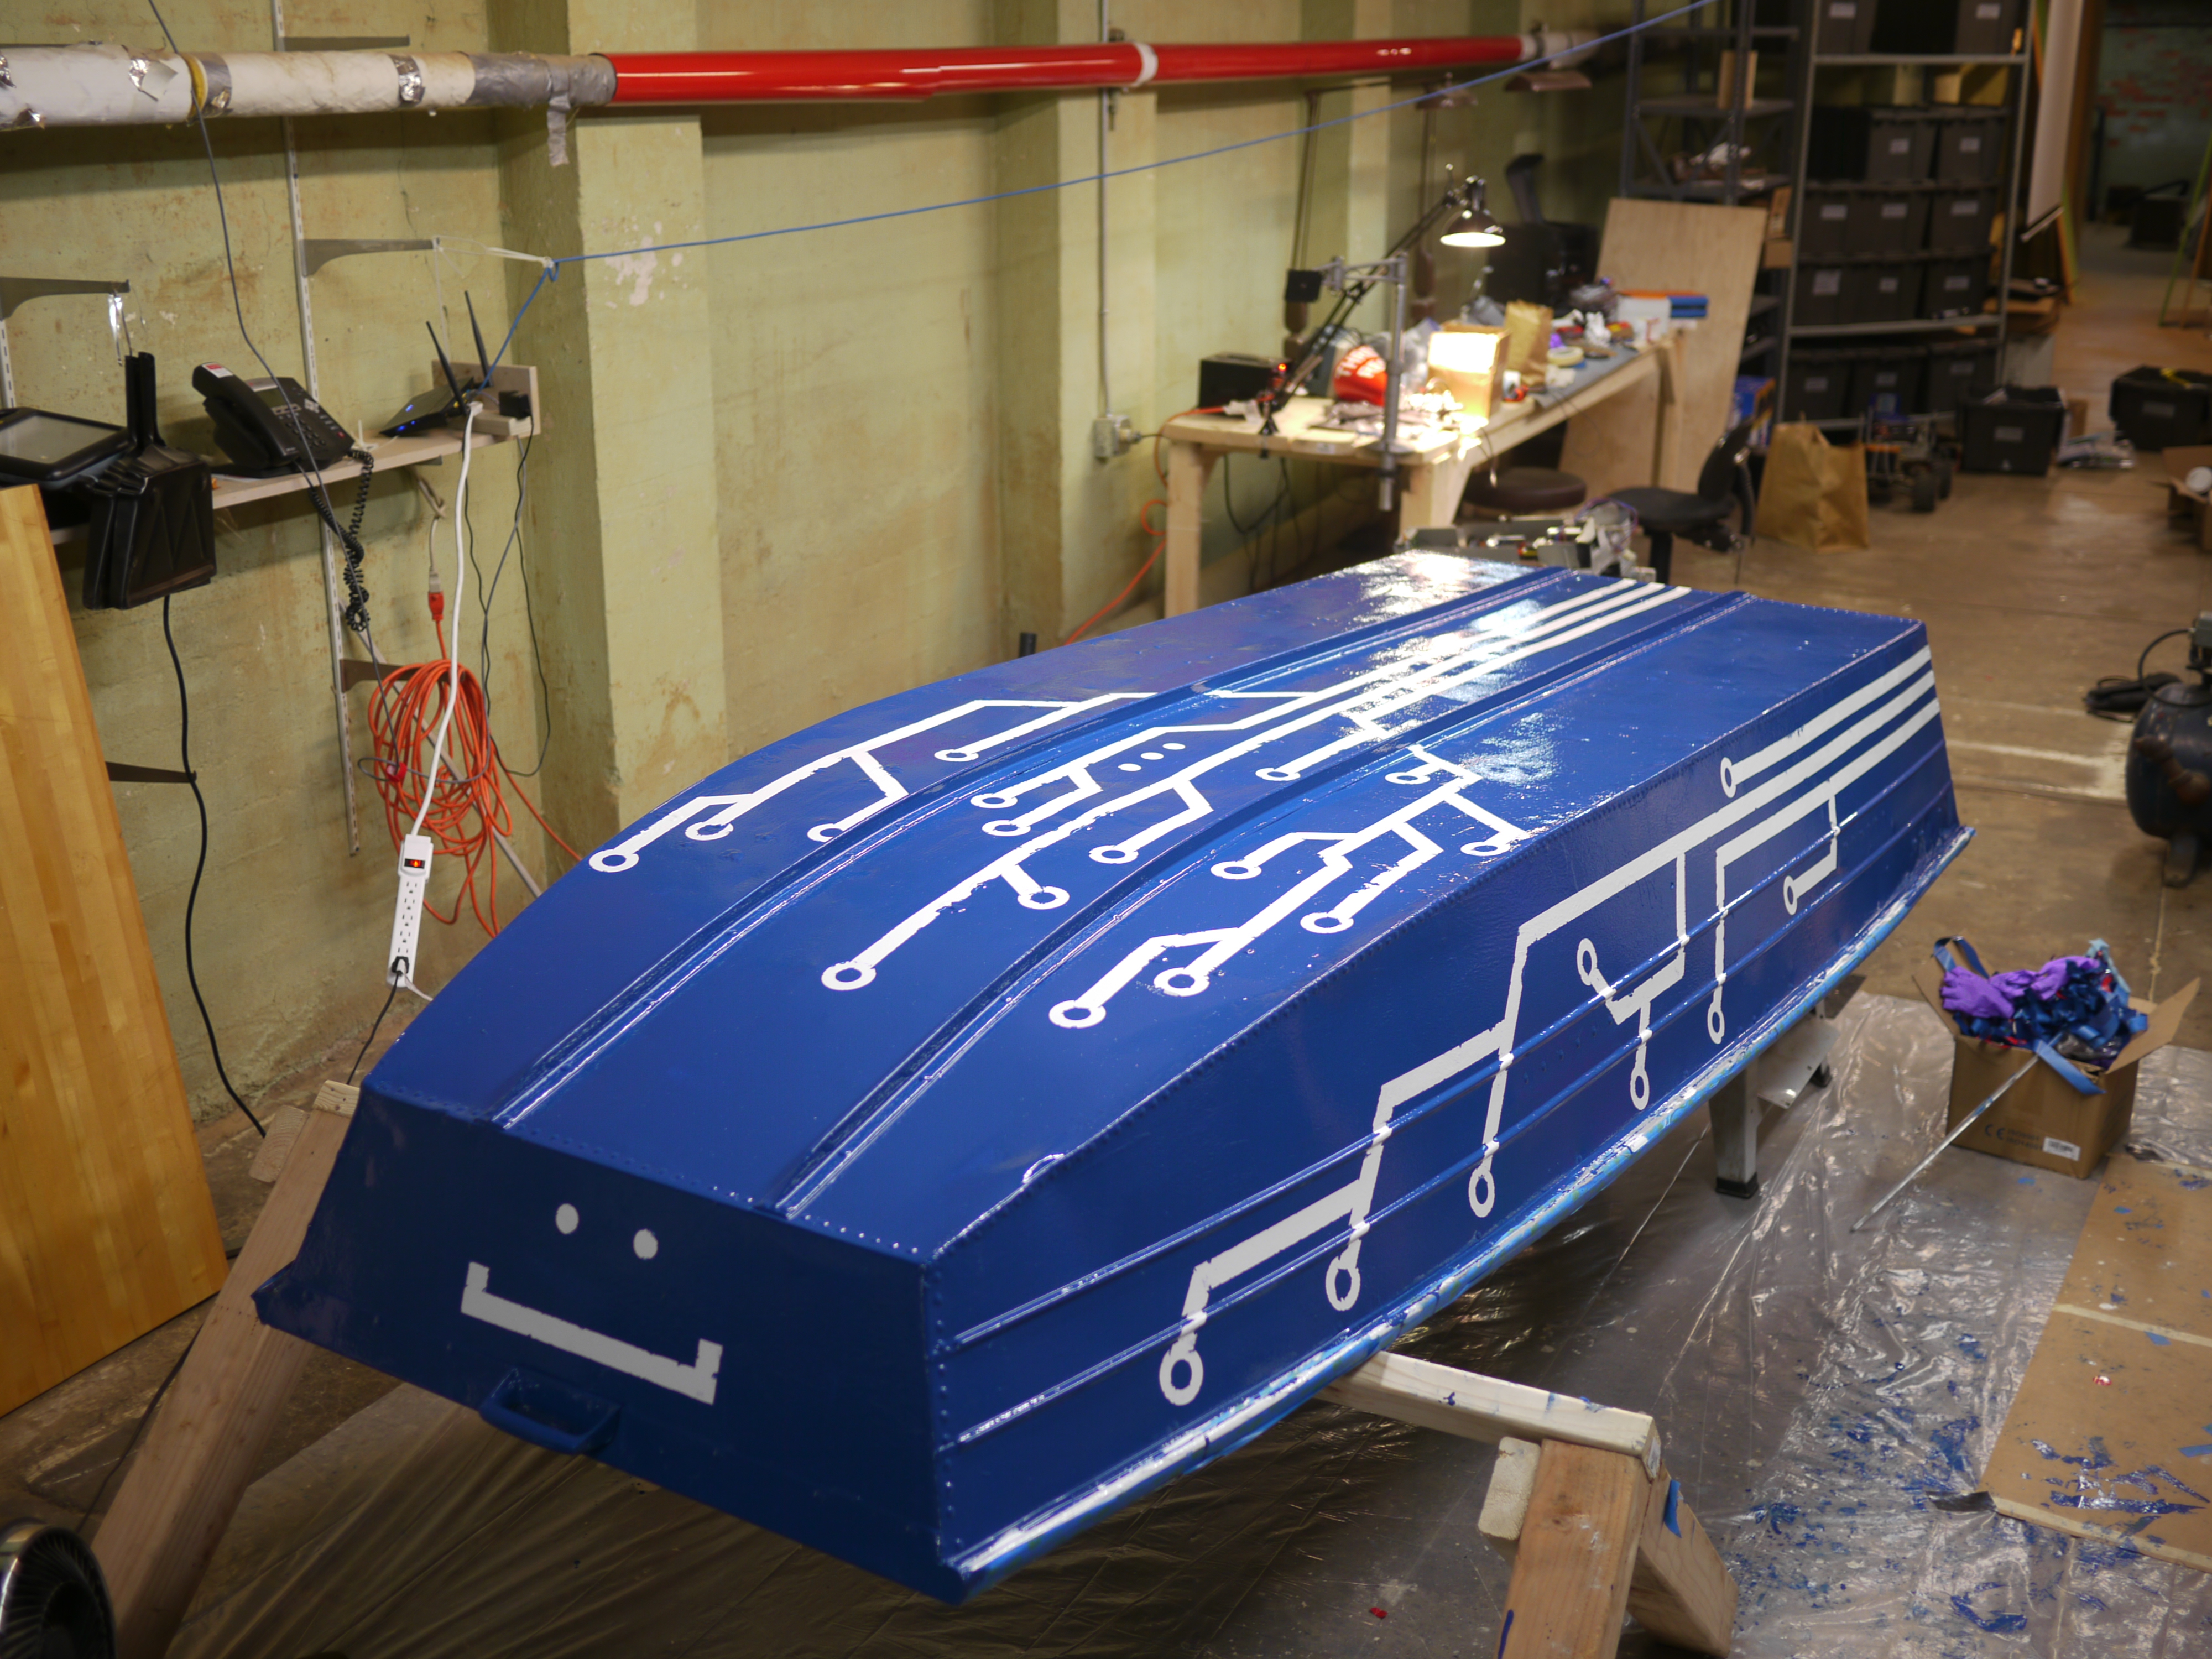
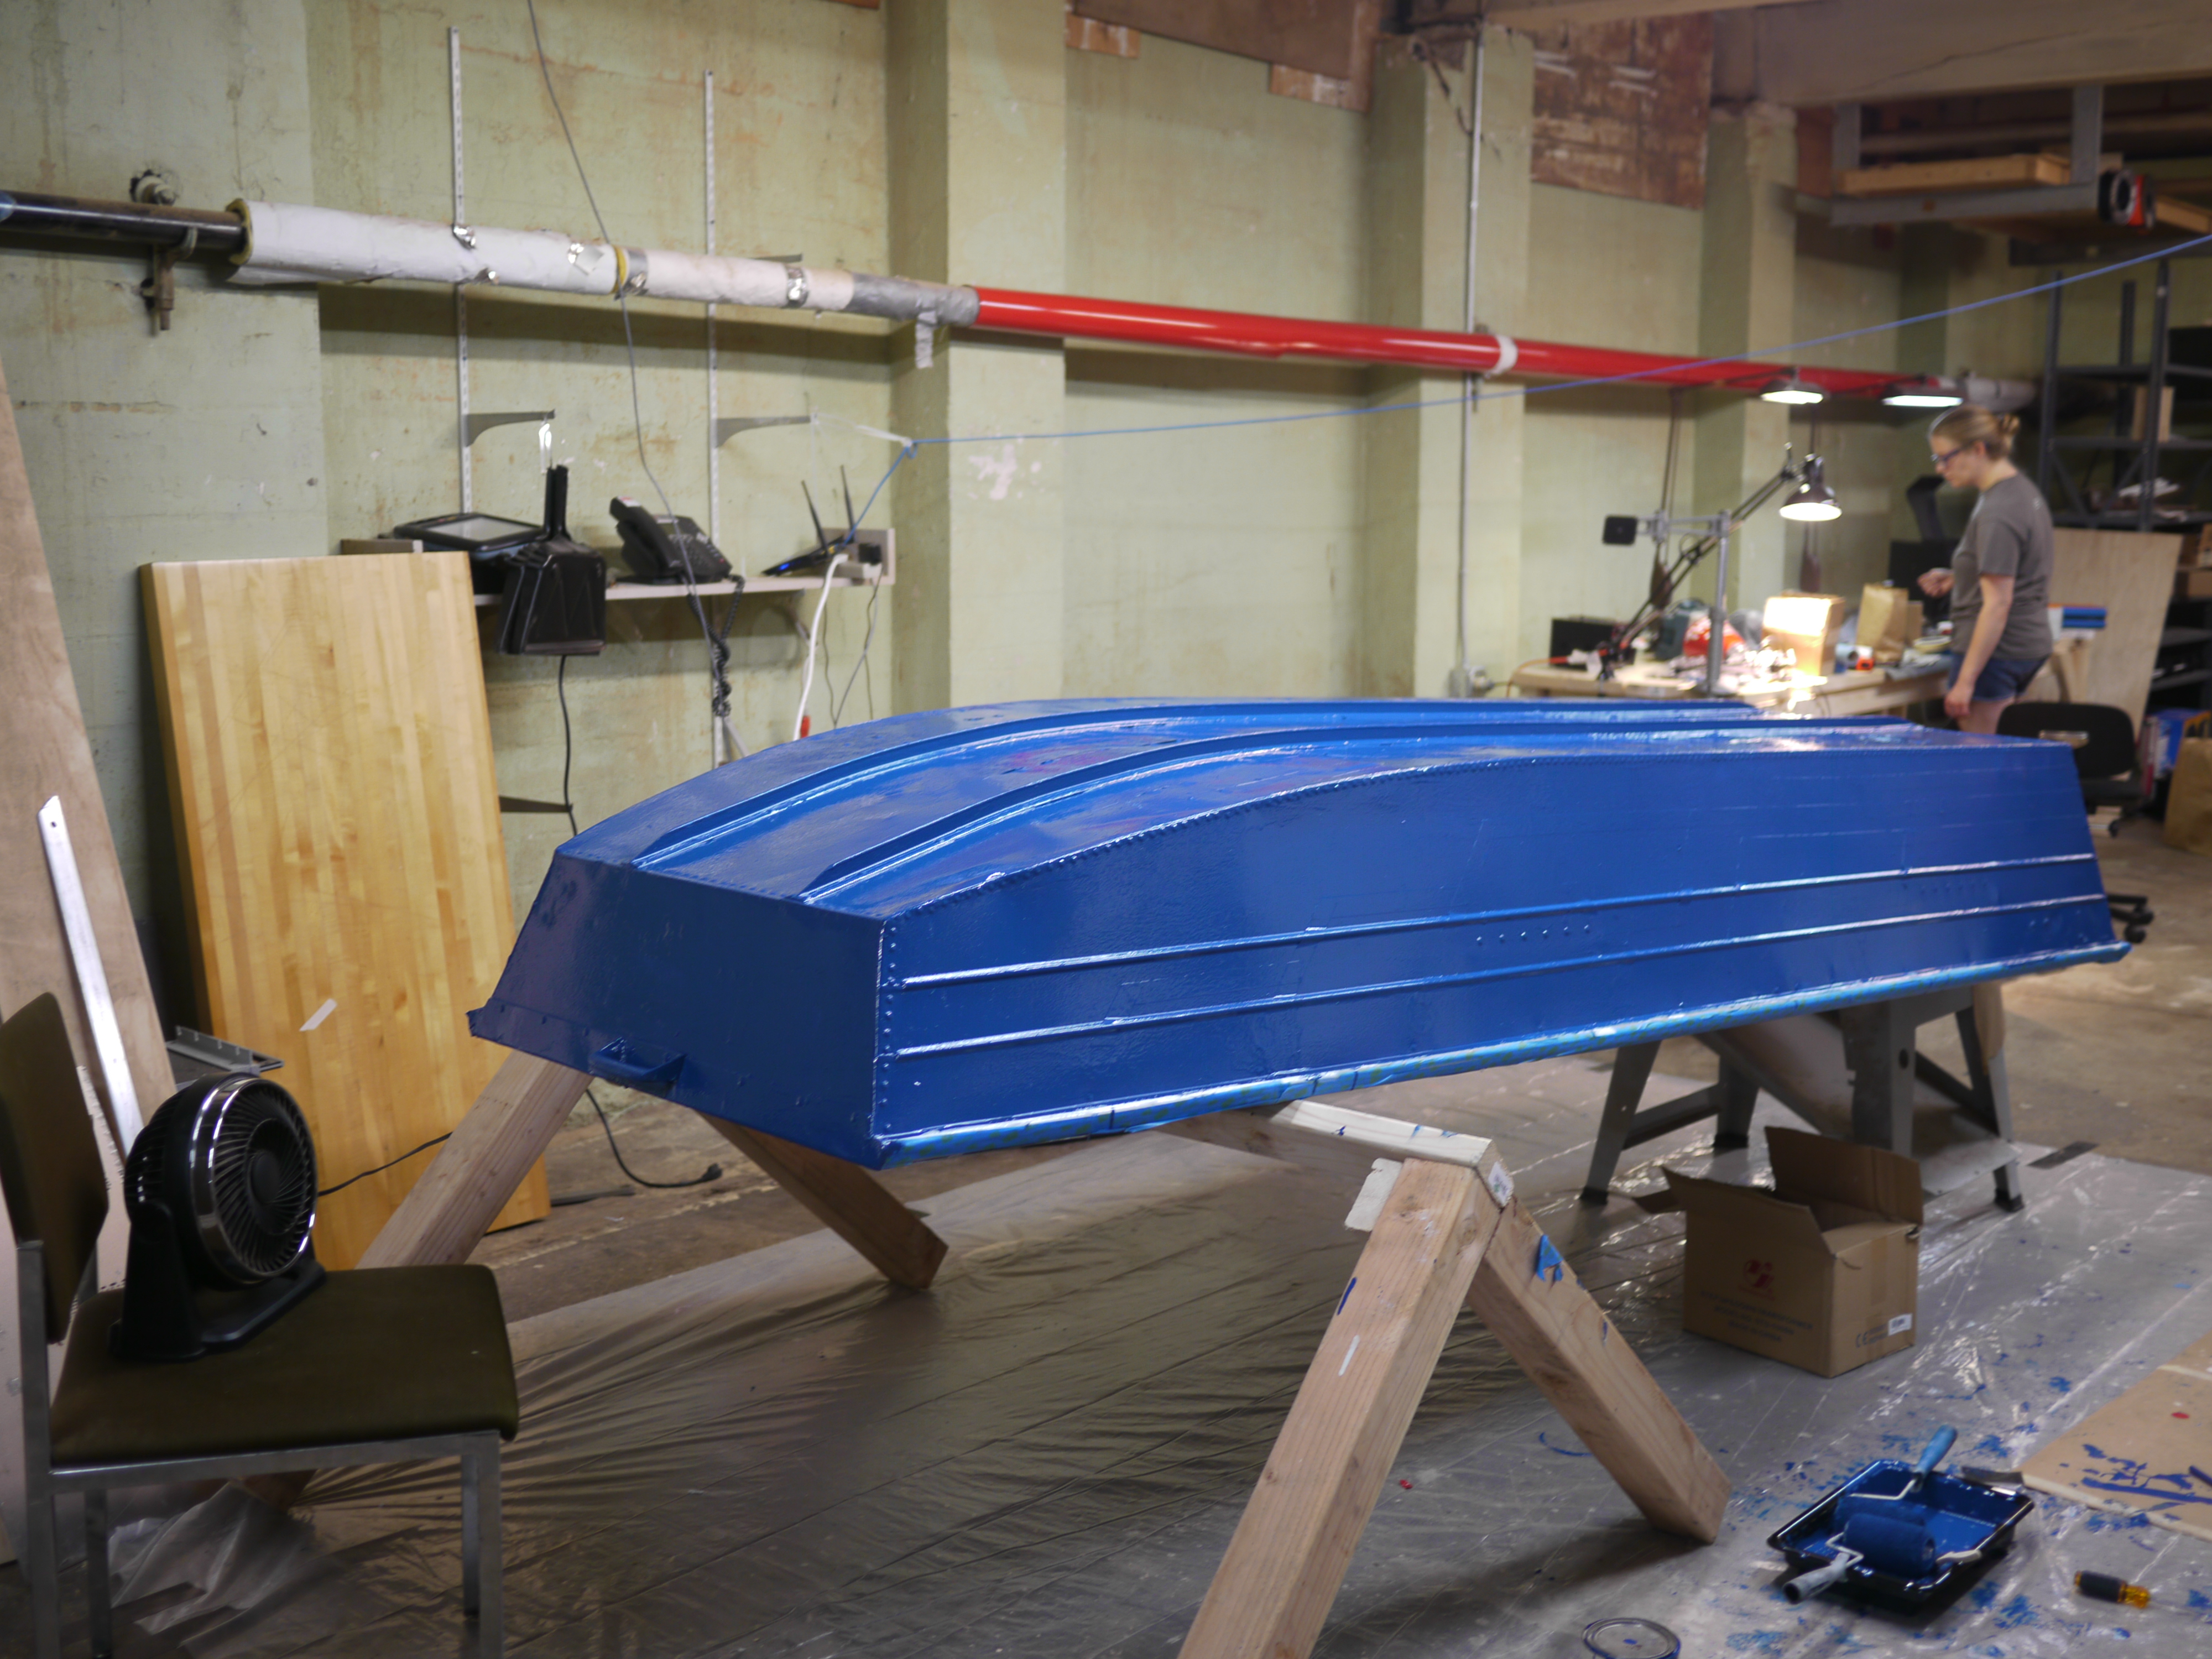
A few days later, after the blue had fully set, painters tape and hand brushes were used to clean up any edges that didn't quite come out as sharp as they could have. It really was taking shape and looked phenomenal. 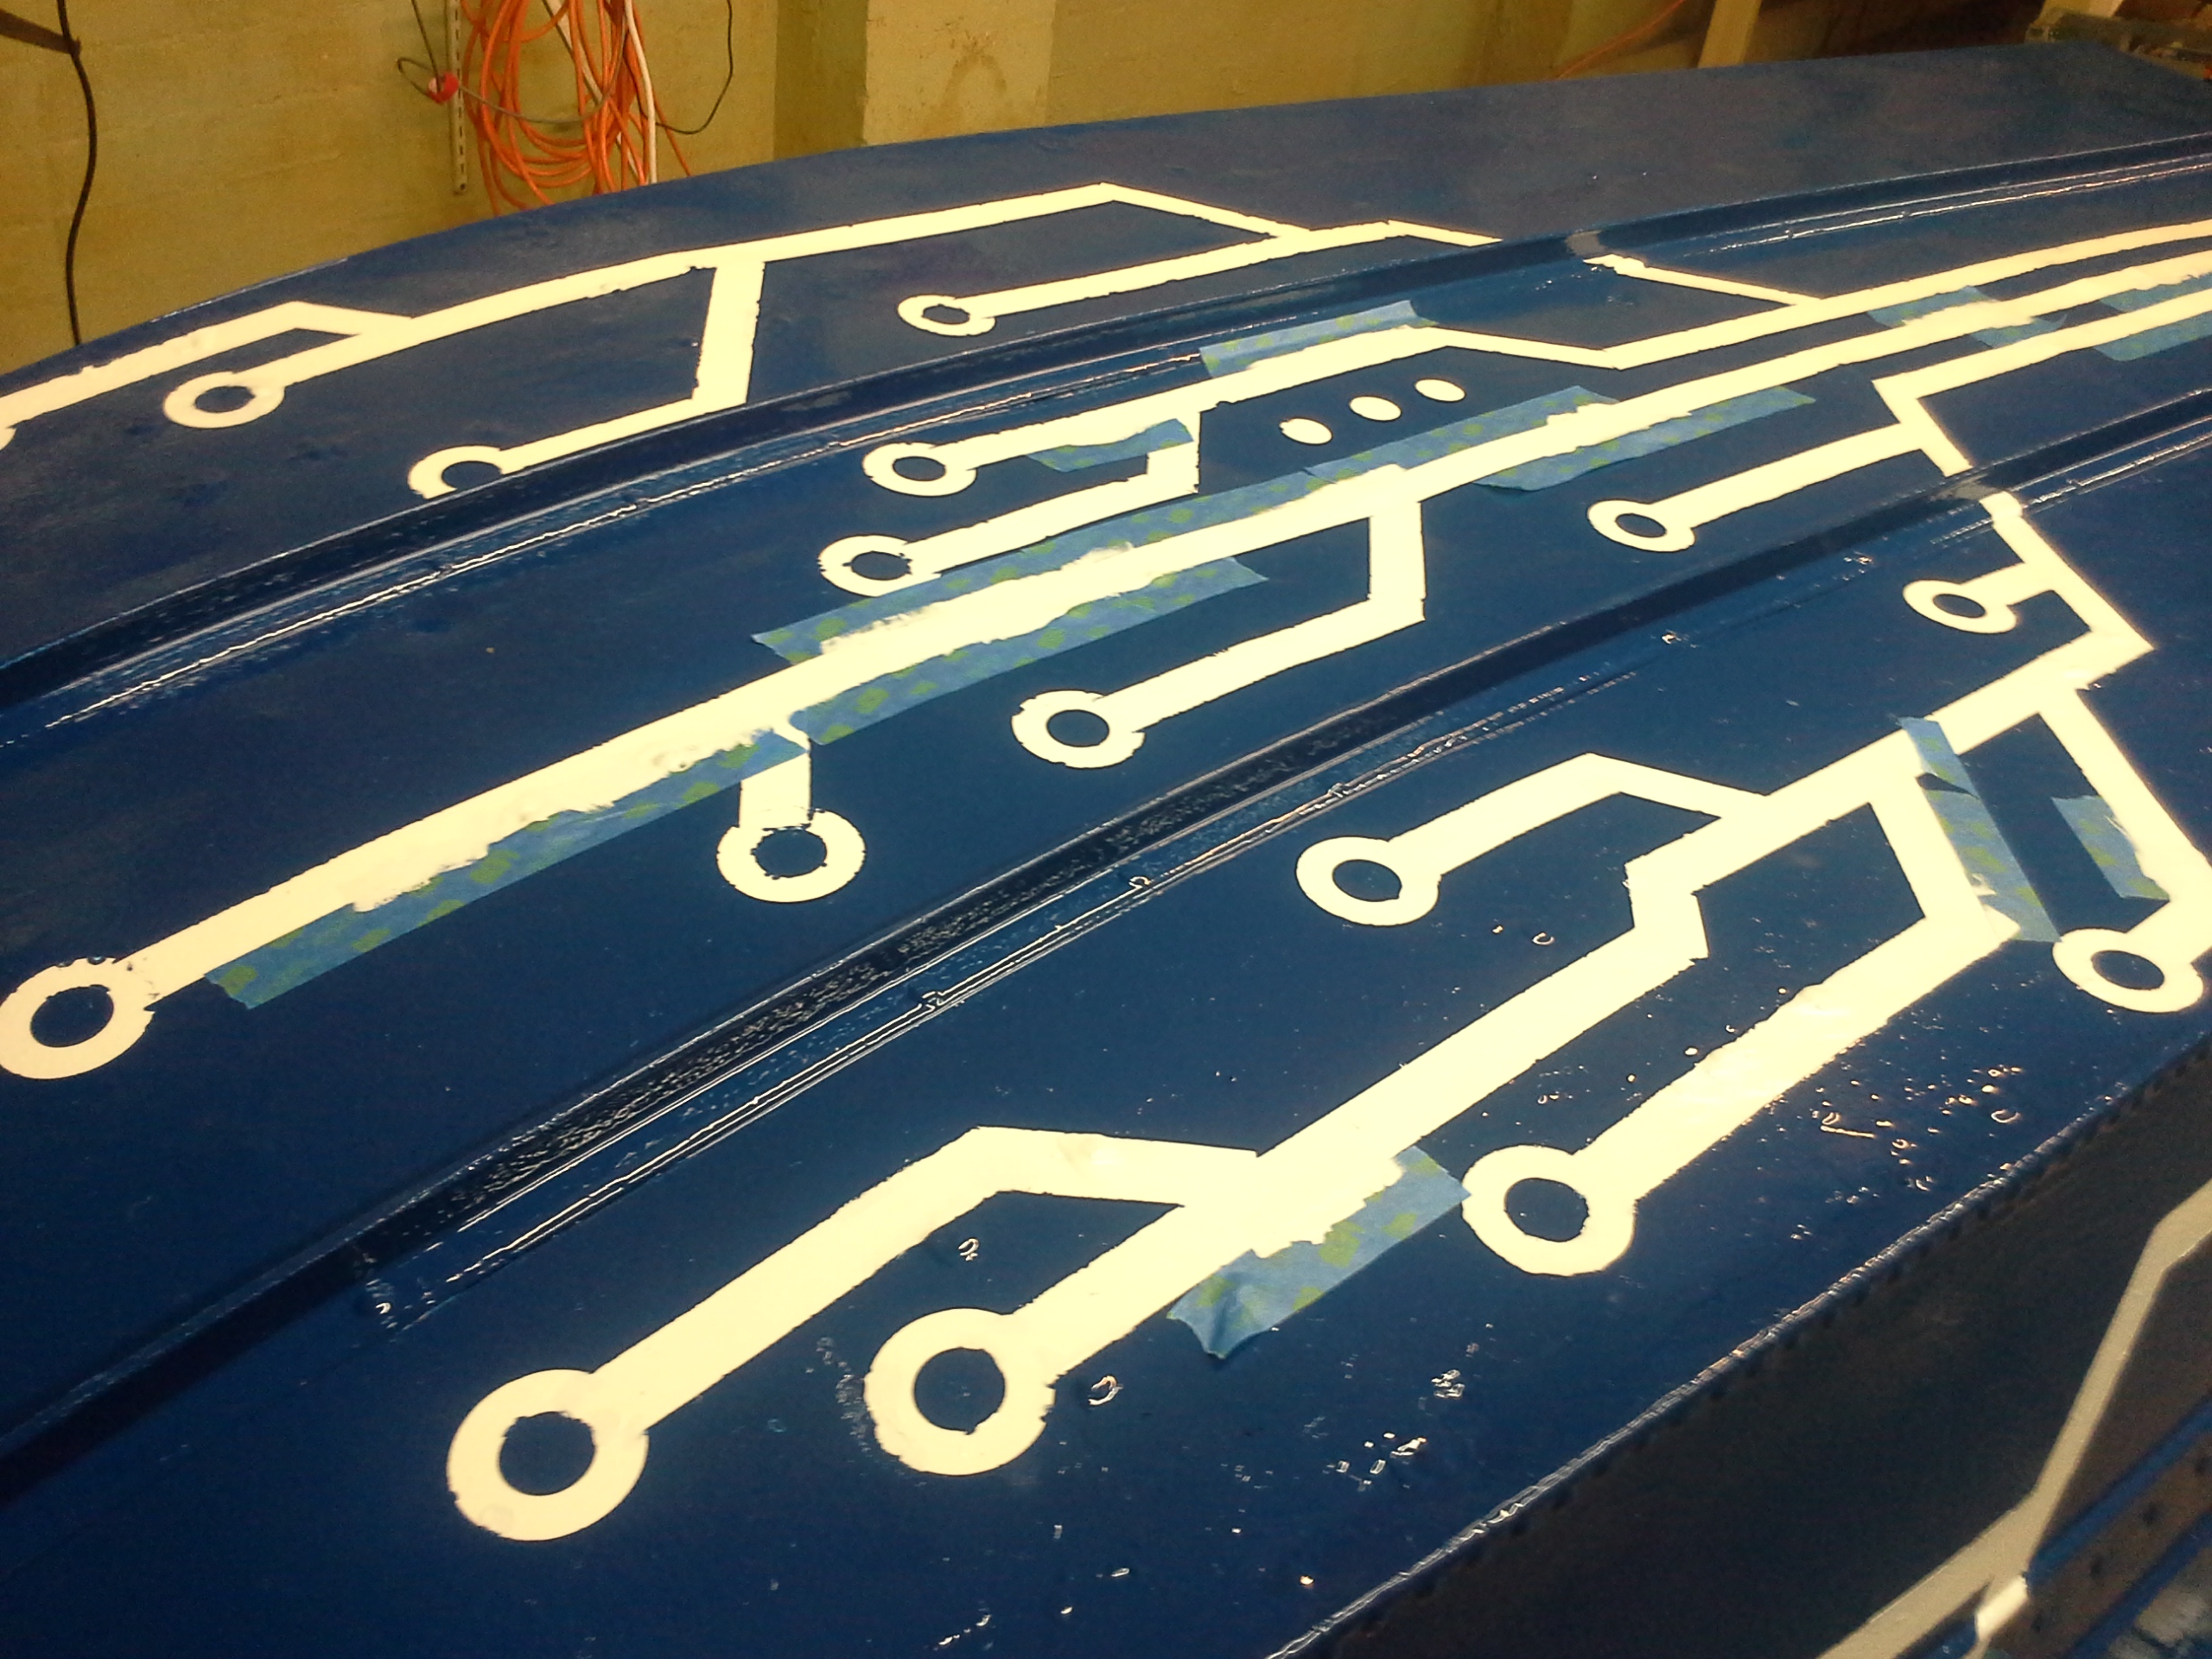
Hardware UpgradesThere were a few things still to do, there was a huge hole that was initially intended for a drain plug or something similar. After some quick dimensions and sketching, A cad model was thrown together. 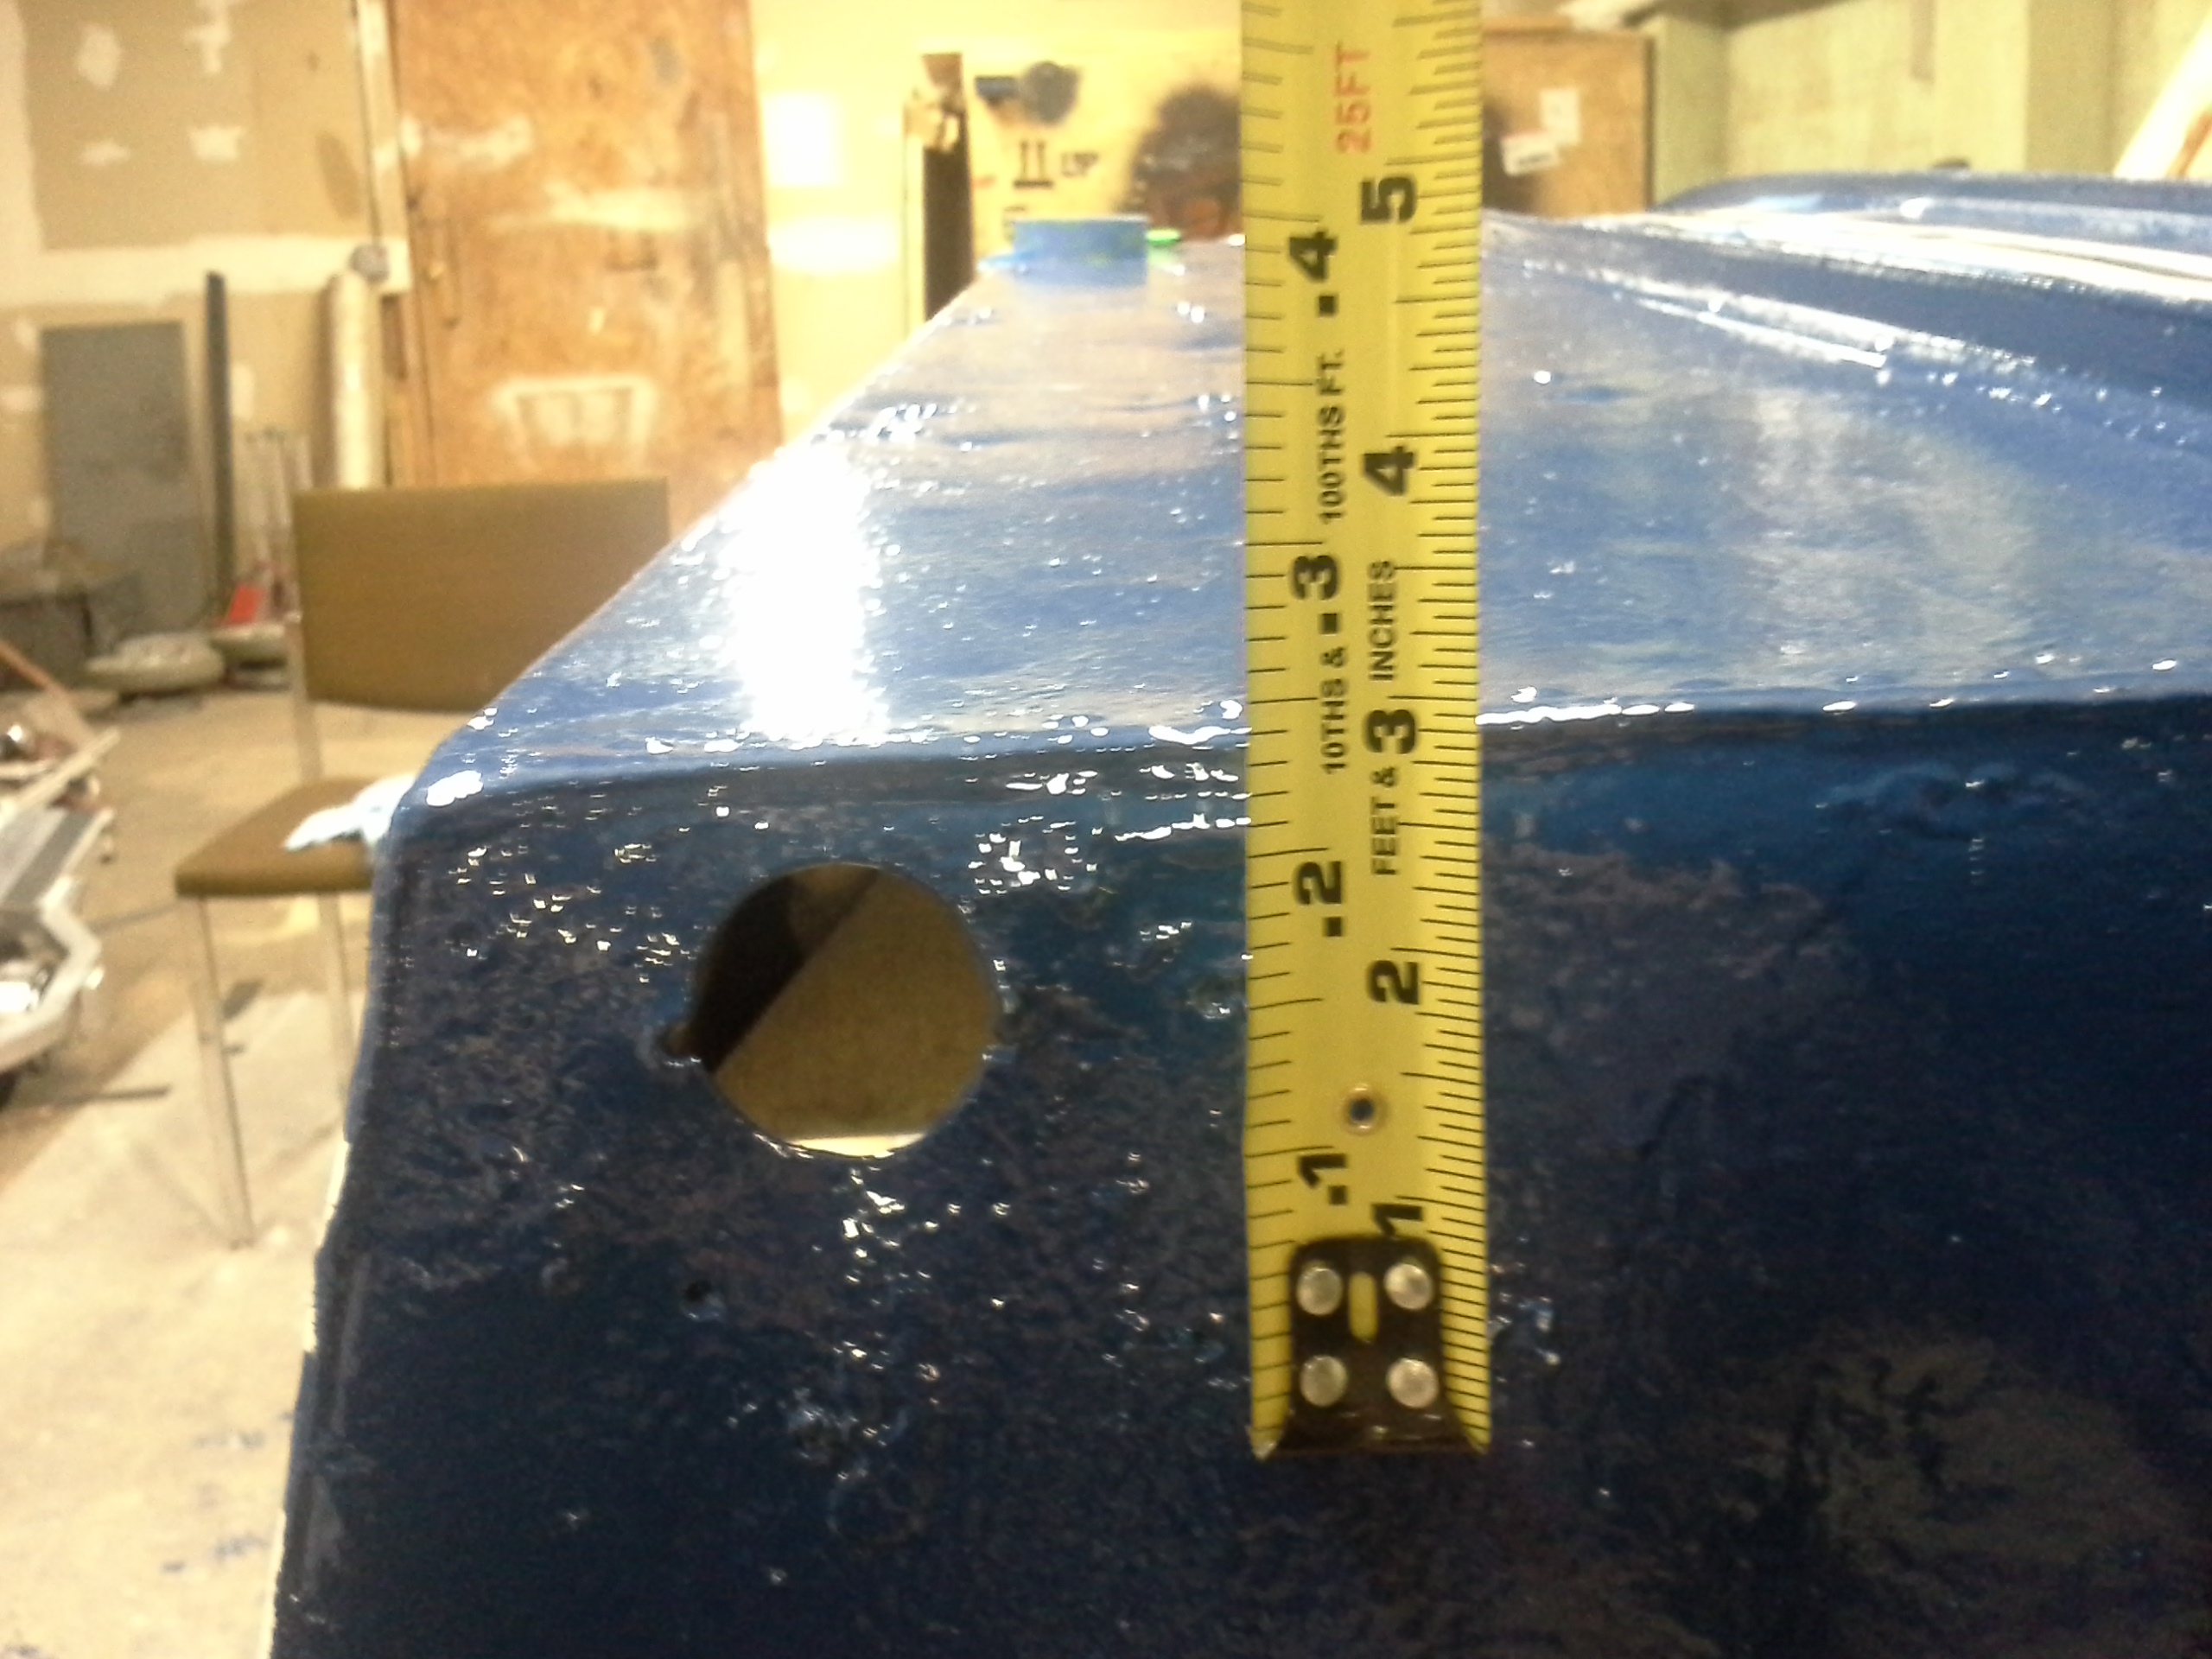
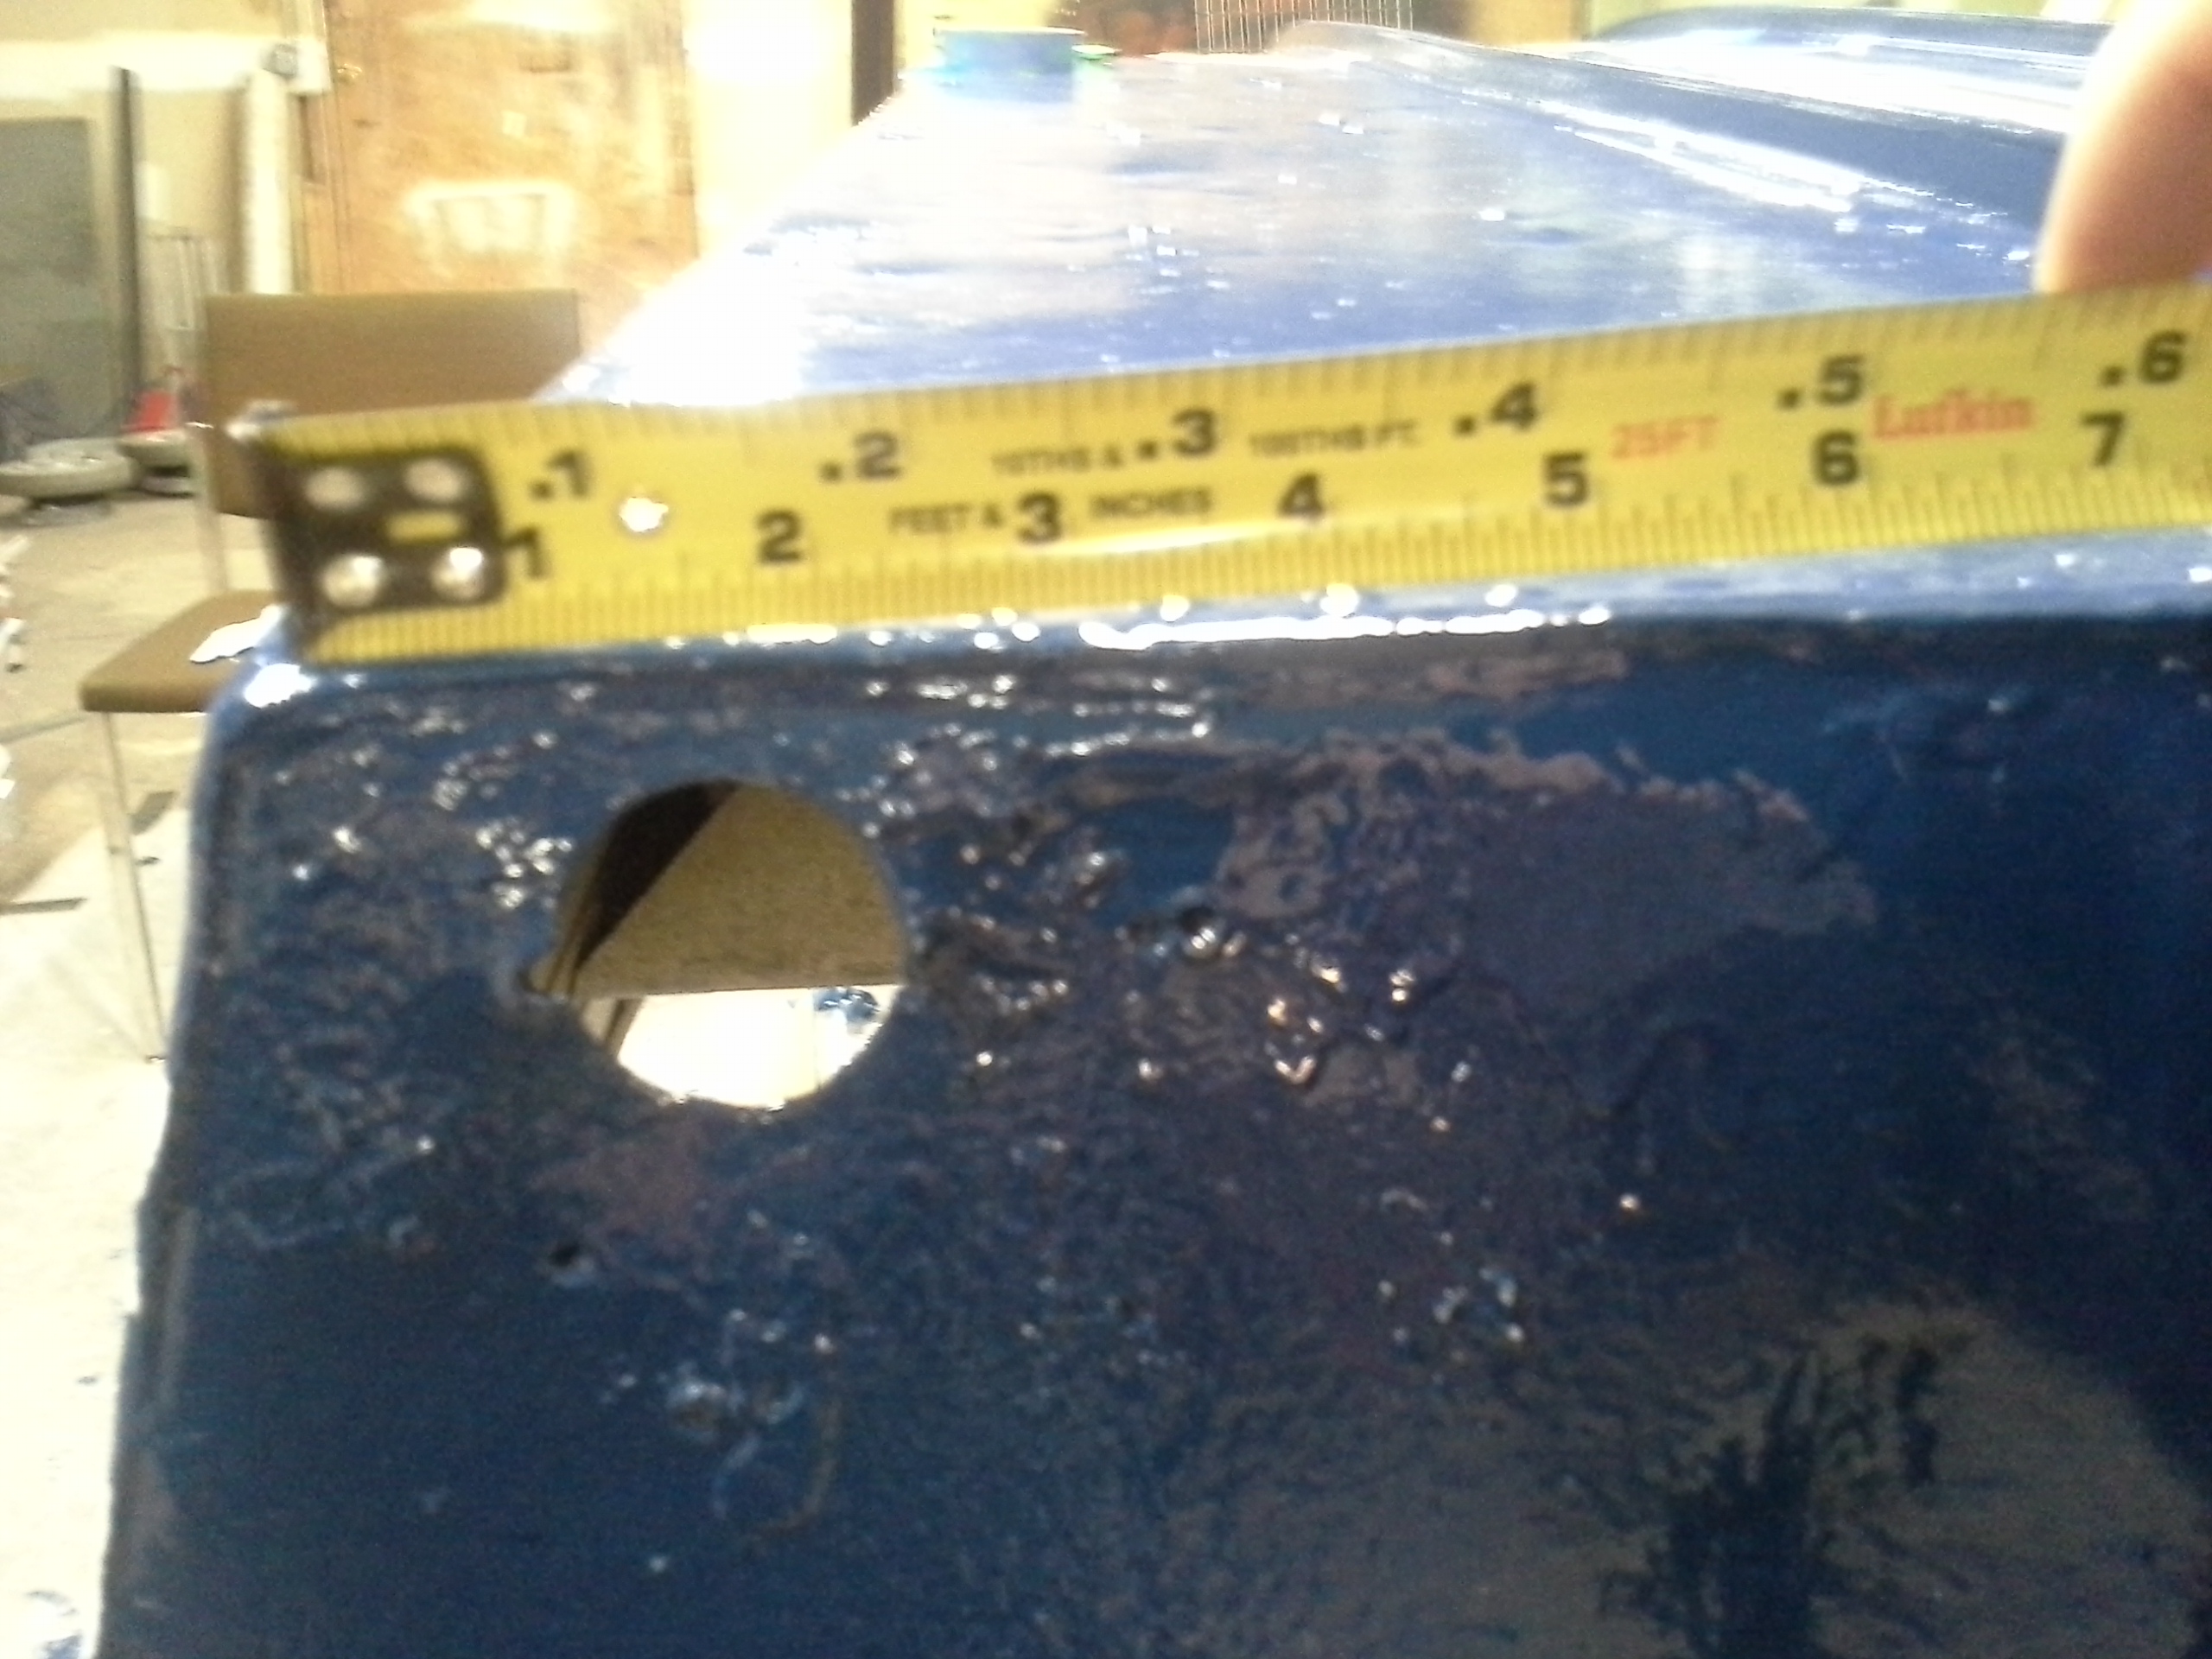
The transom plate was made of 1/4" thick 5200 series aluminum (for marine environments) the drain plug covers were made of two 1/8" sheets of aluminum, attached with stainless steel hex bolts and stainless nuts. I purchased two aluminum boat handles from [link] intending to use the reinforcement plates to help transfer any load of the boat better to the hull, instead of just yanking on the thin back plate material. The transom plate bolts were placed to prevent the engine/motor mount from conflicting with the mounting bolts. 
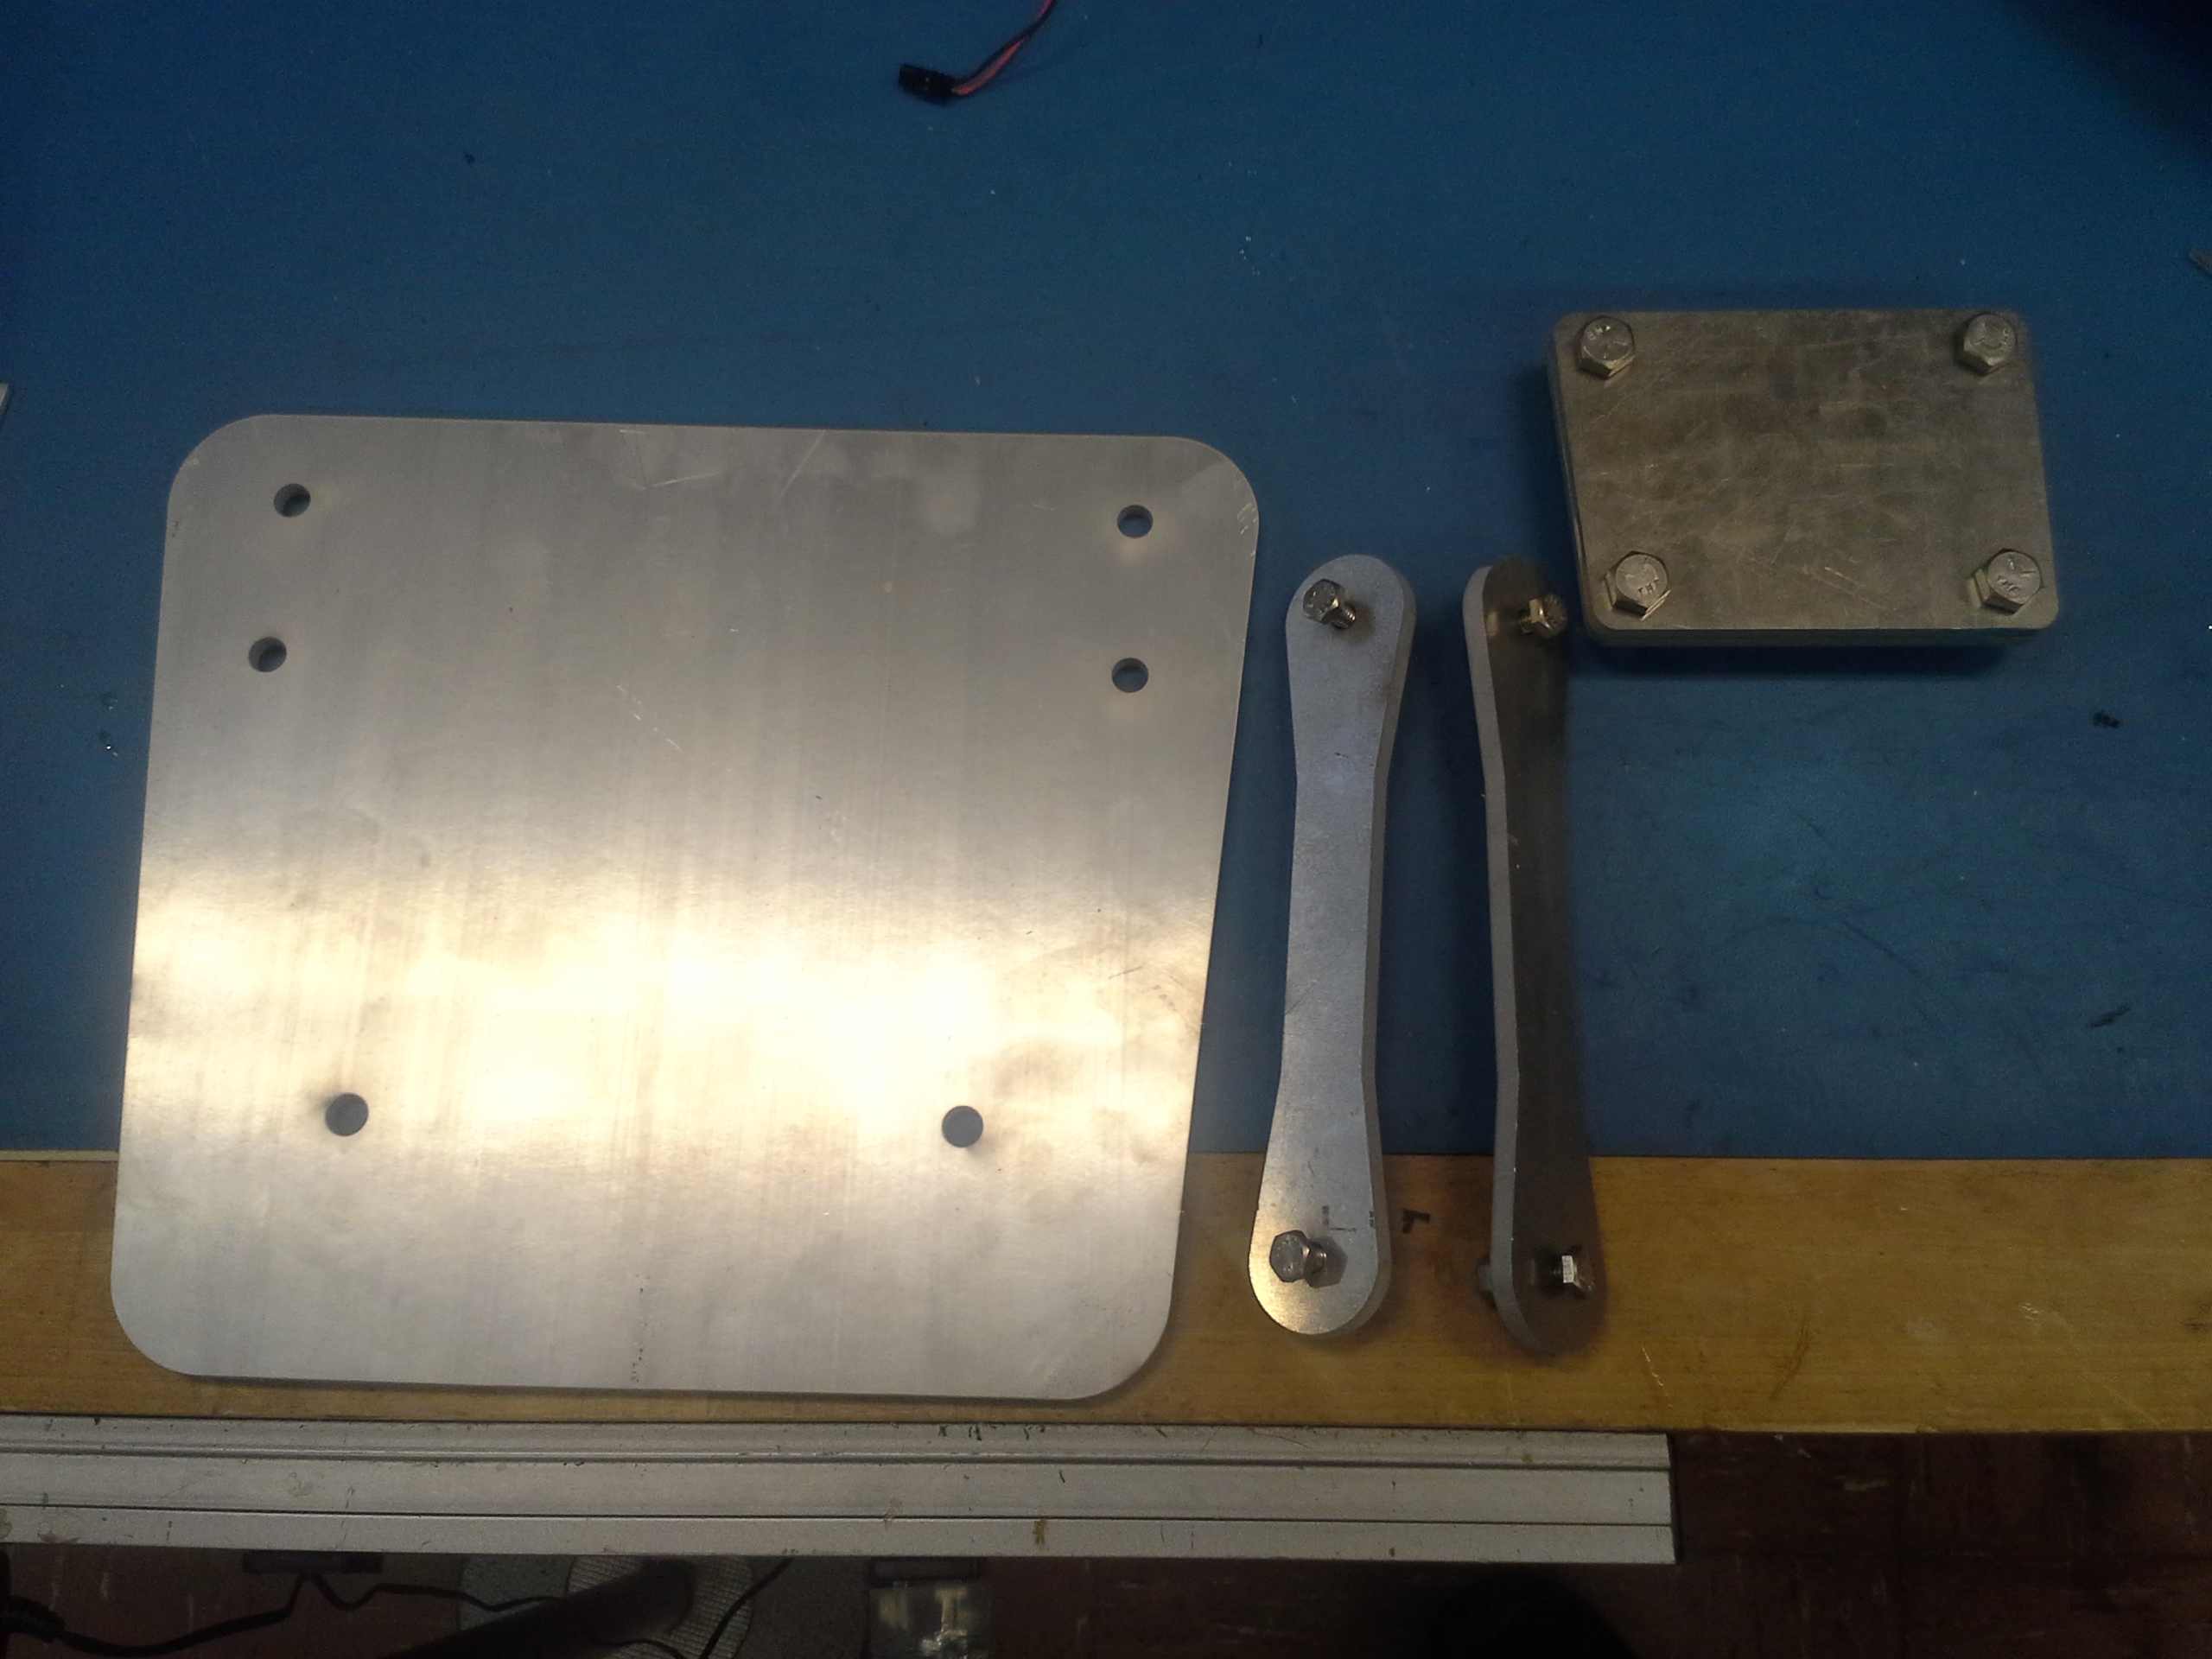
The placement of the draining hole made this a bit precarious, its very low in the hull, which made the mounting holes on the inside plate define the assembly. Pressing the inner drain plate against the hull and marking holes for drilling was a bit precarious, but 18v dewalt did the job dandy. Note that the aluminum plate covers the drainage hole completely. Do you have the same craft? here's [design files] and a [dxf] you can submit to bigbluesaw for a quick duplicate. 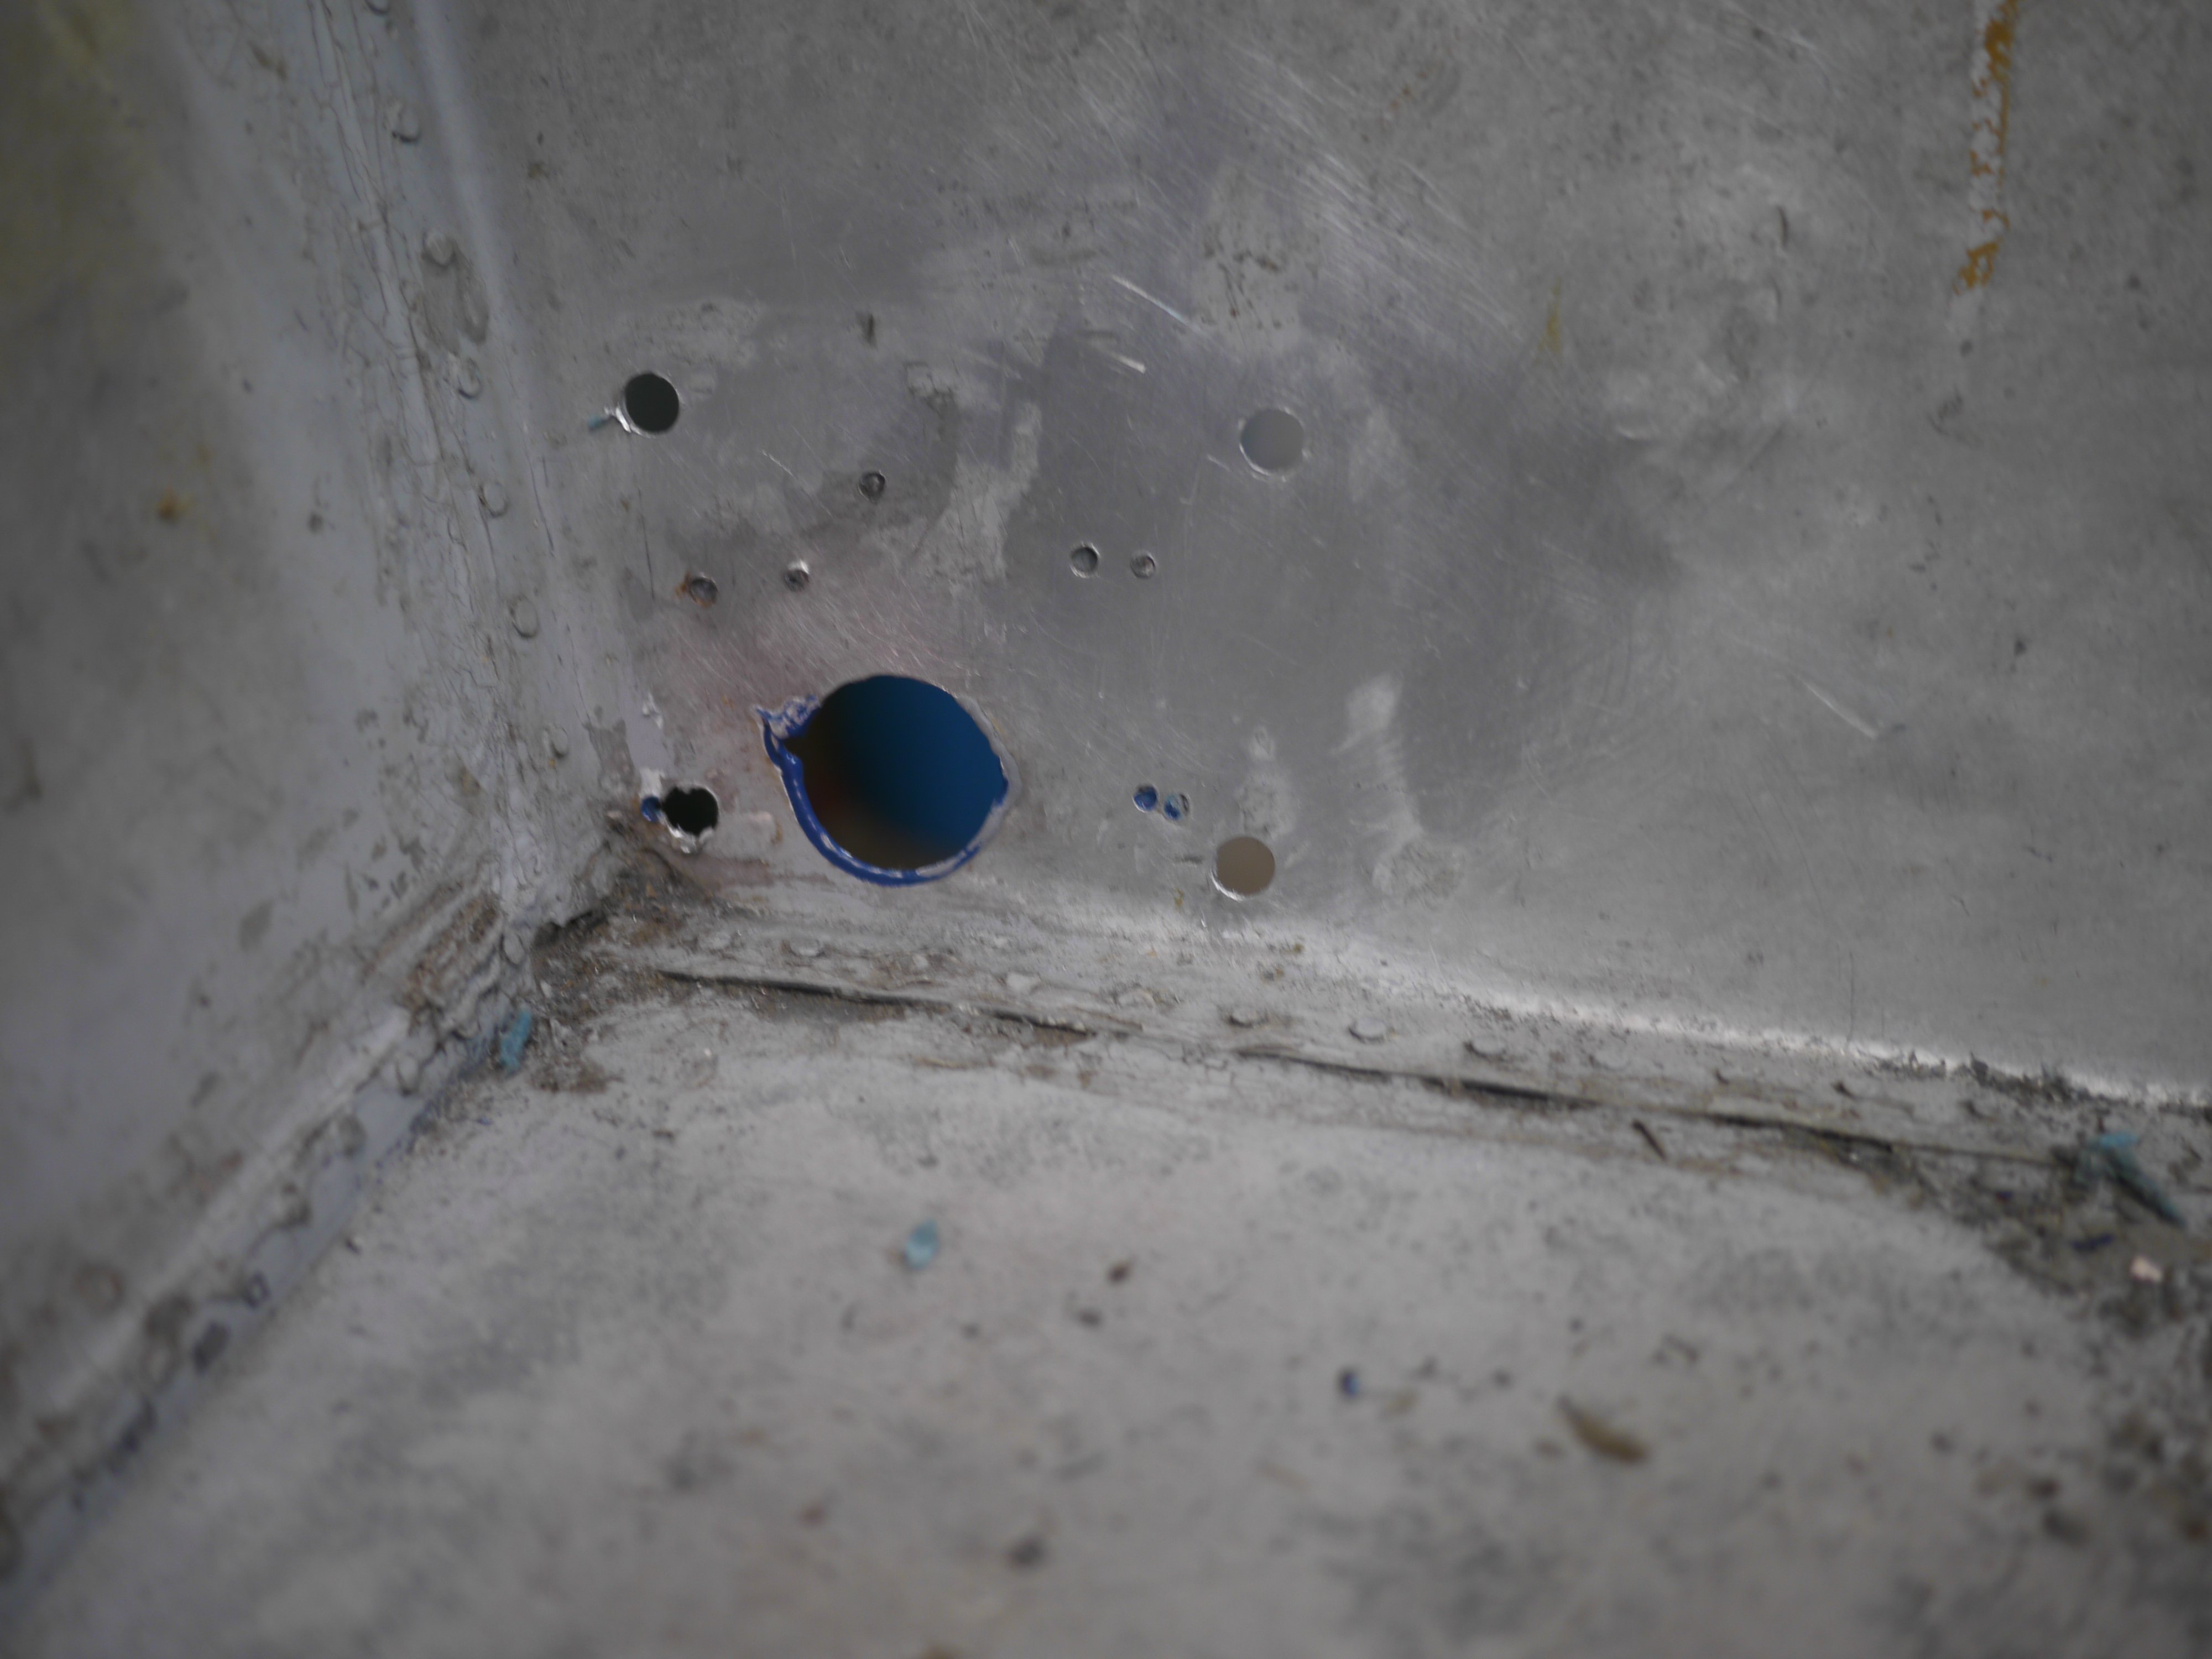

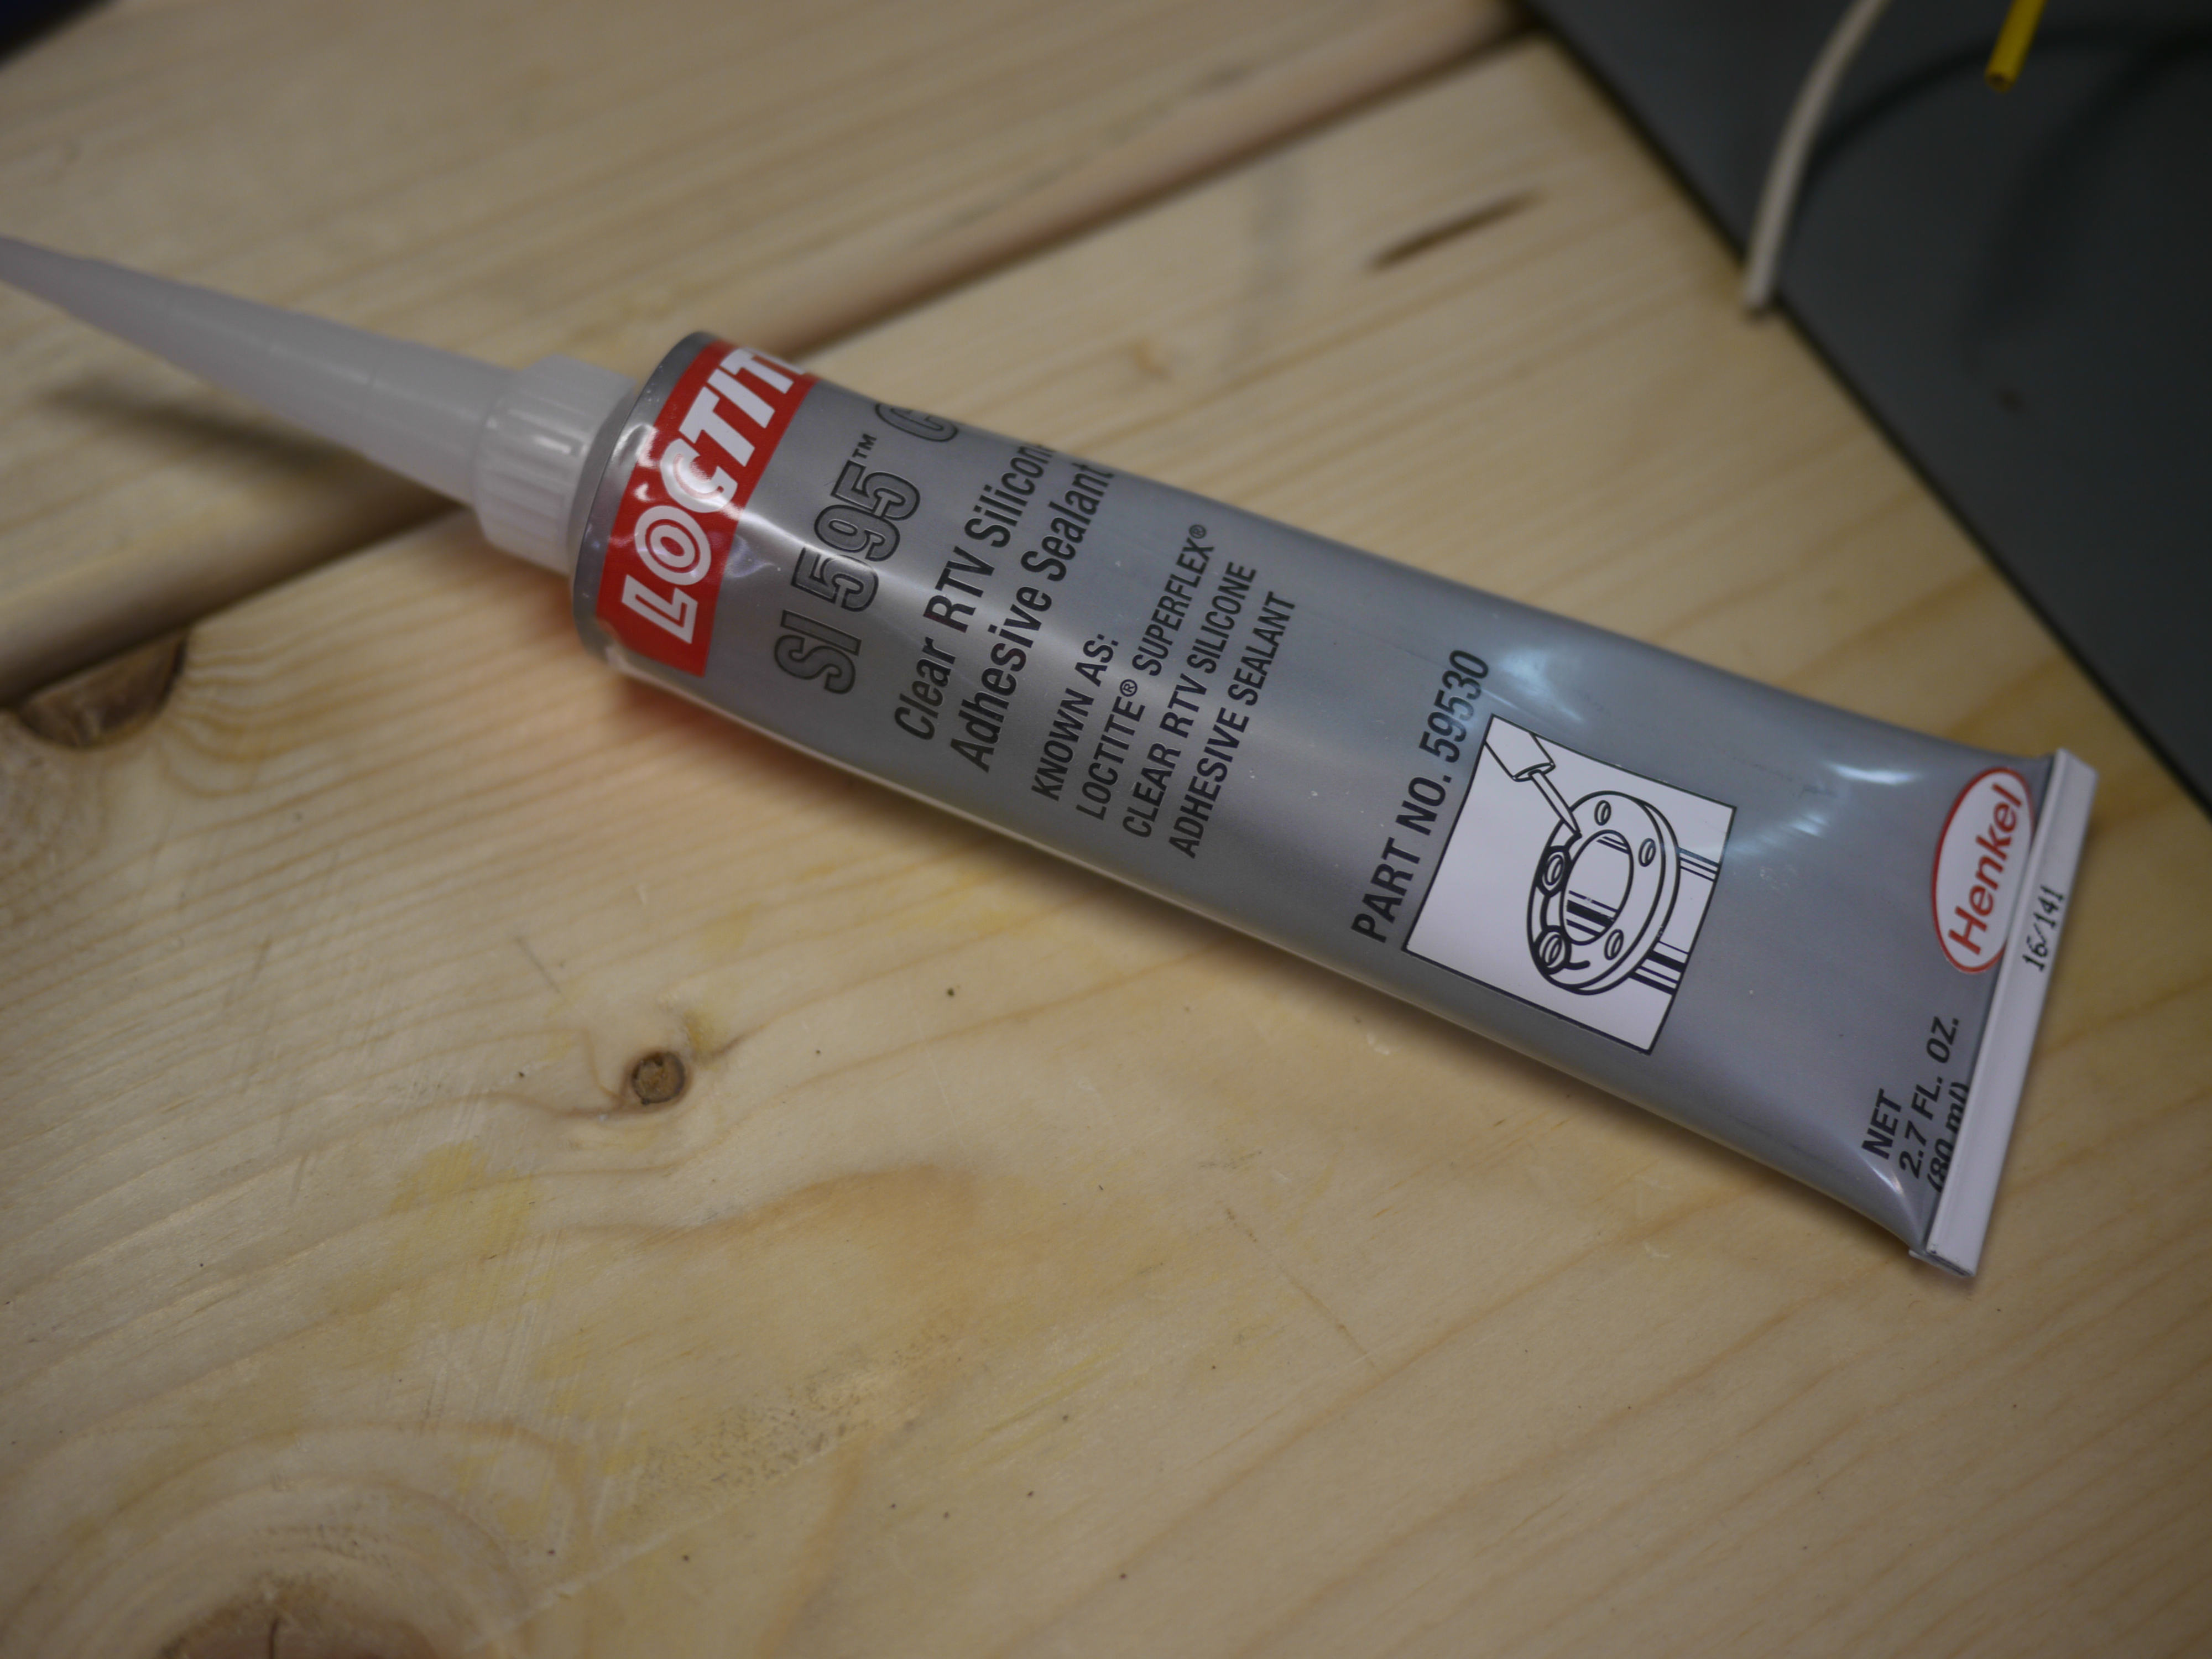
Loctite RTV was used as the intermediate sealant between the drain plate and the hull, it was important to let it start to tack up before setting it in place, and moreover, not fully torque-ing it while it was in this state. 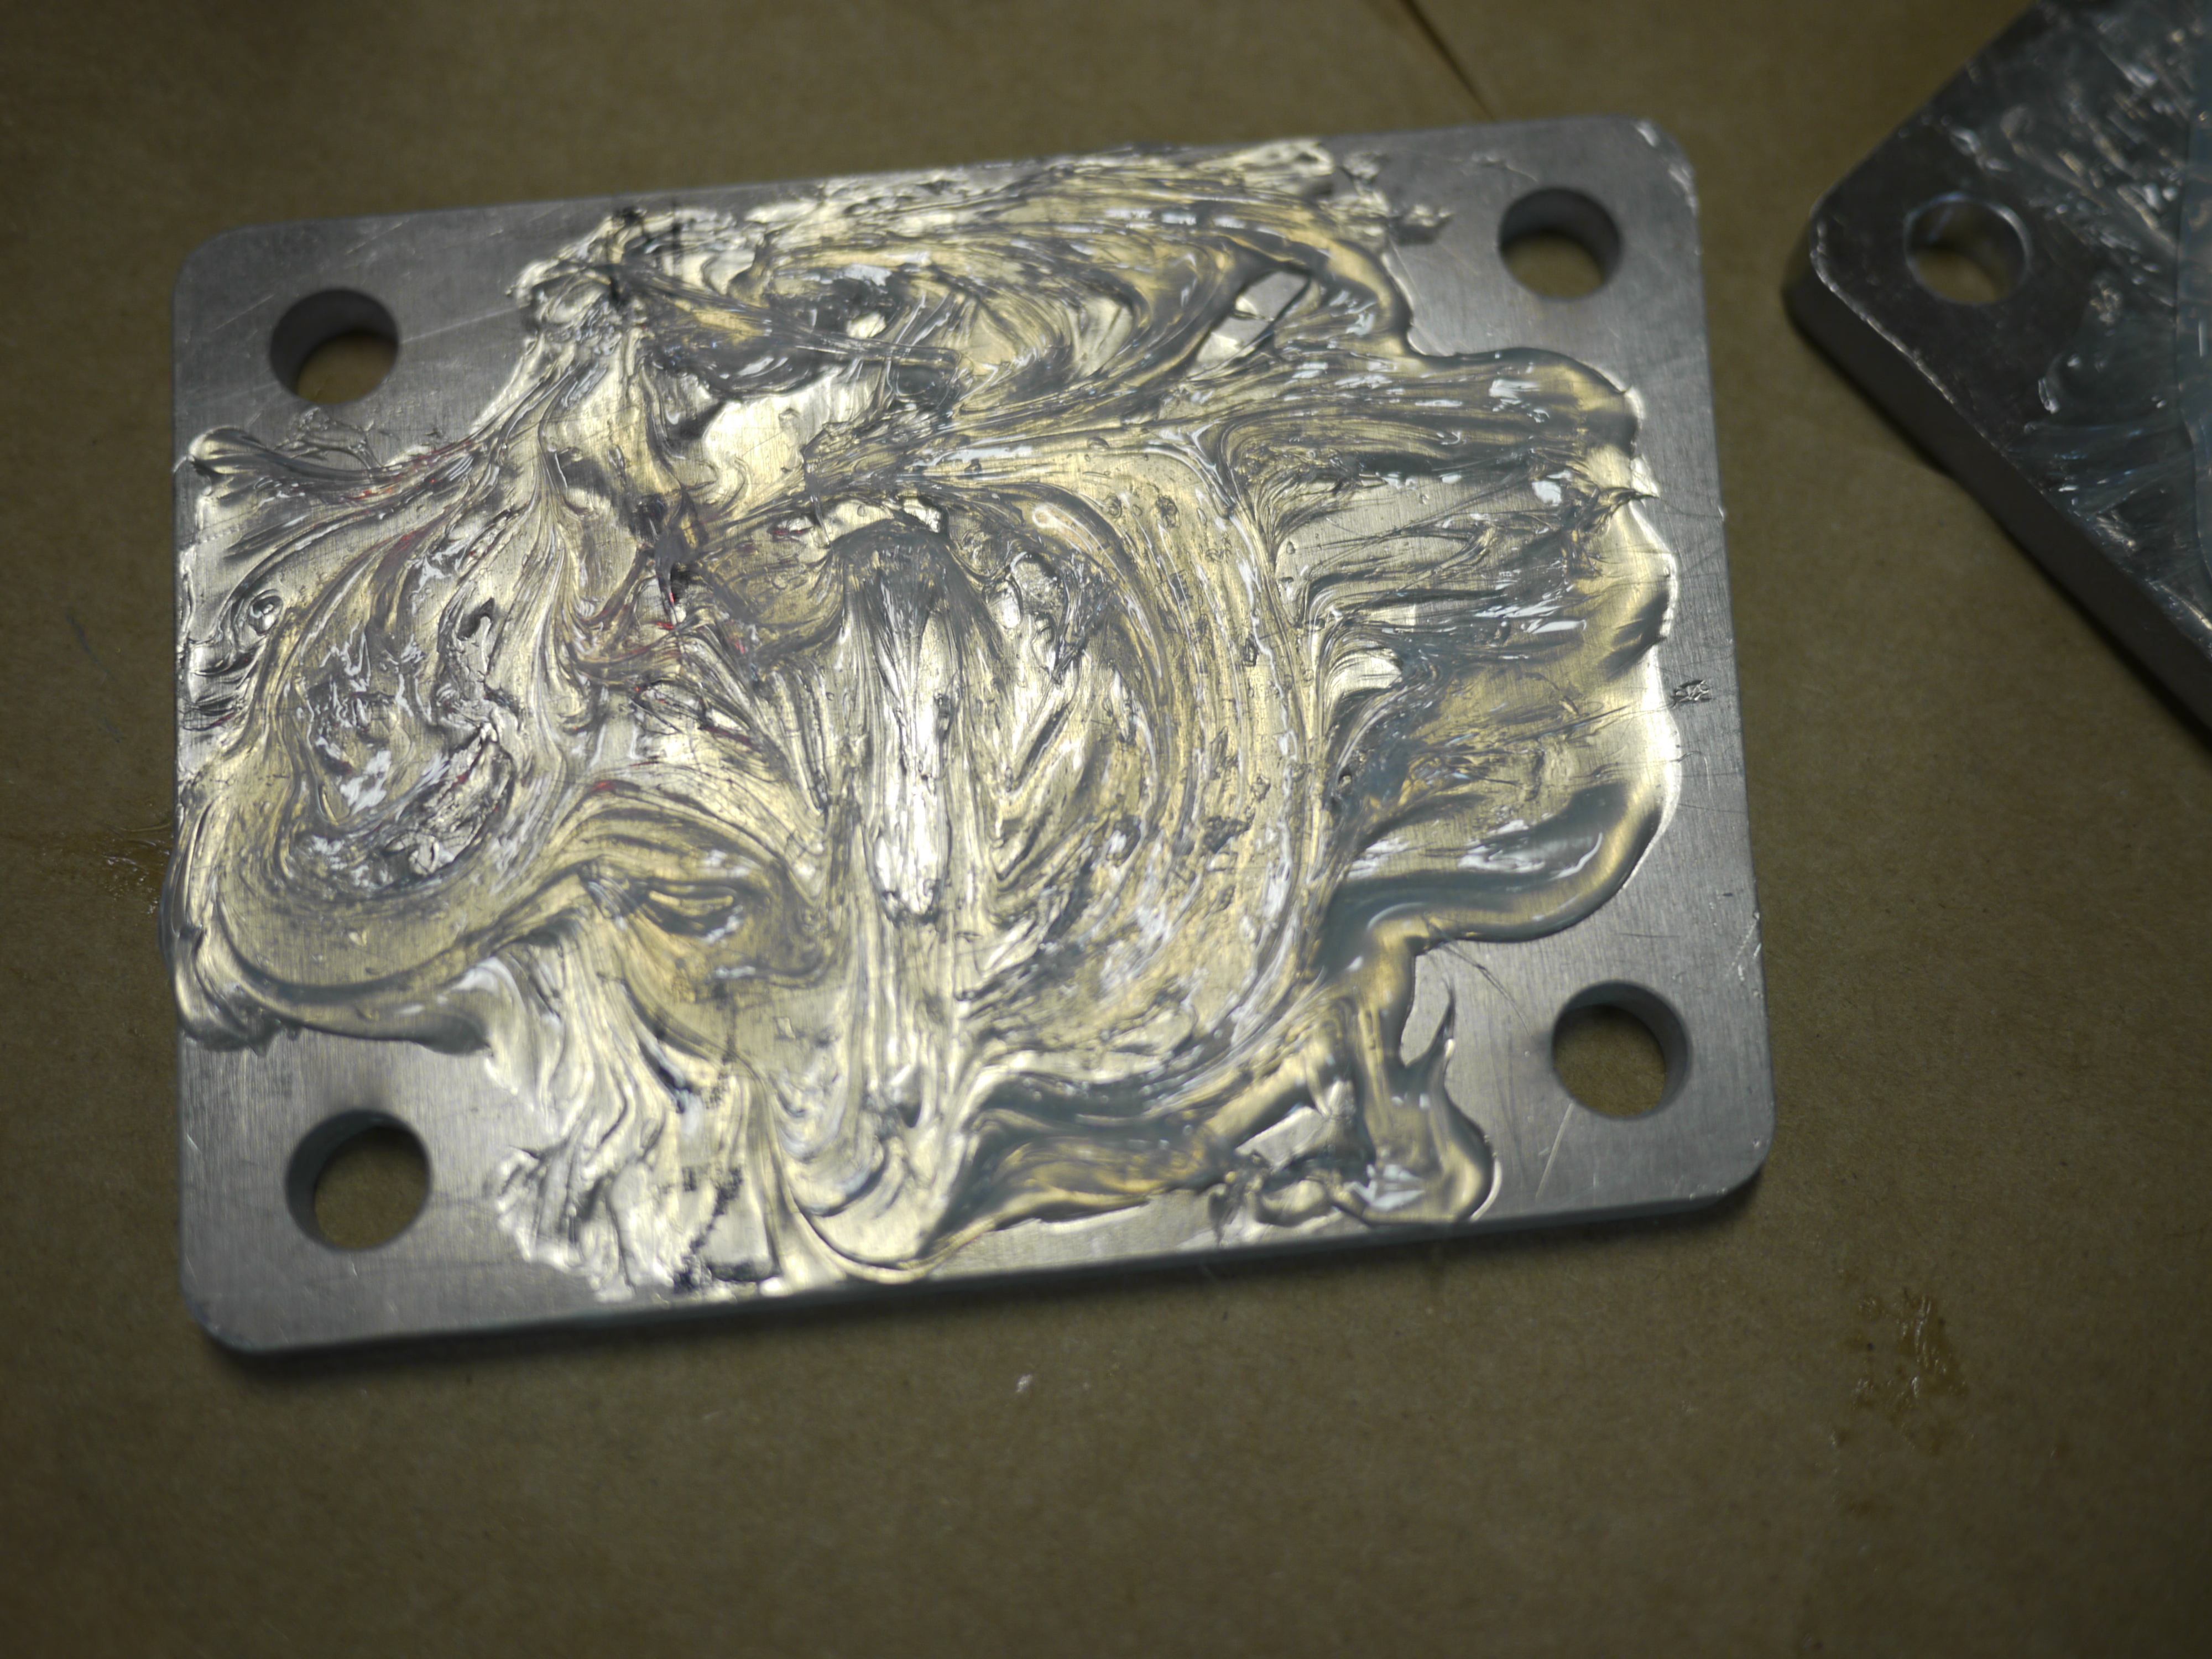
Both plates were heavily gooped and lightly bolte in place. Roughly 30 minutes later i fully torqued the plates together, and they straightened the bottom corner substantially. 
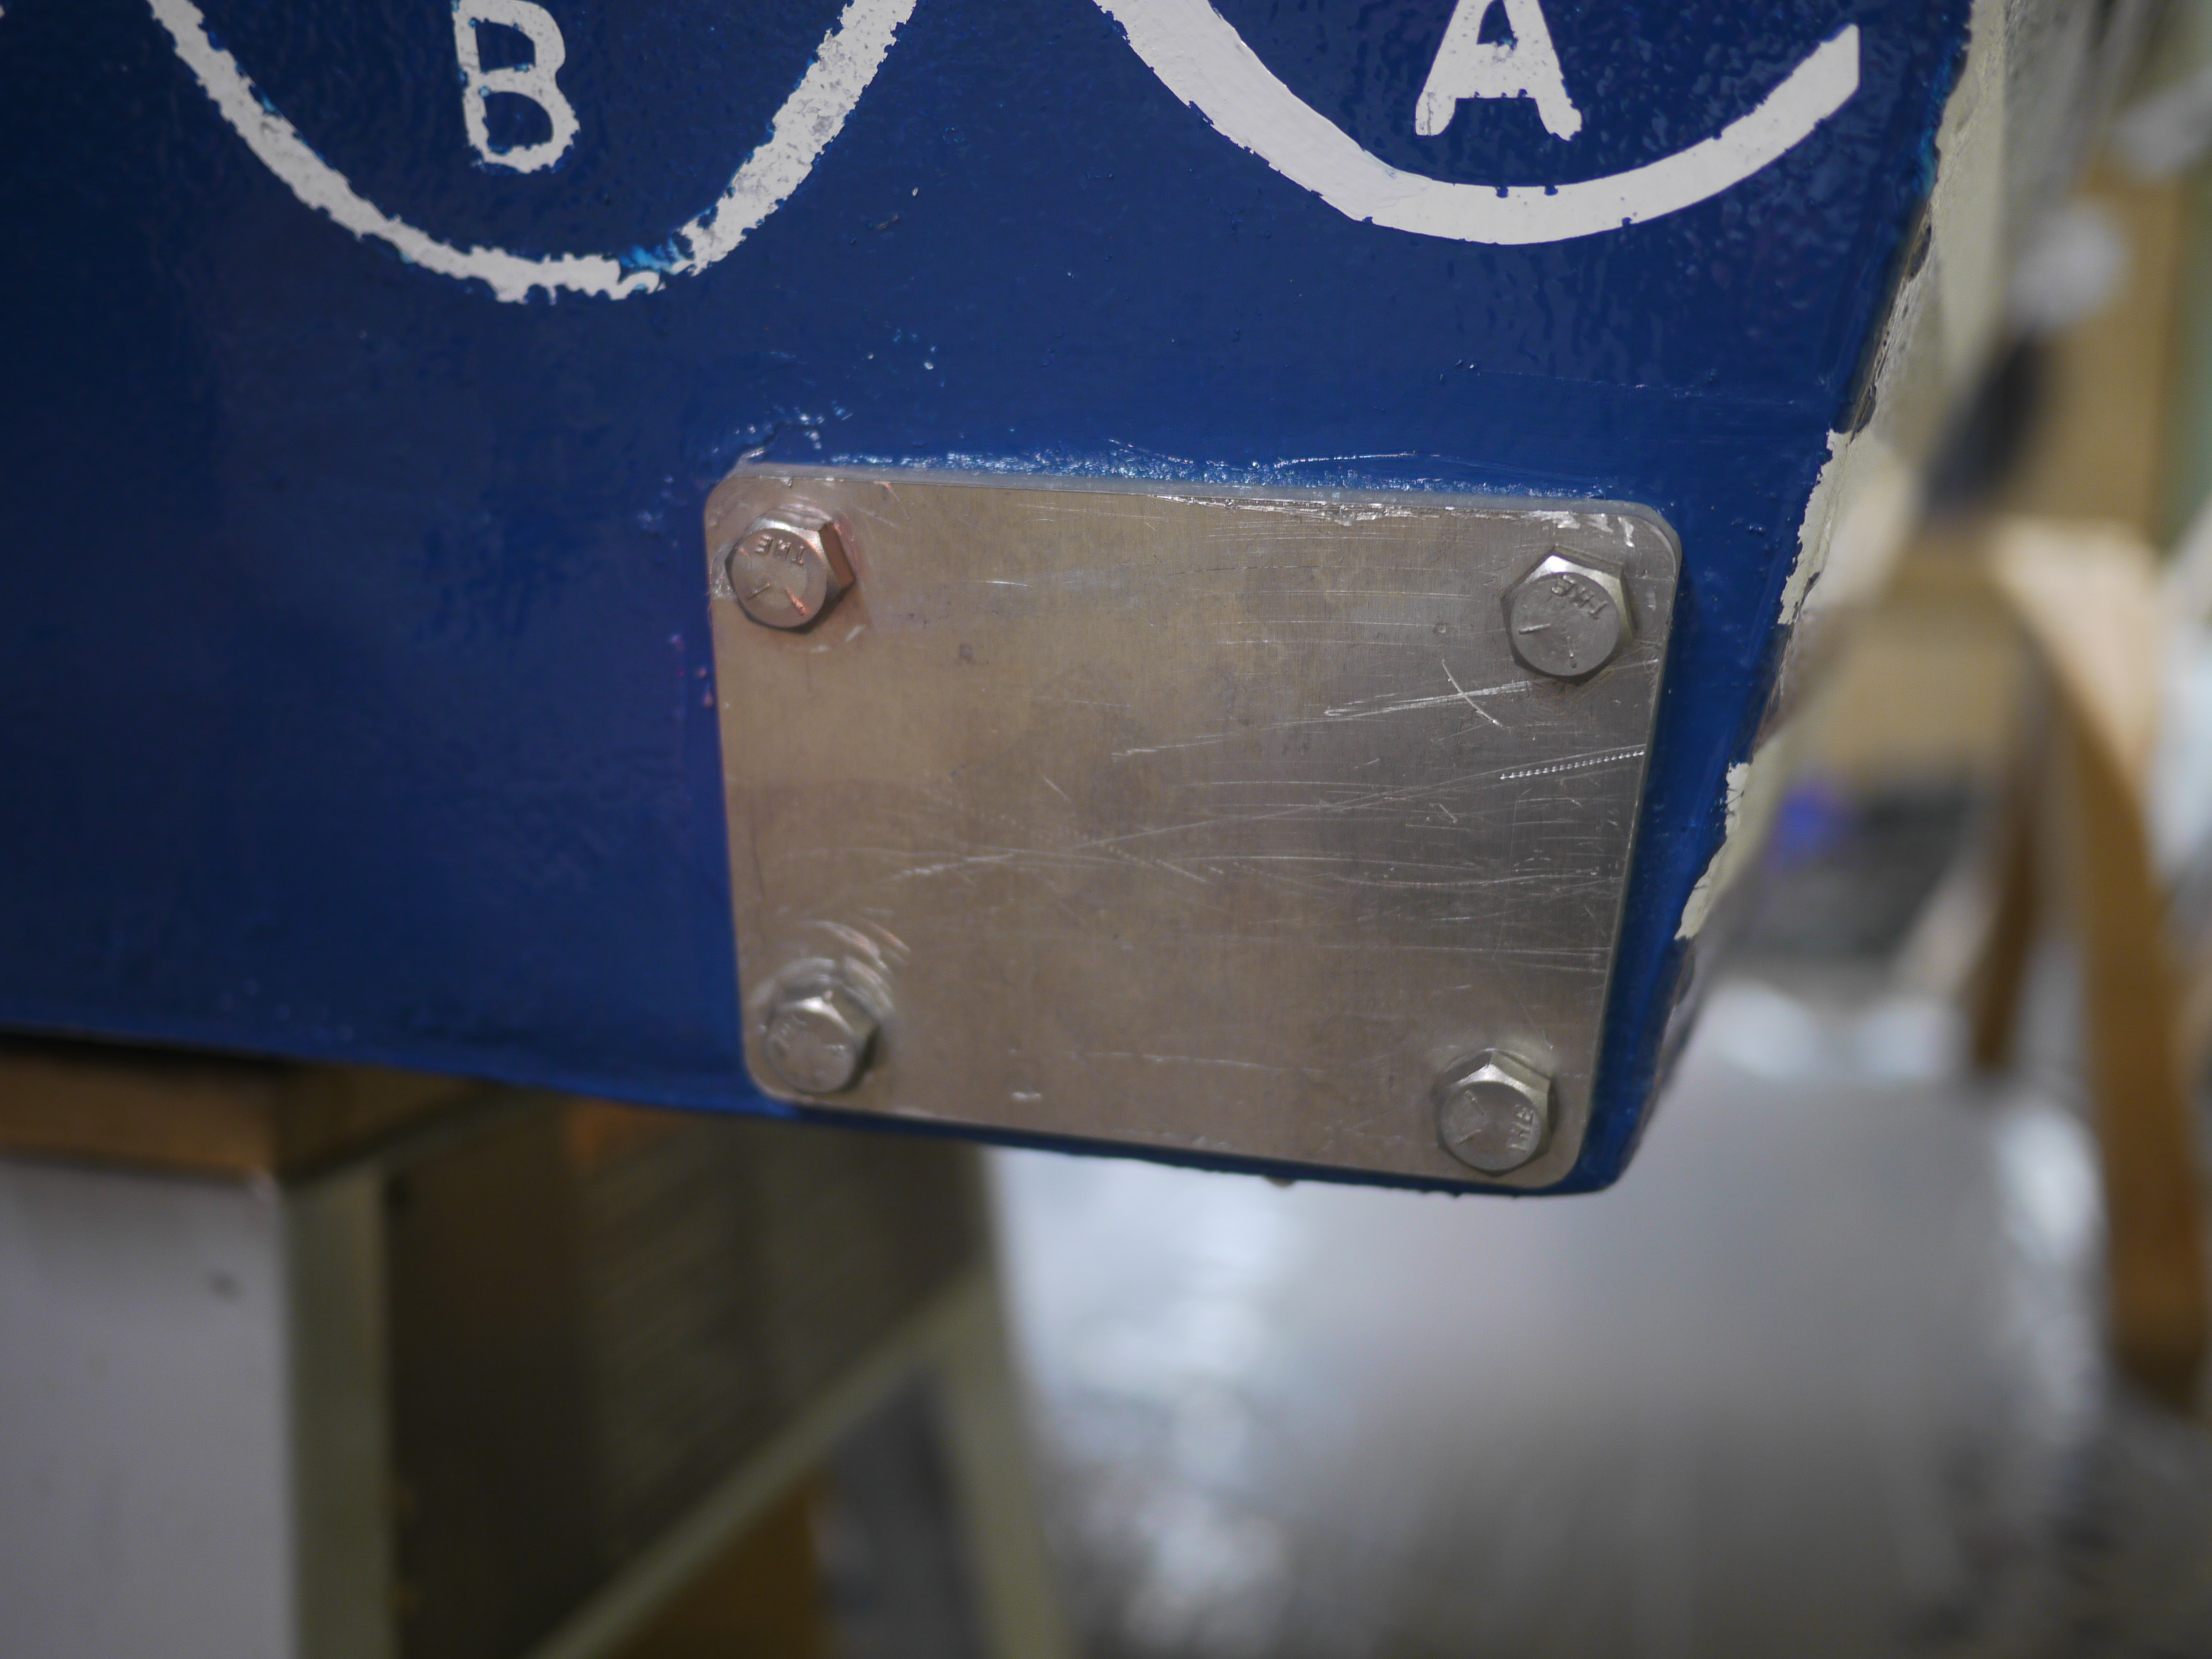
A quick 'hold in place' verified the rear transom plate was ready for mounting as well. I waited until the inner wooden transom was ready before attaching this plate. 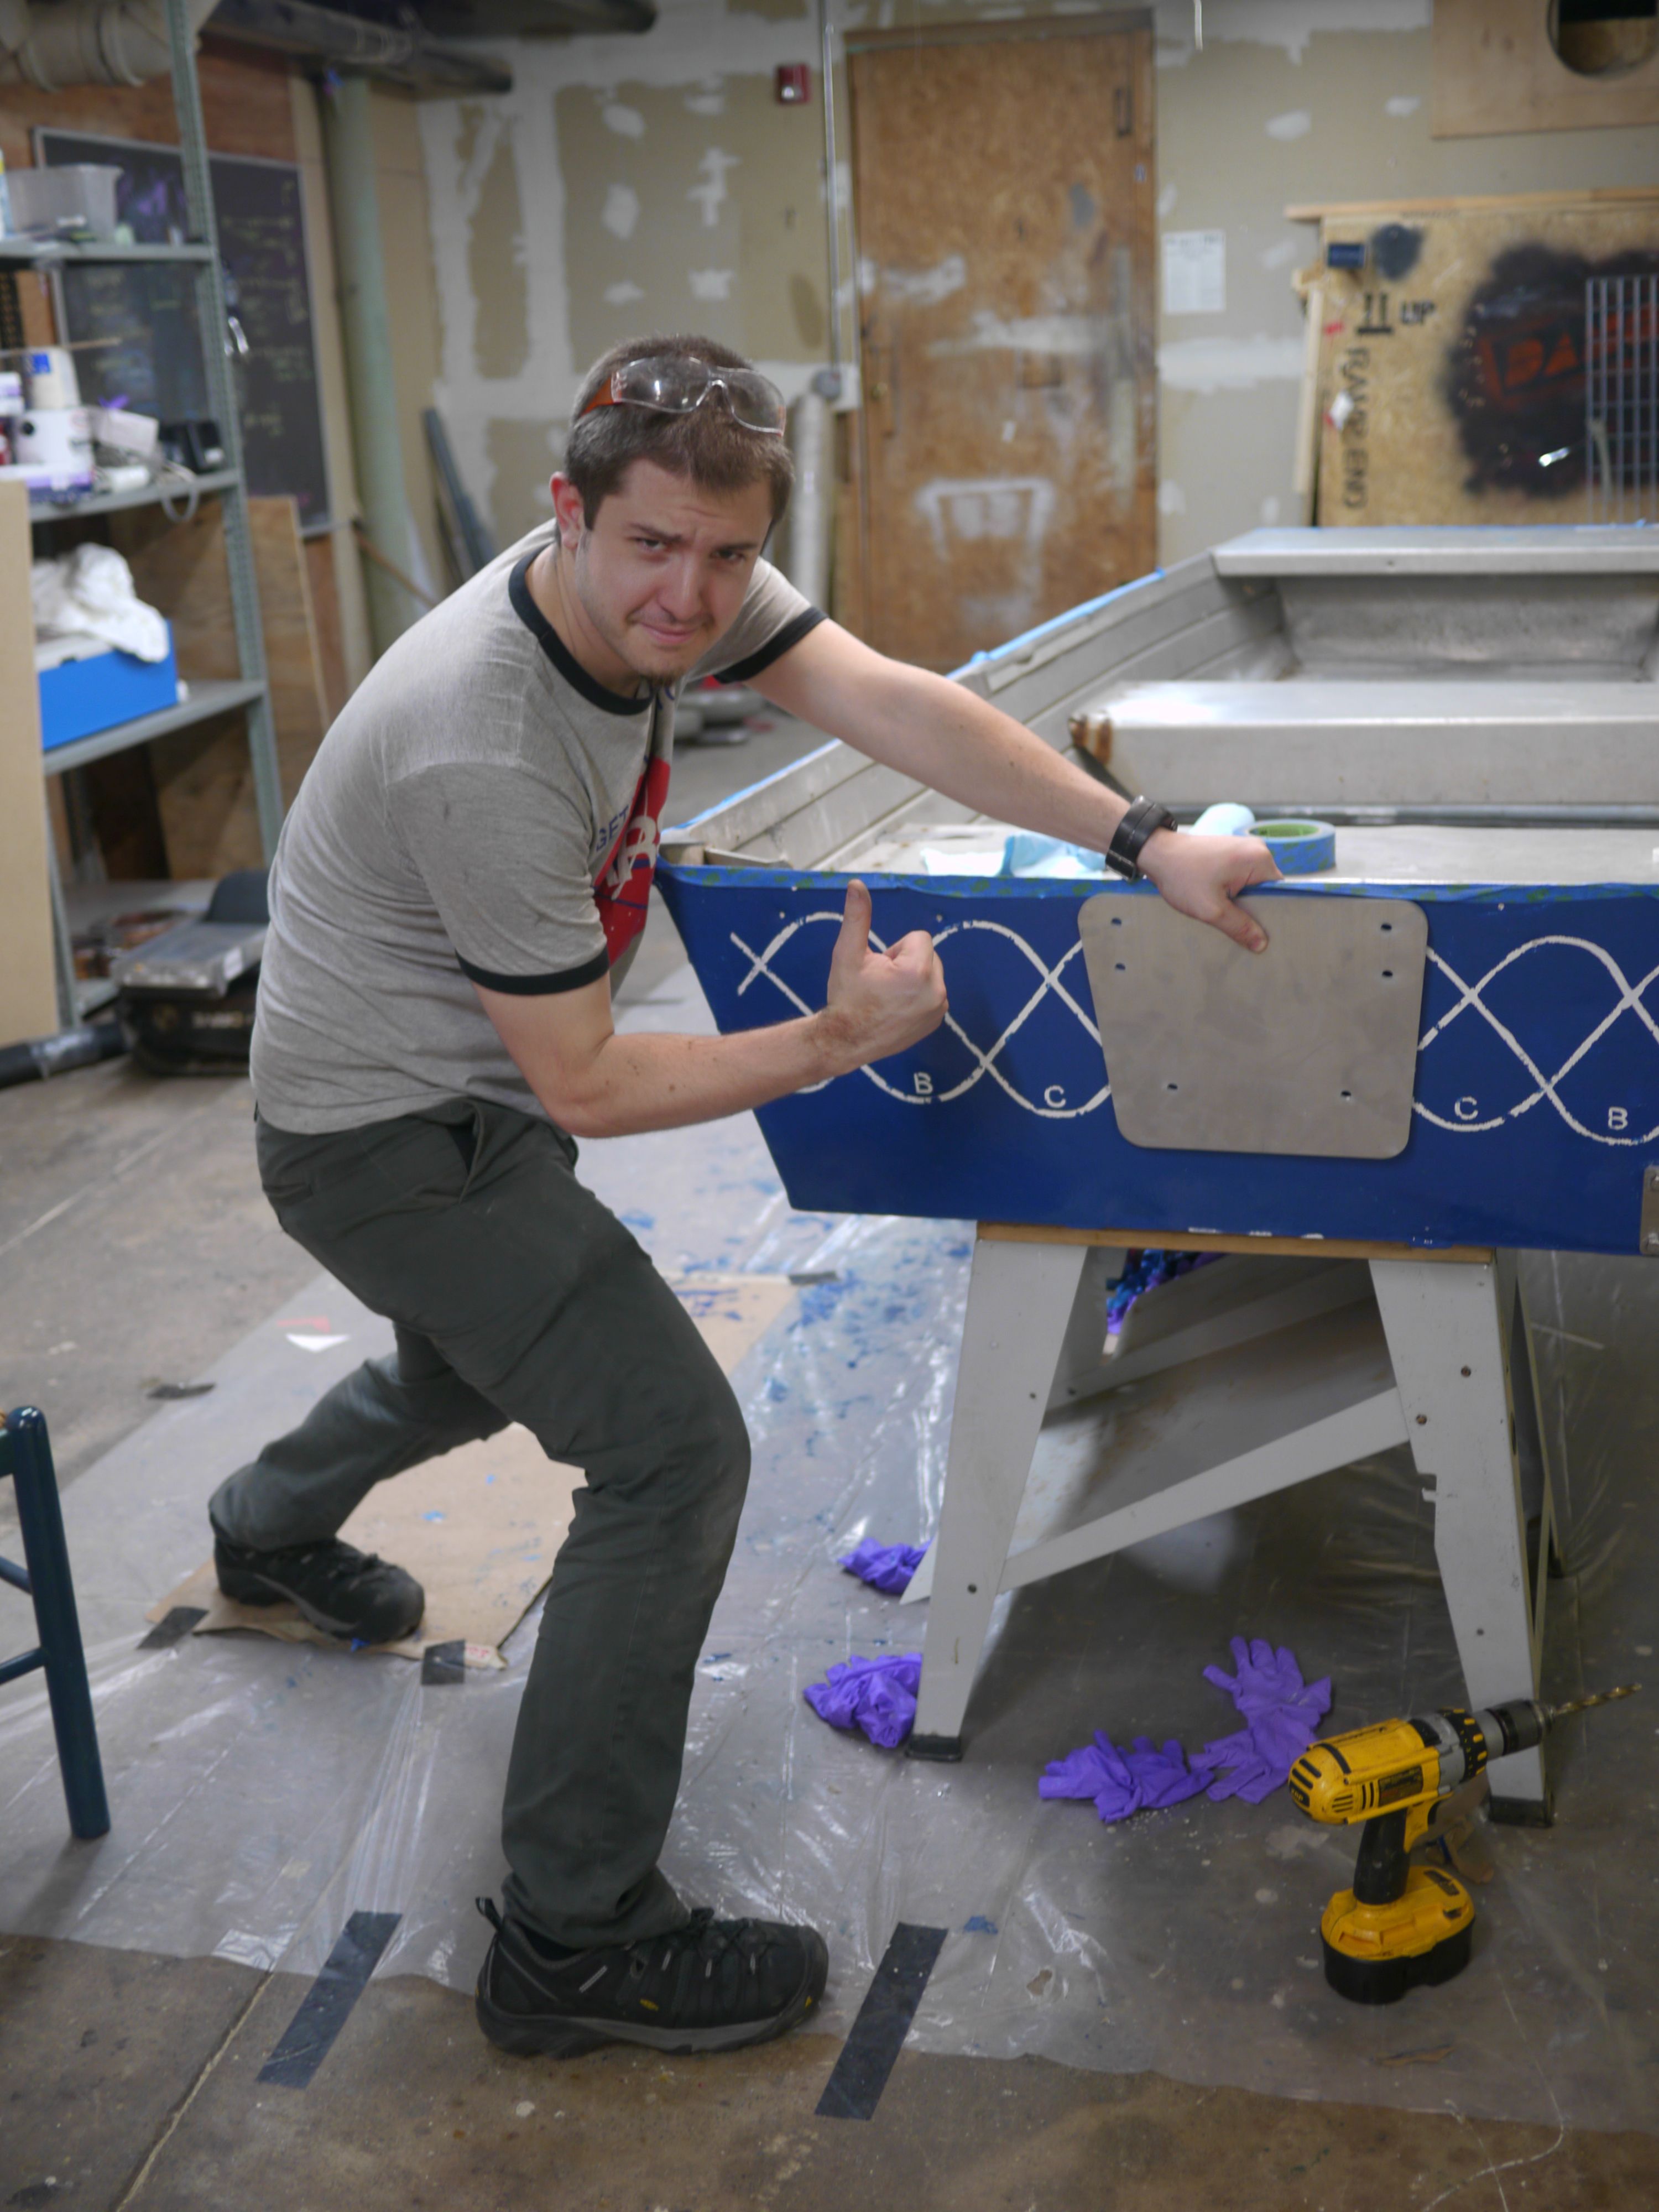
Concluding Thoughts
Have you noticed that there are no advertisements or ridiculous pop ups?
Want More?


|
Post your comments! |
|
Comment Box loading
|