Dane.Kouttron
[8.20.11]
SHARK KITE: Kite aerial
photography [on the cheap]
What?
A quick adventure in kite aerial photography, built on readily
available parts in an afternoon |
|

|
| This
project documents the mixing of a cheap craigslist digial camera, a
semi-broken atmel dev board and a shark shaped kite to obtain low
altitude
aerial imagery |
| What?
|
Image/
Media |
Building a
lightweight kite imaging
platform can be done on the cheap!
The
following documents a walk through of a quickly built
sequential
imaging setup for a low cost camera. The intent of this setup was
to complete building and testing in the same day, using readily
accessible
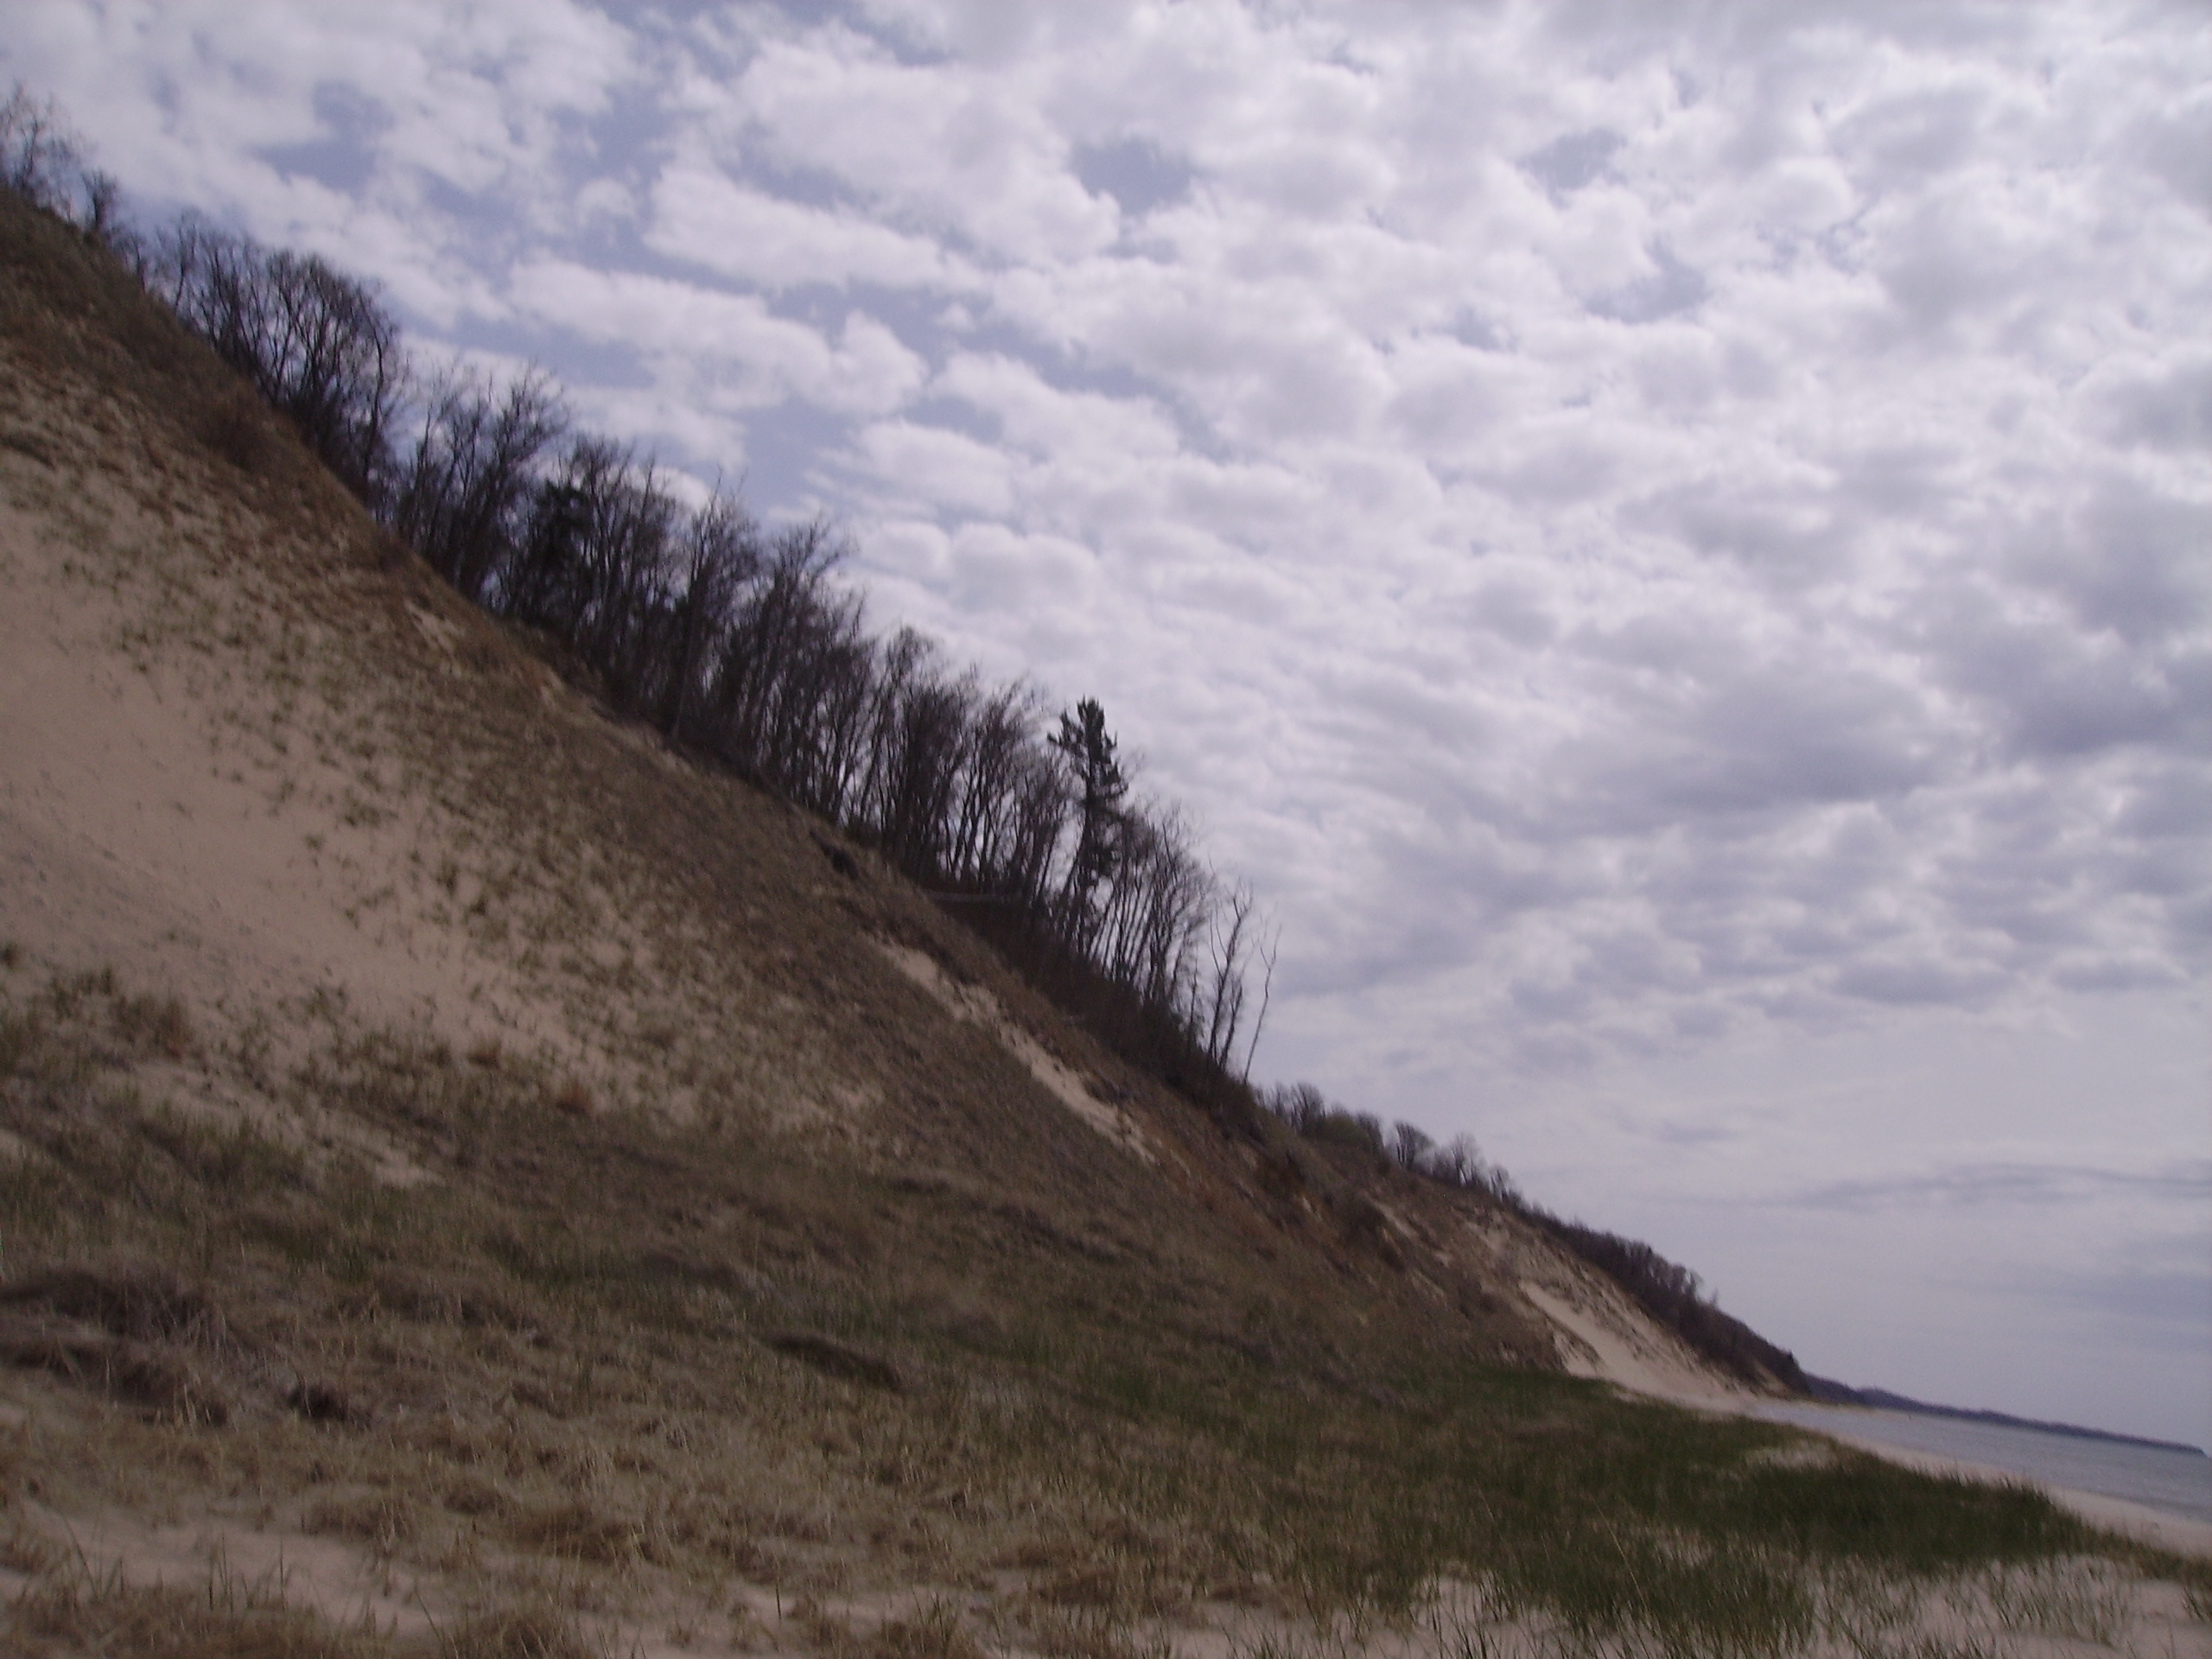
parts. The effectiveness of the kite photography system is
drastically dependant on the craft's mass and the prevailing
winds. A lack of wind can be substituted by running about up
and
down a beach front with kite chasing comrades. |
 |
| What
do I need to make this work |
Image/
Media |
Image
/ Media |
Low cost / old digital camera
|
Camera
was purchased off craigslist for 20$, it is a knockoff 'OPTIMUS'
camera, apparently sold by radioshack in the early 2000's
The
camera functions well, however it eats its AA batteries
rather
quickly. It has no external shutter input, and modifications
are
necessary to take images on a kite
|

|
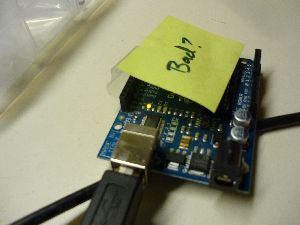
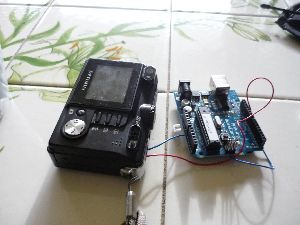
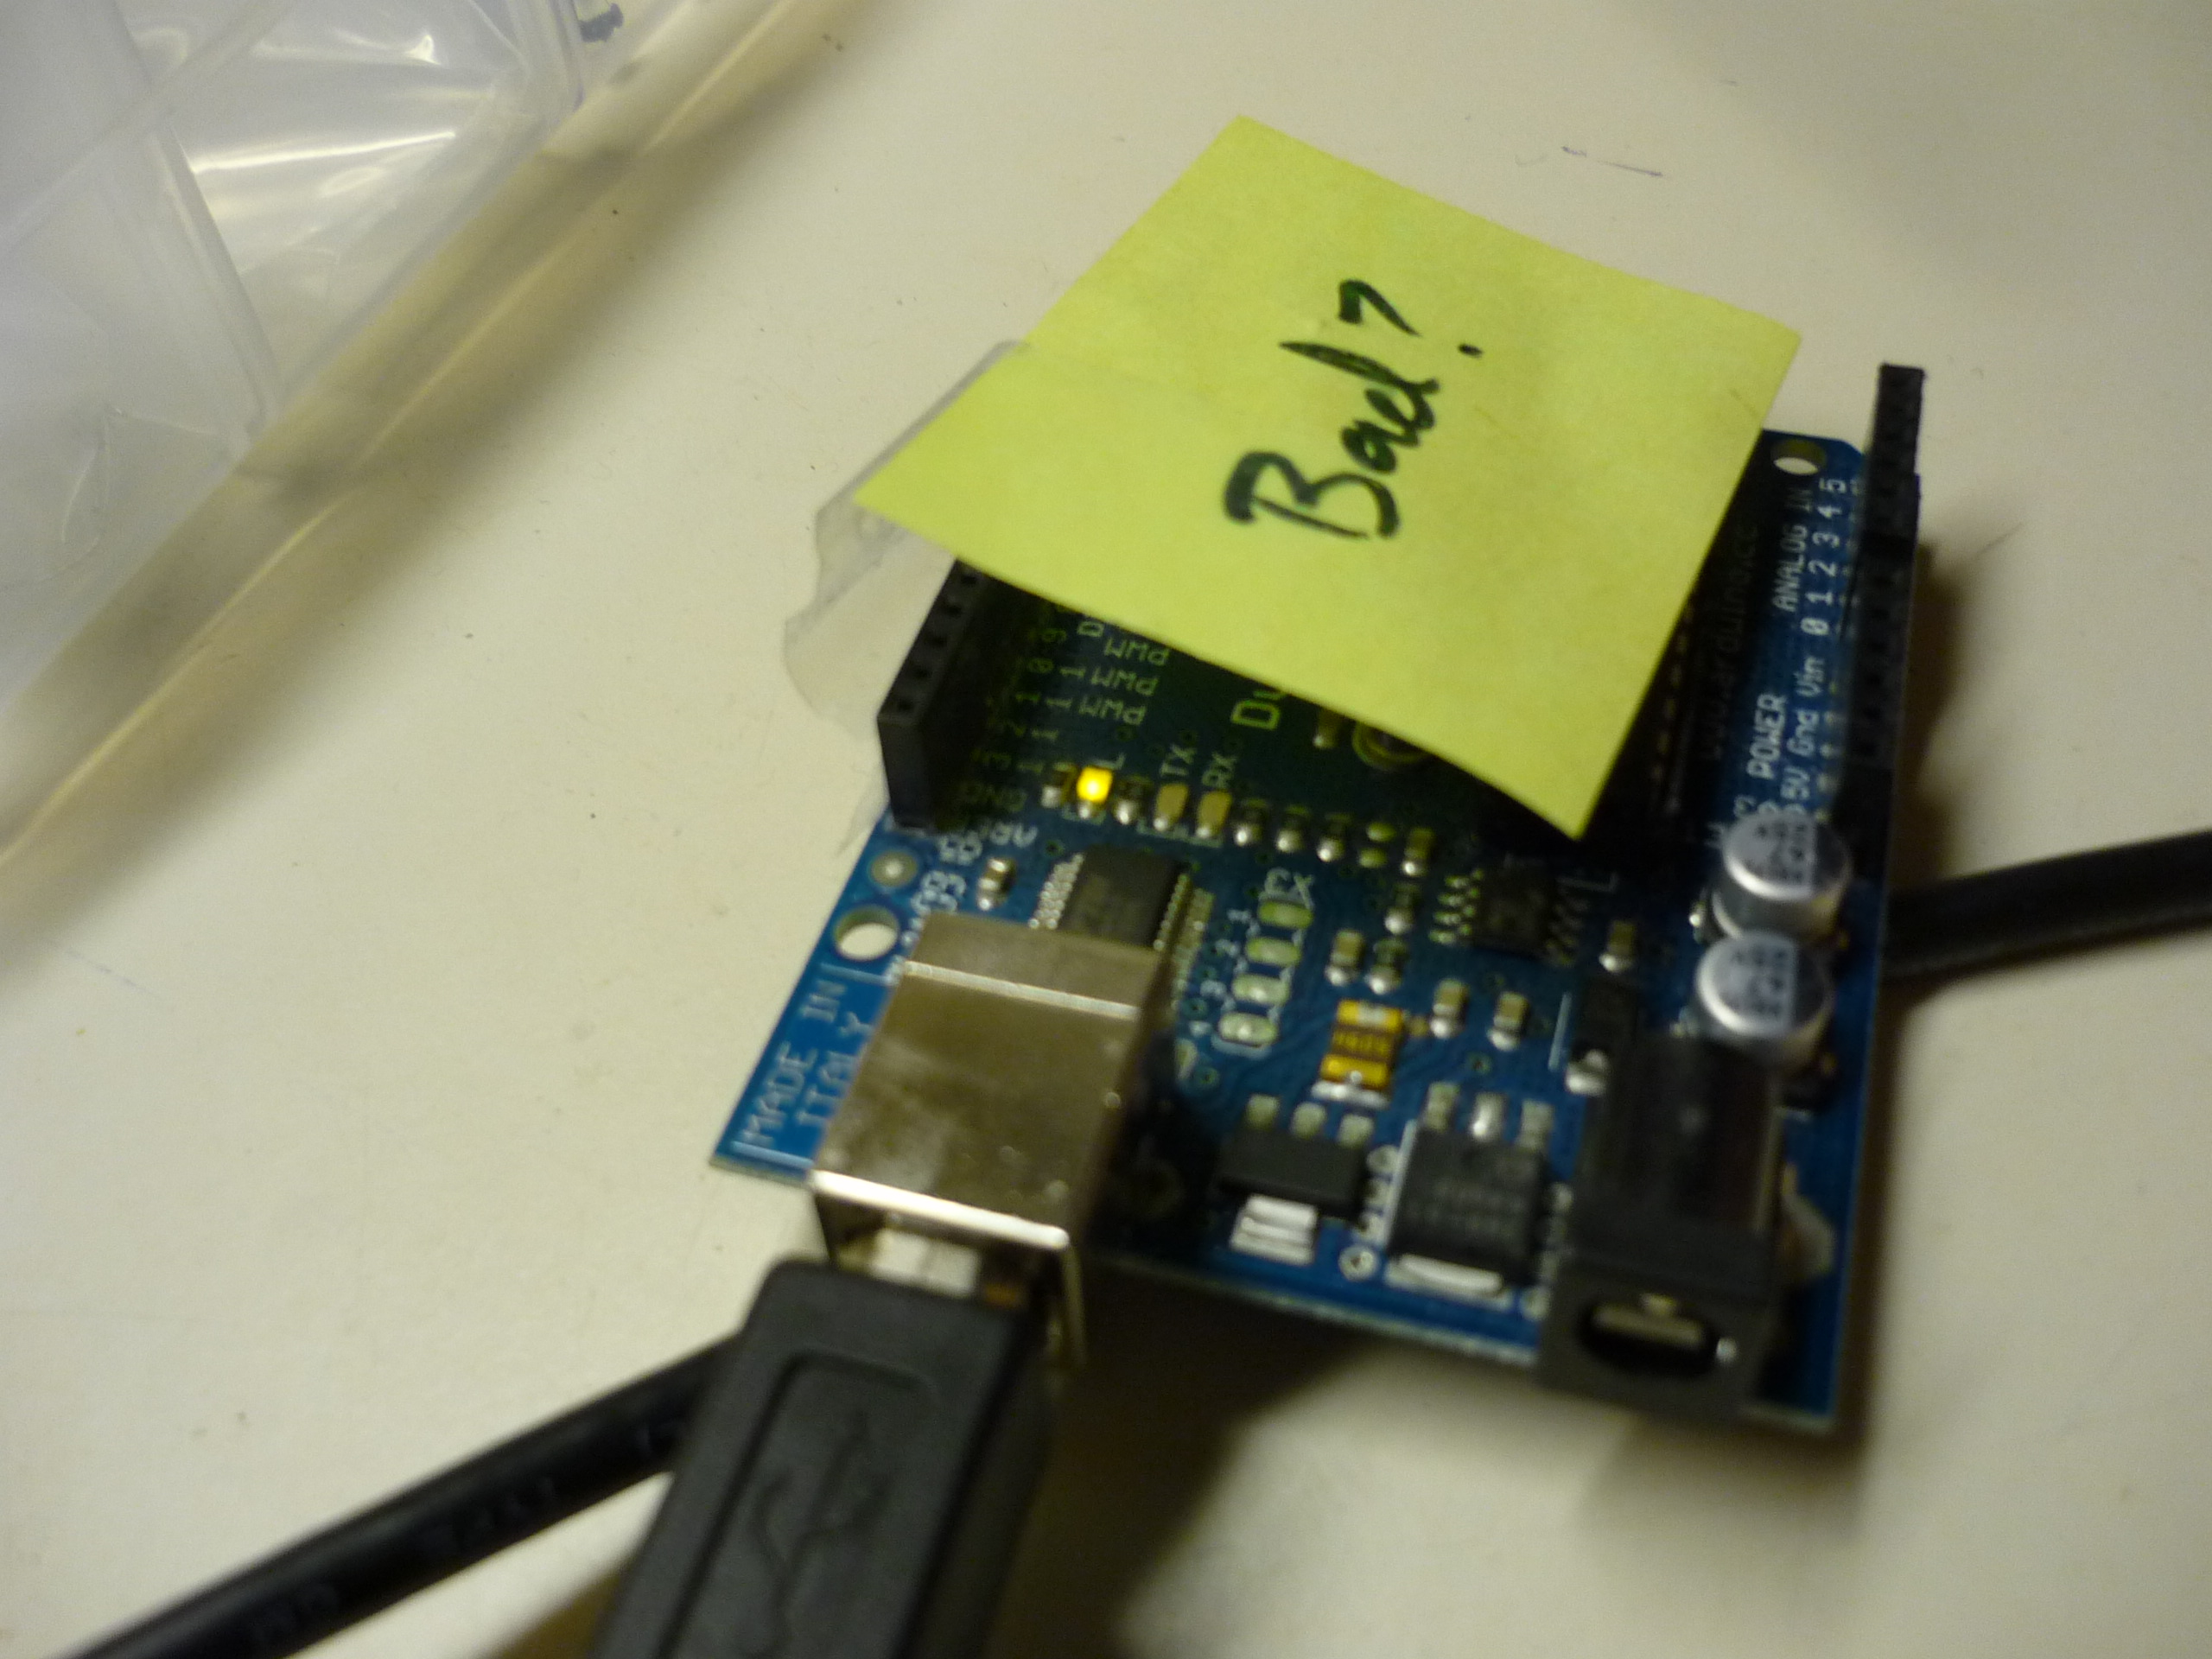
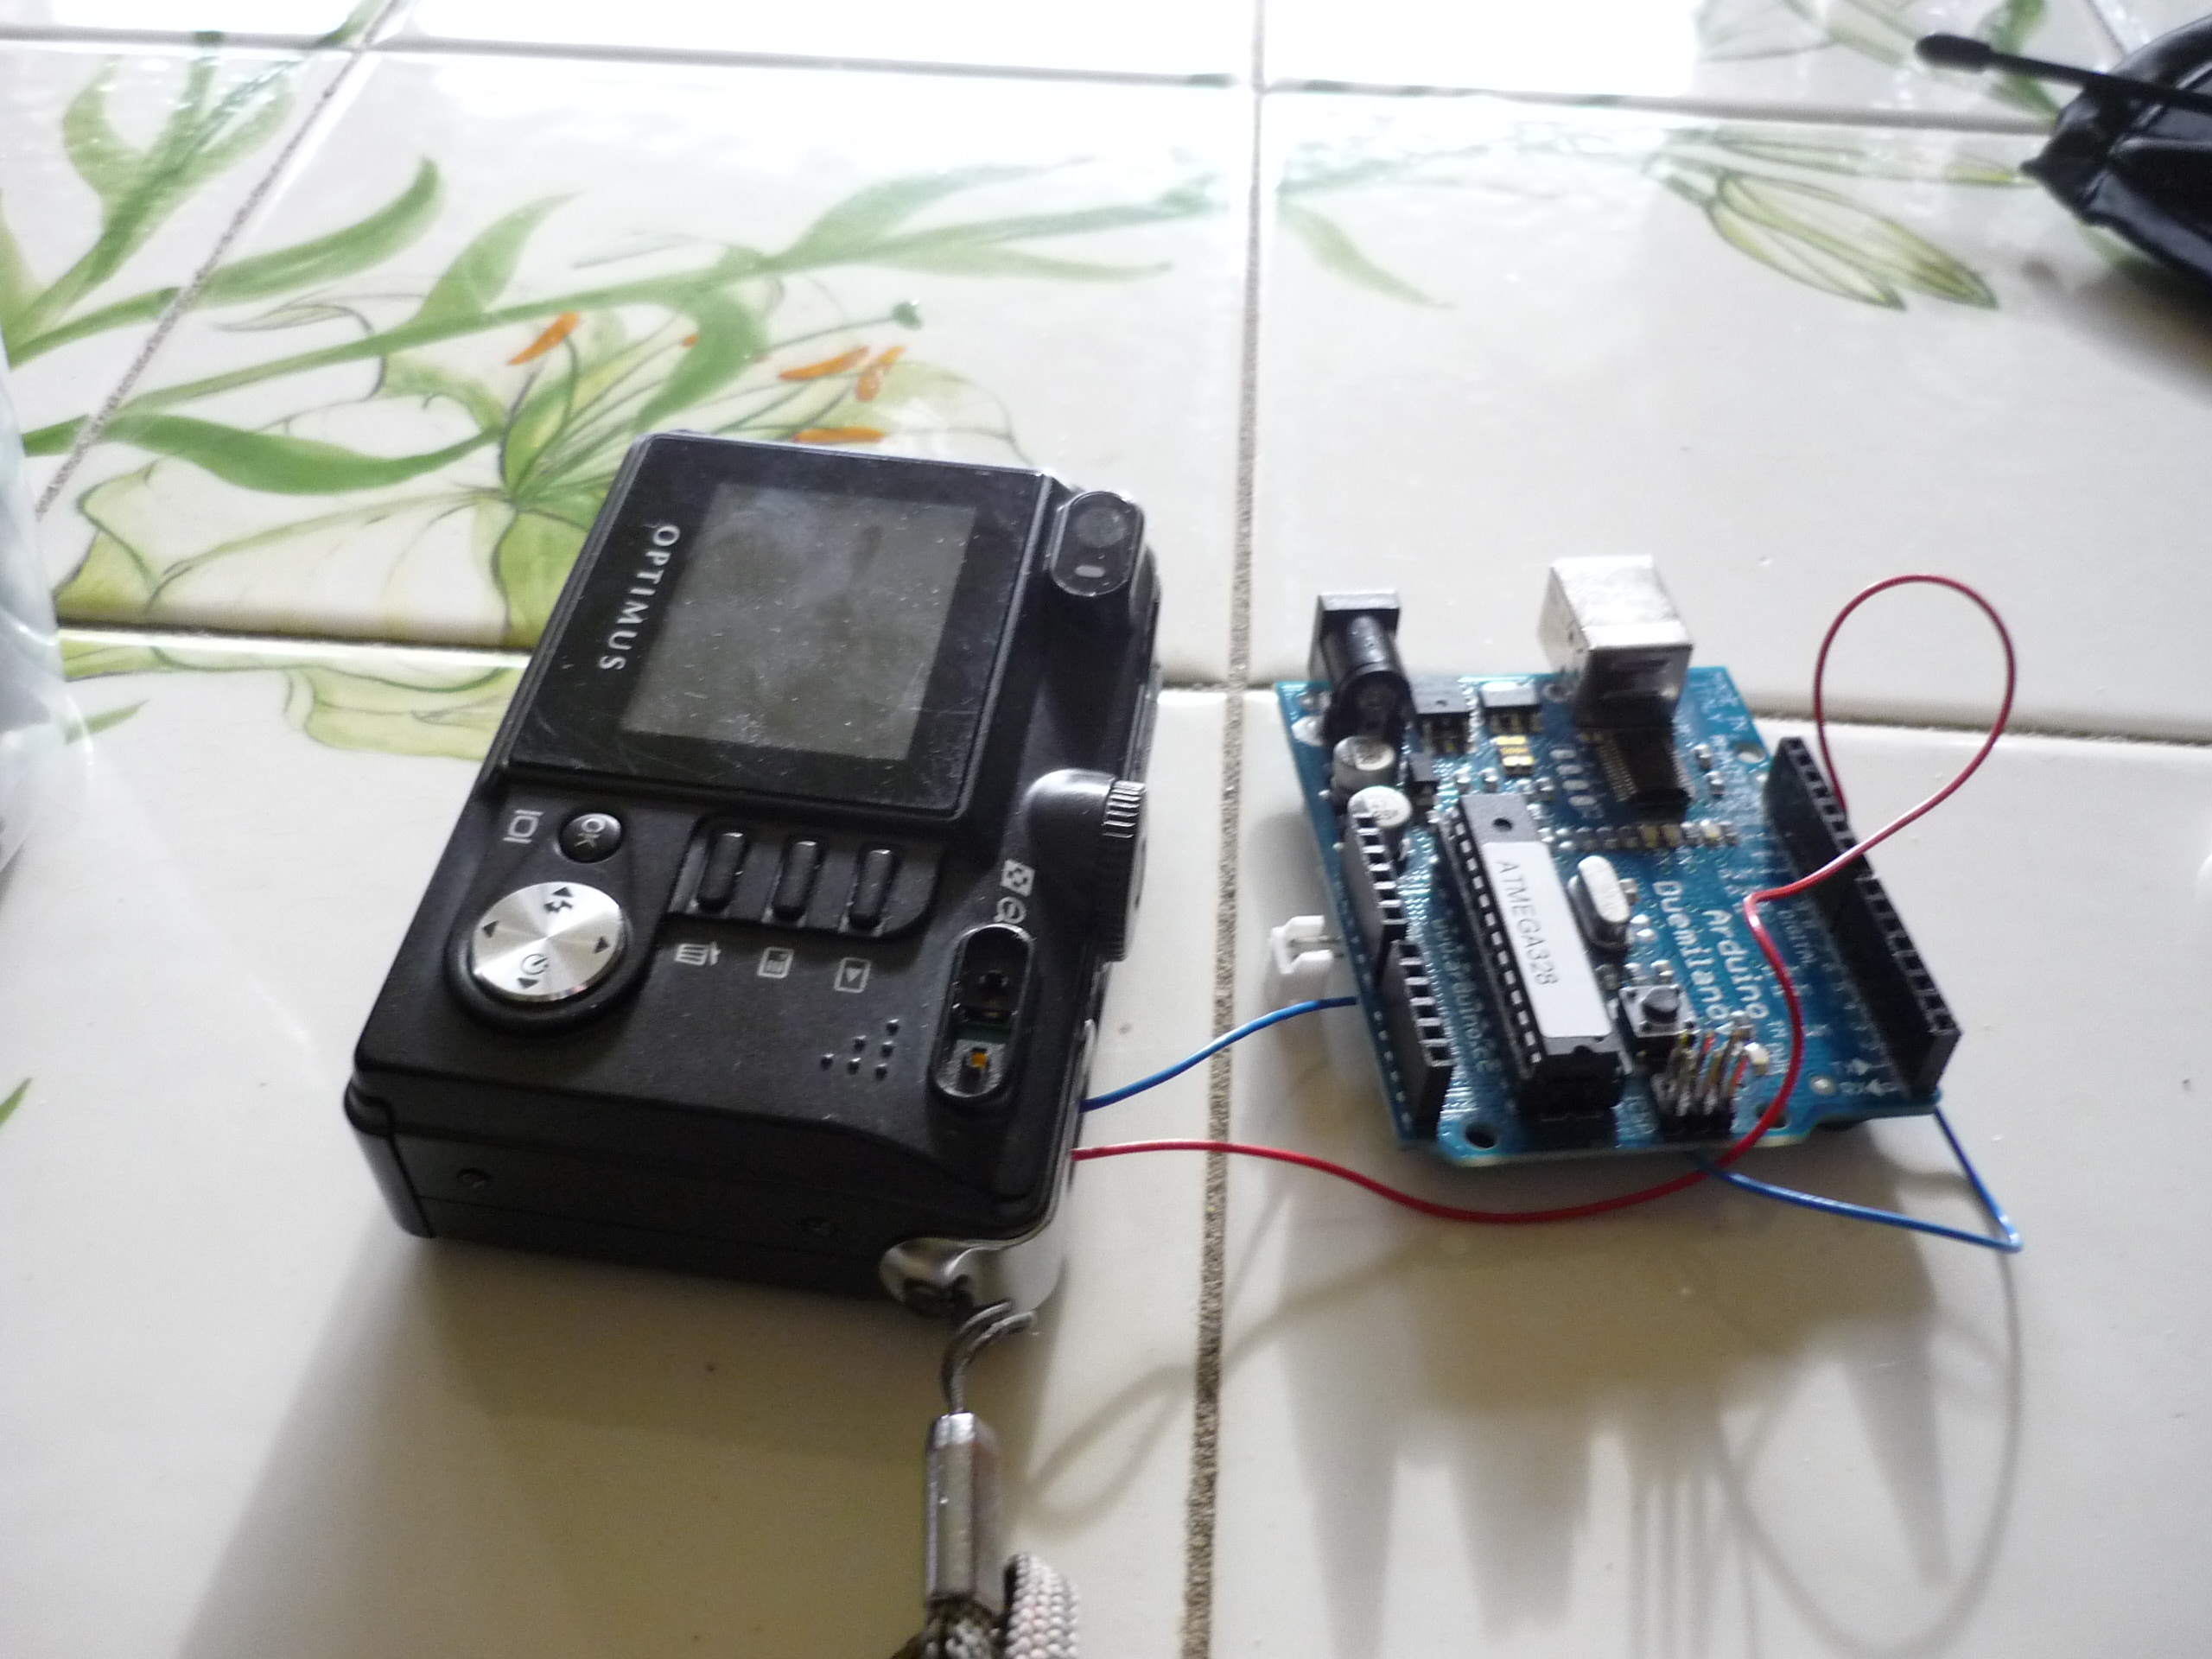
Microcontroller DEV board / 555
Timer
|
An Arduino development board
was used, found in an unknown state labeled 'bad'
For
the purposes of this test flight we could have used a 555 timer and a
pile of passives, however this was far more convenient |
|
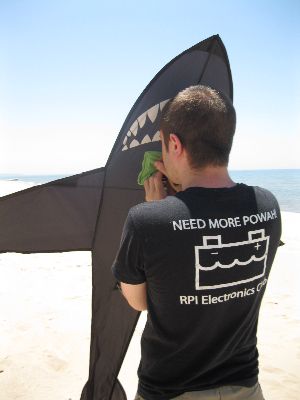
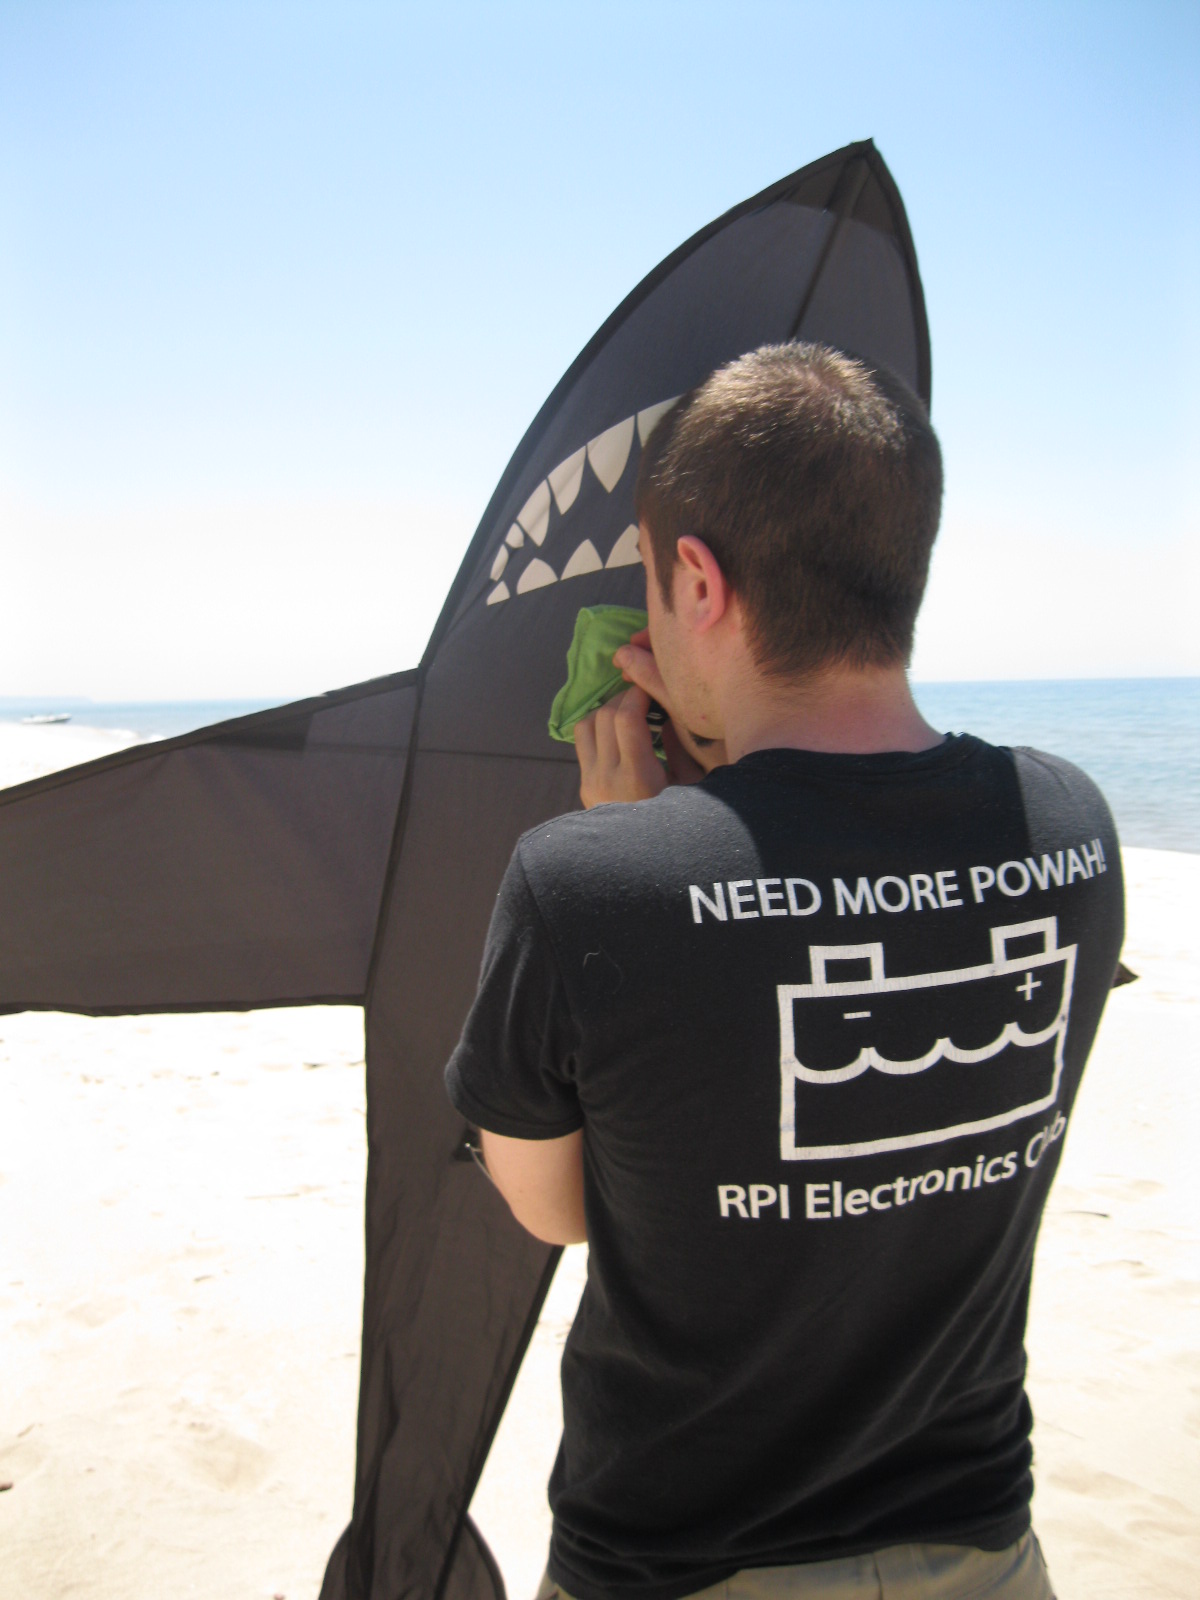
| KITE
[AMAZON] |
A
Large kite was chosen for the test flight, to lift the camera payload.
There are a number of varieties available, generally a local corner
store has them hidden somewhere. |
|
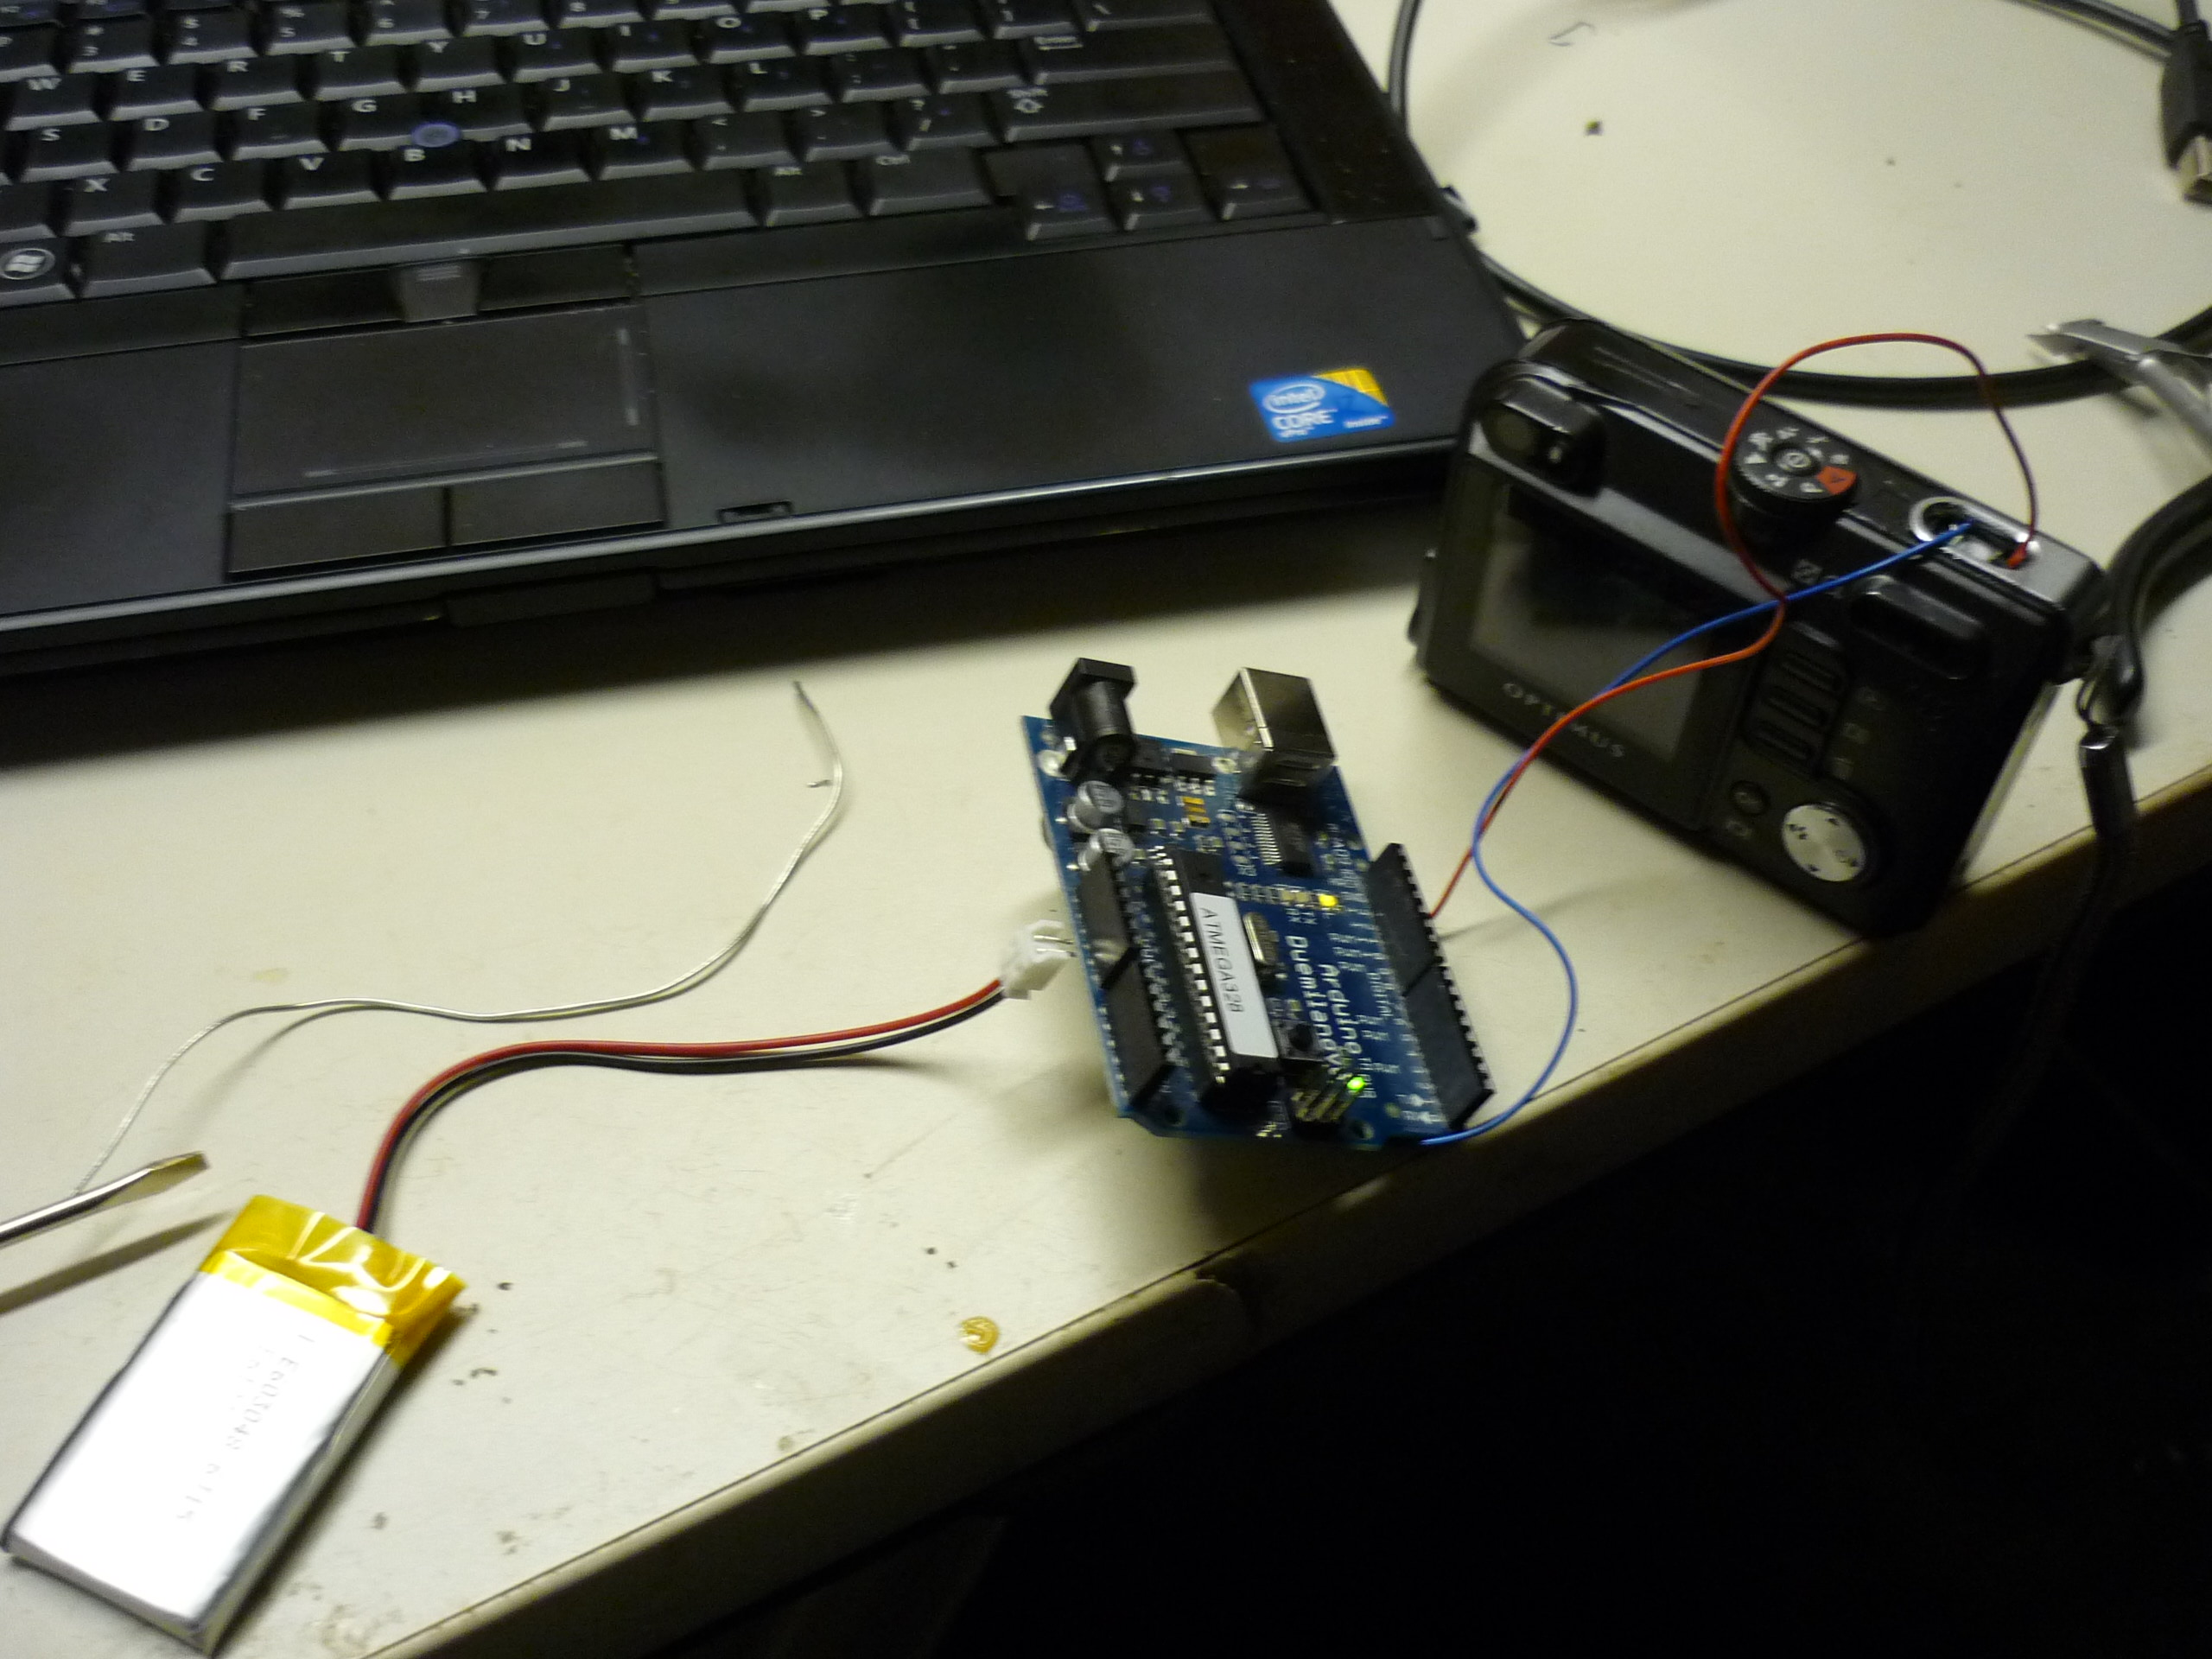
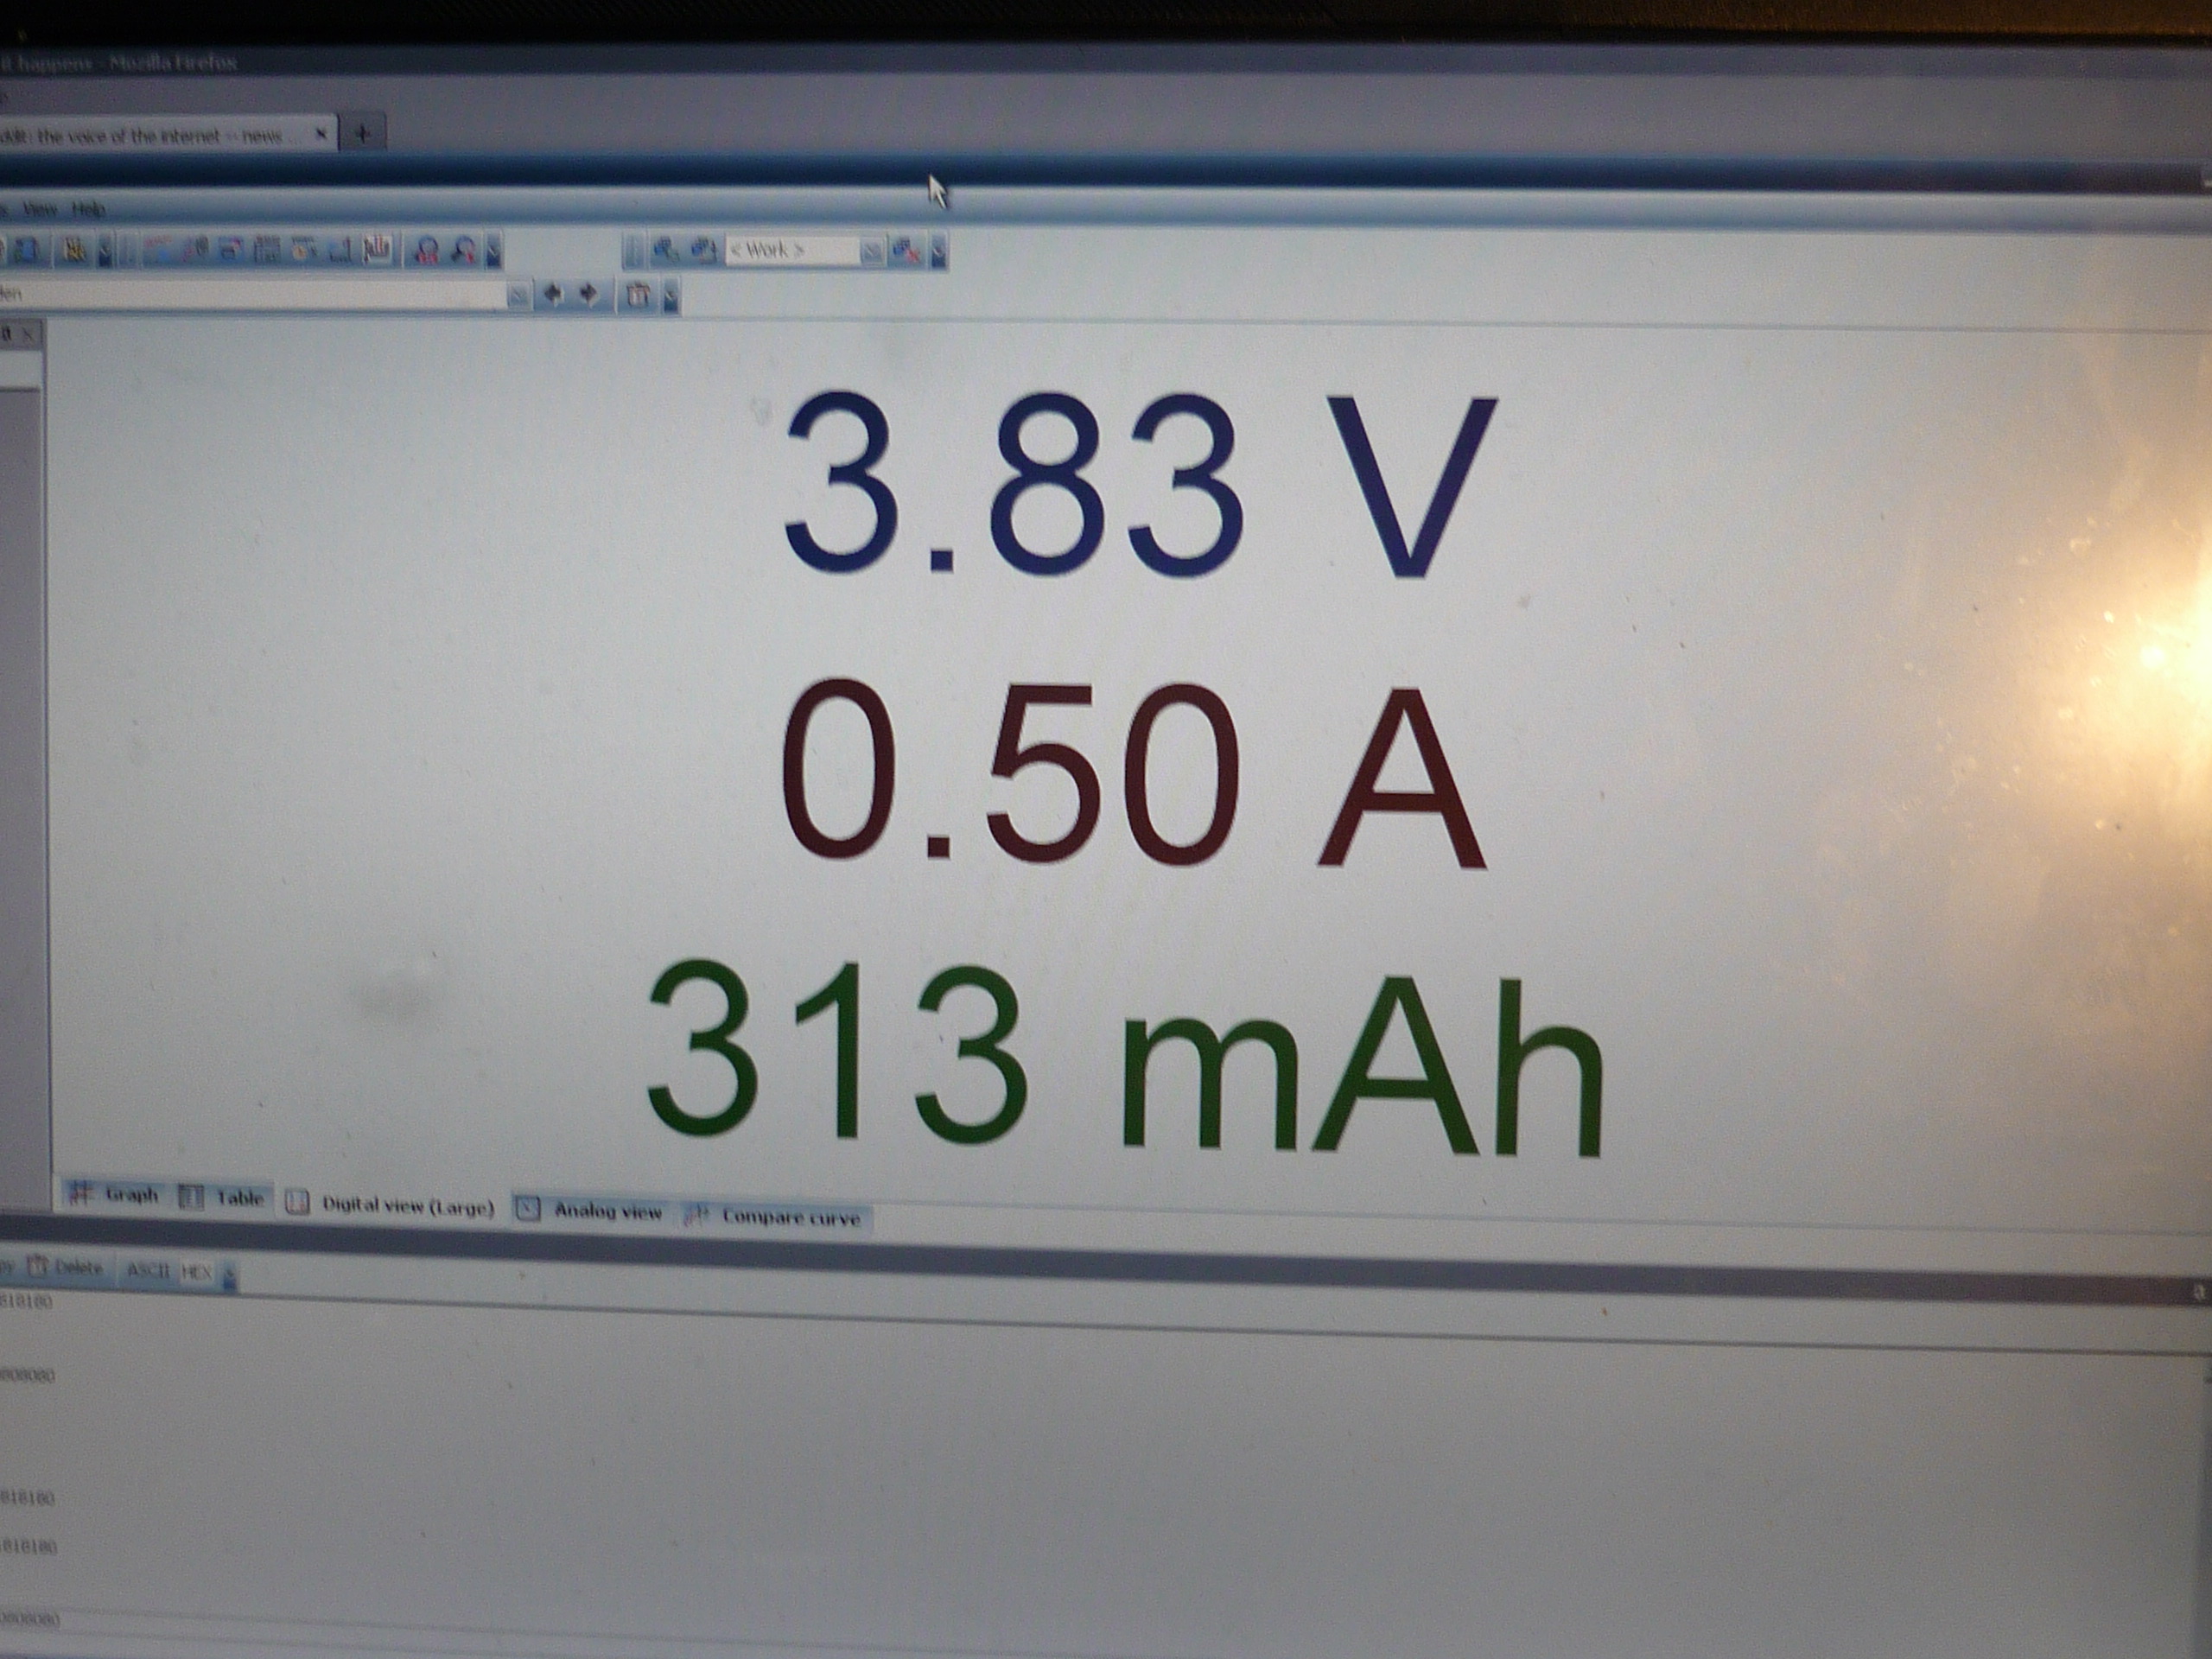
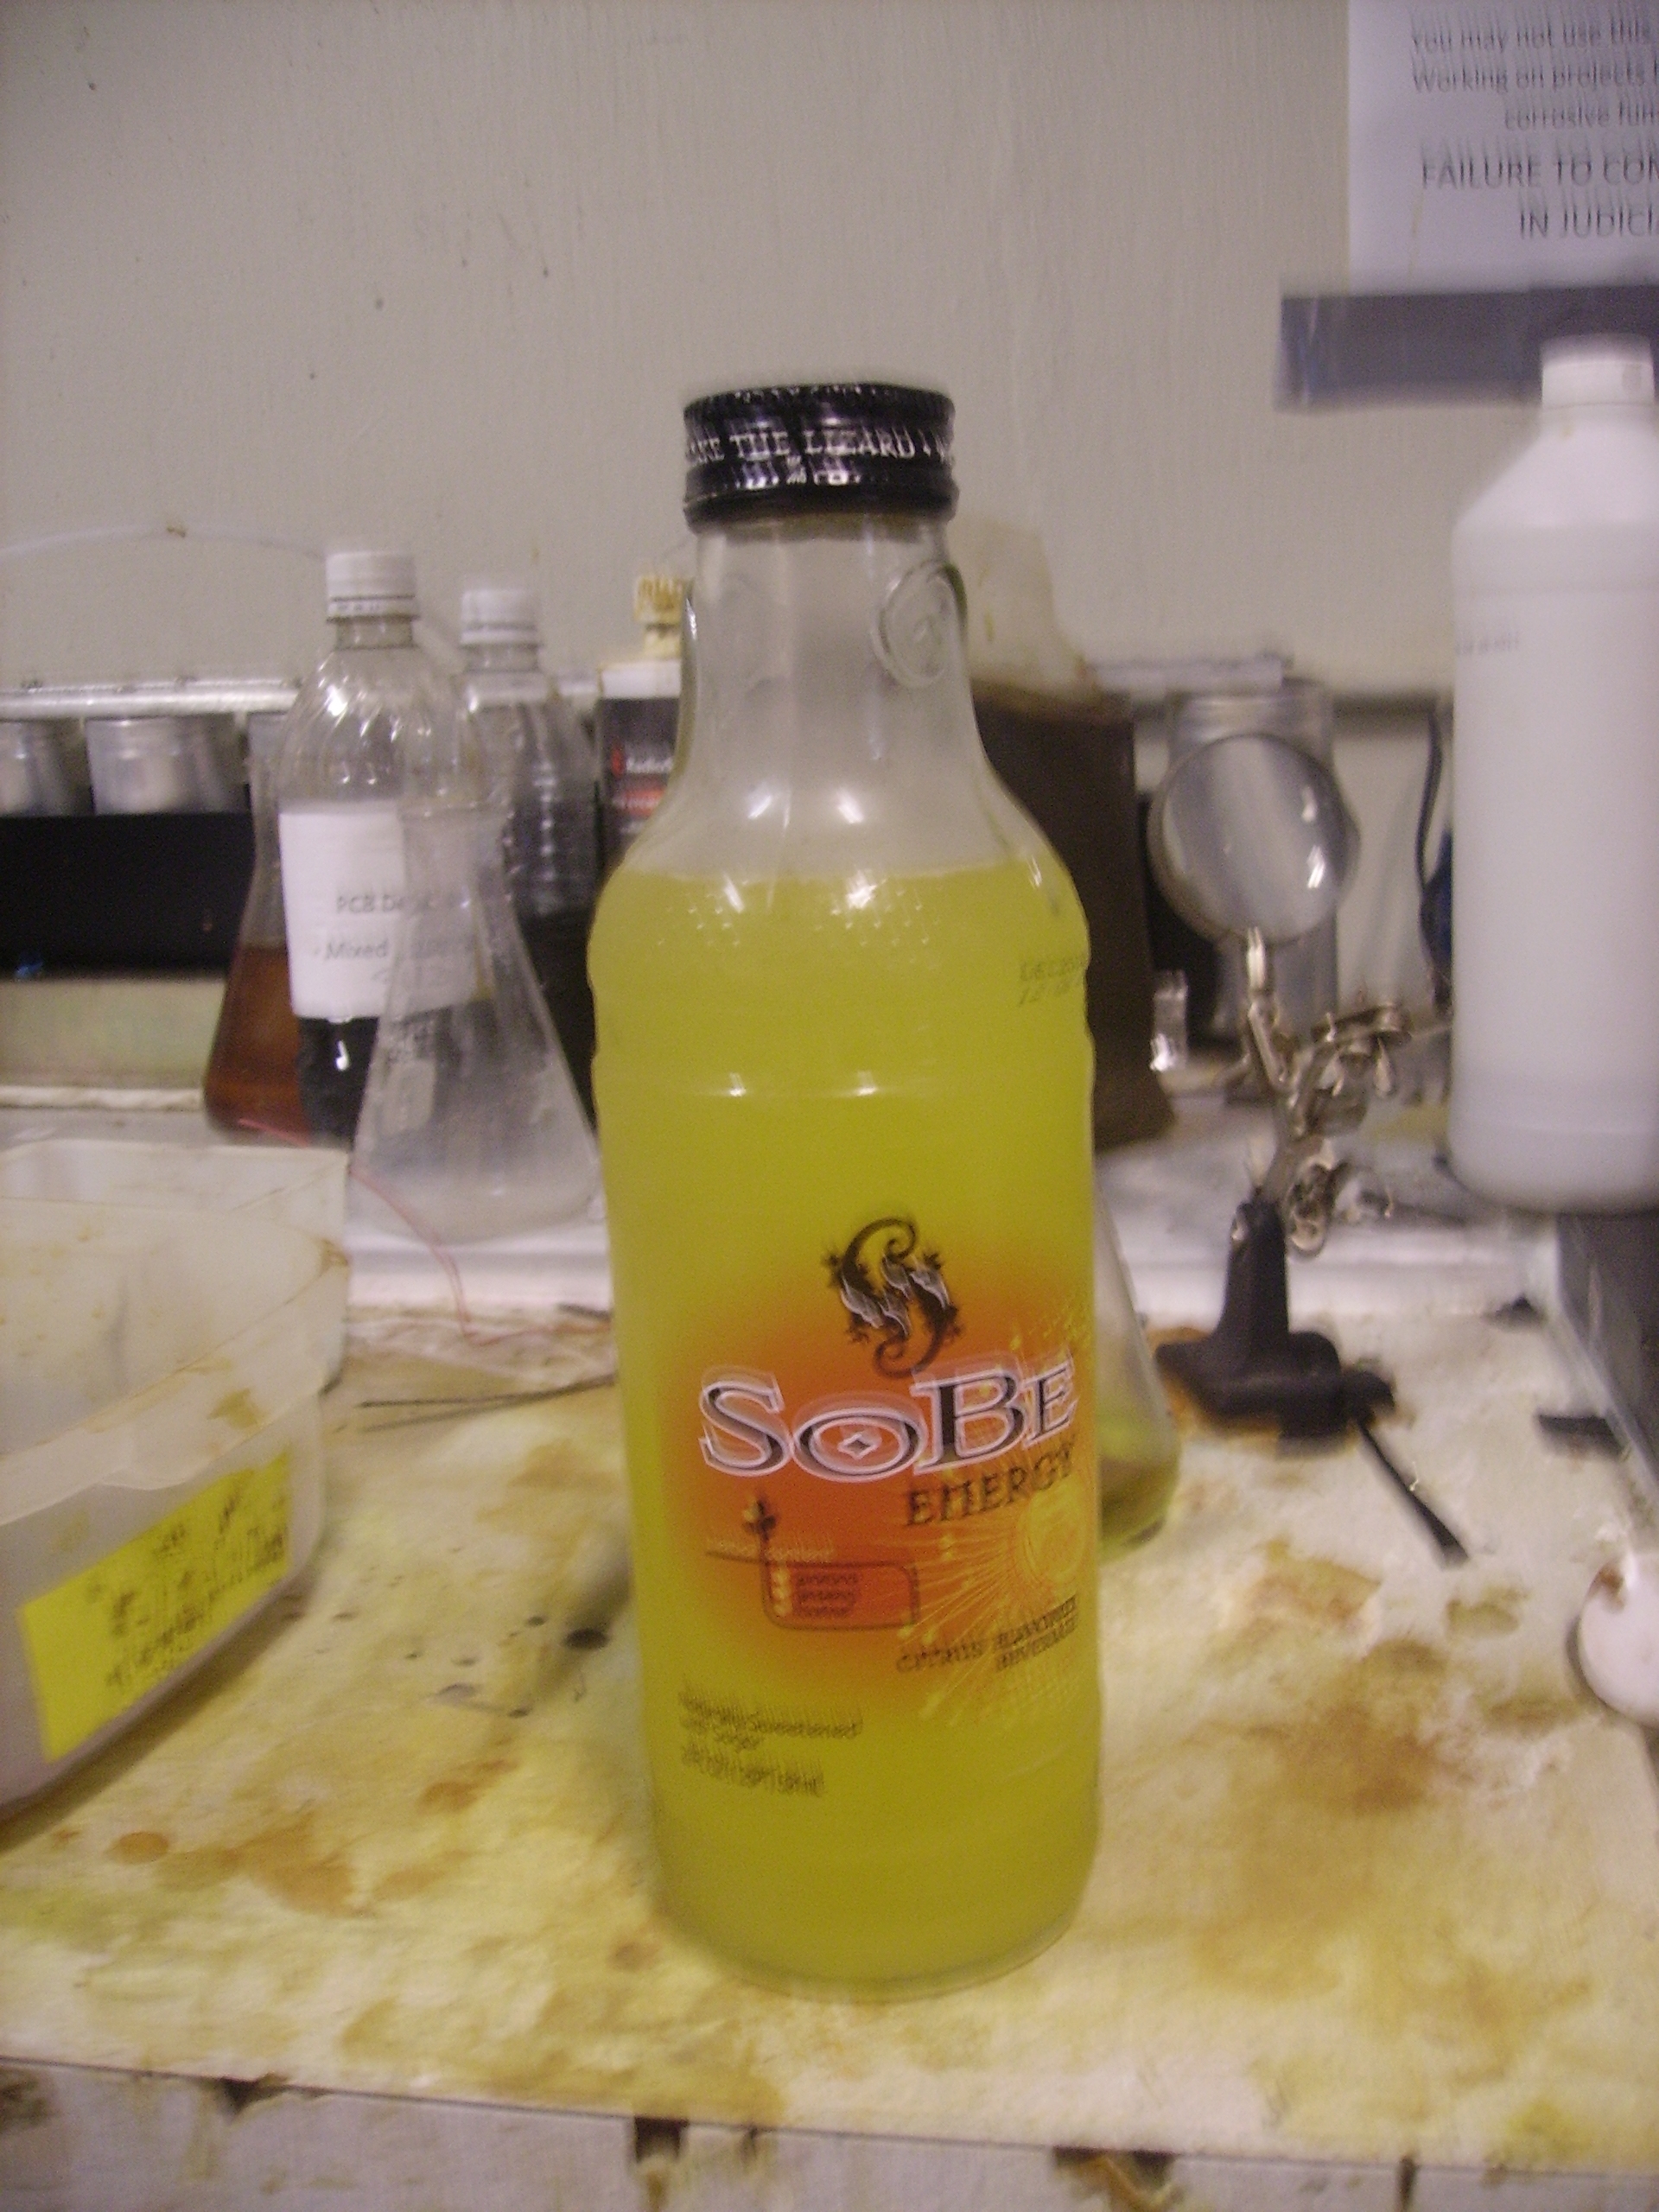
| Battery
Pack (preferably lipo) |
A
lightweight cell-phone lipo bag cell was used to power the imaging
electronics. The lipo was fed directly to the 5v rail. The atmega168
has an operating range from 2.8 -> 5.5v, so it was well within
the
operating voltage of the IC
|
 |
| How
to: |
Image/
Media |
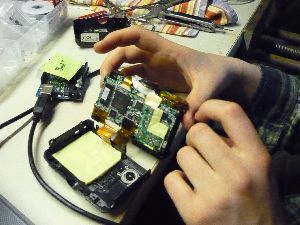
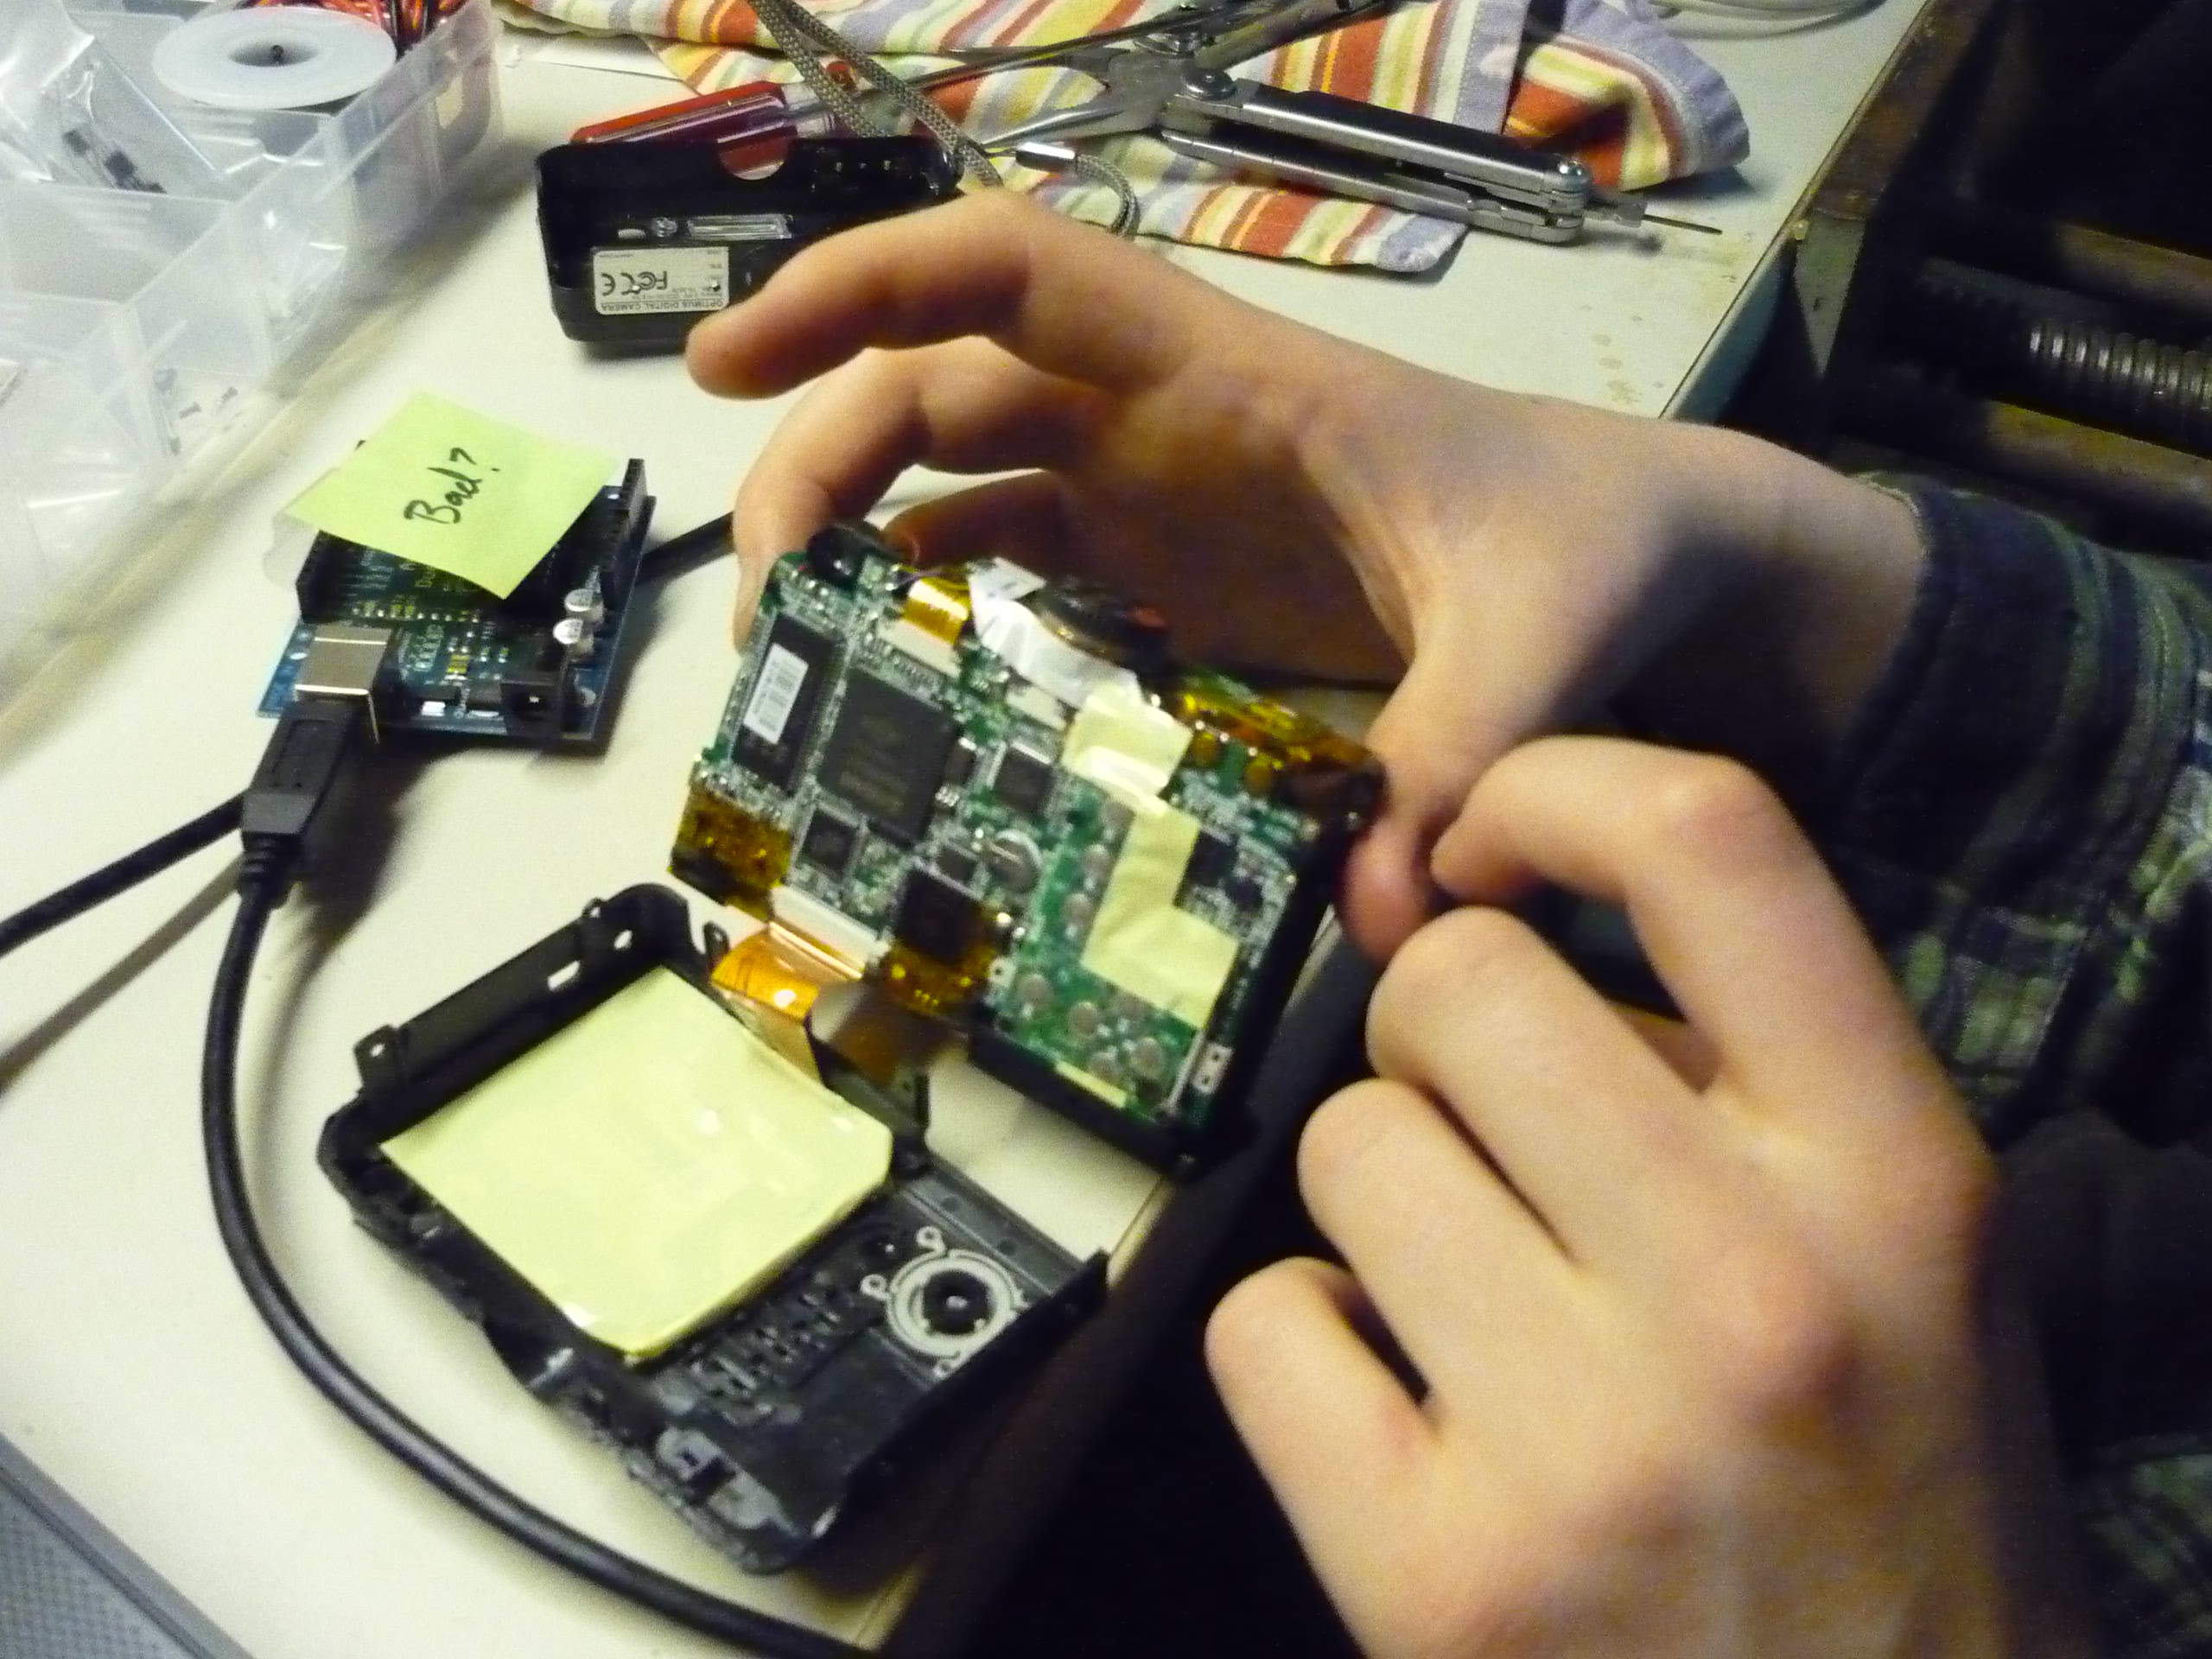
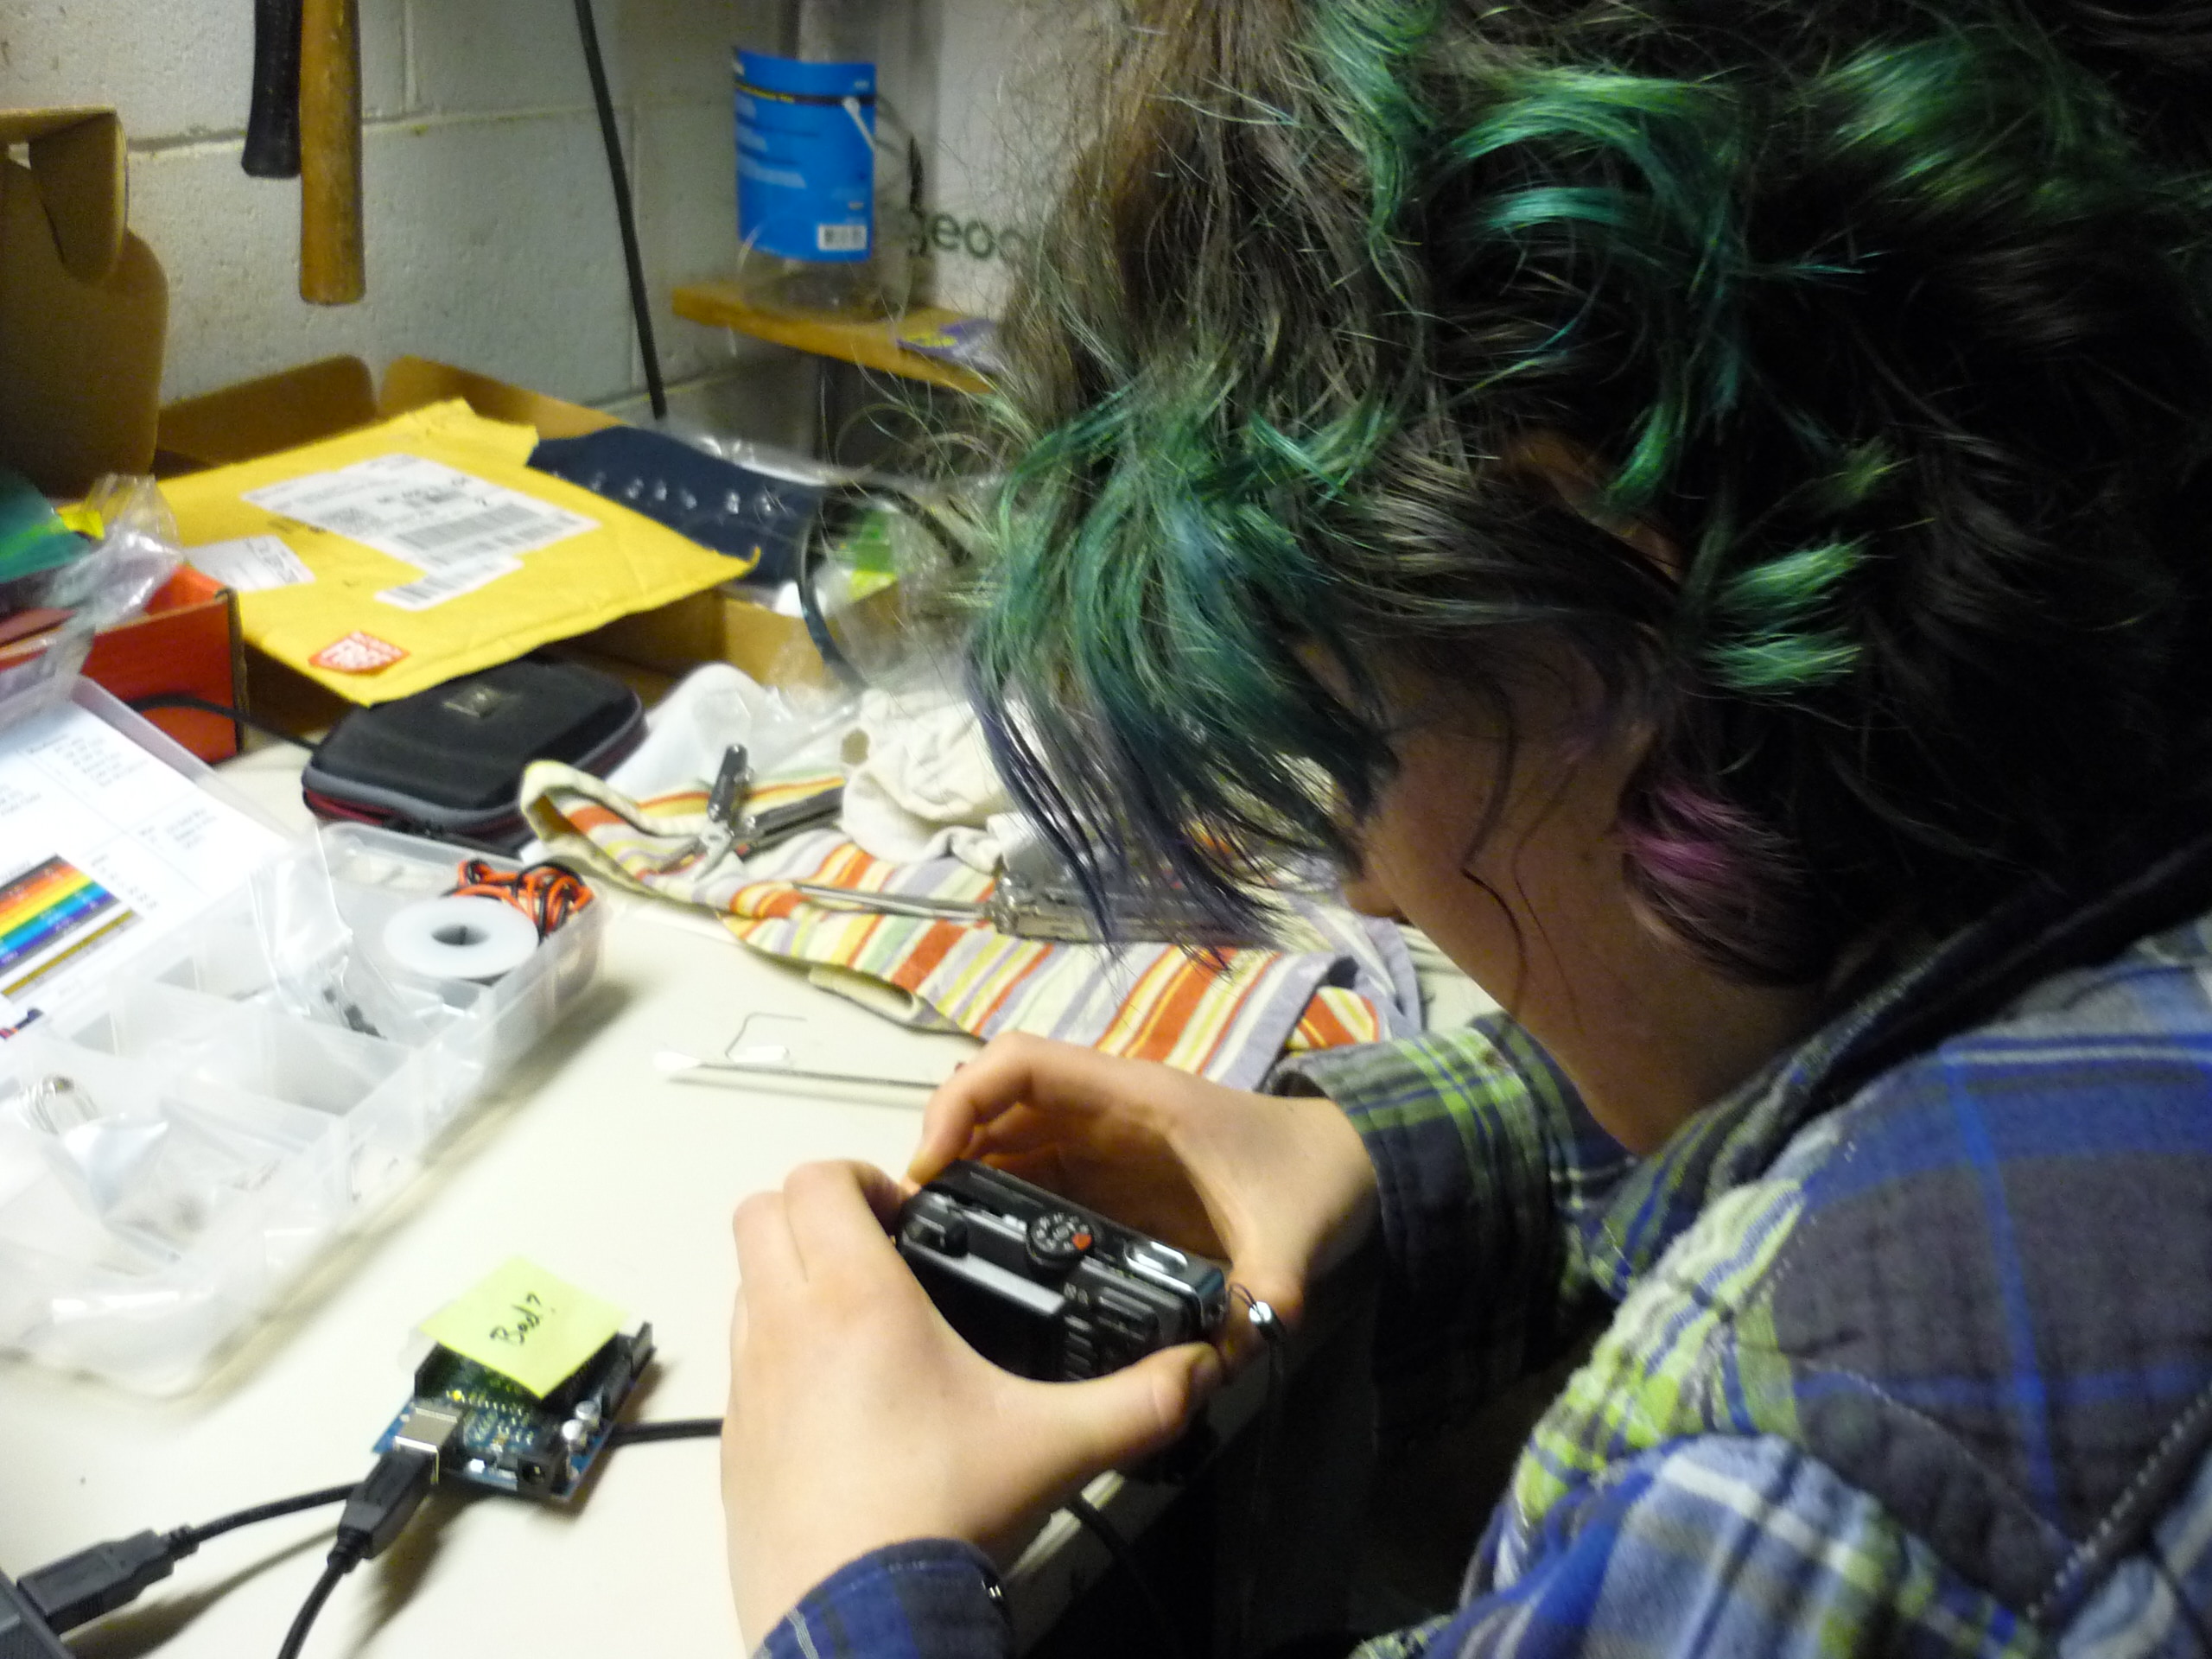
Open it
up
The
camera in this project did not have an external shutter trigger, so a
more 'direct' approach was used. After removing the batteries, the
external housing was
carefully opened, and the screws / fasteners were placed on a tray to
prevent loosing them.
|
|
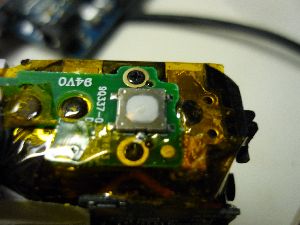
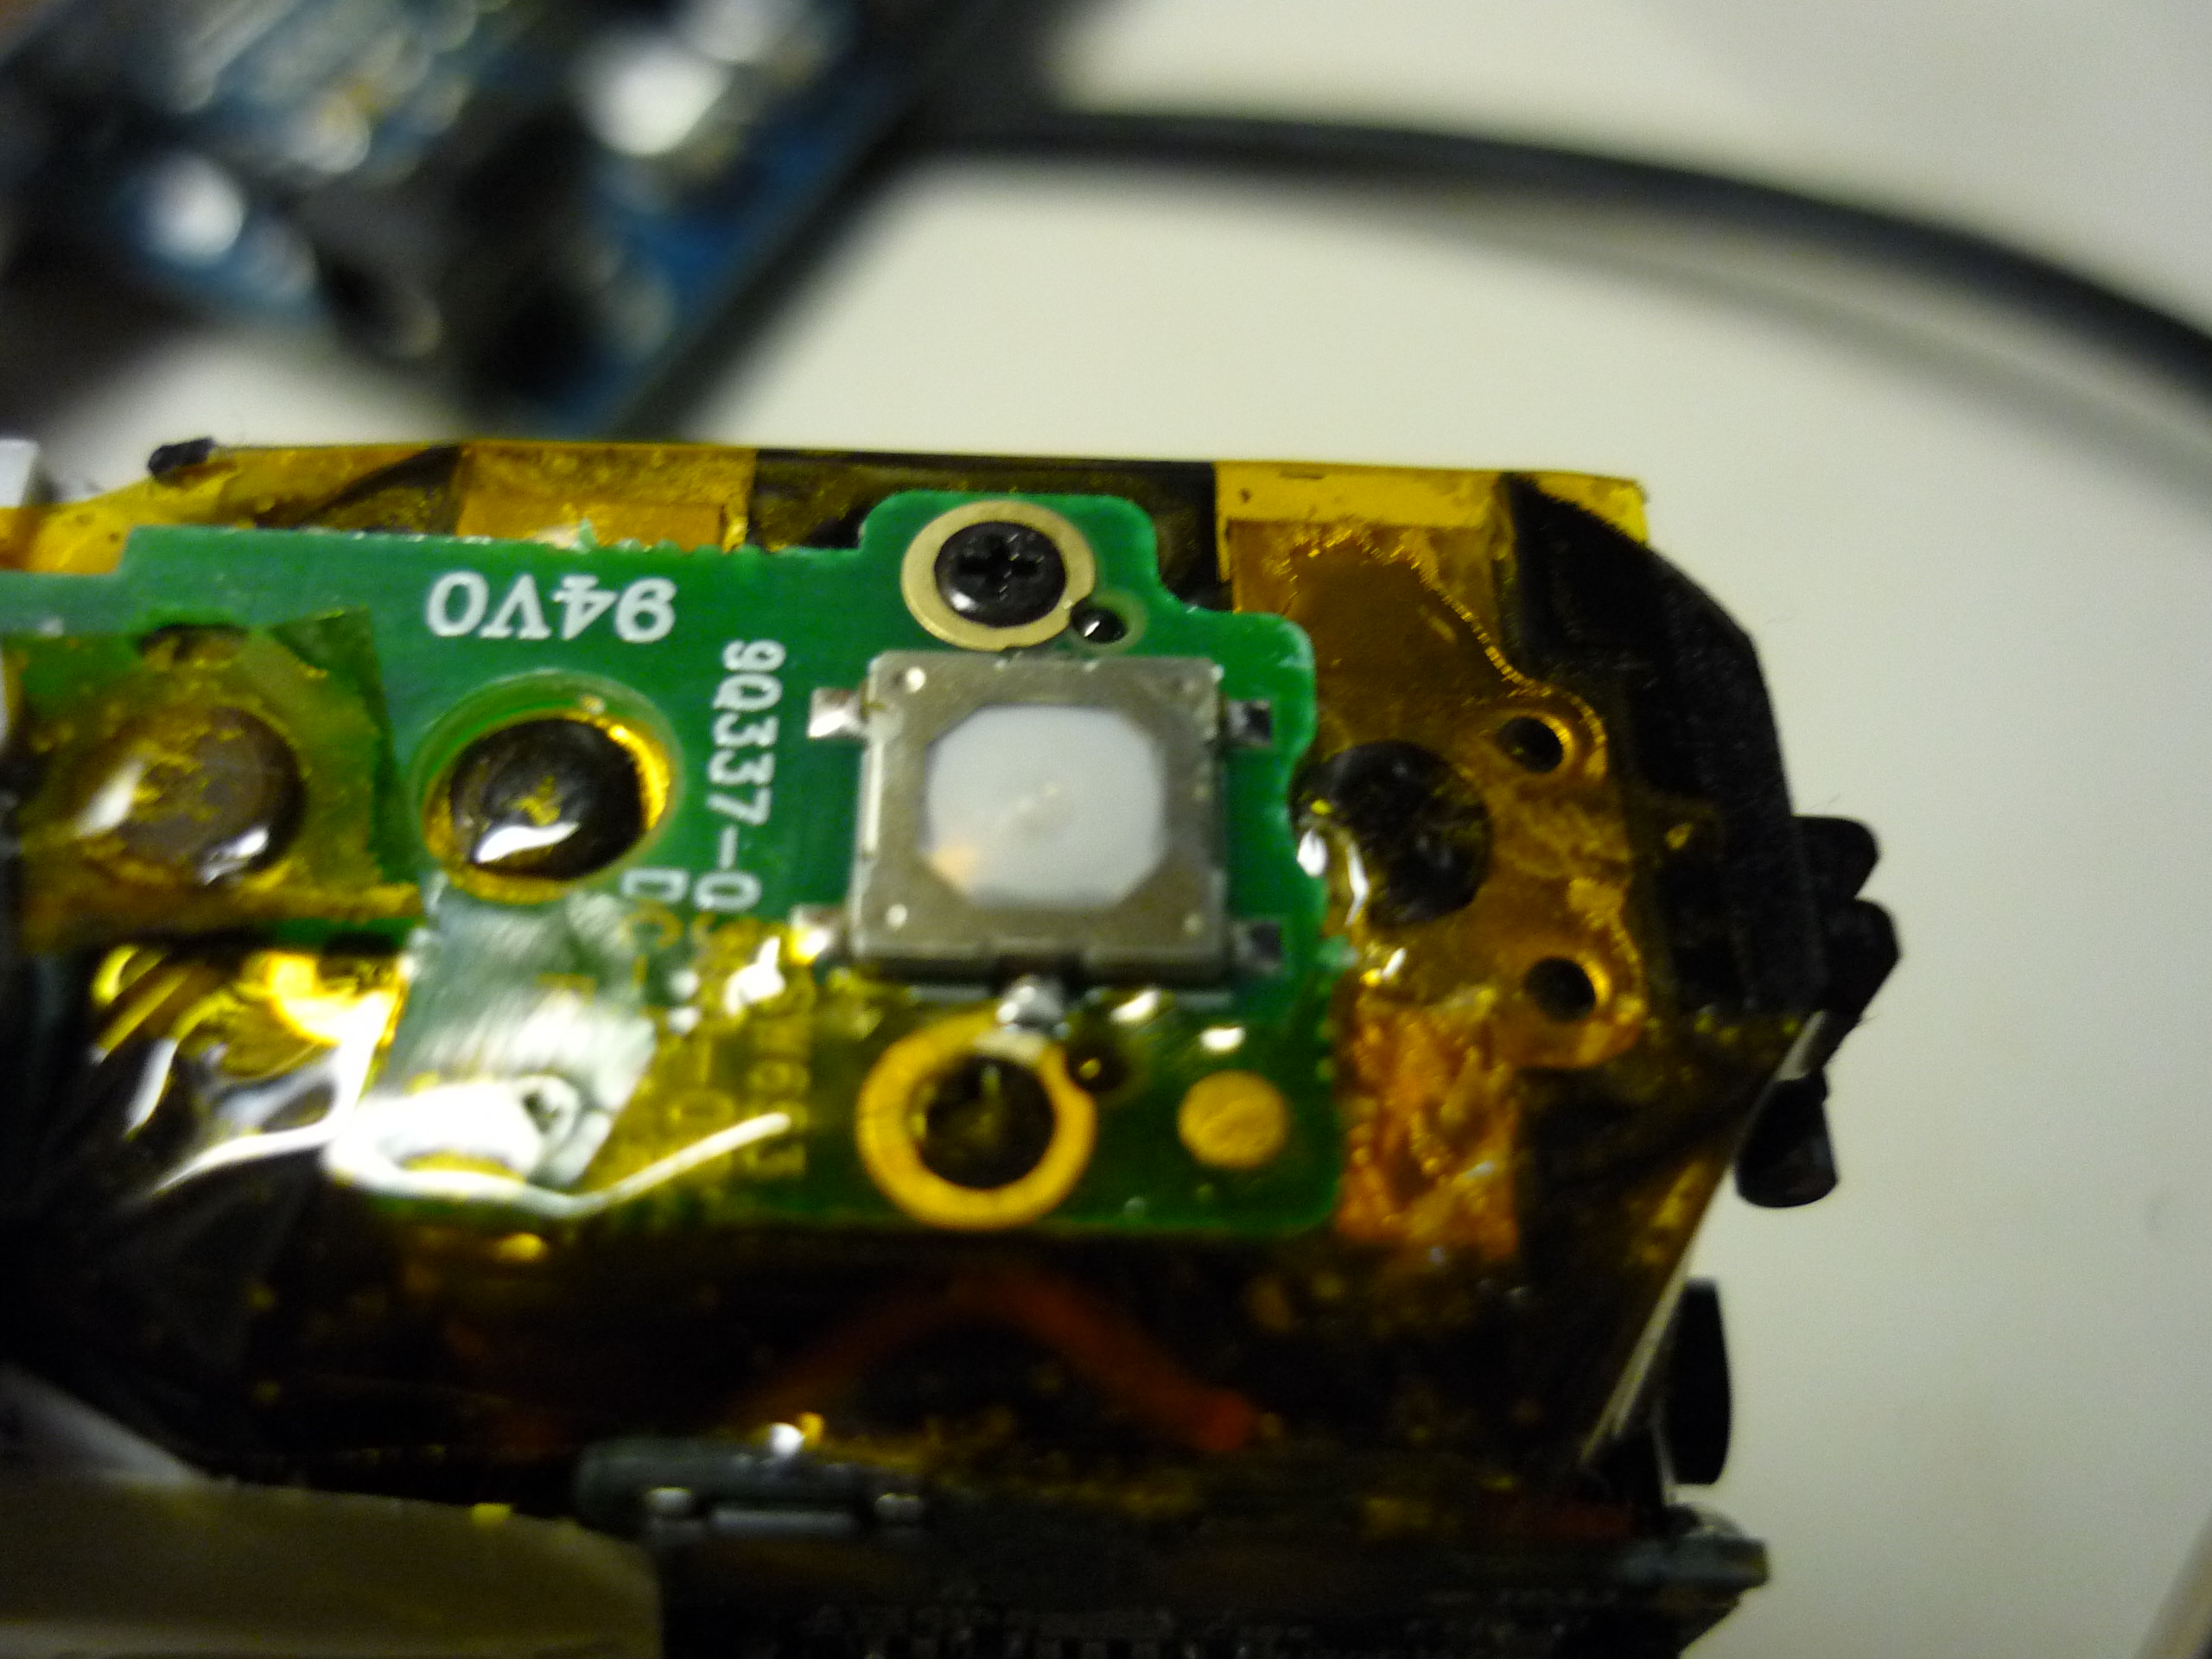
Examine
the shutter button
The camera was
torn down to
reveal the membrane pushbutton to enable the shutter. There are 4
contact points for this button and they connect in 2 stages. The left 2
pads connect when the button is slightly pressed, to inform the camera
to begin focusing, and the right two pads connect when the button is
fully engaged, triggering the camera to take a picture. This was
determined by first using a multimeter to determine if a potential was
available across the pads, and then observing how that potential
changed as the button was pressed. You will look for a voltage delta
(~3v) changing to 0V when the button is pressed. Connect 2 wires to the
pads that present this characteristic |
 |
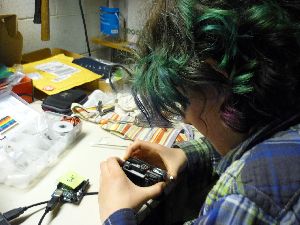
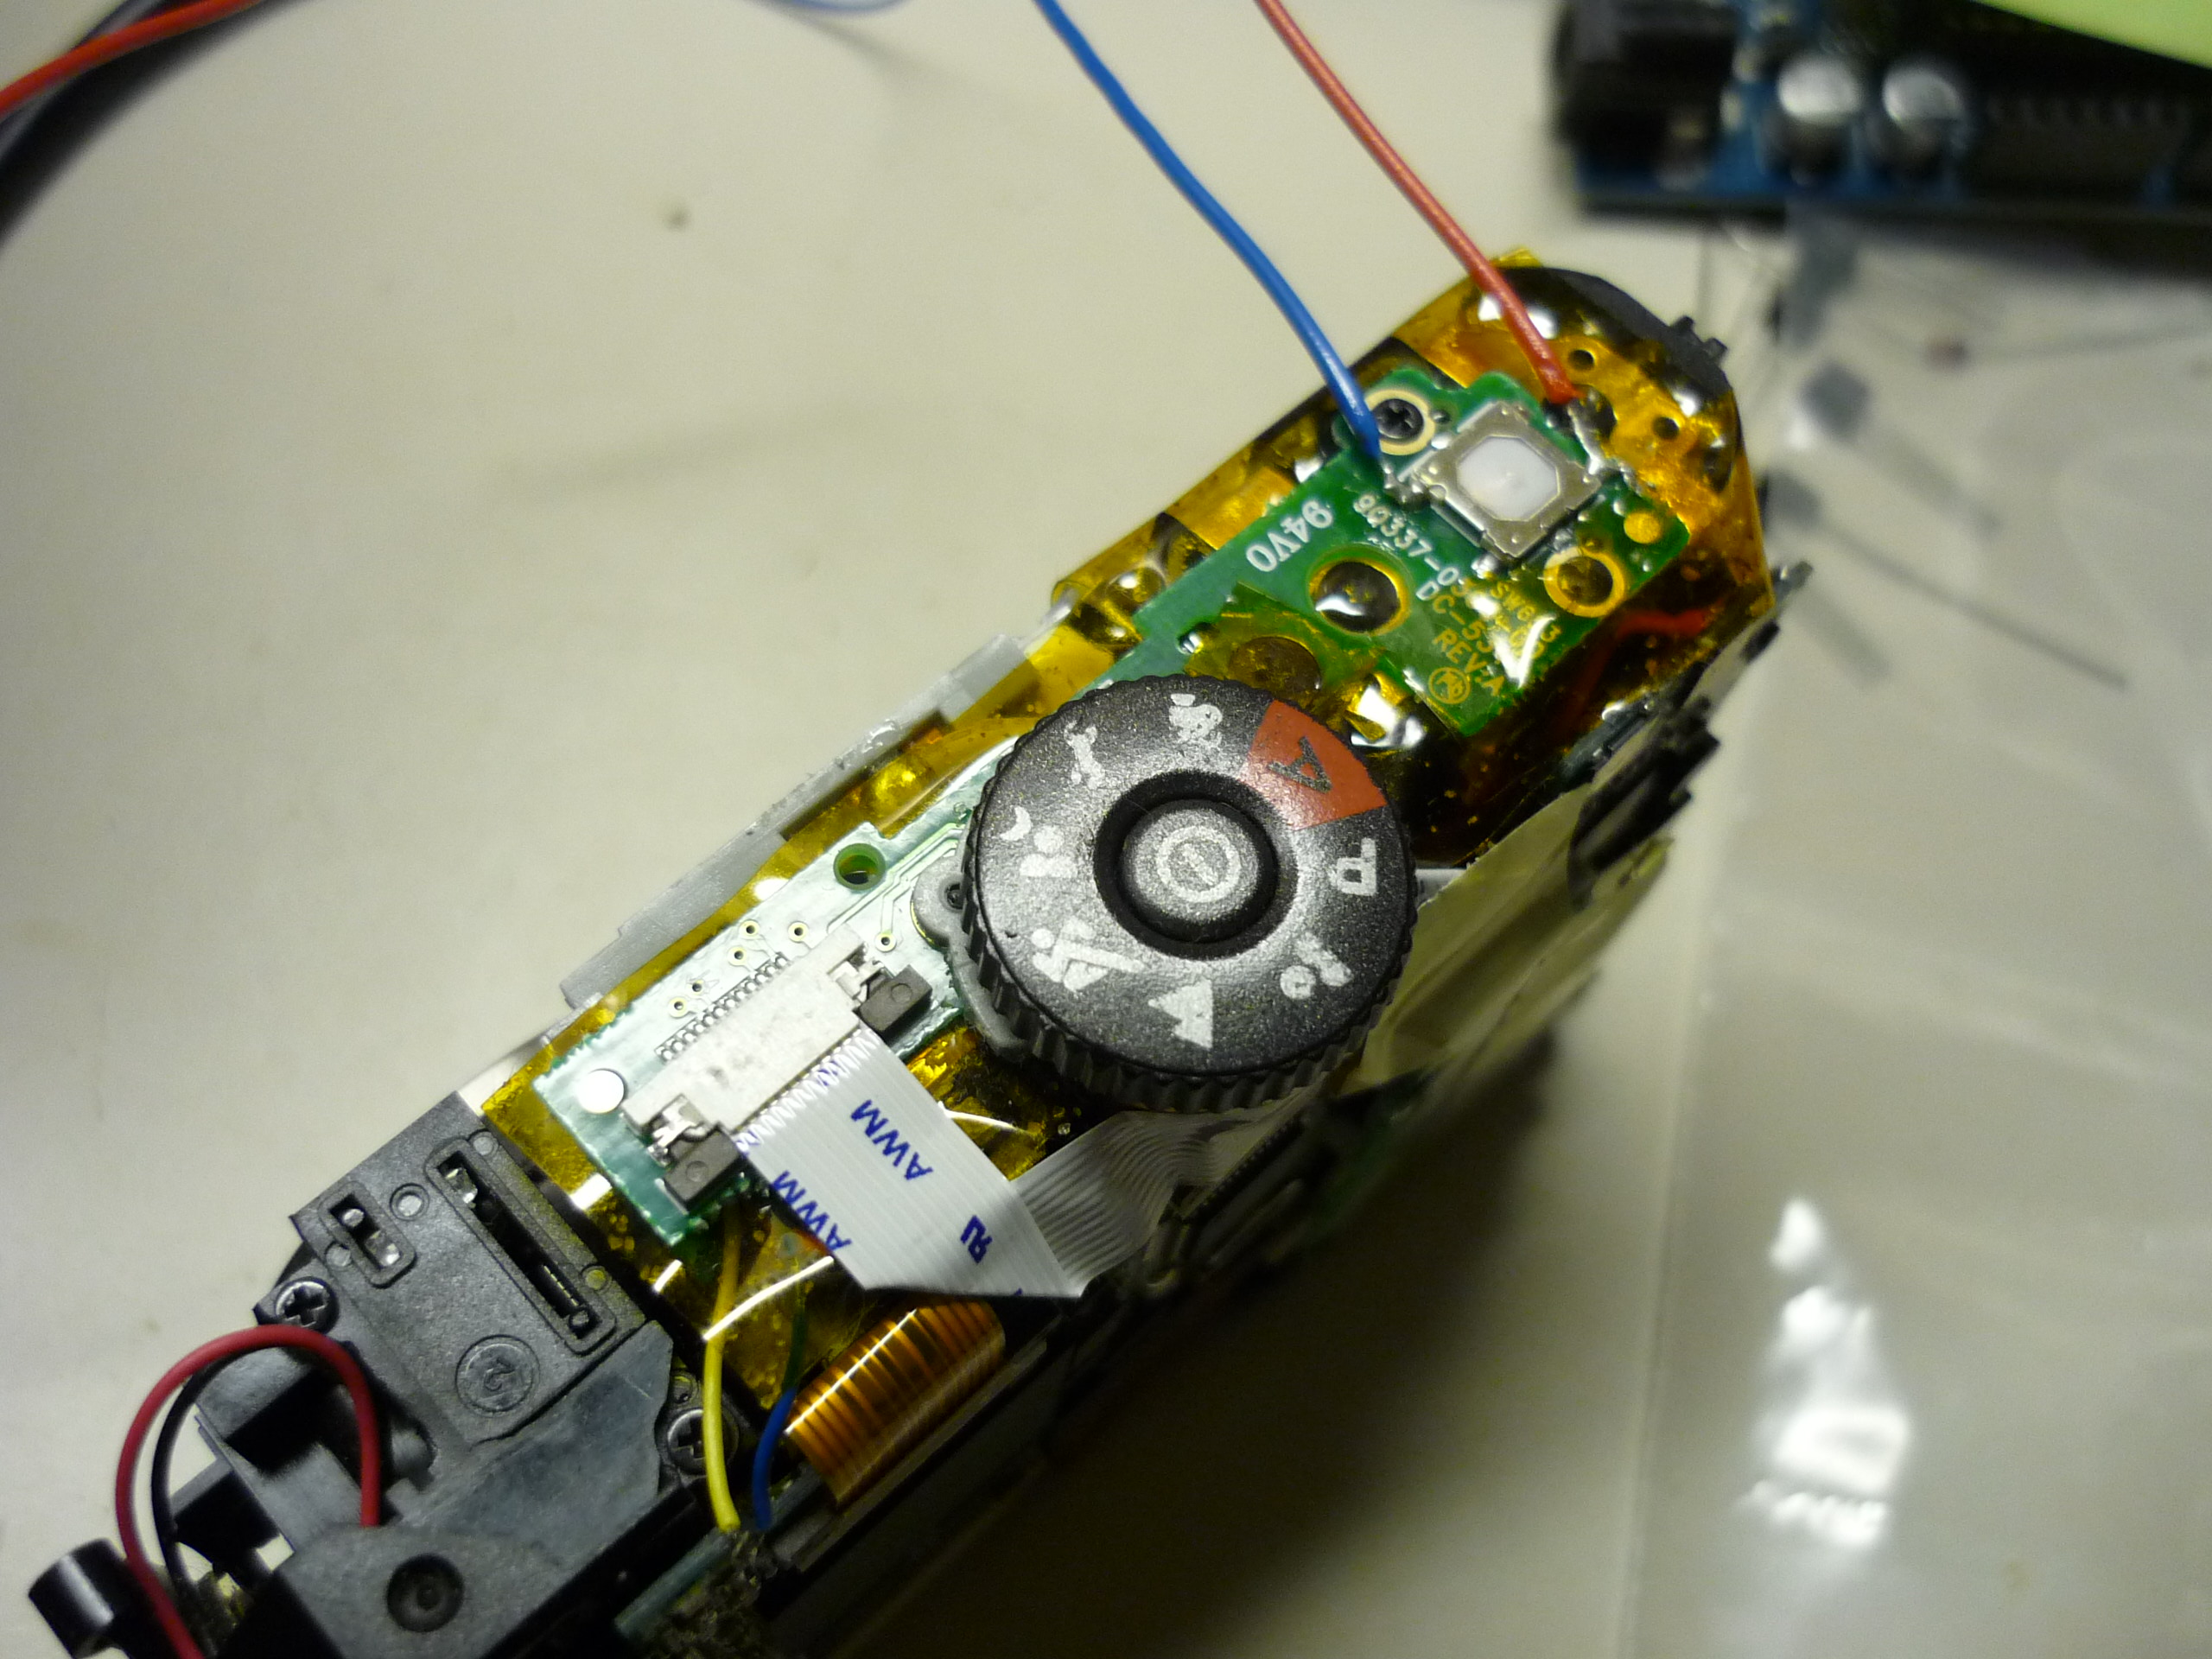
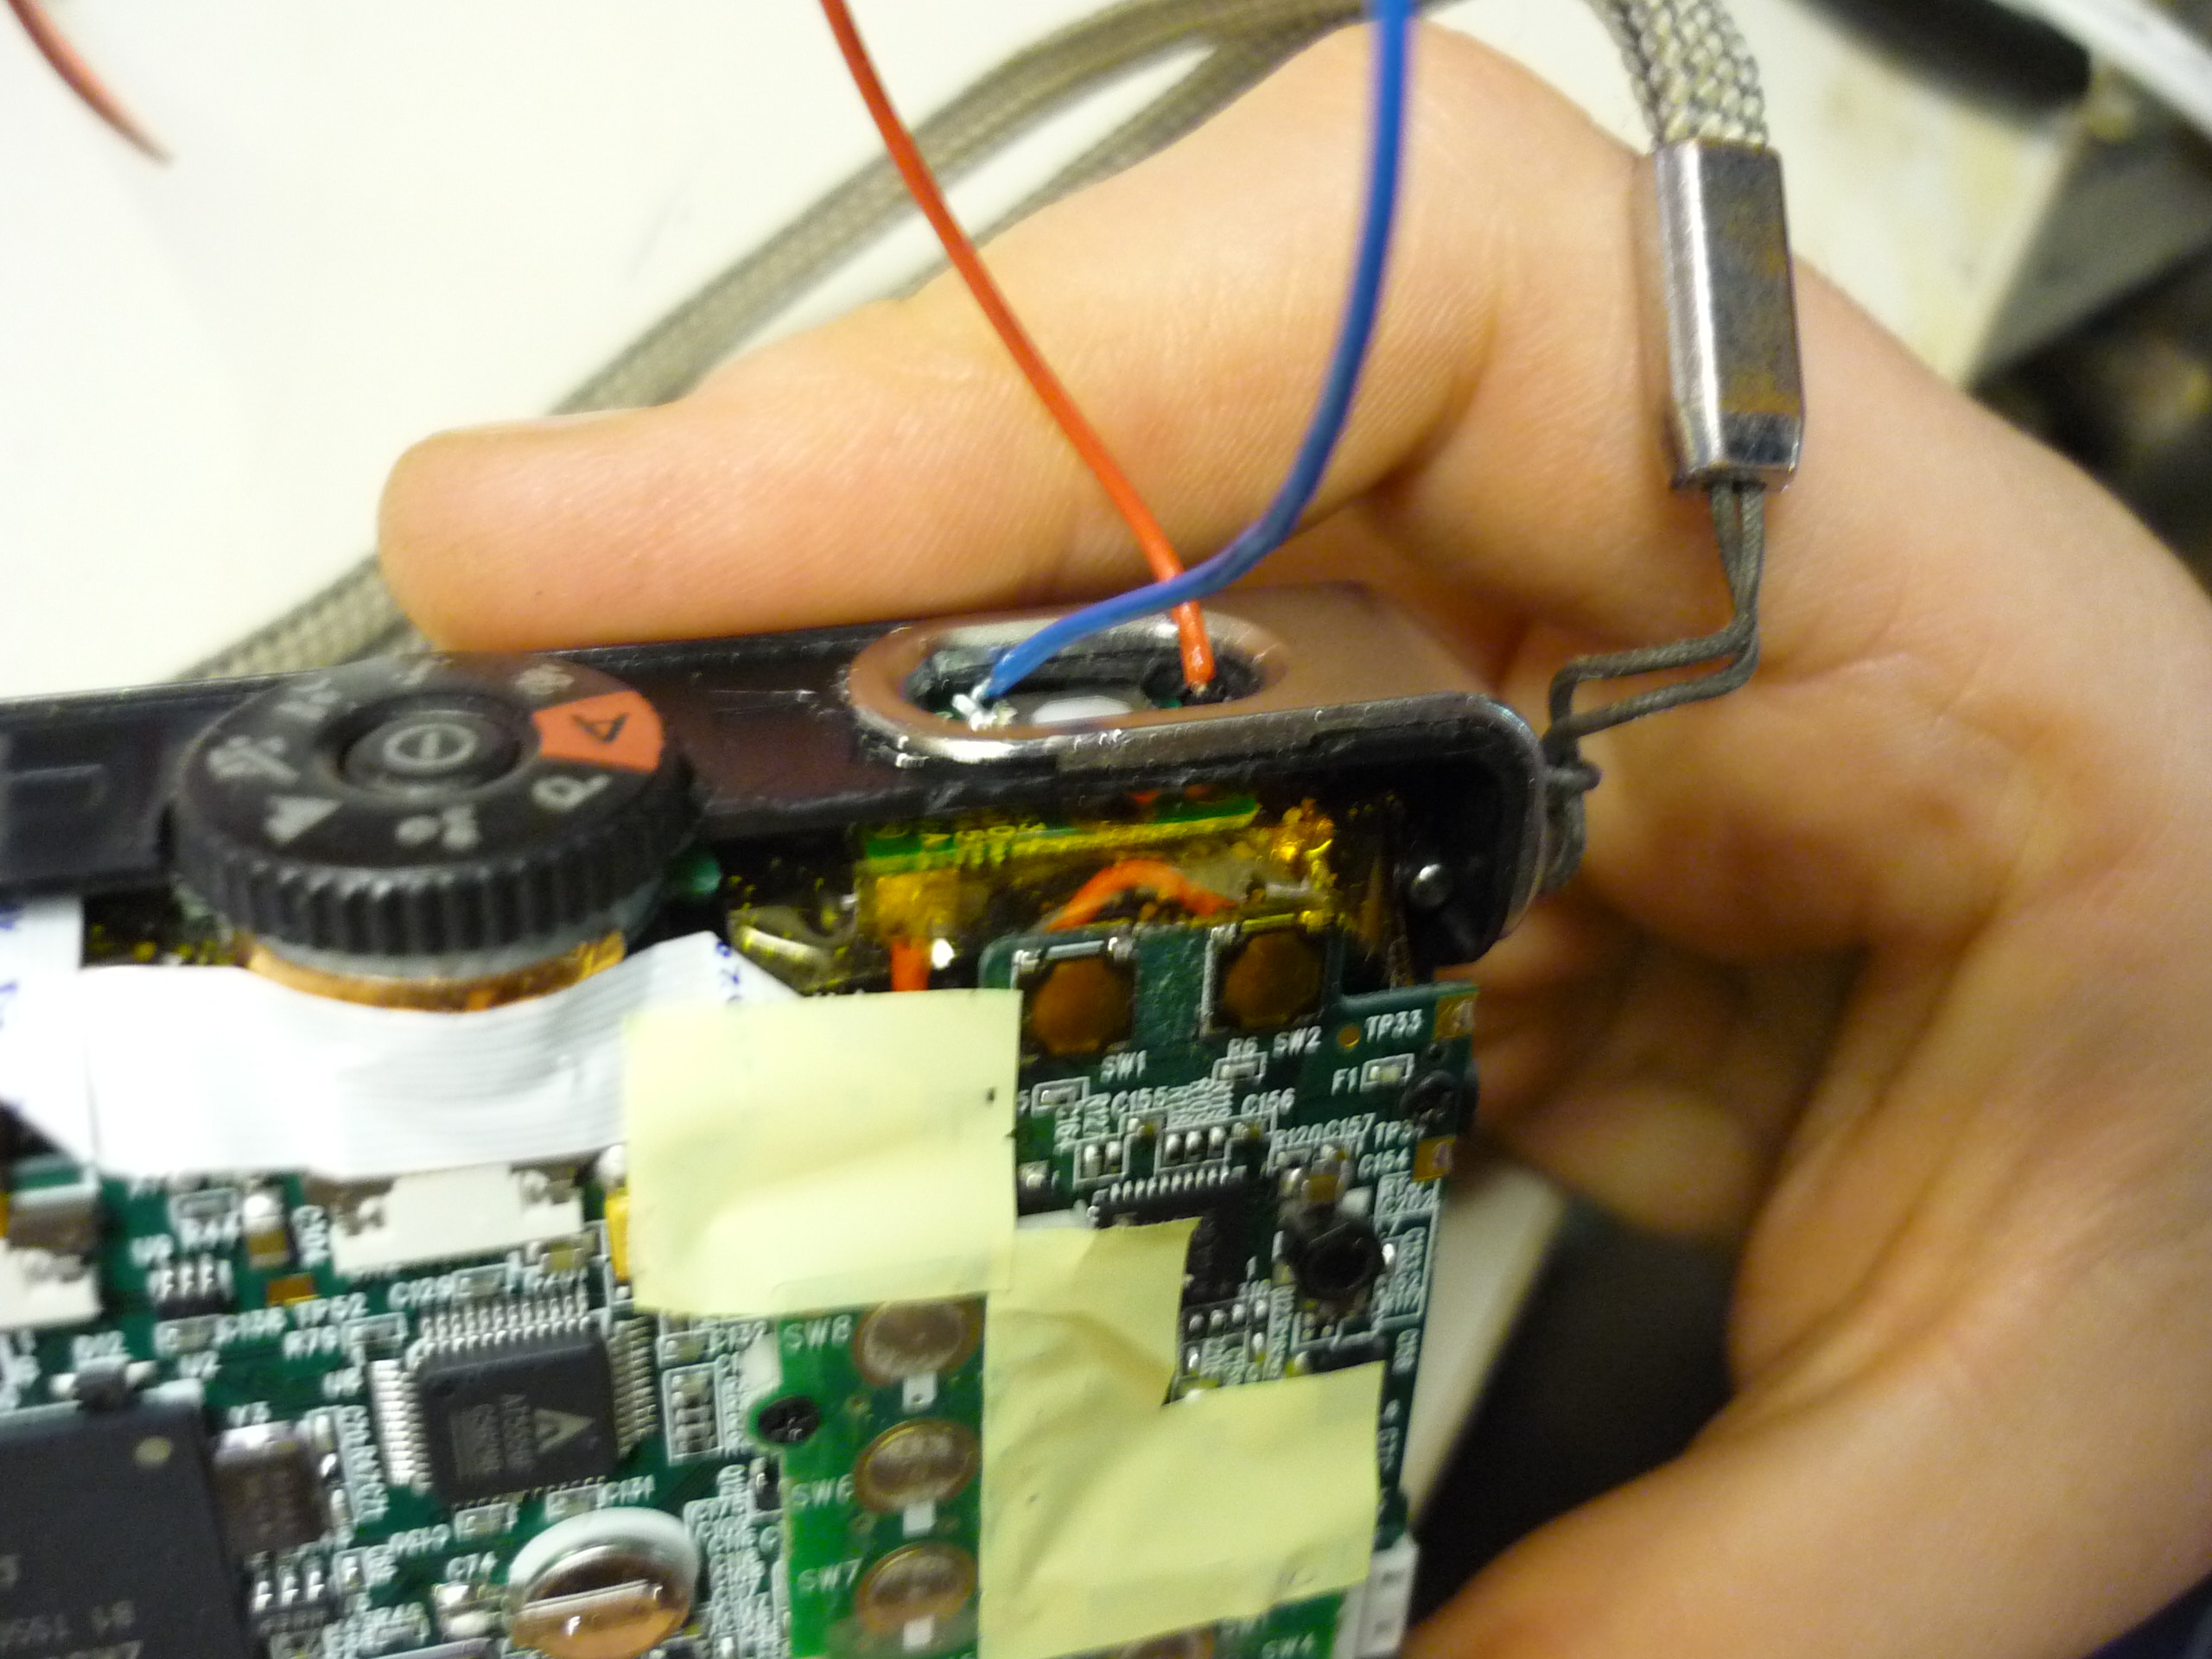
Carefully solder wires
to the trigger pads
Verify
that the selected wires trigger the cameras shutter by carefully
powering up the camera and connecting the two wires selected from the
previous step, observe that the camera does take an image.
|
 |
Tying
to a microcontroller / timer.
The
I/O lines on the micro in question (atmega168) can source and
sink 15 mil-amperes, we were able to take advantage of this and have an
IO line 'ground' out the trigger line, causing the camera
to take an image. The worst case image-taking time was
recorded as
slightly over 3 seconds. A delay loop, listed below, was used to
trigger the camera to take an image every 5 seconds. The camera and
microcontroller setup now will take an image every 5 seconds until the
cameras memory card is full.
Admittedly, the arduino is overkill and a half, however it was mighty
convienent.
An astable oscillator with a 5 second time constant could have sufficed |
|
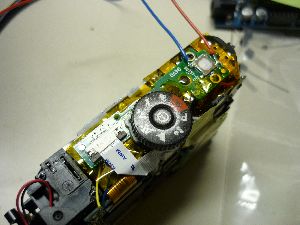
Tying
Everything up and sealing the camera
The
two trigger button was removed (plastic insert) and the two IO lines
were routed out of the camera. As this was a low cost camera that
lended itself to be modified, these are semi-perminant modifications,
and as such its easier to select a used beaten up camera that has a
defect, versus an expensive state of the art canon / leica
|
 |
Constructing
the camera-holder
After the
camera & controller are tied together, building a 'holster' on
the kite begins.
The desired size would hold the camera in place, but allow it to be
removable in case of 'field debugging' |
|
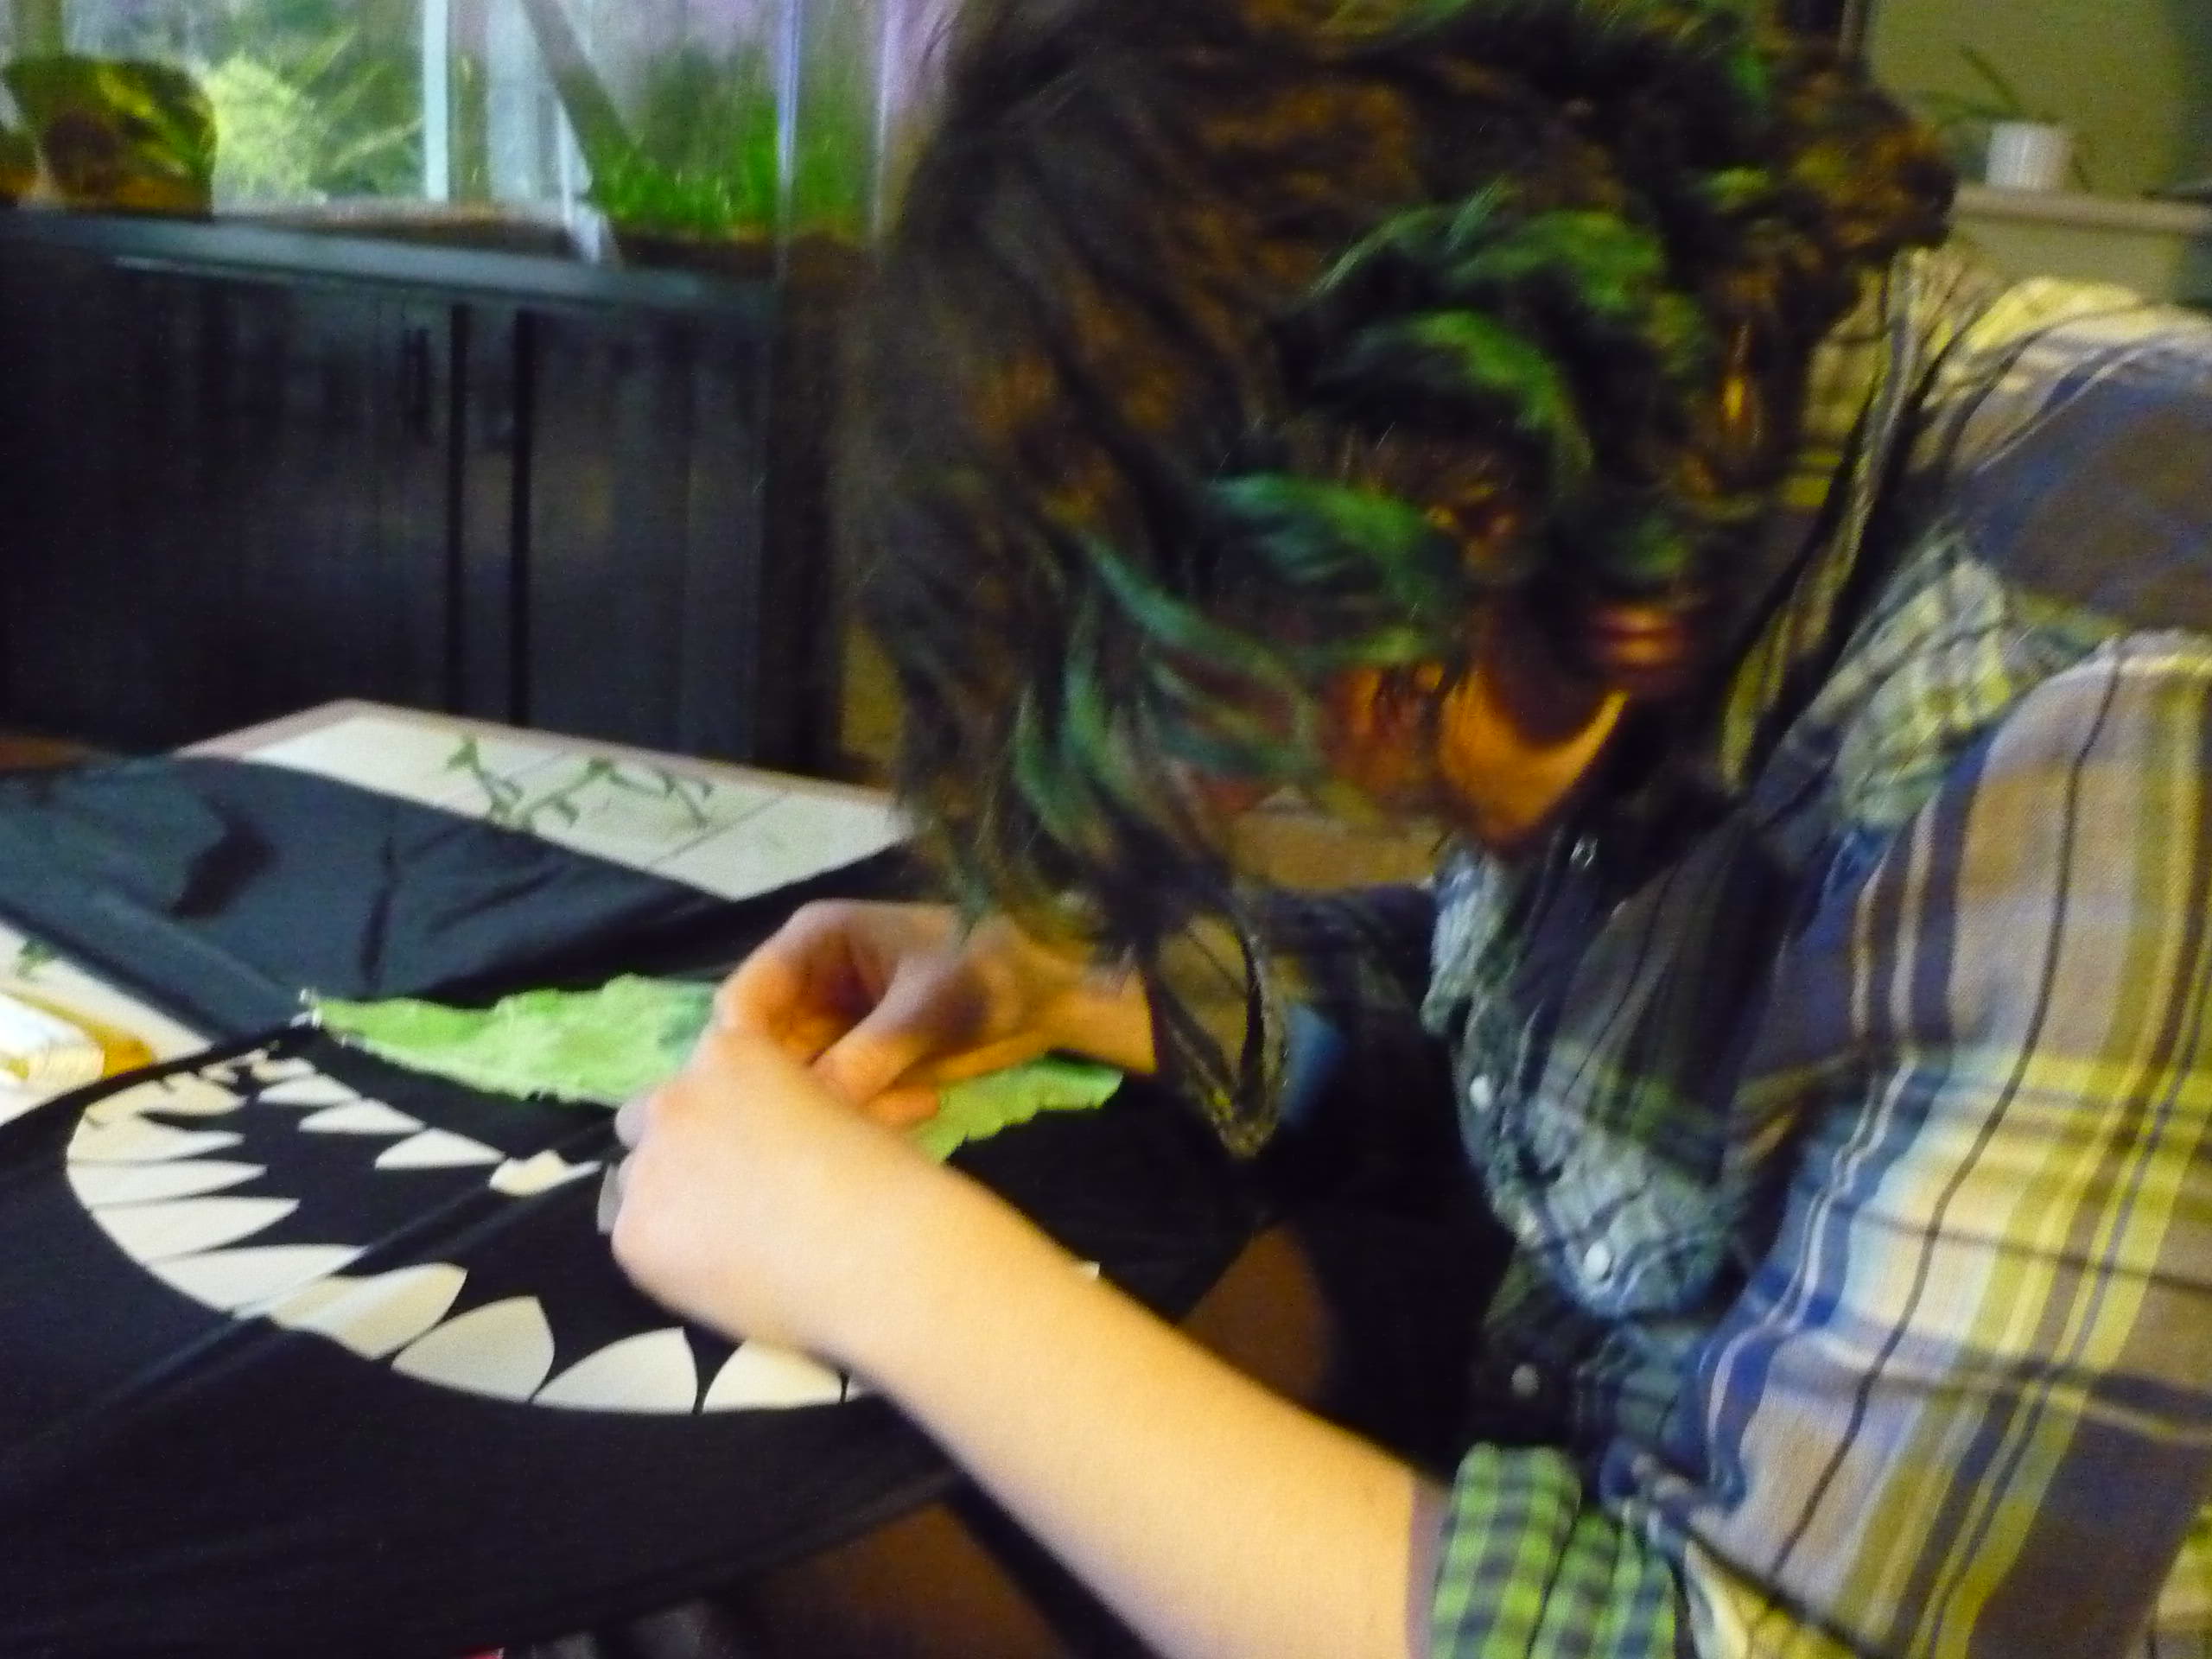
Sewed-on
camera holster
Using
ninja sewing skills, the
camera holster was sewed together. The advantage of sewing on the
holster directly to the kite is twofold.
It provides a very effective distribution of mass while also being
extremely lightweight.
A plastic insert was glued to the front of the fabric to reinforce
around the area where the camera lens leaves the holster. |

|
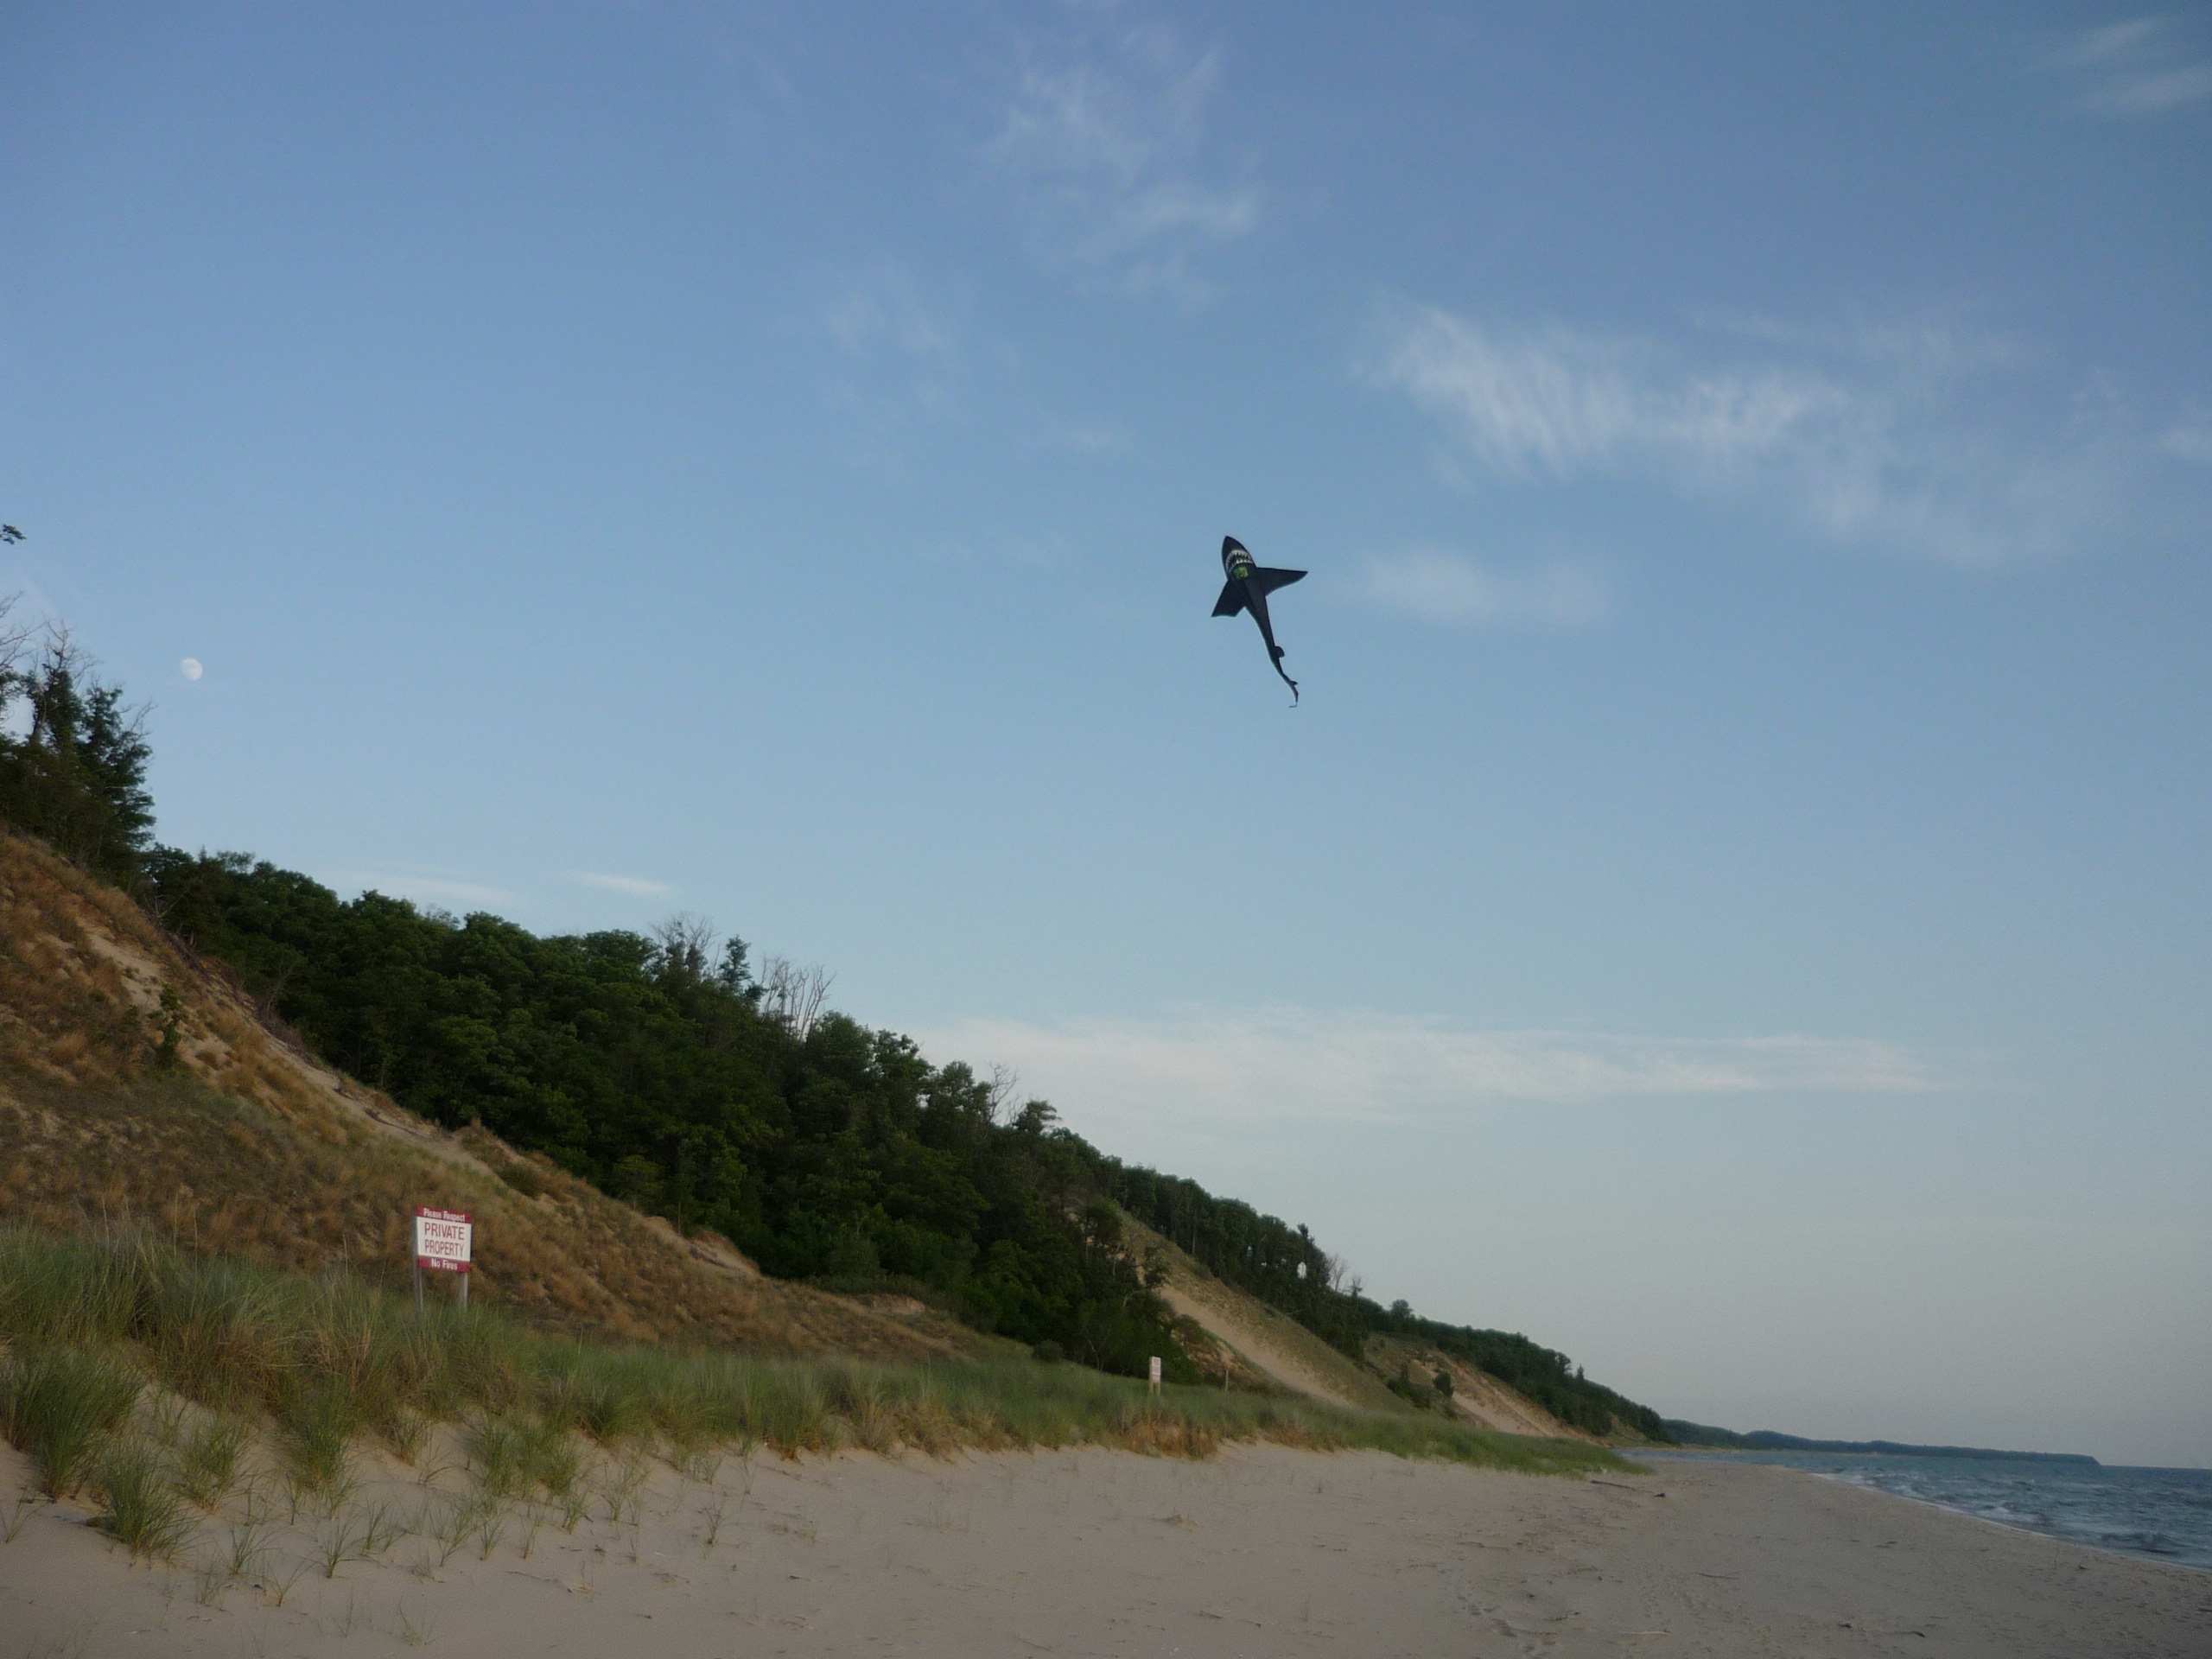
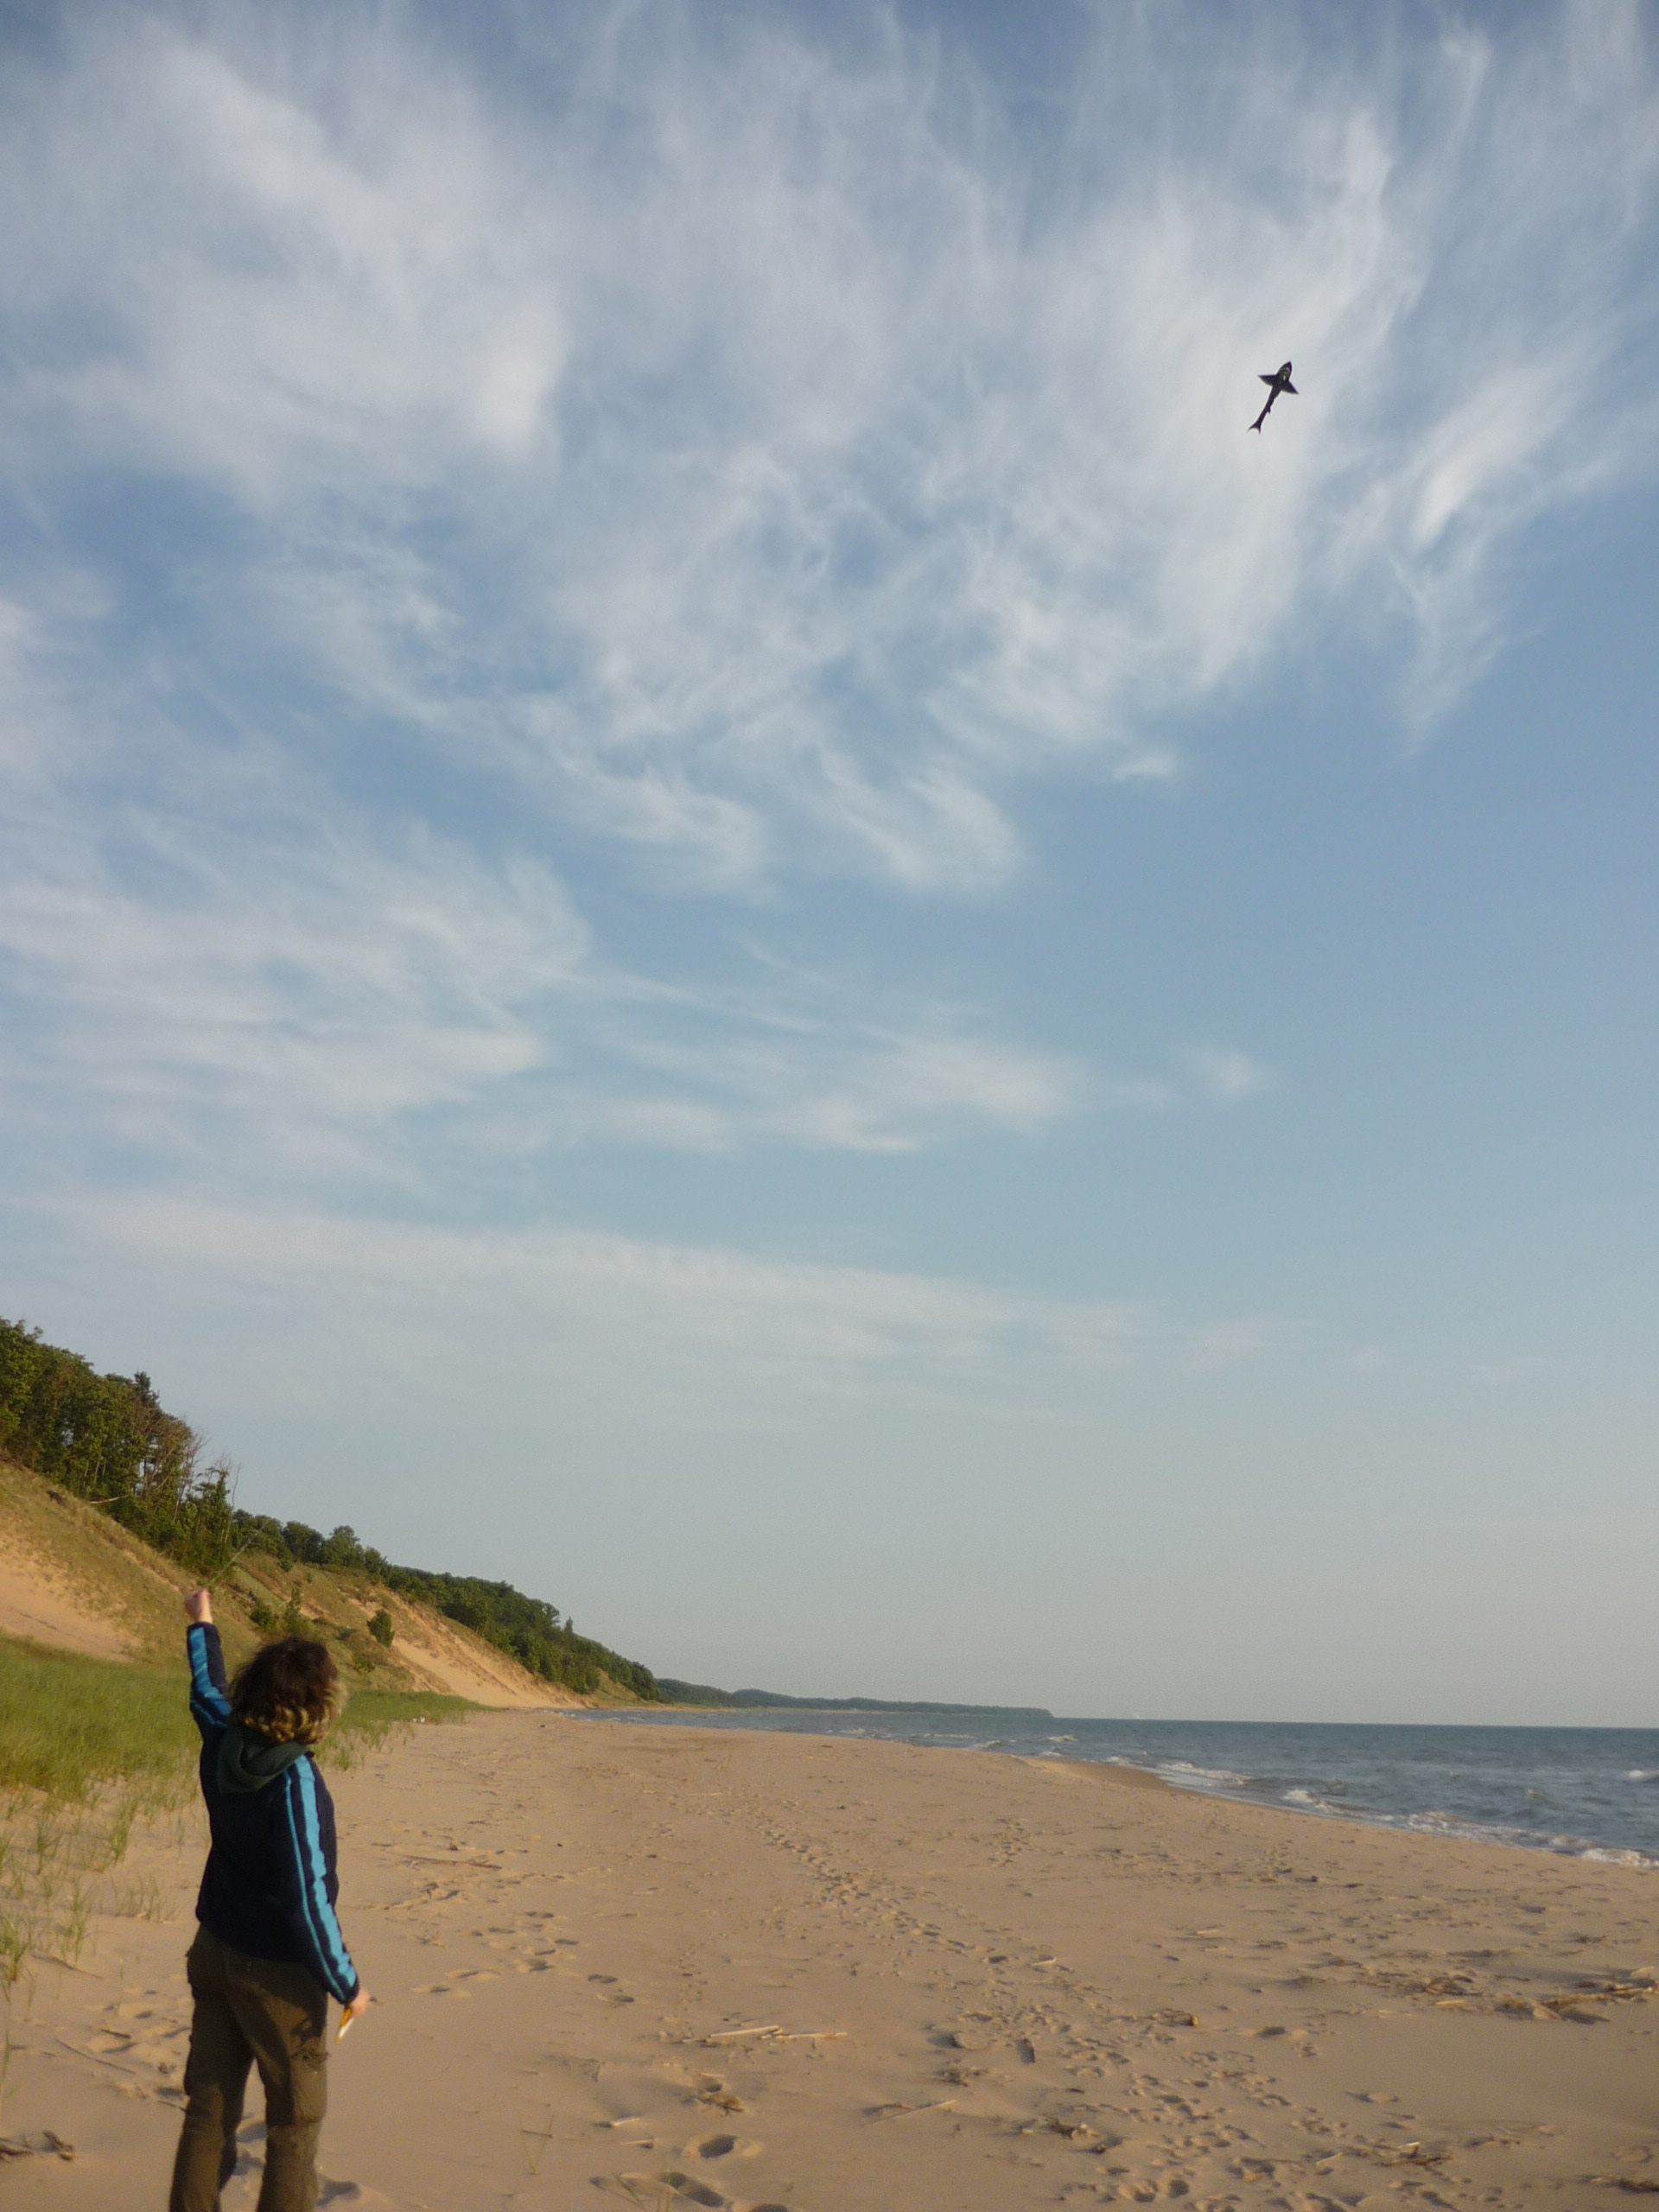
INITIAL TESTING!
After
a quick verification that the camera was indeed taking images once
every 5 seconds (listening to auidable click of the shutter), the SHARK
KITE was launched
|
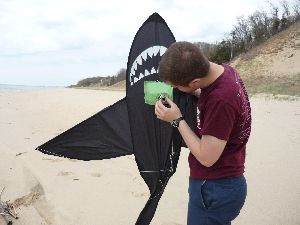 |
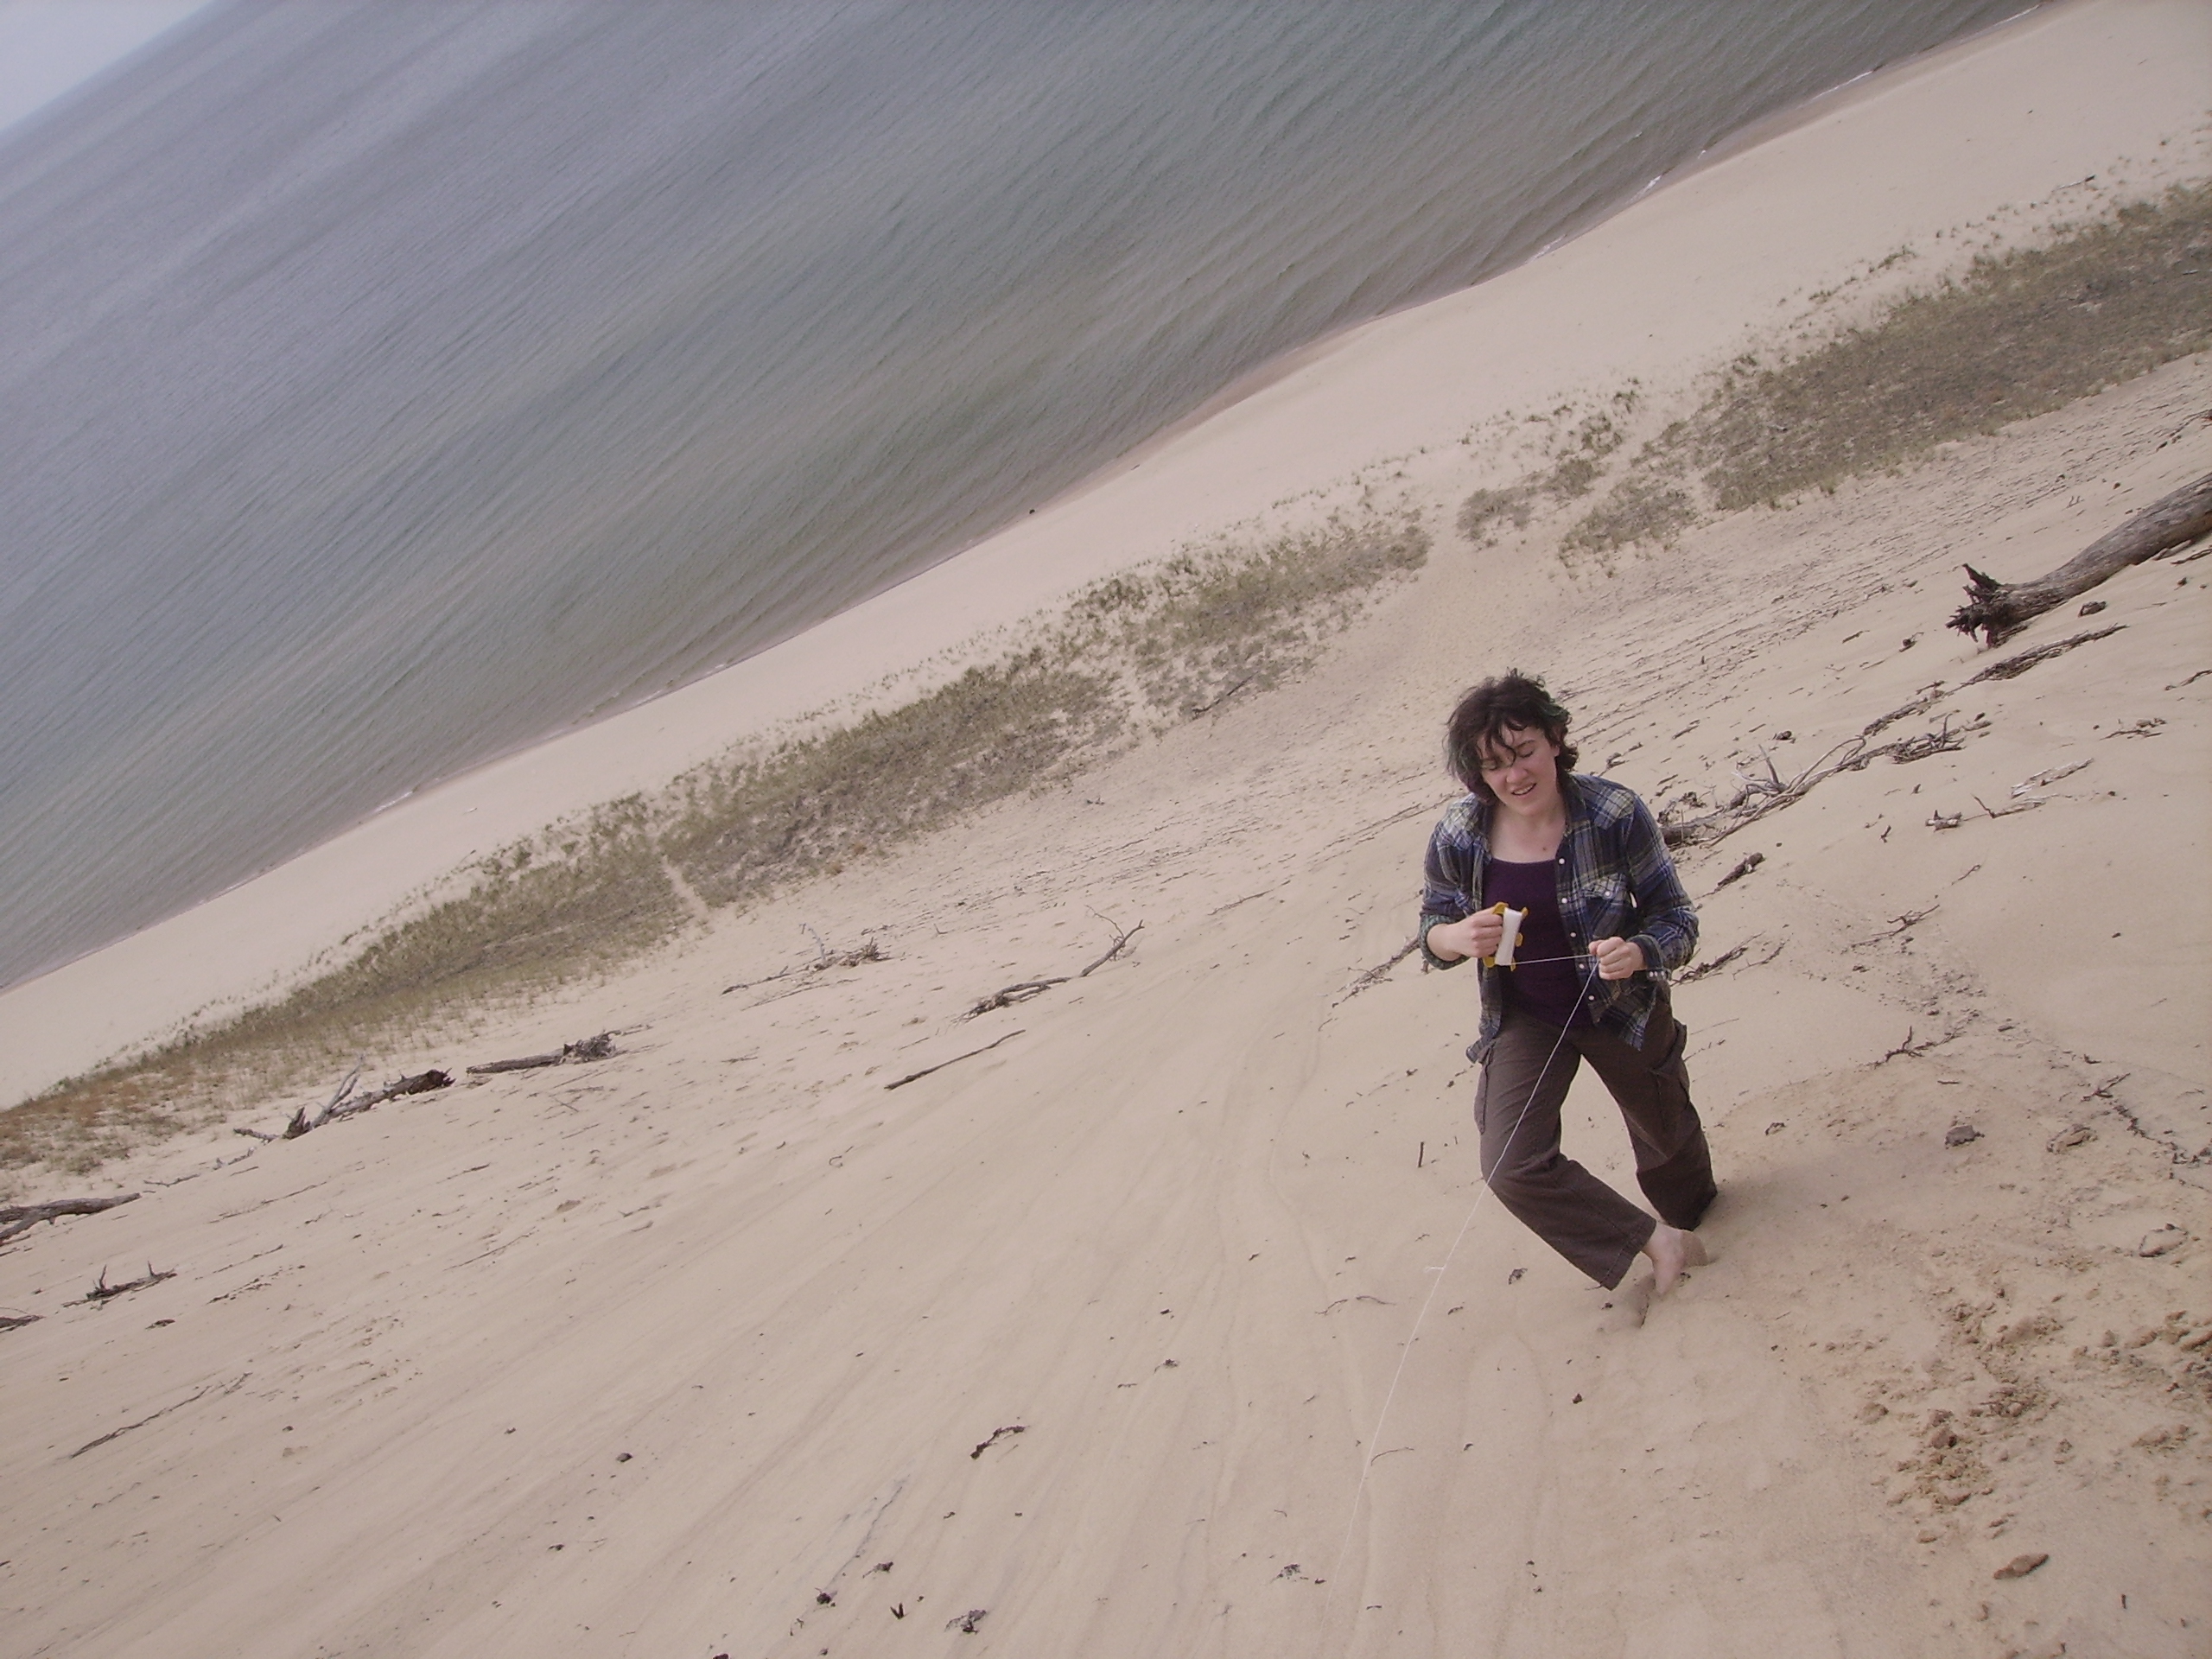
Get
it to FLY
Run around with kite flying comrade and attempt to
take high altitude imagery! |

|
Concluding
Remarks:
Mass of the craft and wind speed are crucial to
the effectiveness of the craft. Initial testing with a dummy mass was
helpful in determining the optimal positioning of the camera subsystem.
If this project were to be reconstructed, a lighter camera, possibly
with a waterproof housing would be chosen. A number of canon cameras
are supported by chdk
which allows for a firmware upload that preforms the sequential imaging
without the need for an external trigger.
References:
Wikipedia:
Kite Aerial Photography [
http://en.wikipedia.org/wiki/Kite_aerial_photography]
Testing with Video
A small video
camera was also tested on this kite, this [link]
camera was used. Note that the kite platform bounces around and jiters
back and forth, resulting in some fairly bouncy video. The camera used
is extremely lightweight, running from a tiny internal LiPo module and
storing data on a micro-sd card. Note that this version of the camera
had a noticeable rolling shutter [link] The
view from
that height is excellent!
|
|
|
Who made this
project?
| Dane
Kouttron |
Emily
Krupczak |
(be
careful, im not responsible for your exploded battery pack / submerged
camera )
Dane.Kouttron
Rensselaer Polytechnic Institute
Electrical & Electrical Power
631.978.1650


