Dane.Kouttron
[9.30.12] Electroplating Tin [Low cost Plating Copper Bus Bars]
| What?
The following page documents plating of copper bus-bars with tin for corrosion prevention, using readily available materials. Copper, exposed to semi-corrosive environments, will corrode forming copper oxides, which have notably higher resistivity. The plated metal (Tin) is more resistant to corrosion, while having a low resistivity. |
 |
 |
| Materials |
Creating
the electrolyte |
Electrolysis Bath Setup | Simulated Electroplating Model | Image Directory |
Materials
| Materials
needed for tin plating electrolysis bath |
|
| Gloves Simple oversize watertight working gloves. For this process i labeled mine (with sharpie) SCIENCE ONLY to prevent re-use of the gloves in a kitchen environment. There are a number of types of gloves that would work for this style plating, as the only 'active' ingredient is HCL. Fortunately, there's a breakdown of glove types and corrosive chemicals listed here: [Link, pdf] and [Link] For 'hydrochloric acid up to 37%', my 'neoprene' rubber gloves from shaws had a breakdown time of ~4 hours. As this is well longer than Ii plan to be operating the electroplating bath, it would be more than sufficient. Nitrile gloves are generally available from auto supply stores, as a more controlled alternative. |
 |
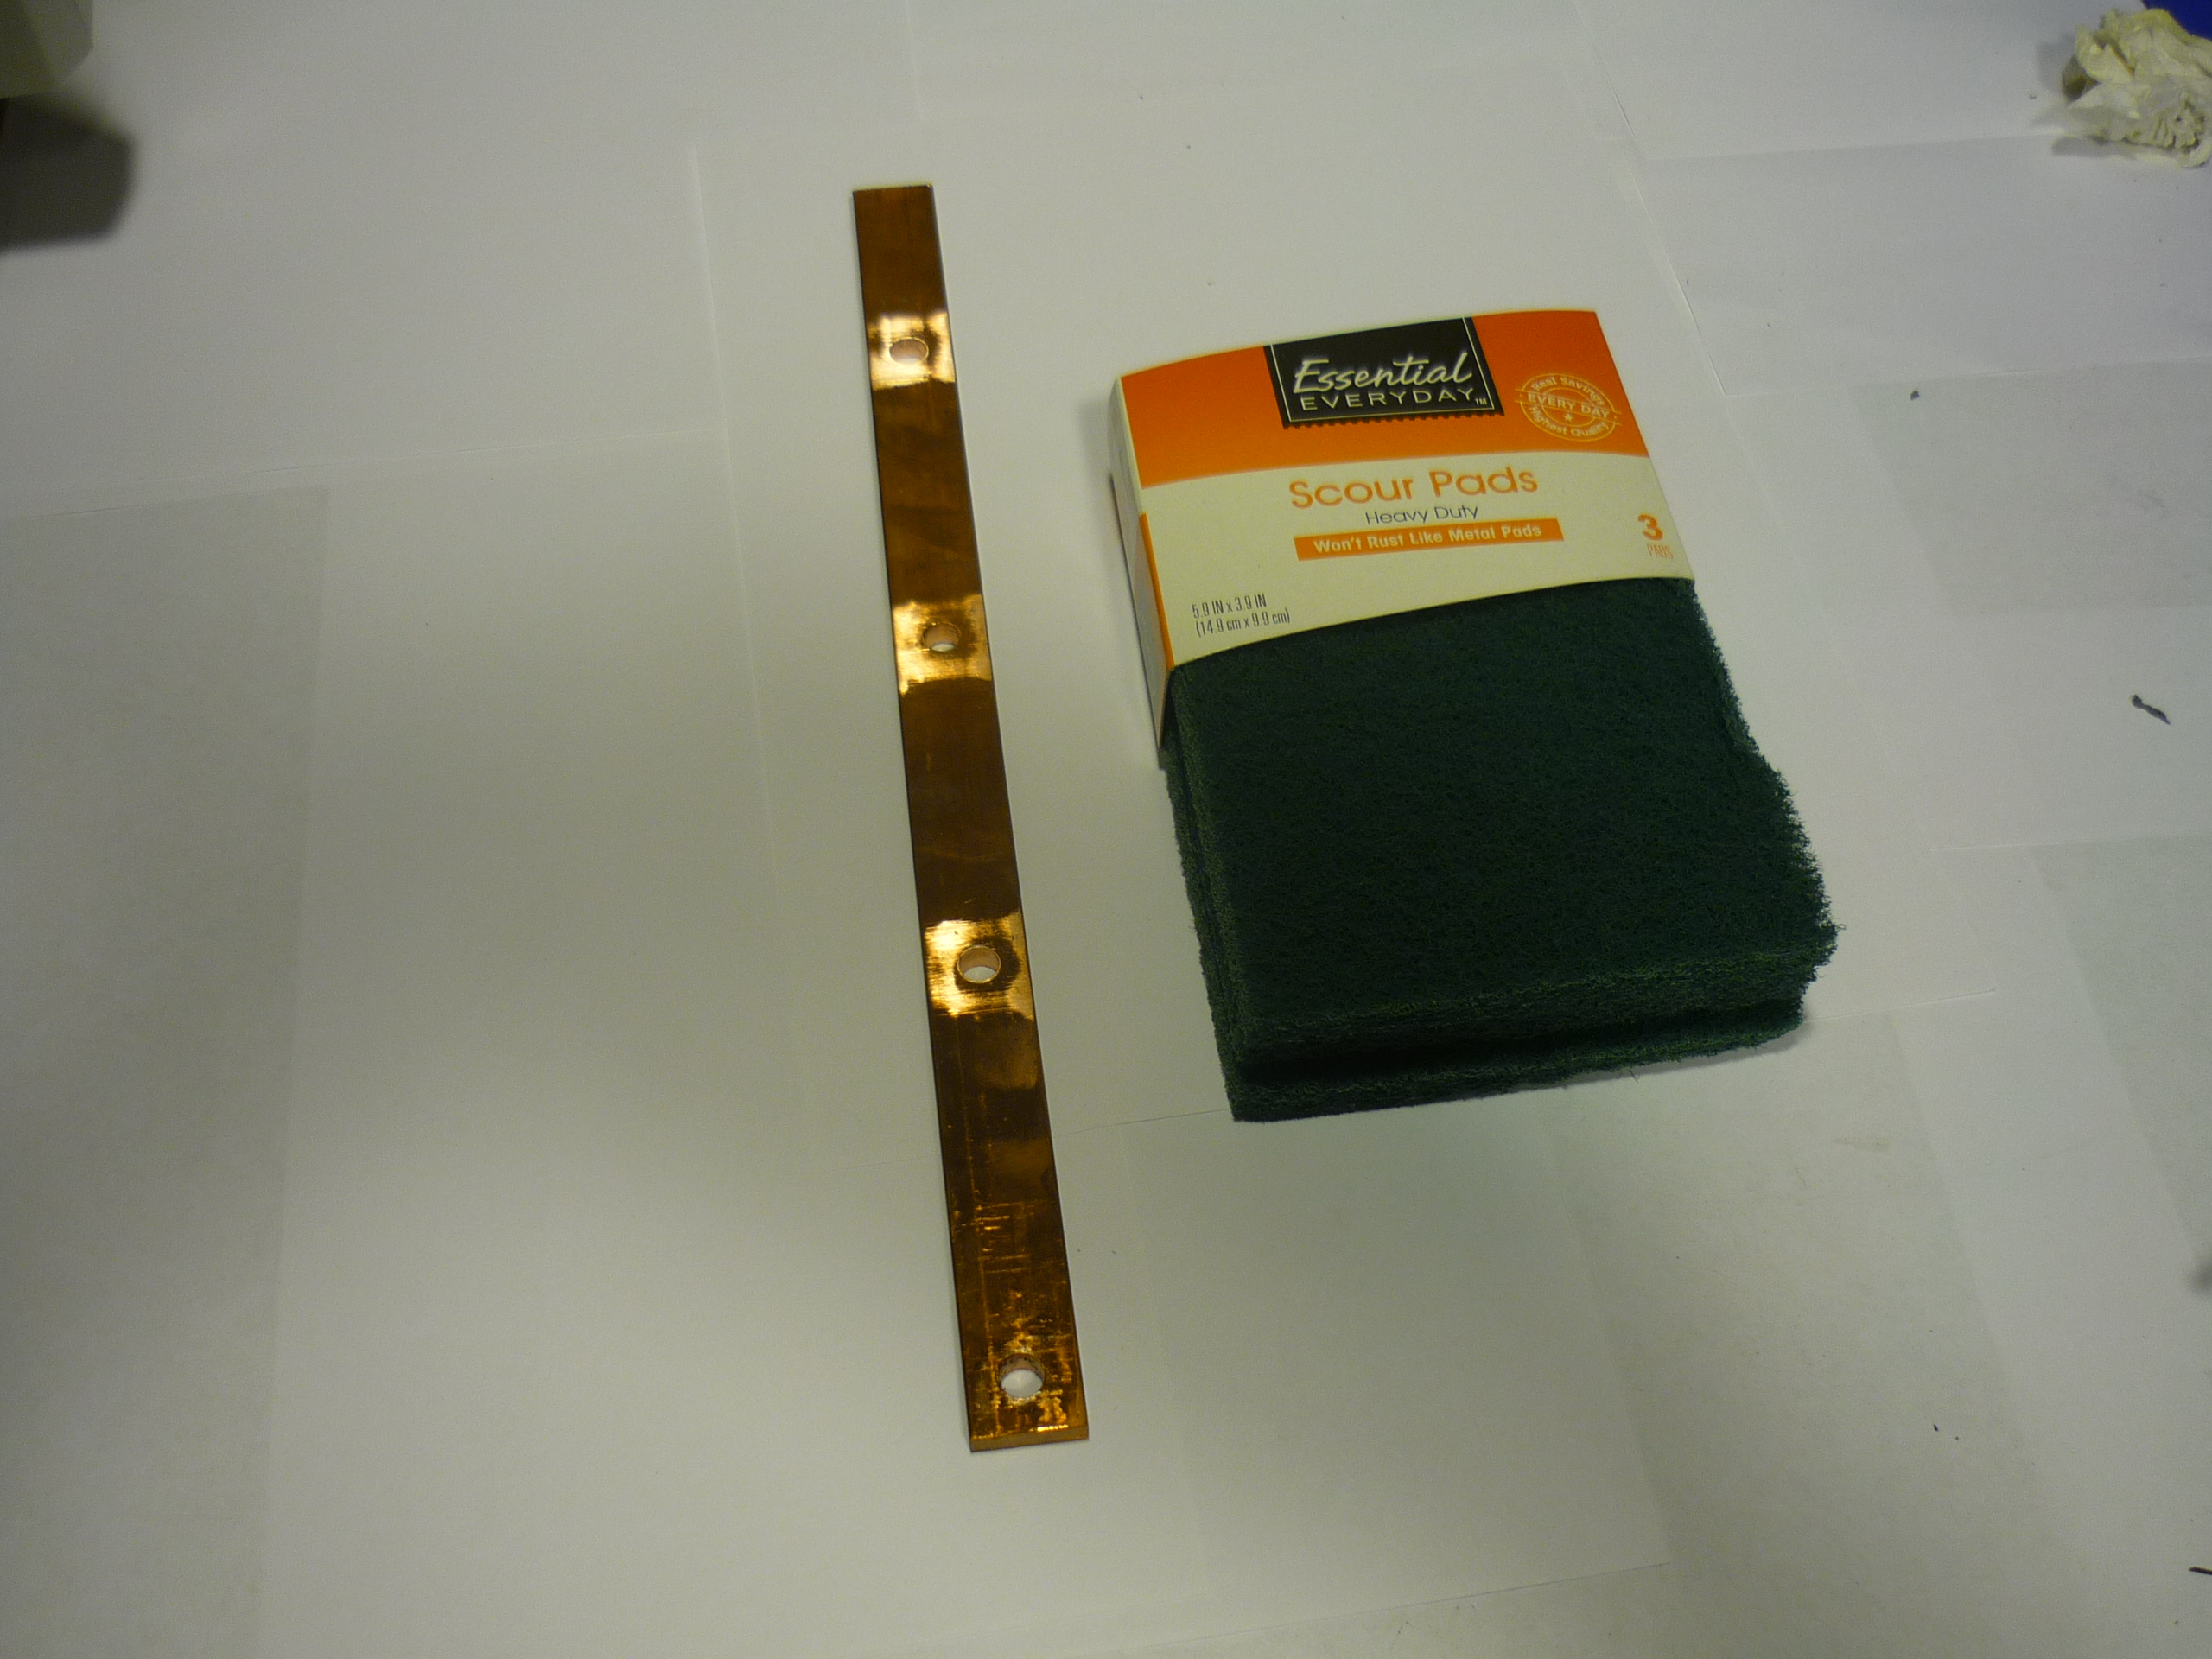
| Scouring
pads I picked these up for 0.99$ at a grocer. Scouring pads work well for small areas and are generally more available than fine grit sandpaper. In the case of this project, its easy to underestimate how many you will use when cleaning a semi-aged copper surface, but the plating effectiveness is proportional to surface prep, so be prepare to spend a while cleaning, and not leaving fingerprints in the pretty copper parts. |
 |
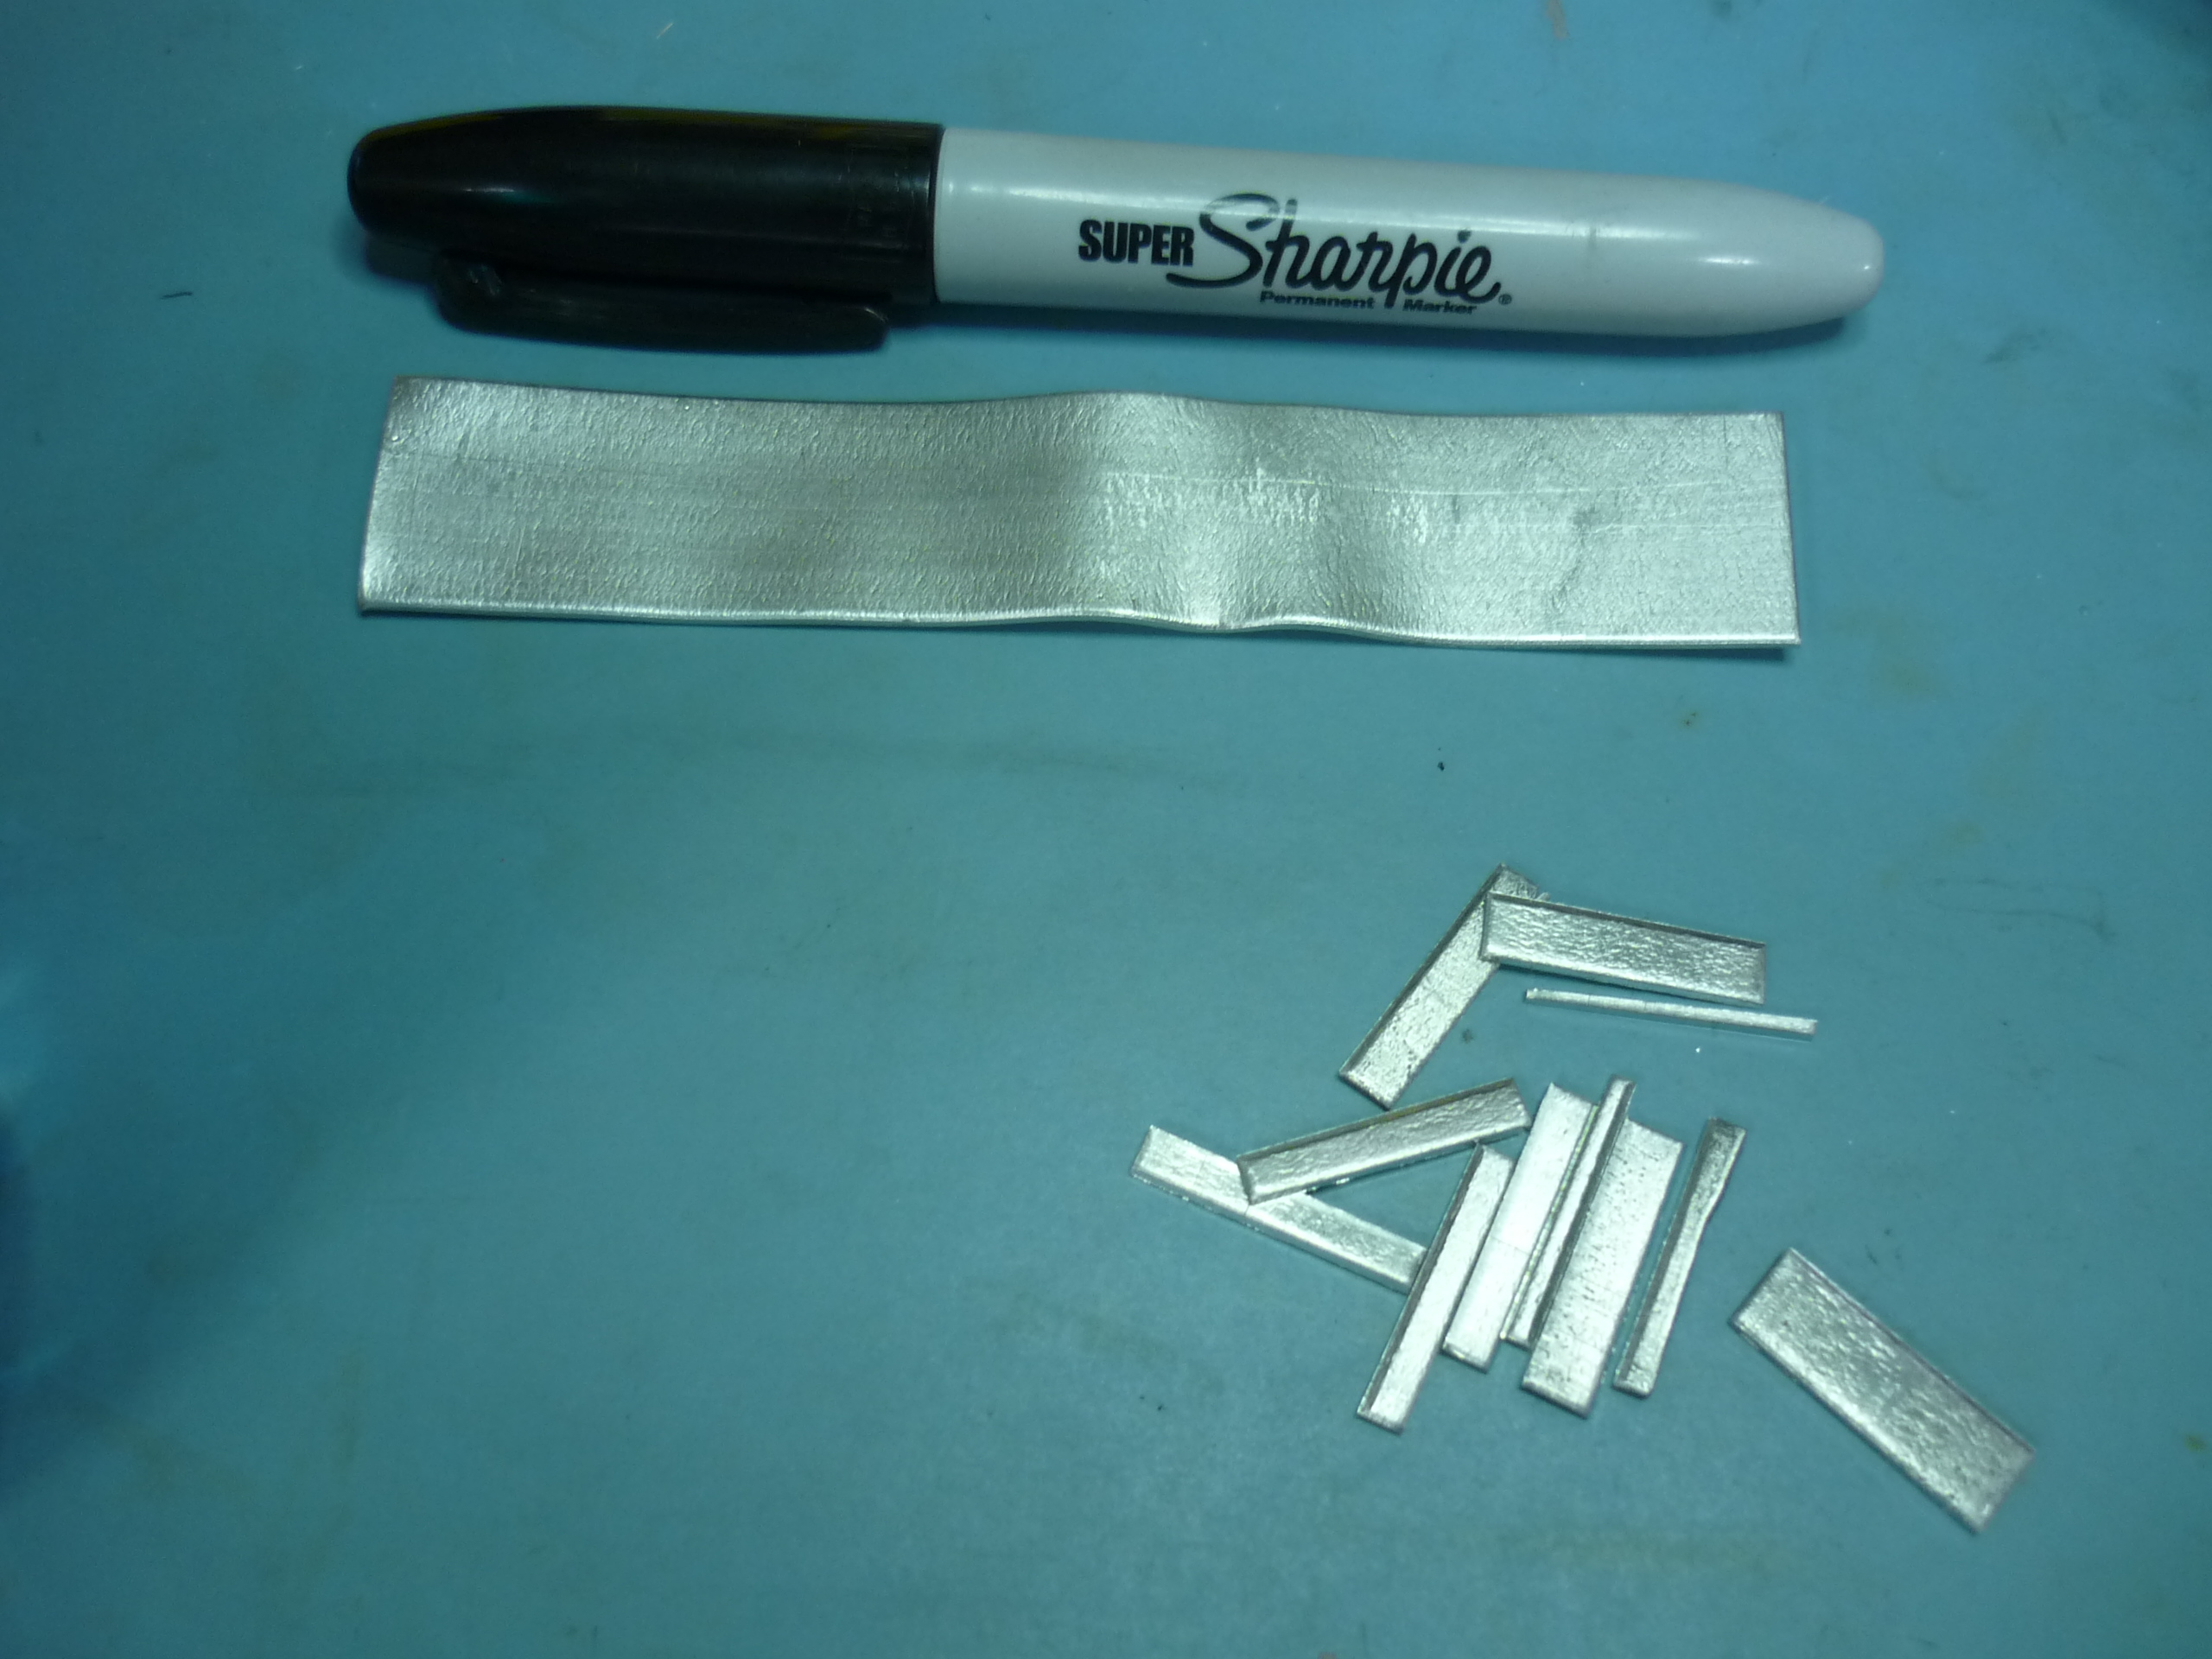
| Tin
Electrode For this test, I went with tin electrode strip, available here [link]. While this is relatively high purity tin, other sources, like ebay, may also supply similar parts. Note that tin by itself is Extremely malleable, easy to melt with a soldering iron, and relatively simple to cut with basic scissors. I'd like to re-test this process using only lead-free solder as the electrode, as its generally more available and waaaay cheaper. |
 |
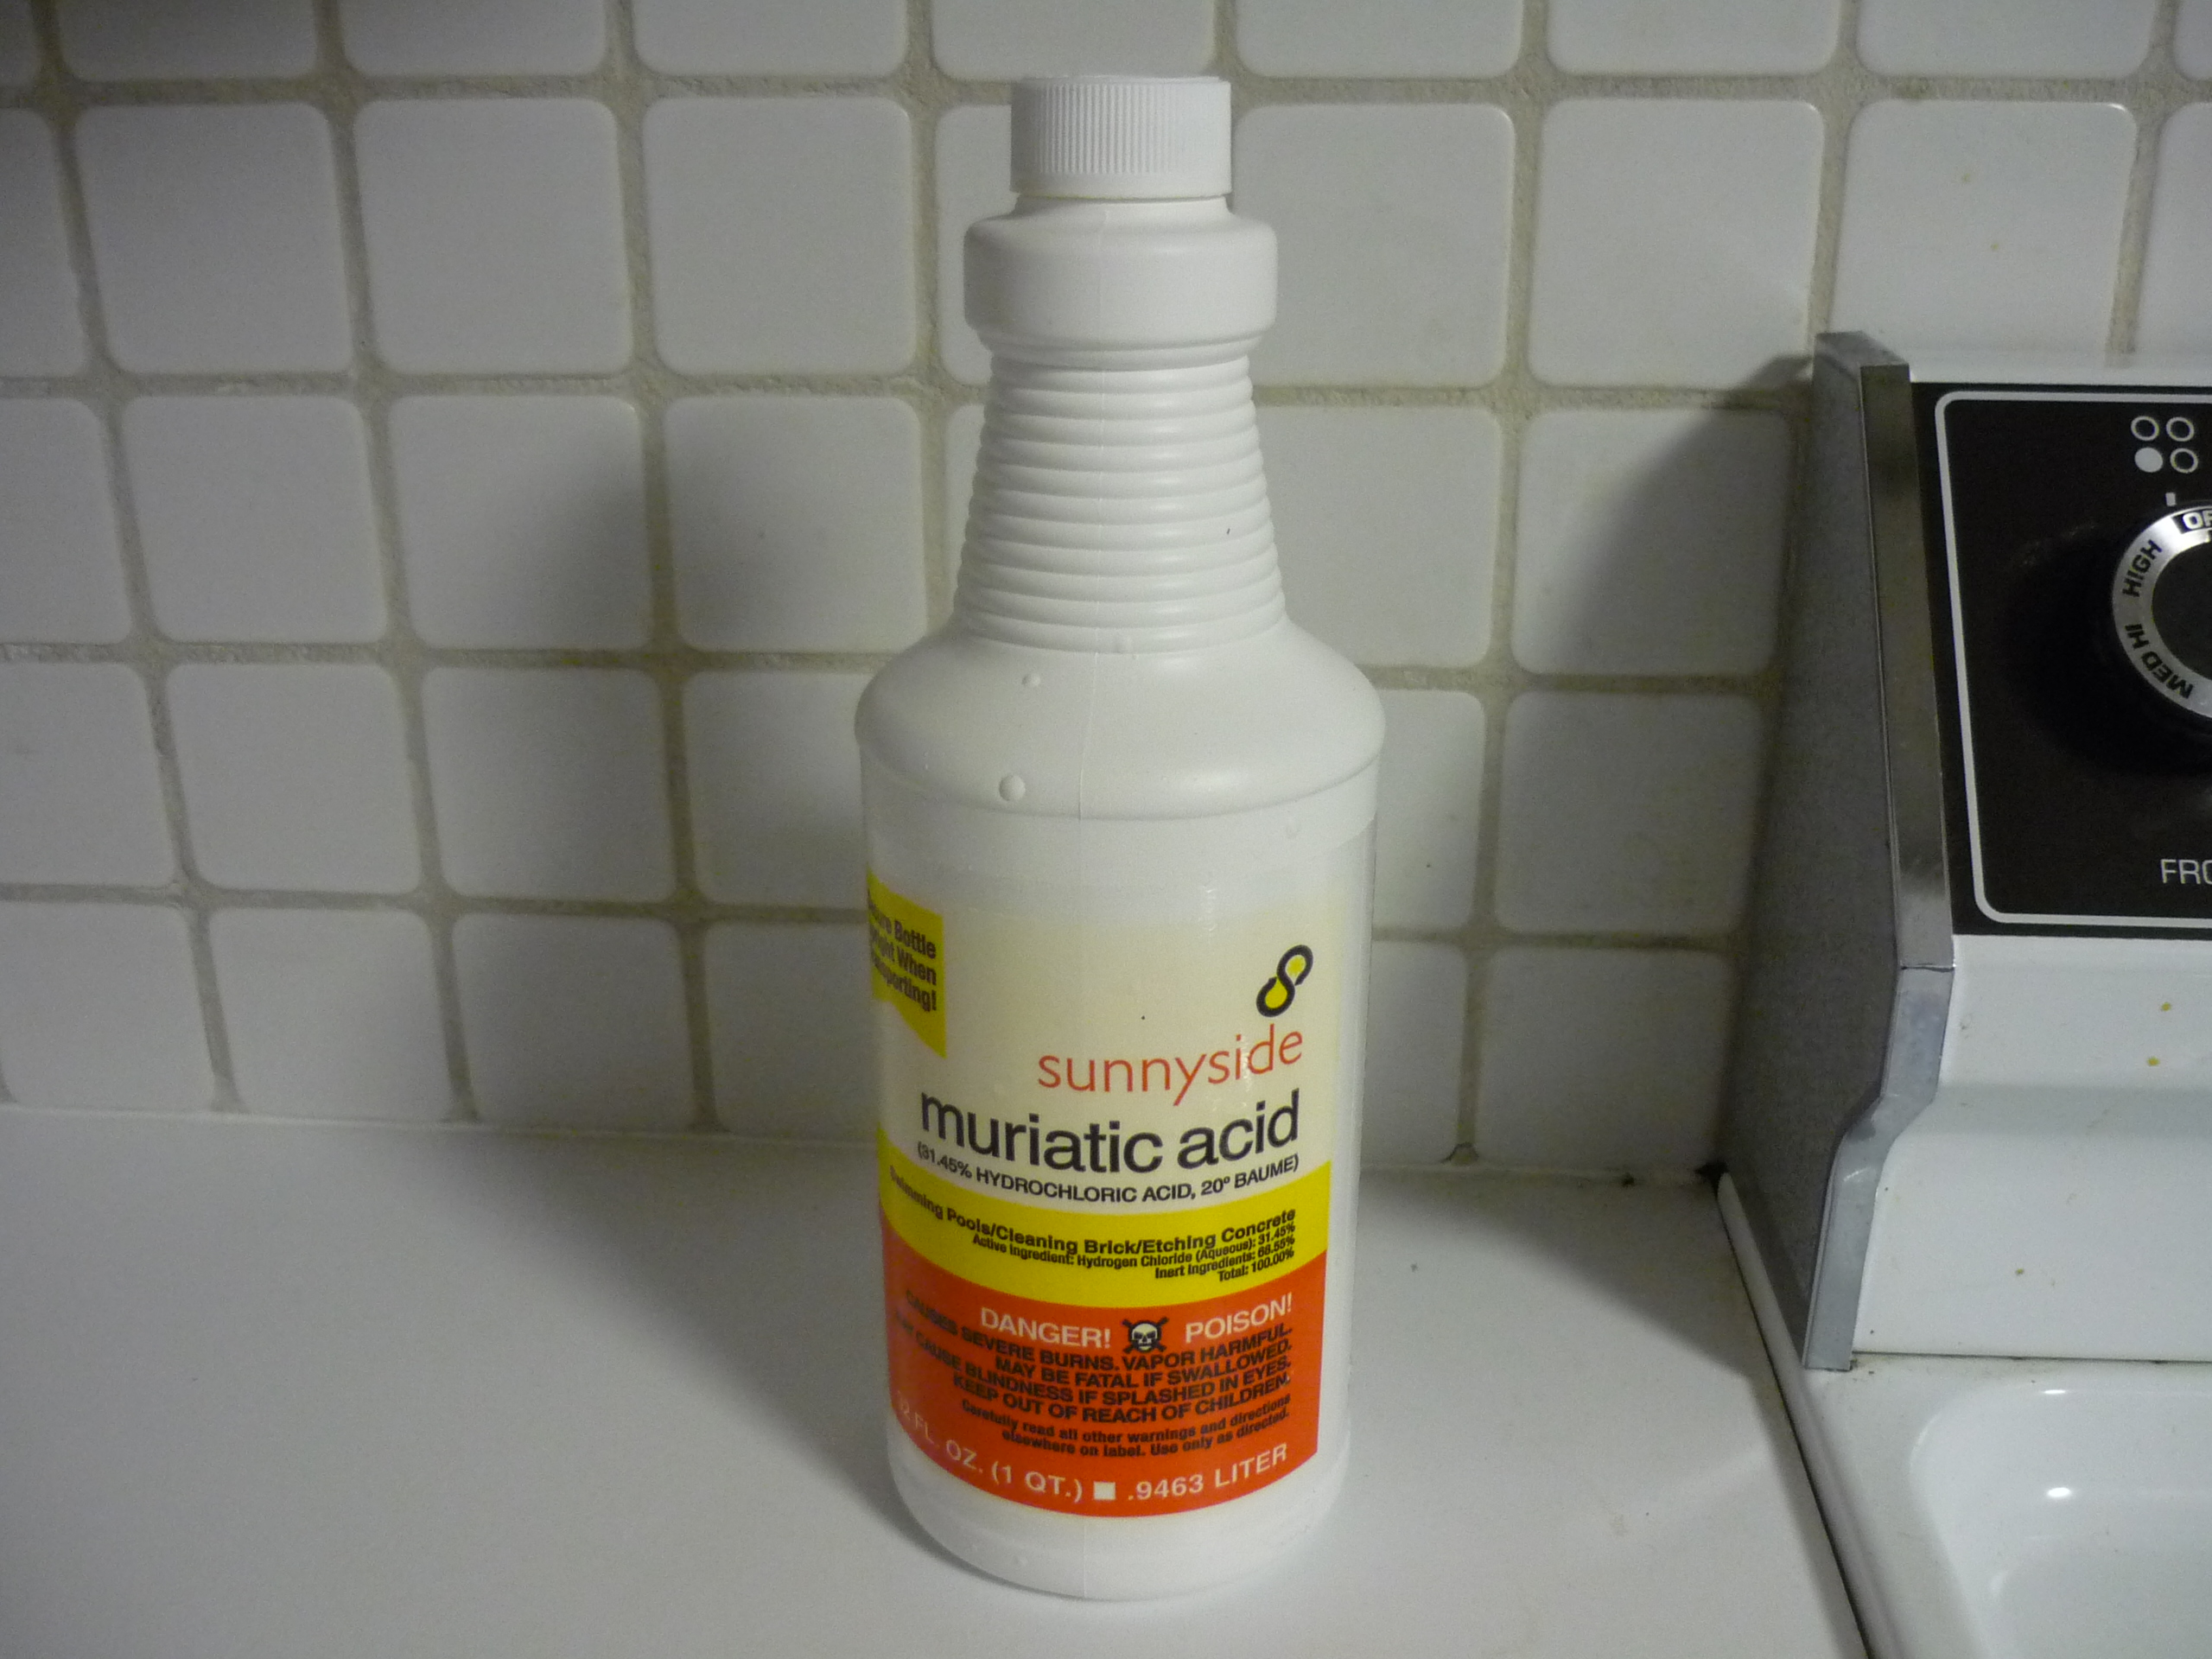
| Muriatic
Acid I was able to purchase HCL (marketed under the name 'muriatic acid') from a local small hardware store for ~$5. To my surprise, its now stored behind the counter, but purchasable on request. It is generally used for cleaning of stonework / slate. The item / part number is listed here: [Link] |
 |
Make Tin-Salt electrolyte solution
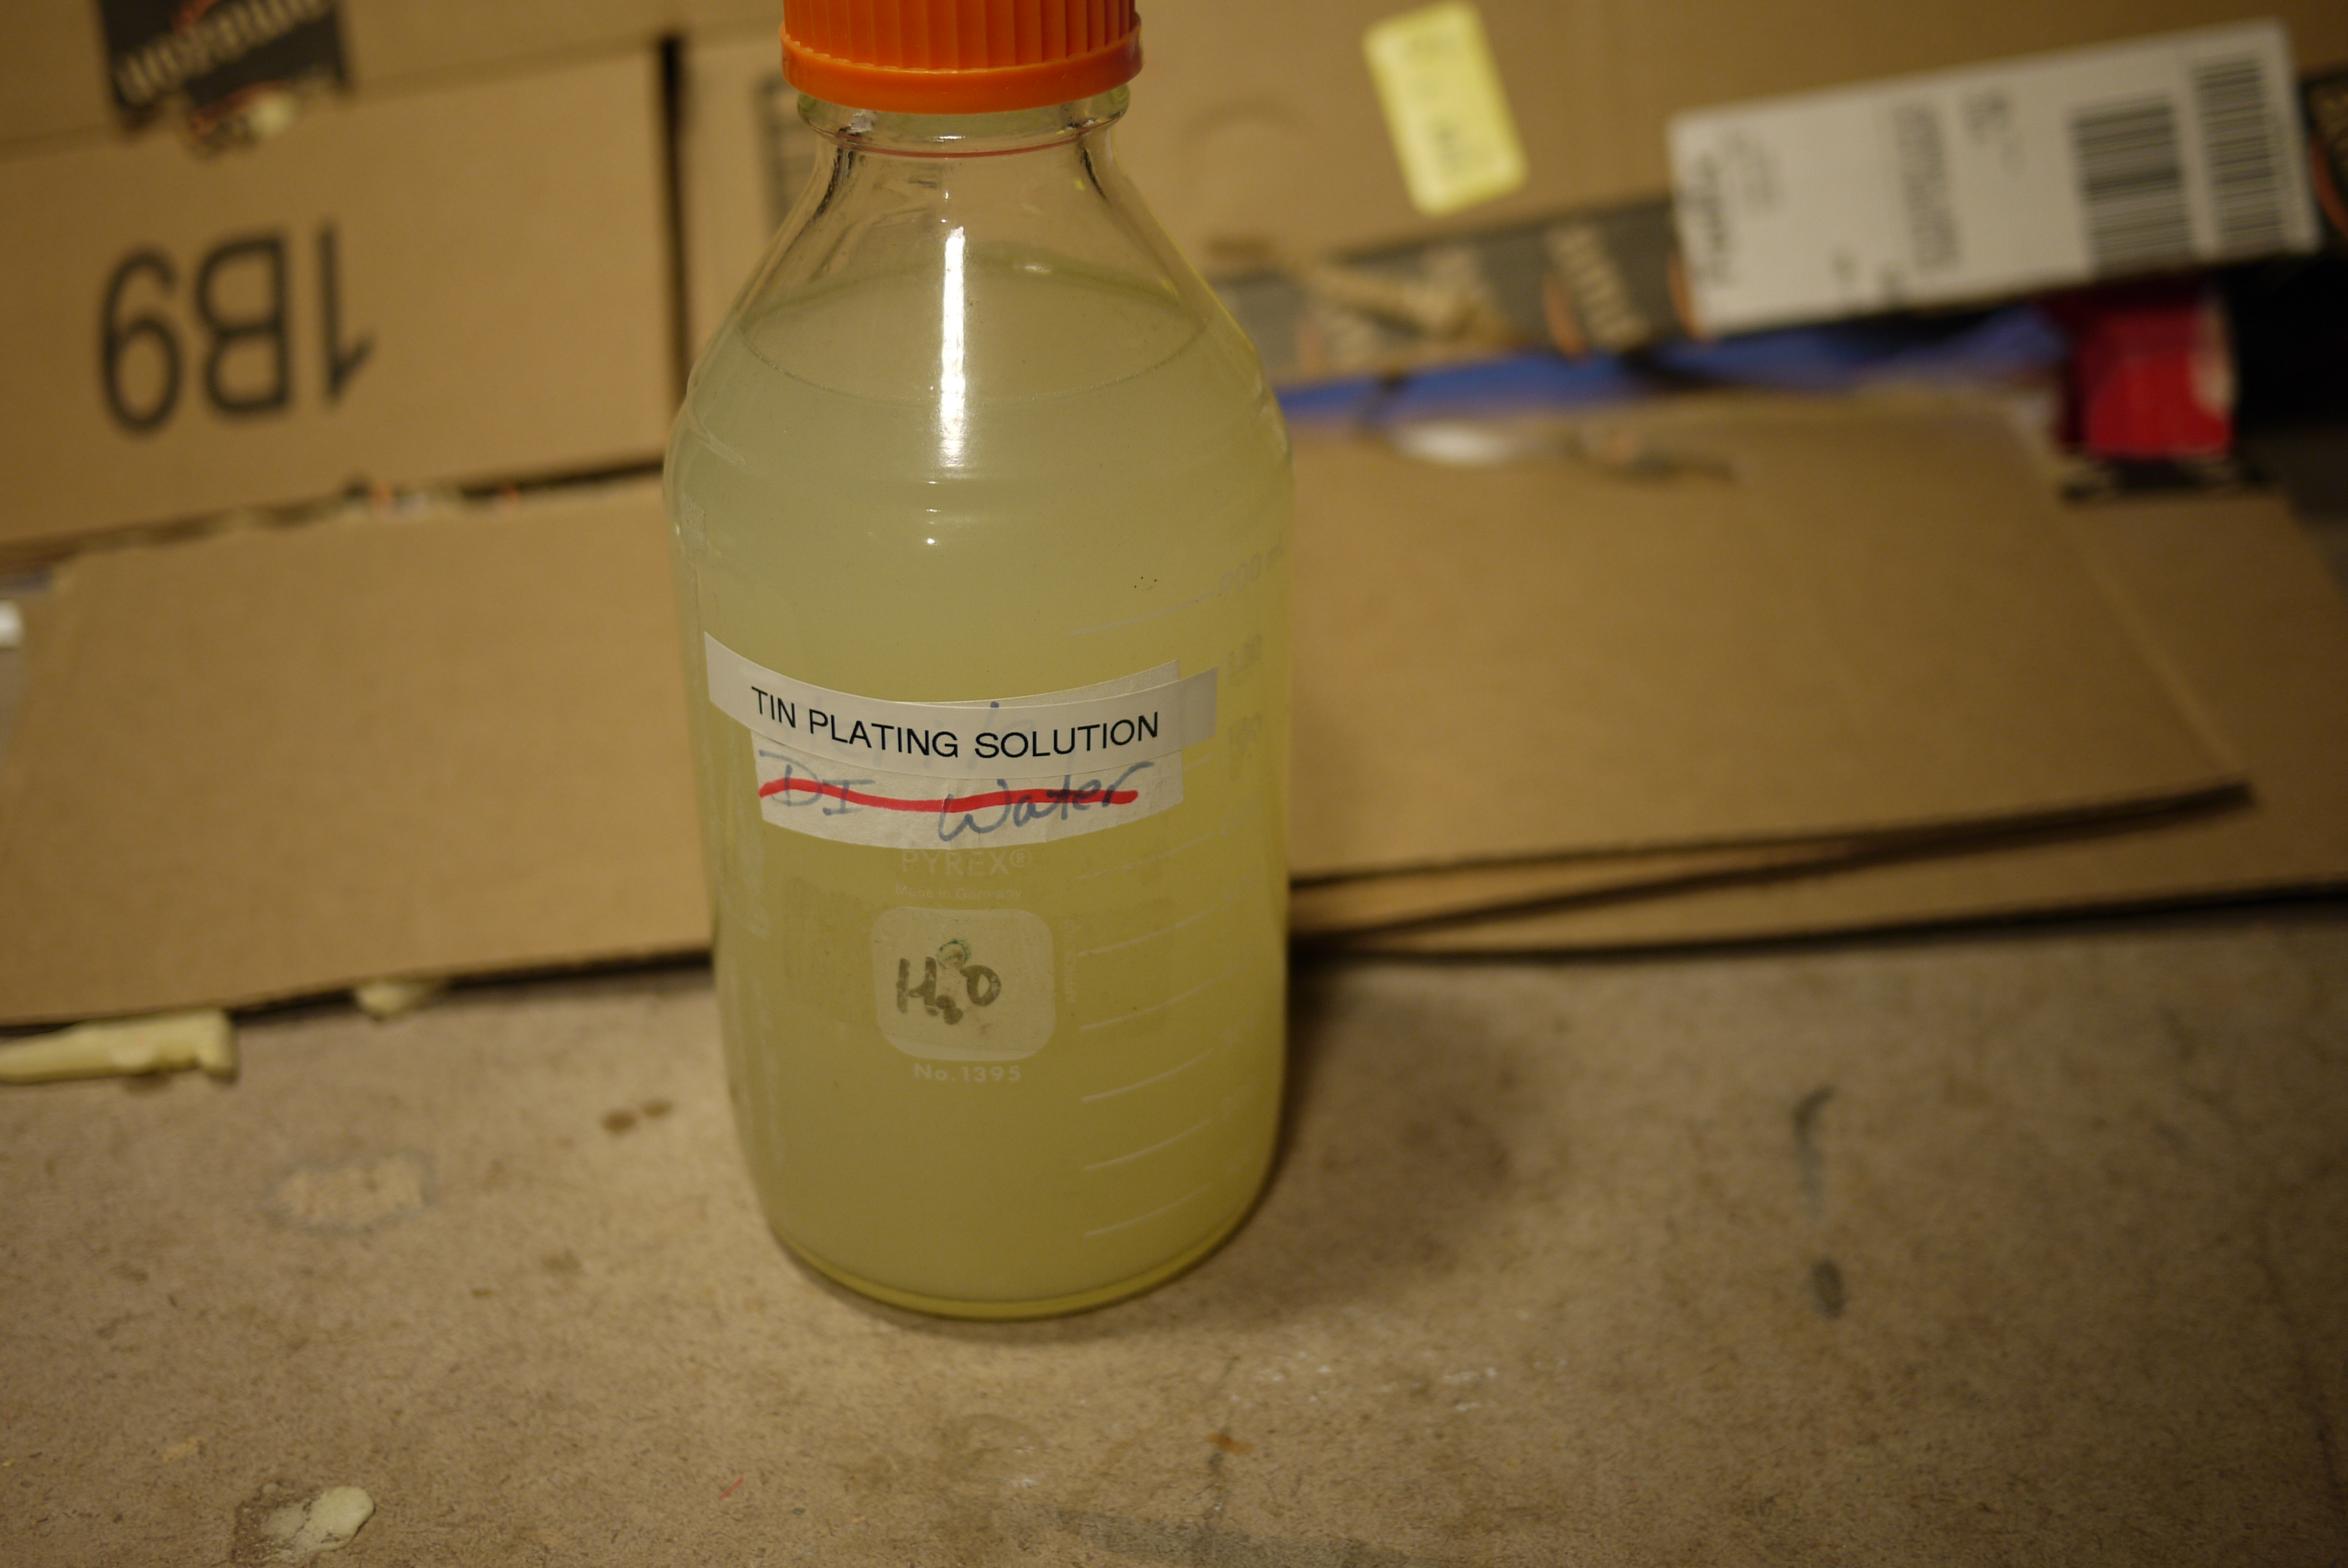
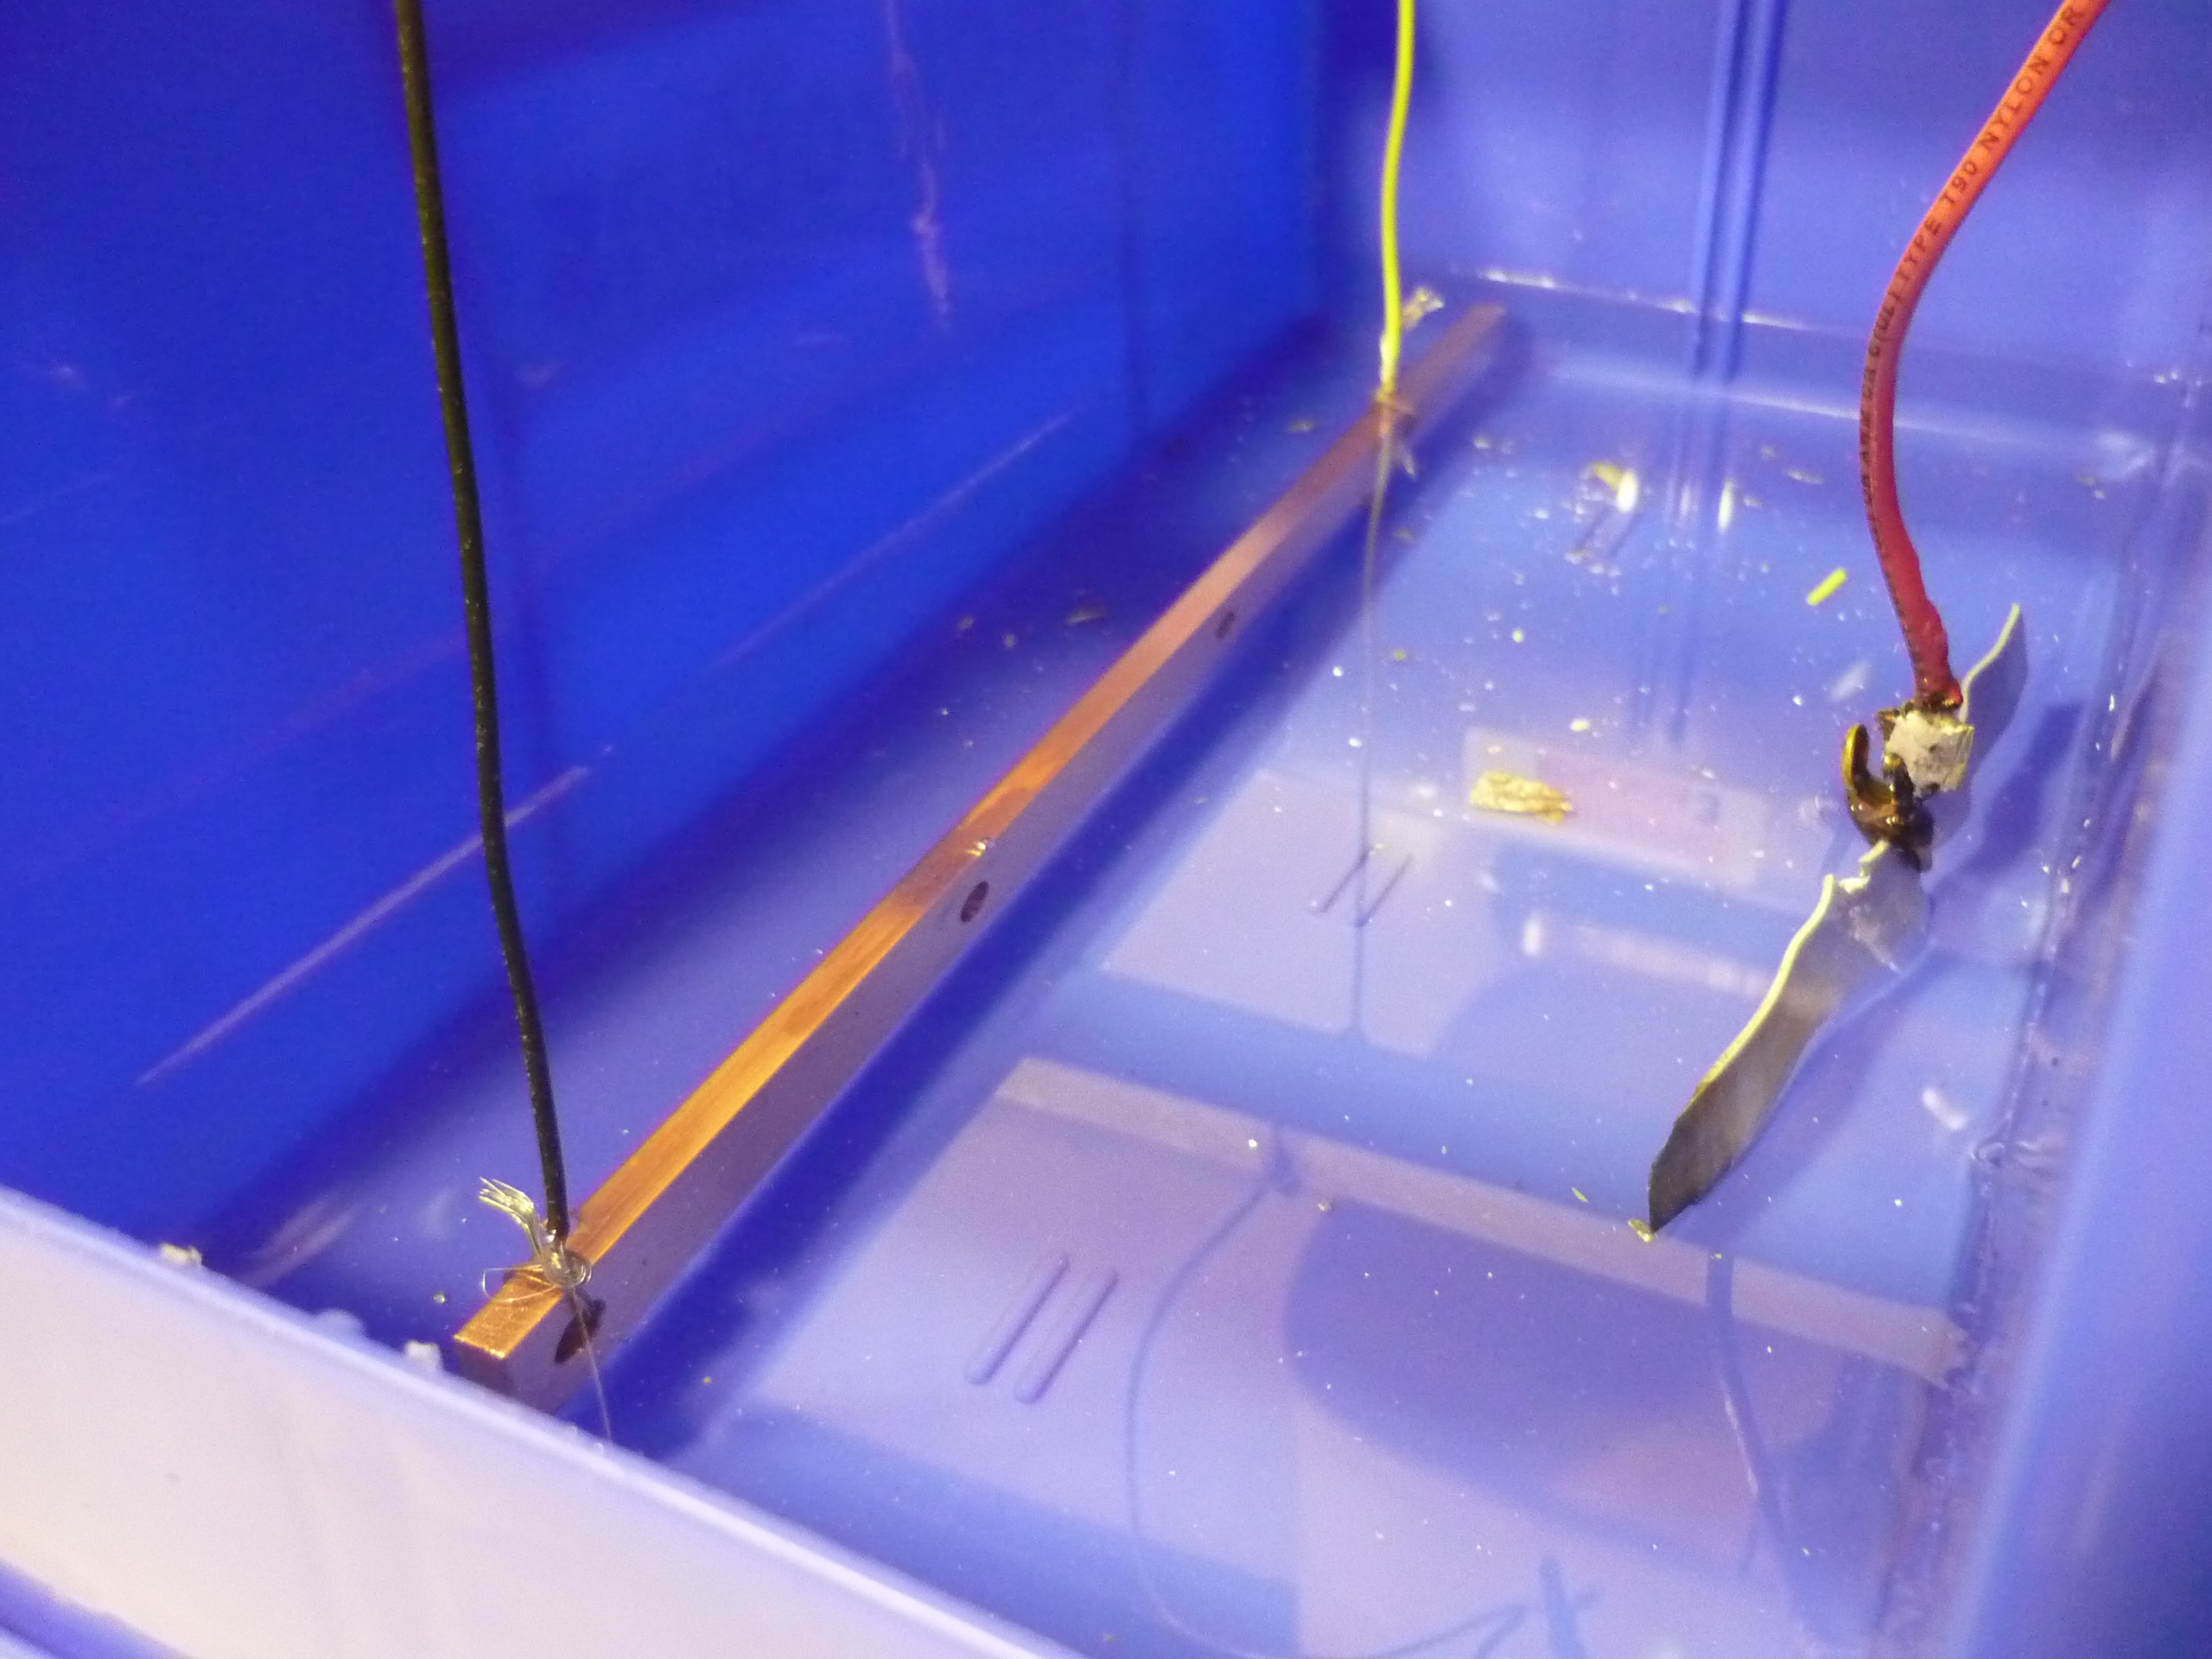
Electrolysis Bath Setup
| How | Image / Media | Image / Media |
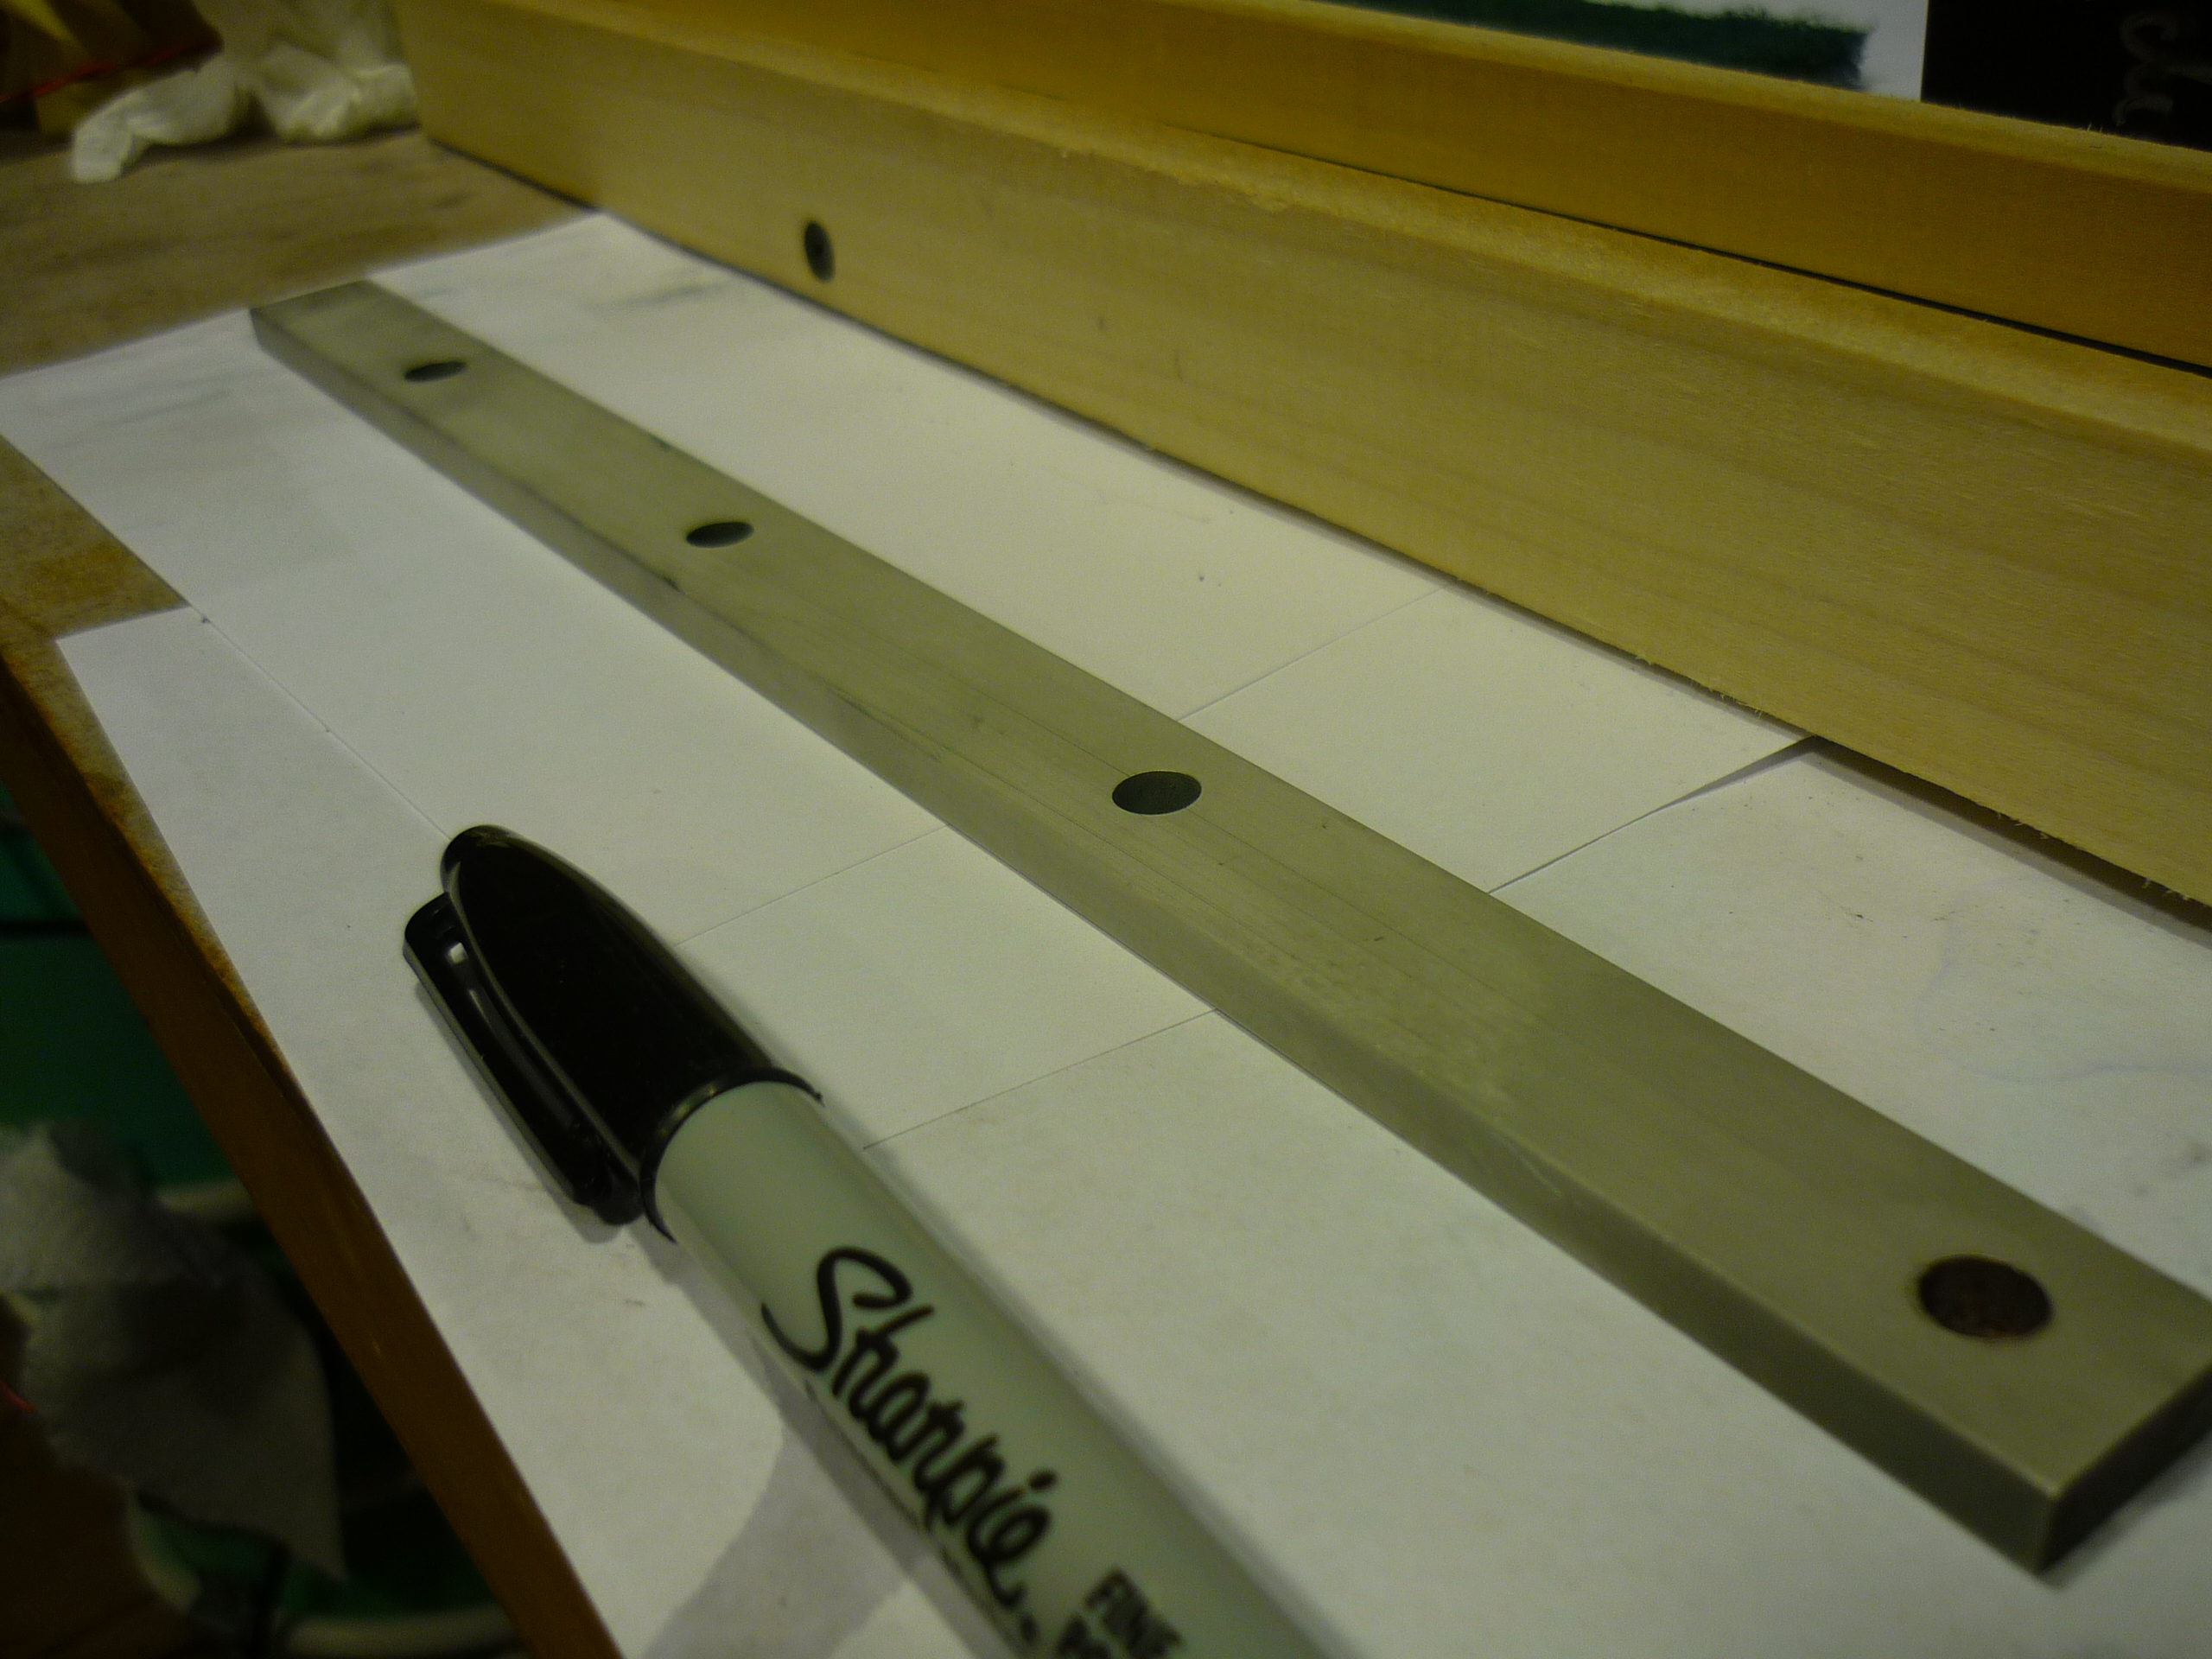
| Preparing
the copper The copper needs to be cleaned before electroplating. I found that using some steel wool and acetone to prep the surface worked fairly well. |
 |
 |
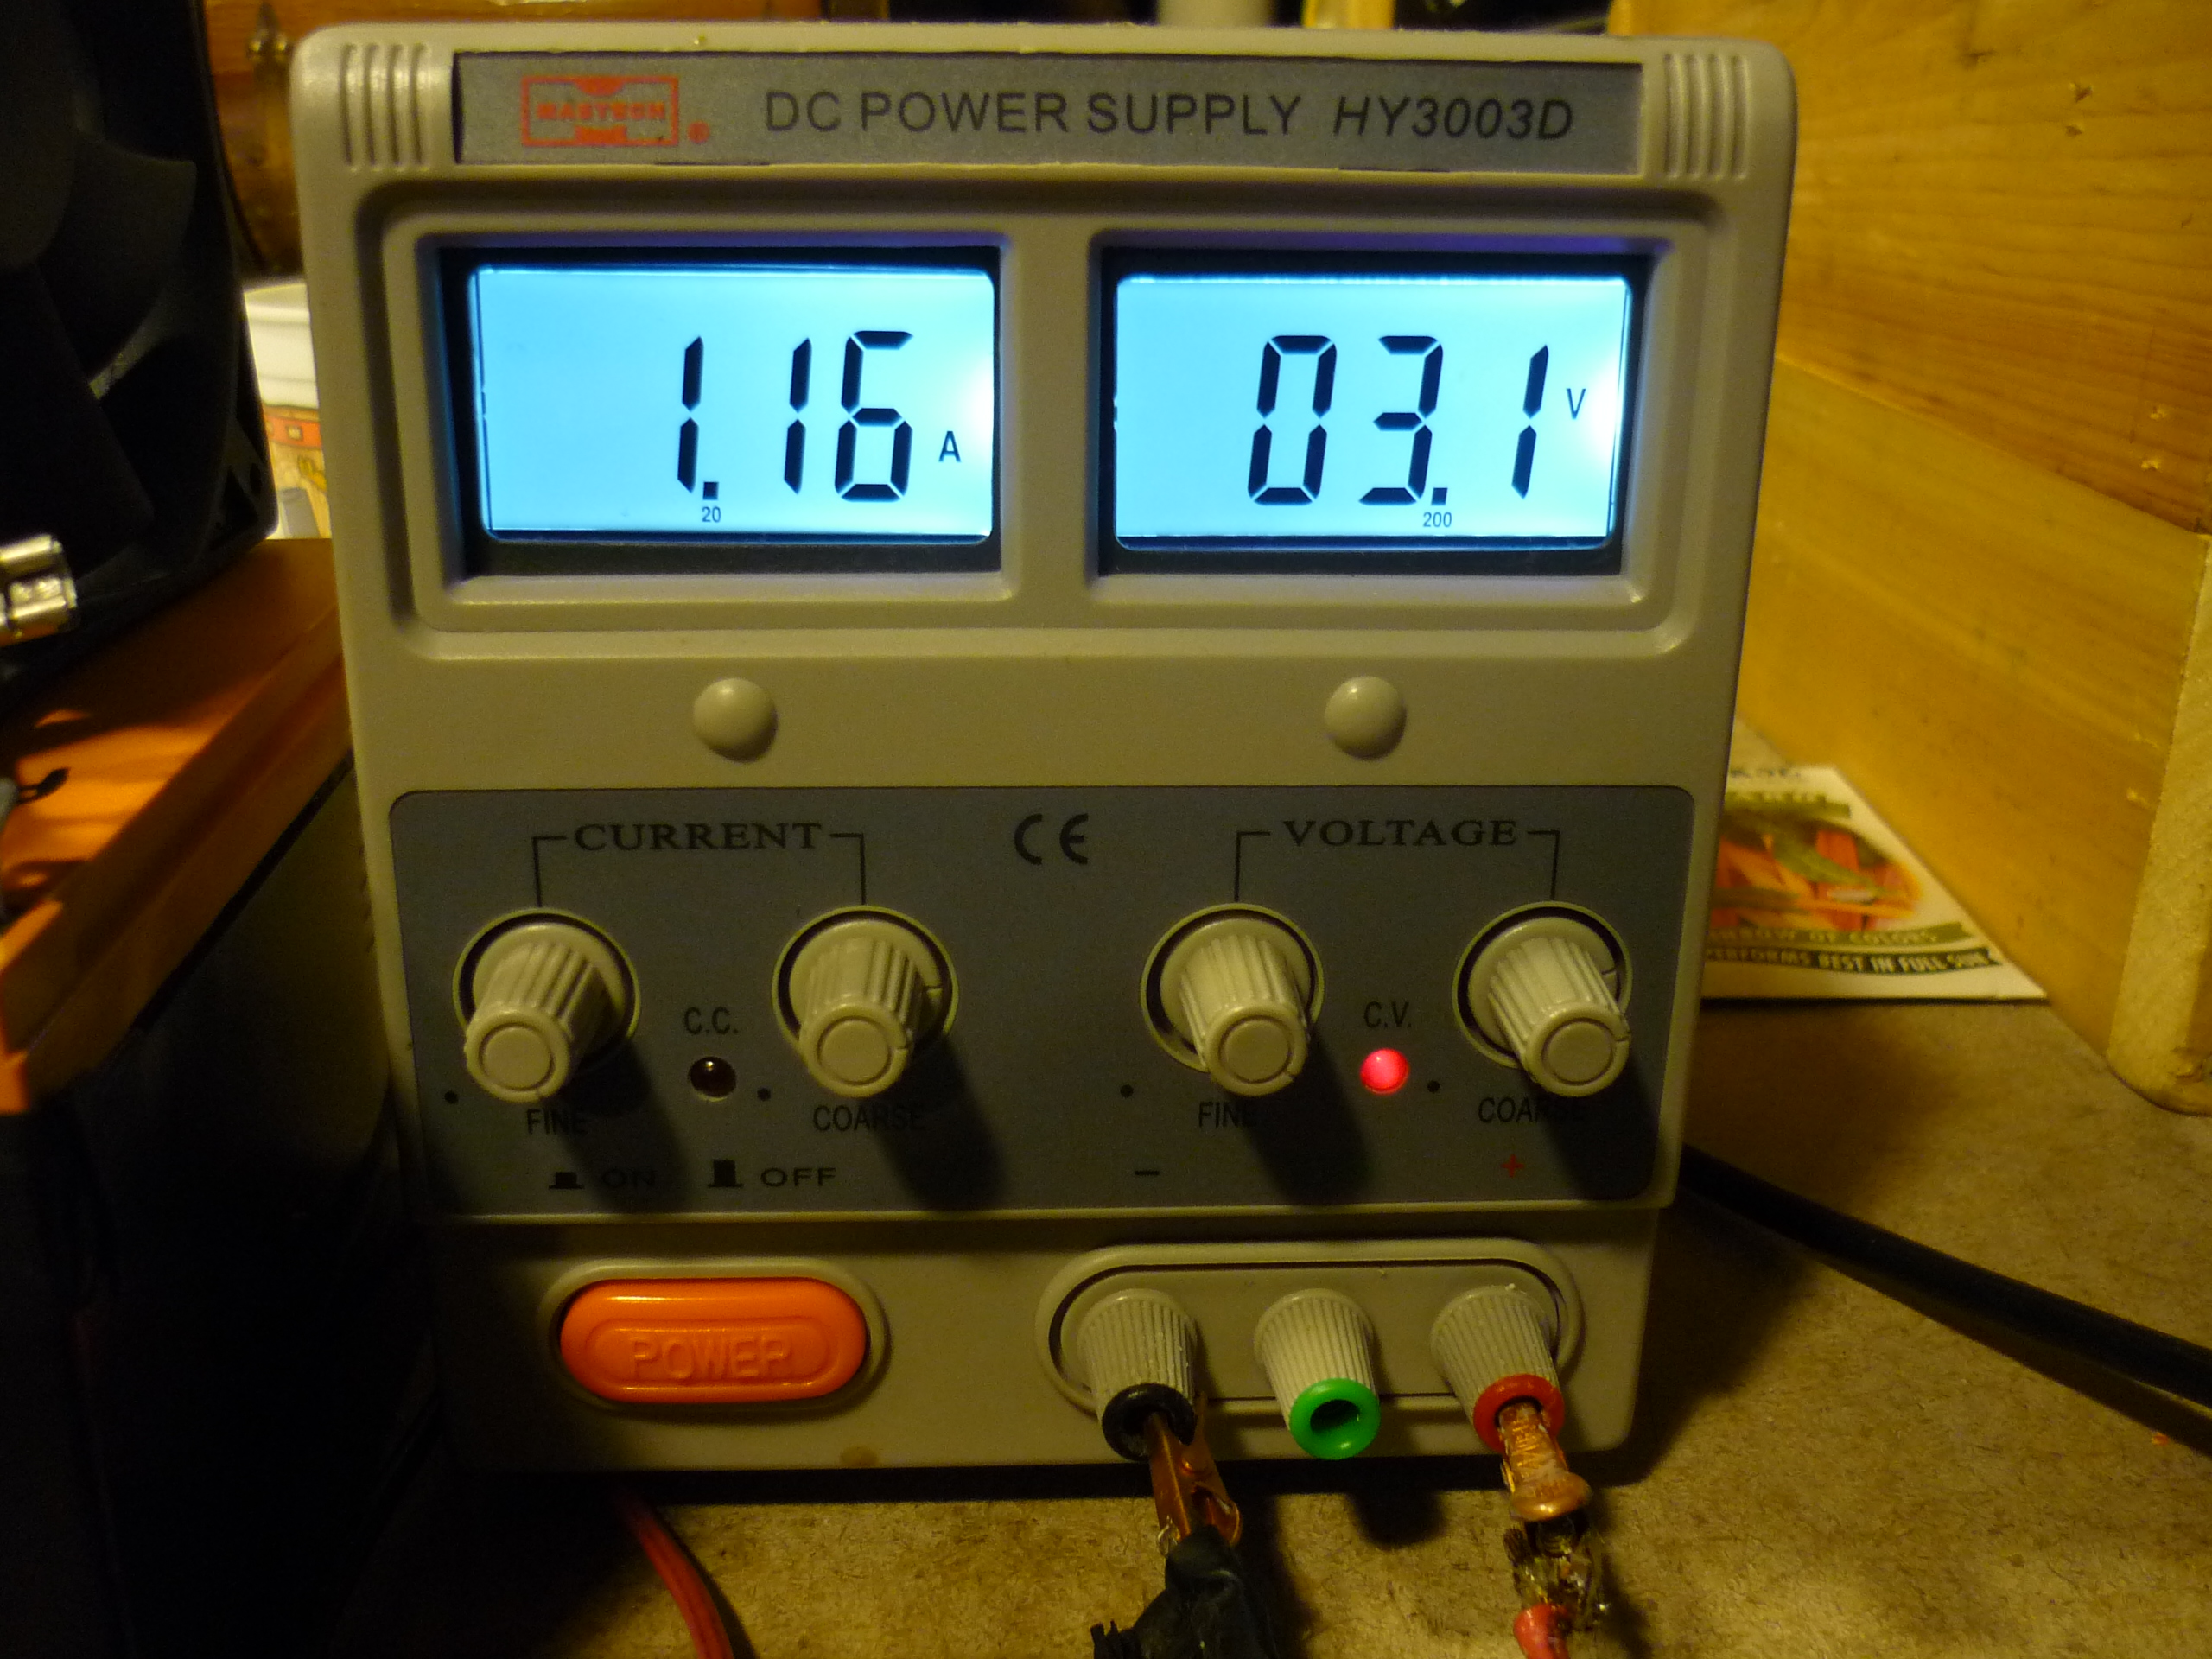
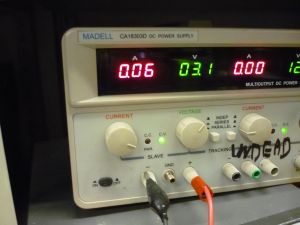
| Setting the power supply The electroplating process is controlled by the current applied to the system, I found some interesting details on acid strength and current over in US Patent: 6030516 I found that for my sample (~120 cm2) a 1A applied current for ~30 minutes at 25C produced a functional coating. This matches a rough 10A / meter squared displayed in other patents. Note that, while it is suggested to use a complex anti-oxidant, and fancier acids (phenosulphonic acid), I've determined that these are required for 'high speed' applications, wherein plating must occur on a short time-scale, or at an increased 'brightness' as described. |
 |
 |
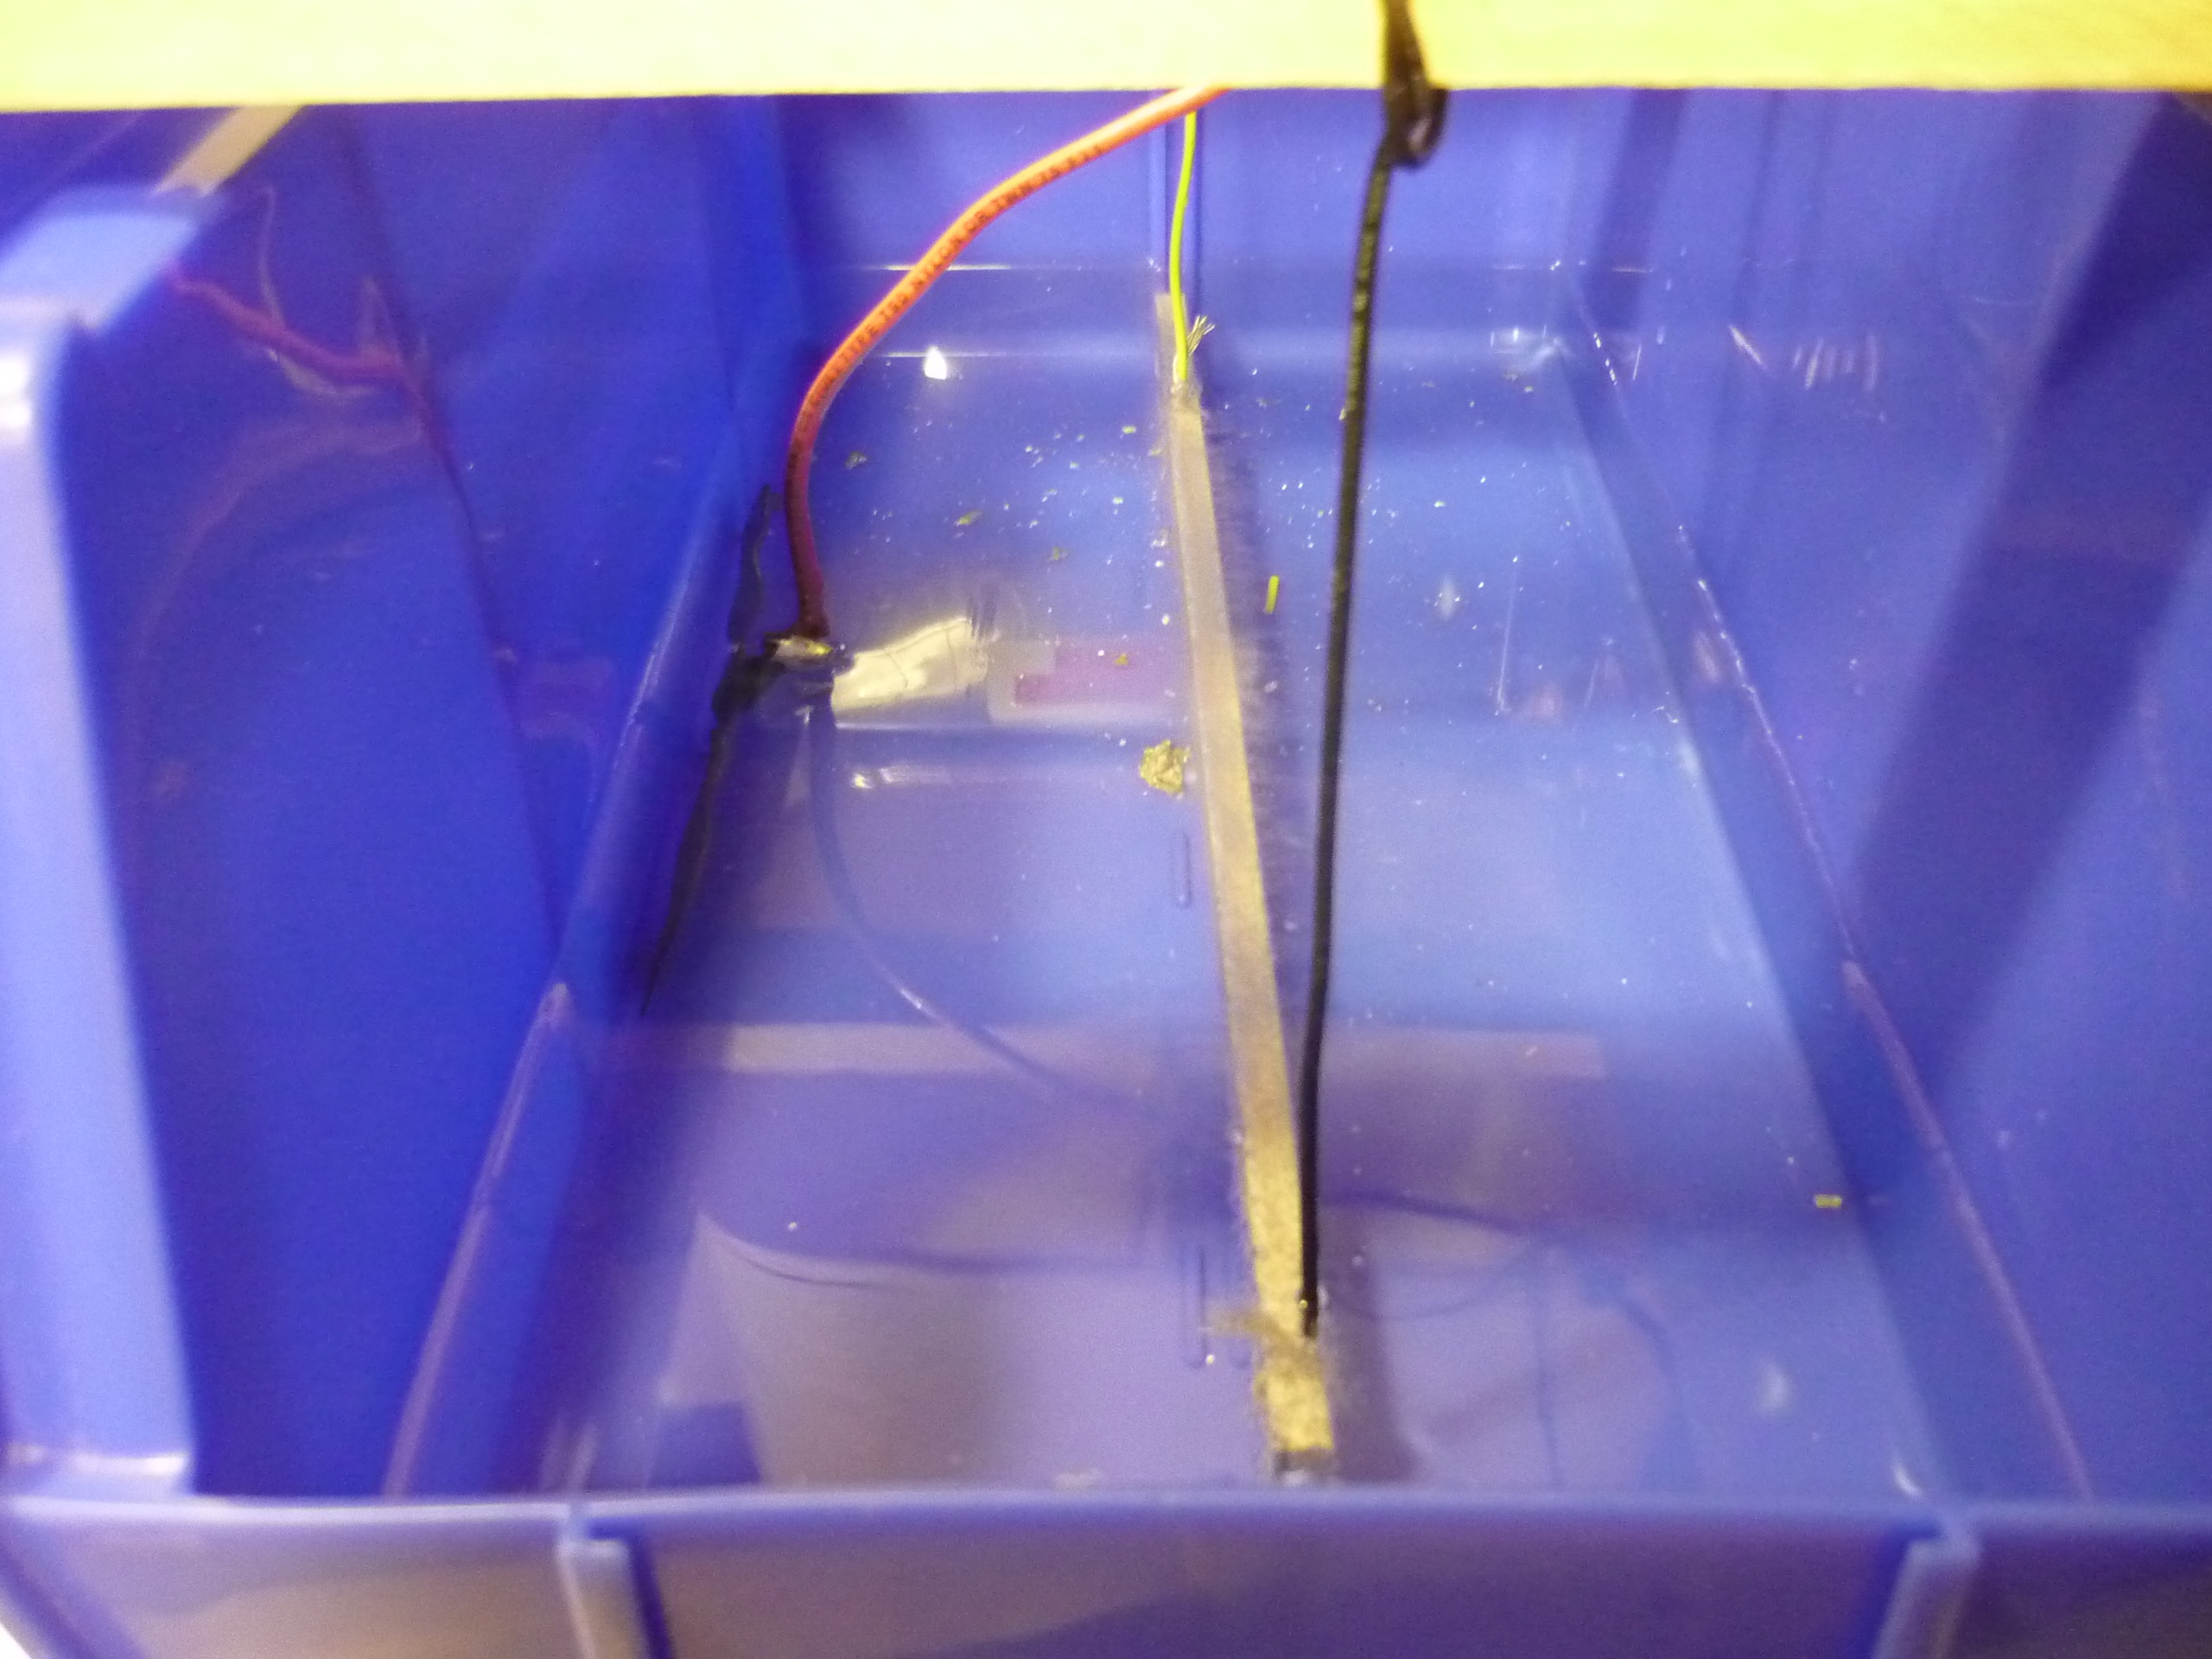
| Moving
the electrode In my test cell, i used a single tin electrode to plate a large copper bus-bar. Operating on the assumption that the plating strength is equivalent to the current density, leaving the electrode in one position would result in very thick plating occurring on the nearest facing surface, and only thin plating occurring around the opposing edges. As a result I manually frequently moved the electrode around the surface that needed plating, to make an 'average' plating density equivalent to that which was required. each component is 'hanging' in the solution to allow for a more even coating. |
 |
 |
| Post-Plating
wash Using a secondary water bath, then acetone wash, i was able to produce the following: The images dont really do the parts justice, the shine of freshly plated tin was excellent! |
 |
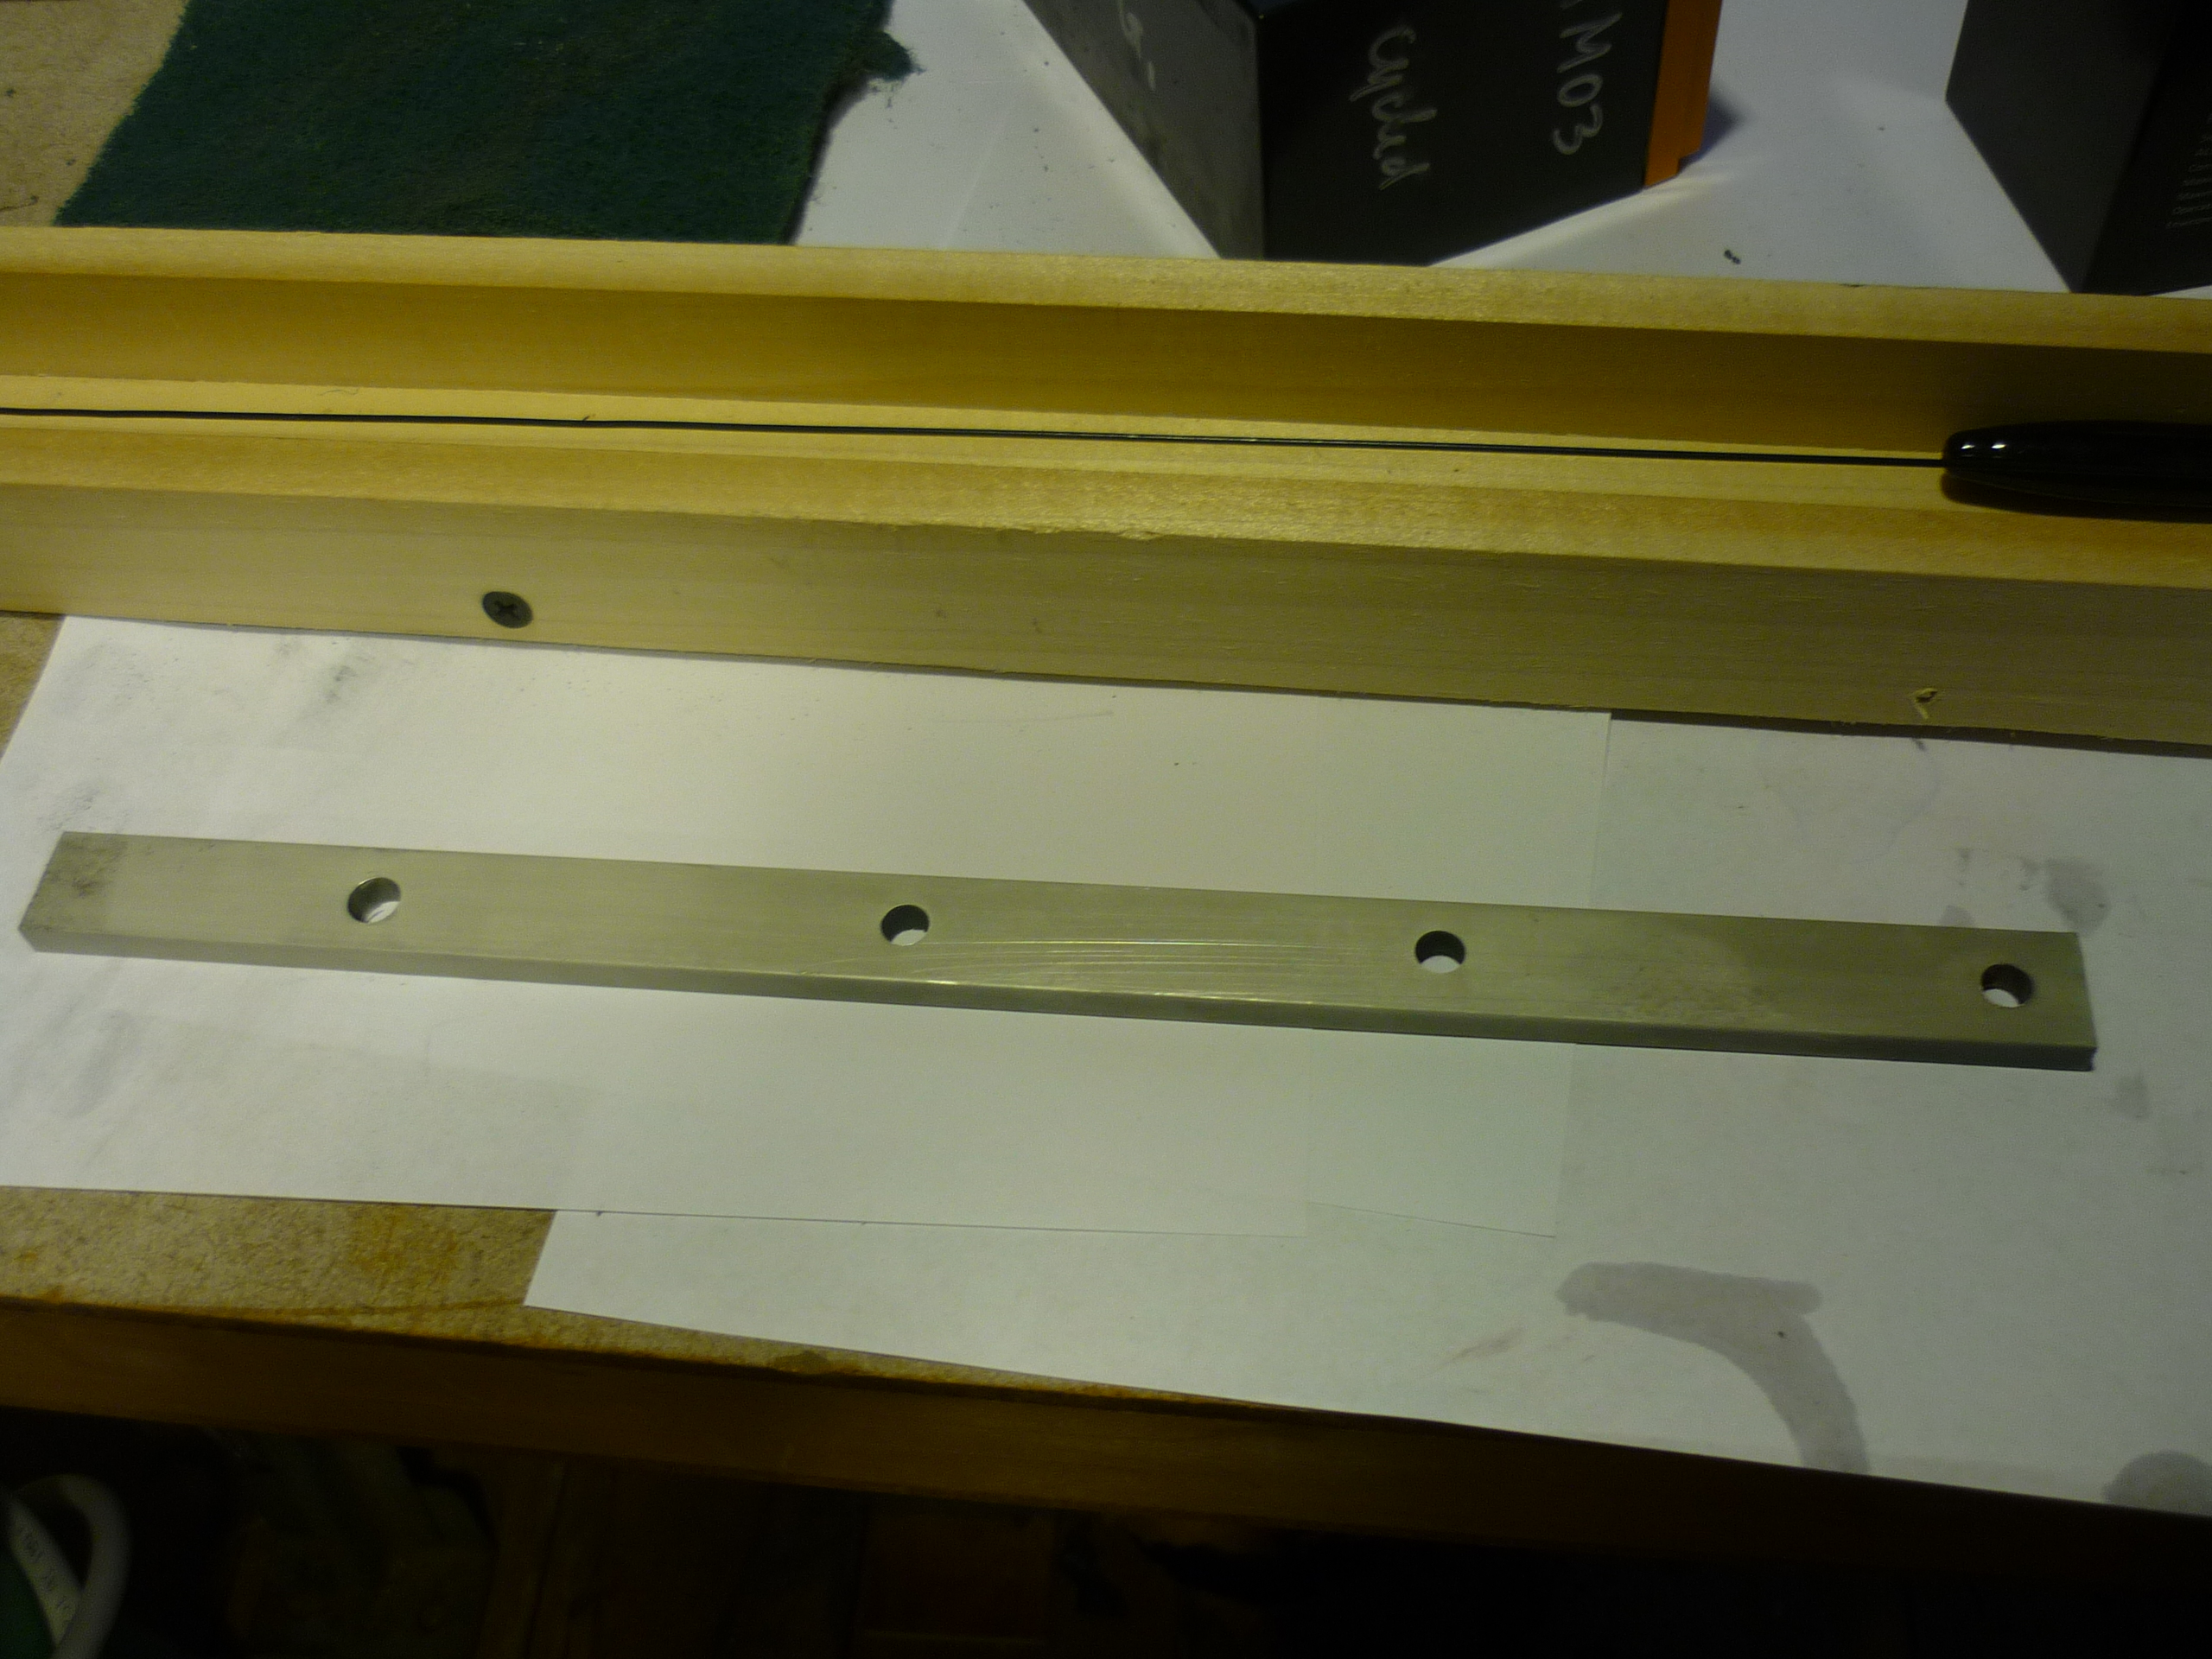 |
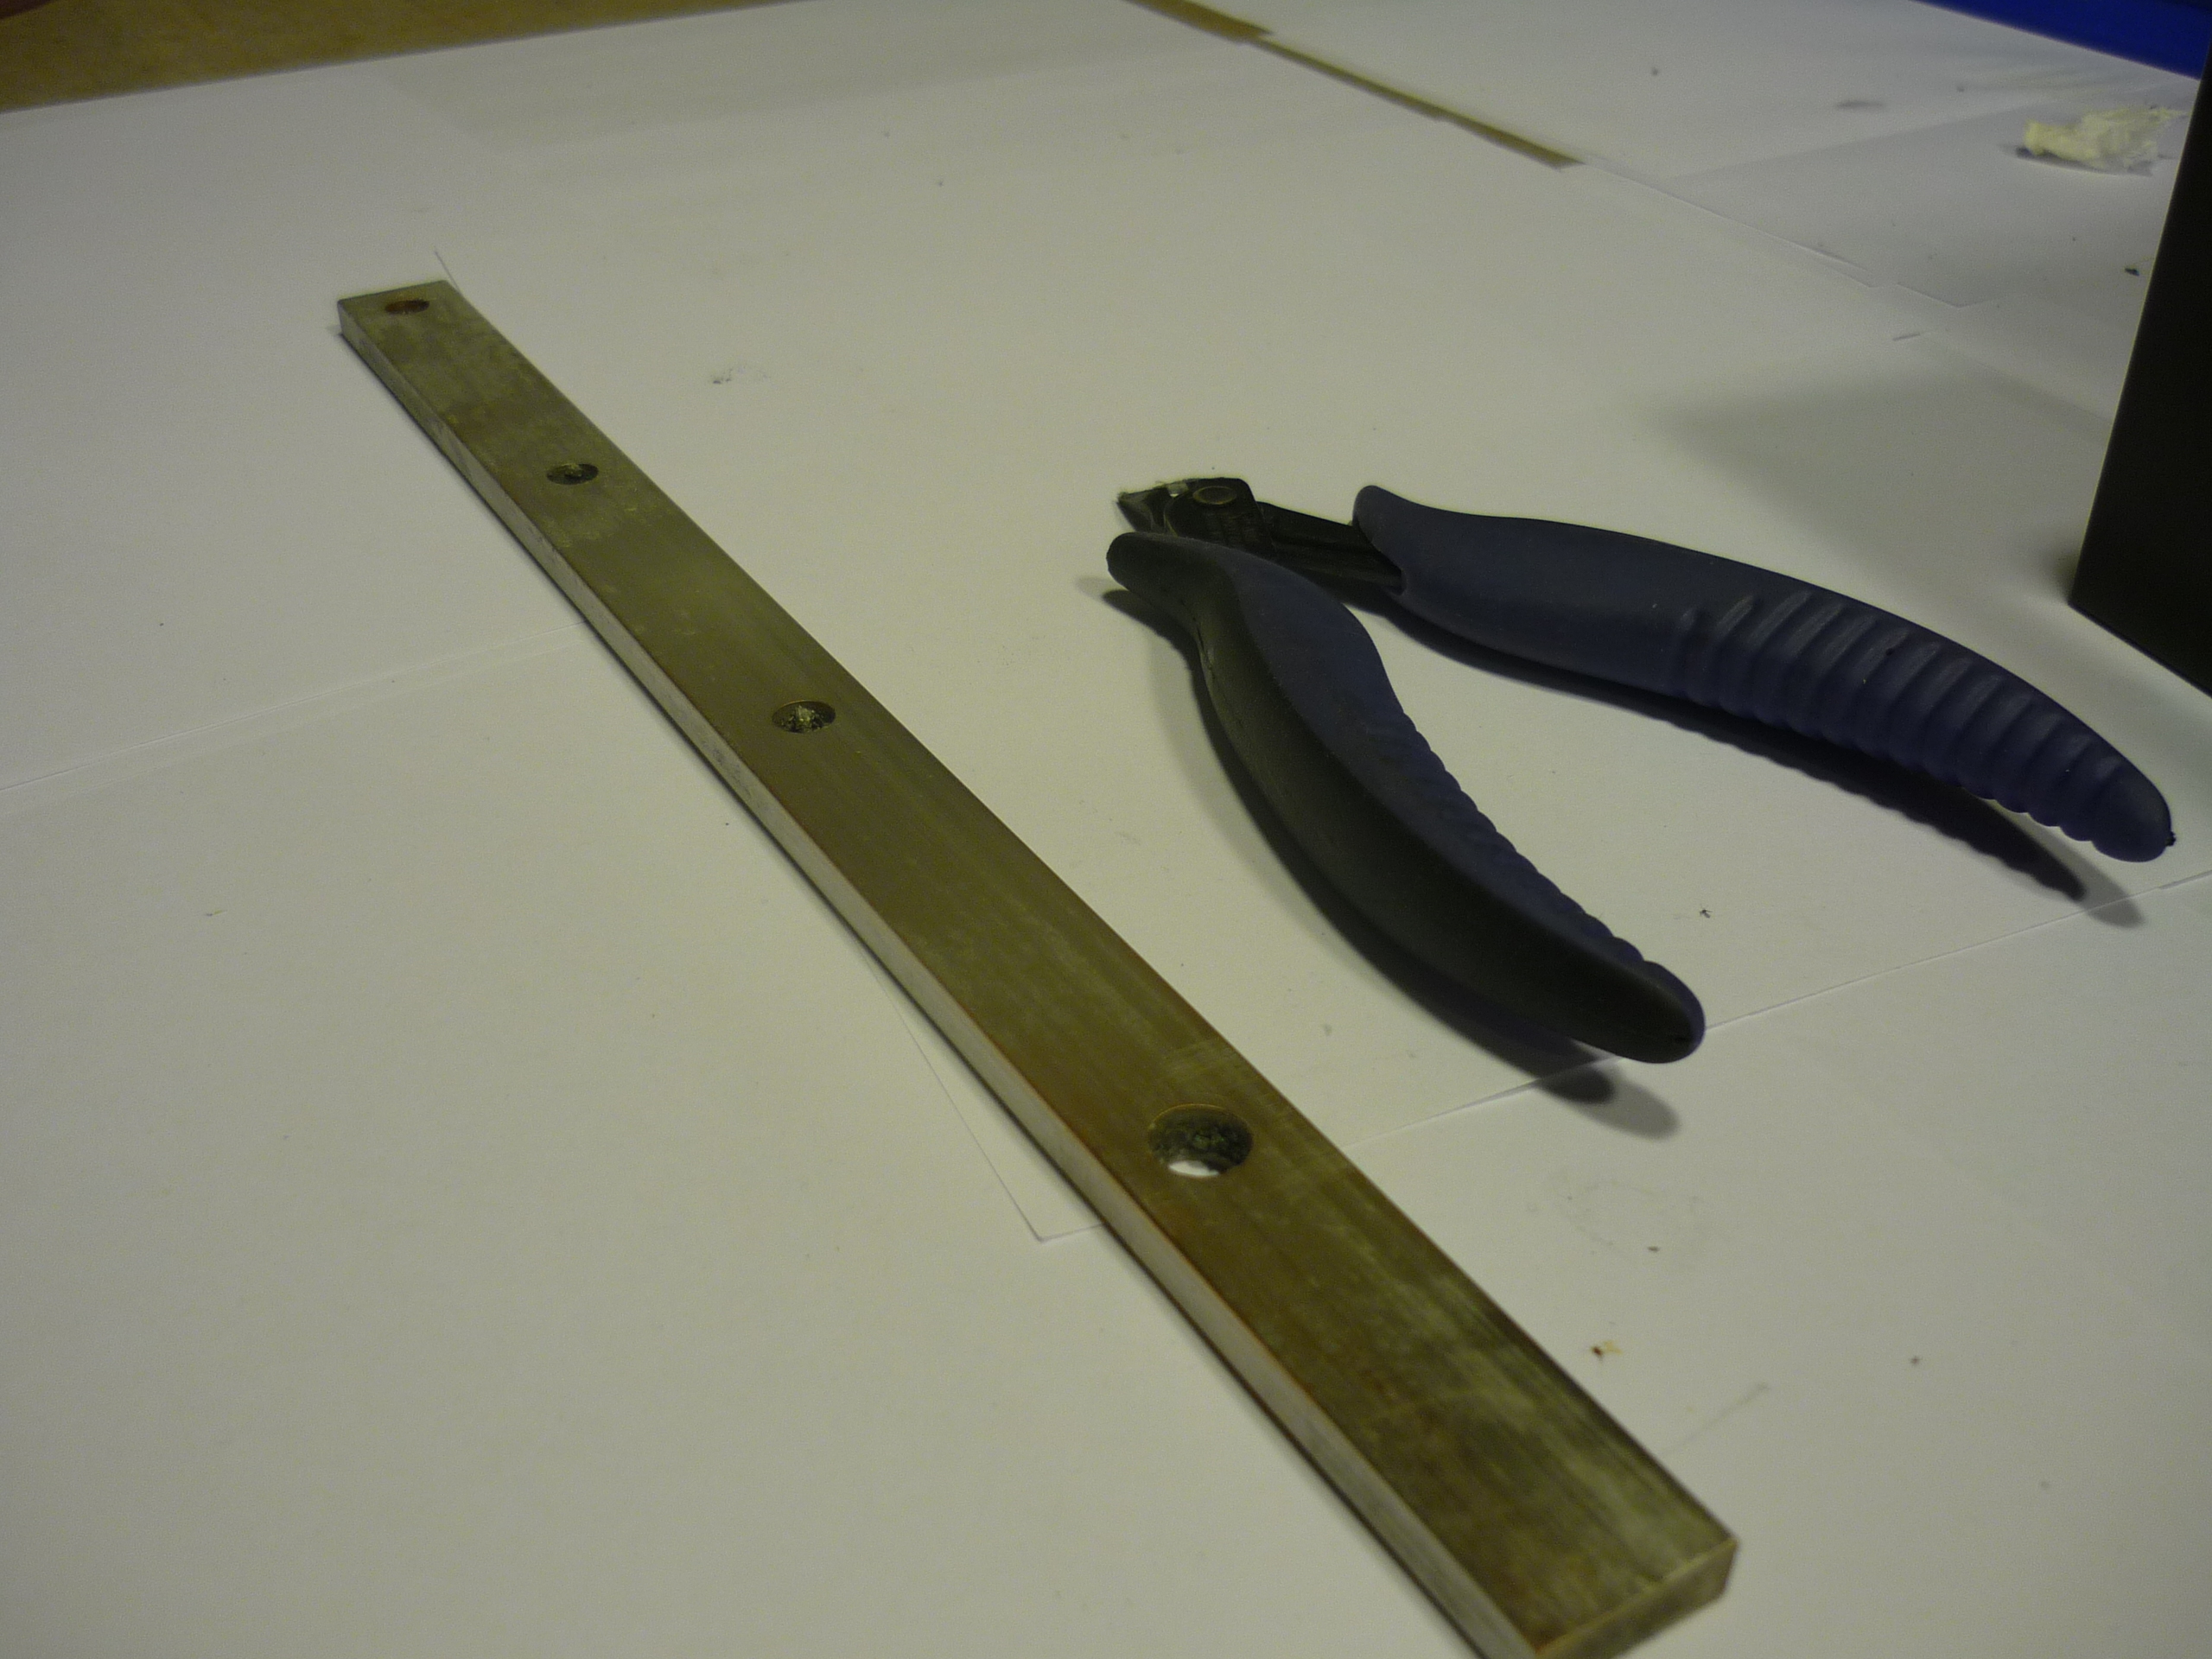
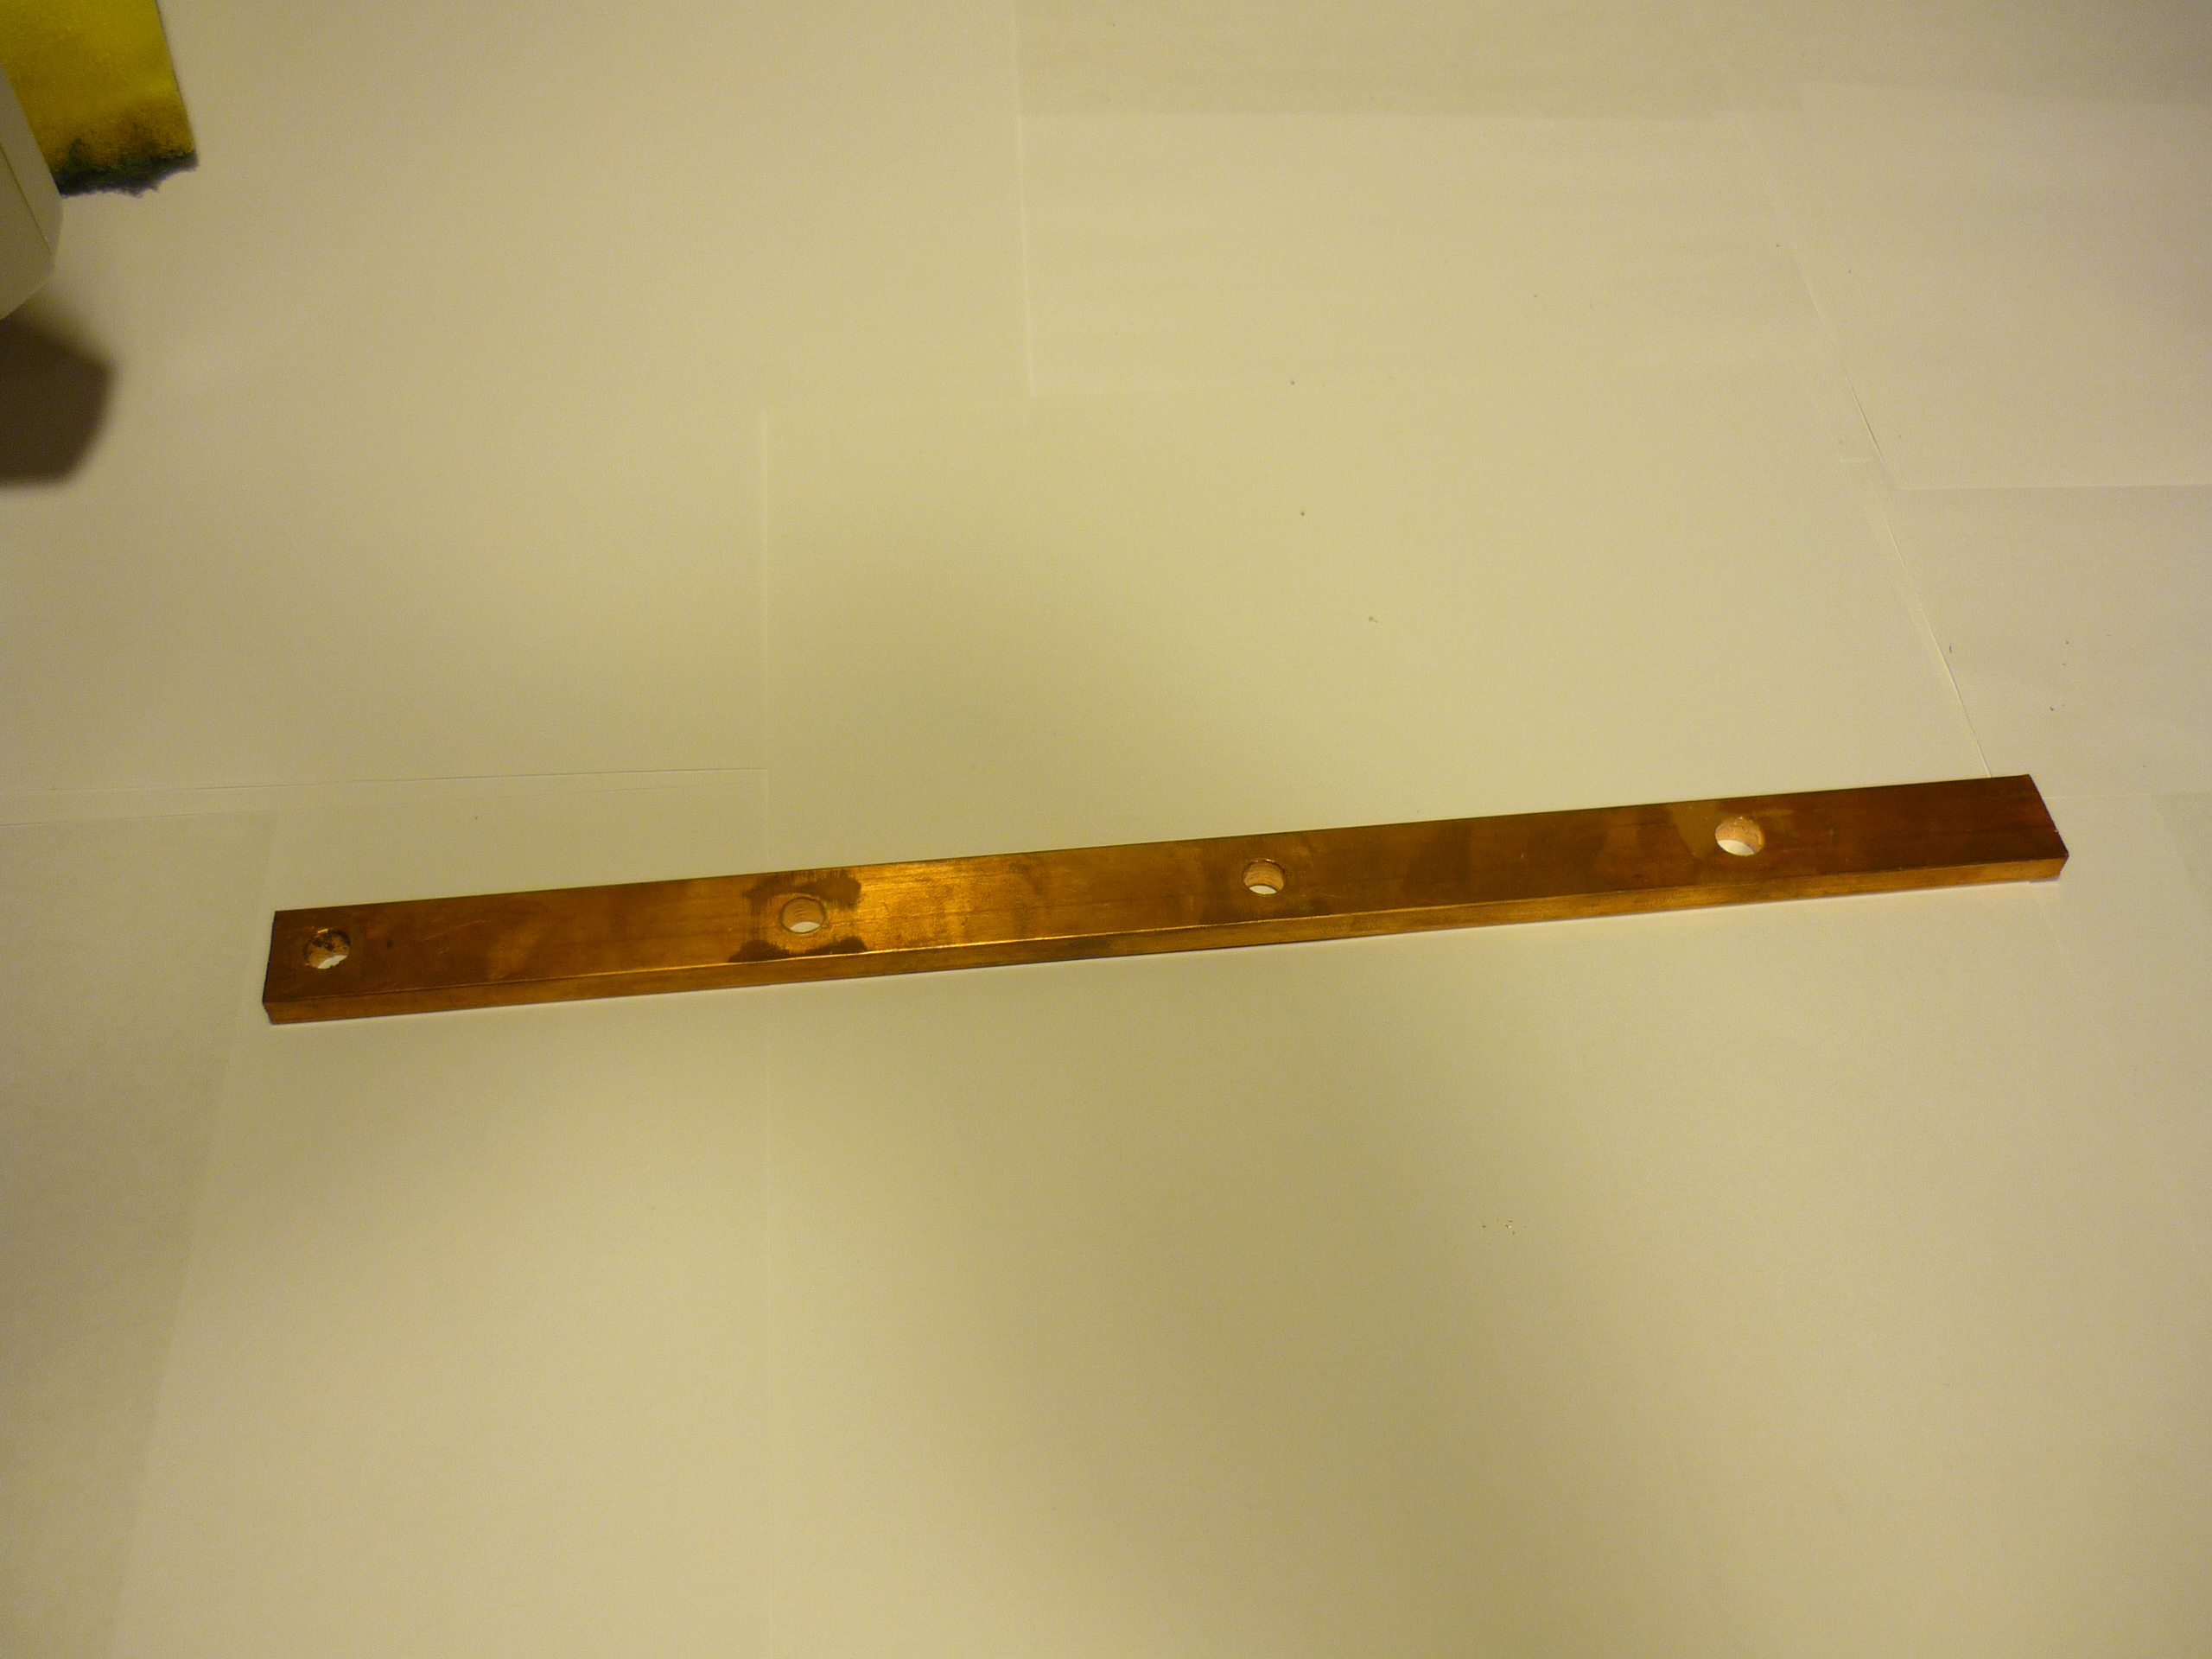
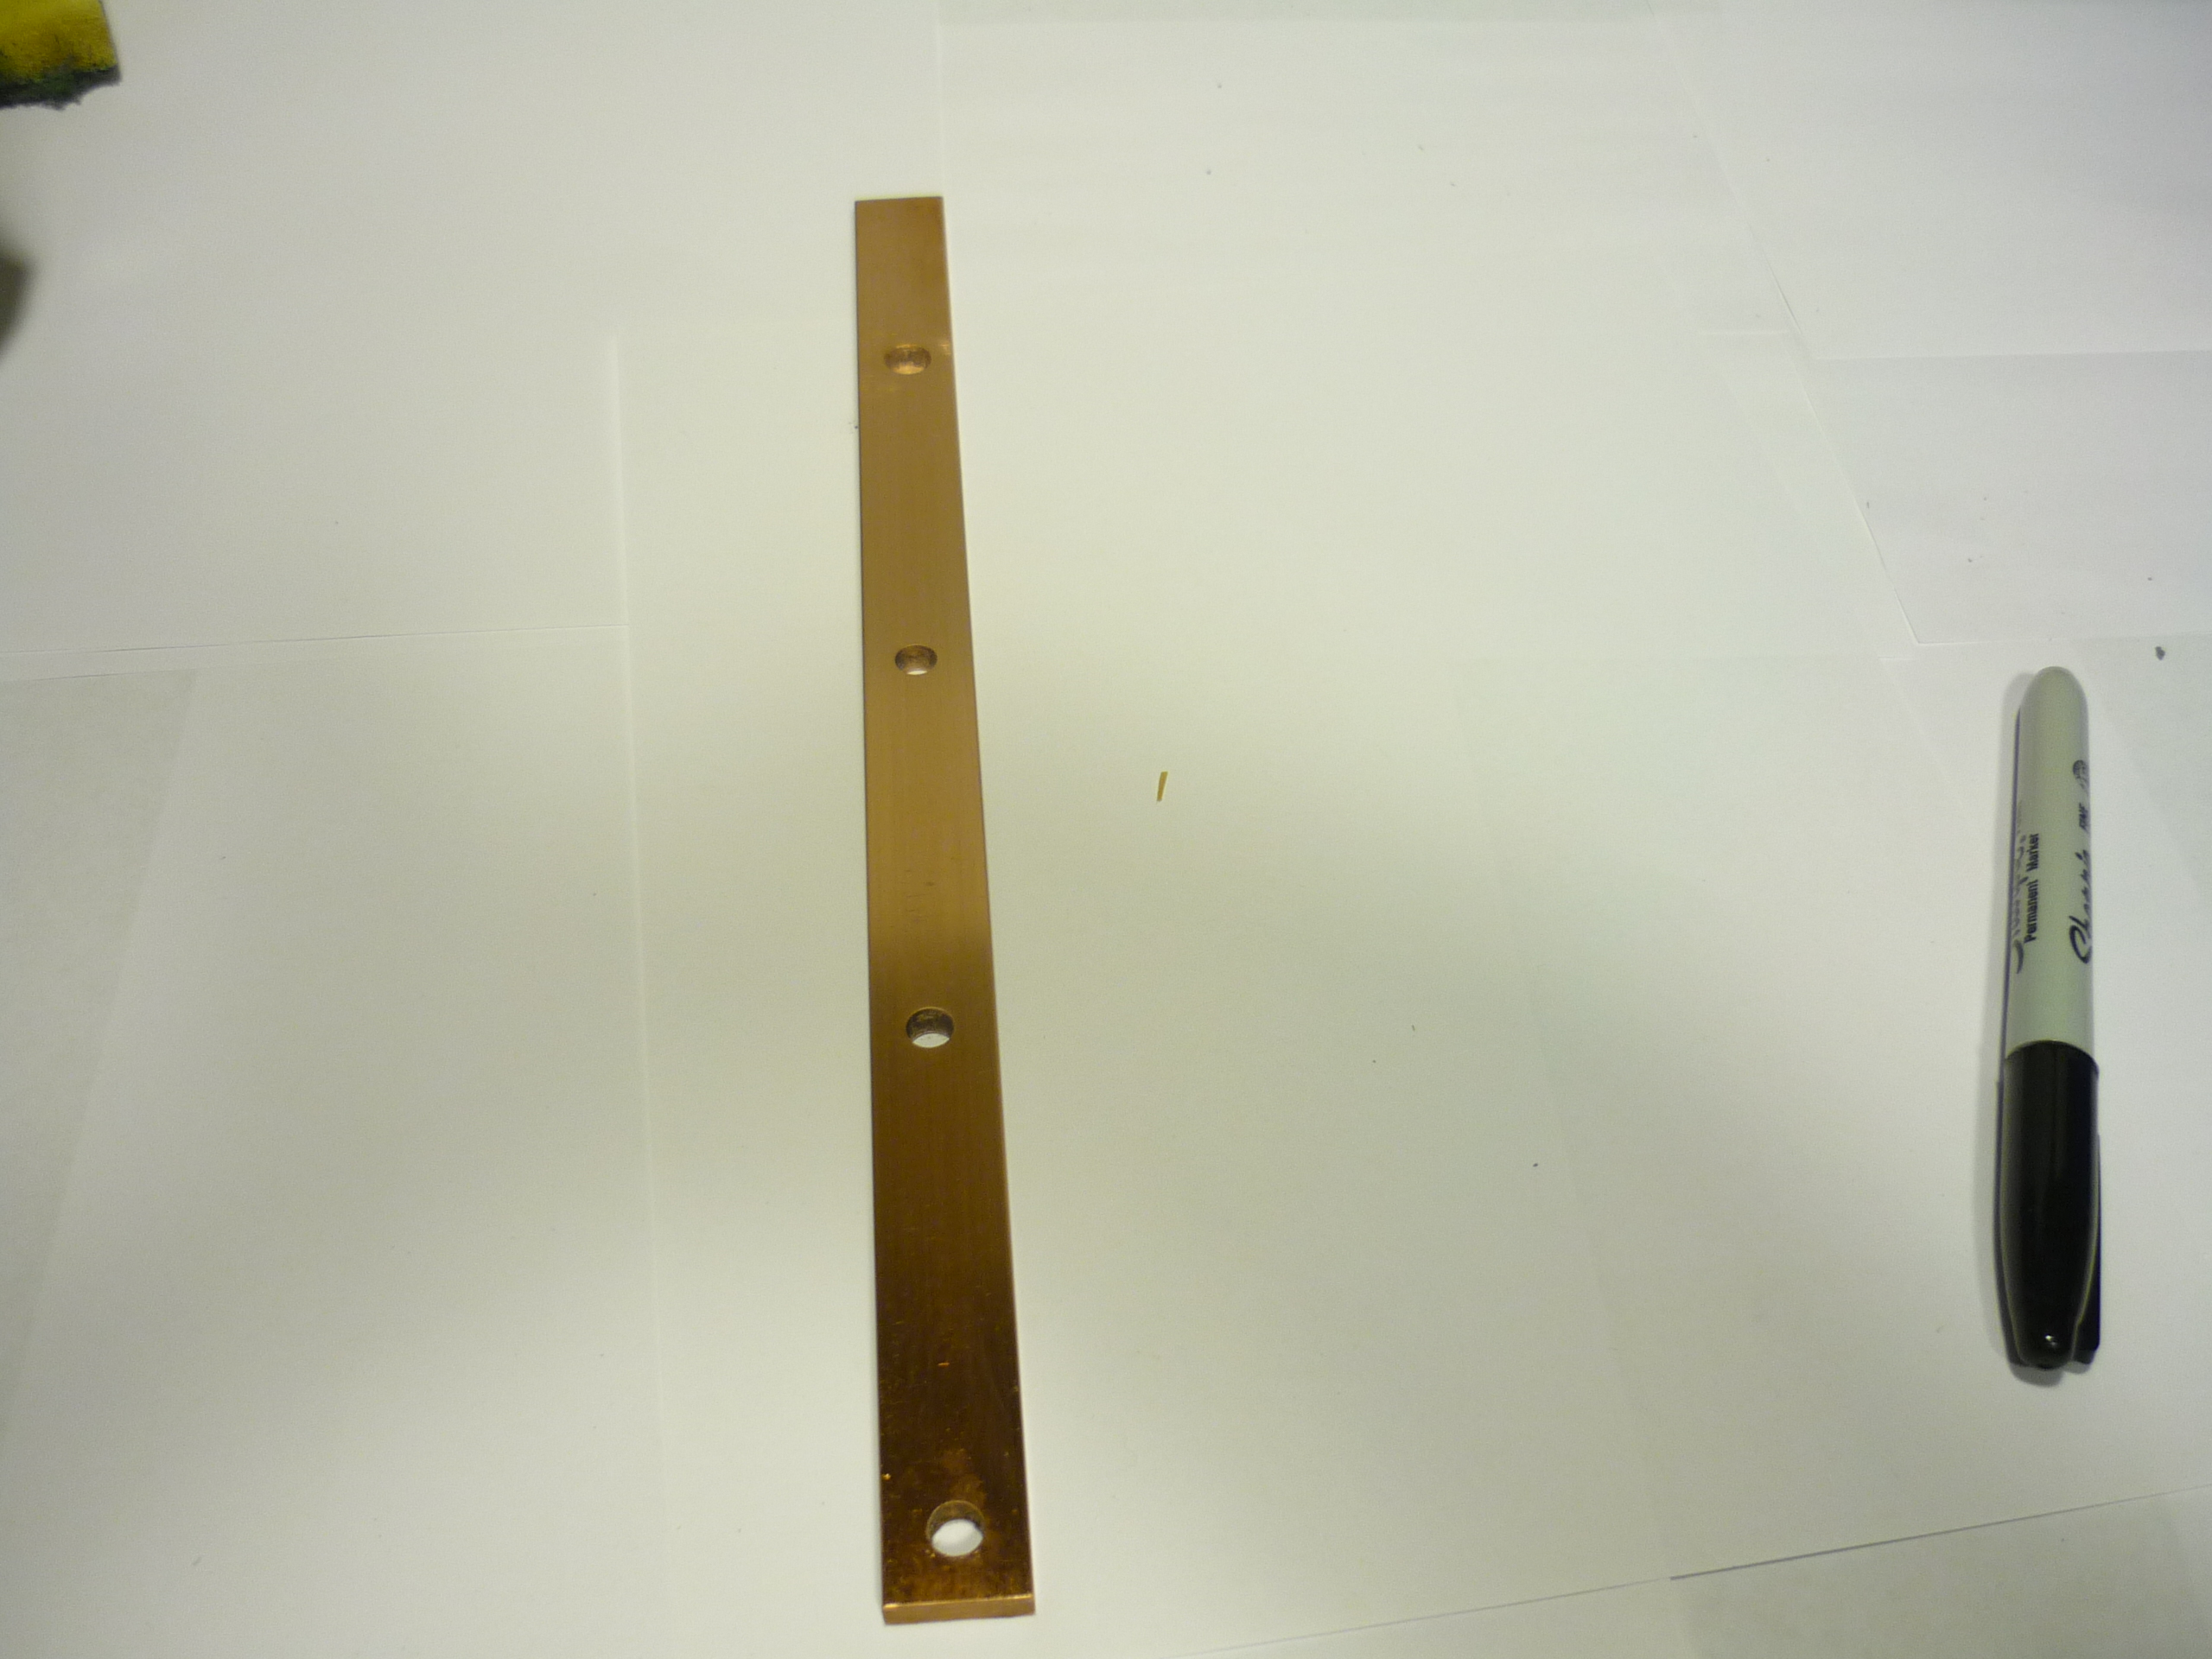
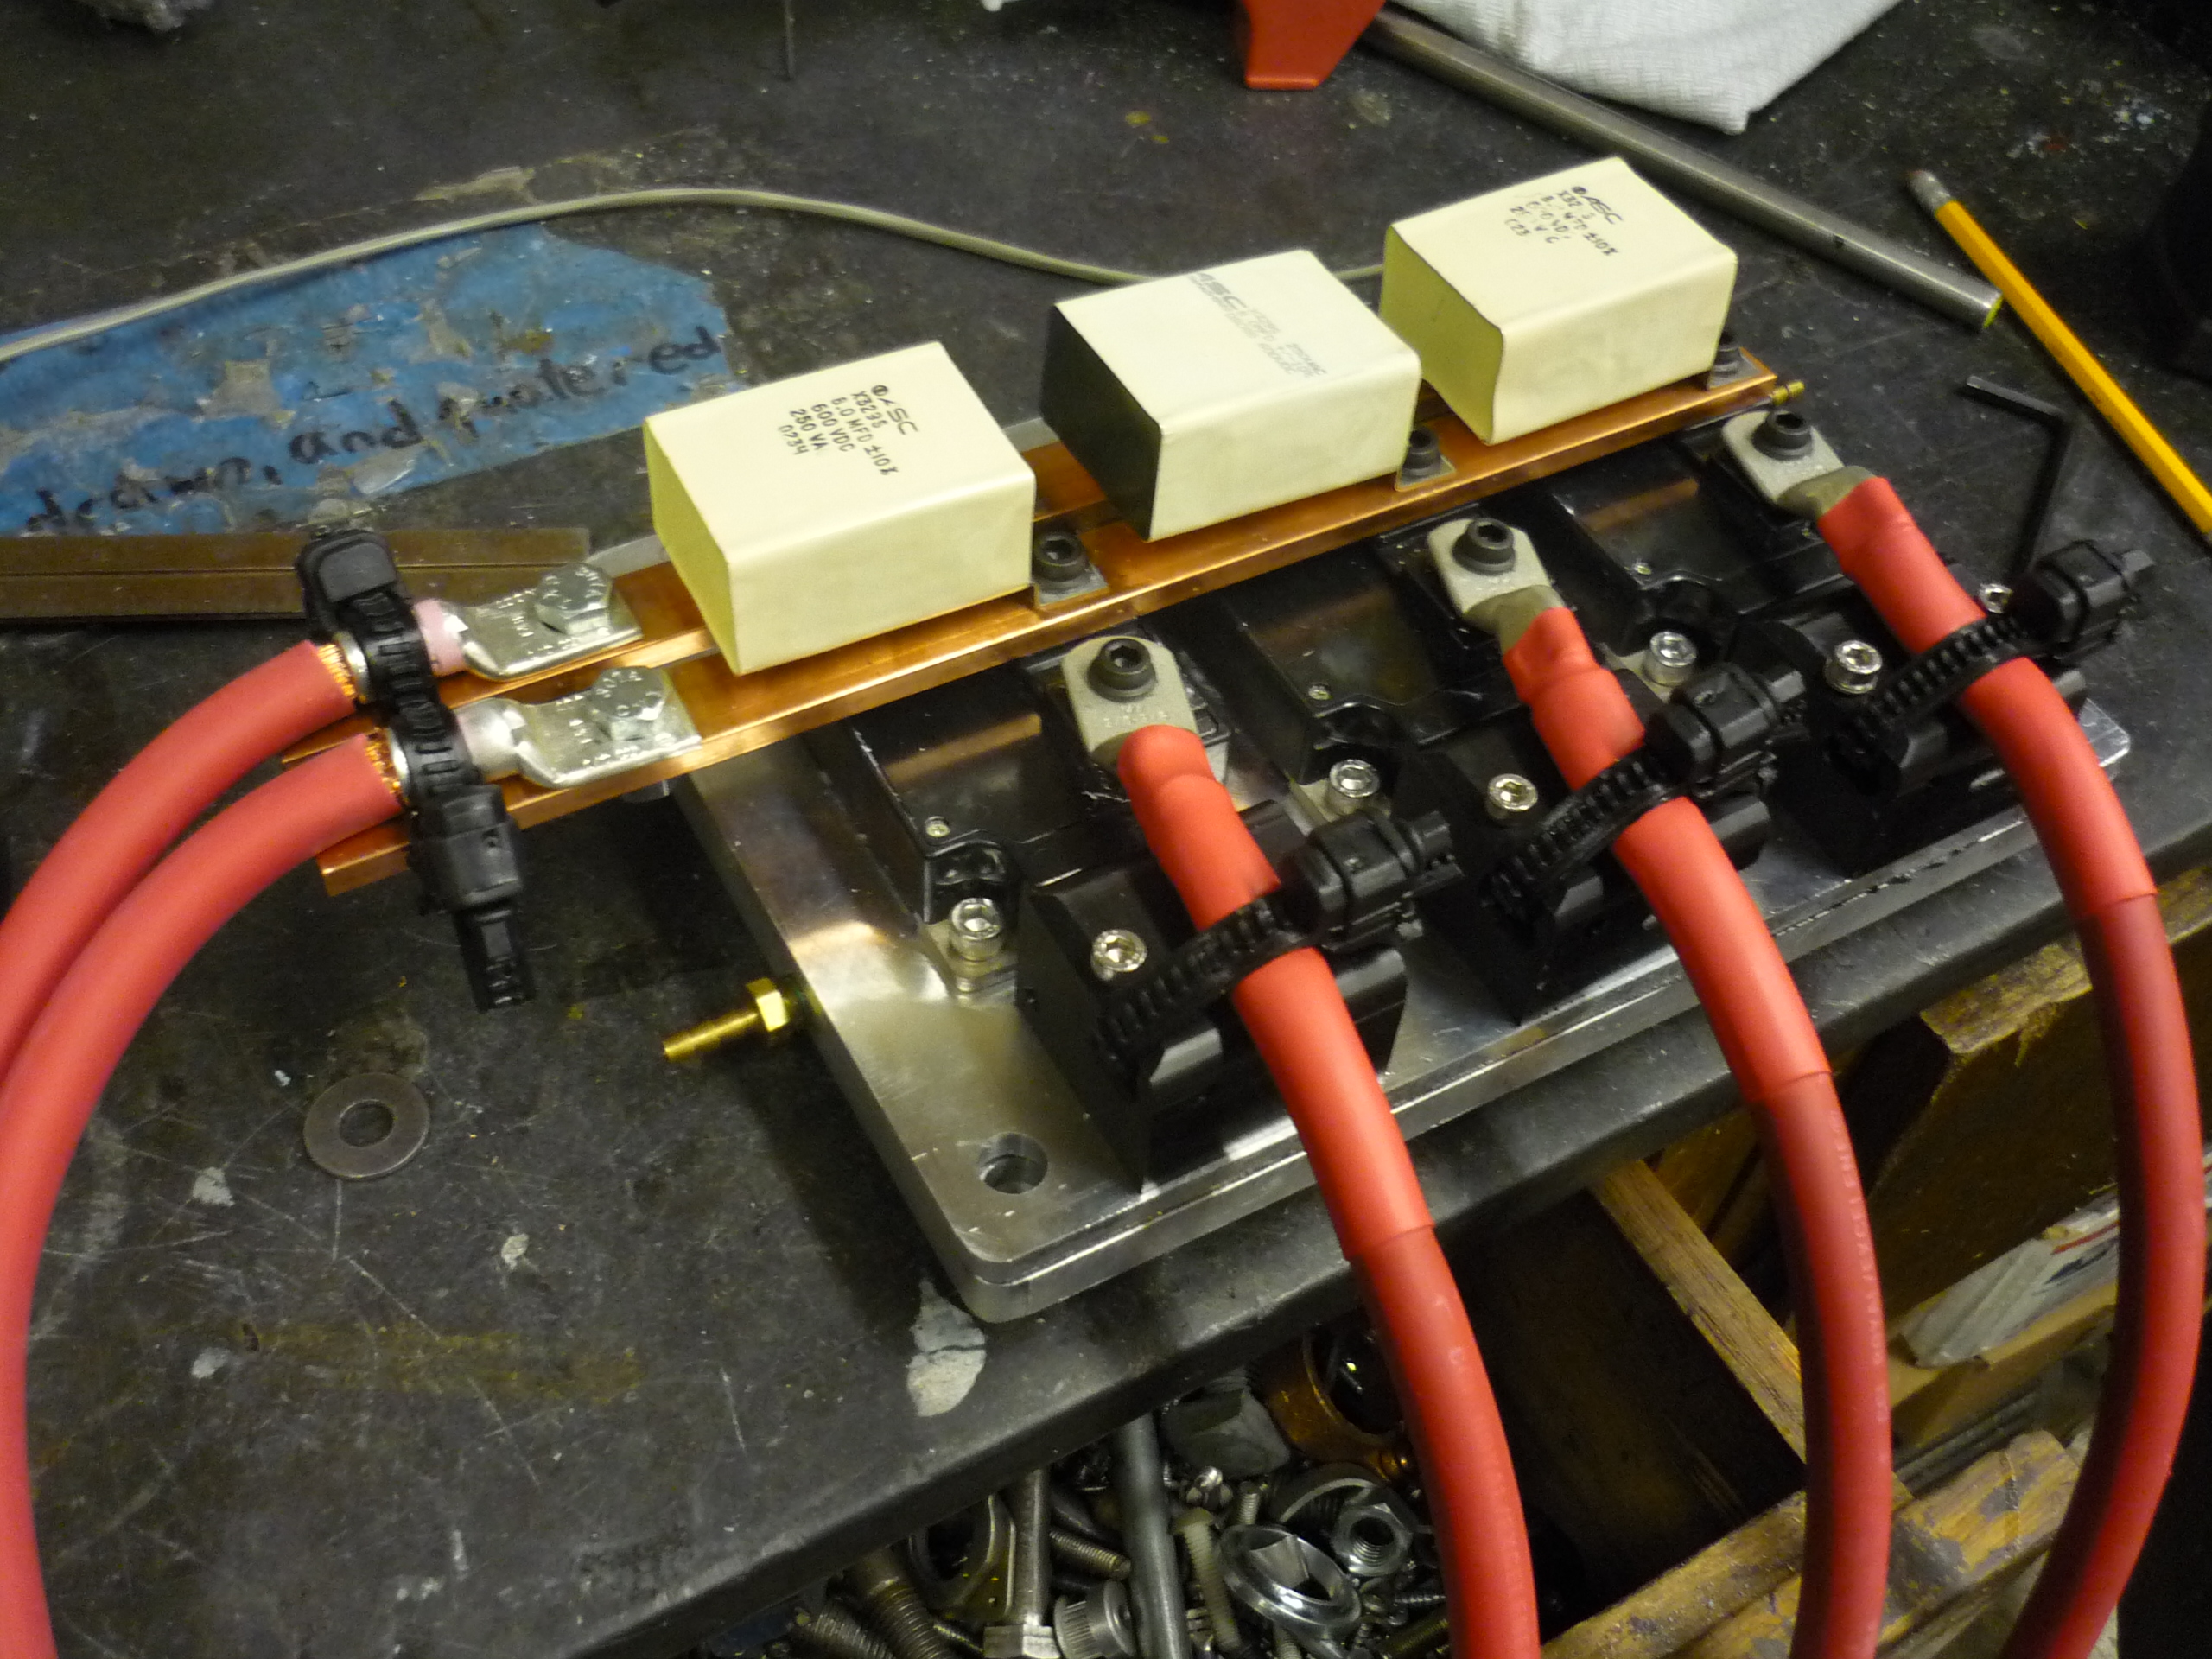
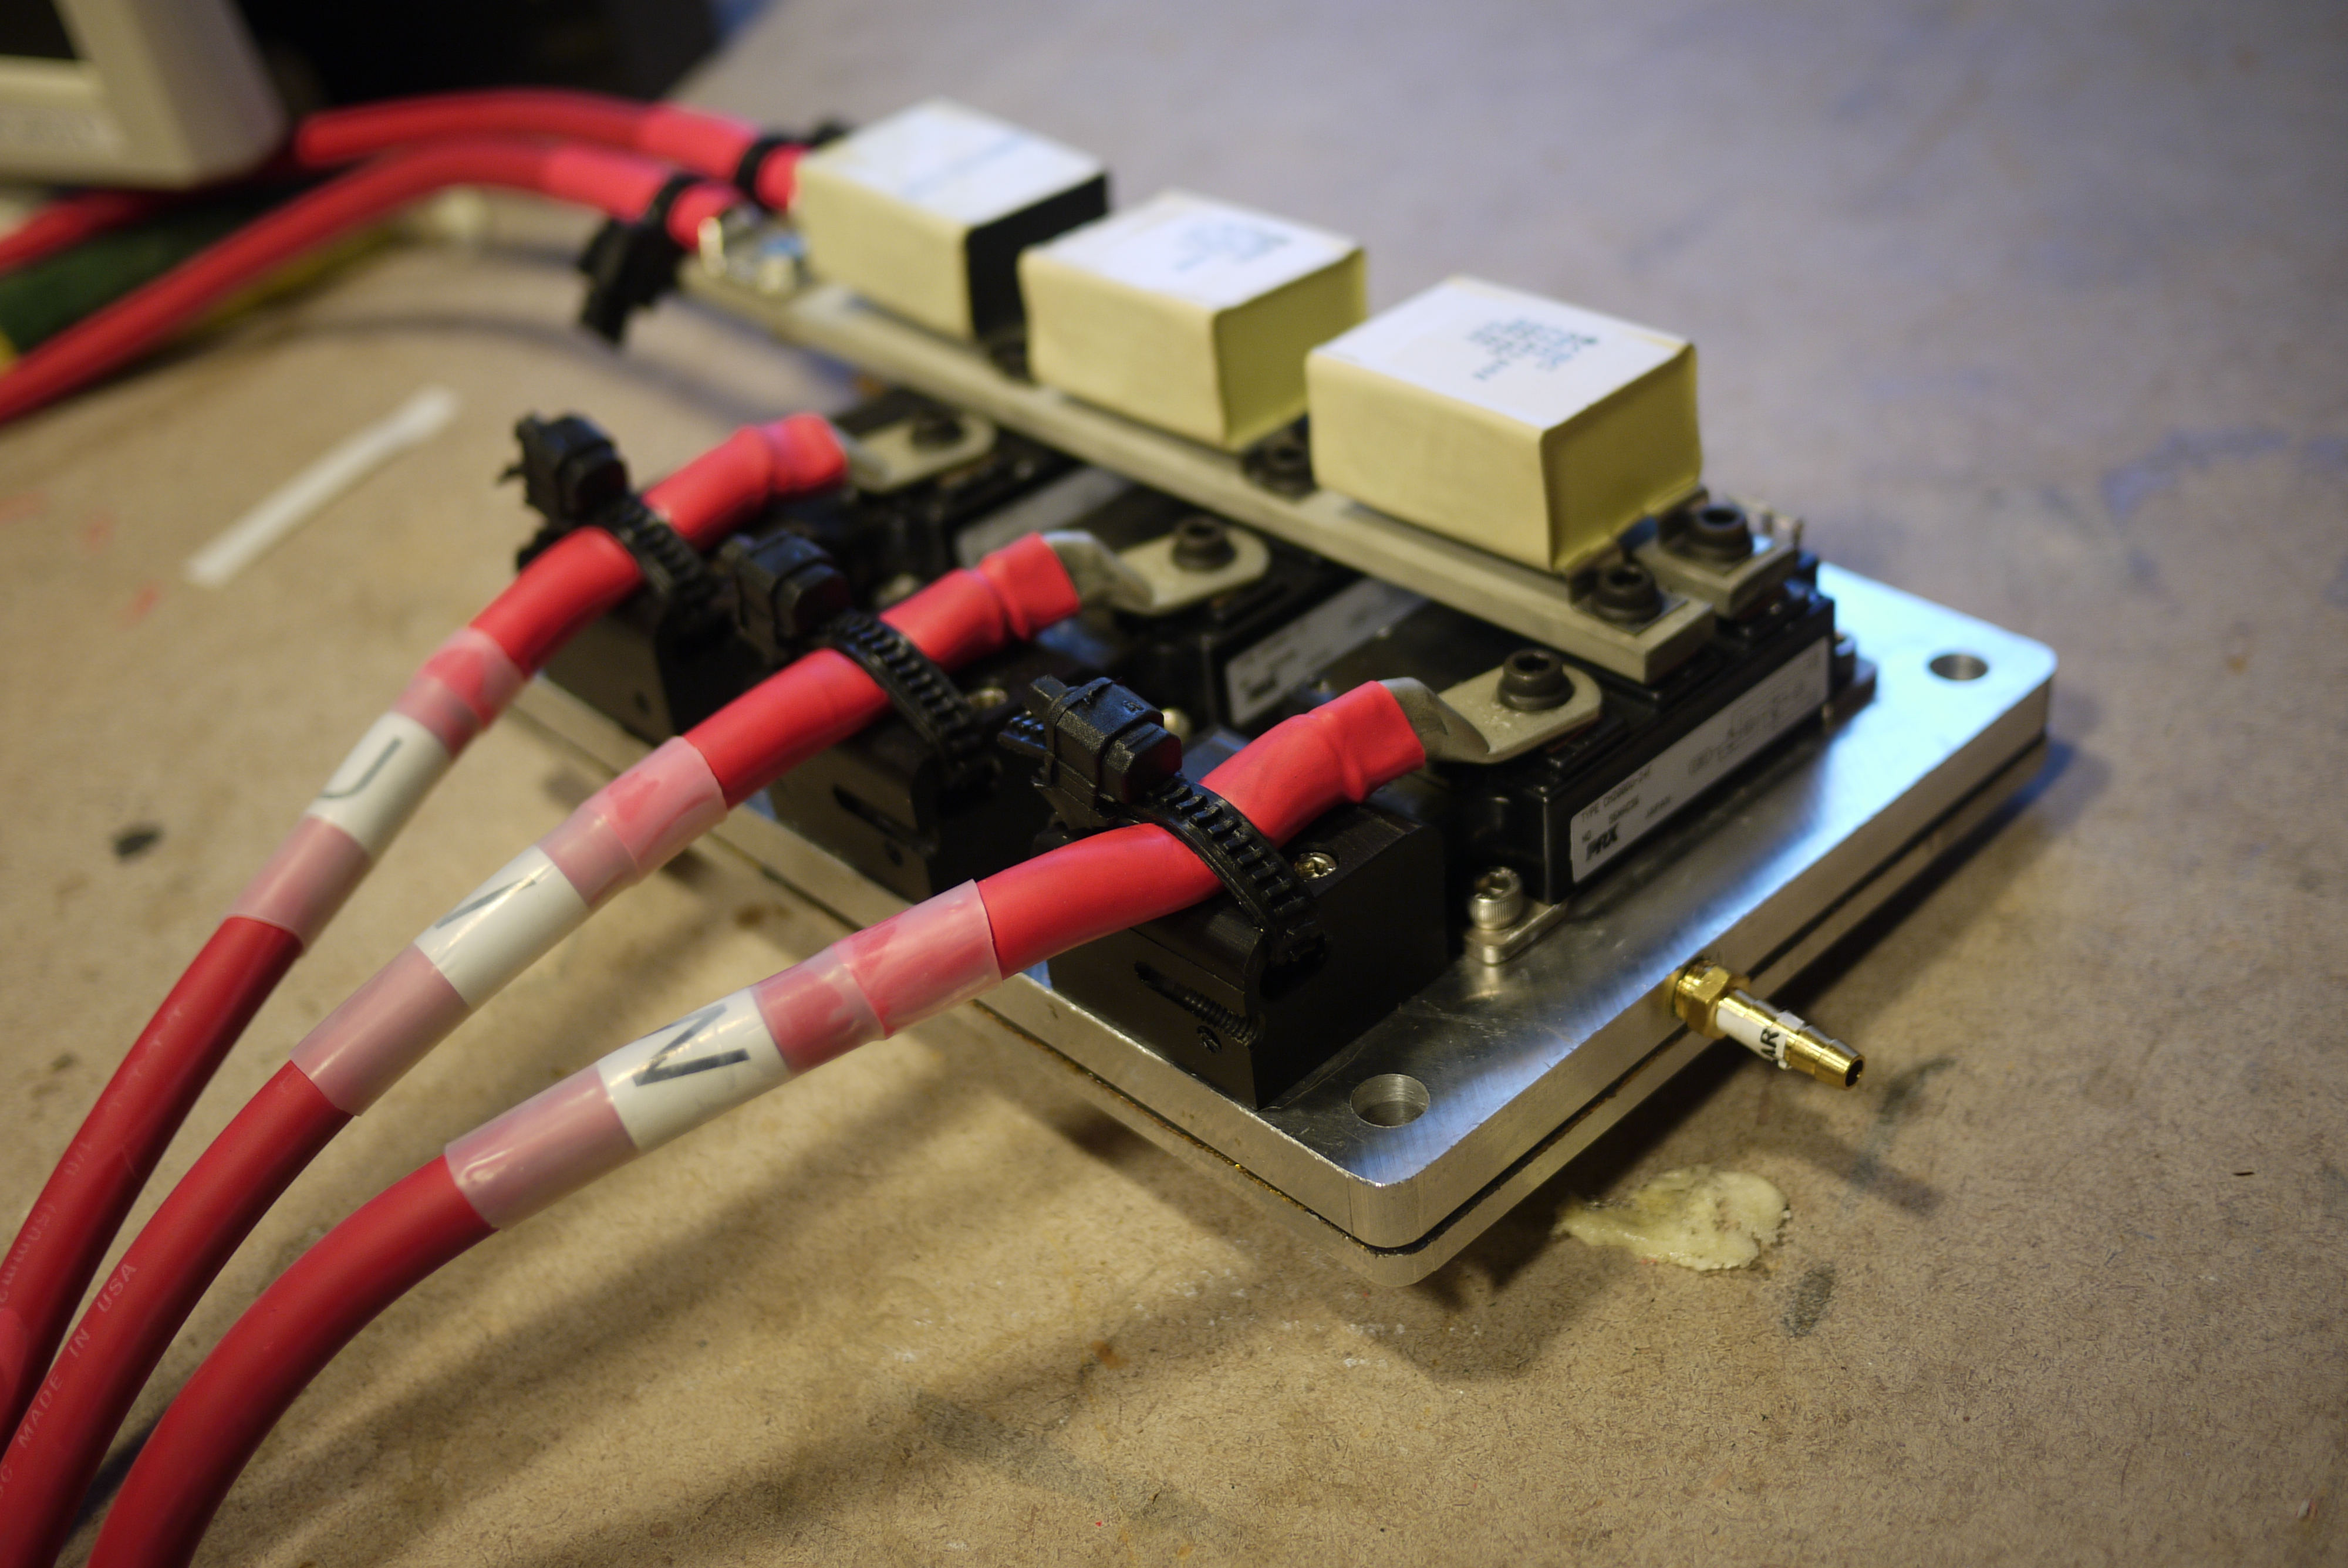
| Fancy
Tin Plated Bus Bar, before and after copper (left), tin-plated (right) |
 |
 |
| Action shots? | |
 |
Plating & E-Field simulation
| How | Image / Media |
| Basic
Model of the system I started with the simple FEMM model of the setup. Note this is a current distribution model, with the following assumptions: * Liquid bath is of uniform resistivity * Amount of dissolved Tin does not change over time Note the model displays that 'point source' electrodes would result in higher current field density near the closest point of the sample electrode, this was discussed earlier. the simple way to mitigate this uneven plating density is to constantly move the electrode to allow for an 'average' current density over time. Another alternative would be to have a giant electrode or electrode container made of tin. |
What was this for anyway?
| notice
the bus-bars? |
|
 |
 |
Concluding Remarks:
Finding a mechanism for determining plating thickness would be neat, i attempted to discern the mass-difference of the plated vs non-plated bar, and determined that it was within the noise floor of each scale had access to.
Furthermore, an electroplating test using easily purchasable silver solder, instead of slightly harder to find tin, would be interesting to run.
Music used in video from GS2 [Link]
| From the sponsors: |
|
|
|
If you have questions or comments, ask below or send over an email.
| Comments: |
|
HTML Comment Box
is loading comments...
|
(be
careful, im not responsible for your tin whiskers or acid burns)
Dane.Kouttron
Rensselaer Polytechnic Institute
Electrical & Electrical Power
631.978.1650
