Dane.Kouttron
[09.23.20] Diesel Heater Upgrades
|
|
| Reviving a 'for parts' Diesel heater and
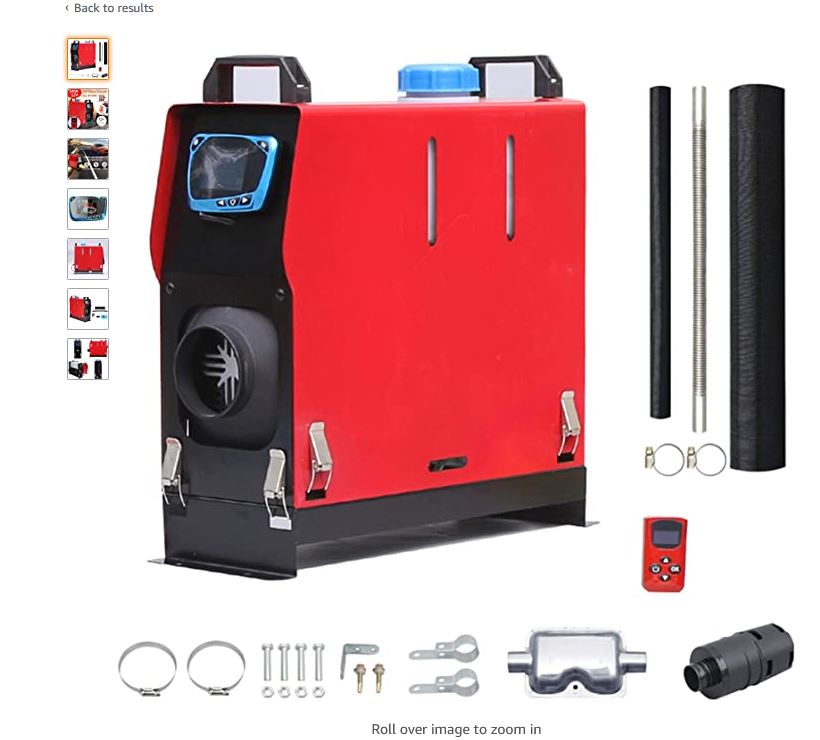
plotting upgrades Wait, what is a diesel heater? Imagine you are on a school bus, its incredibly long and full of single pane glass windows, slowly shuffling down a windy winter street. How do you heat such a lossy vehicle in the winter? This problem pops up in a few other scenarios: an 18 wheeler parked overnight as the driver sleeps; should the whole giant engine idle during this time, or is there a better way to convert hydrocarbons to thermal potential? Behold miniature oil-burners with heat exchangers and blowers, sometimes under the brand-name 'airtronic, these rectangles exist in a variety of thermal outputs and configurations.  The goal is simple: intake cold air, pass over a heat exchanger and pipe into a cabin / enclosed environment, while separating the burner intake and exhaust. Interestingly these also exist for providing limited hot-water sources, I imagine in RV applications for a shower or similar. Note the intake an exhaust for the burner is always separate from the intake and exhaust for the heat source. Shown right is a diagram of the hot-water source diesel heater. I cant quite make out how the water pump works, but it looks like its a dc-brush rotary pump.  Eberspaecher makes a modern diesel air heater, here's a [link] to their products. The basic overview is a glow-plug-fed combustion chamber, with an intake and exhaust, thermally de-coupled via a heat exchanger to a ducted air shroud. Intake air is nominally cool, and heated up as it passes over the fins surrounding the combustion chamber. A temperature sensor monitors the exhaust air to control outlet temperature. The size is impressively small, allowing it to be installed in vehicles as a retrofit. To provide fuel, a solenoid pump seems to be the item of choice. Shown right it is listed as a 'metering pump'  The clone wars There's a great write-up here [link] on the emergence of clones to the Webasto and Eberspaecher parking heaters. Genuine Webasto ~5kw air heaters are ~+3,000 USD, nominally they are somewhat a life-support system, insofar as a home heating system is, in part life-supporting. The price is somewhat tied to the utility and fabrication tolerances, not necessarily the sum of the material costs of the components. Either way, clones appeared, comically low cost clones appeared, cutting the price by an order of magnitude. Below is one of these units, disassembled and re-assembled.  A pile of parts appeared One of the |
| The inherited pile of parts | |
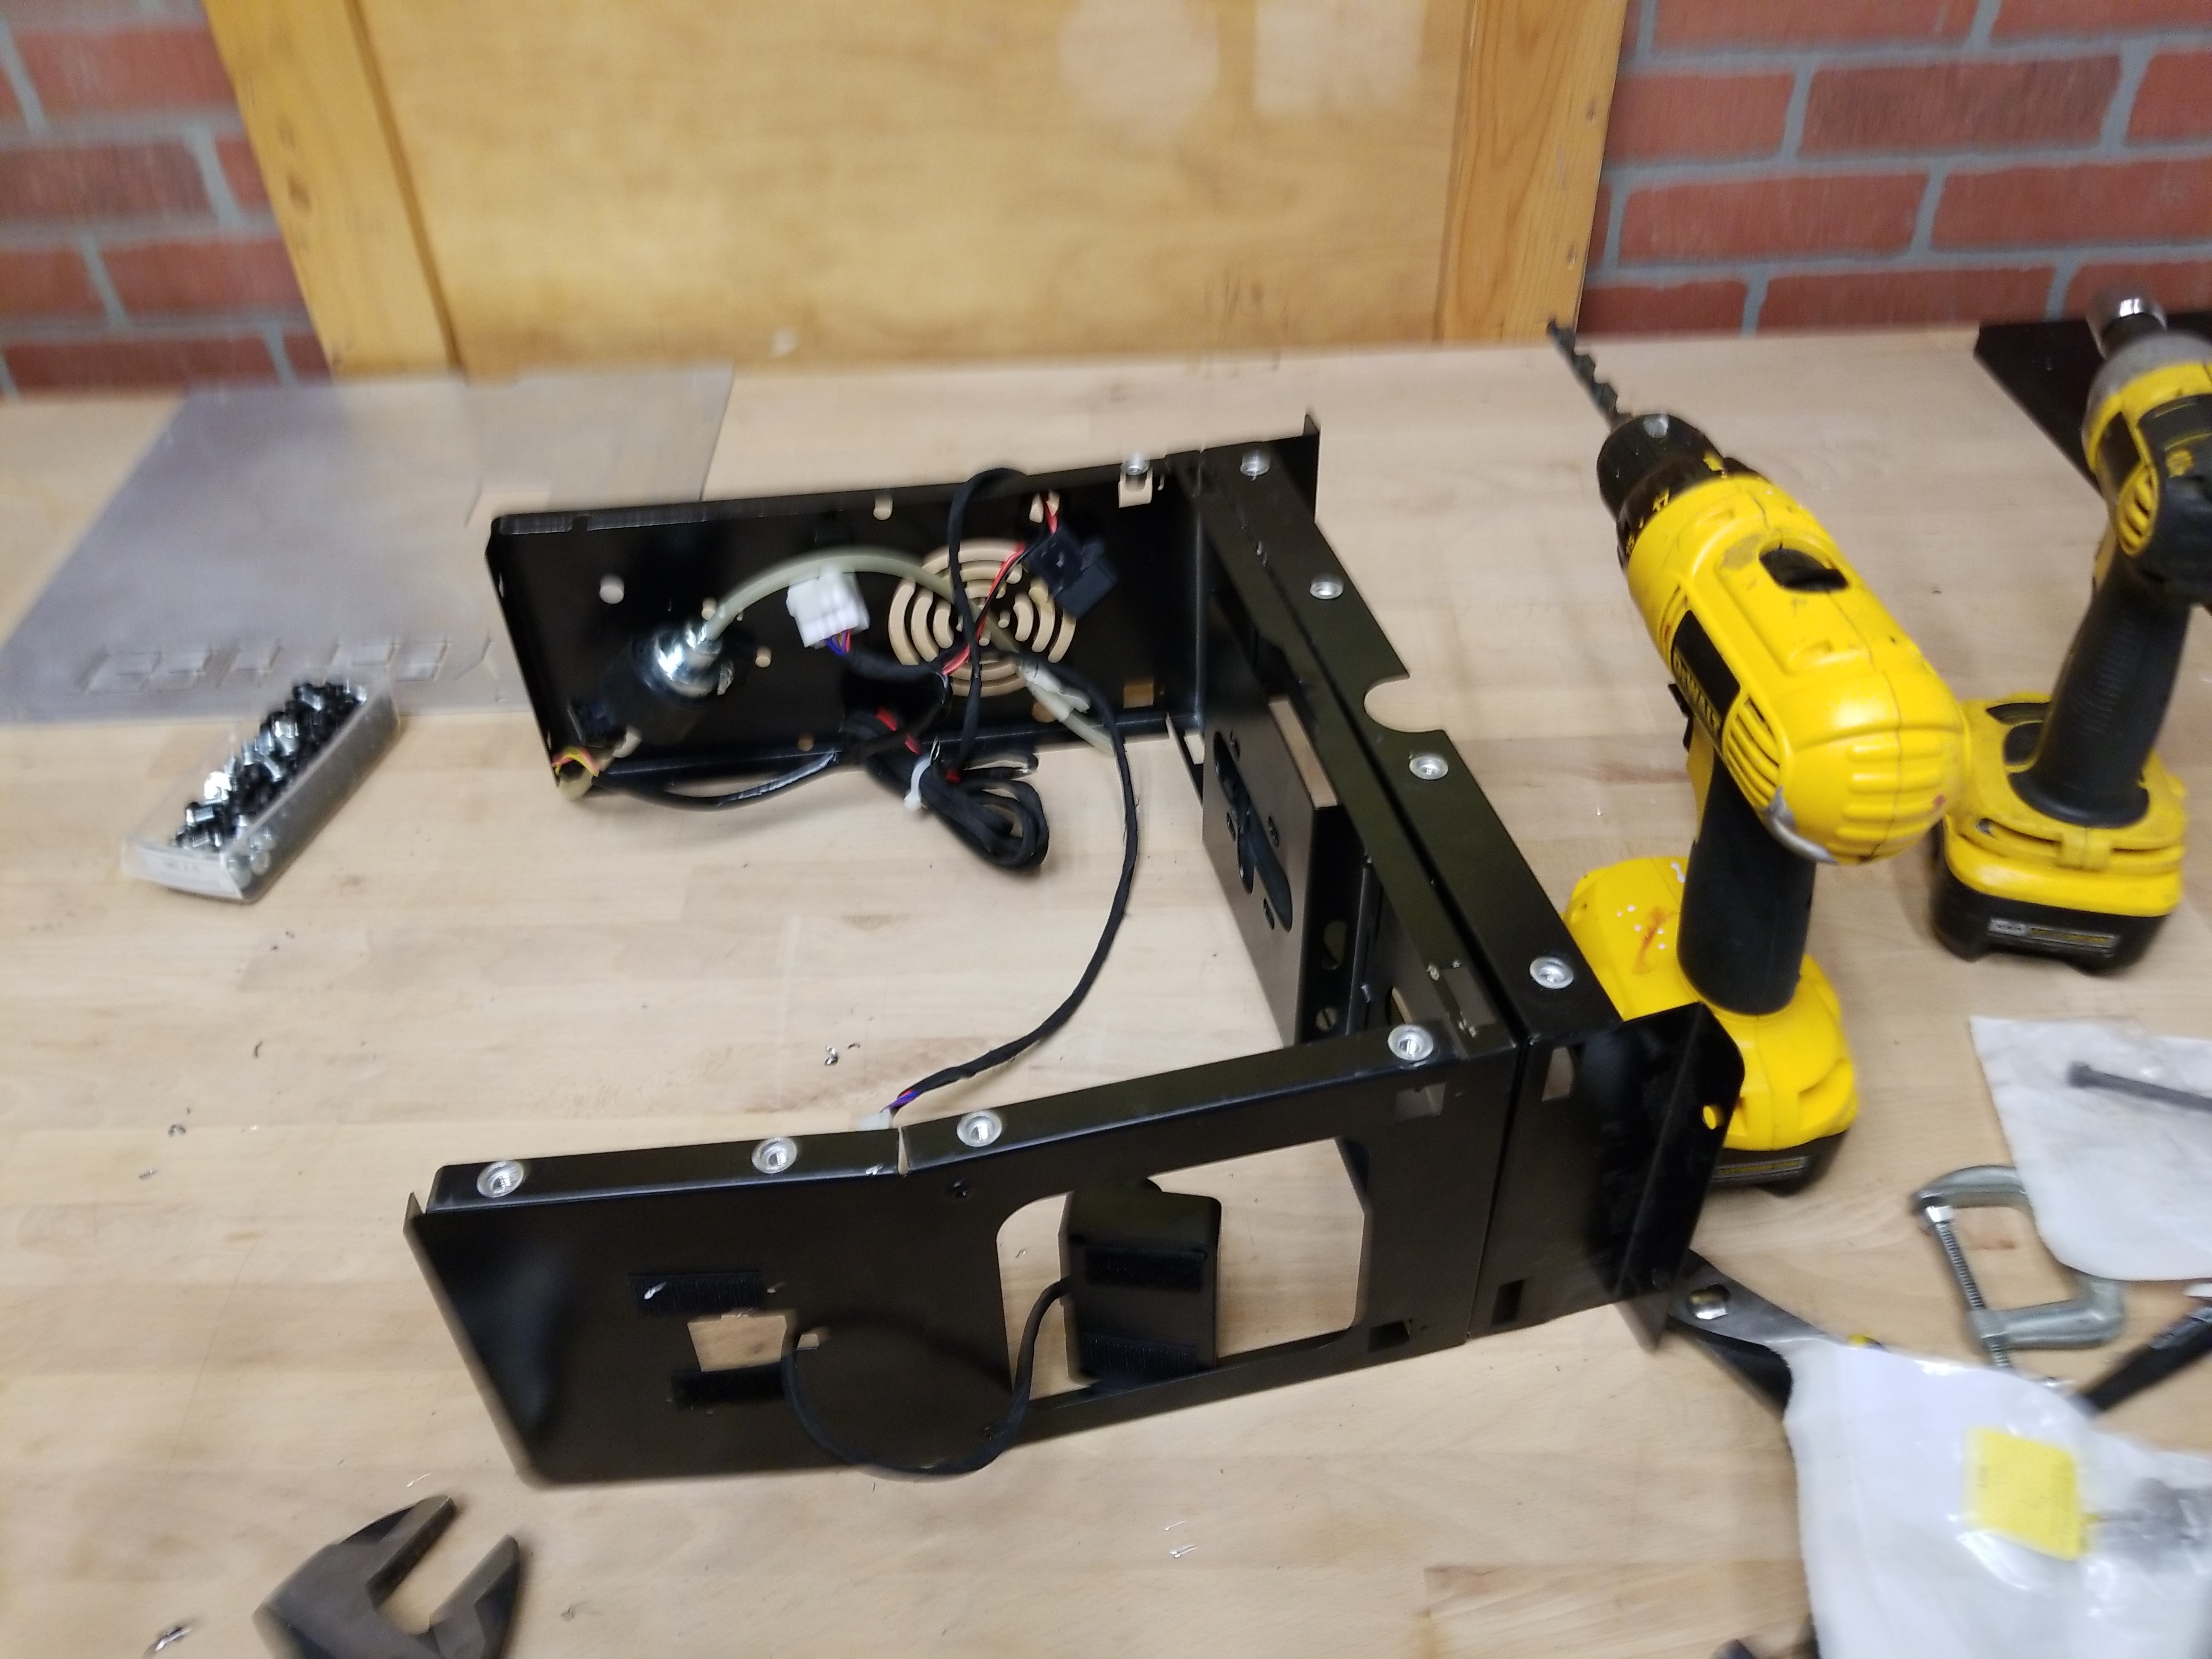
| Behold a
jumbled pile of parts This pile of parts was supposed to be a standalone diesel air heater. Its unclear what the issue was but it was in no way 'add fuel and 12v and off you go'. Shown are the frame parts, and some hoses bent and scattered. The unit itself is intended to house a diesel heater, controller and tank. It would have been great if there were some form of documentation, but alas nothing. |
|
| The model
shown is similar to [link]. Due to its disarray and
somewhat incomplete components, its in desperate need of
some re-engineering. Lets start by tackling the immediate lacking parts:
|
 |
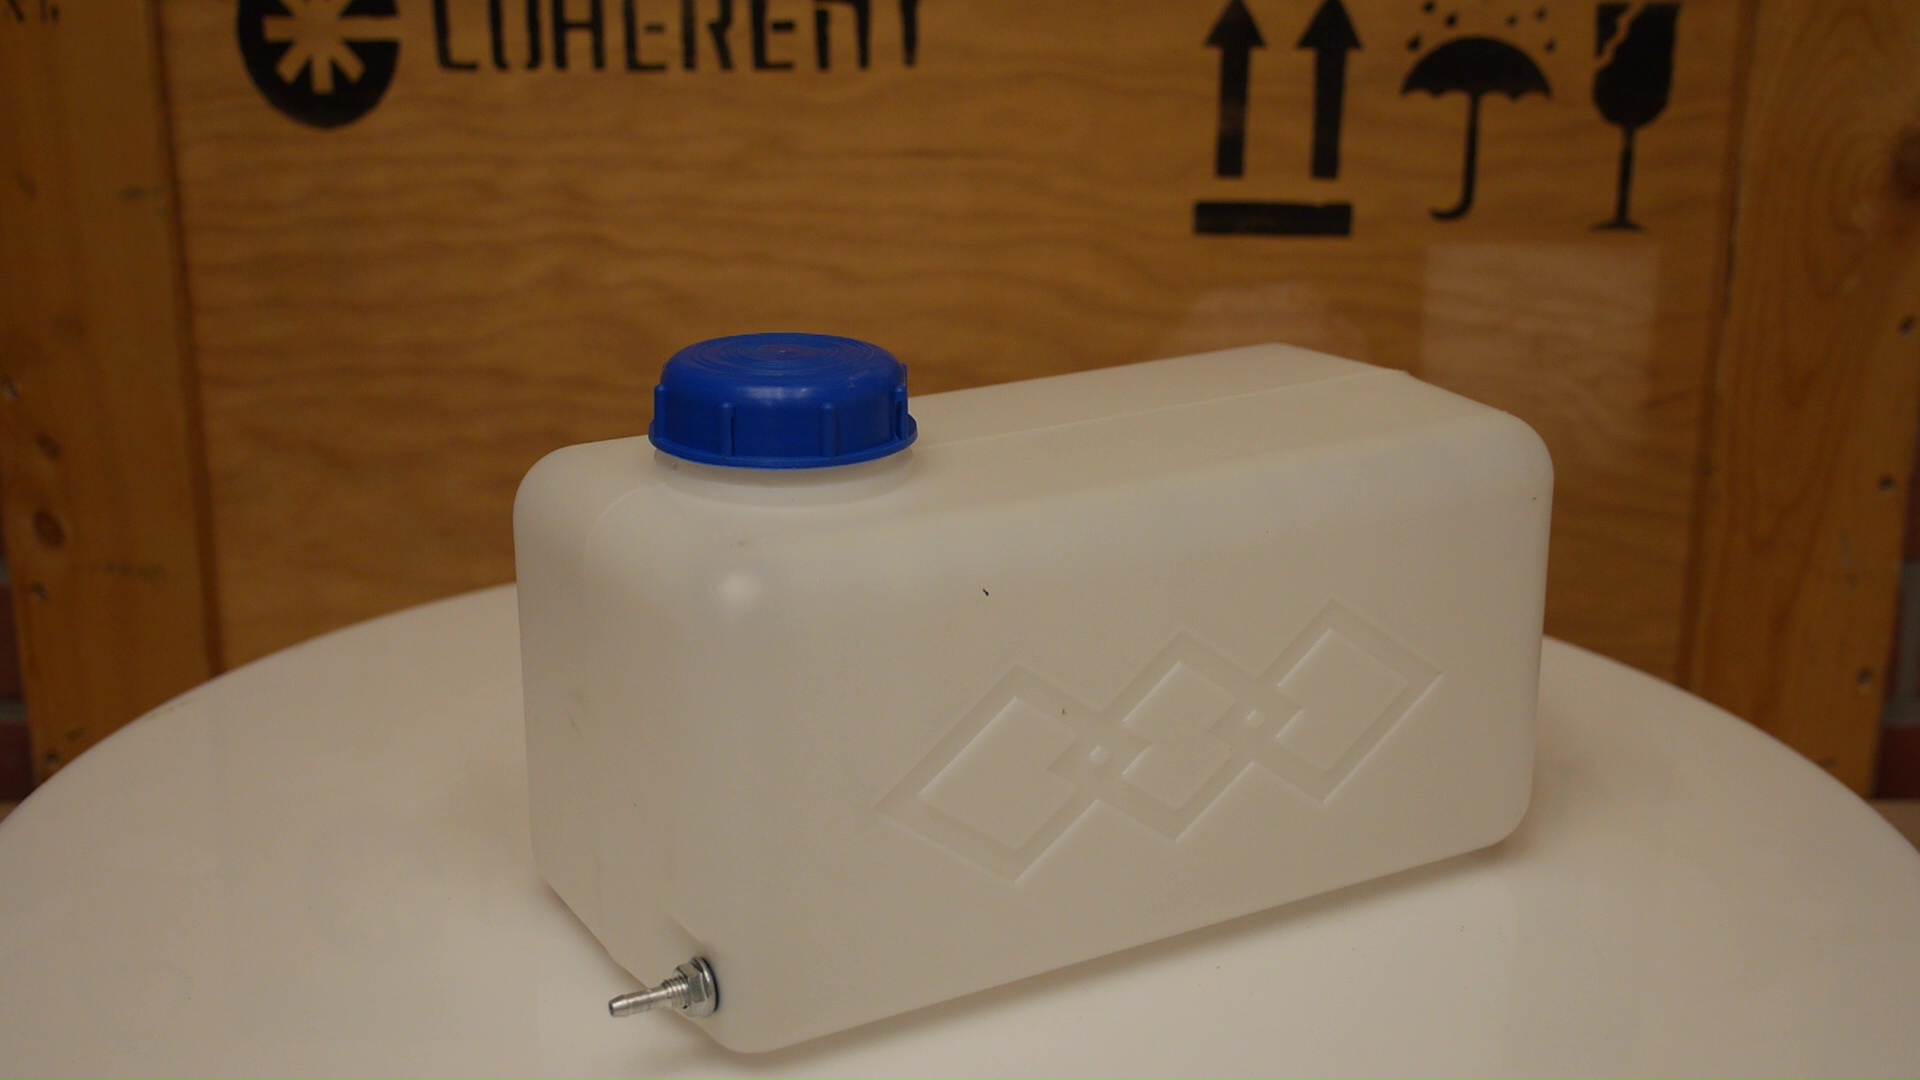
| Fuel Tank The fuel tank itself is not terrible, the tank drain is not located quite on the bottom, so the tank itself never quite empties. The hose barb is attached with a compression fitting and is fairly reasonable. I did a quick leak-test to determine if the bottom sealed, and fortunately it did without issue. There is no marking on the tank to indicate capacity, but it appears to be aproximatley 4 liters. Its surprising that the hose barb does not exit at the bottom, as unless you have it mounted on a slight angle it leaves ~5% of the fuel untouched. |
 |
| This is the actual heater
module It appears to be a clone of an Eberspaecher, the plastic outside is an air-shroud and held together by a coarse thread formed into the case and constrained by an air intake cap. |
|
| Exhaust / Muffler: The included 'muffler' was incredibly janky, its a two part stamped assembly with what appears to be a stainless steel flex tube running straight through. Shown also is a small cylindrical conventional 5 HP engine muffler. This was purchased as a somewhat more functional muffler. Link to cylindrical muffler: [Link] The actual exhaust noise is fairly limited, I think these help prevent back-pressure from a draft more than cancel noise. |
 |
| The Frame The Frame is stamped and folded sheet-metal, and unfortunately beat up from shipping or had a dubious life. There are some cutouts for either exhaust or intake air, but they both would require comically inappropriate hose bending to fit. |
 |
| Getting it working as a
standalone device before making modifications |
|
| My first goal is to get this
rectangle working, nominally so I can do some deep-winter
Astro-observing vehicle-camping. I had a trip coming up
soon, so before any major science-ing its a good plot to
get it working as it was intended. The floppy red case
cover was in tough shape and questionably functional. To
fix this, I decided to cut out new side and top panels and
reinforce the existing frame. As I was short on
time, the side panels (or at least one of them) would
become structural. I had some 0.09" / 90 thou aluminum
plate from a leftover experiment and used it as a panel /
template for fixturing in rivet nuts. Do you know the
magic of rivet nuts? They are wonderful. So this is a
quick cad model [link below in the download section] of
the three plates. Given that iI plotted to waterjet them,
assuming the waterjet was planning on working that day, i
opted to include a text cutout for the contraption's name.
YEET HEET was just a dorky name that stuck, and plots for
back-lighting it seemed to be a good idea at the time. To
"Yeet" in the Dane dictionary is to wing it / end up
destroying something. Given that this has diesel fuel it
seems apt.
|
|
 The plates came out Great The plates came out GreatAlthough the jet was misbehaving, with a bit of post-machining the plates came out great. My plan was to use the perimeter screw holes to act as references to drill out new mounts for the deformed case. Note that the top cutout is the top of the case and the outline of the right hand side of the enclosure all fit in one 2' x '2 90 thou sheet. The room that the waterjet was in was having power issues (one of the three phases was missing, so the jet was operating oddly, as a result it was easier to just go-over certain trouble spots a few times. |
|
 Back
Plate Back
Plate This has the same hole pattern, but has two slots to hopefully be able to see the fuel level. The thought was that the back light from the red labeling would shine through and help illuminate the tank in the evenings, but its unclear how well that will work. |
|
| Marking
for transferring hole pattern I mildly went overboard adding rivet nut mount points, but that was mostly to compensate for the impressively bad quality of the black sheetmetal frame. While this is fairly straightforward it was fairly critical to clamp everything in place and try and line up the heavily bent frame with the relatively straight waterjet parts. |
|
| Rivet Nuts I'm a huge fan aluminum rivet nuts now, they are relatively cheap, and aside from having a specialized tool for each size riv-nut, you insert it into an appropriate sized hole, its adaptable to a range of material thickness's and BAM, you now have a threaded post that is way less likely to run away on you. I've gone with aluminum here as I'm imagining stainless riv-nuts have galling issues. For this install, I used an impact driver, but realistically a ratchet and a fixed wrench would have worked just as well. Its incredibly satisfying to just 'add threaded nut here' on relatively thin materials. |
|
  With
the holes drilled out and rivet nuts added, all that was
left was to re-attach the outer plates and inner-support
plate. With
the holes drilled out and rivet nuts added, all that was
left was to re-attach the outer plates and inner-support
plate. |
|
| A look at the heater module | |
| We spent a while rebuilding the case, how about
the magical diesel-burner heat exchanger contraption? This is the outside of the '5KW' module, consisting of a two-piece plastic shell and end-caps to clamshell everything together. This alone is some excellent engineering / cloning. its clean and the moldings fit together welll. The parts that interface to the outside world have a gasket and even the communications / power cable has a rubberized gromit to prevent air leakage from the blower. |
|
| A first test run, in the middle of the winter at an orchard |
  With
relative limited testing, off to some overnight astro
observing! It was slated to be -13C / 8F outside, a great
first stress test of a life support system. The skies were
clear, the spot was reserved and the batteries were
charged. With
relative limited testing, off to some overnight astro
observing! It was slated to be -13C / 8F outside, a great
first stress test of a life support system. The skies were
clear, the spot was reserved and the batteries were
charged. |
  To
get hot air ducted into the vehicle, i made this very hastily band-sawed
together poly carbonate insert. The window was
rolled down, insert shoved in and then window rolled back
up. In terms of support material, i had the heater module,
telescope base, telescope (8" Celestron CGEM) associated
telescope support cruft, two Panasonic GH3's a GoPro and
laptop, inverter, tripods, etc. To
get hot air ducted into the vehicle, i made this very hastily band-sawed
together poly carbonate insert. The window was
rolled down, insert shoved in and then window rolled back
up. In terms of support material, i had the heater module,
telescope base, telescope (8" Celestron CGEM) associated
telescope support cruft, two Panasonic GH3's a GoPro and
laptop, inverter, tripods, etc. |
  It
was a super pretty spot, clear skies and private property
so no spooky PD appearing at 3AM. It
was a super pretty spot, clear skies and private property
so no spooky PD appearing at 3AM. |
  Some
low-light photos of diesel heater in operation. A large
log was used to prop it up, as i realized some vertical
stabilization was needed. Shown to the right is a ~30ah
LiFePO4 14.4v battery module which would keep the blower
and solenoid pump running thru the evening. Some
low-light photos of diesel heater in operation. A large
log was used to prop it up, as i realized some vertical
stabilization was needed. Shown to the right is a ~30ah
LiFePO4 14.4v battery module which would keep the blower
and solenoid pump running thru the evening. |
| Thermal Thoughts |
| The steady
state power consumption is not terribly high, at
approximately 6W when the unit is at full tilt. Generating
6W from a thermal potential is feasible. If you assume diesel is more
plentiful than the capacity of your 12v module (you're out
doing astronomy somewhere remote, etc) is it feasible to
pull some energy from the hot air stream and as a result
keep the start battery full? |
| The
use-case here is: The diesel heater sits outside, in what
you can assume is the cold ambient environment. There's
inherently a sizeable thermal potential between the hot
air stream and the ambient. Lets assume the hot air is 45C
and the ambient is -5C. You ideally have a 50 Celsius
differential. Lets take a look at a TEC1-12715 datasheet. We can expect around 1.8W electrical / module under these conditions. Lets assume four modules are sufficient. If we develop a thermal transfer coupling that sits in-line with the air ducting, it will extract some thermal energy from the supplied air without us having to directly chop up the diesel heater.There's a way better thermal source, directly from the heater block, but that involves heavily modifying the unit. |
| There are
a few design constraints, we would like to keep the hot
air supply and cold environment separated thermally,
fortunately FDM plastic is fine for this application. Next
we need to have a heat sink that contacts the hot air
stream, as well as one that contacts the cold ambient air.
Finally we want an interface surface that provides the
thermal differential to the peltier modules with as few
thermal leaks as possible. Making this an in-line adapter
also allows it to be removed / re-located without having
to disassemble / re-start the heater. |
| Making use
of the thermal electric modules is also fairly easy with
appropriate equipment. For this testing, an MPPT charge
controller will be used to take in the open circuit
voltage from the TEC modules and be used to charge a
purposely medium state of charge lithium iron phosphate
battery. By logging the wattage out of and into the
battery through the MPPT charge controller we can observe
if its feasible to run the unit directly off of its
thermal output. One of the benefits to using a vicron
75-10 is that it allows high voltage solar panel inputs,
and subsequently steps down this voltage for battery
charging. As such we can run these peltier modules in
series which should remove any odd effects that occur when
modules are run in parallel. Note that this will absolutely consume more fuel per unit of time, its likely that 100 thermal watts will be consumed to produce the 6 electrical watts required to maintain the battery. As the victron has a bluetooth and serial interface, logging the power in vs out is available fairly easily. |
(There's
other photos in the photo gallery)
Concluding Remarks:If you have questions or comments, ask below or send over an email.
| Comments: |
|
HTML Comment
Box is loading comments...
|
Stay safe when working with electrons and diesel fuel.
Dane.Kouttron
Rensselaer Polytechnic
Institute
Electrical &
Electrical Power
631.978.1650
