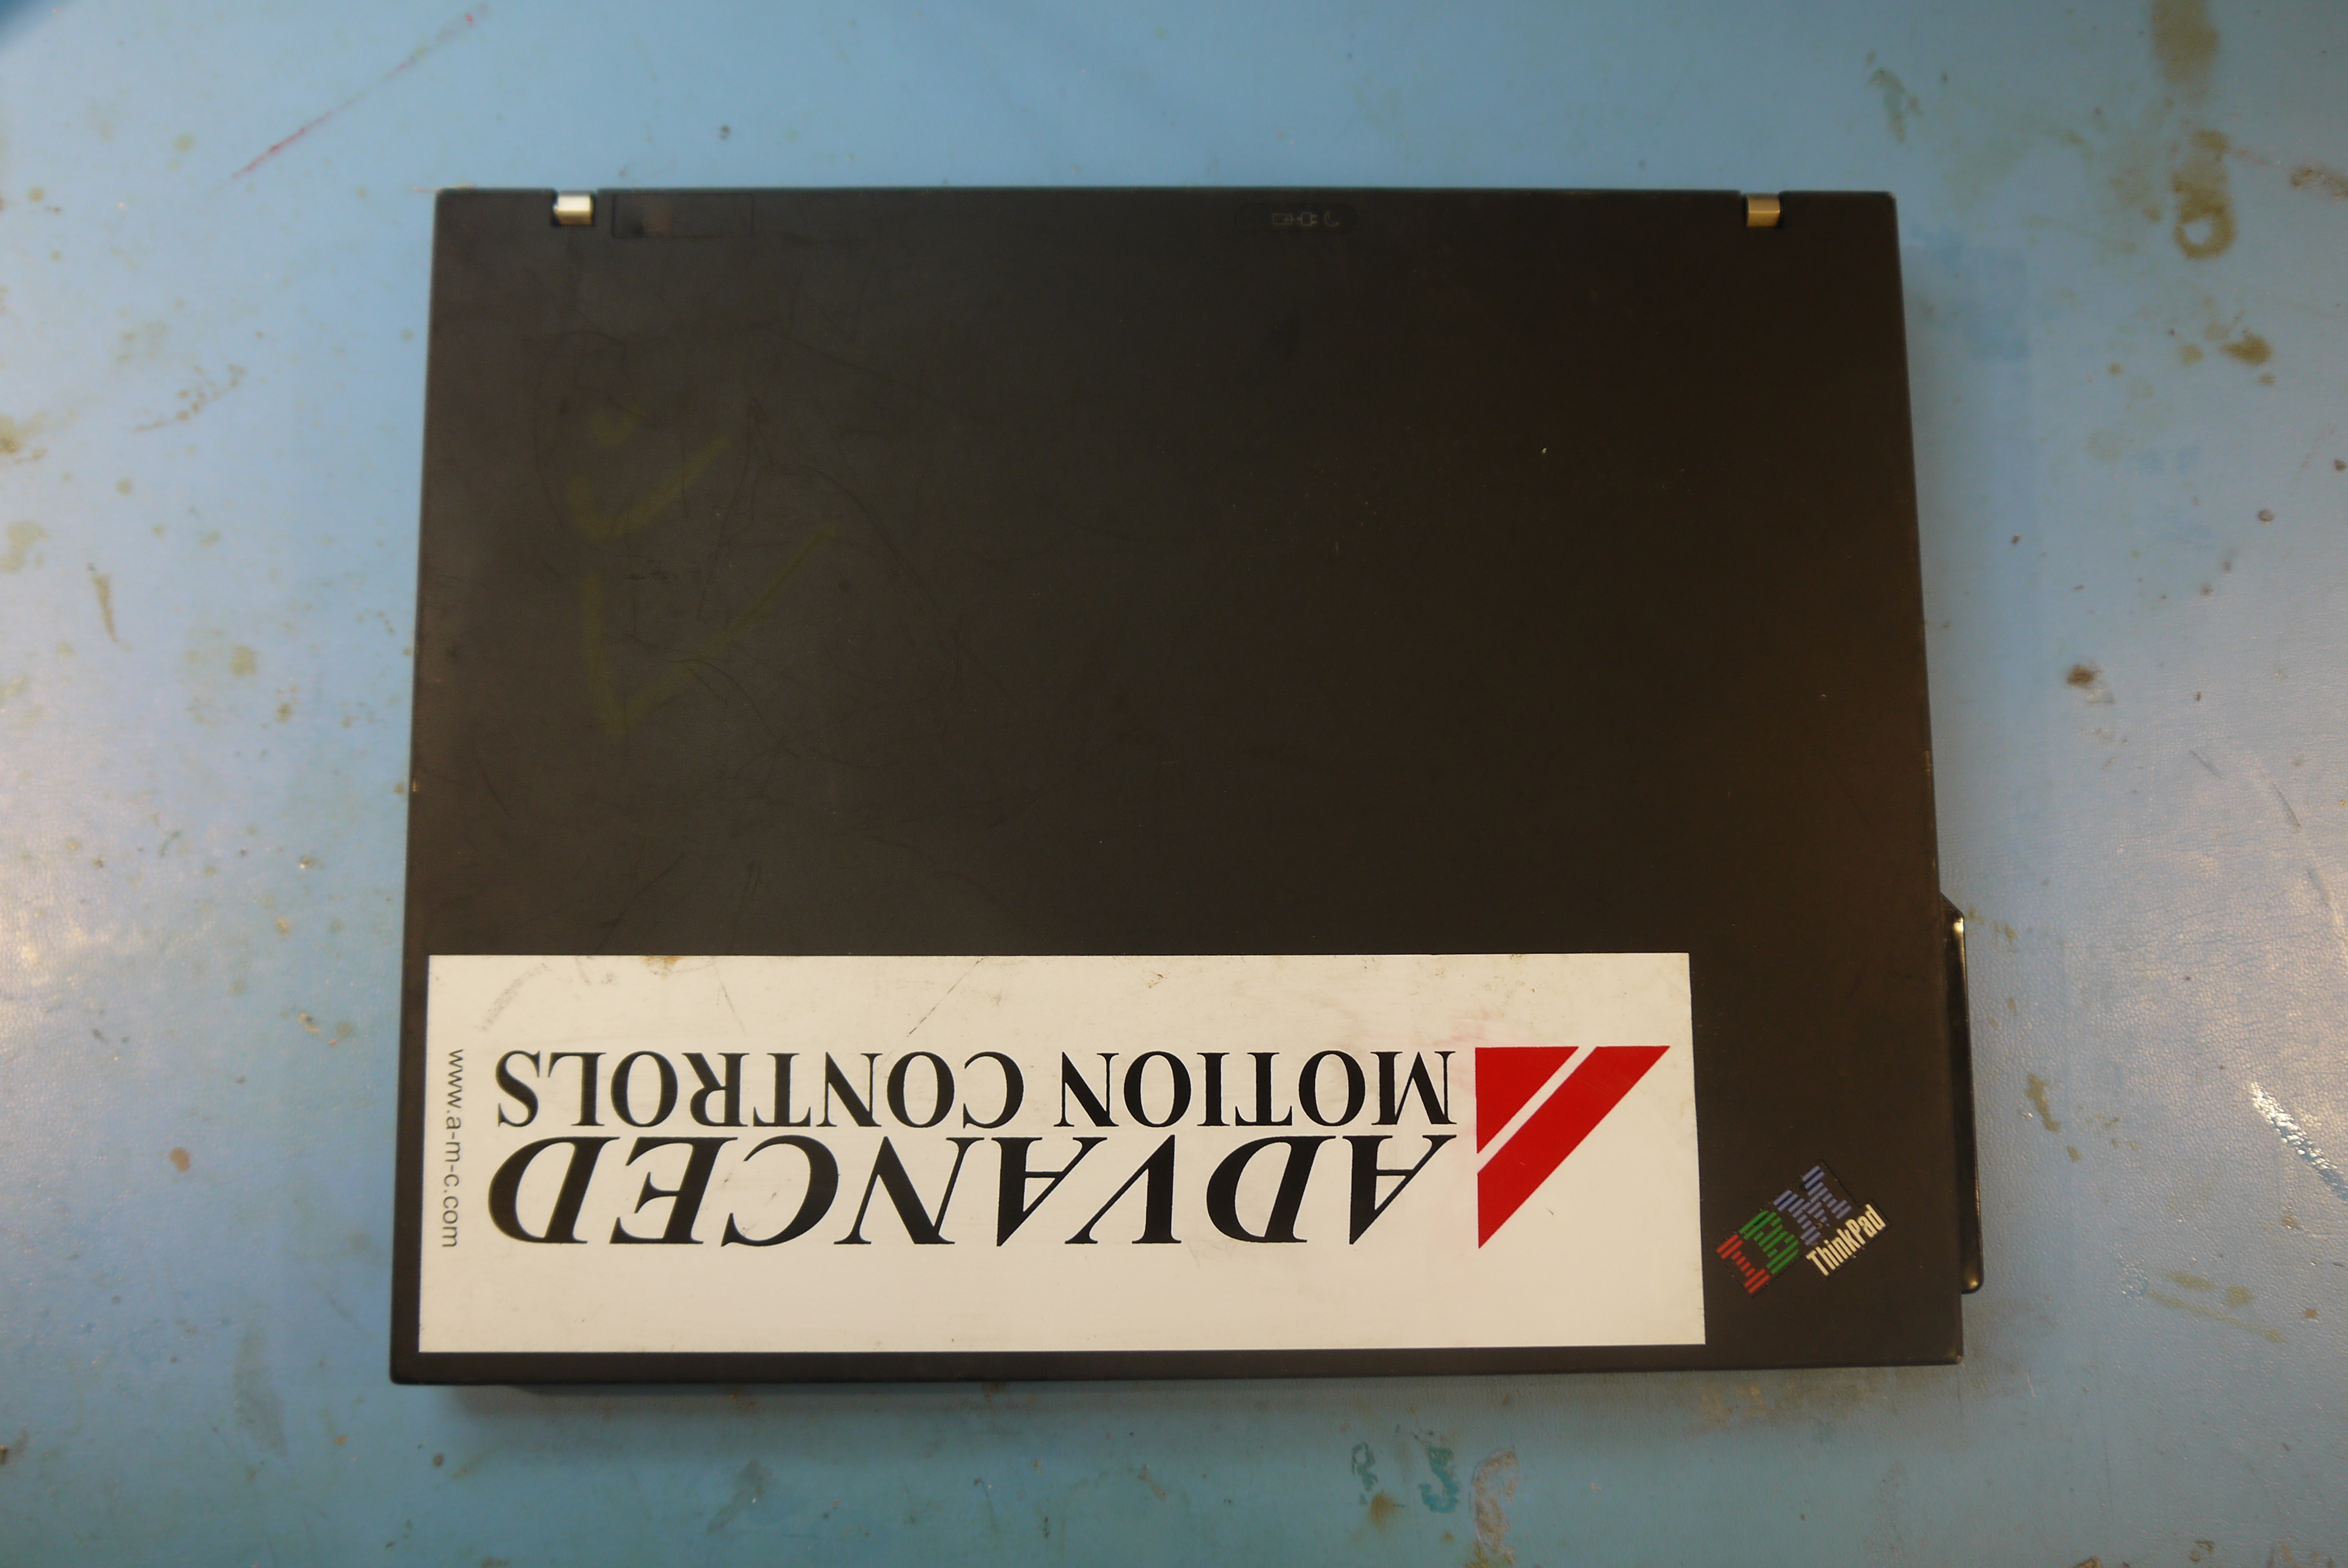
Backlight Upgrades
|
|
|
| For
the backlight upgrade, I purchased a kit from Monty [link]. He really
went to town getting this board right, its quite packed full of led
driving goodness. Not only that but all the little status lights
and little led spacings line up just right! The backlight upgrades
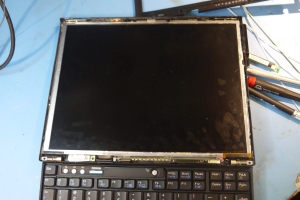
begin with popping the lcd latches all around the inside cover of the
display |
 |
 |
| To
get the snaps off I worked my way around the inner plastic lip with
thin stainless steel shimstock. Four screws around the edge of the
screen get removed (hiding under tiny plastic screwcovers) |
 |
 |
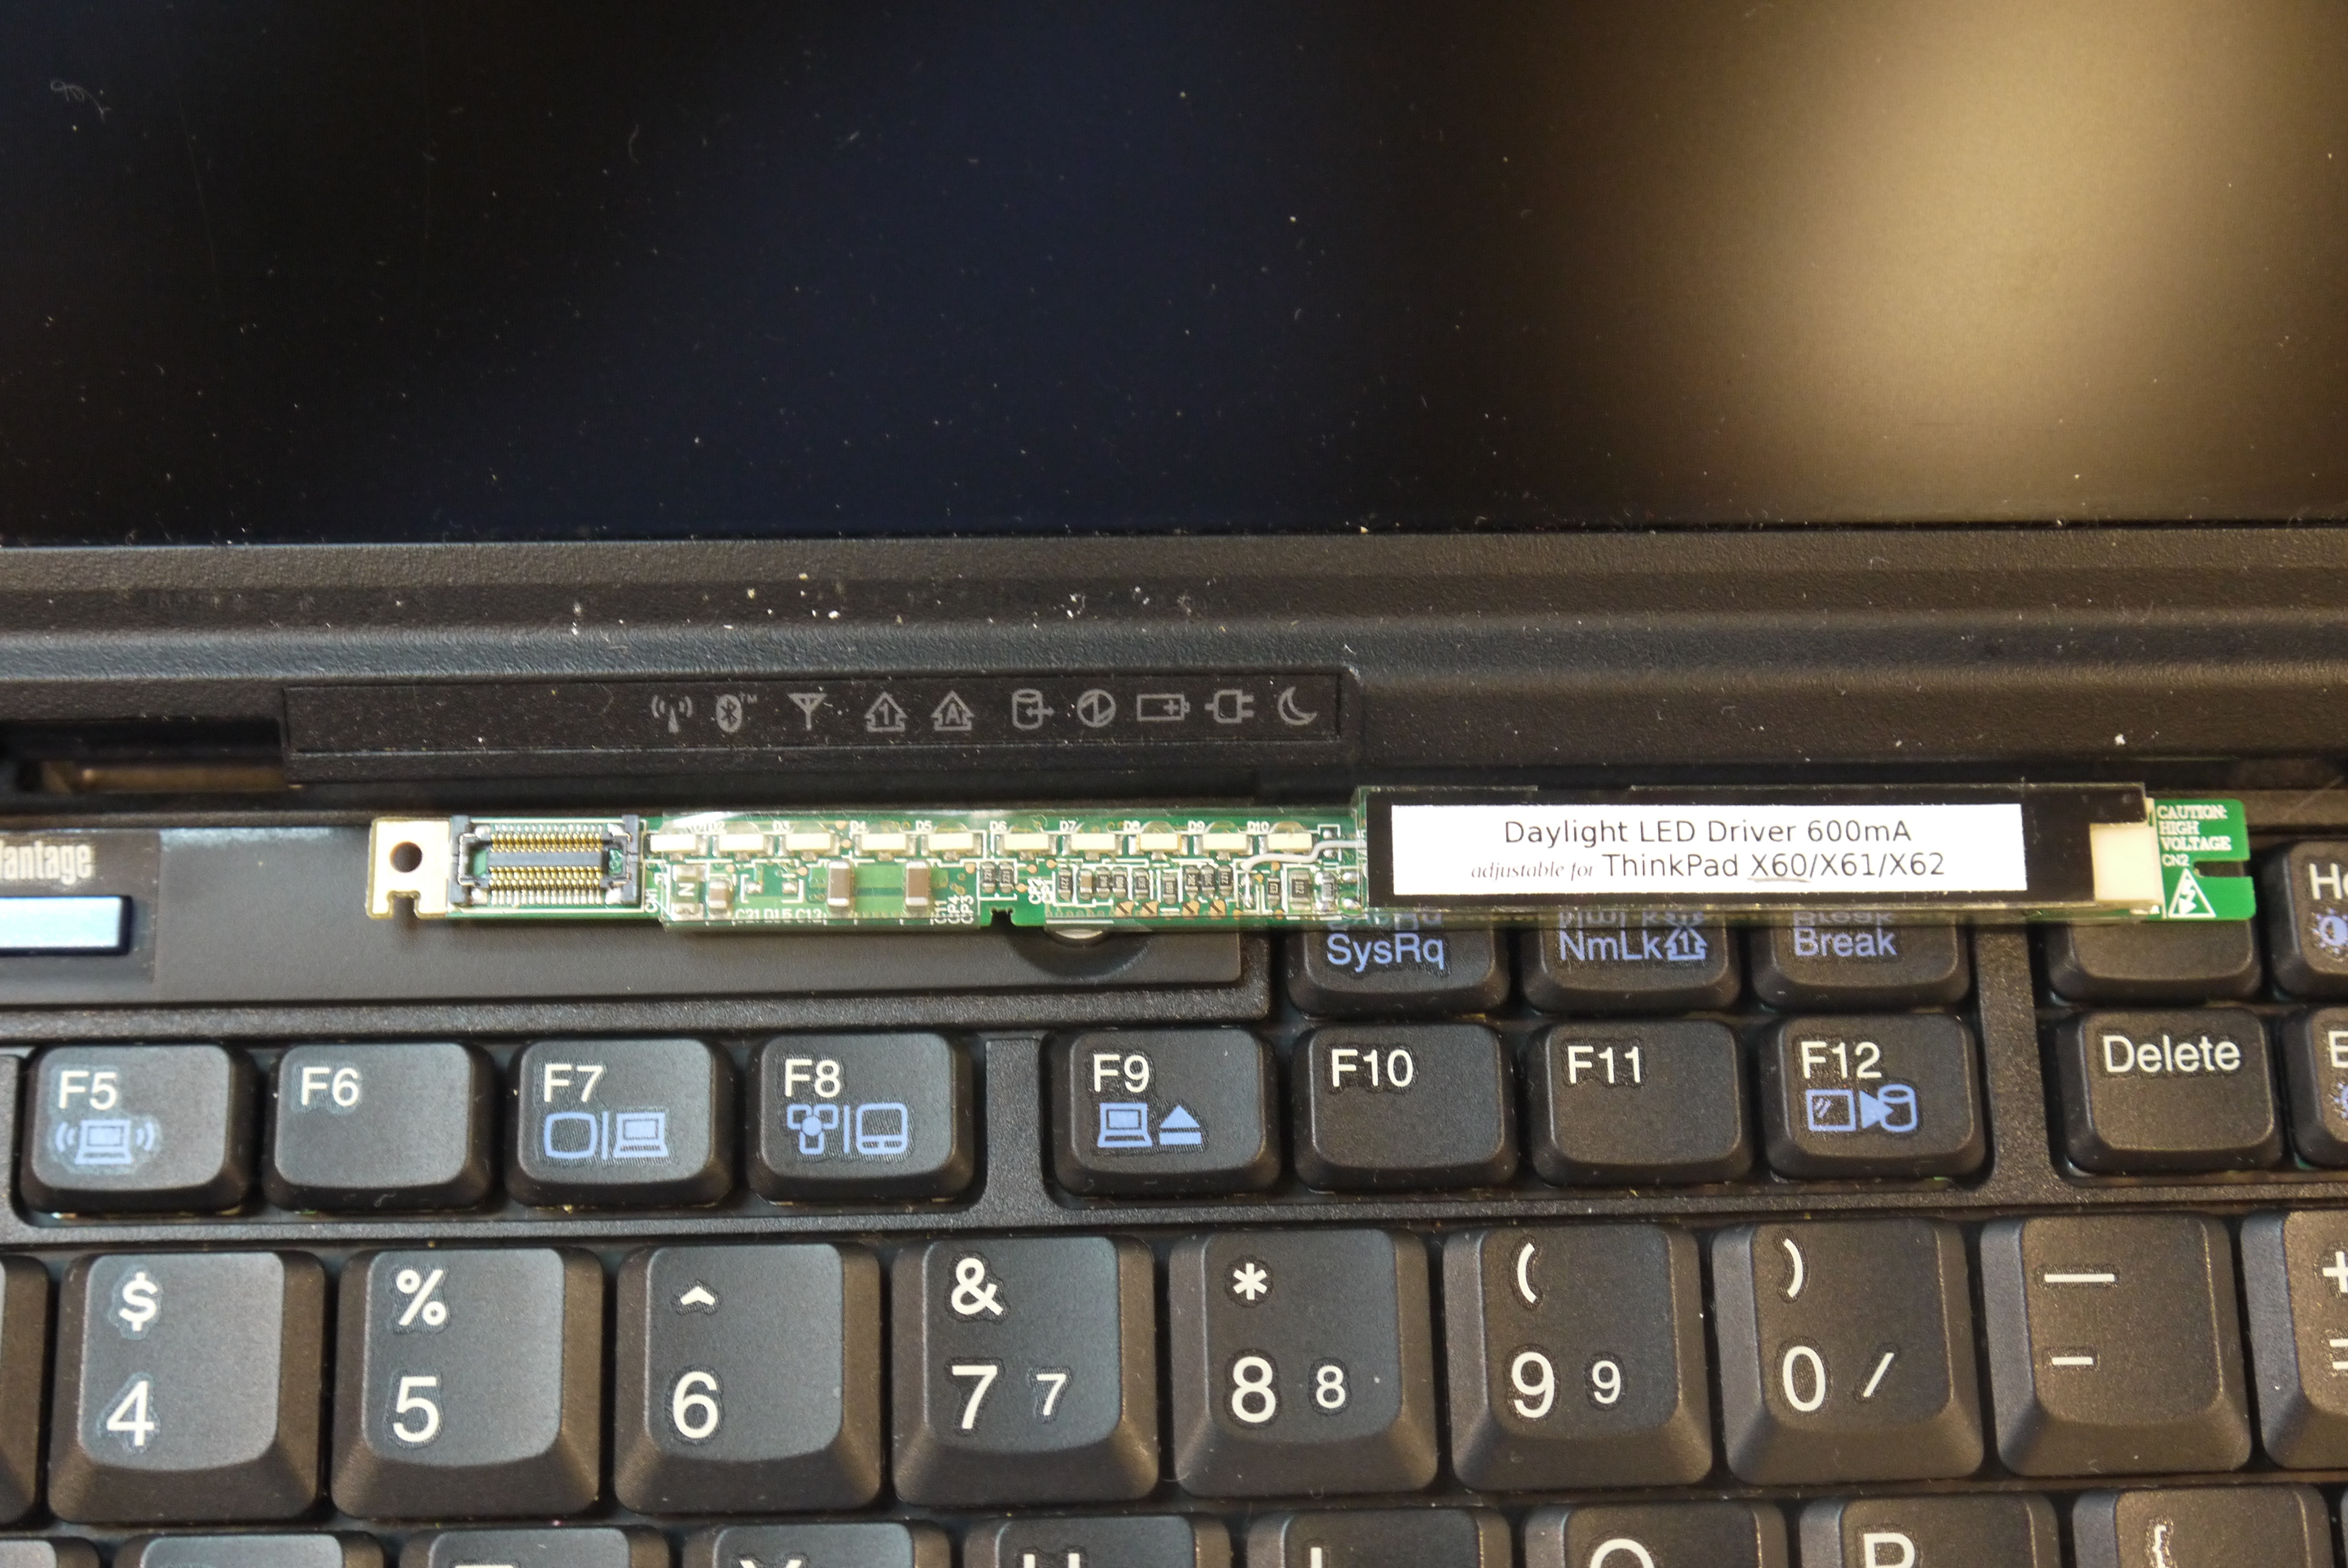
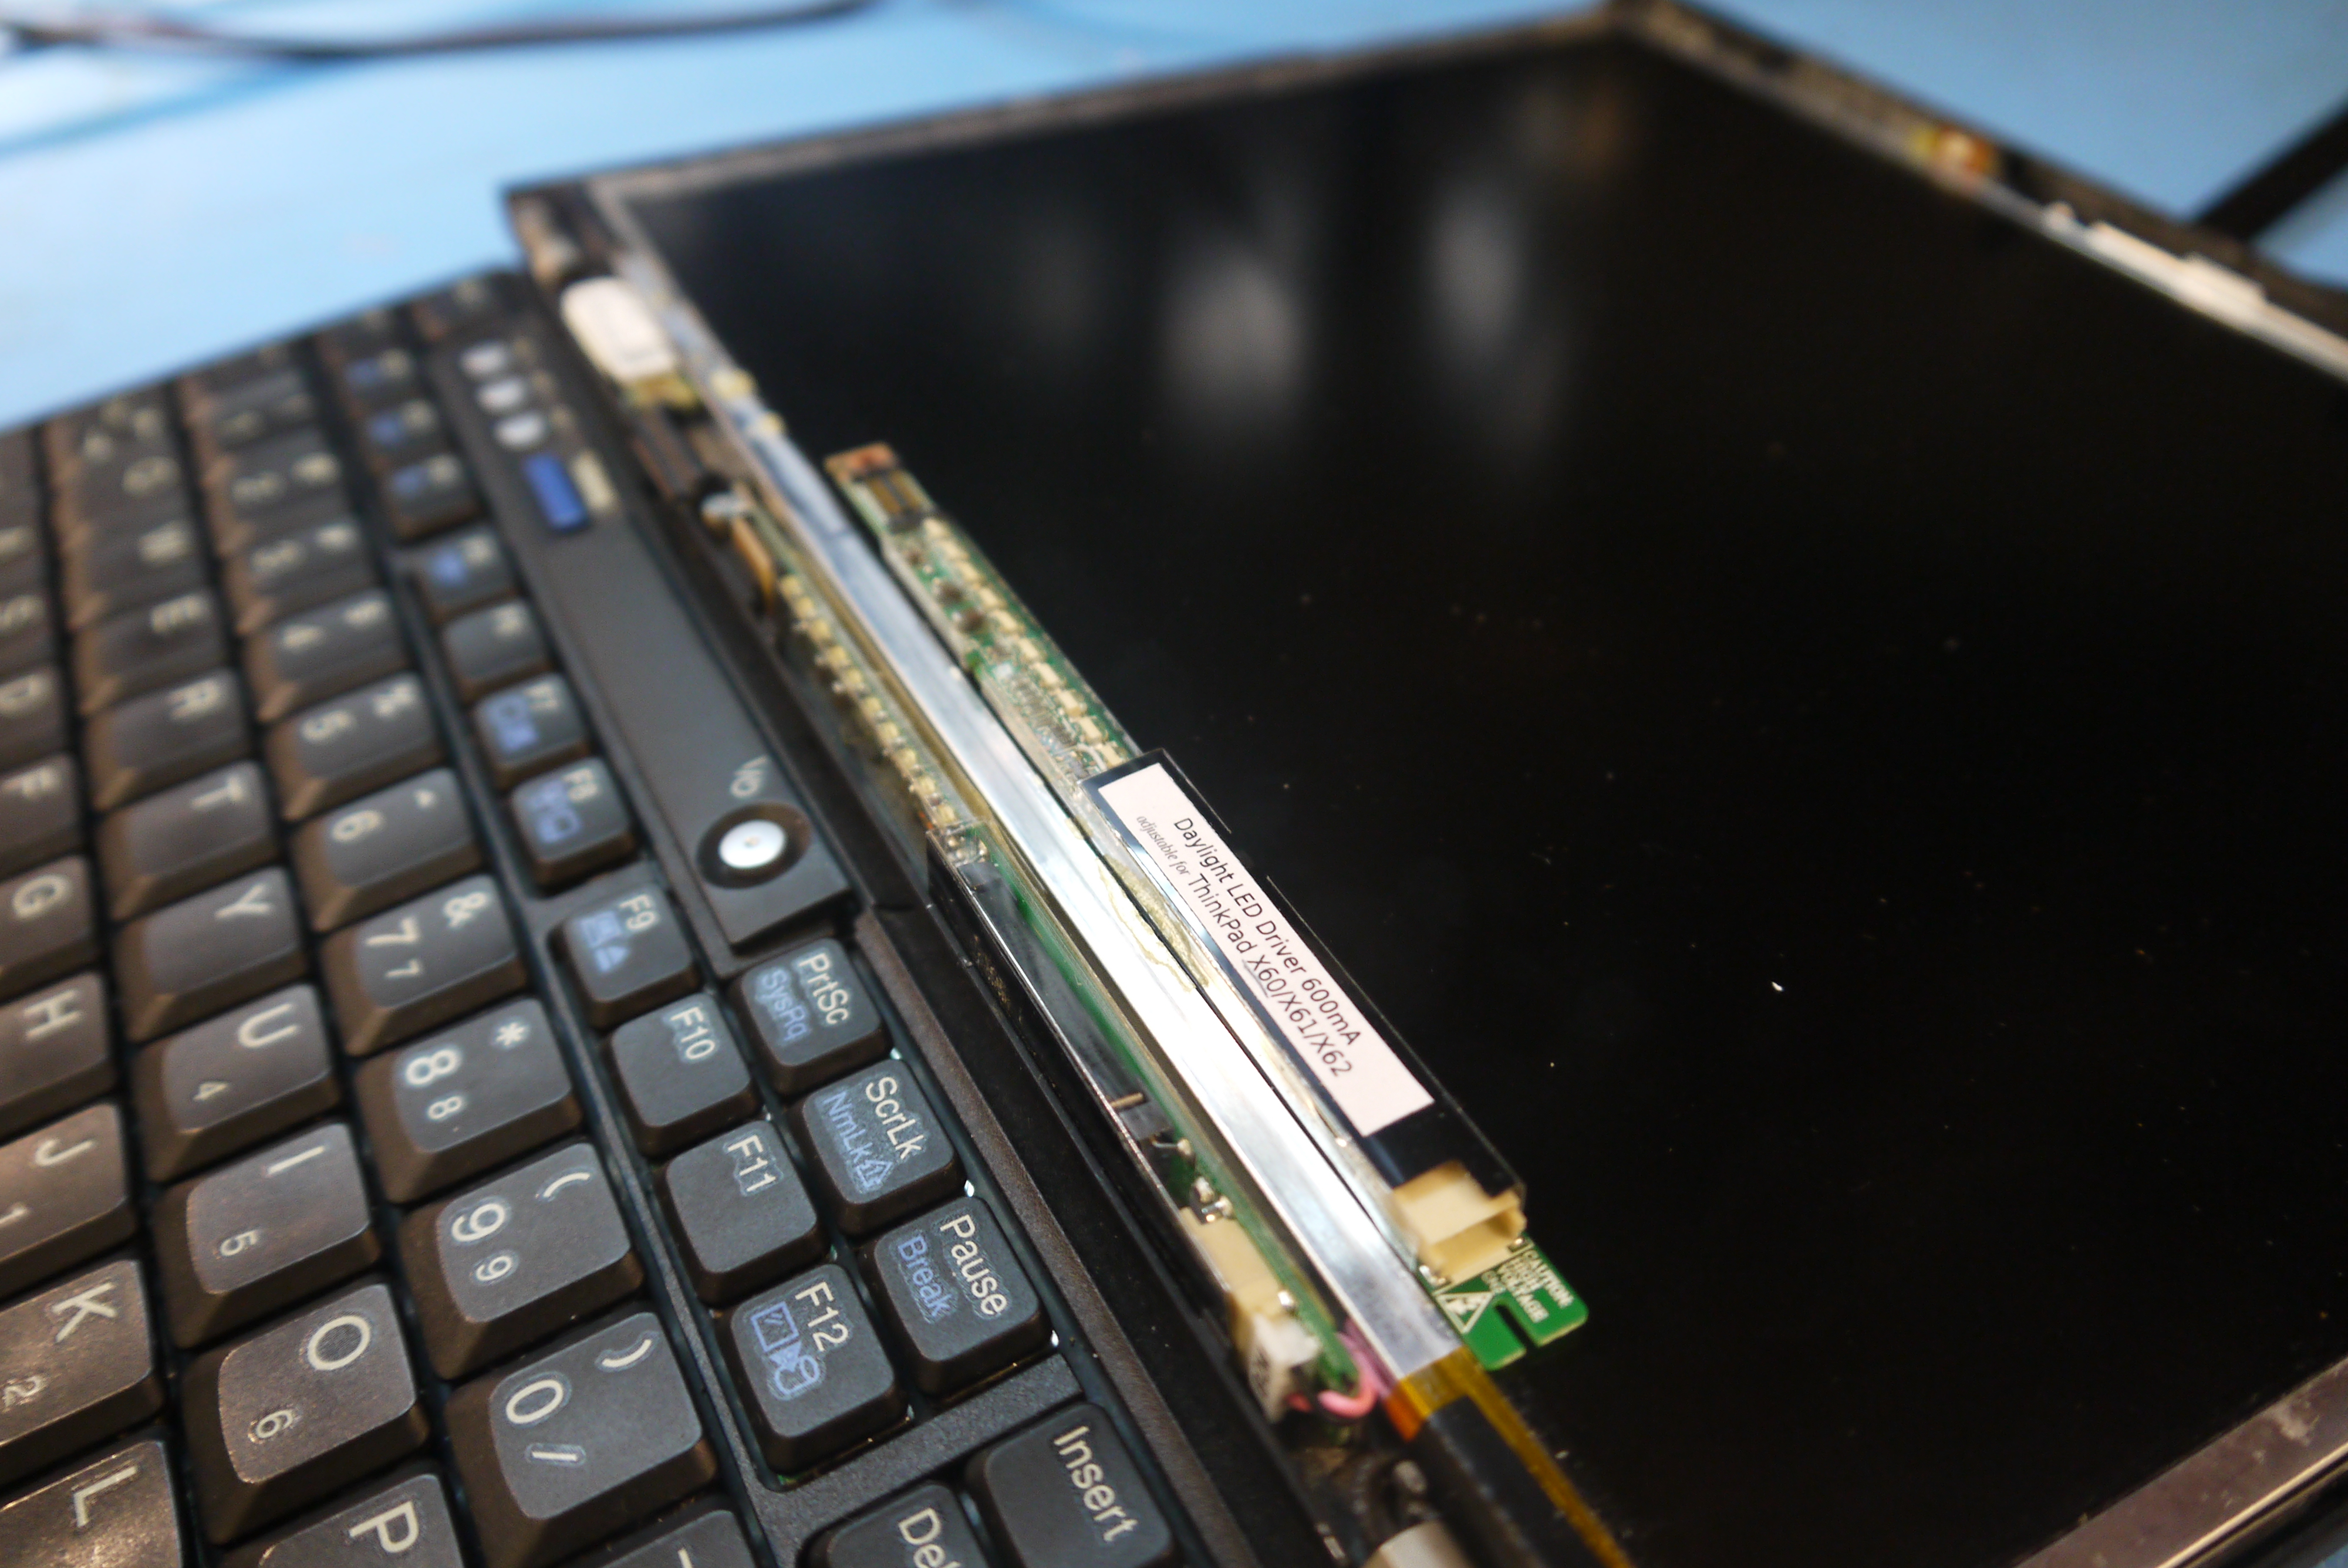
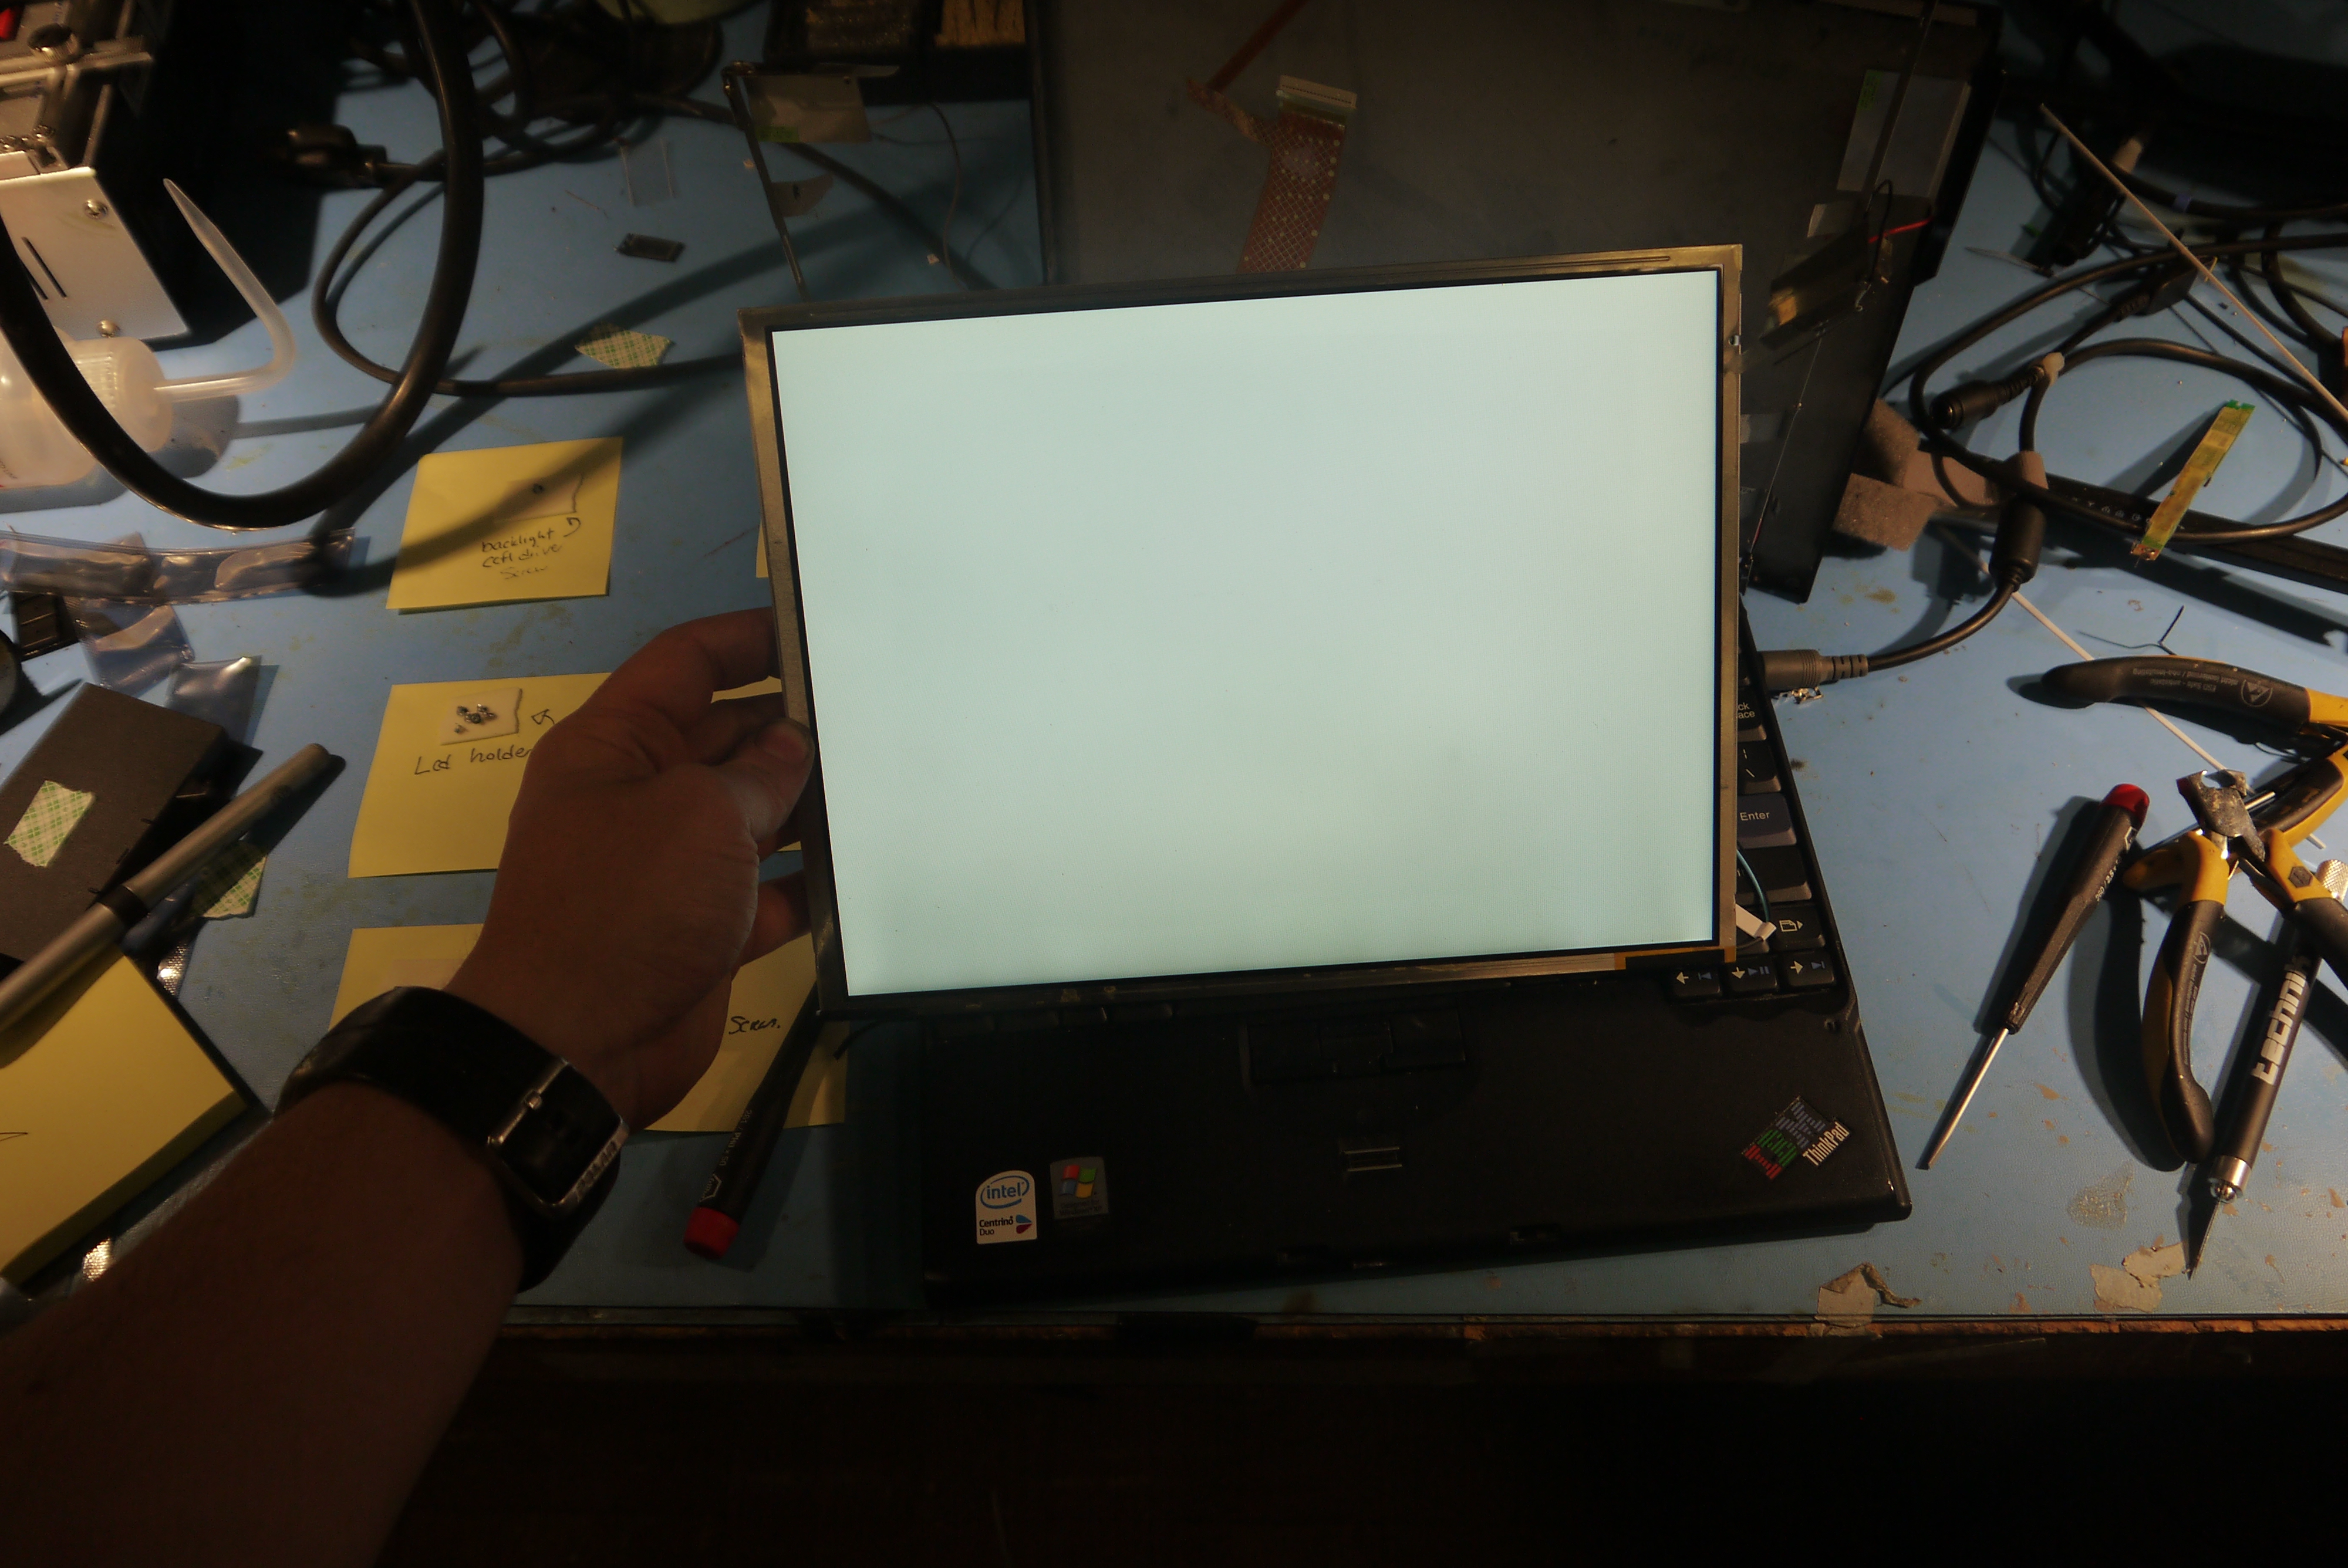
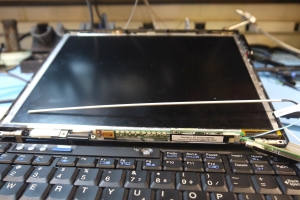
| With
the inner lip removed its fairly apparent where the led driver goes,
its, spot on size wise in comparison to the CFL driver. Shown you can
even see the tiny status indiactor leds matching up. | 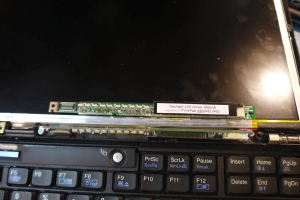 |  |
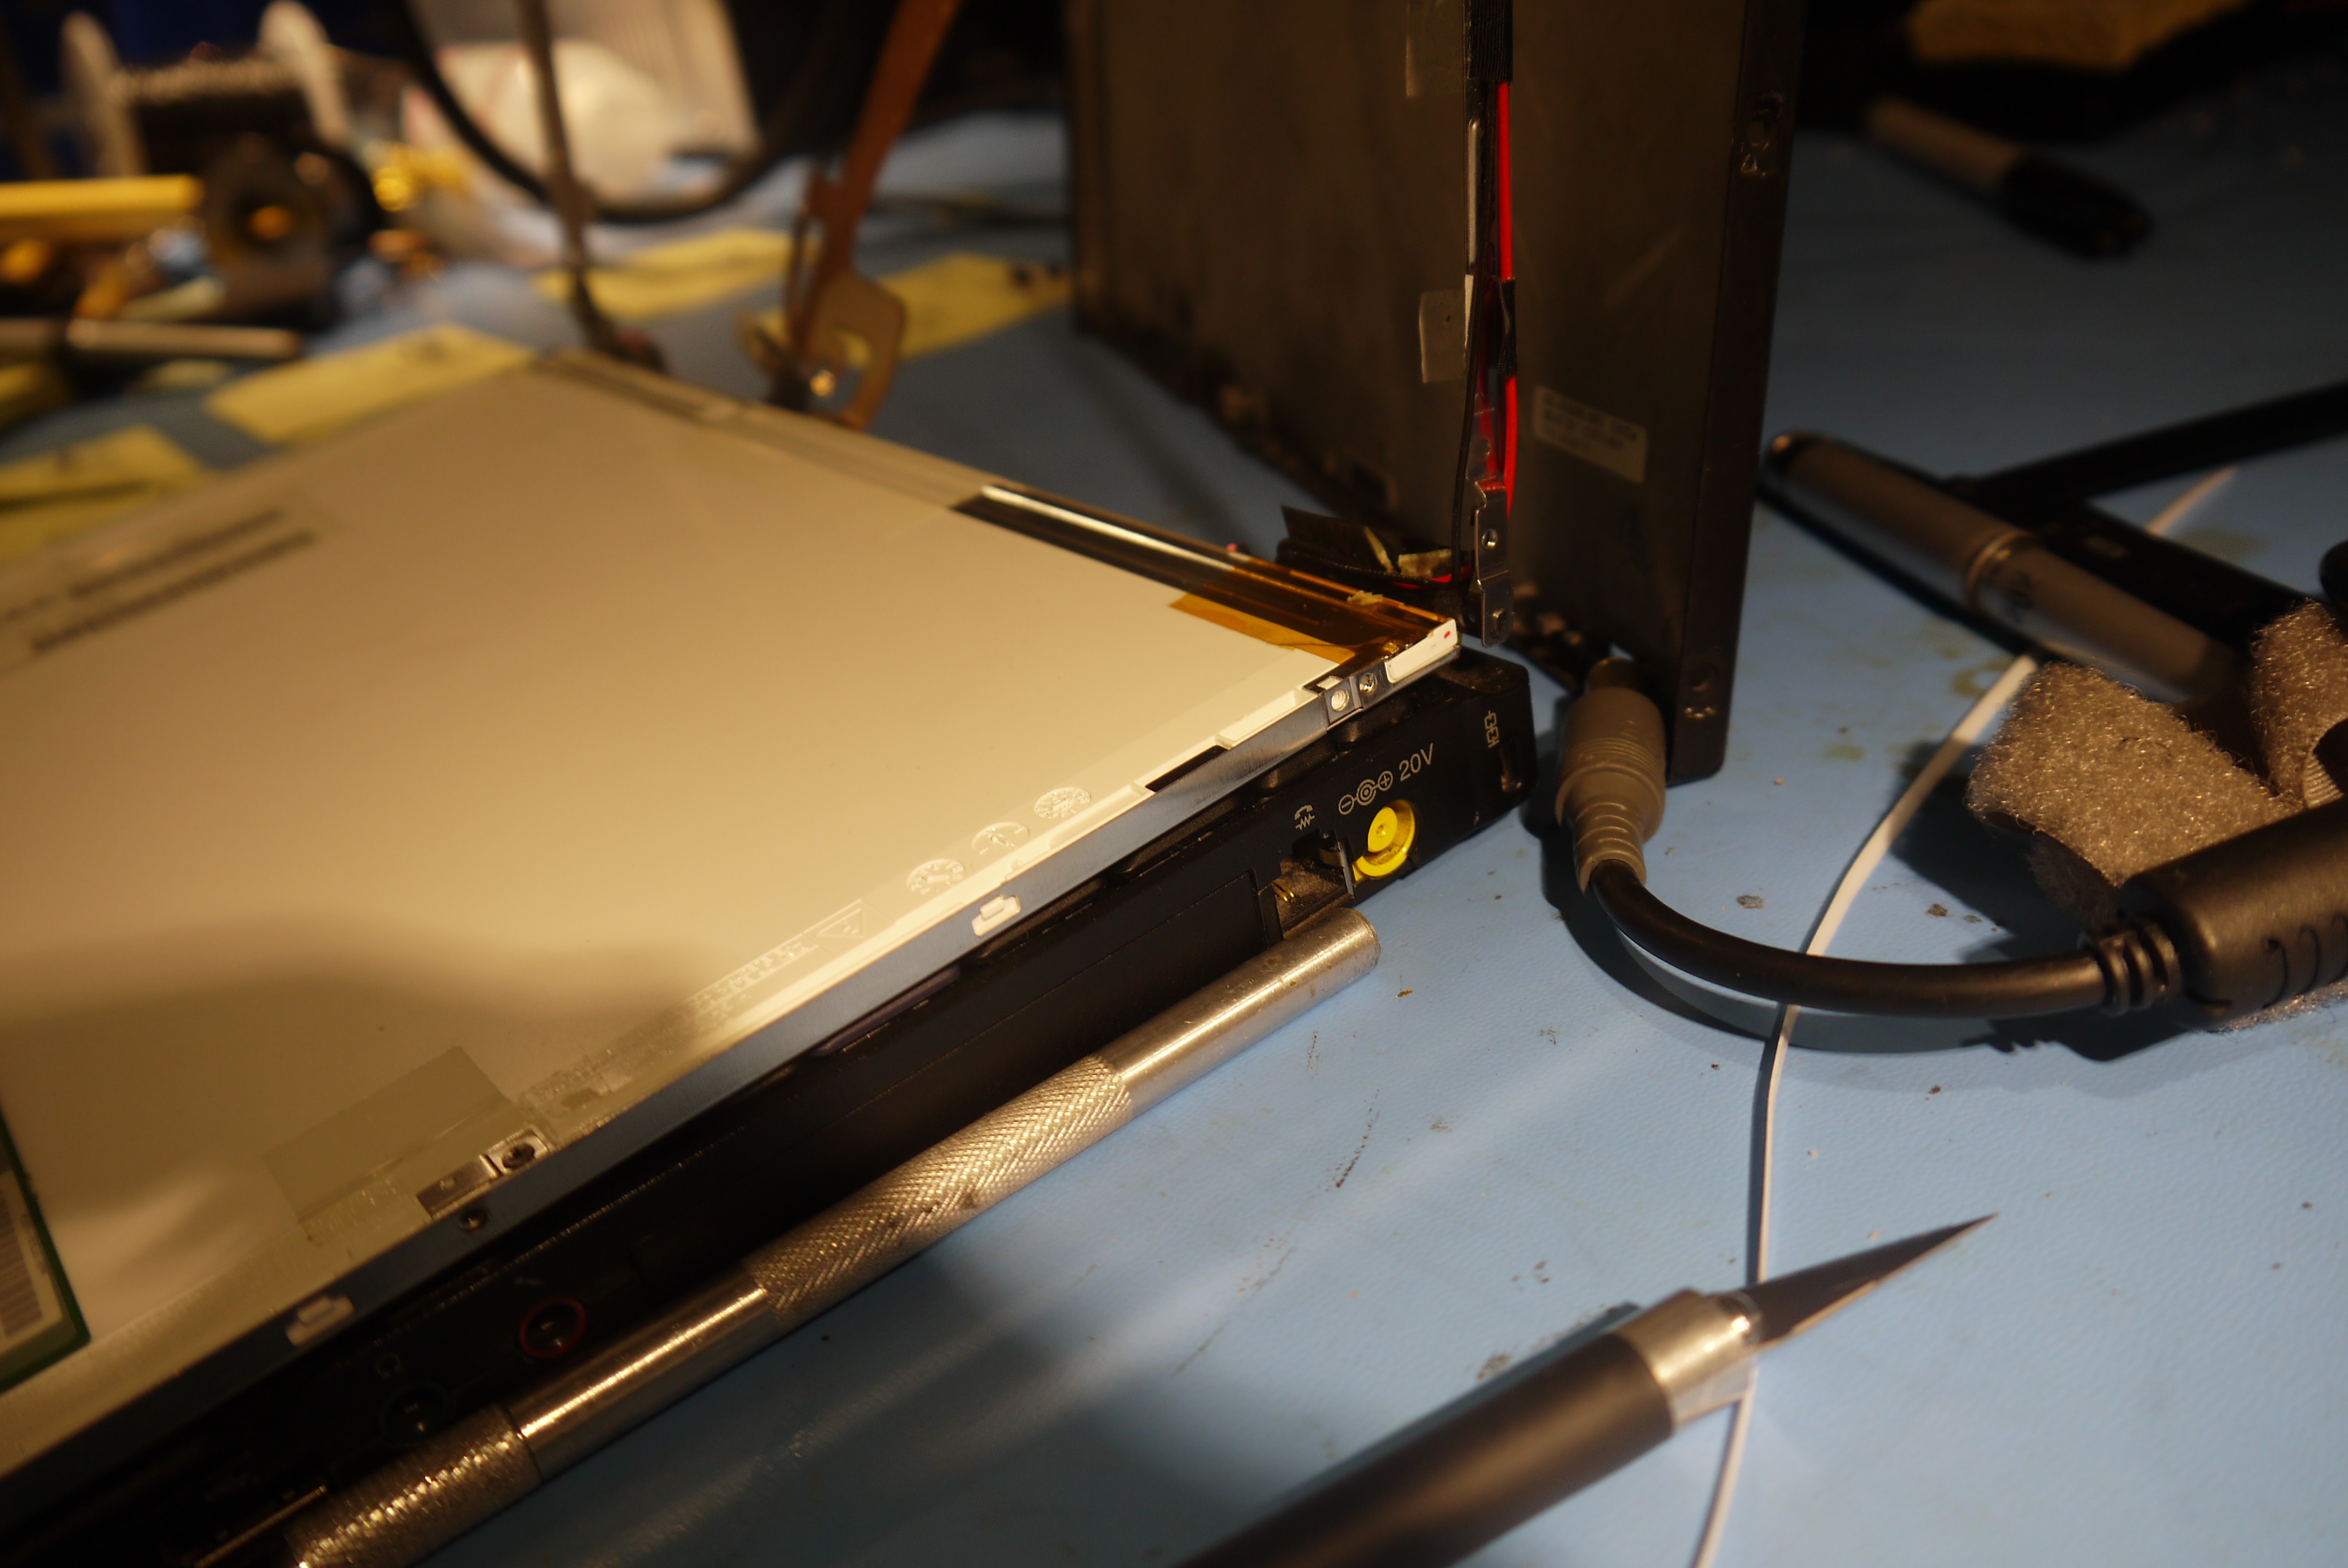
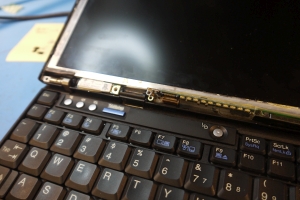
| Before
getting messy, lets verify everything works. To do so, I removed two
screws that hold the CFL inverter in place and disconnected the small
flush mount connector providing data and power to the module. I mushed
in the LED driver along with its led strip. |
 |
 |
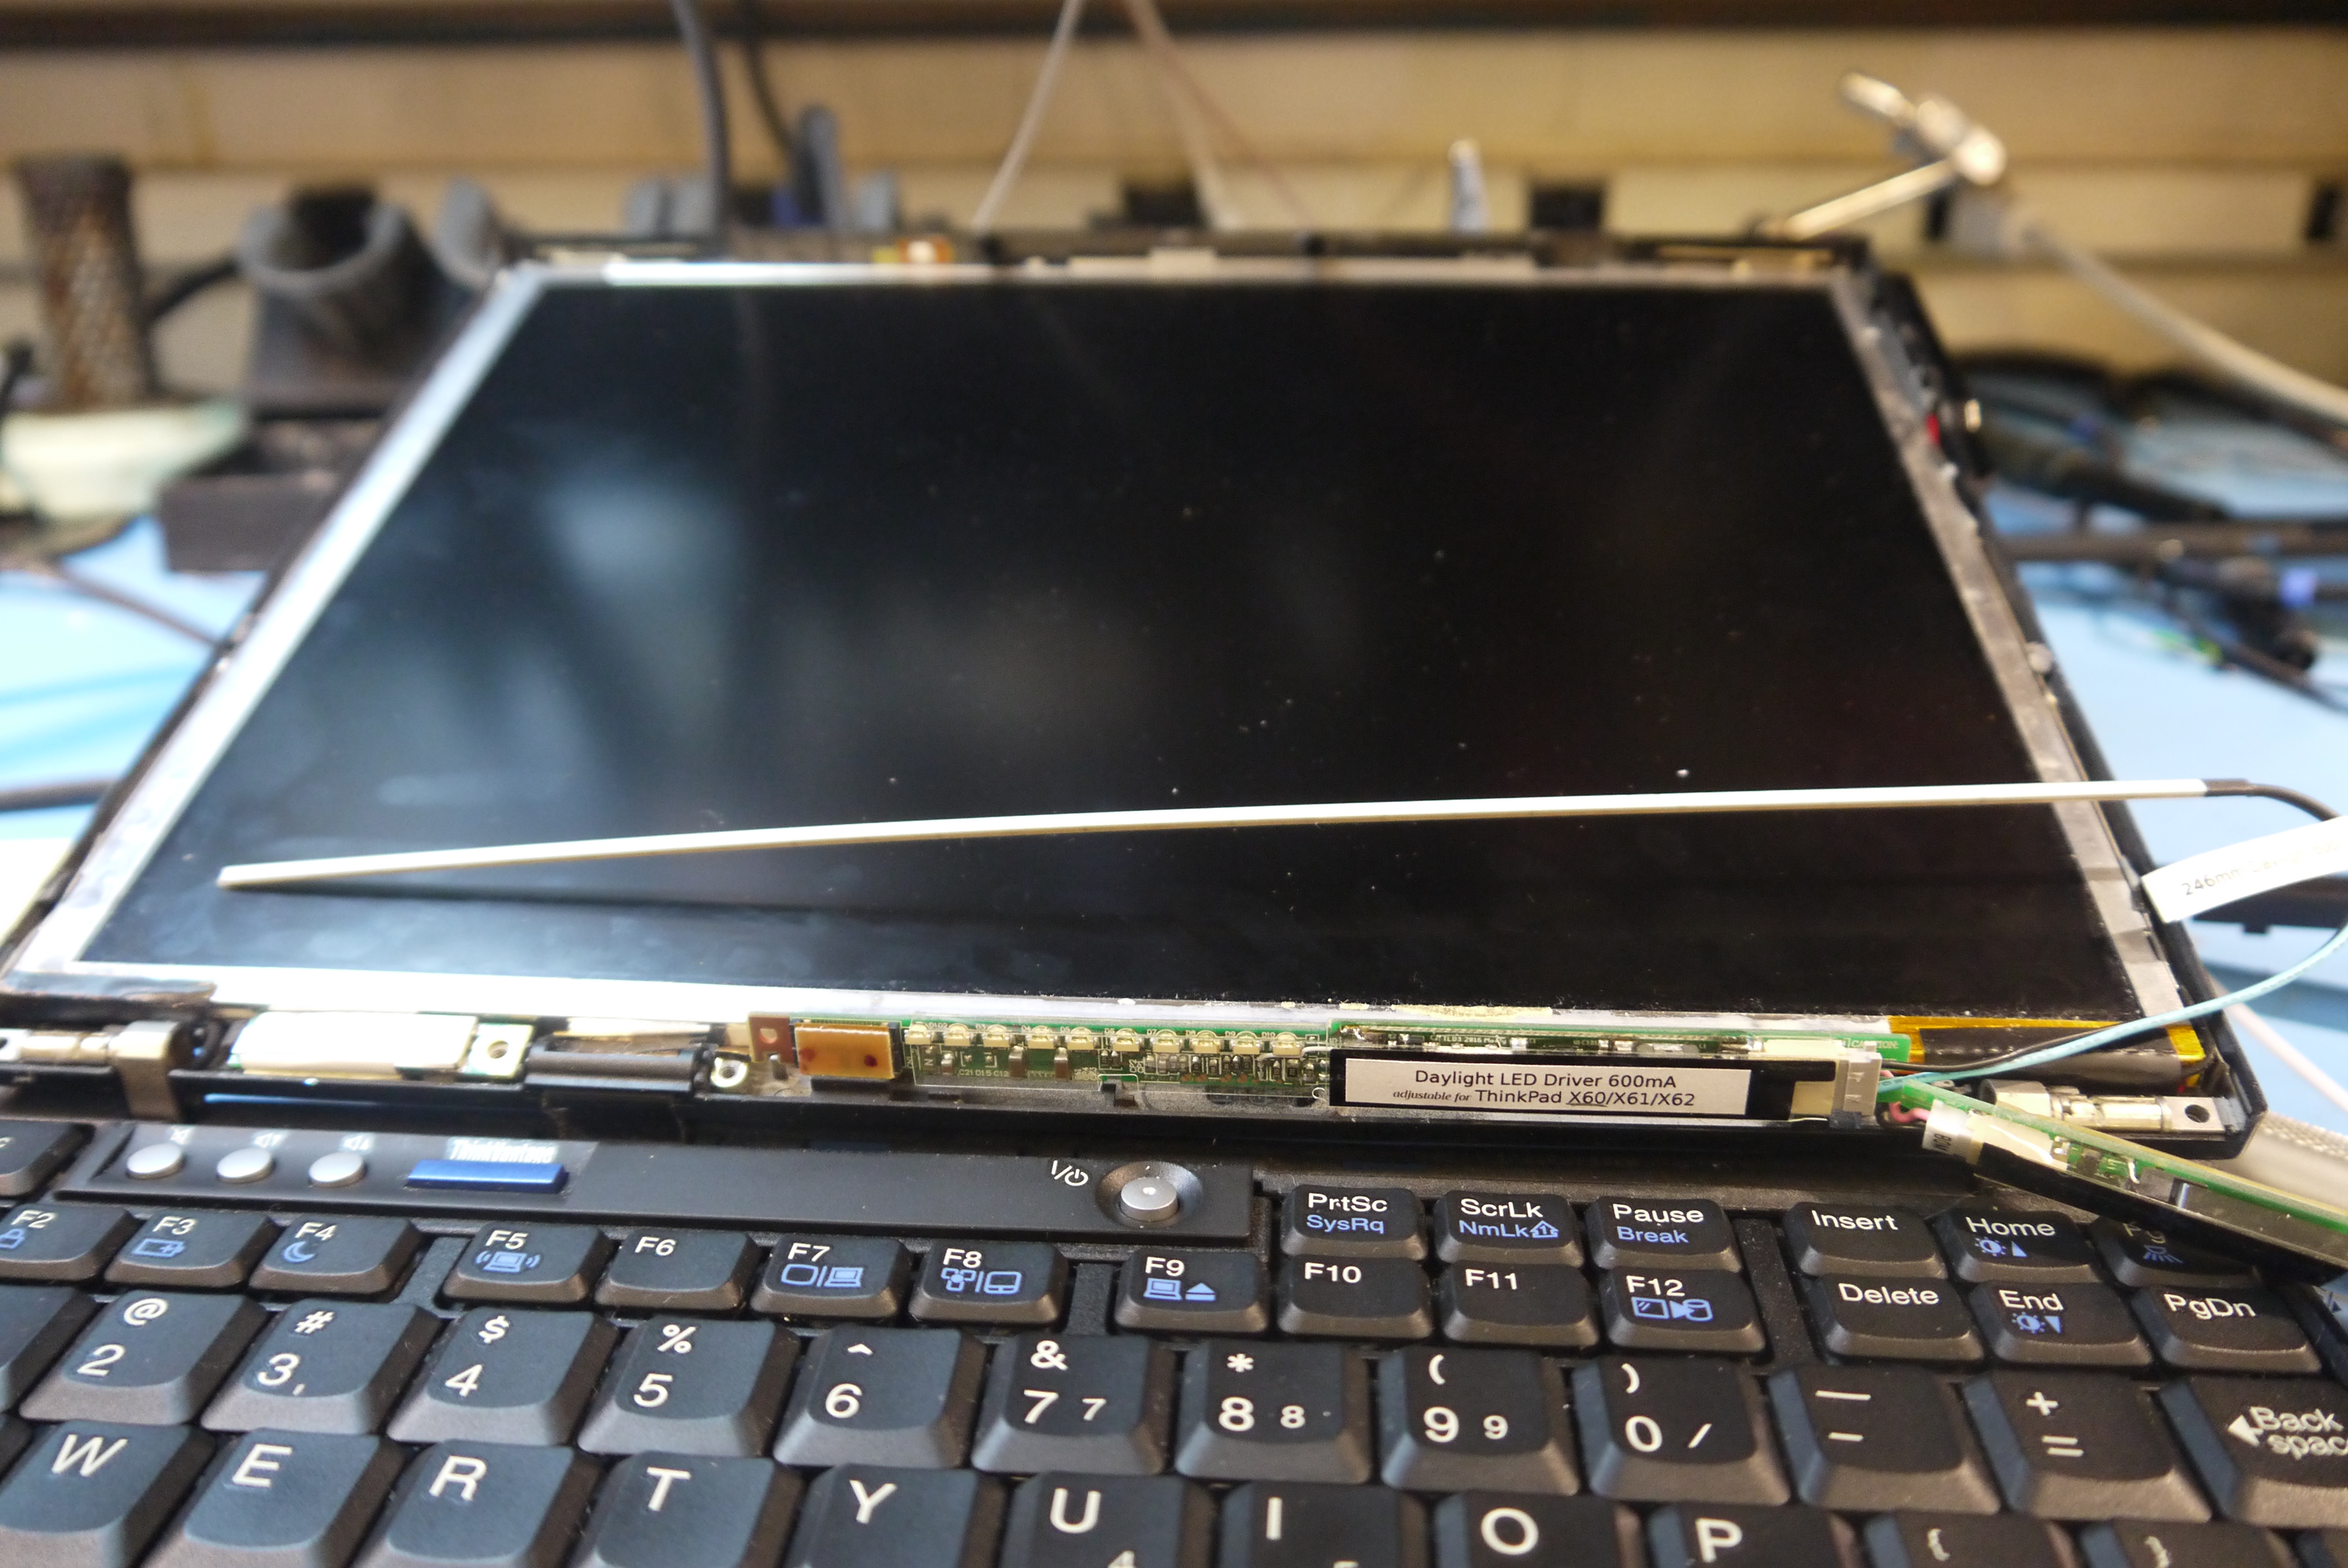
| The
LED strip fits into the connector thats quite similar to the cfl
connector and everything cab be mushed in place to test the setup
before doing a full teardown. I will note that the LED strip has no
heatsinking when its not in the laptop shell, as a result i limited the
amount of time the led was on to a few seconds. HUZZAH IT WORKS also YOWZA ITS BRIGHT. | 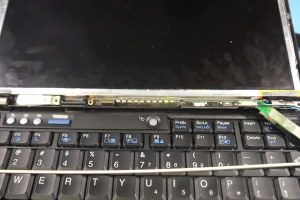 | 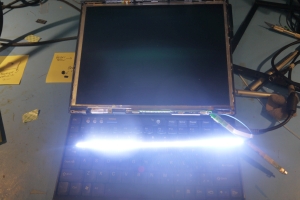 |
| Well,
now that I know that the backlight glows and can be adjusted by
keyboard command, time to take everything fully apart and shove things
in place. This is a good point to remind you remove the battery pack, remove the AC adapter. | 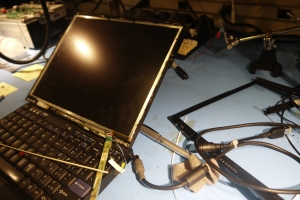 |  |
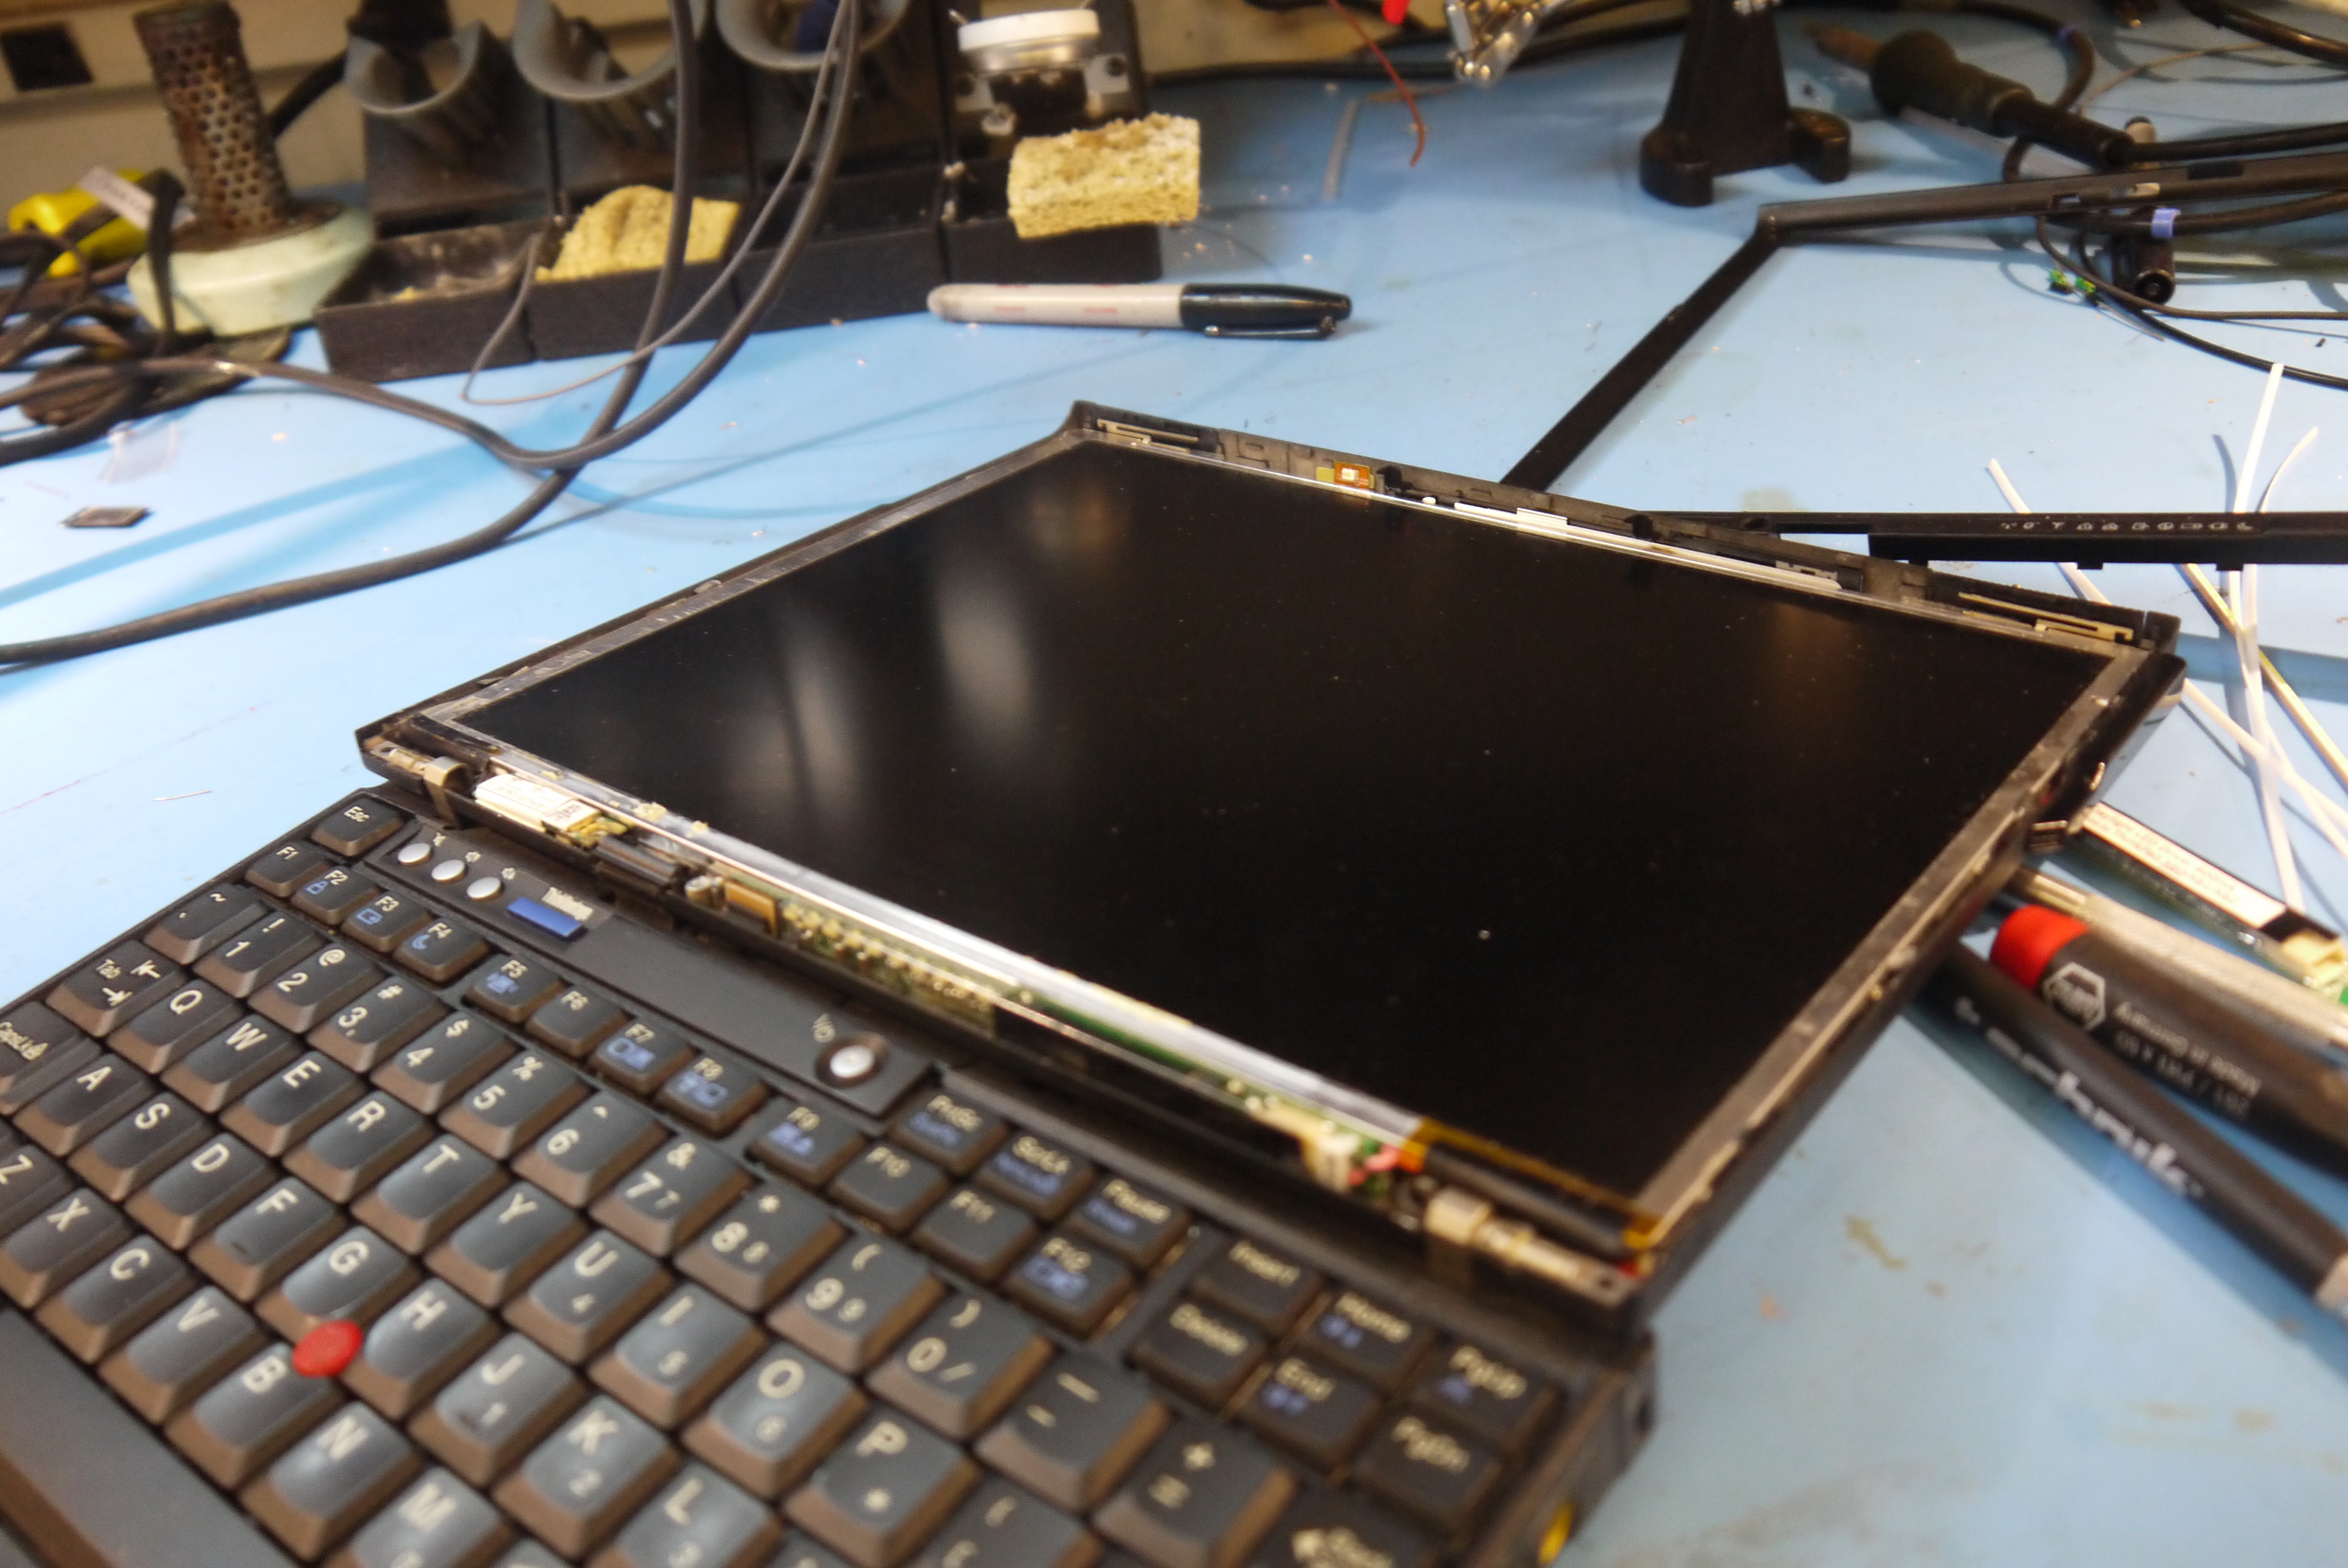
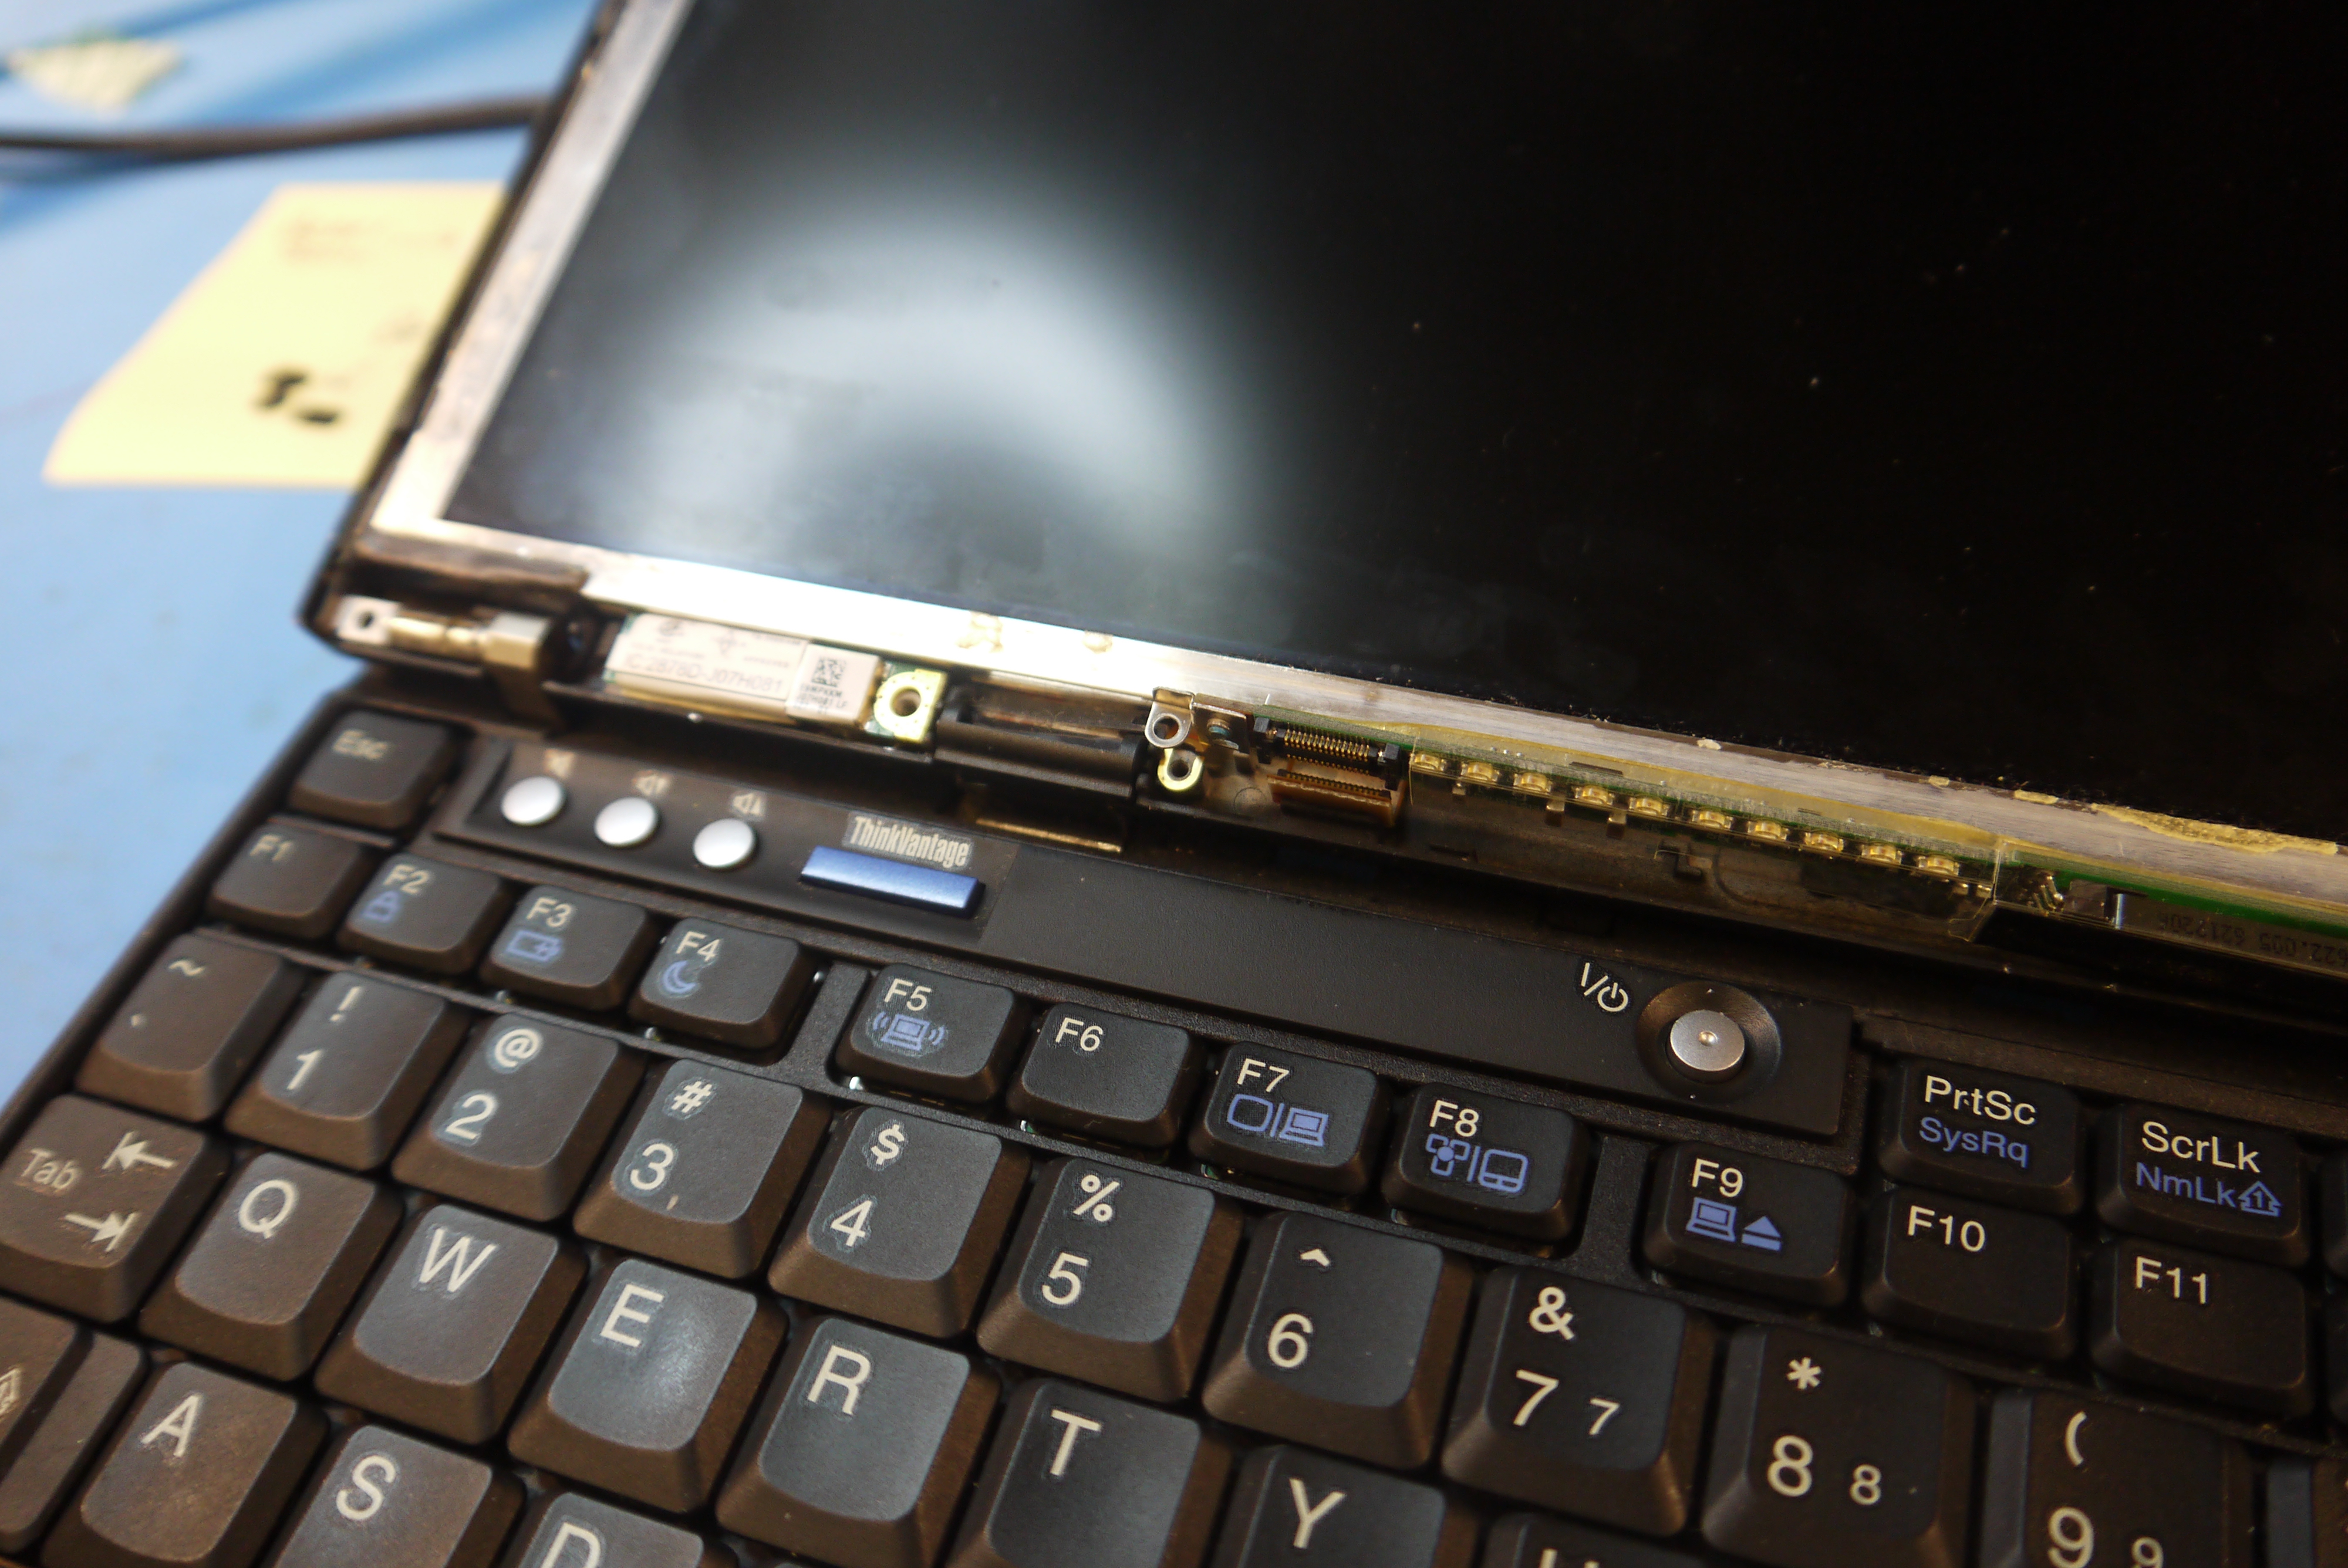
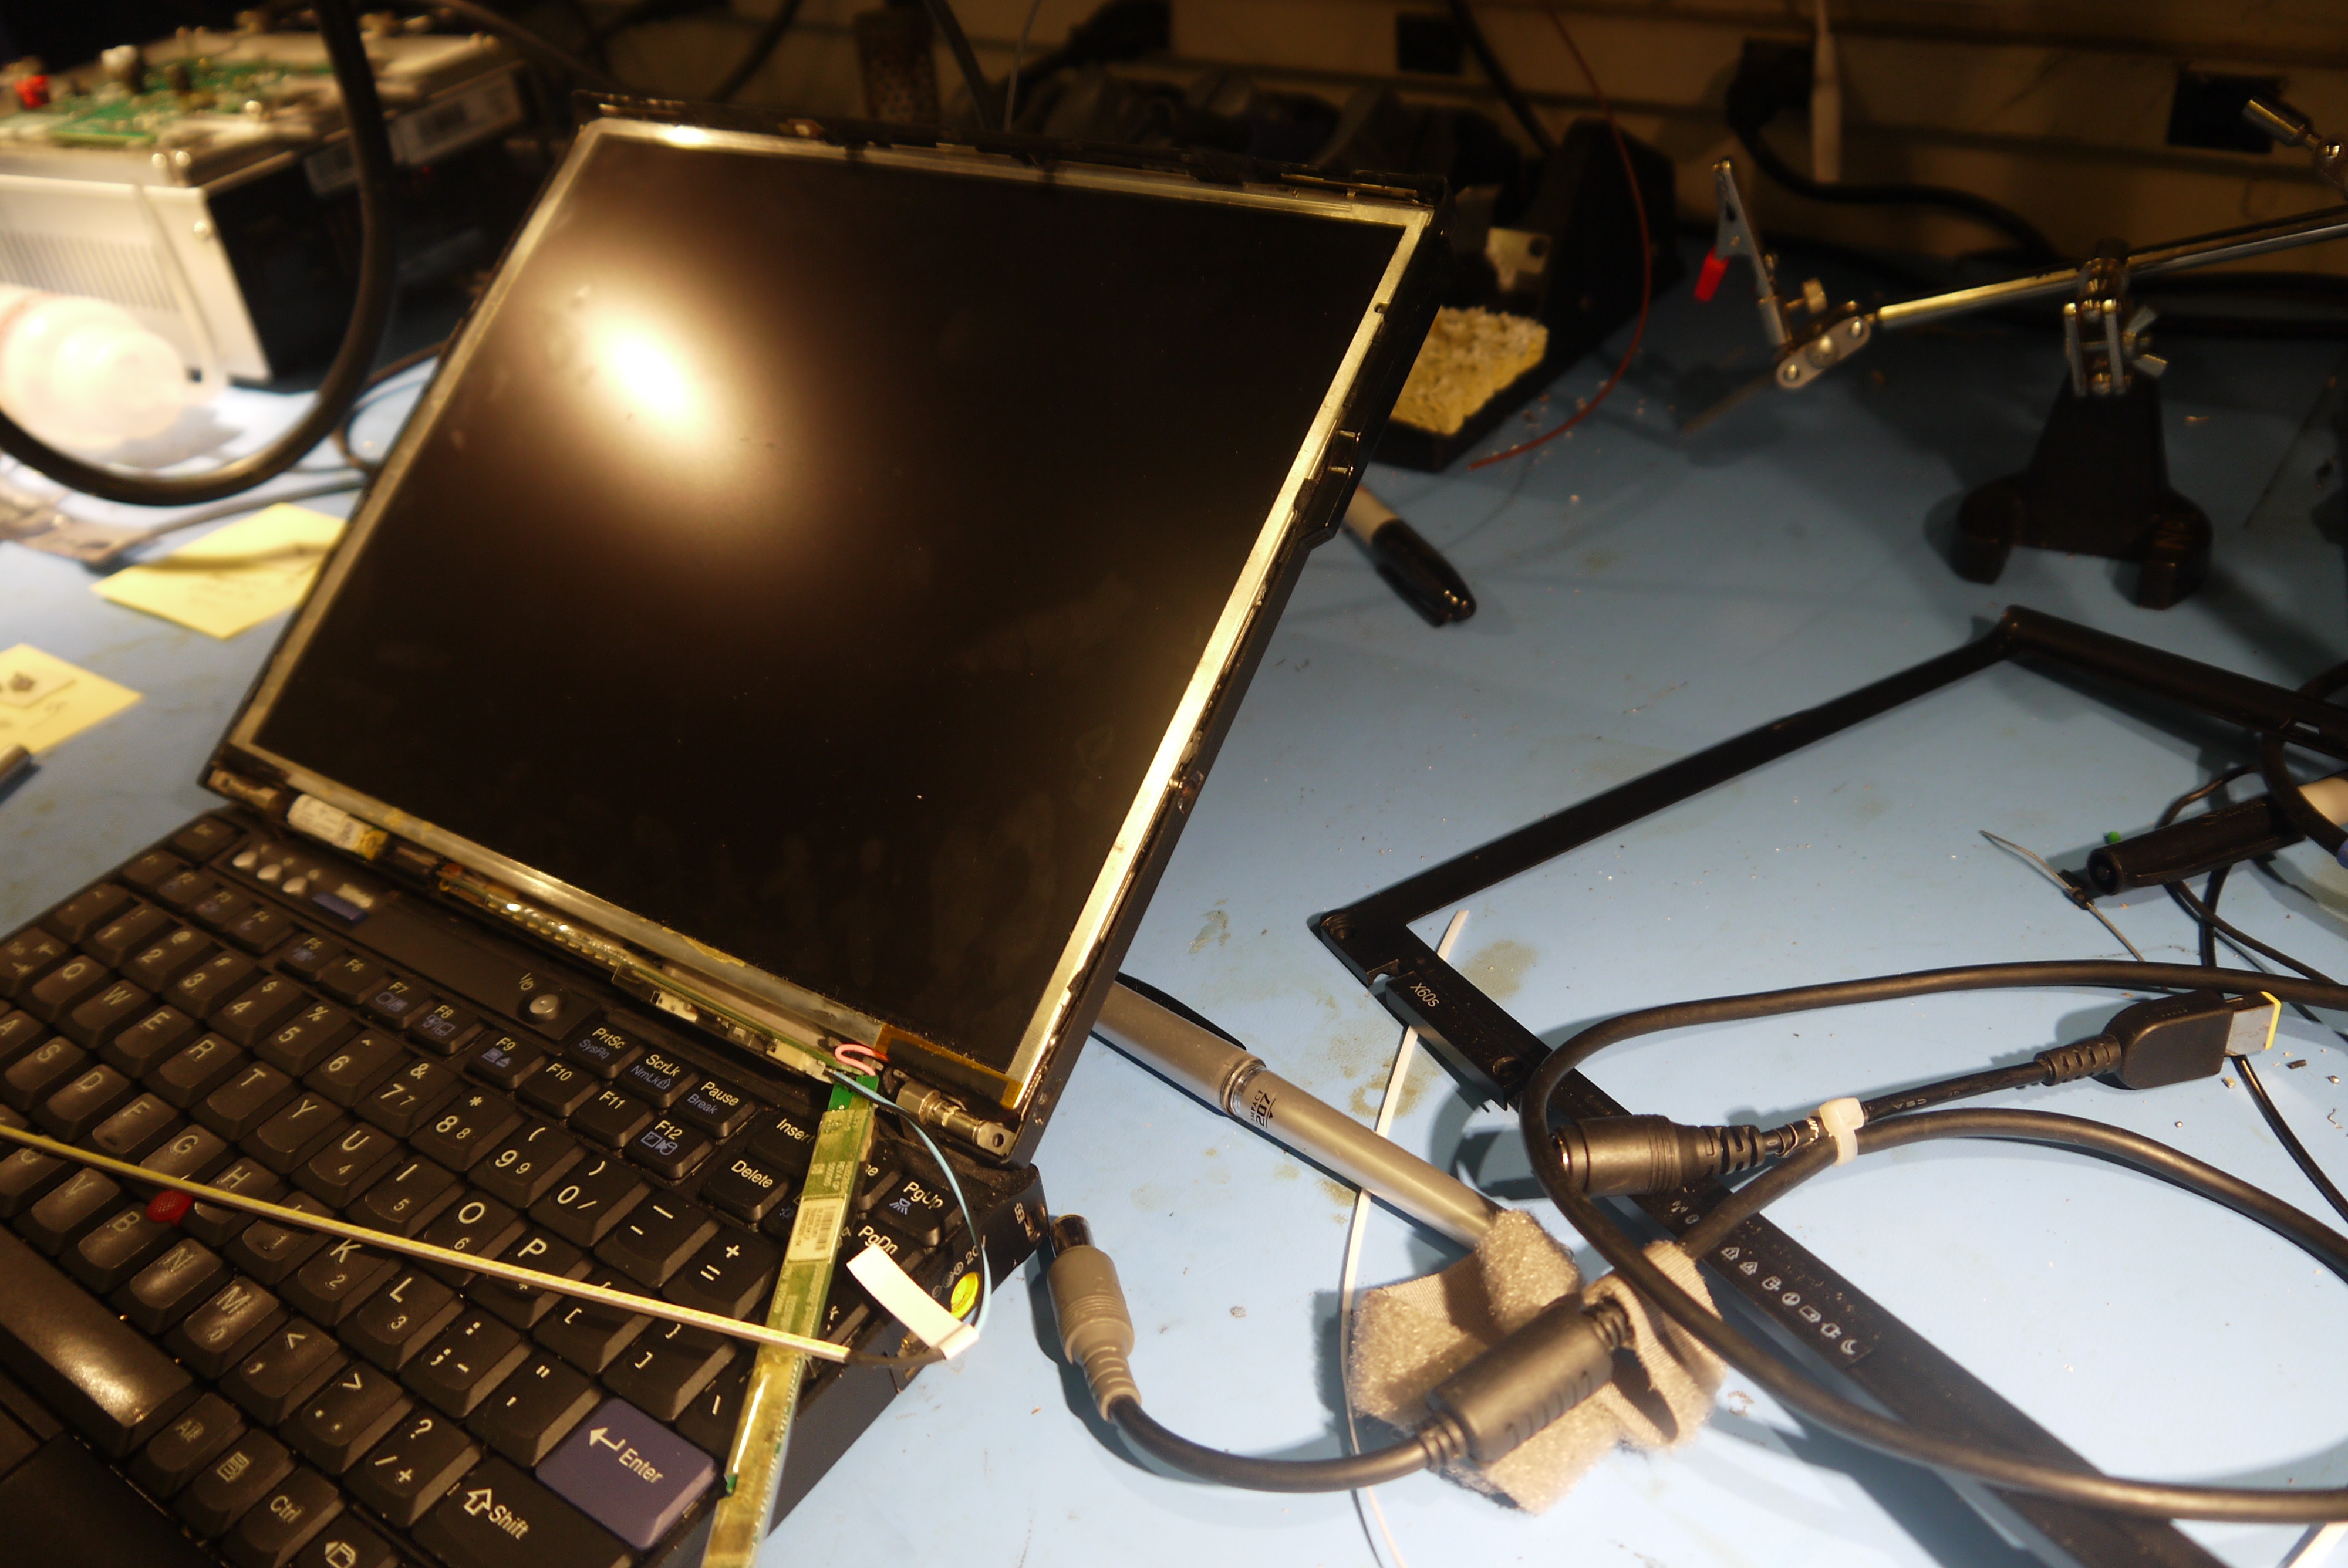
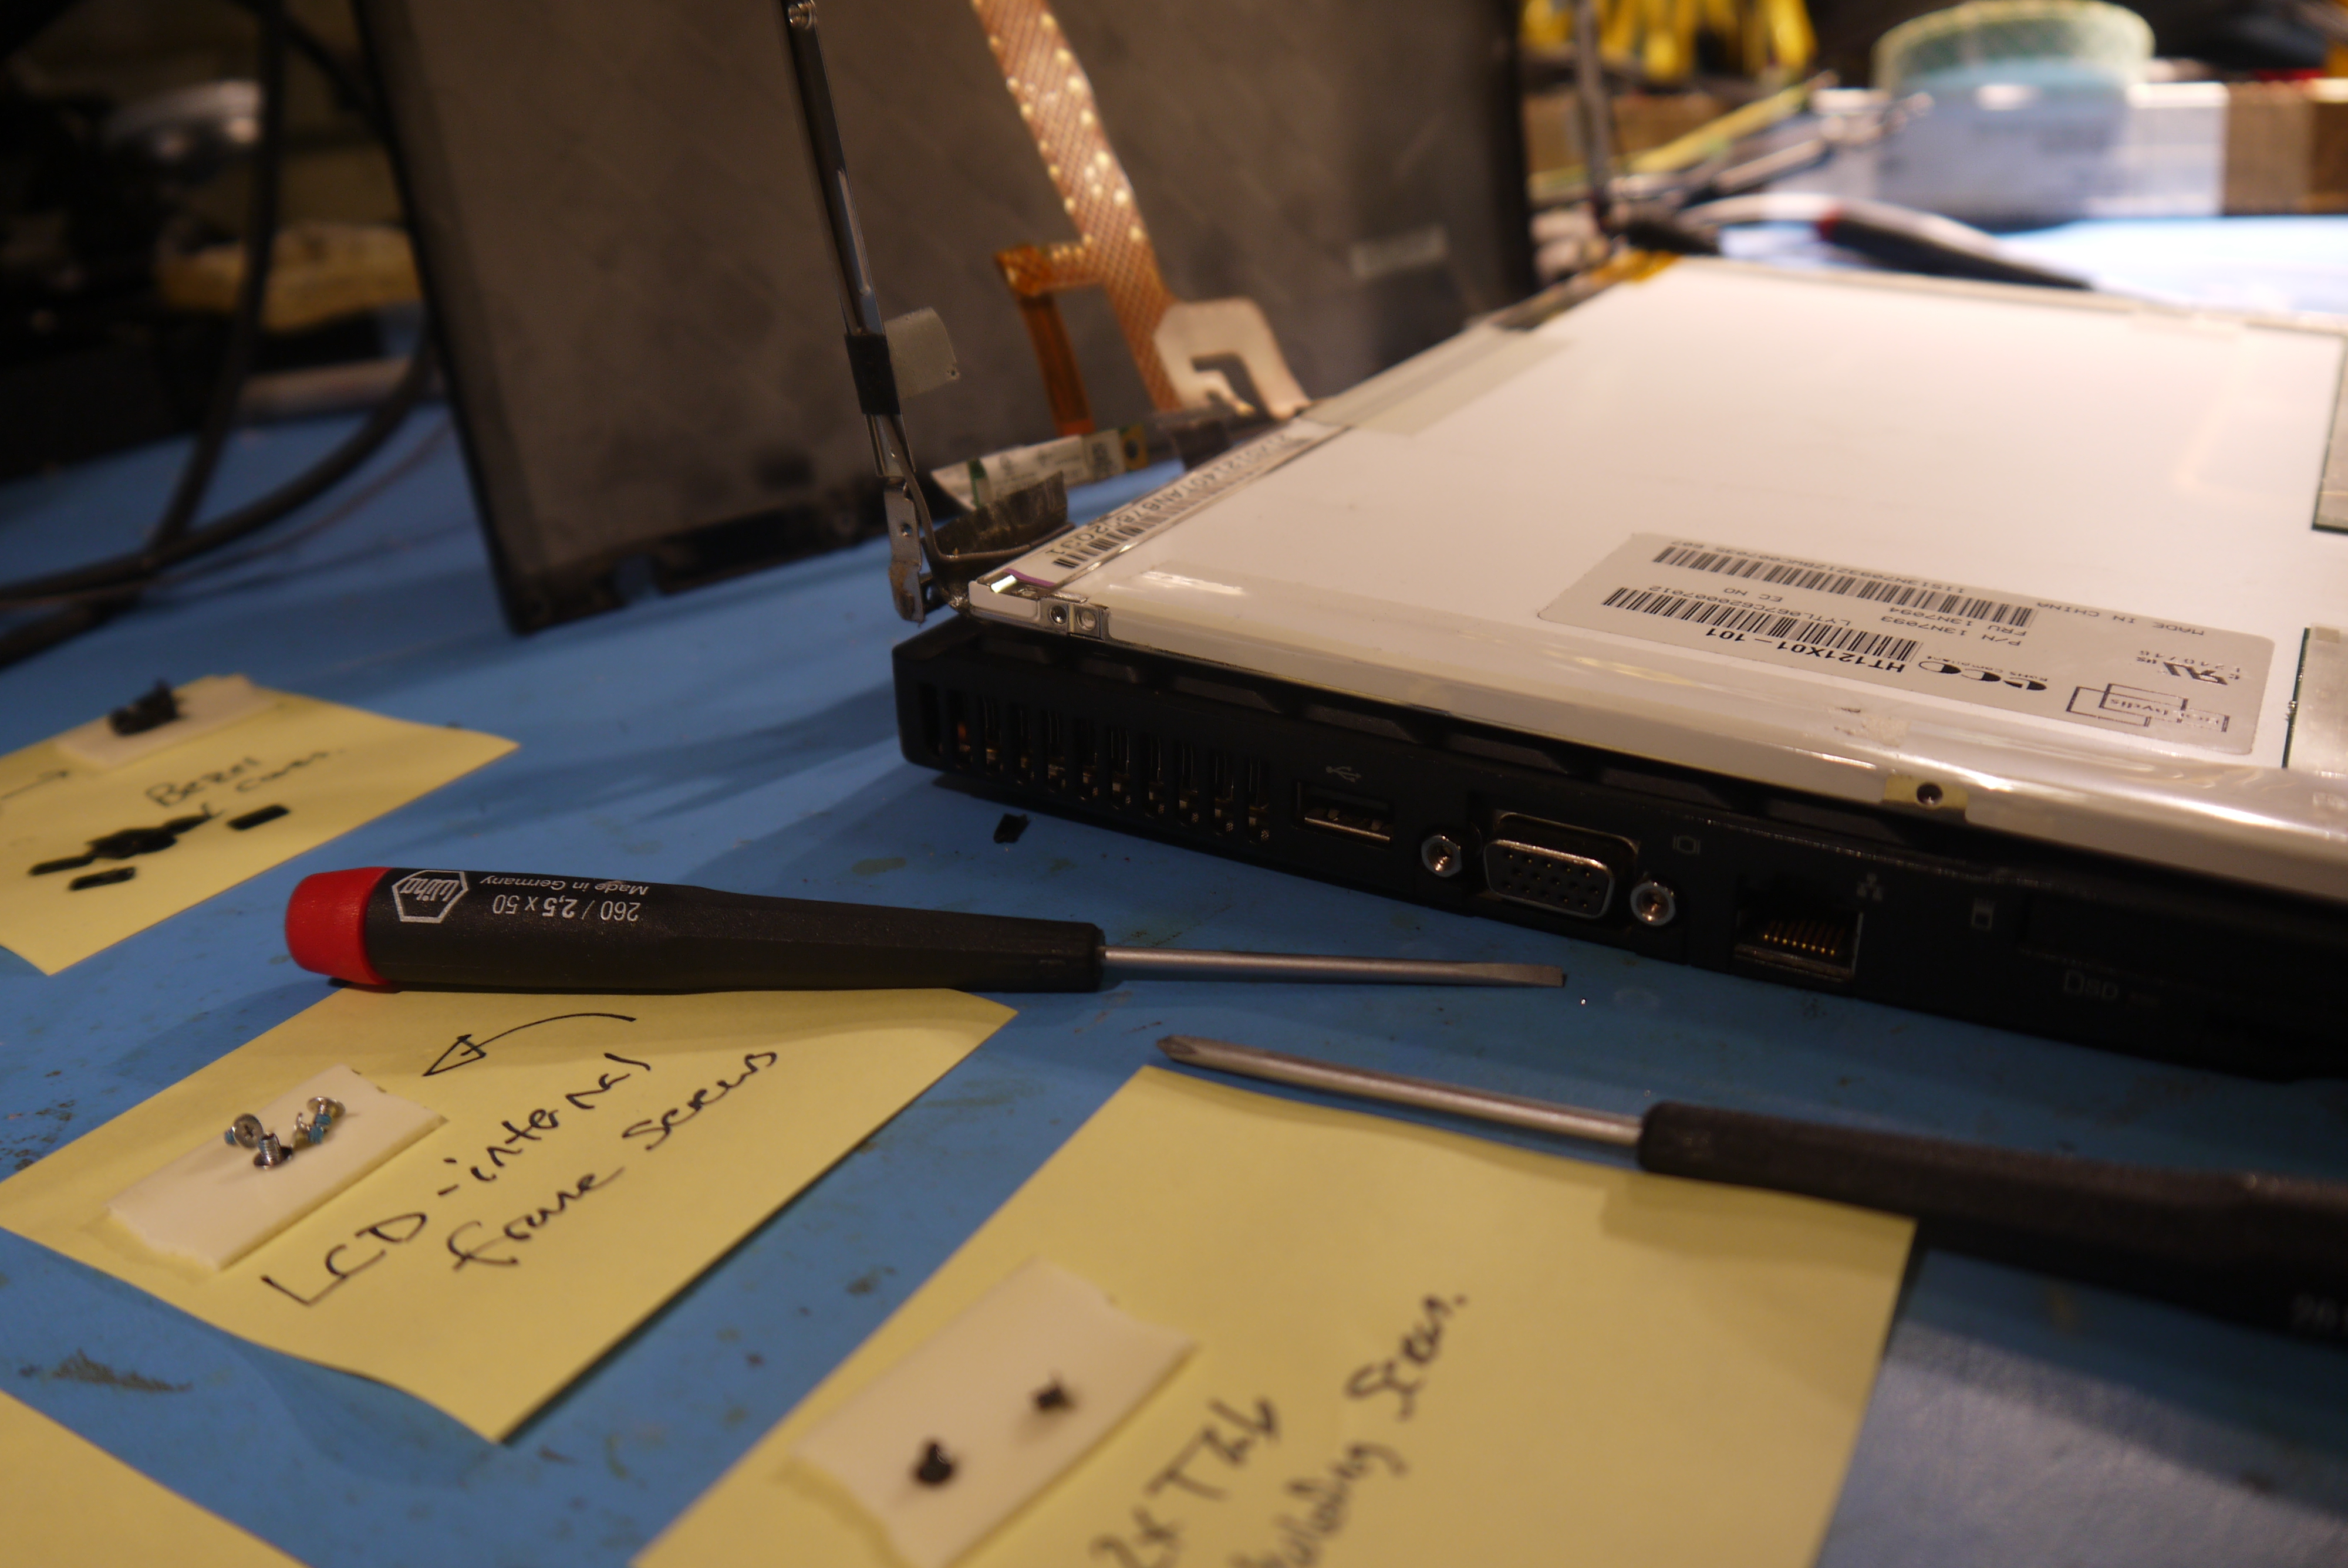
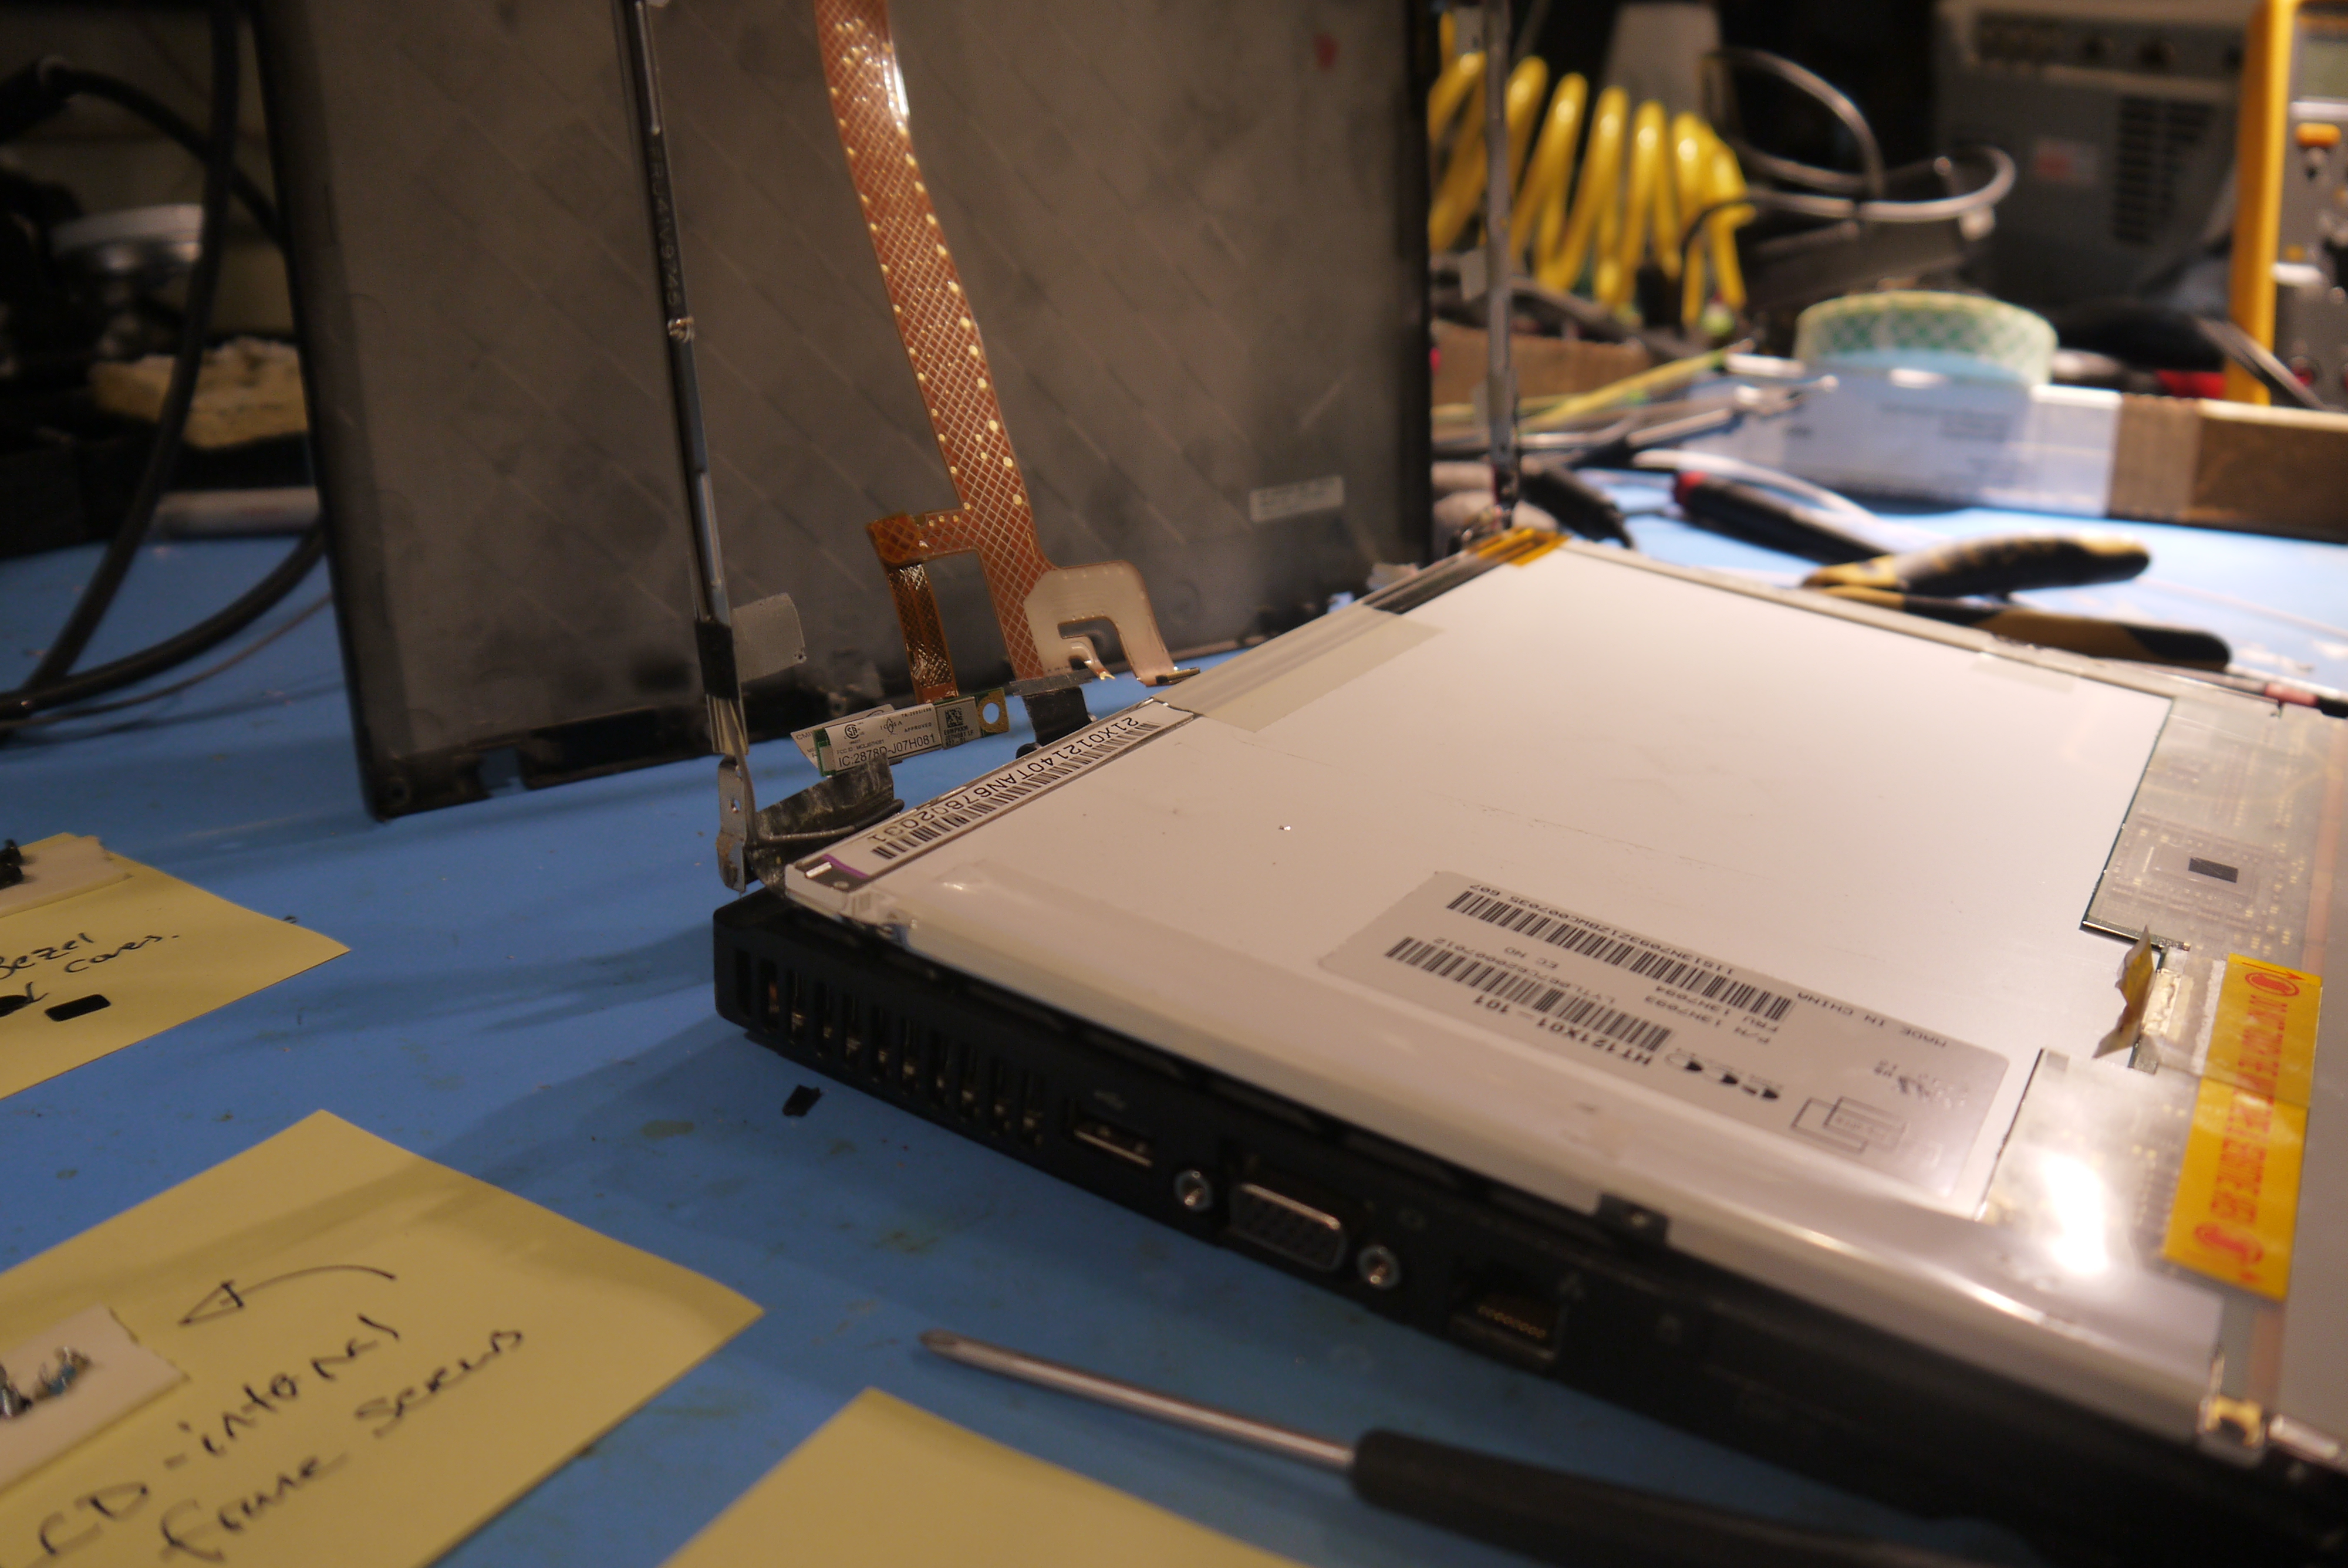
| The
back lid is removed, taking care to ensure the lcd ribbon cable and
think-light doesnt get torn off. Now time to remove those itty bitty
screws holding the LCD assembly to the metal chassis that ties it to
the hinges |  |  |
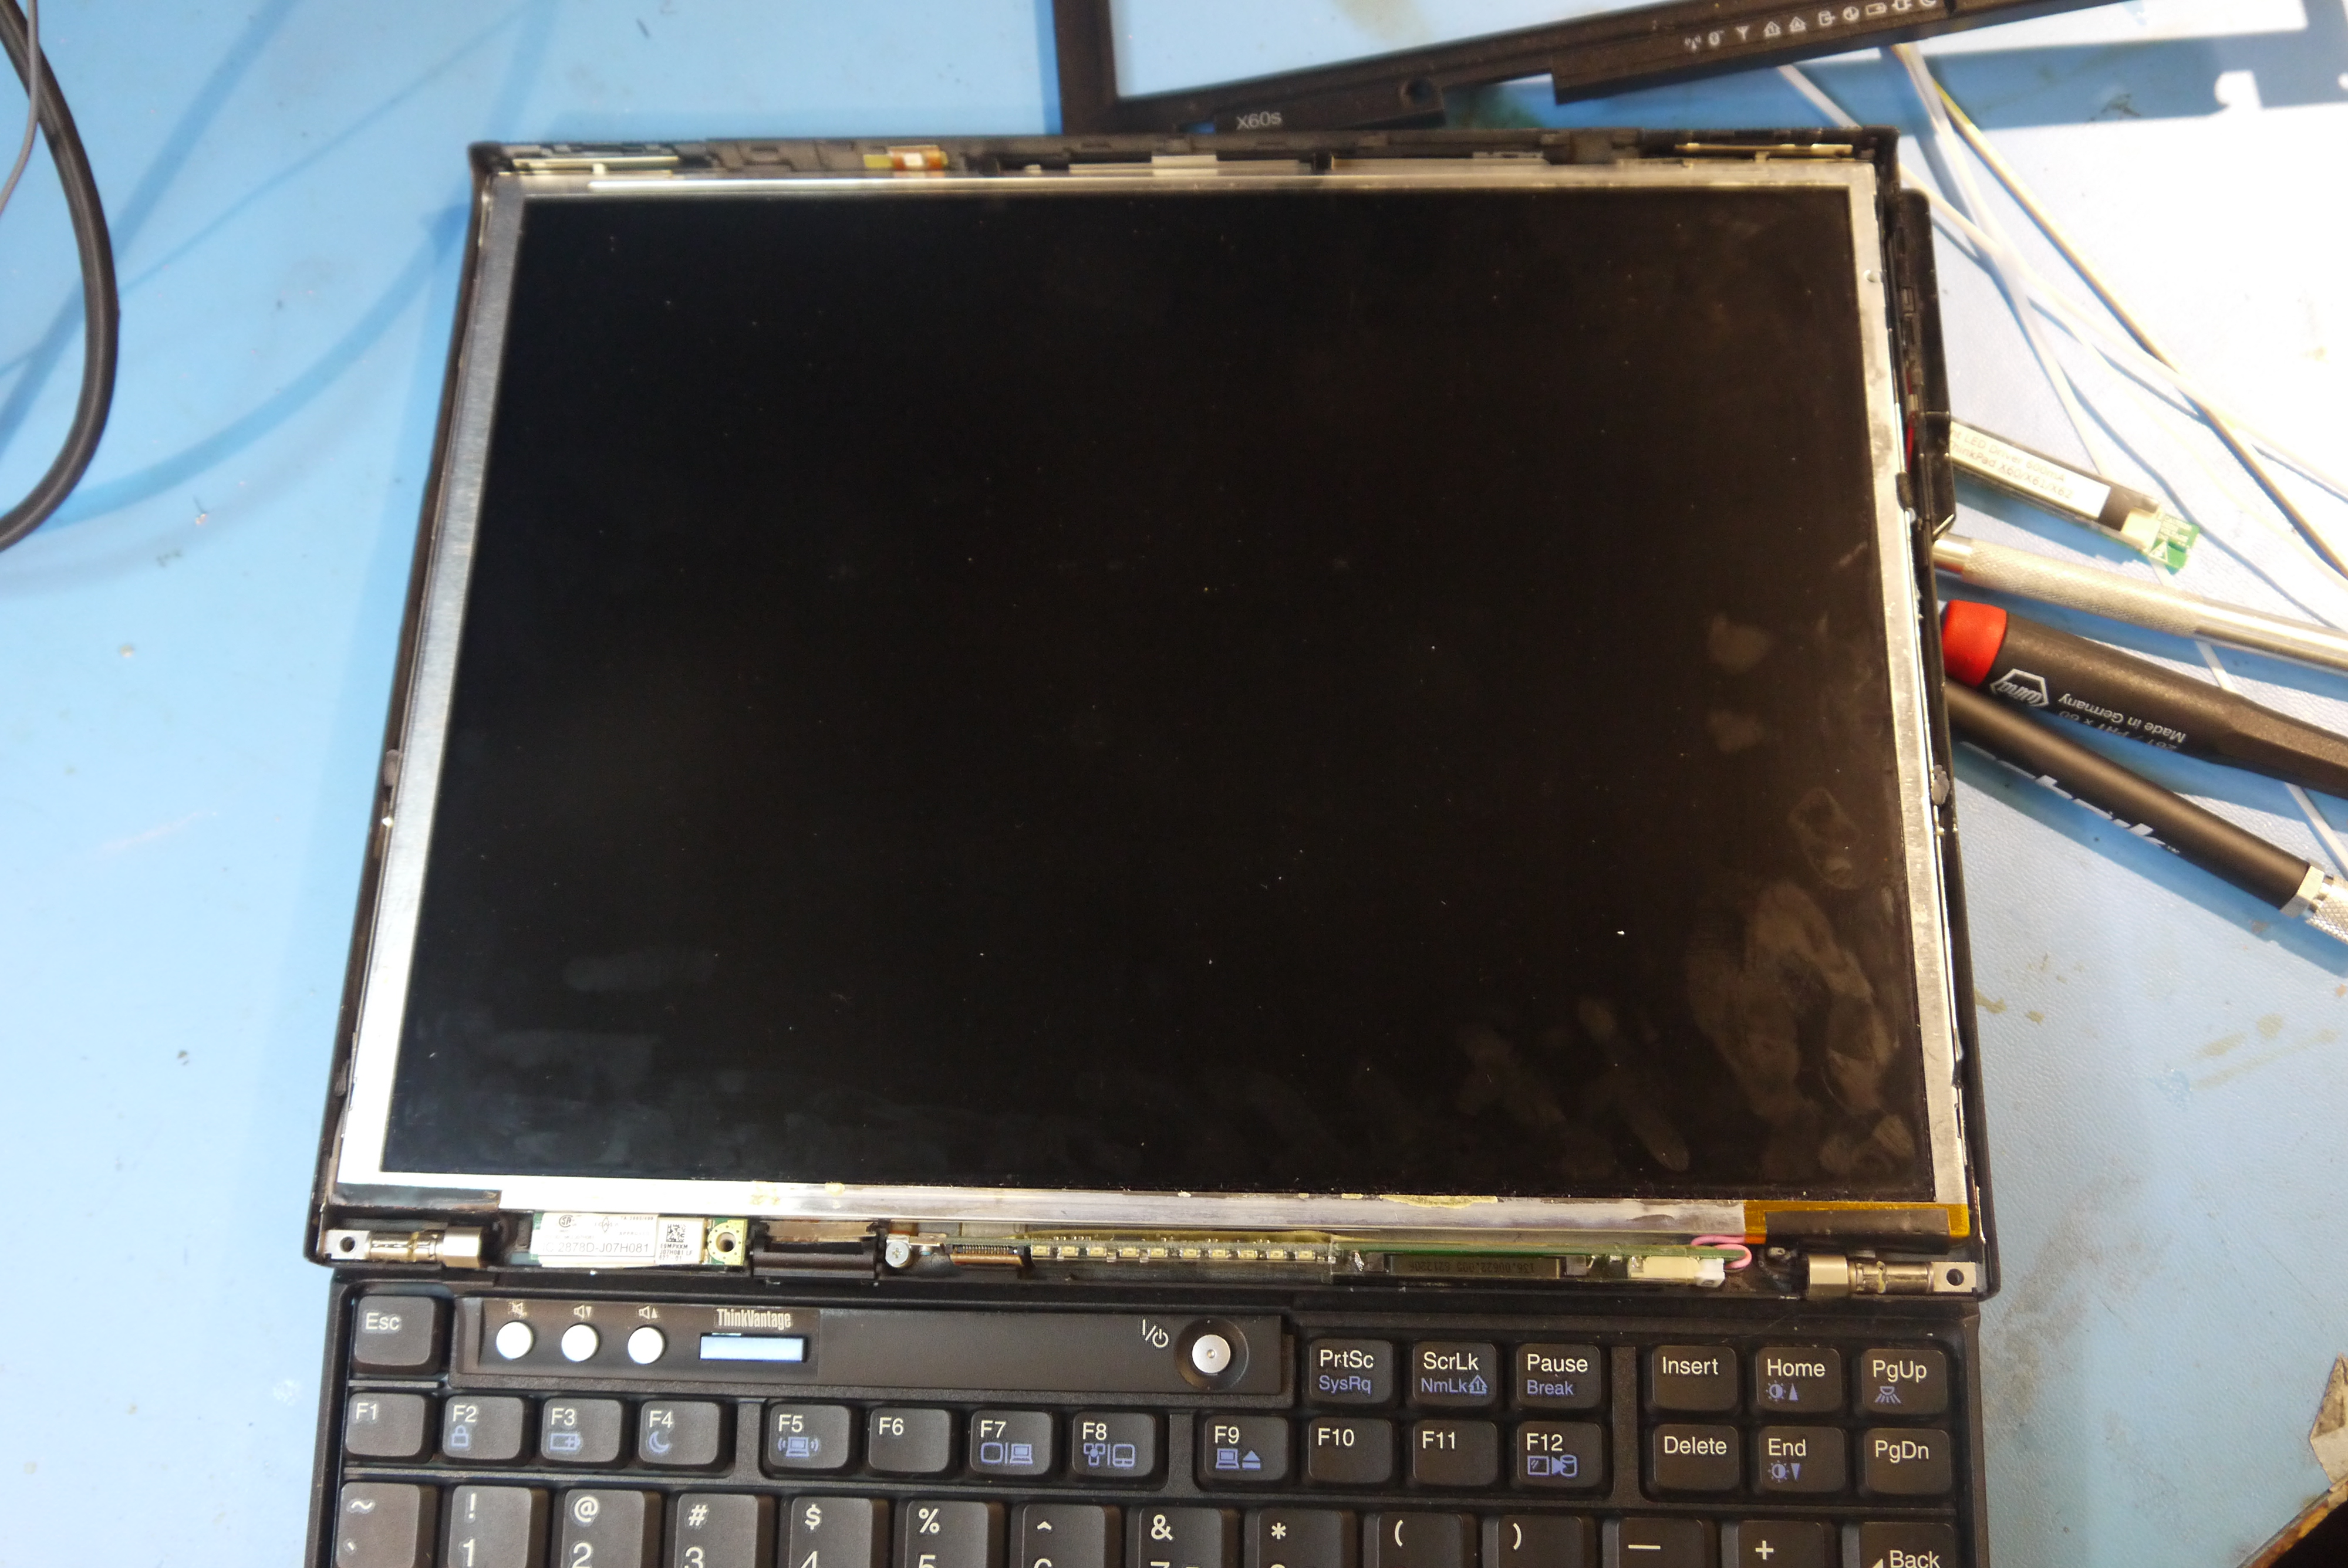
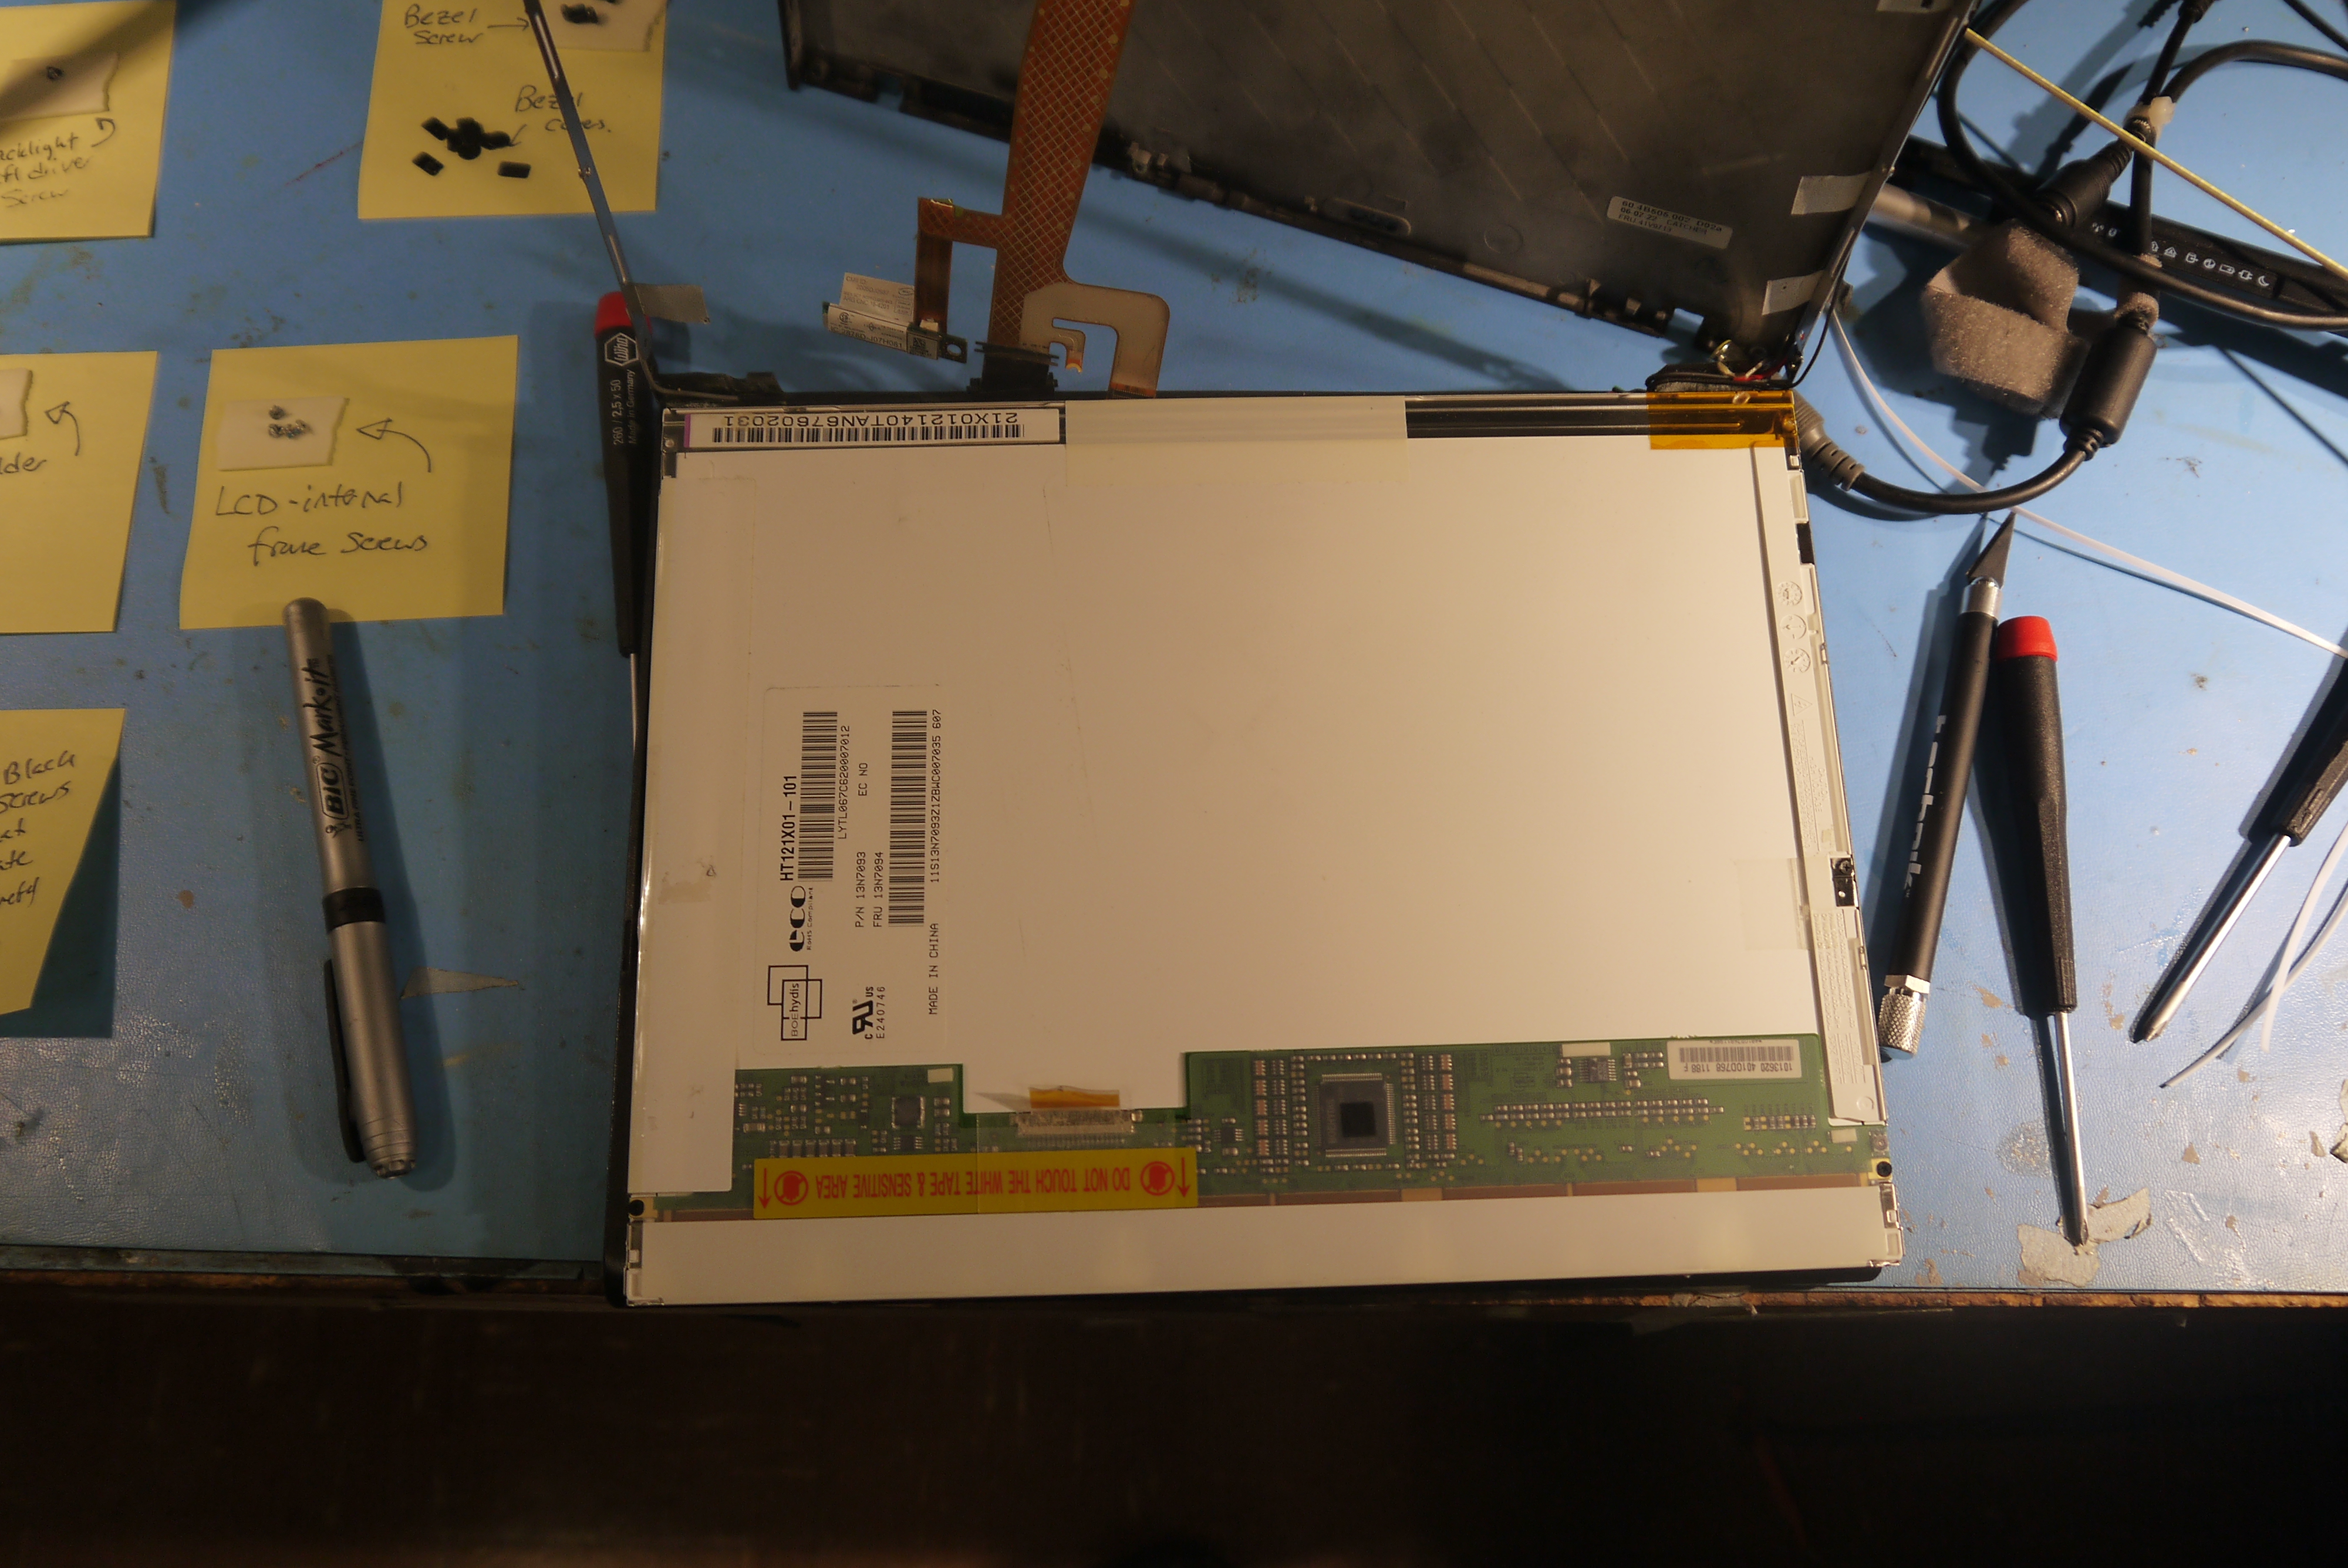
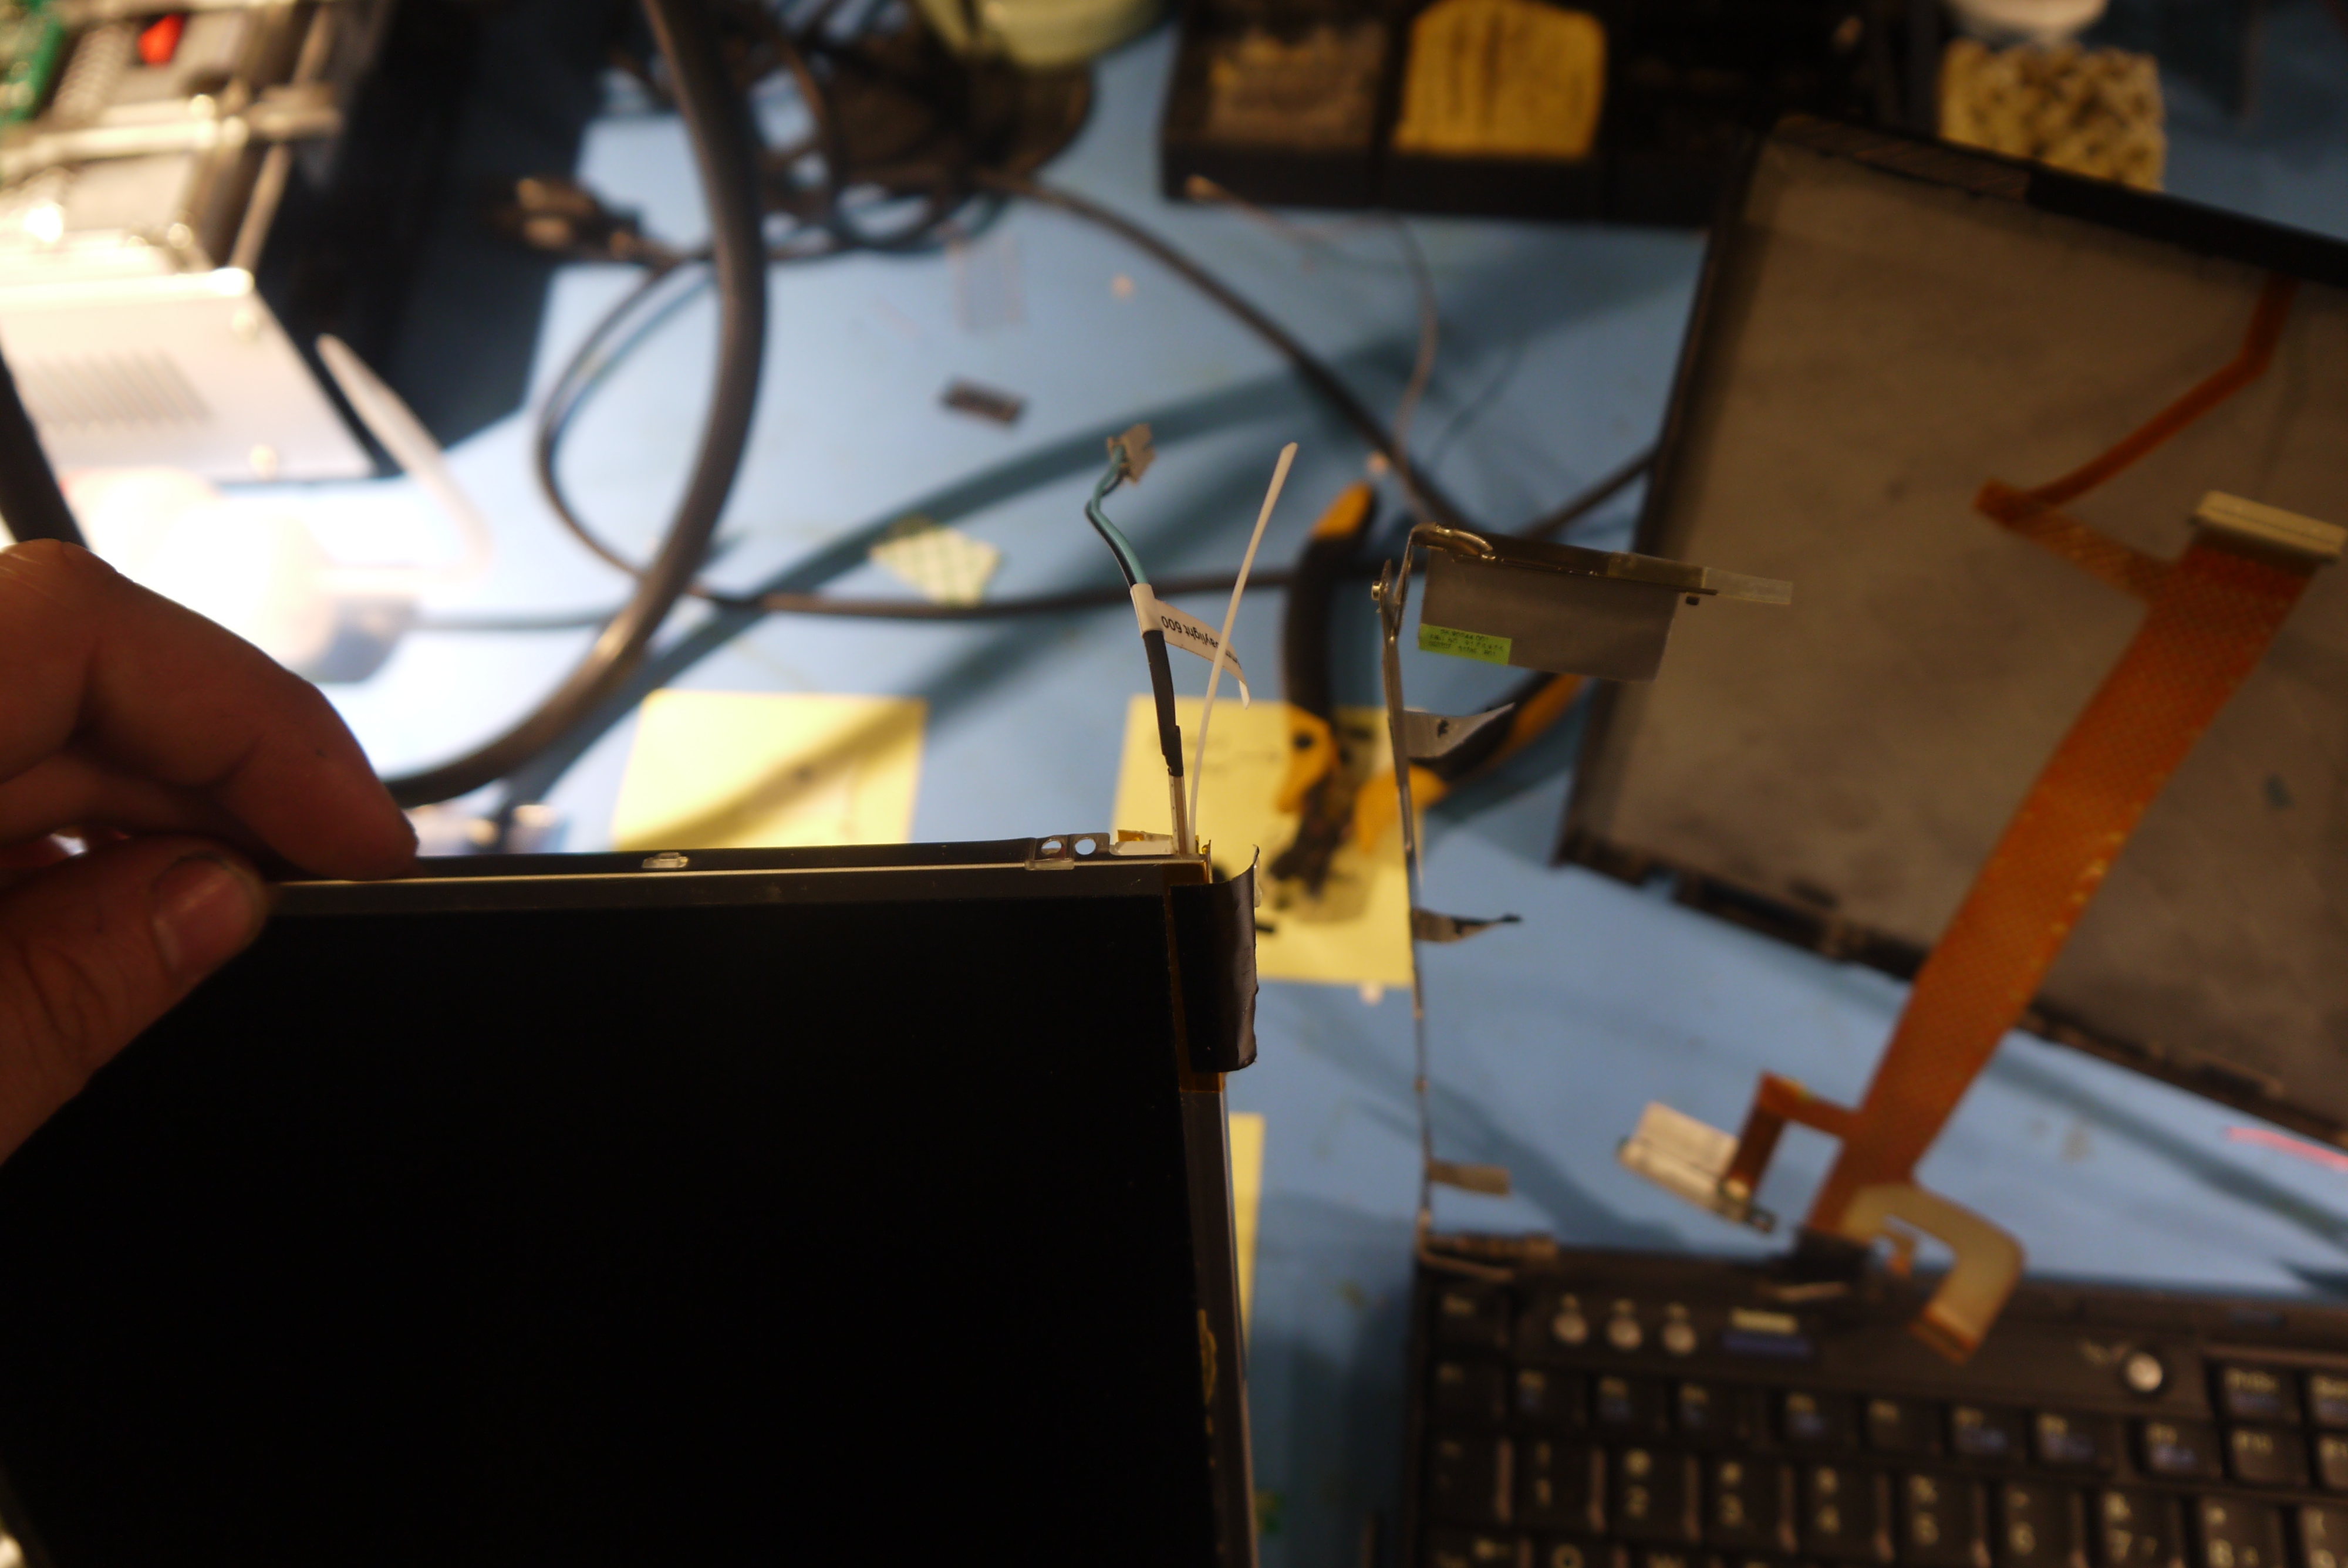
| With
the LCD detached from the metal chassis the small cavity where the CCFL
tube lives is visible. I couldnt quite believe how small this tube was,
given the light output. Its fragile but bizarely flexible for glass.
Remove the kapton tape holding the end in place and begin sliding it
out. It doesnt hurt to wear gloves when doing this as, it probably will
break, which it did in my case. |  |  |
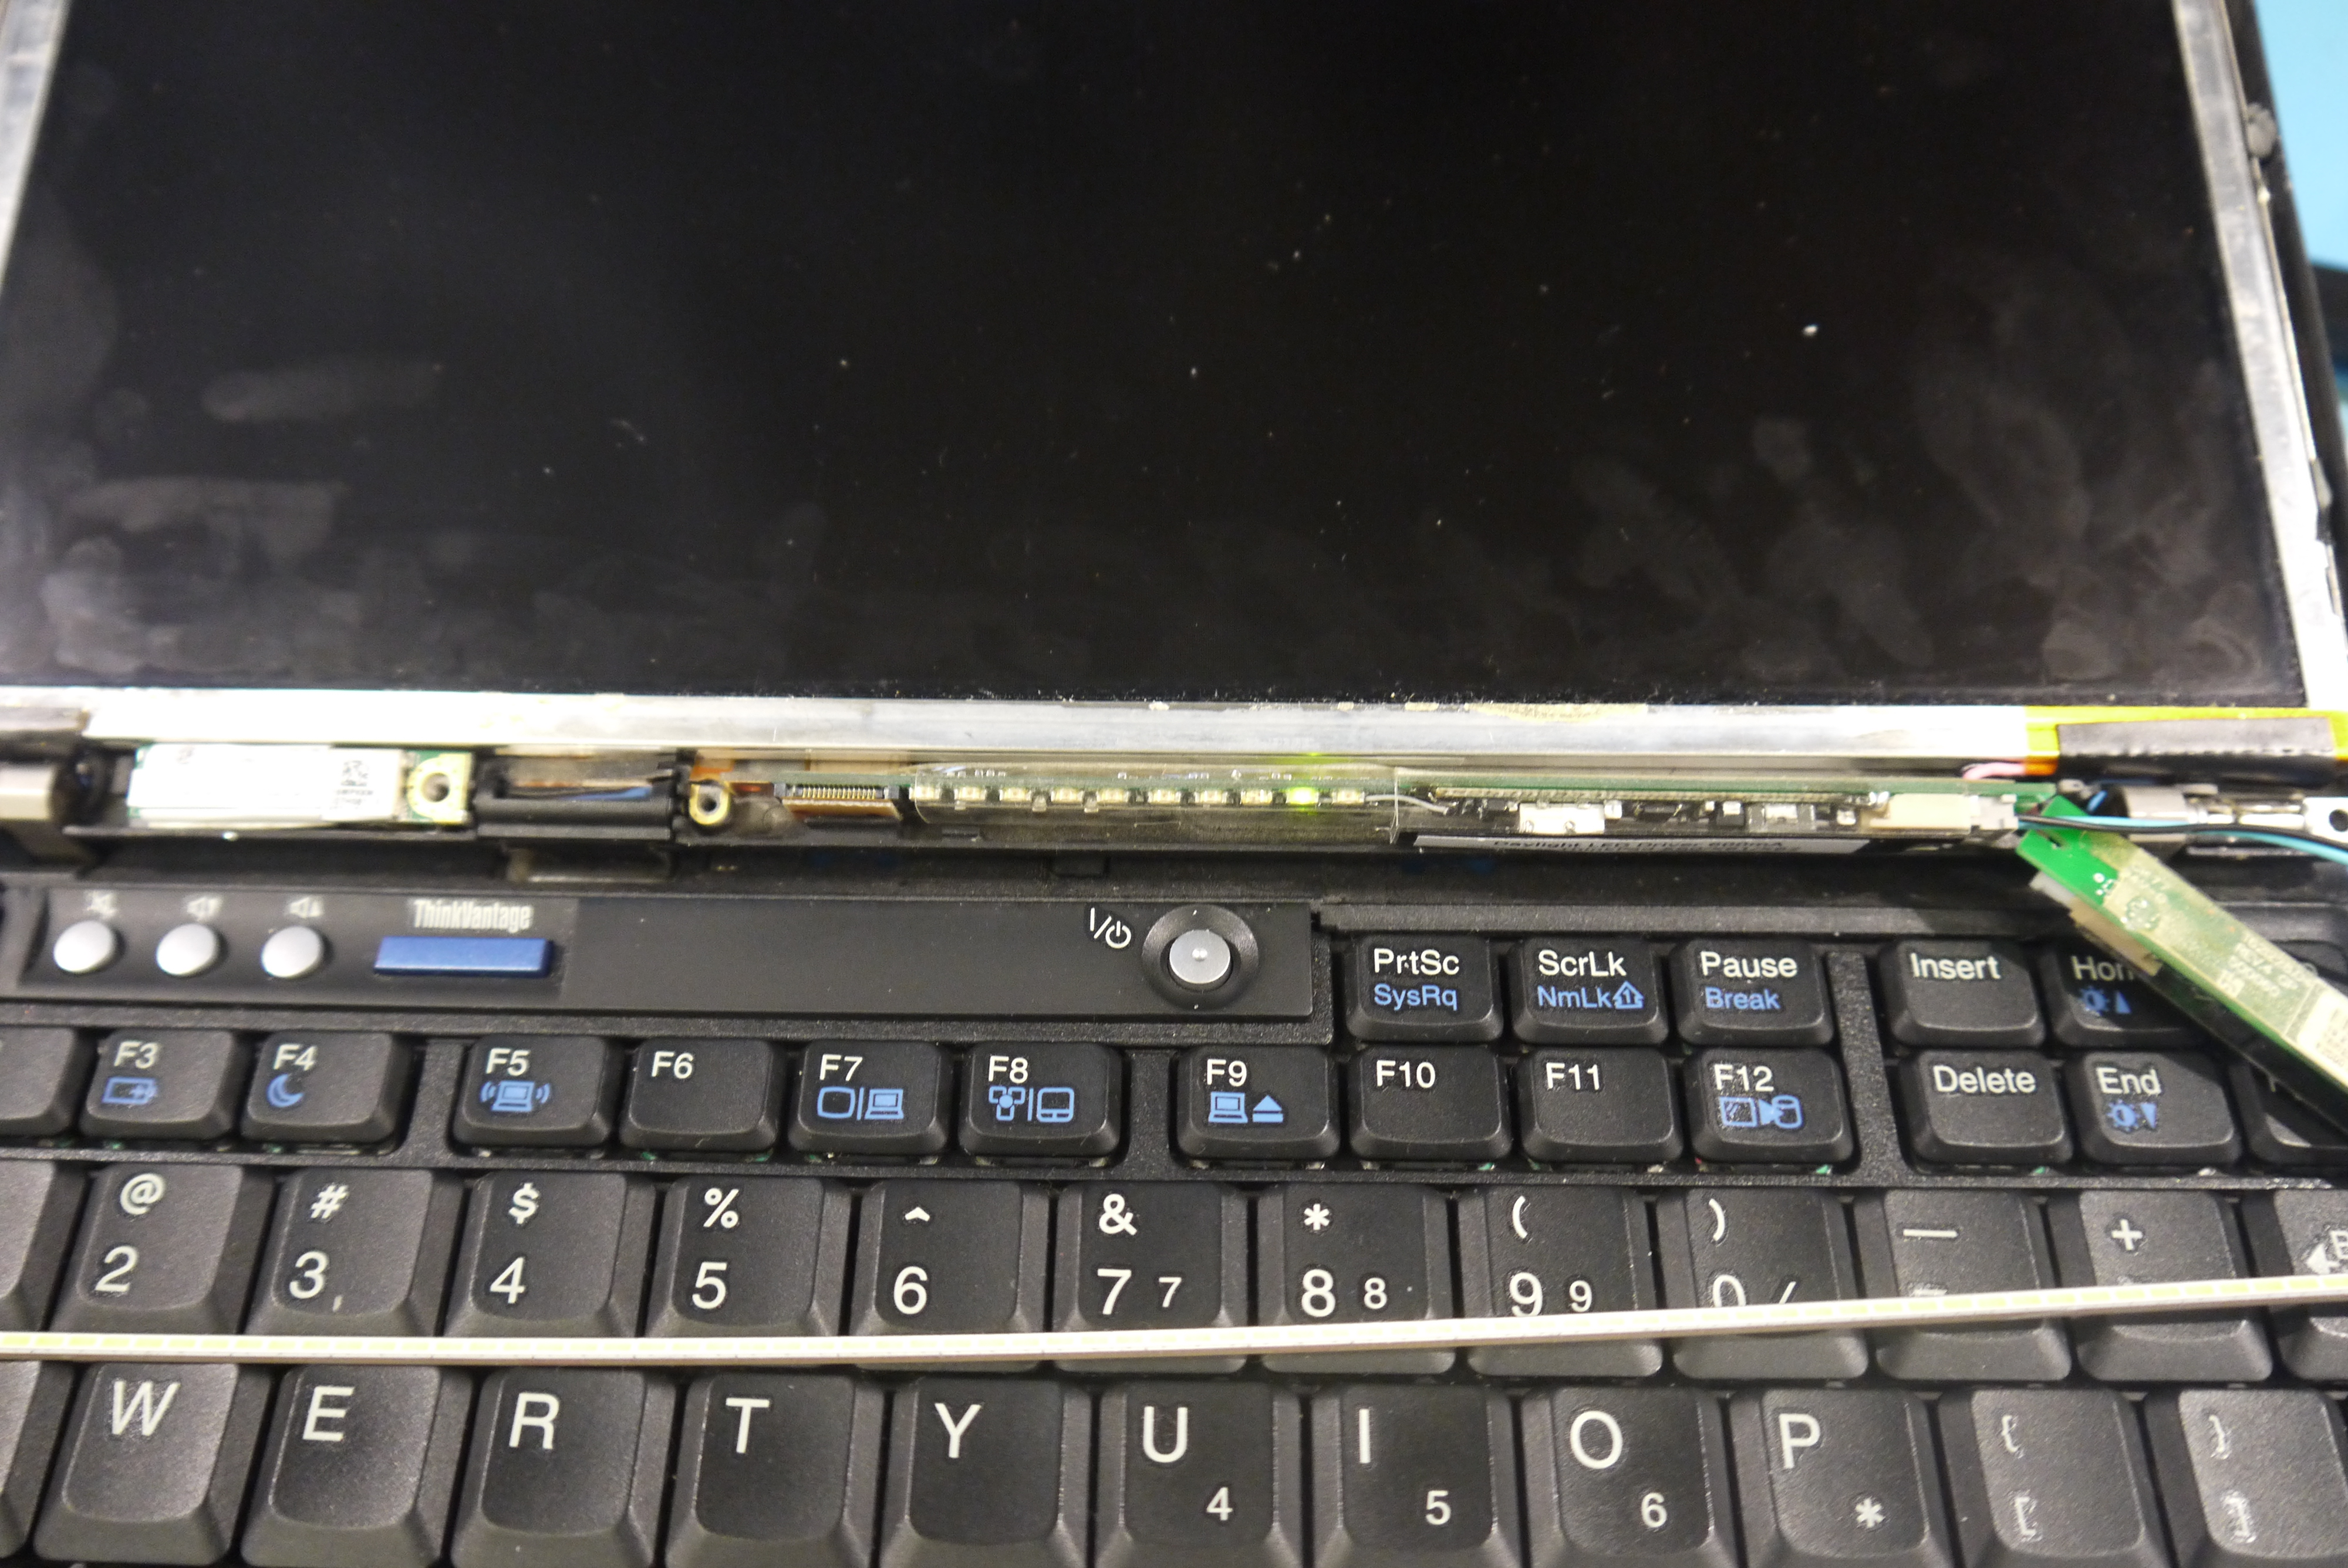
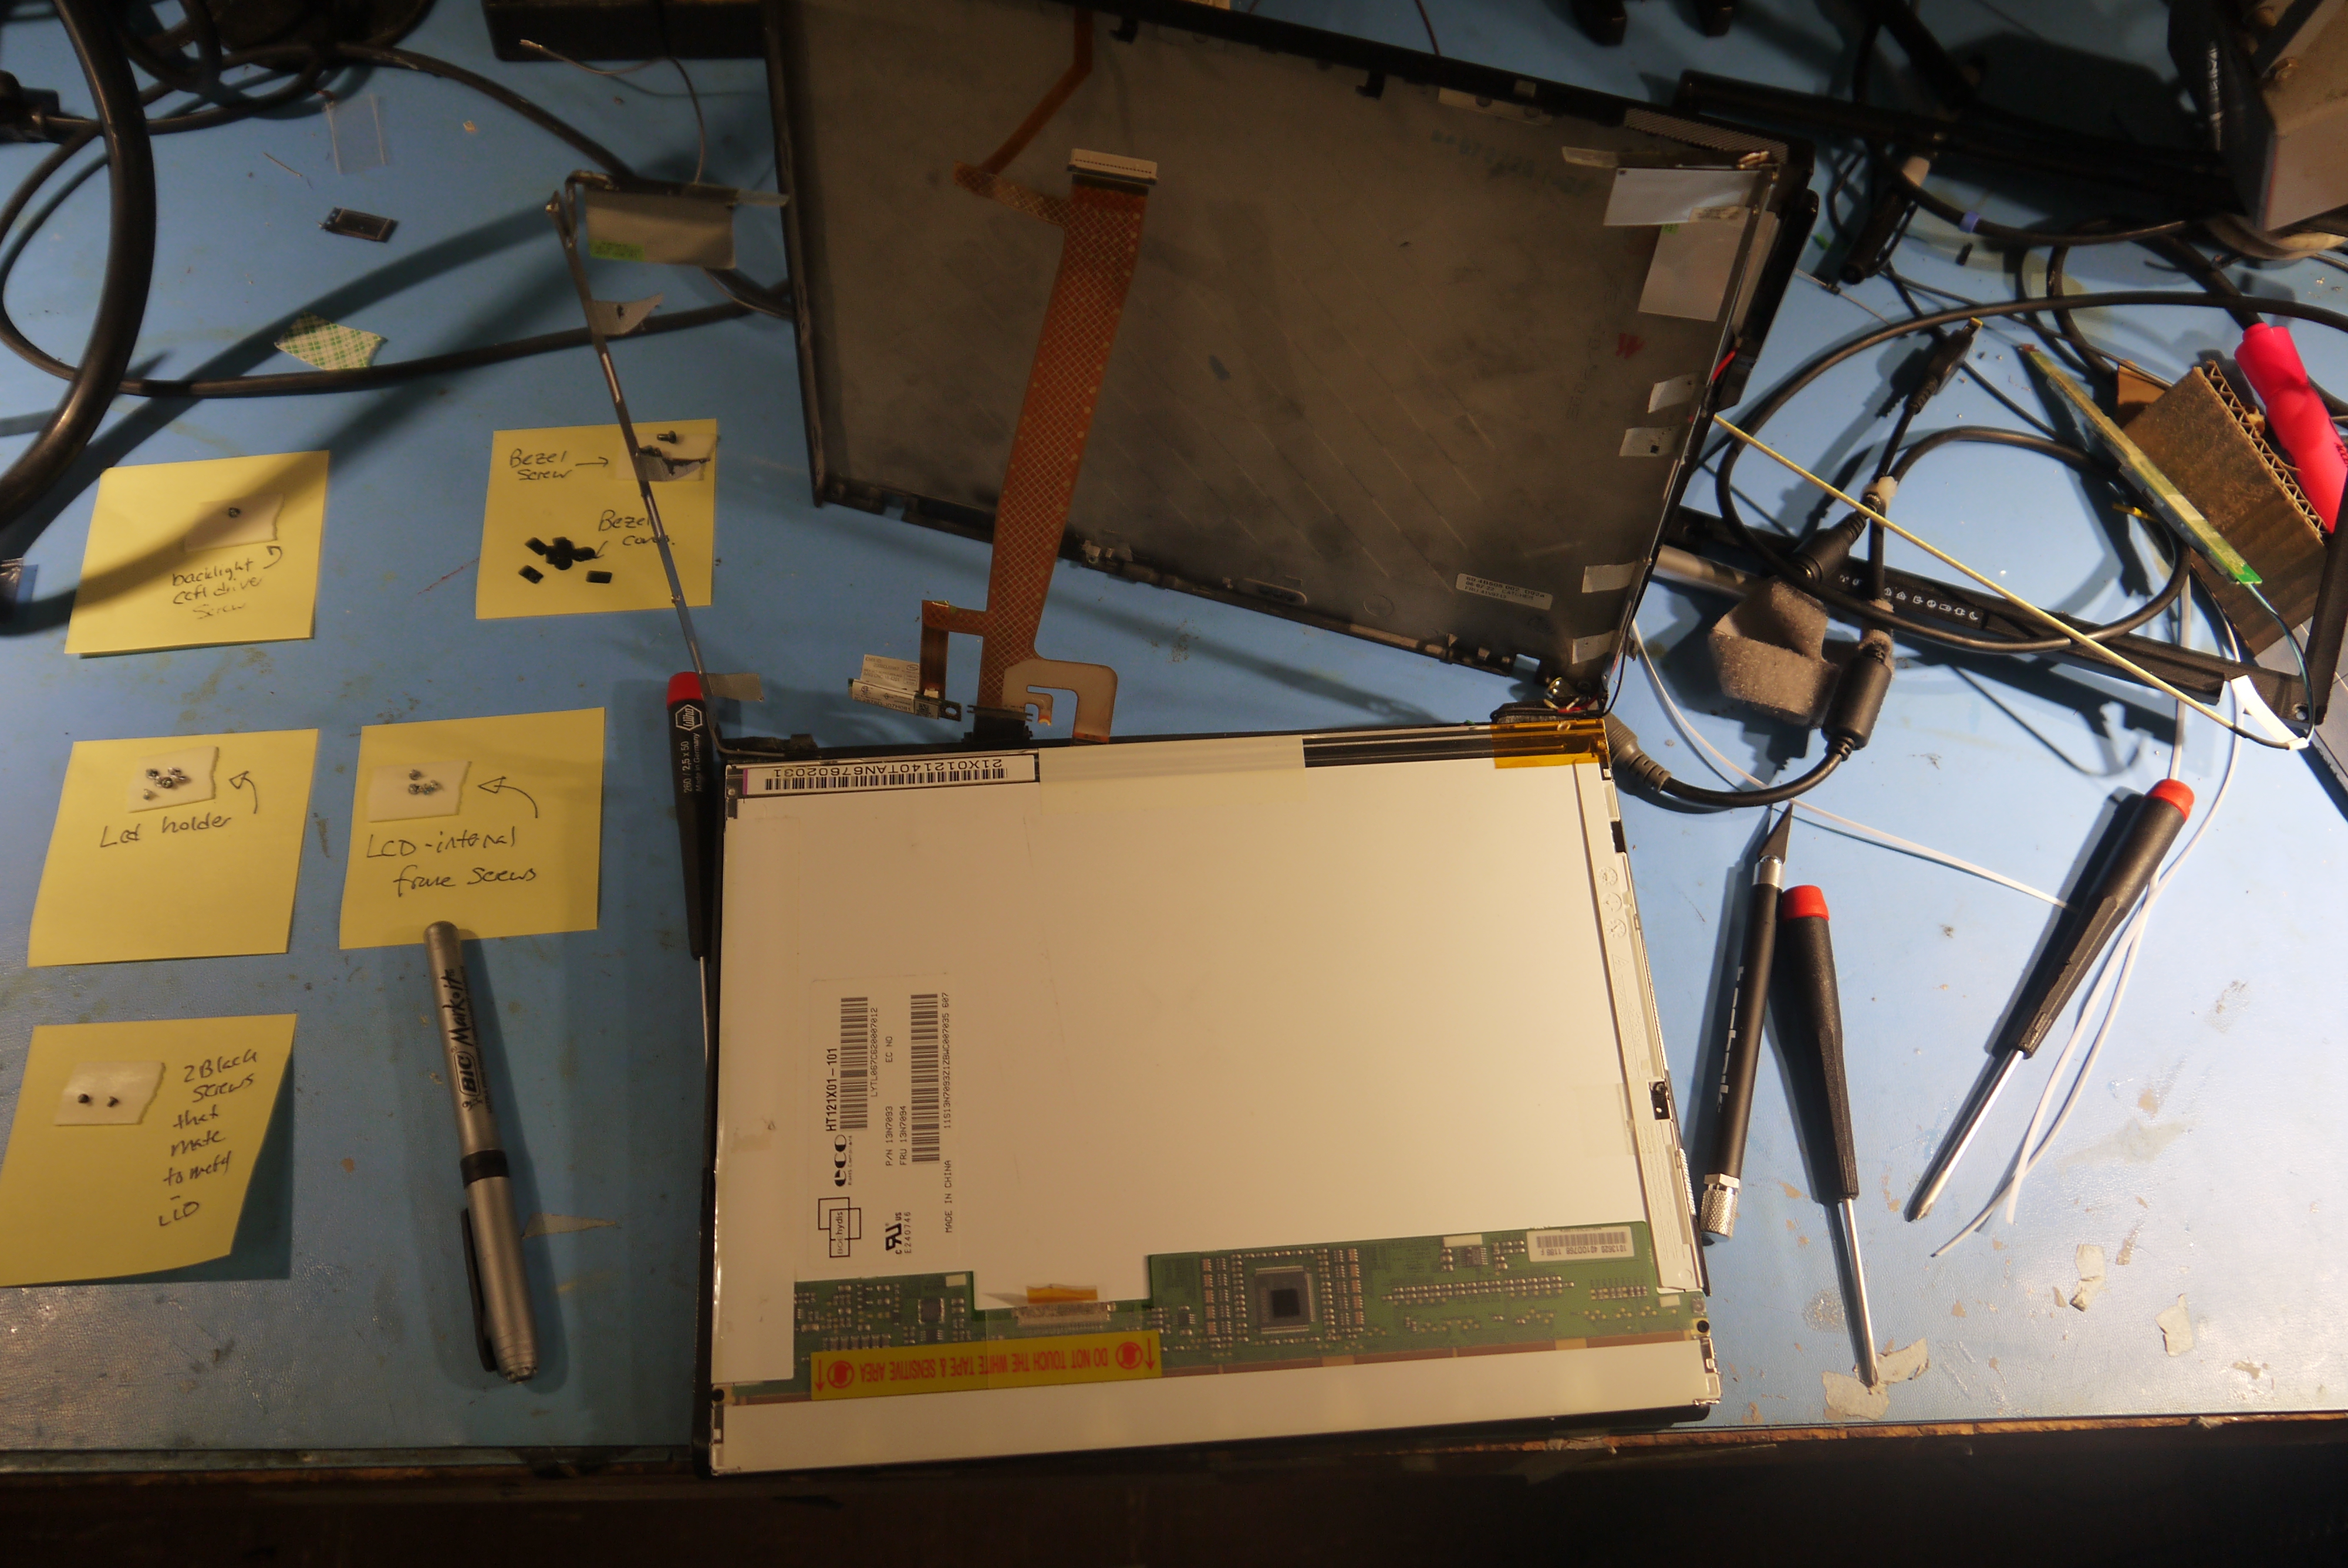
| Remove
the remnants of the ccfl tube, clean out the cavity by blowing some
comressed air inside and begin sliding the LED strip in. Keep in mind
the bottom of the LED strip heatsinks to the chassis, so best to make
sure it makes good contact. |  |  |
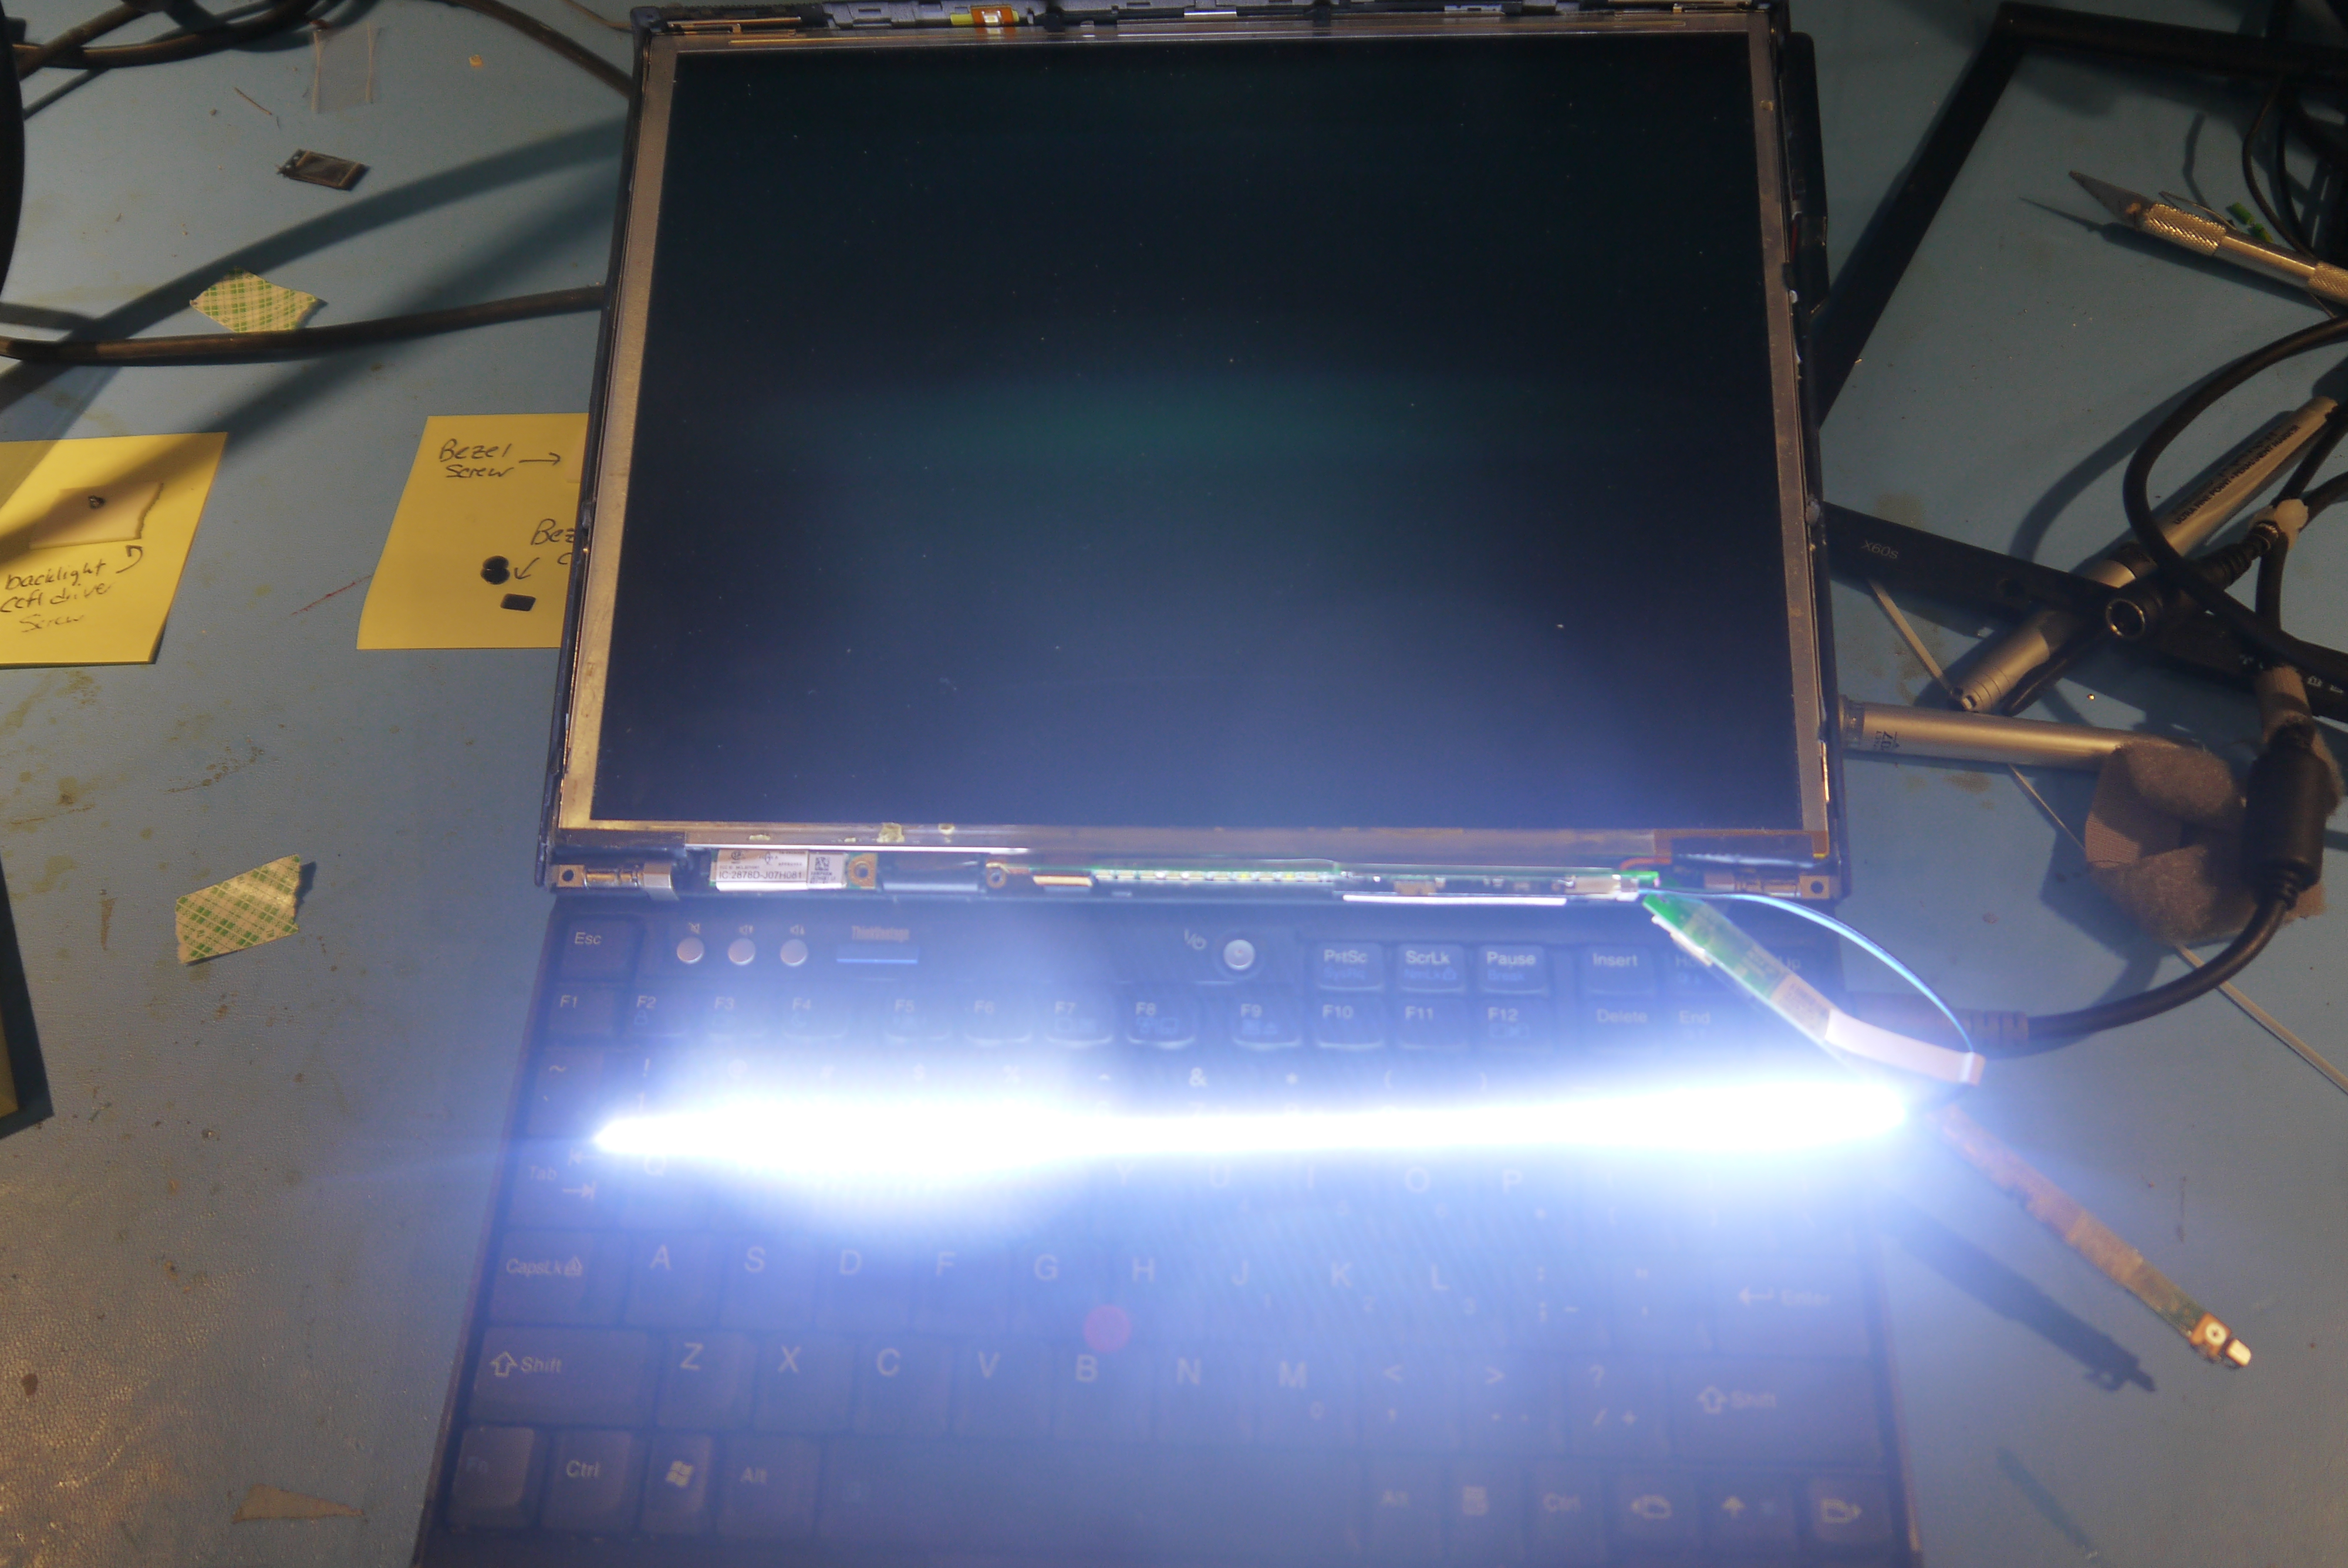
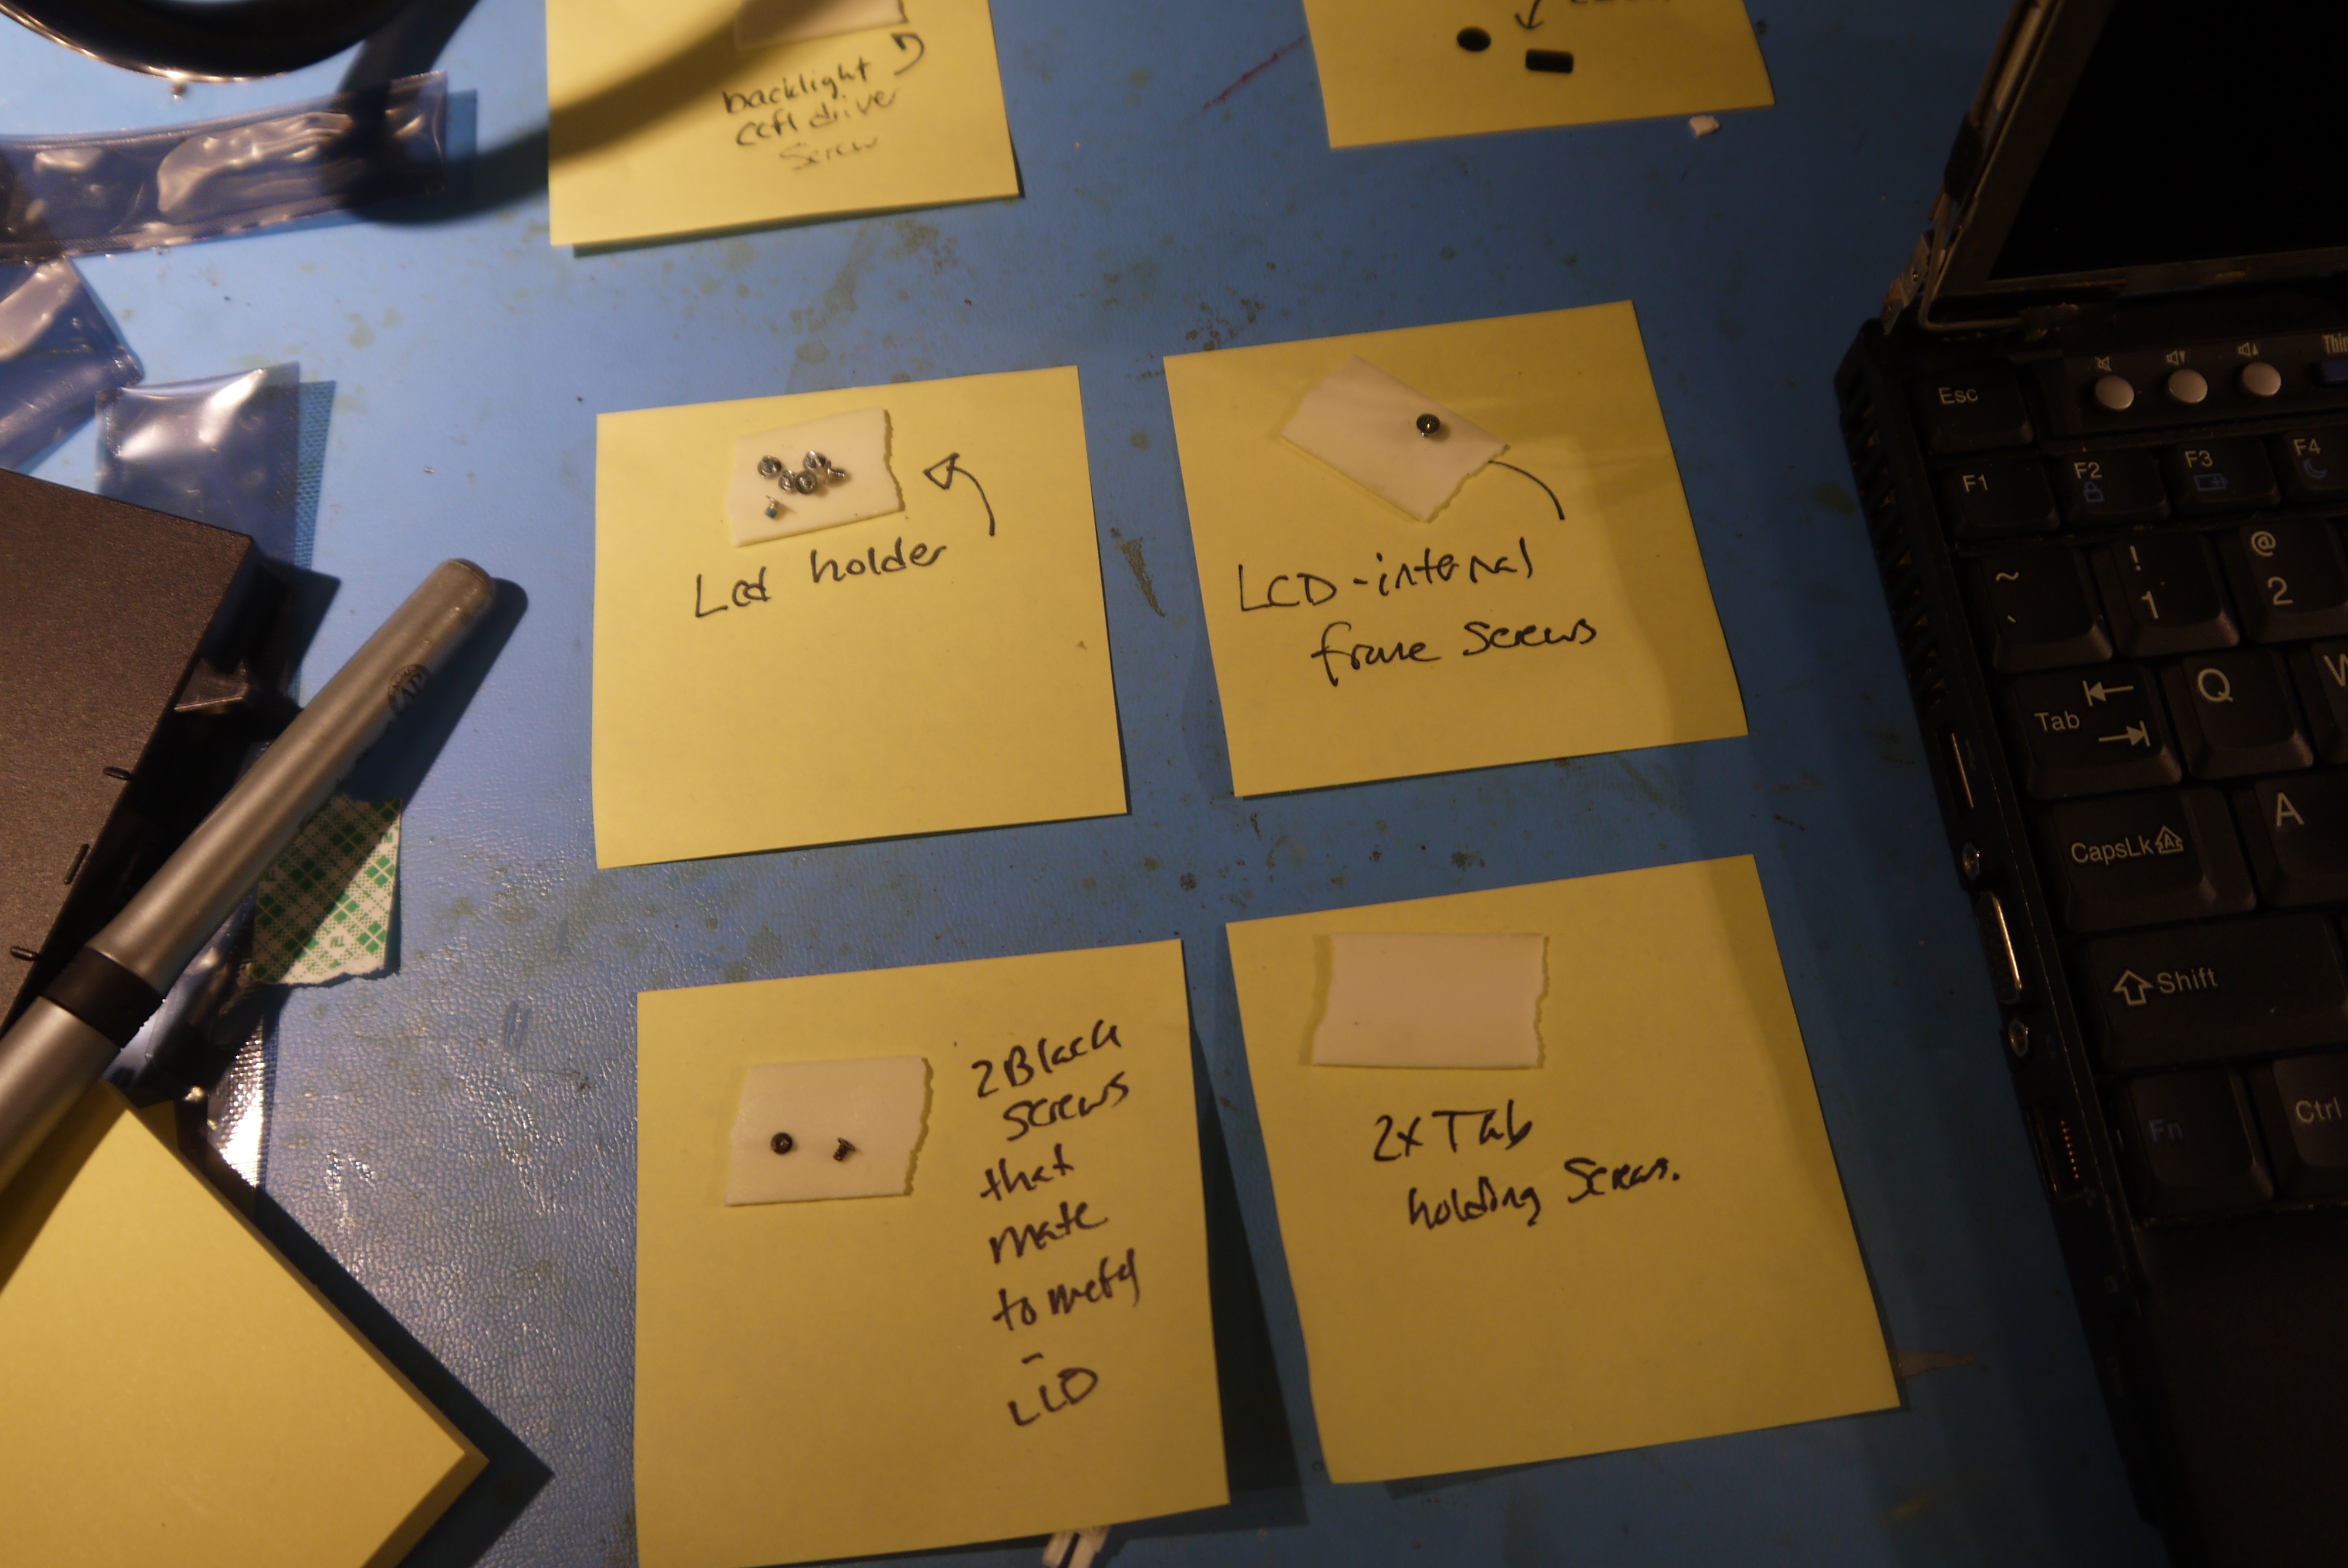
Fire it up!
Short
duration test of the LED strip in place on the LCD. Note, to keep track
of screws I used the post-it-note + doublesided tape method, which
works quite well. | 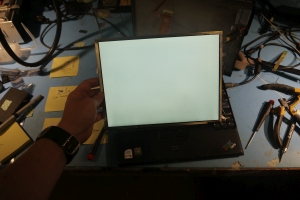 | 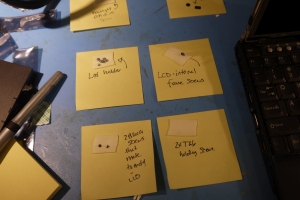 |
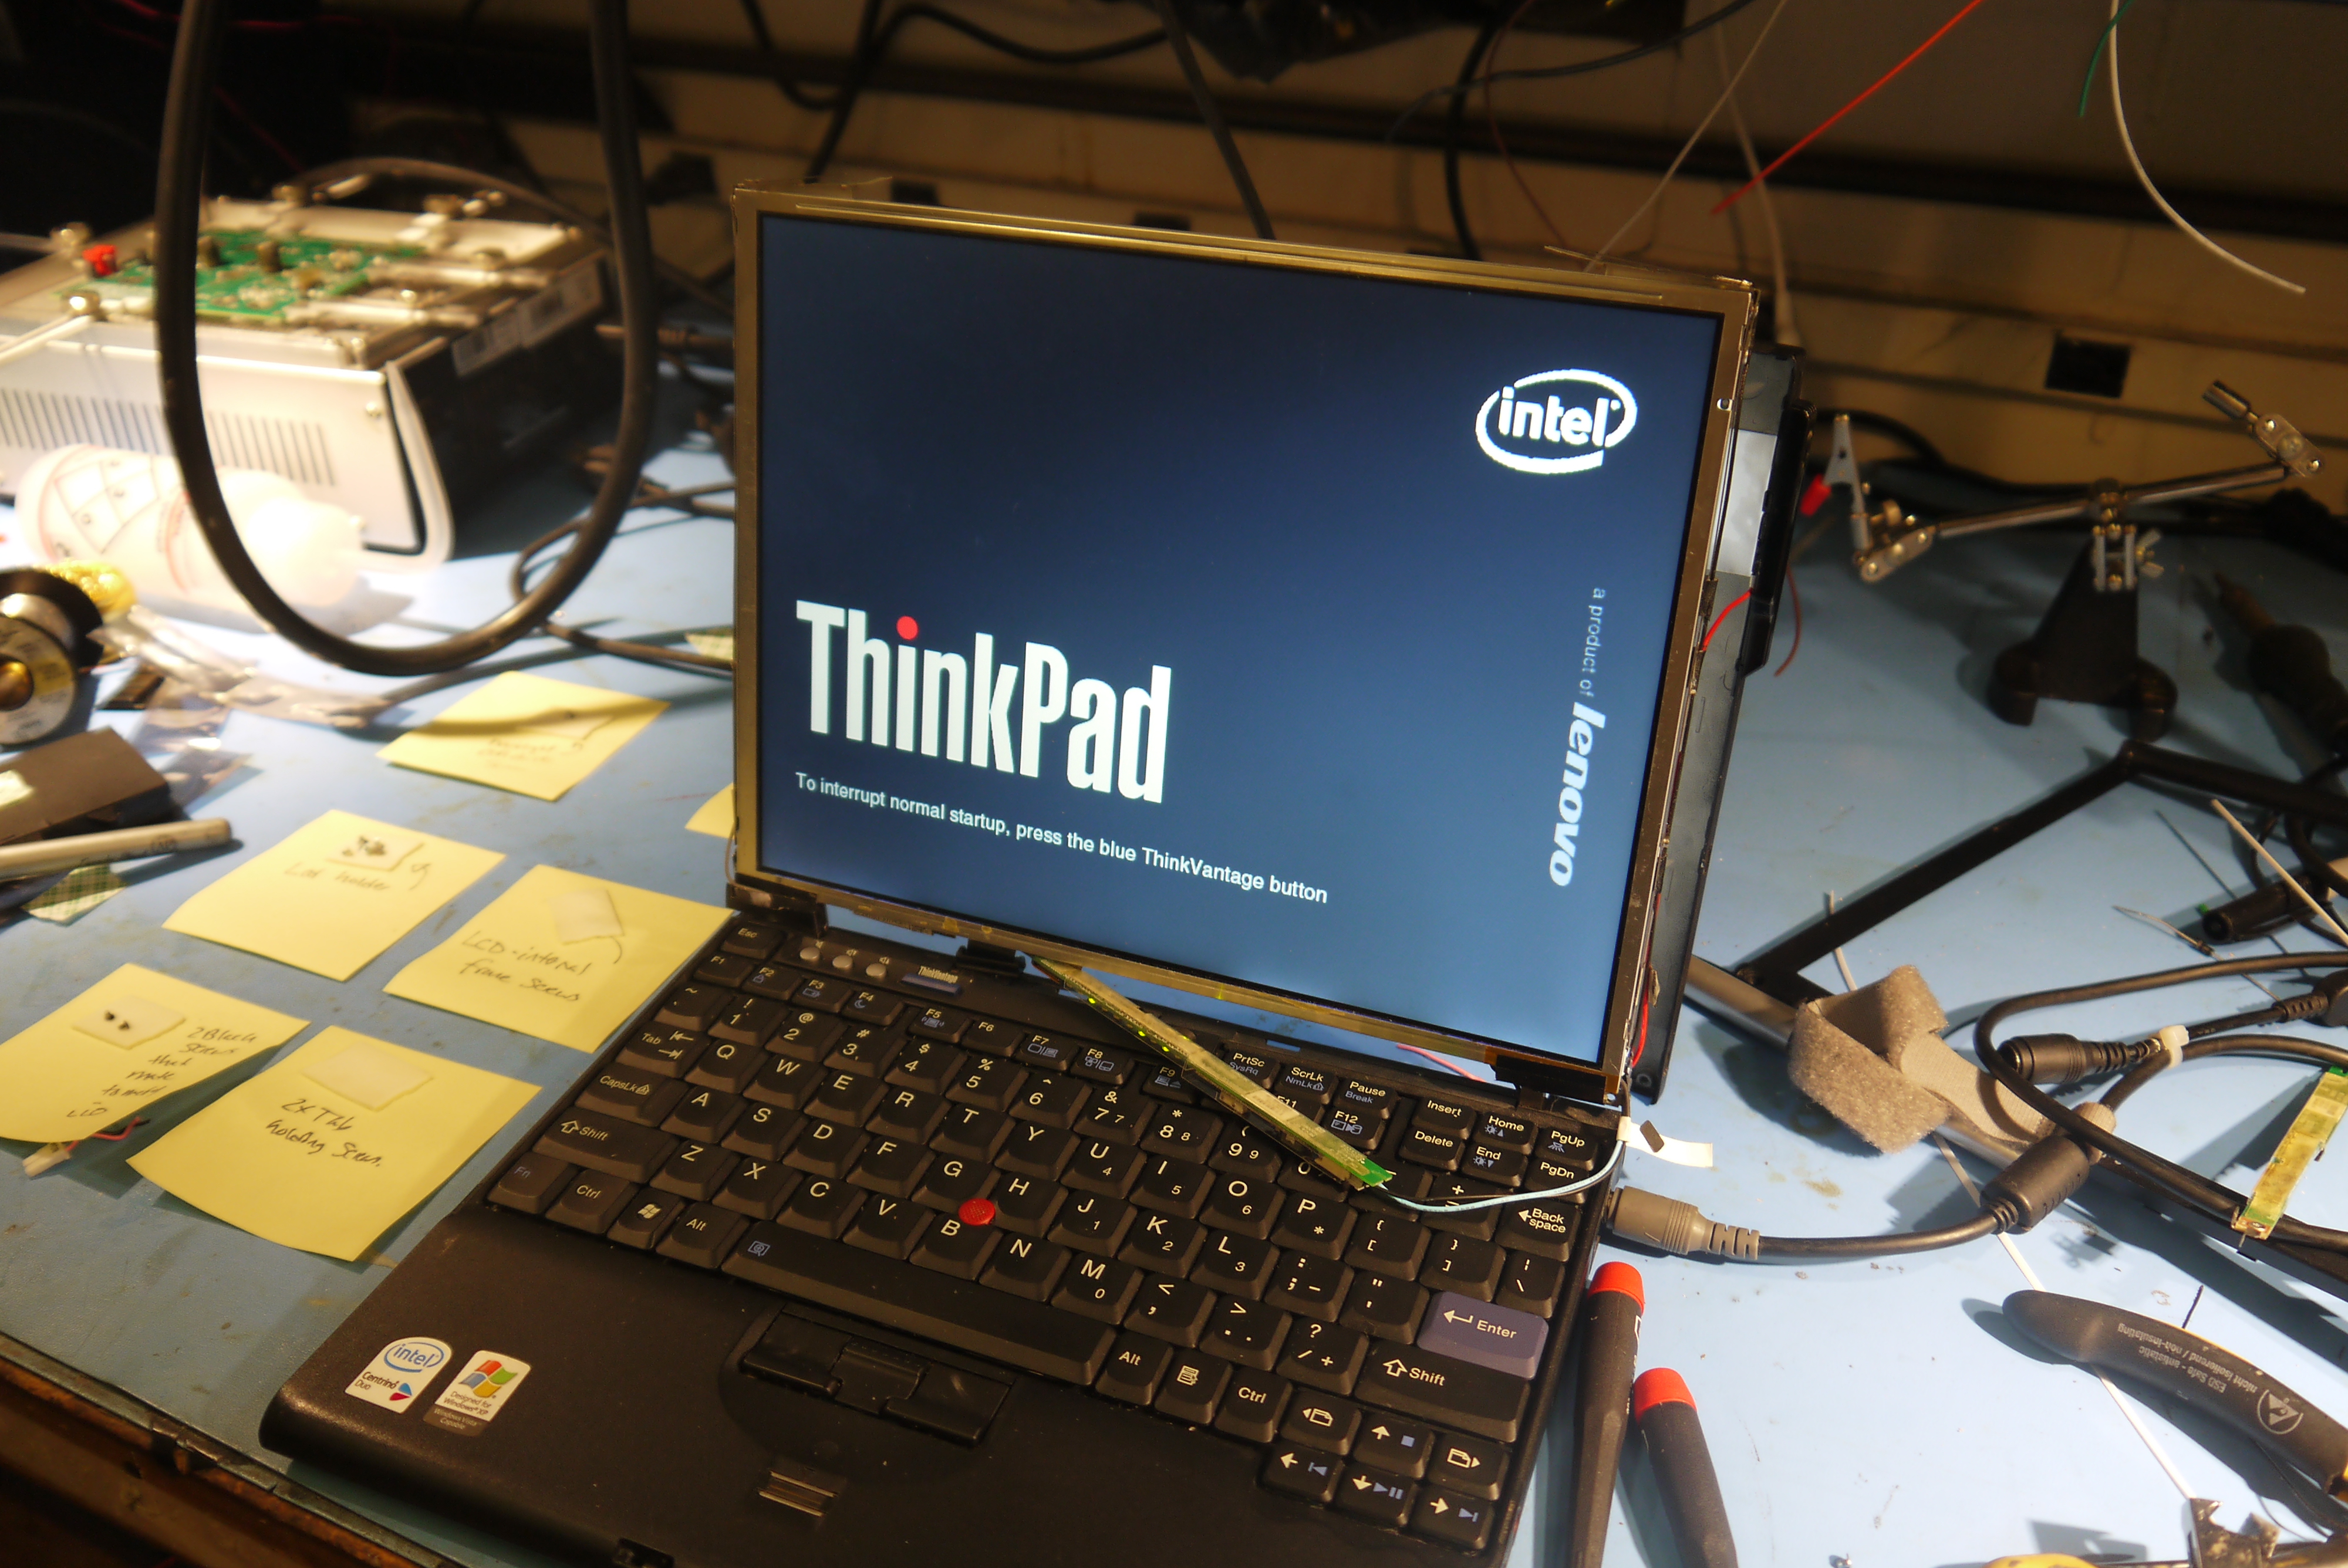
Re-assemble everything.
You used the double-sided tape + post it labeling method didnt you? Hurray it worked! | 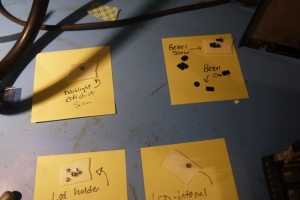 | 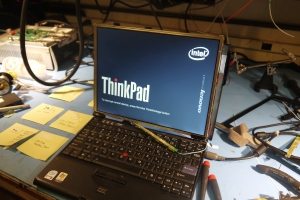 |
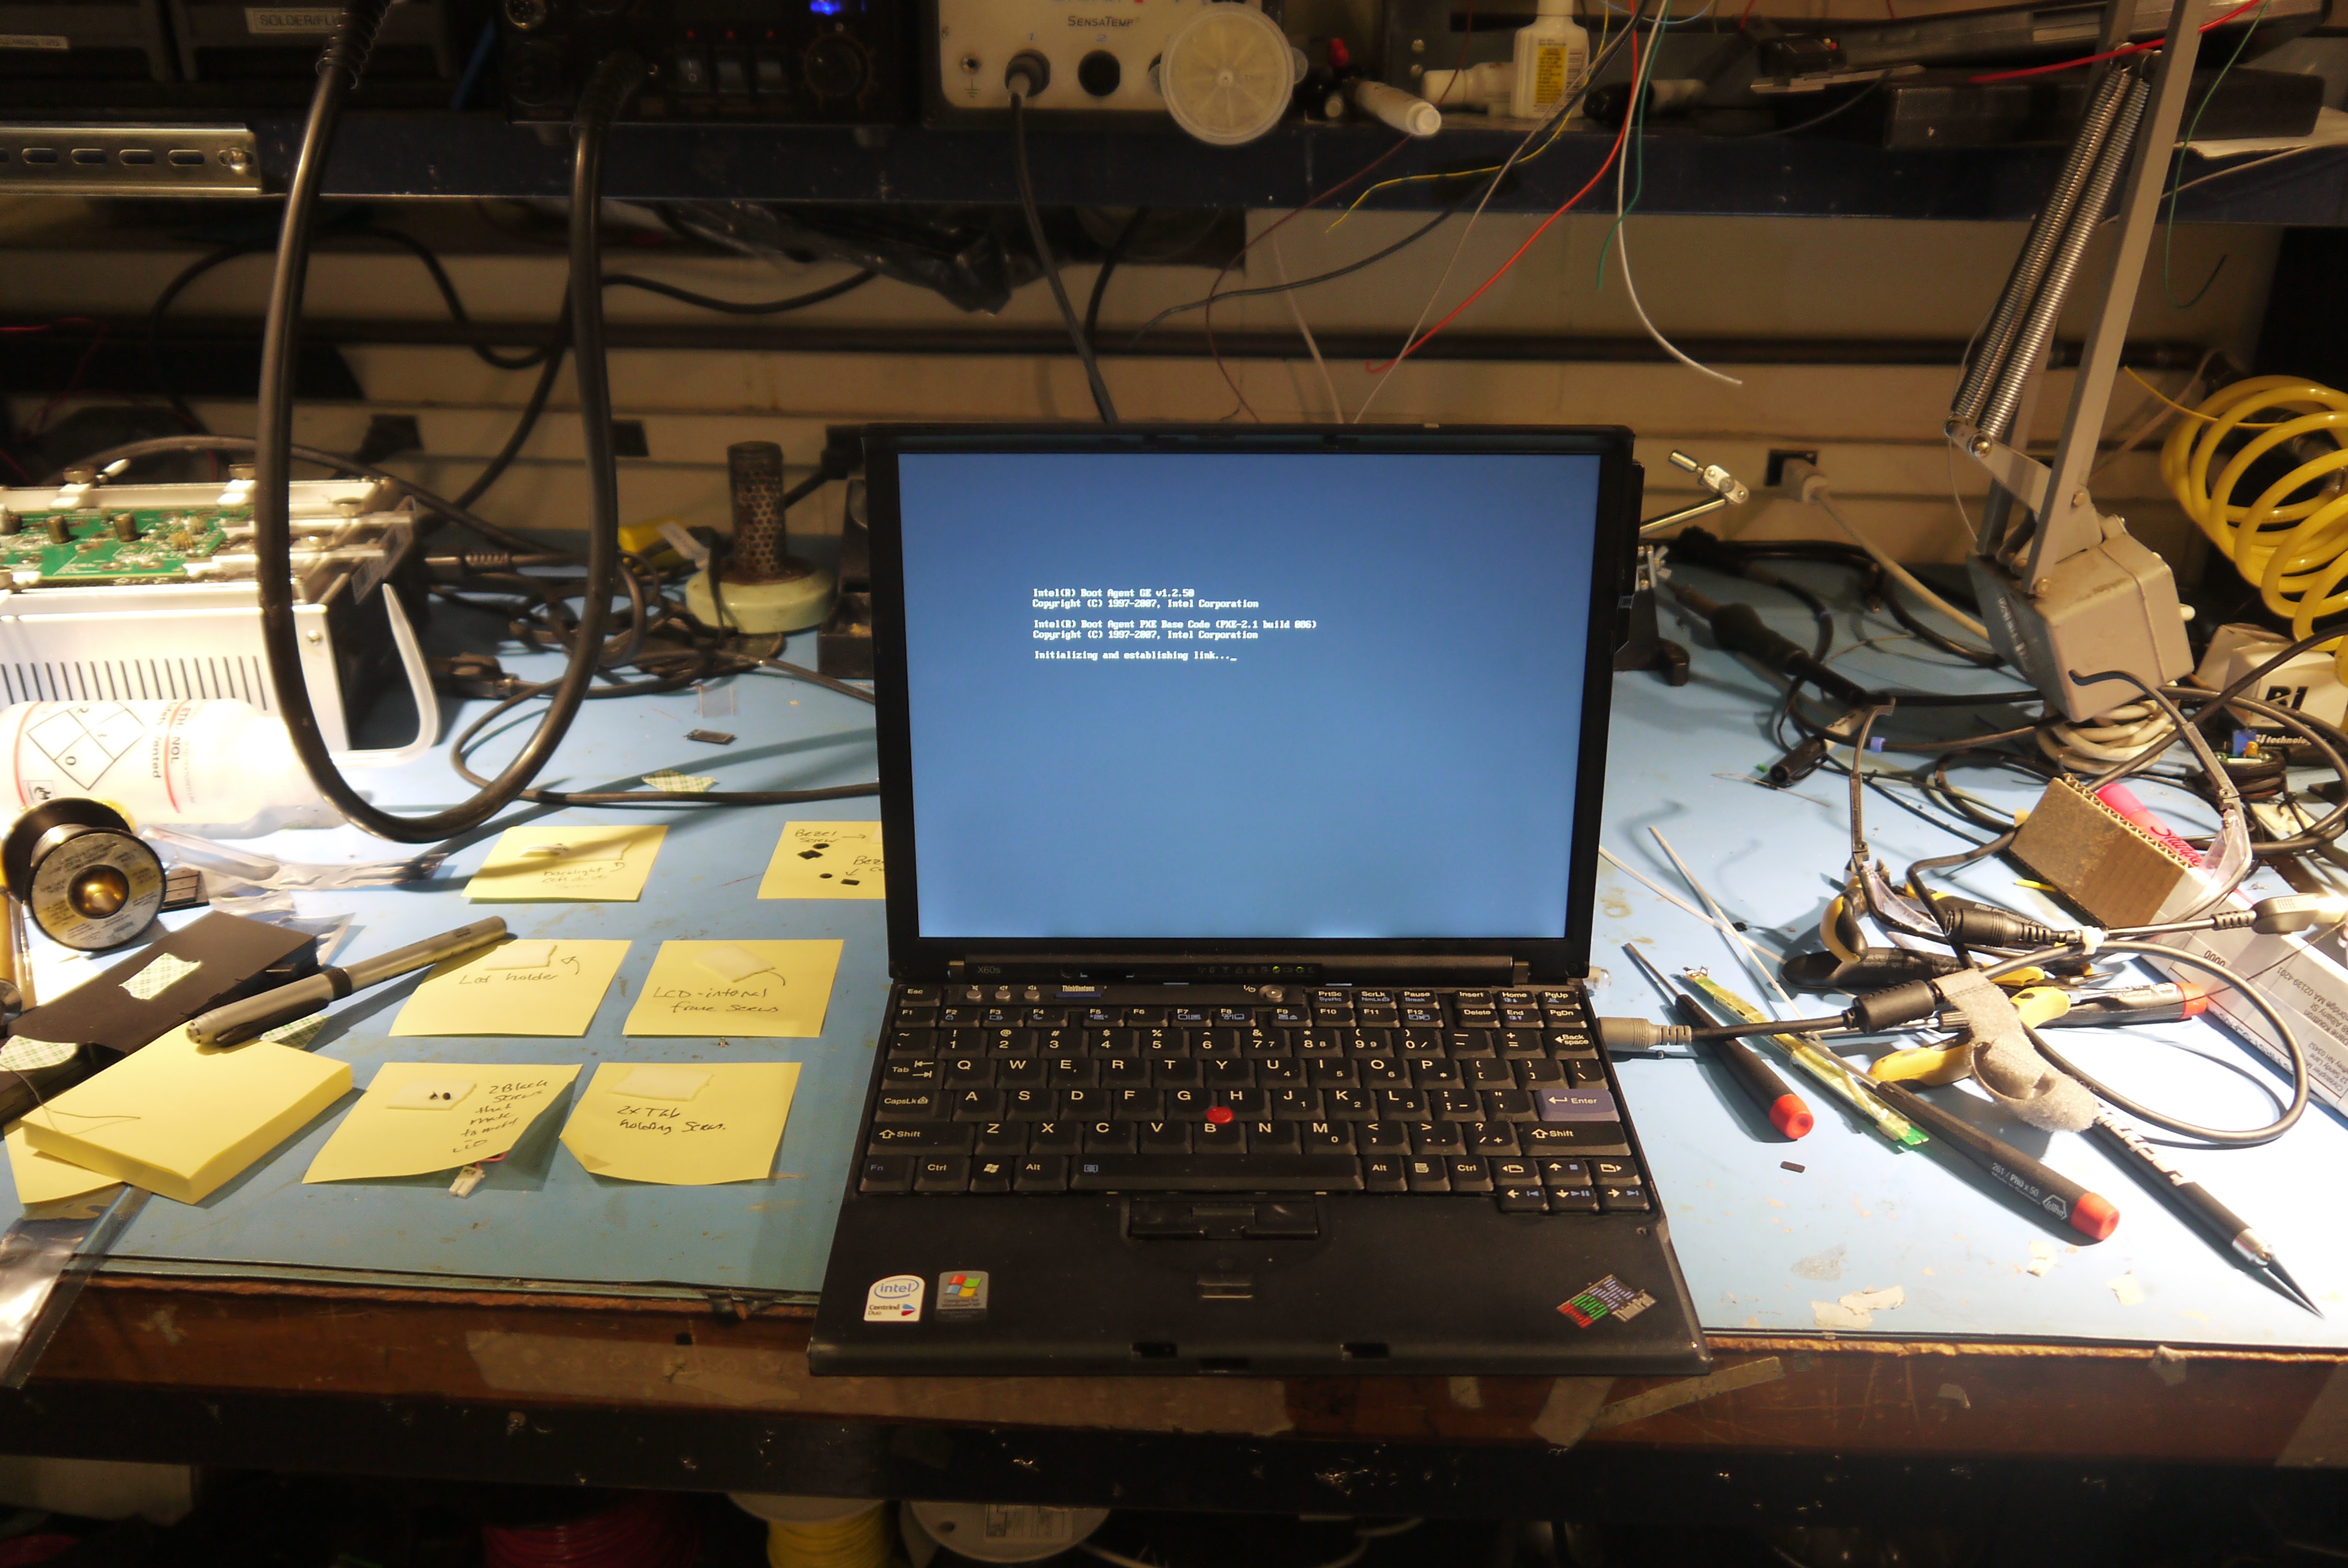
AWW YEAH
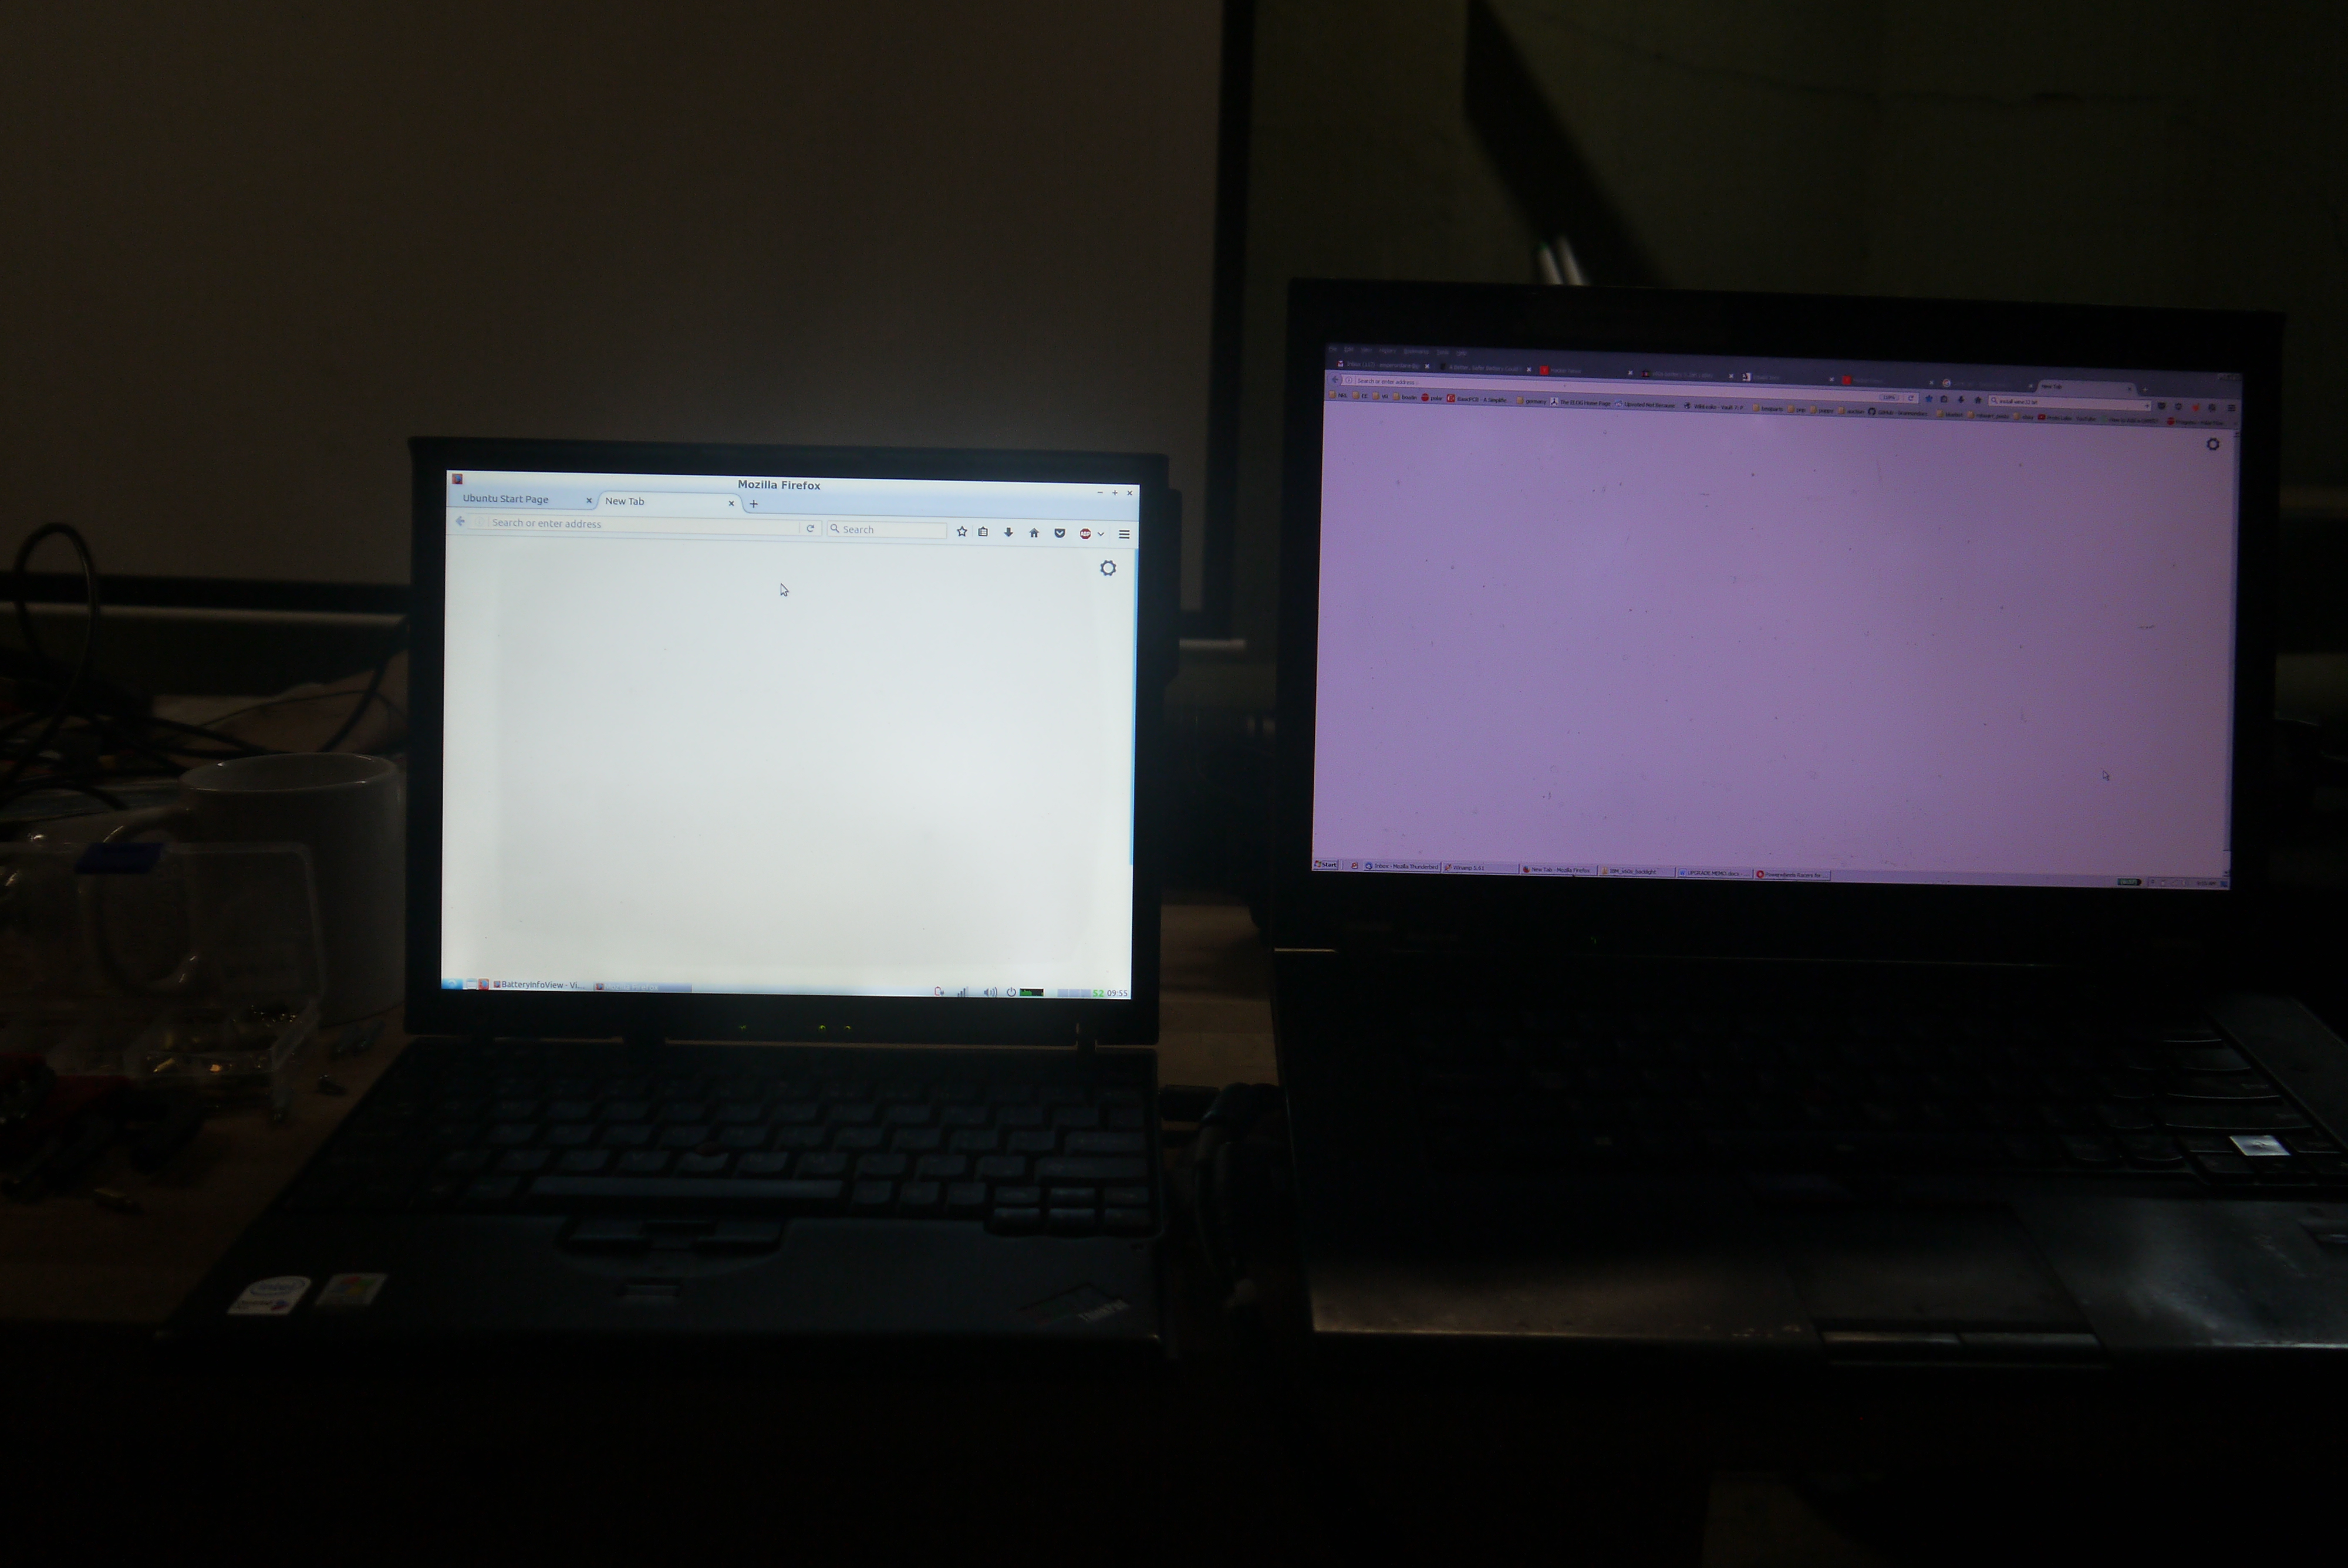
The
x60s is buttoned back up with the new led backlight driver installed.
Shown far right is a rough brightness comparison of the X60s vs a more
modern W530. Keep in mind this is a rough comparison as brightness and
viewing angle are intermingled. | 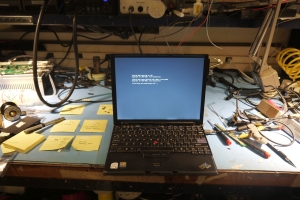 | 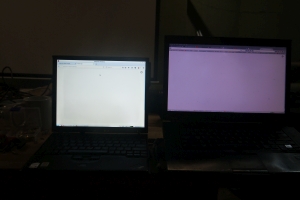 |