Dane.Kouttron
Make a Cheap Video Projector 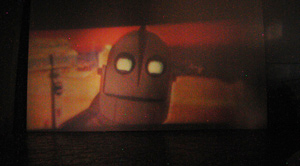
Build a movie projector in a small case (modified ammo tin) for cheap thats durable and decent looking.
Why?
Projectors are
exhorbantly expensive. Moreover, most dont run on 12 V supply
nominally. [And watching a full screen movie on a camping trip would be sweet]
- Old Lcd (from a playstation add-on / gamecube)
- Some Plexi / Lexan
- Staples freshnell lens's
- Ammo tin / badass case
- 12 v battery / power supply
- 12V CFL bulbs (or equivalent light source)
- Some magnifying glasses
Specifications
The components from this project came from a bunch of previous projects. The LCD initially came from www.allelectronics.com . It was for a Game cube or something. it then moved into the garage of our house, where it
Simple Design Diagram

The
simple projector relies on a huge magnifying lens instead of
expensive freshnel lenses. The design is relativley simple and works on
the same basis for most overhead projectors. After removing all
non-transparent parts of the LCD, it functions just like a big slide,
except with the abiliy to project moving images.
Adding a mechanism to focus the projector is relativley simple.
How can I make one?
| 1.Getting the parts | Main Components: |
Old LCD display Lighting assembly (CFL) See: lighting power supply Old computer fans JB WELD |
| 2. Prep the display | Opening The Device |
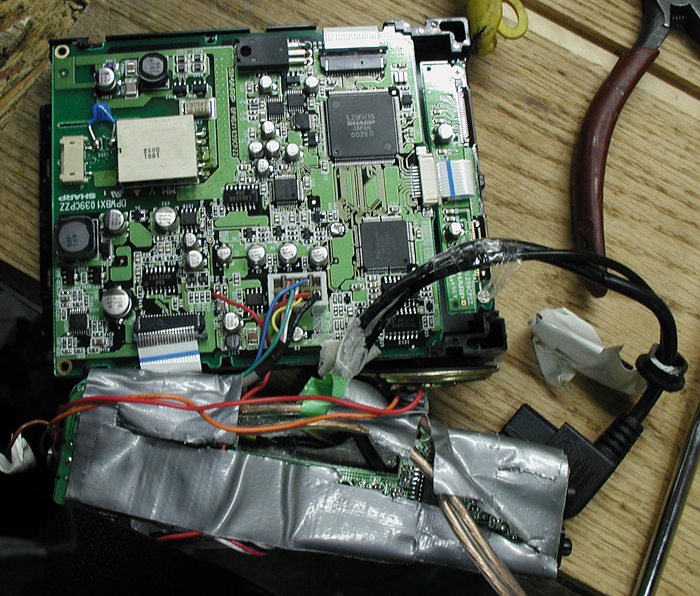 |
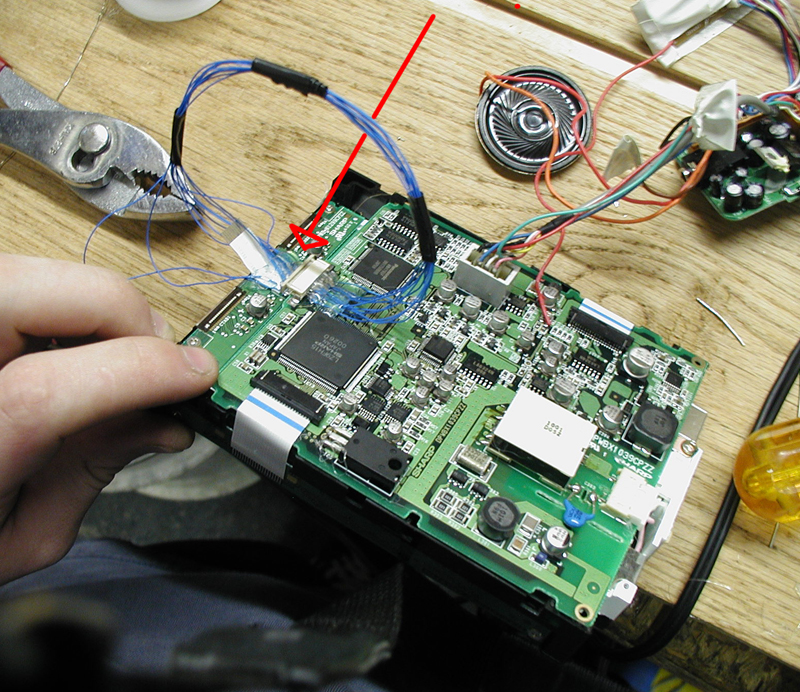
| Extending wired components. there were 2 ribbon cables that prohibited the seperation of the control pannel from the display. i could have bought longer cables, but i deciced to simply wire each connector individually. Its sometimes easier to solder directly to interconnects than to header connections. using really thing solid wire is an absolute must. solderwick helps a lot too |
 |
|
| Epoxy/hot glue all new connections. This is a must to prevent all those small solderpoints from pulling right off the board | 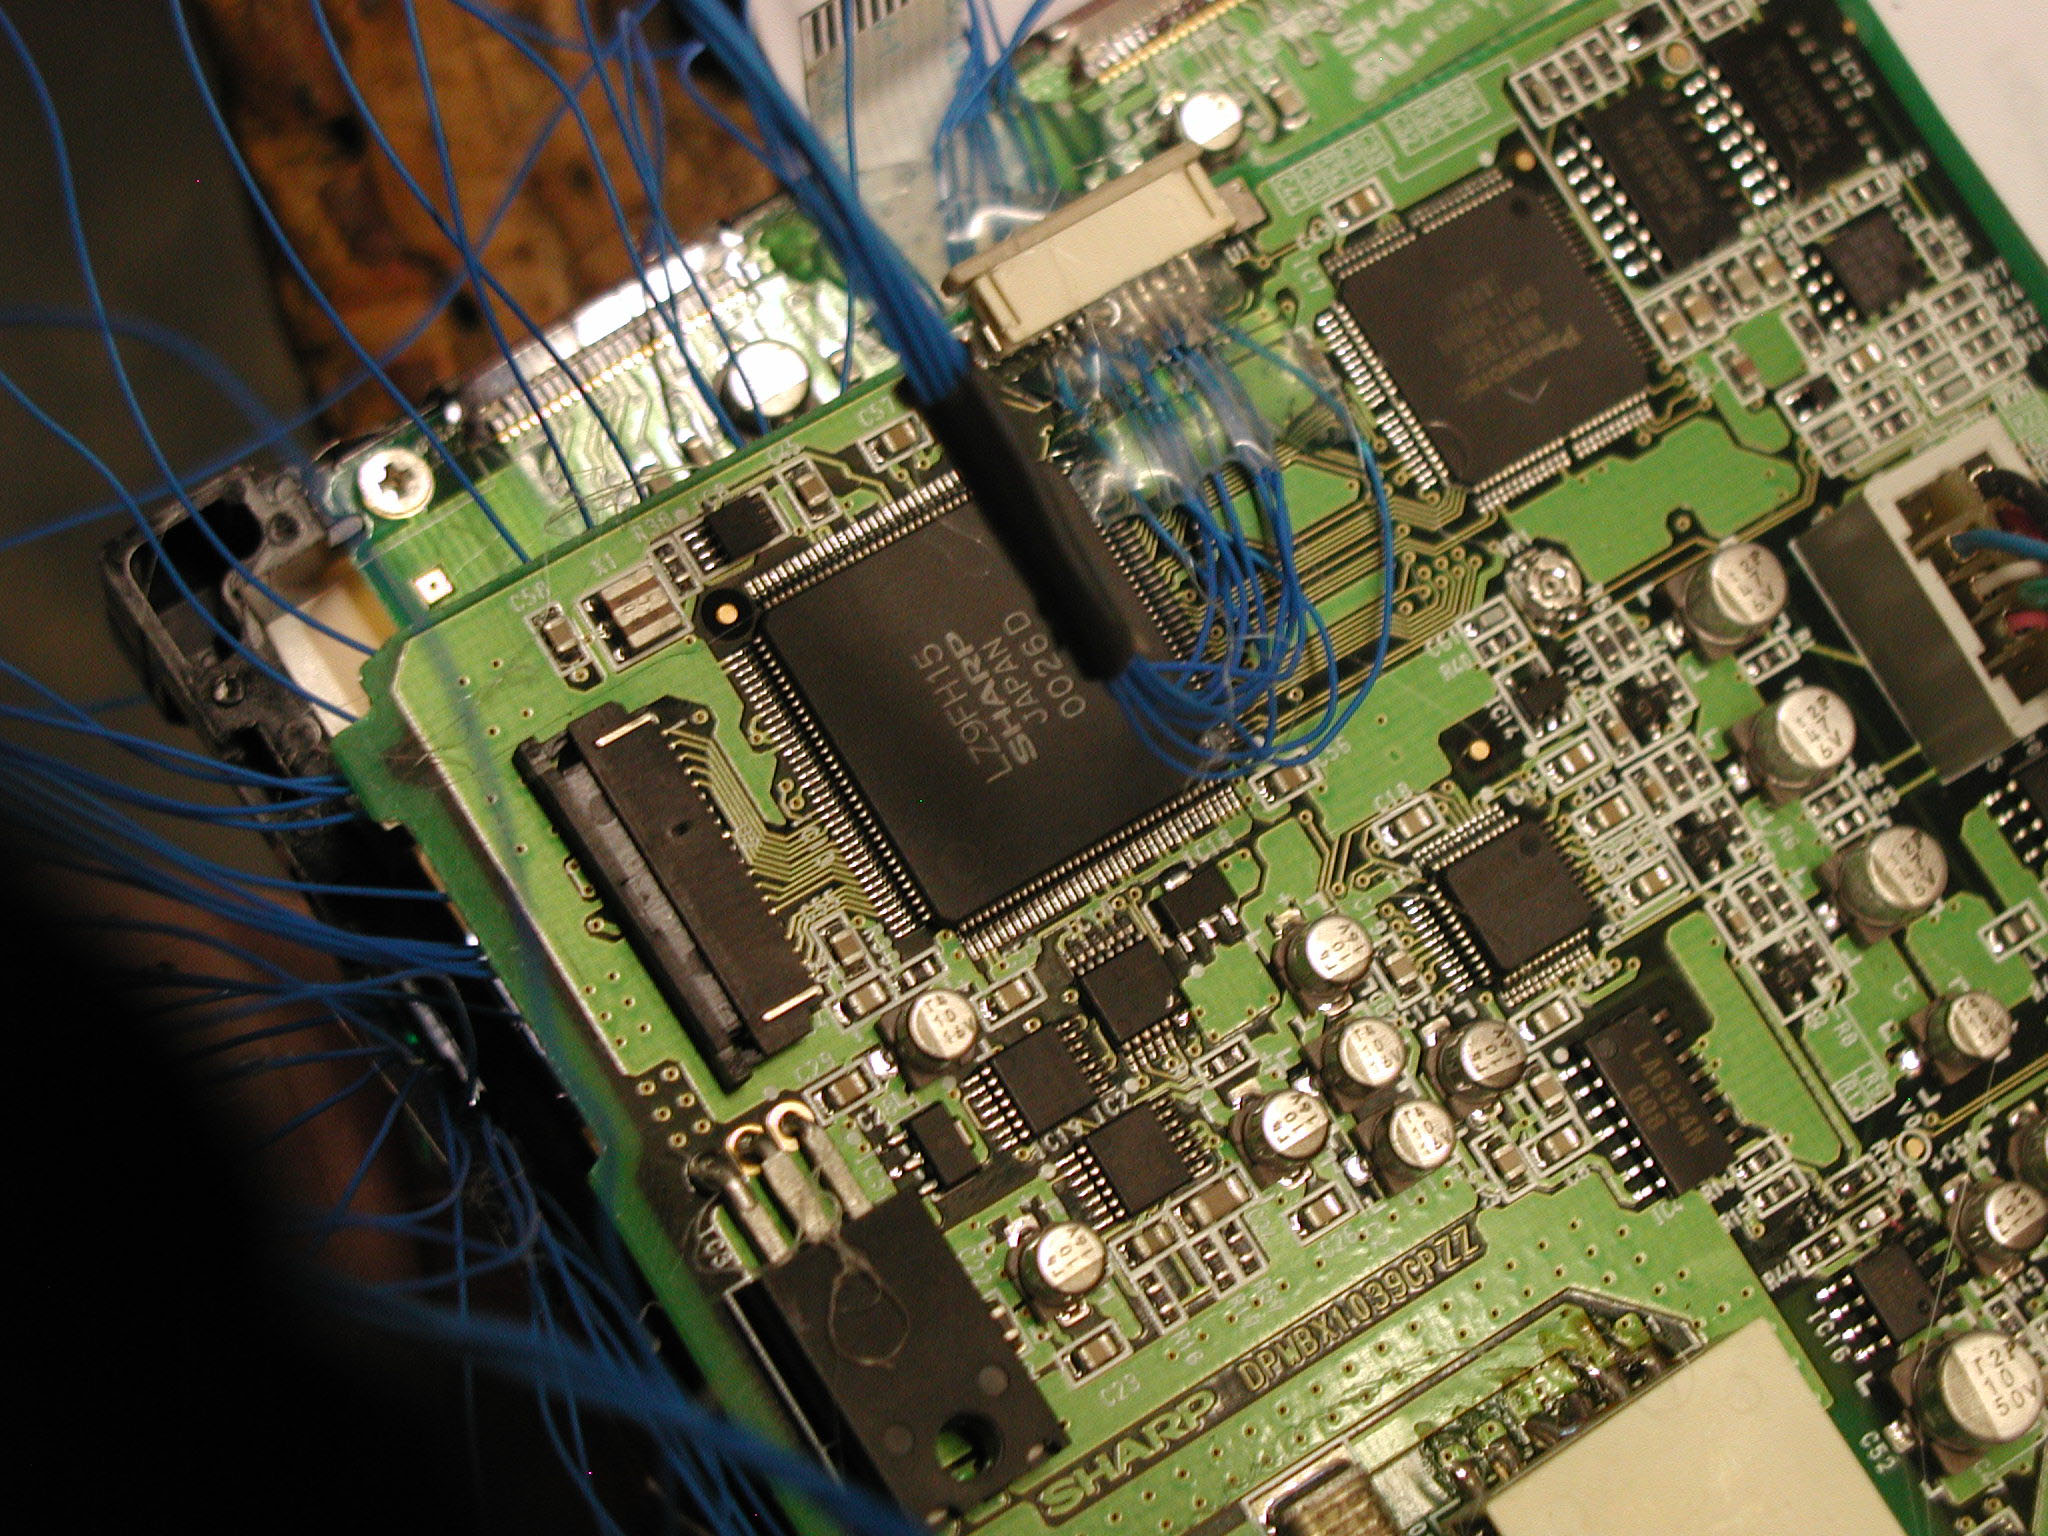 |
|
| Remove any built in CFL drivers. These create upwards of 4 KV at relativley high frequency and can easily burn fingers (note the burn mark on the band-aid) | 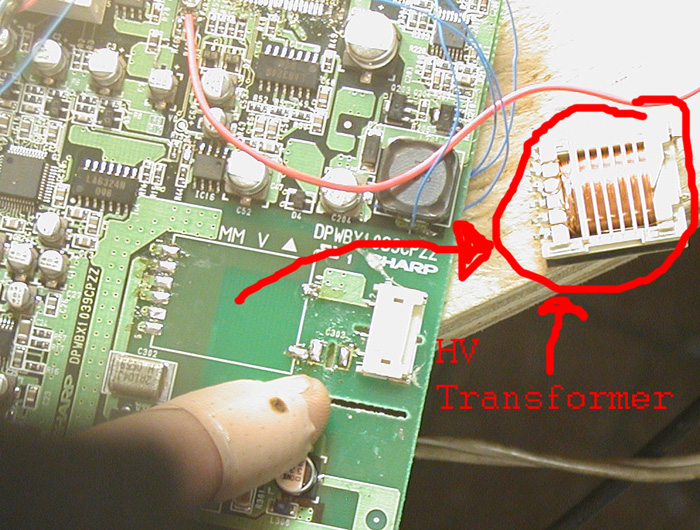 |
|
| Making sure that it still works [ummm.. power it back up] |
 |
|
| Removing reflectove film from LCD | [yeah, umm this picture went AWOL so just imagine a thin film being removed from the front of the screen] | |
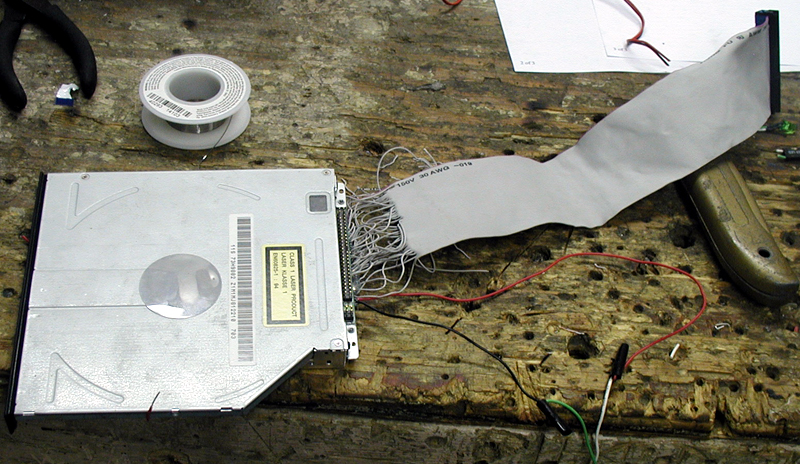
| 3. Getting some light | Hunting for the right source |
[Too much to fit in here: see link] |
| 4. Hardware: modding the ammo tin | The ammo tin is designed to have its top lid removeable. After removing the lid, my younger brother Thomas, drilled some precision holes for the main speaker.Next up, i cut out an opening for the backlight modified, inverted lcd. Because it looked grimy (grinder slipped), an aluminum faceplate was attached (with good ol' JB weld) |  |
| Adding the fan mounts and the main opening for the front objective. The main fan blows air out of the system. an important note is that its located before the light, so less light escapes while still providing new airflow into the container. | 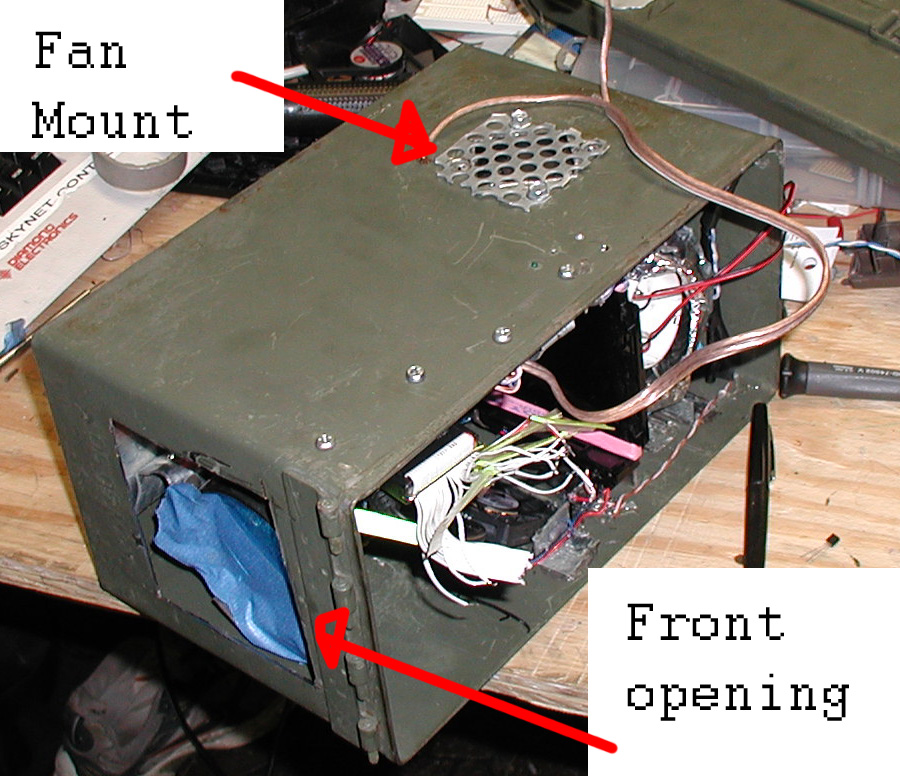 |
|
| 5. Encapsulating [Cramming everything inside] | As you can imagine without planning this layout, it would have been impossible to all fit inside. L--> R - Main objective, LCD, Fresnell, CFL, Reflector, Modified CFL inverter (not shown) All the lCD driving electronics are stowed above and held in place with a metal bracket Note, this is just rev 1, its not so messy when i finished |
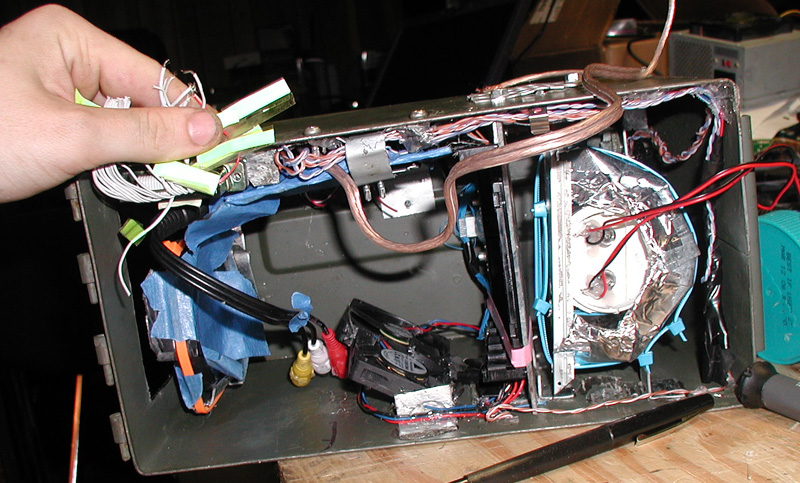 |
| The whole thing, closed up (to make sure it all fit) |  |
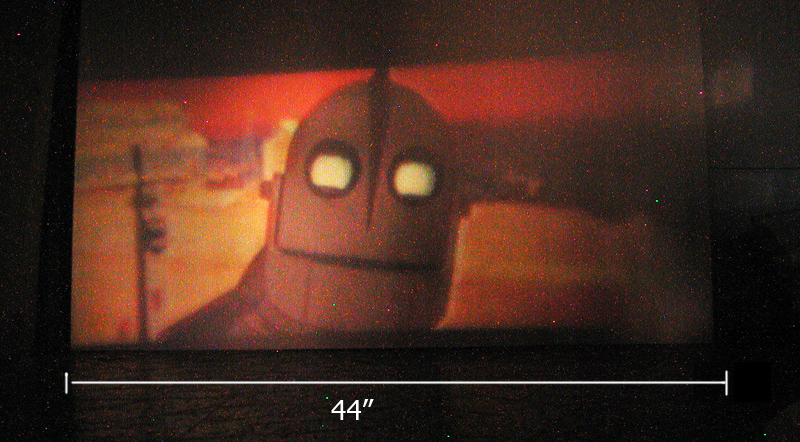
Test images (Prototype .1), (2)
Dane.Kouttron
Rensselaer Polytechnic Institute
Electrical & Electrical Power
631.978.1650