
Dane Kouttron
Project Documentation: 03/2015 Reformatted: 01/2024
Dell 3007 Repair
A quick 'upgrade' of a dell 3007 monitor to address power supply brownout due to thermal loading. This build log details the disassembly, debugging and upgrade of the Dell monitor, follow along and upgrade yours! My thats a big monitor you have there, and oh how it glows... |
A really weird thermal design
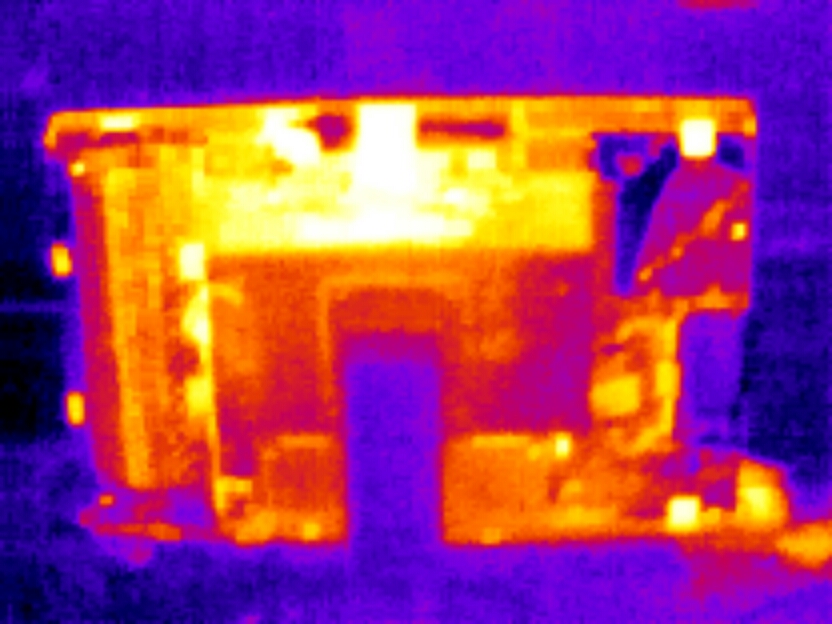
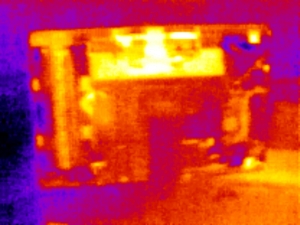
I was gifted this monitor, and quite frankly it is enormous. It fires a couple hundred million photons per second, and in the process dissipates approximately 147w of thermal goodness. Unfortunately there is'nt that great of a thermal path for that heat to leave the case. The insides cook and soon, the monitor suffers sporadic shutdowns, black screening and blinking. After inheriting this beast, I noticed that the failure mode only occurred after a few minutes, pointing towards a time-integrating issue, more likely thermal. After disassembling the monitor, searching for sad capacitors and broken components, I tested the heat sink temperature vs time with the monitor enclosed. And lo, at about 84C, measured on the power supply heat sink, the monitor began resetting. The poor thermal design kept the power supply warm and contributes to this thermal resetting. A thermal image of the backplane (thanks Peter) backs up this claim.
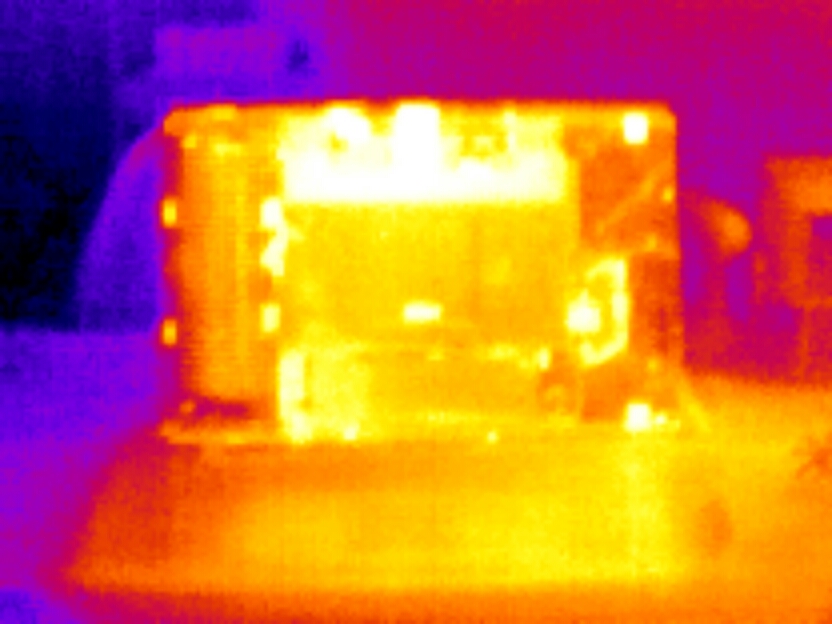
Disassembly and DebugOh my does it glow, this image was taken with a seek thermal camera. The first image is with the plastic backplate cover in place and the second is without the back cover. For these shots the emissivity settings were set for plastic and aluminum respectivley. 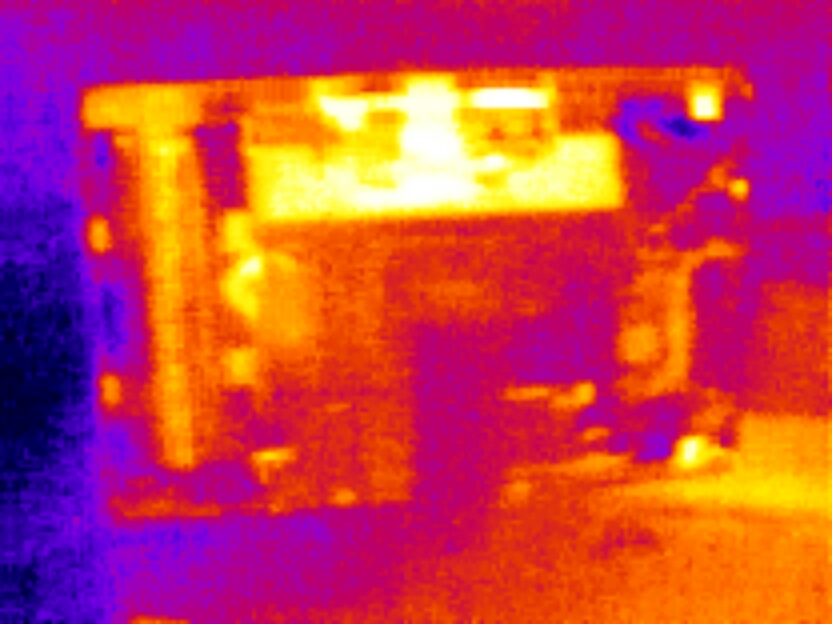
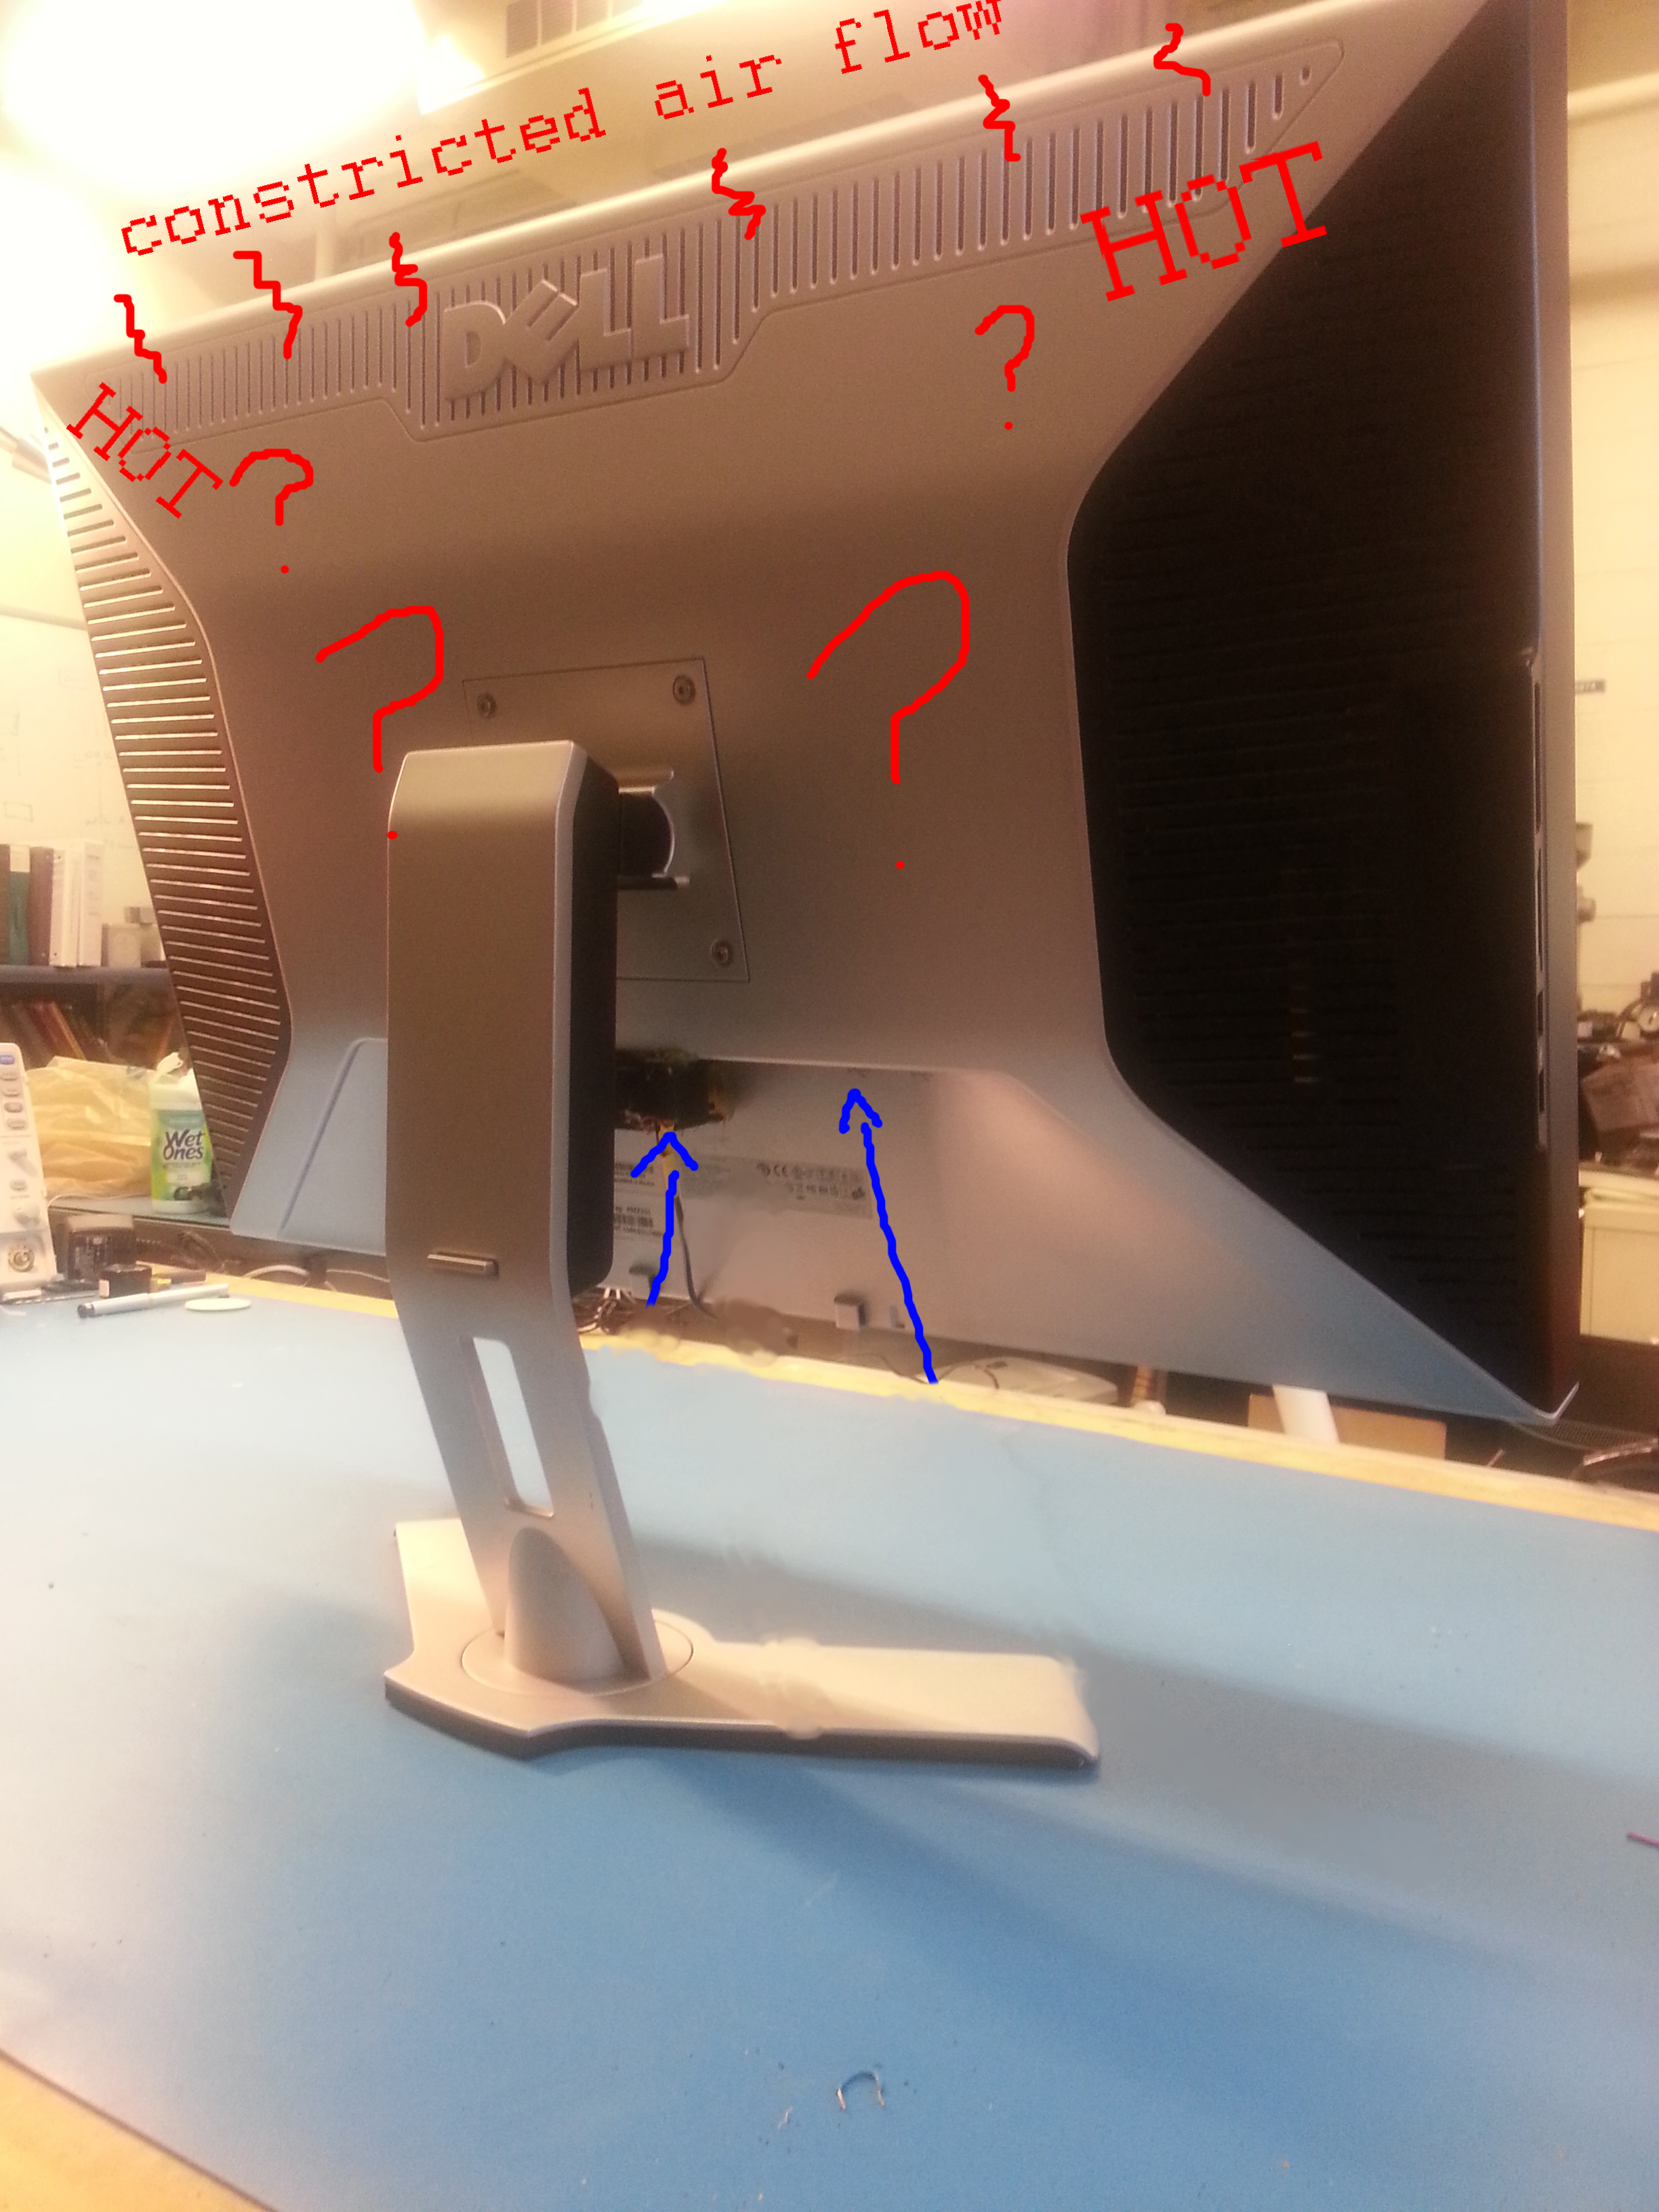
If you look at the convective airflow path on the Dell 3007, its fairly impeded, from the inside frame, this monster can only breathe through an array of ~1/16" holes. There's a lot going on inside for such a restrictive air path. Unfortunatley it doesn't get better. 
Unfortunately on top of the restrictive rear vent holes, a second, plastic grate covers more of the thermal convective path. The total 'power that the monitor can pull peaks at 147 W. Thats a decent amount of thermal to push, even with a convential computer-fan. Convectivley thats absurd, as even if it works for a limited duration, inside components are not high-temperature rated. This results in baking the capacitors and keeping any switching mosfets running hot. Time for an upgrade. 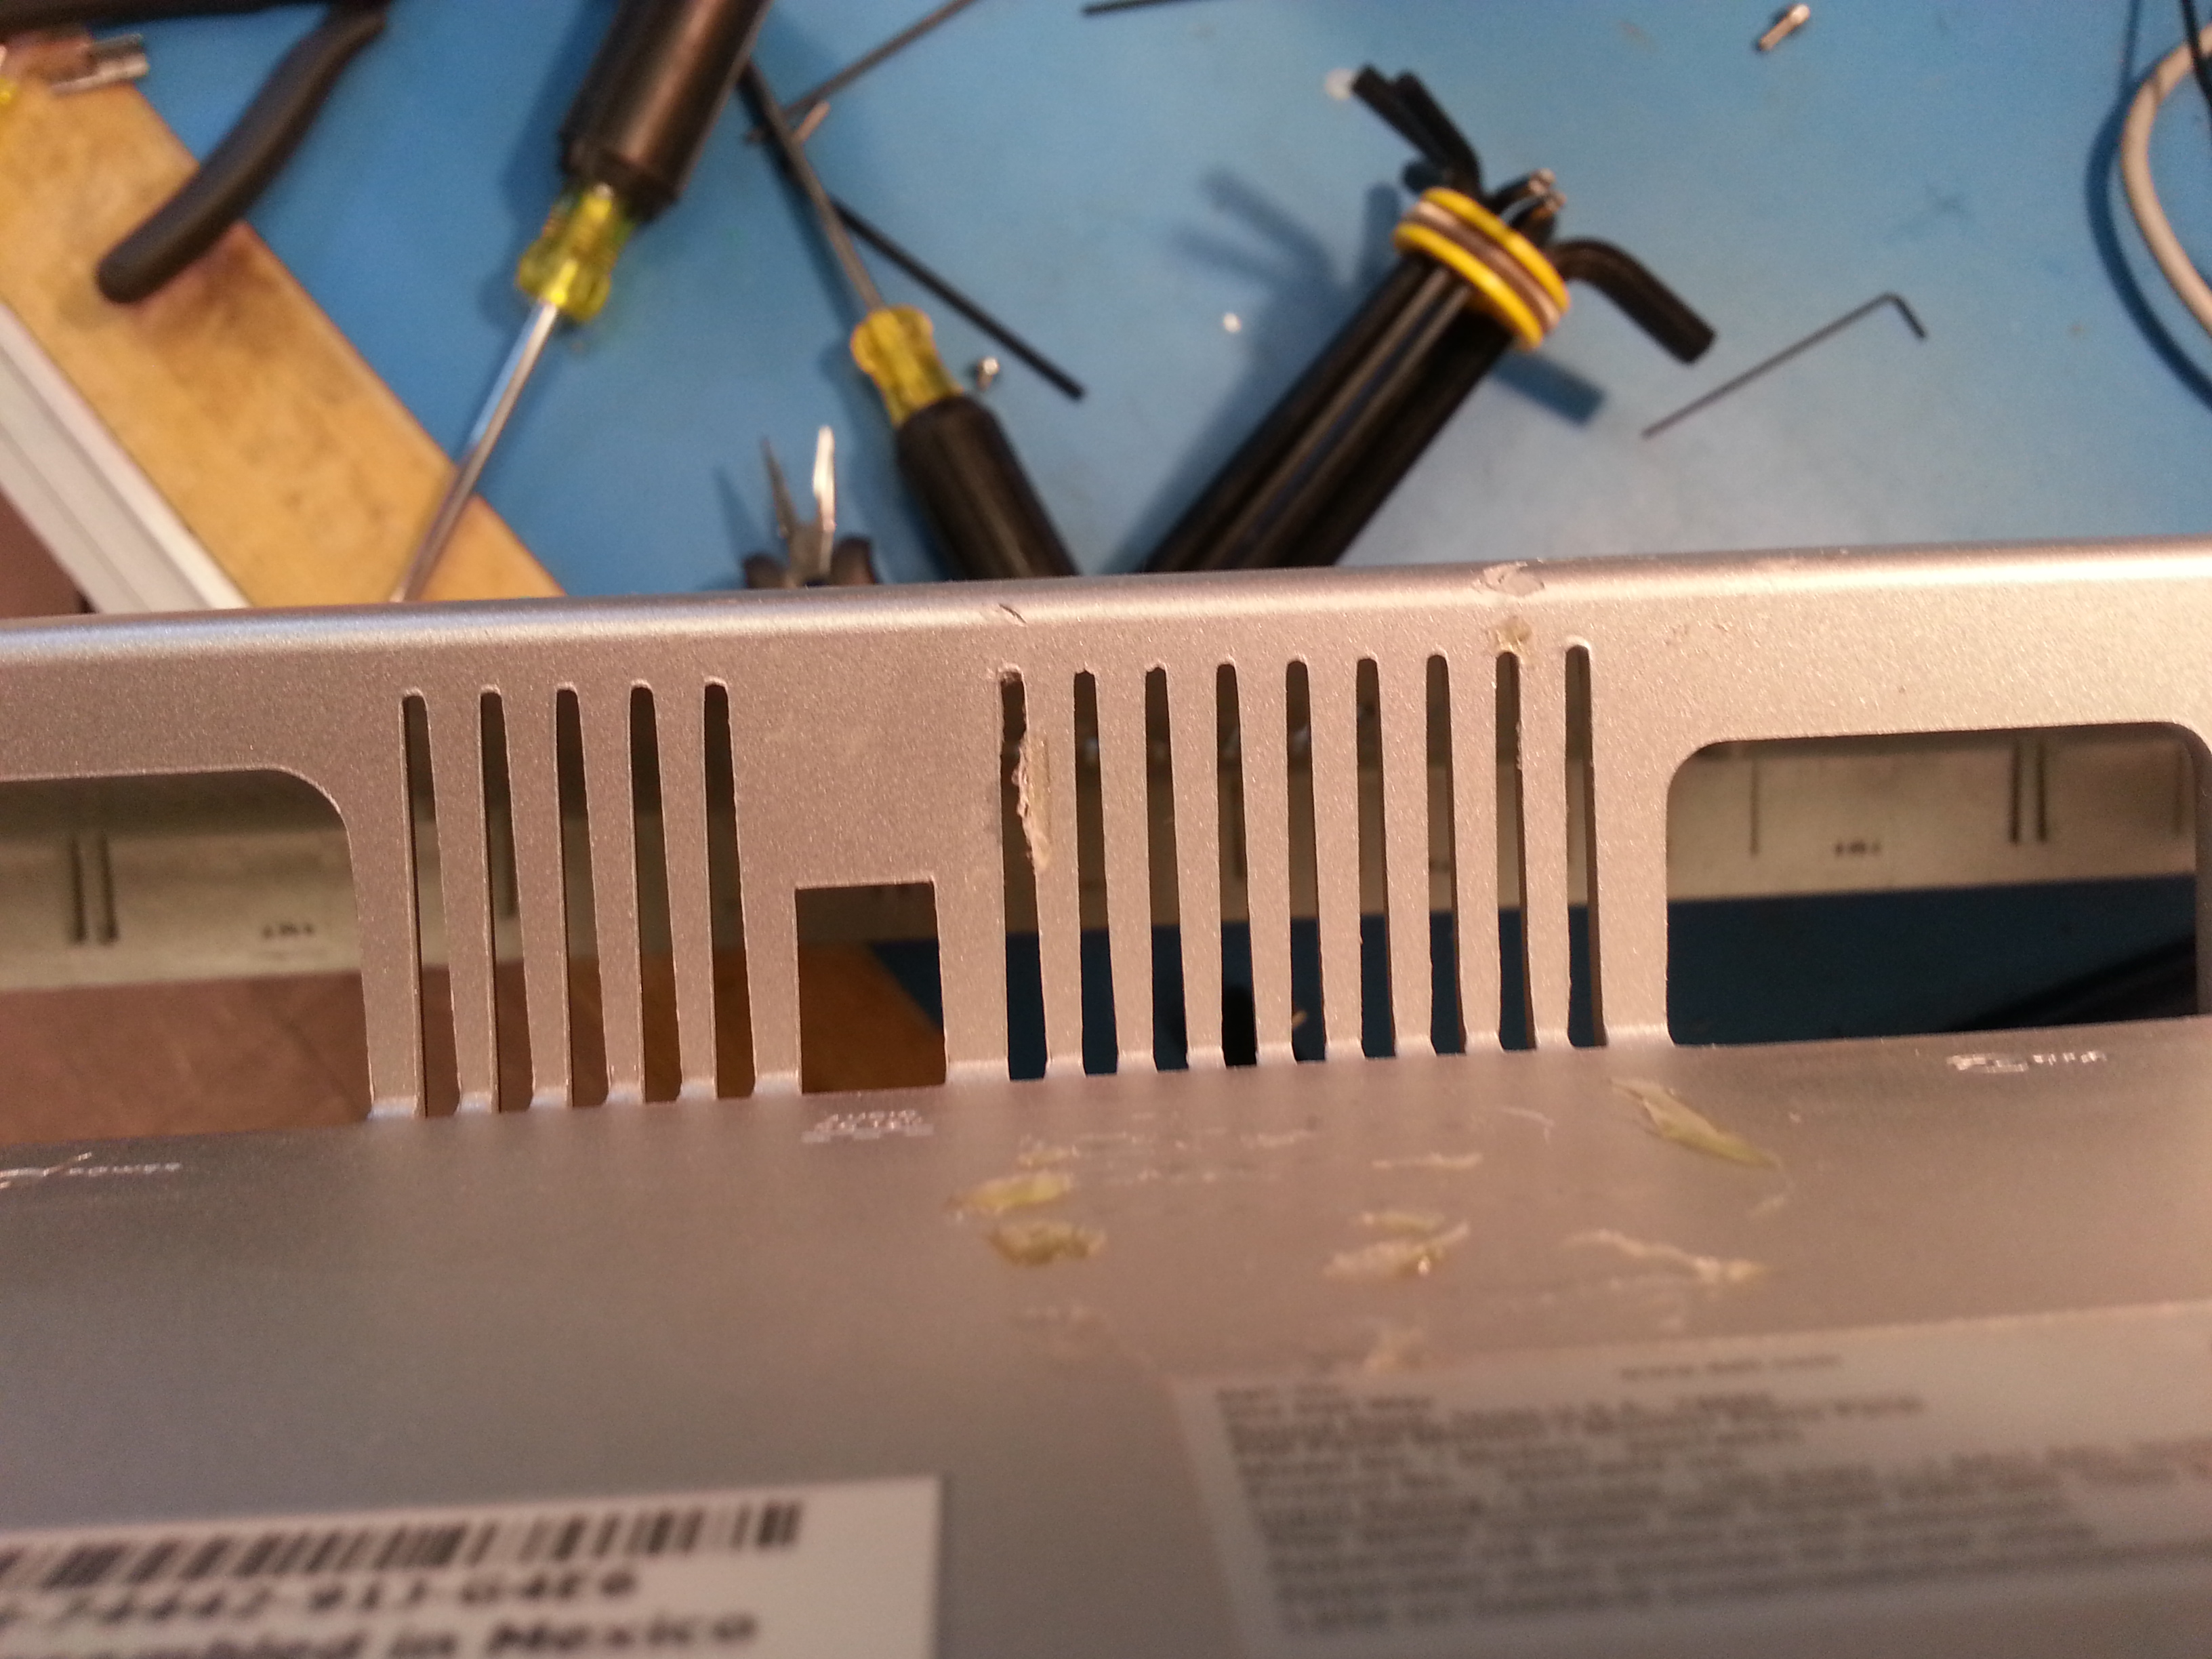
More restrictions. The top vent area is also fairly restrictive, maybe to prevent dust from falling in? Uncertain, but it certainly keeps things warm. 
Turbo Charging
And now we open the beast for some turbo charging. This monitor is a monster. Its huge, making this relatively small modification all the more useful.

With the monitor facing down, the front bezel and rear bezel detach with snaps. The front bezel has a small board with 3 capacitive buttons, a ribbon cable ties it to the main board. 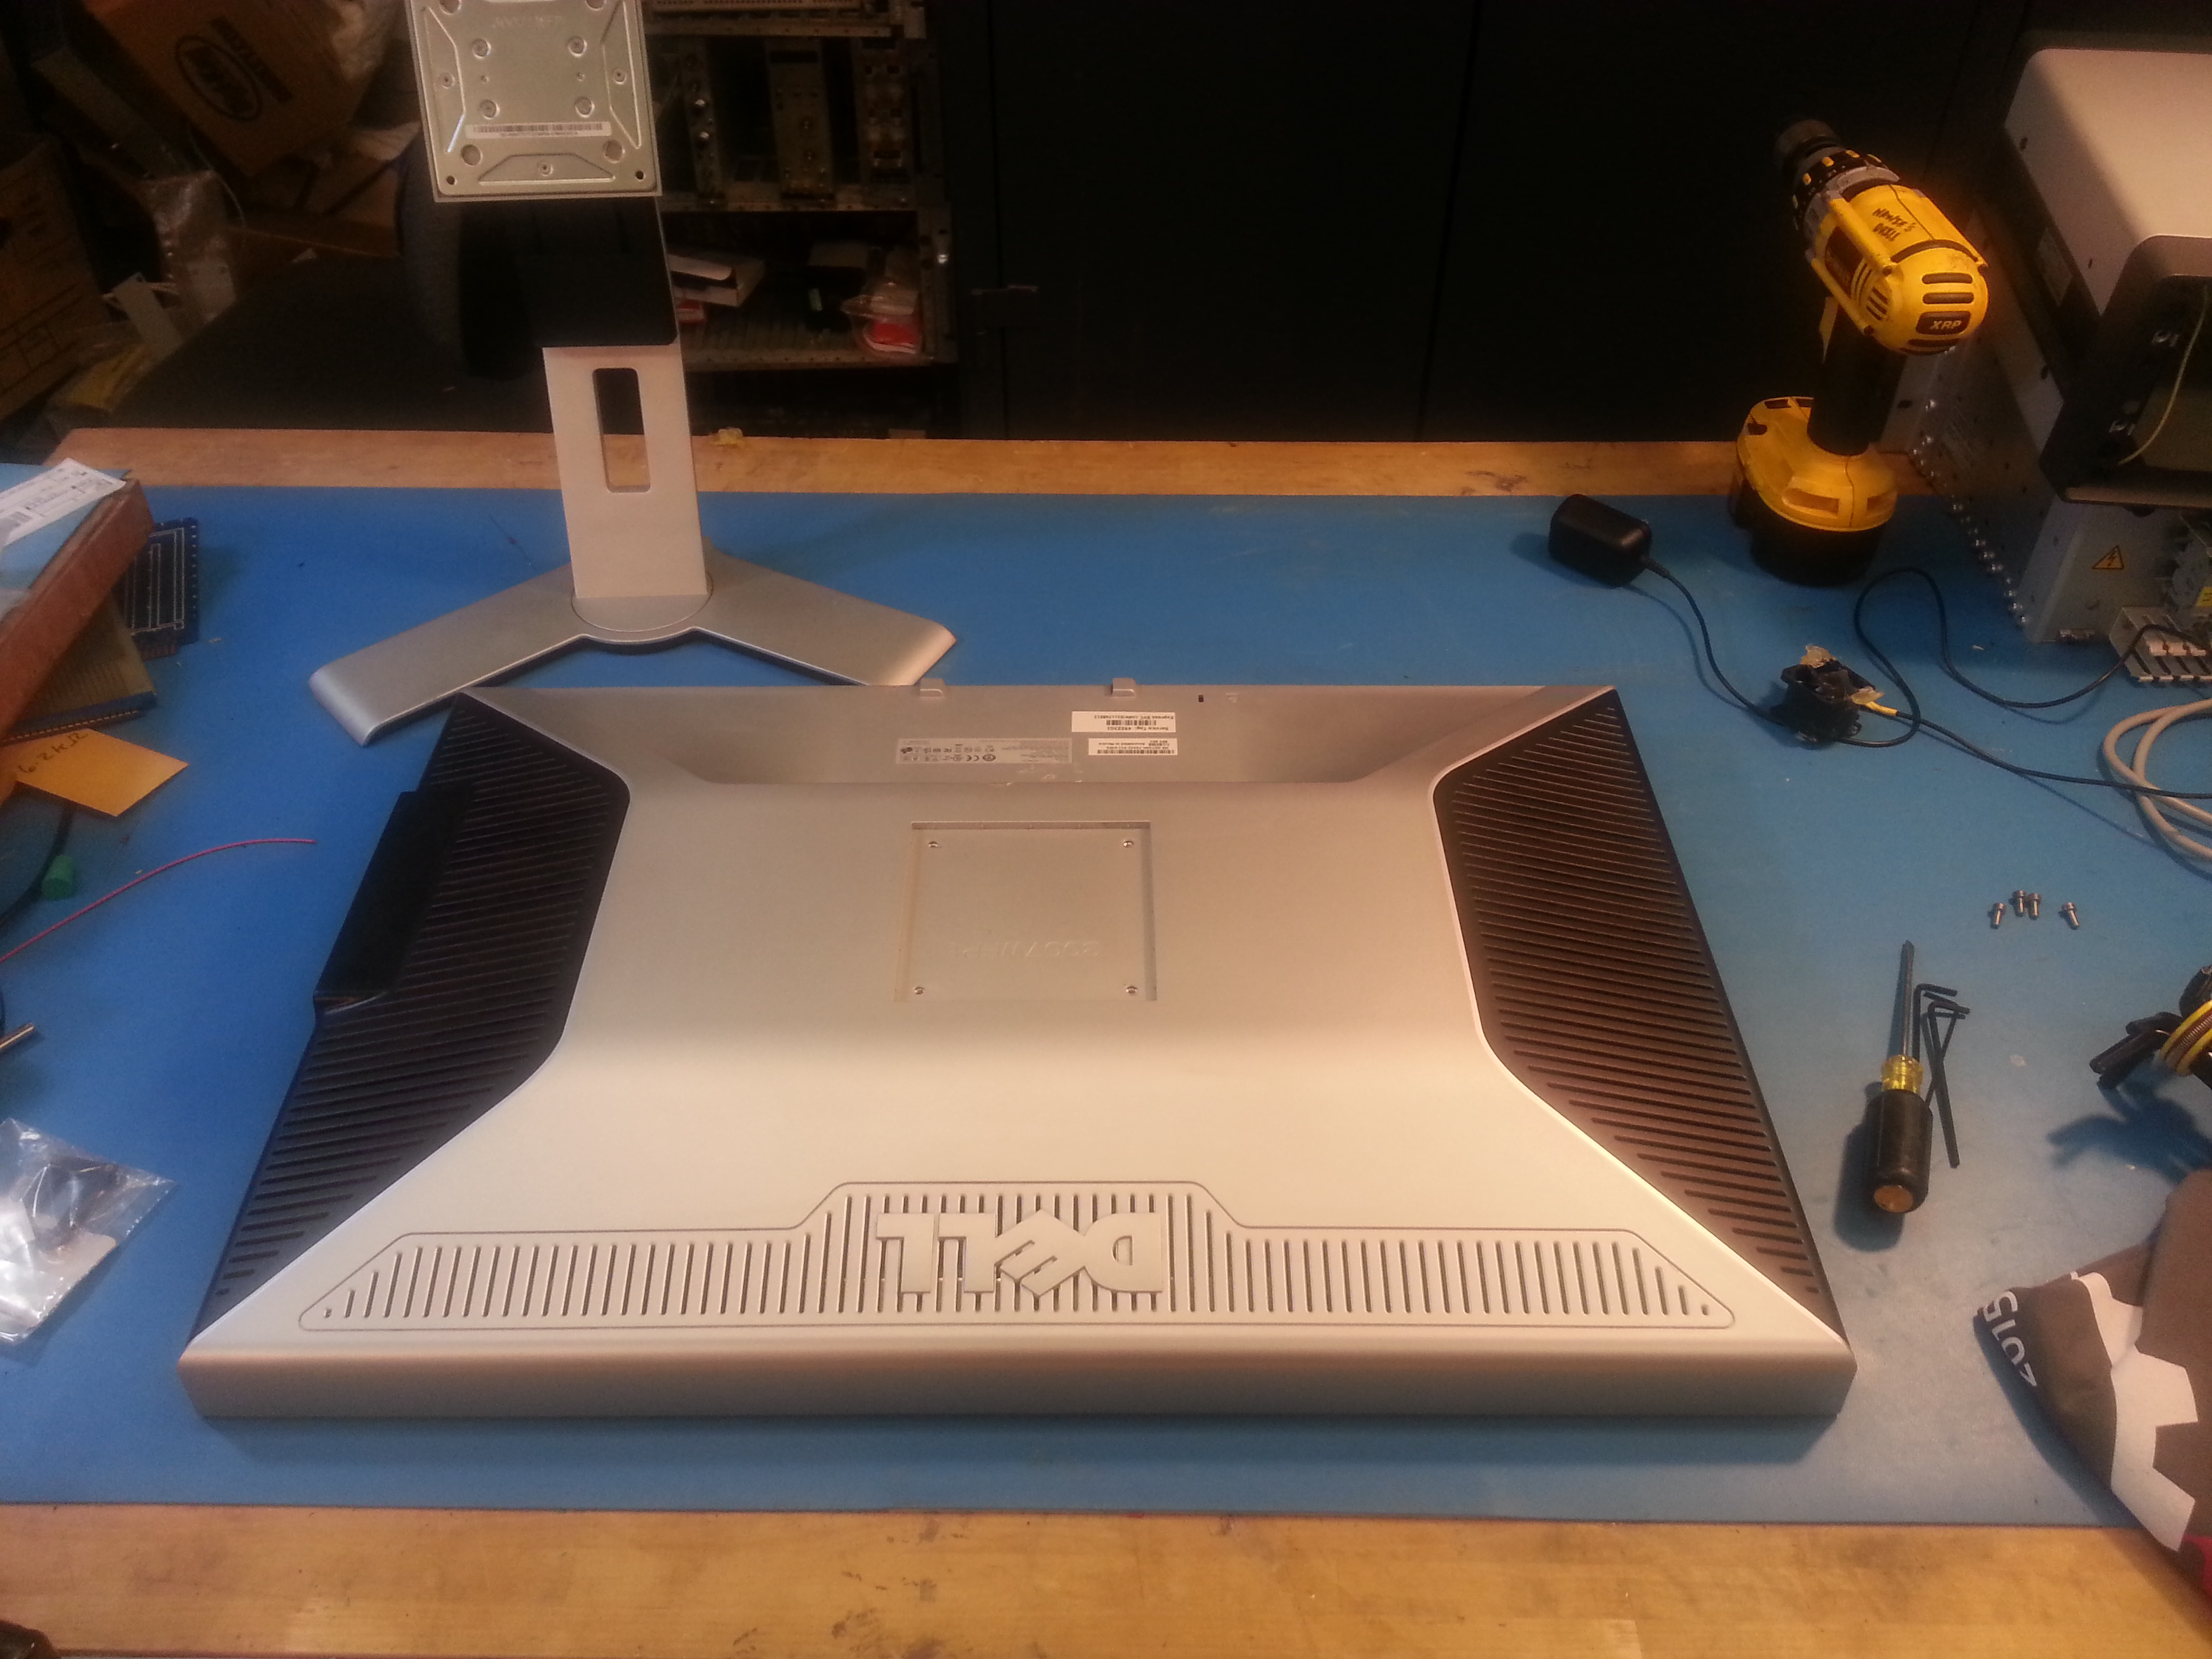
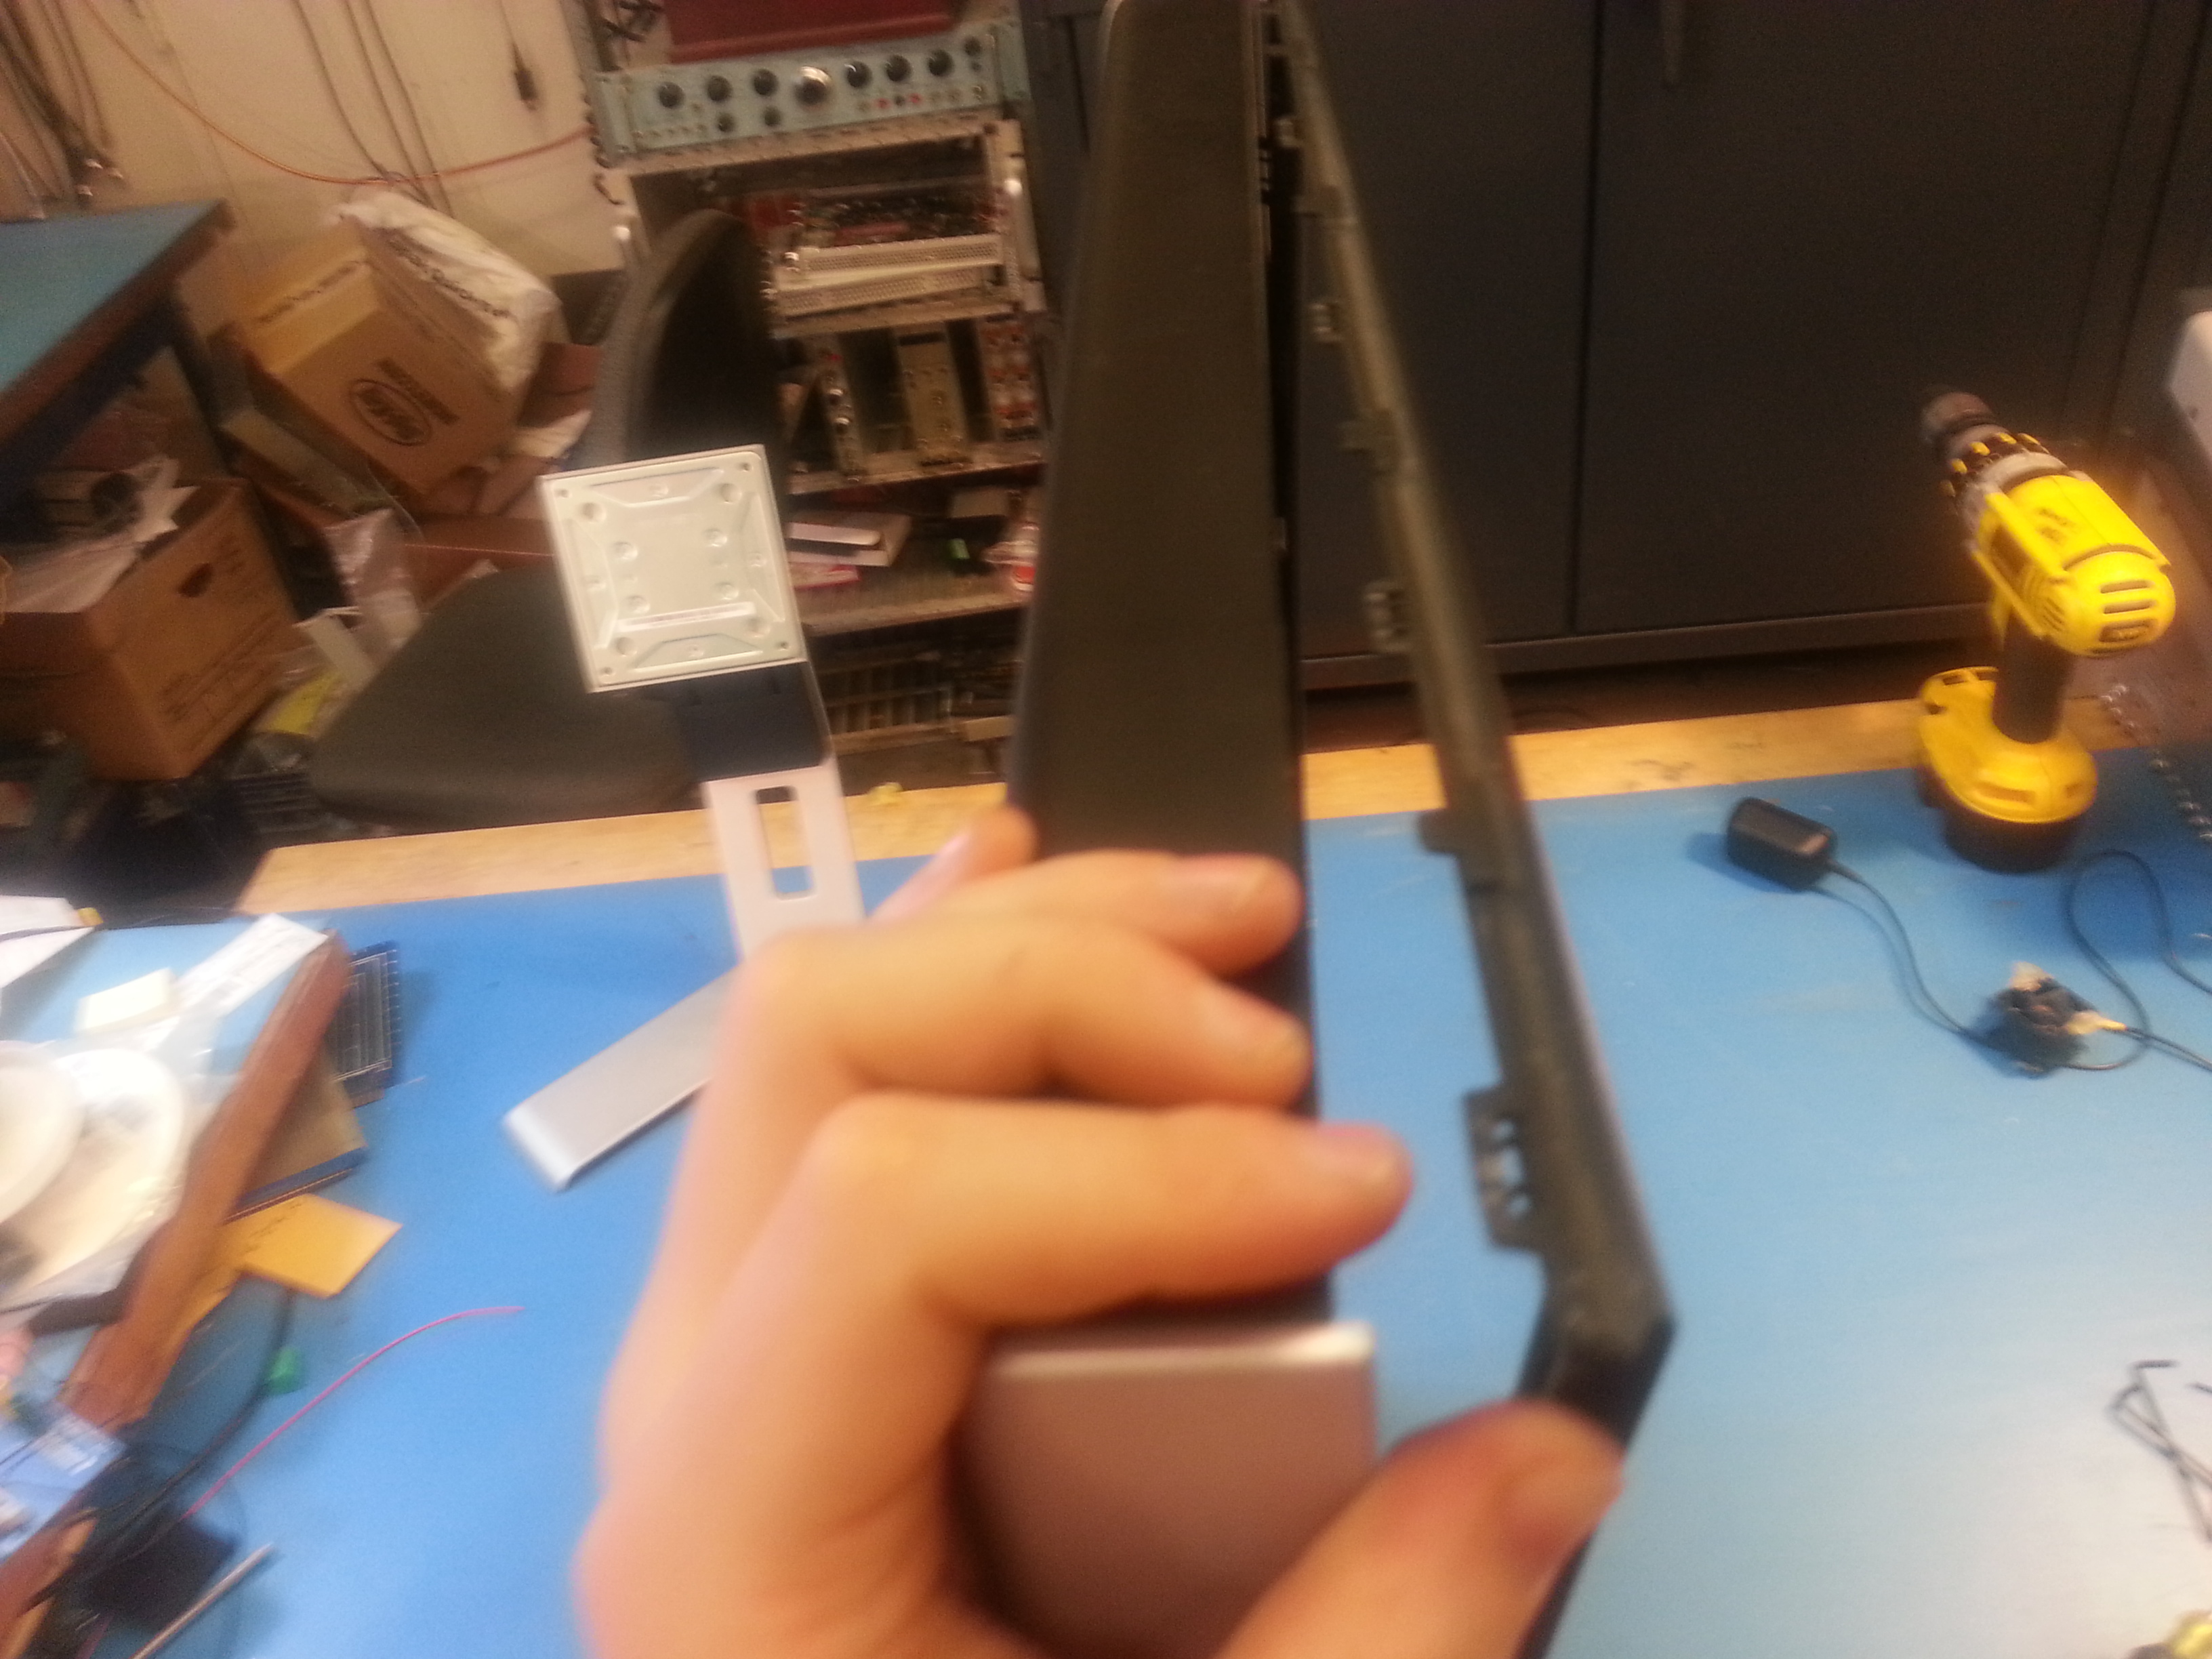
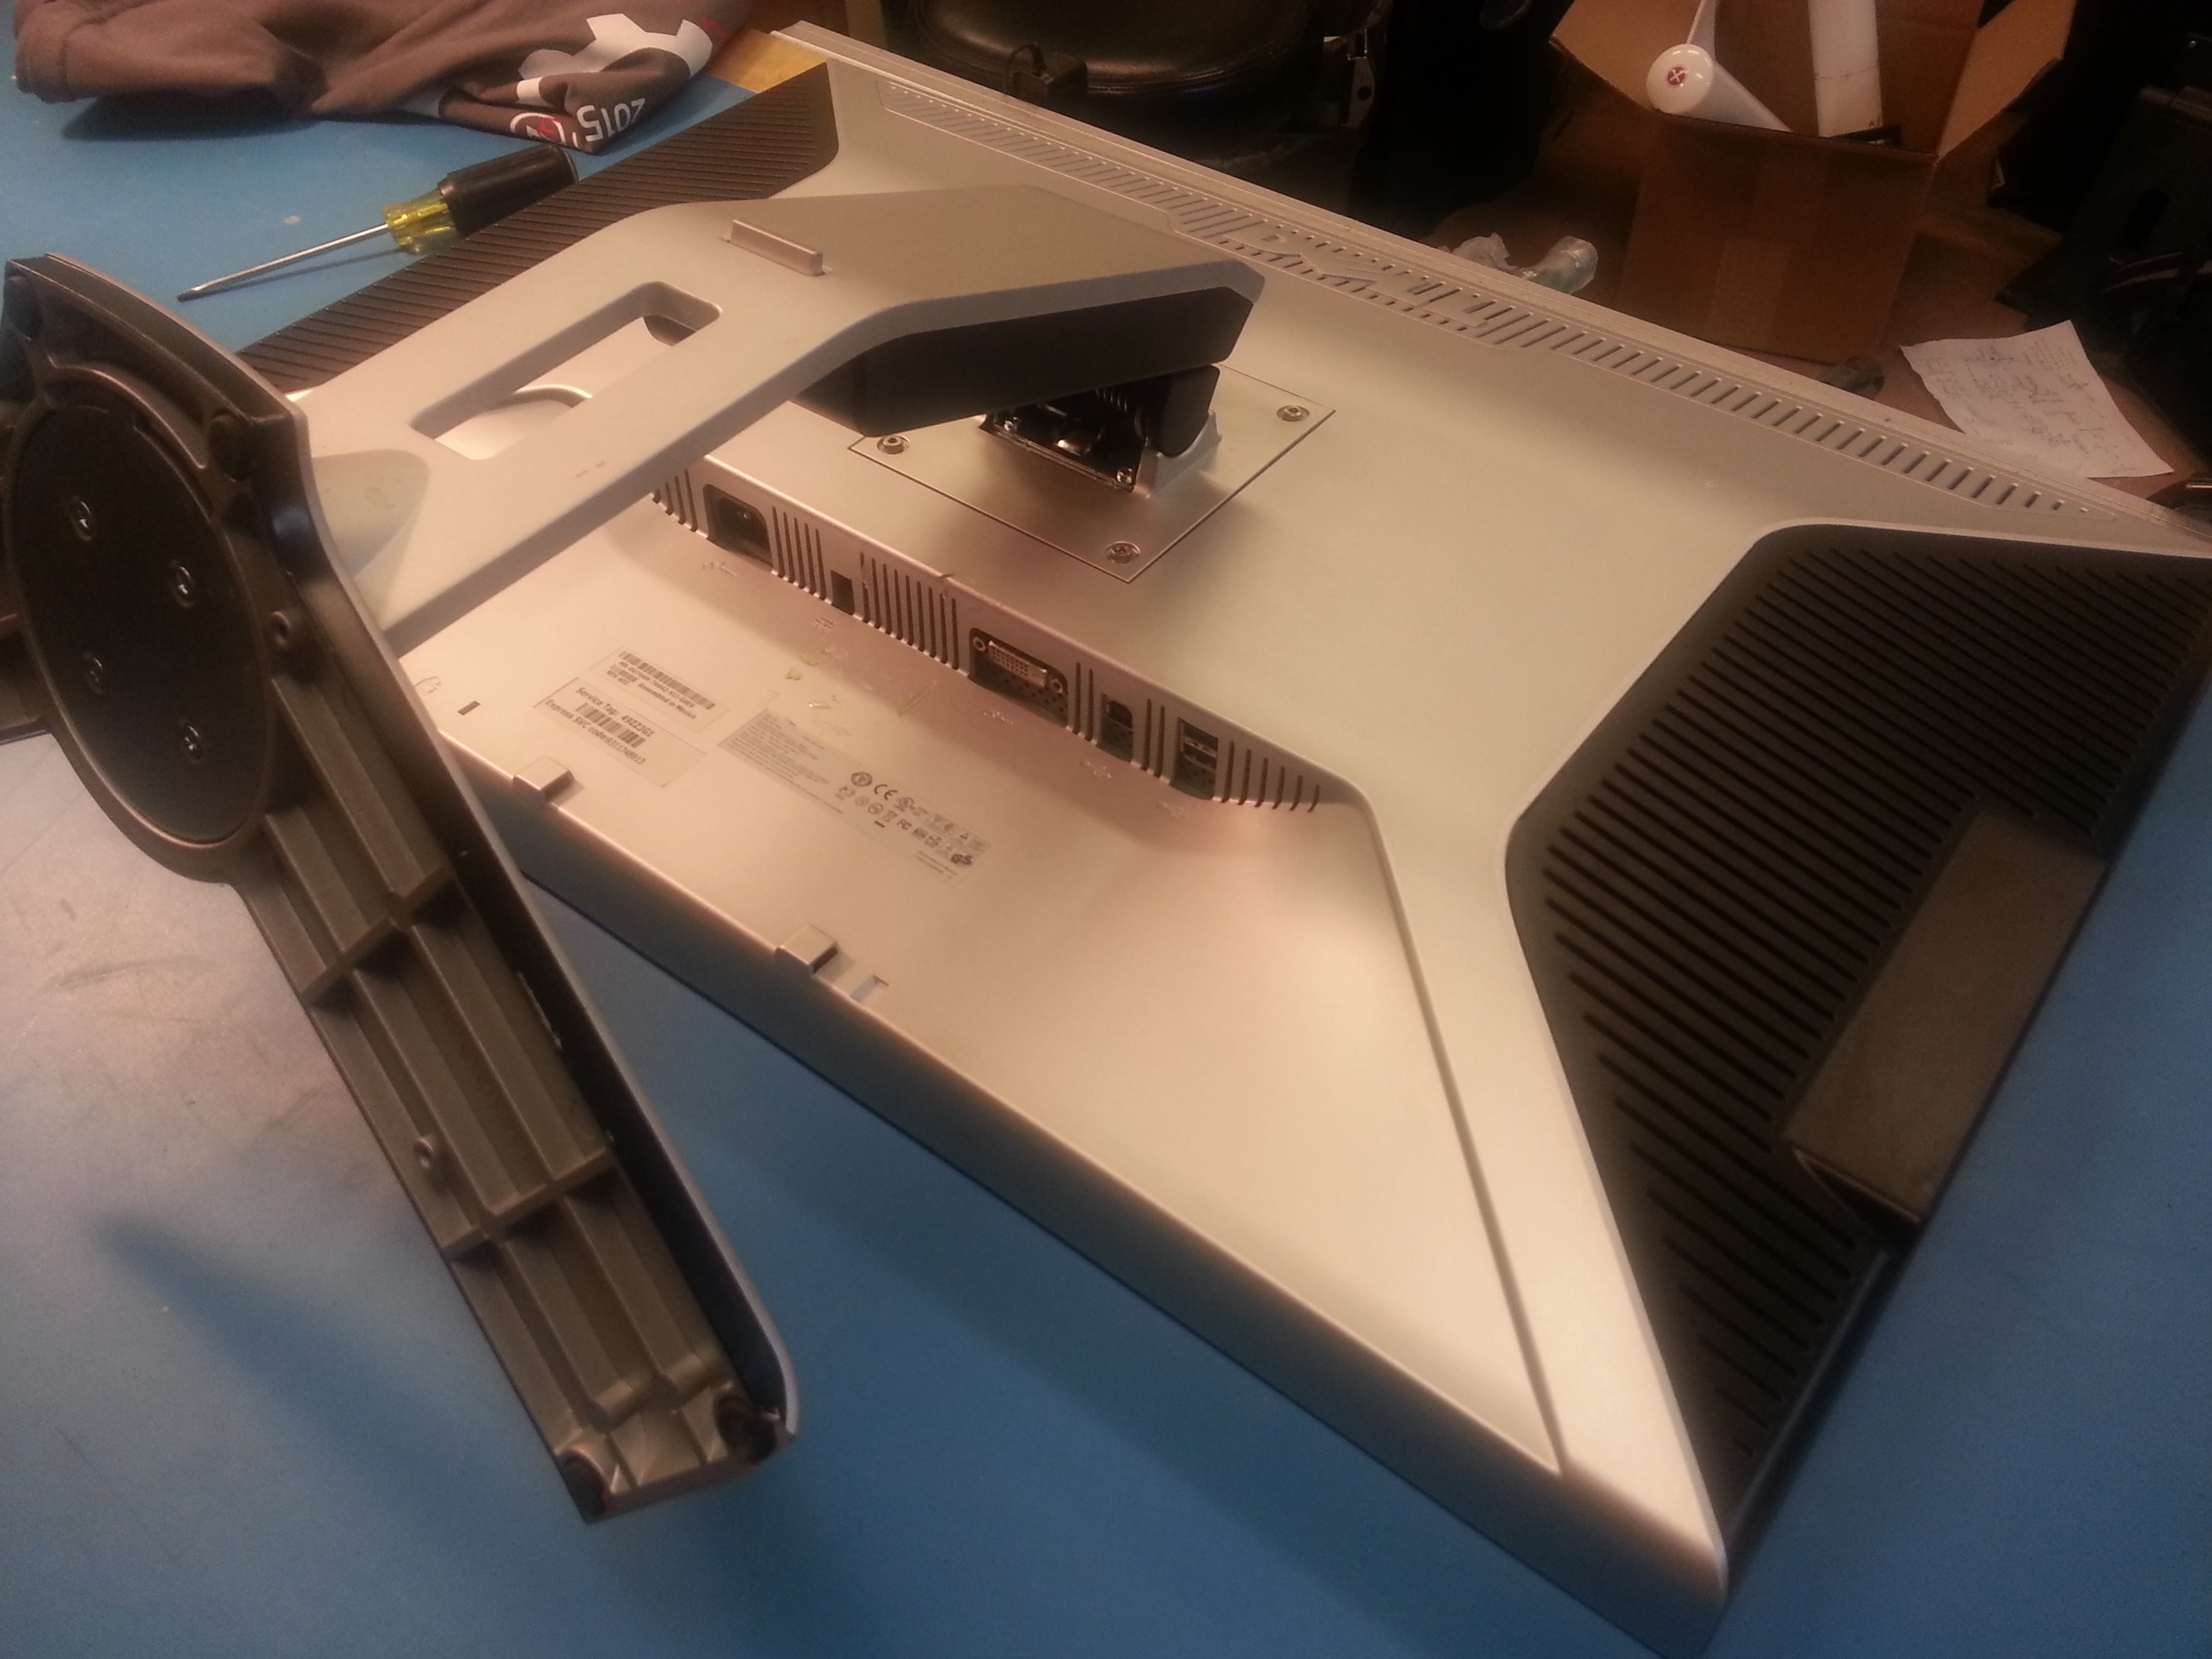
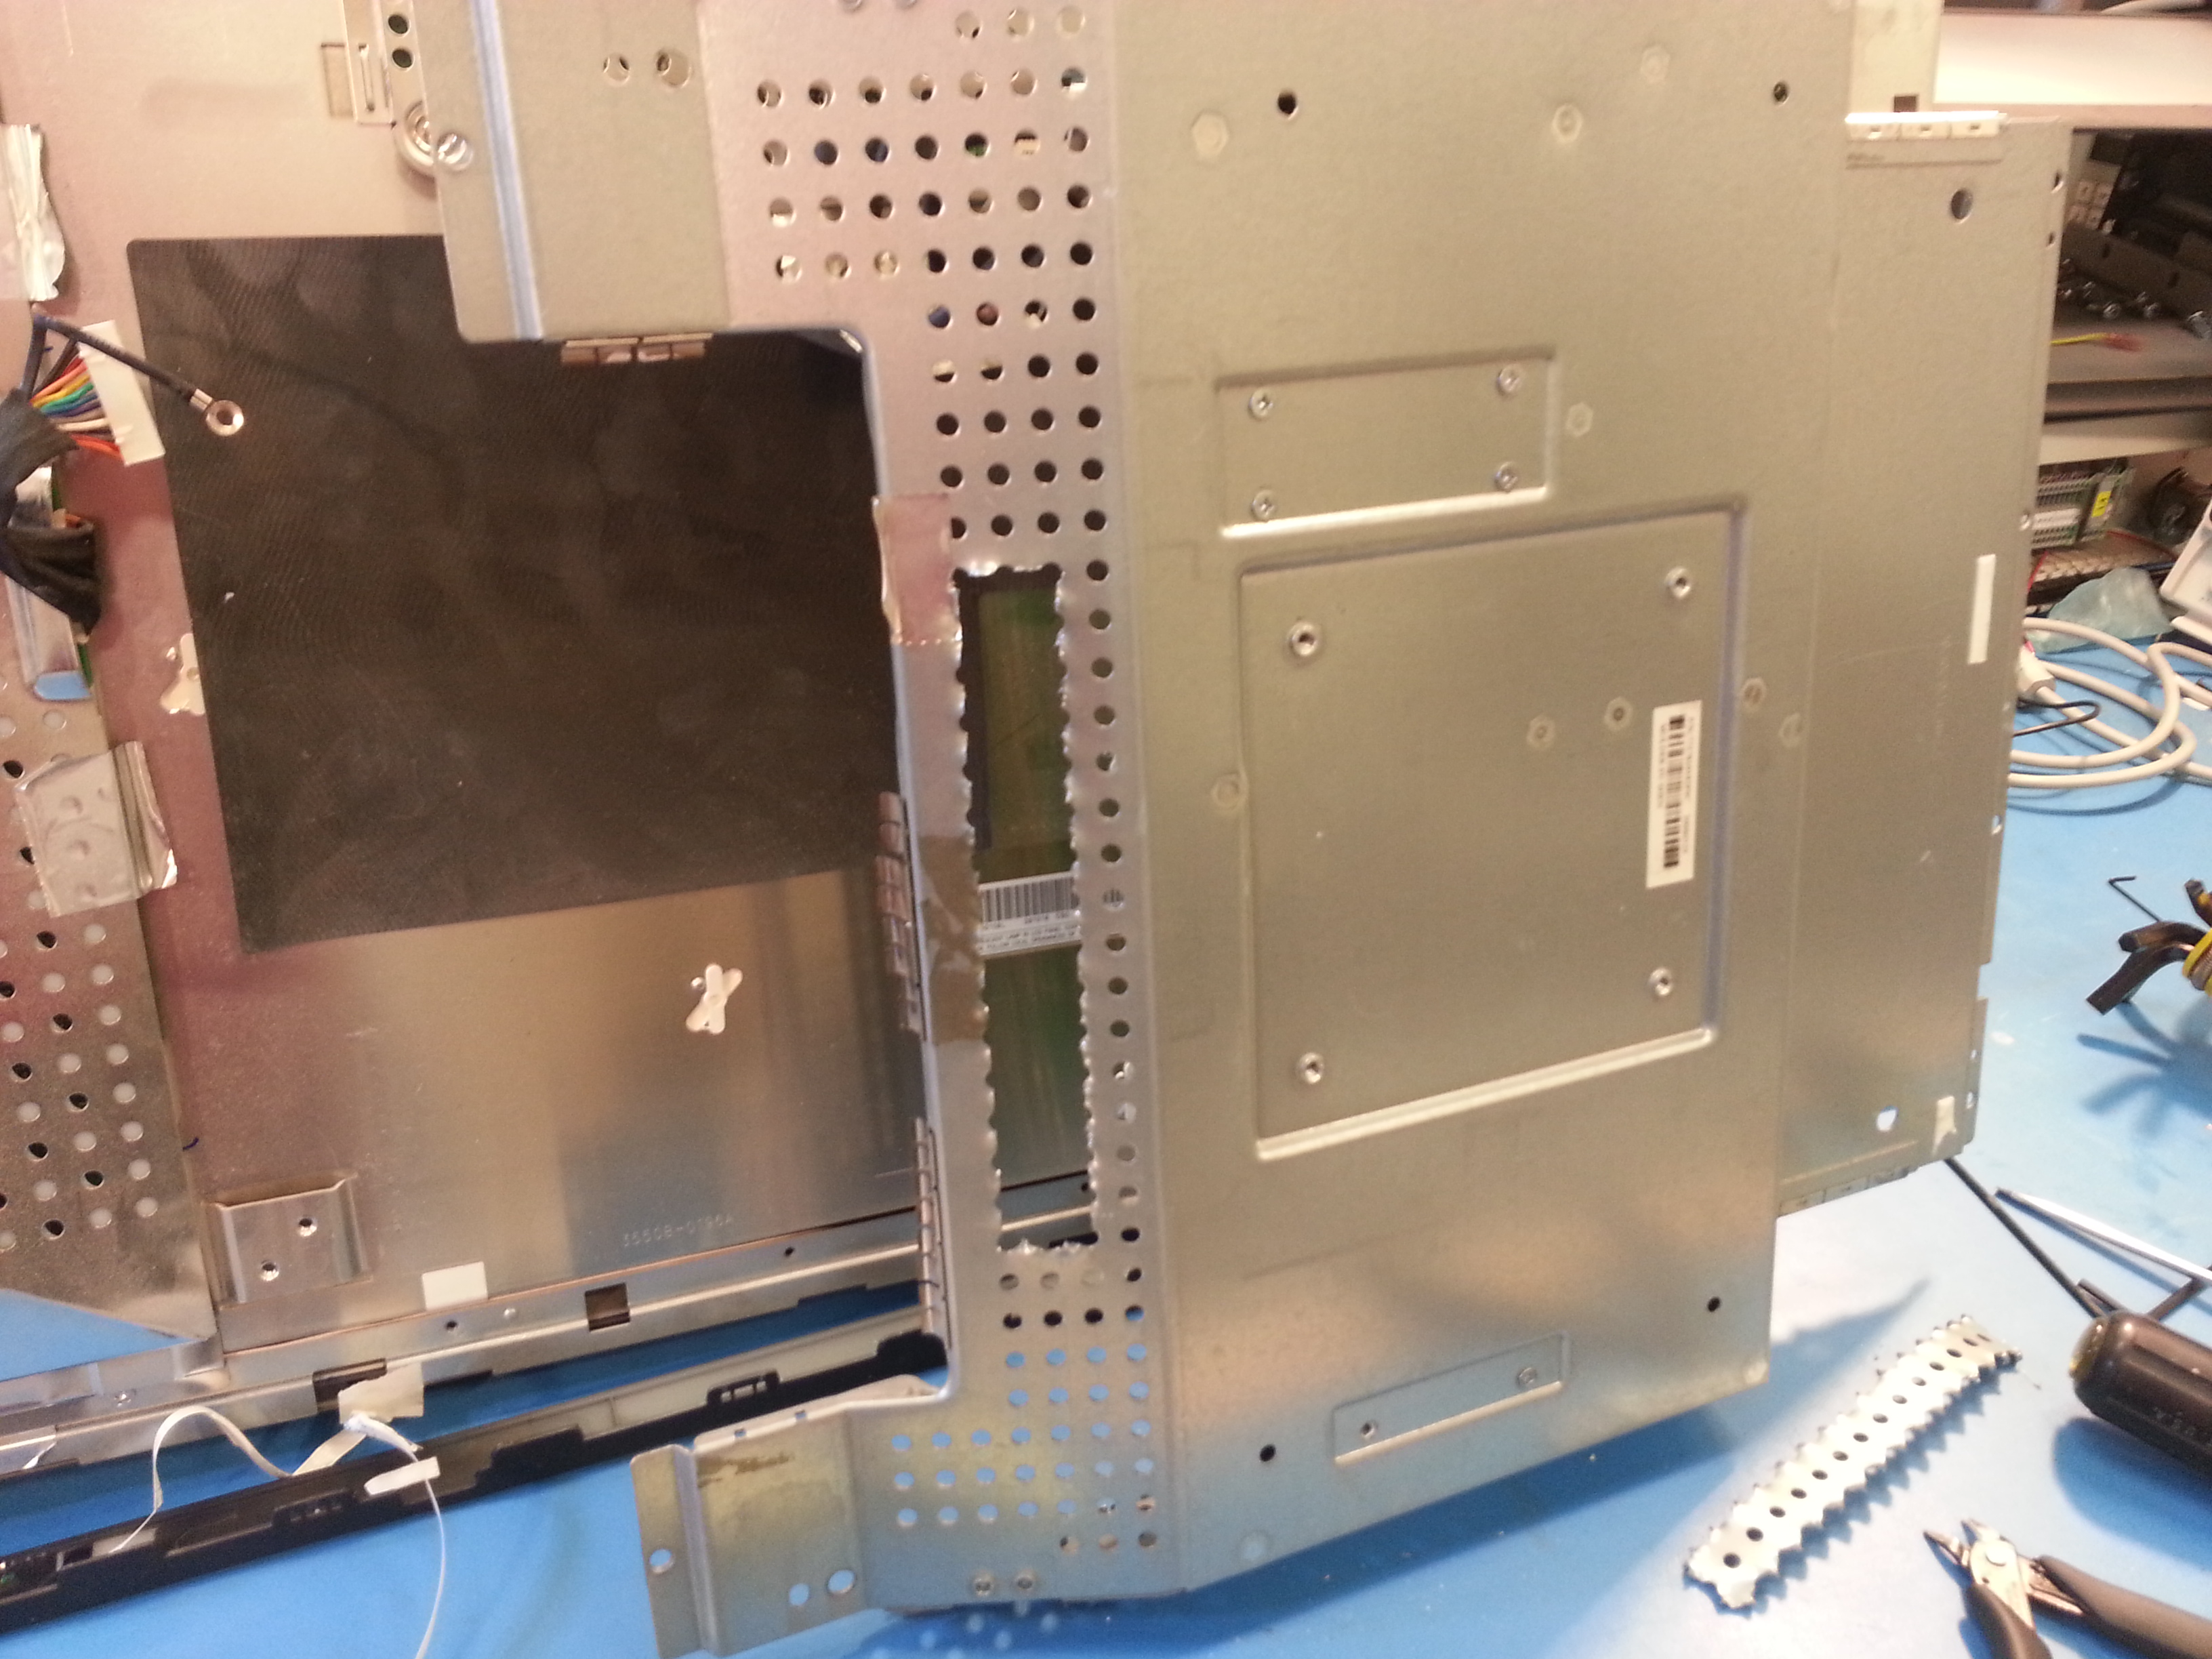
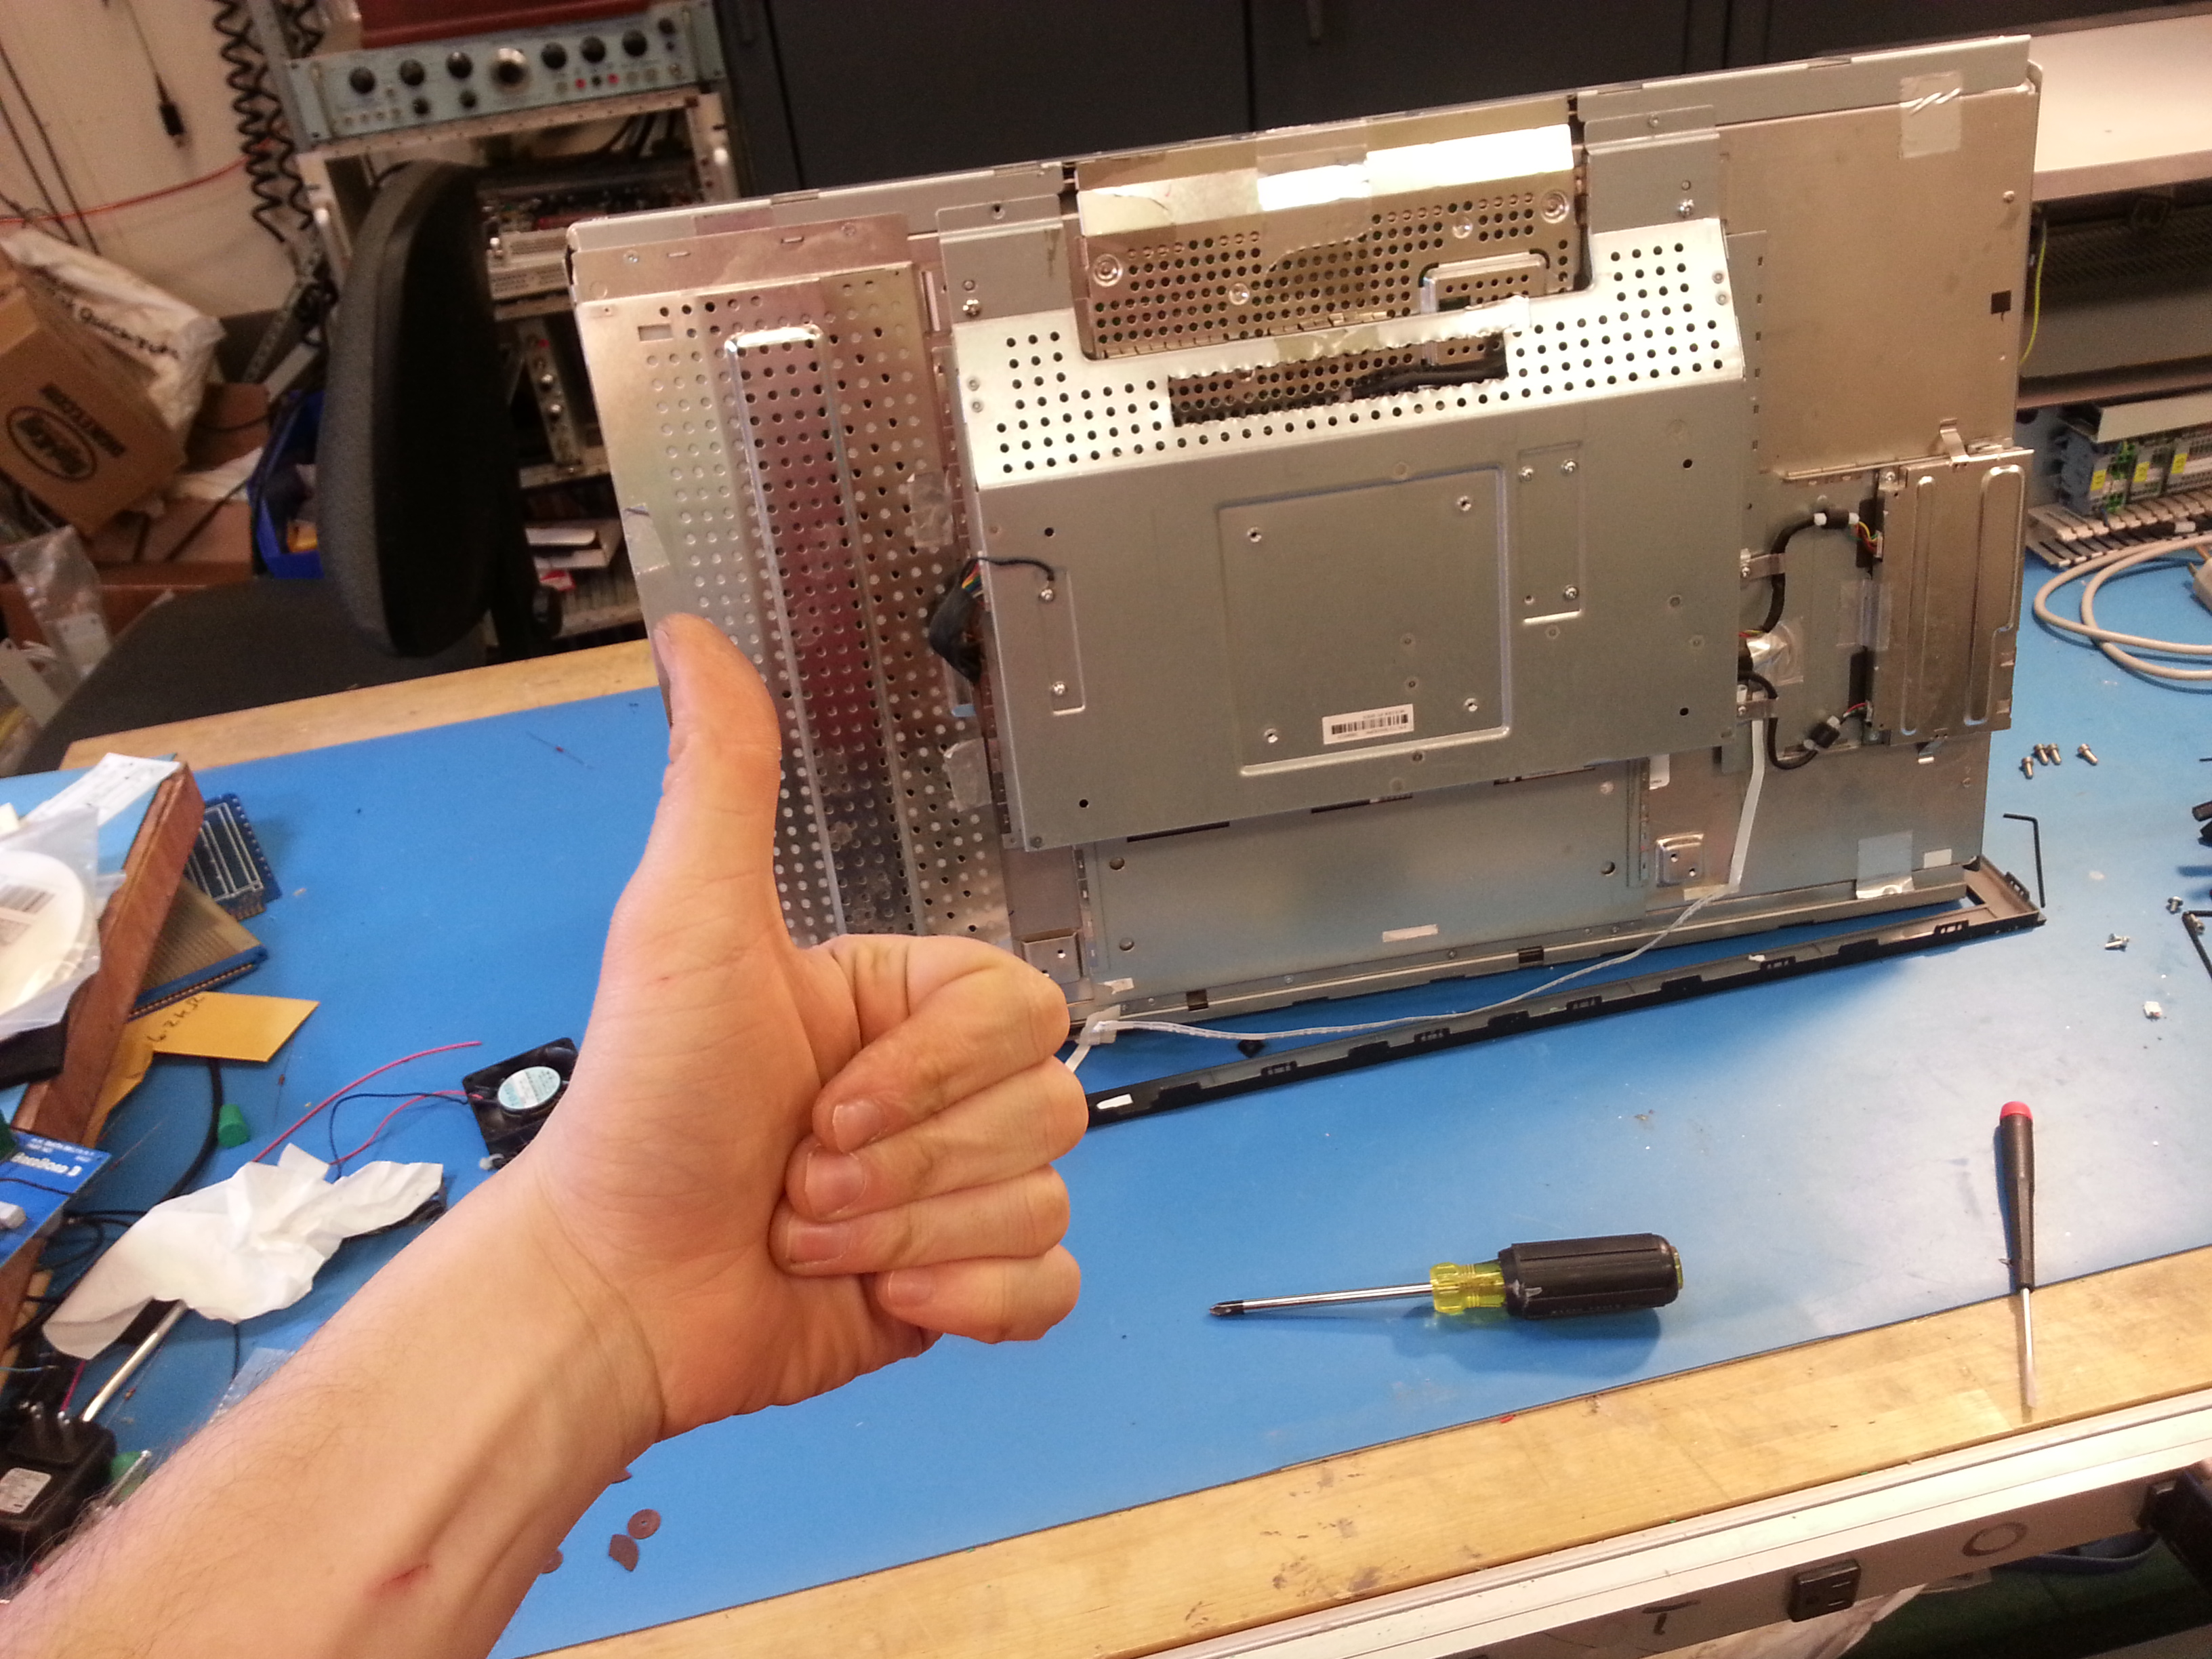
Here's the beast in all its glory. Try and take care not to ding up or scratch the panel, lean it on soft things. Shown is front/back of the monitor. 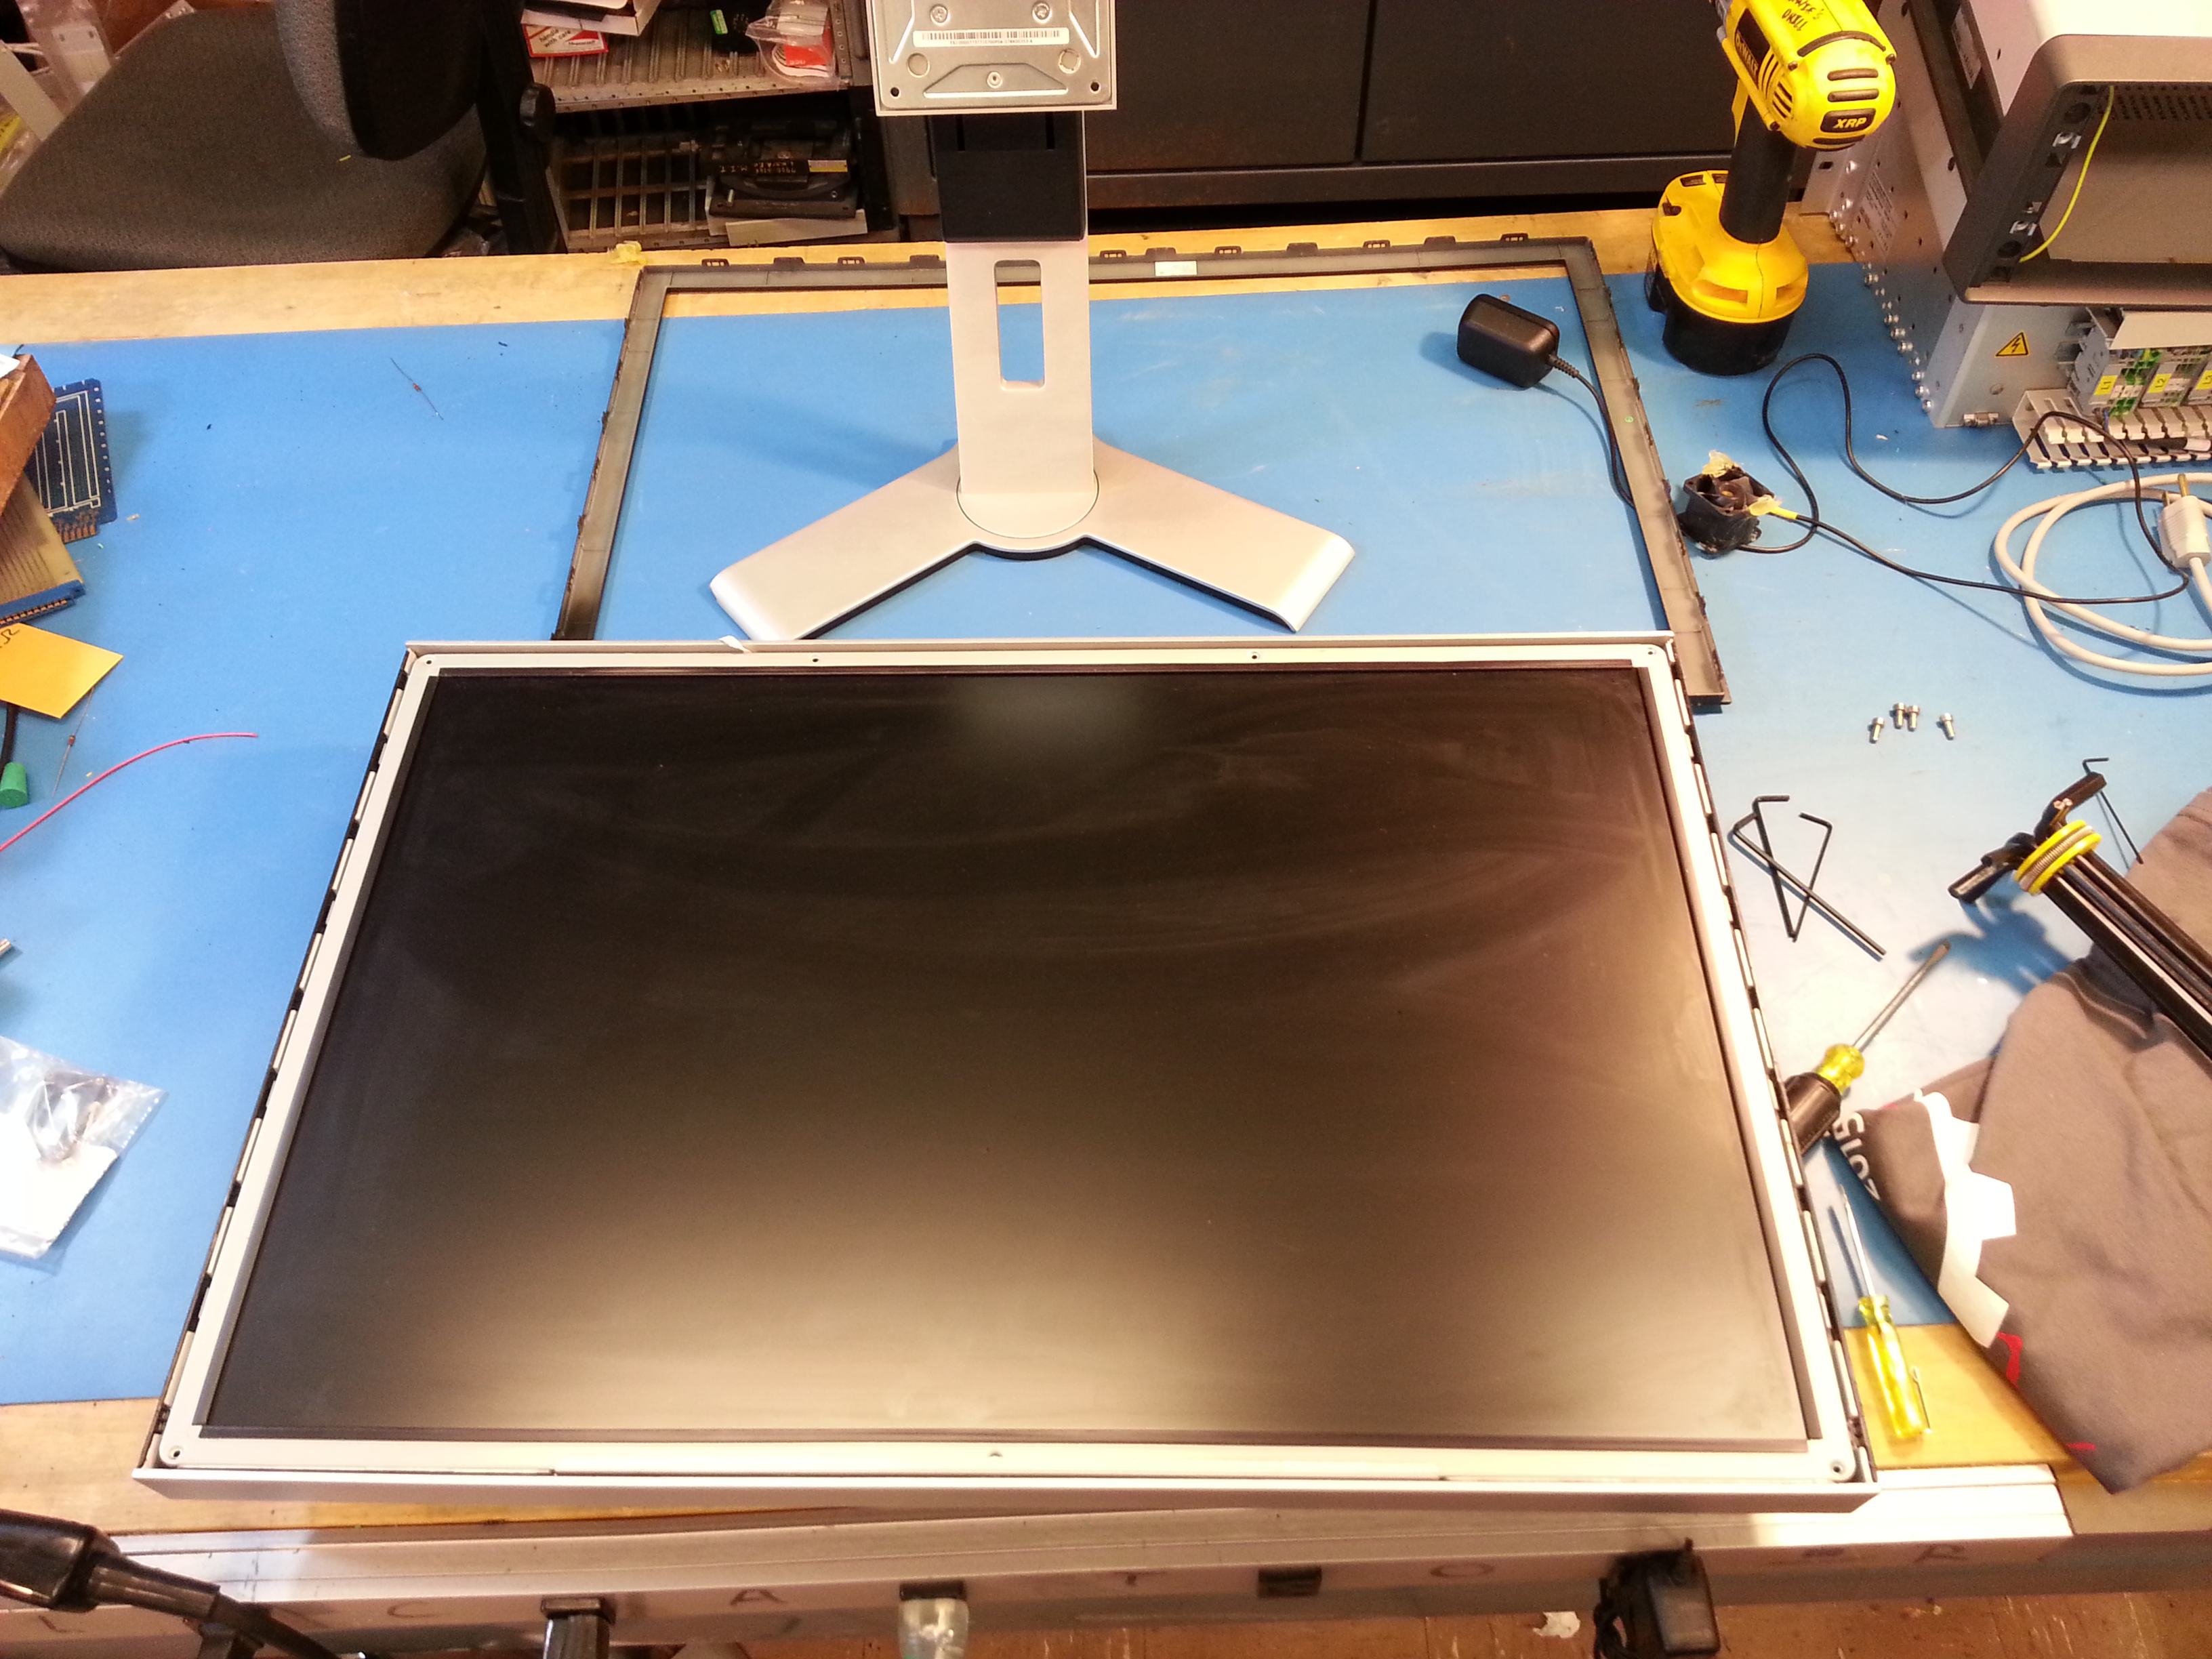

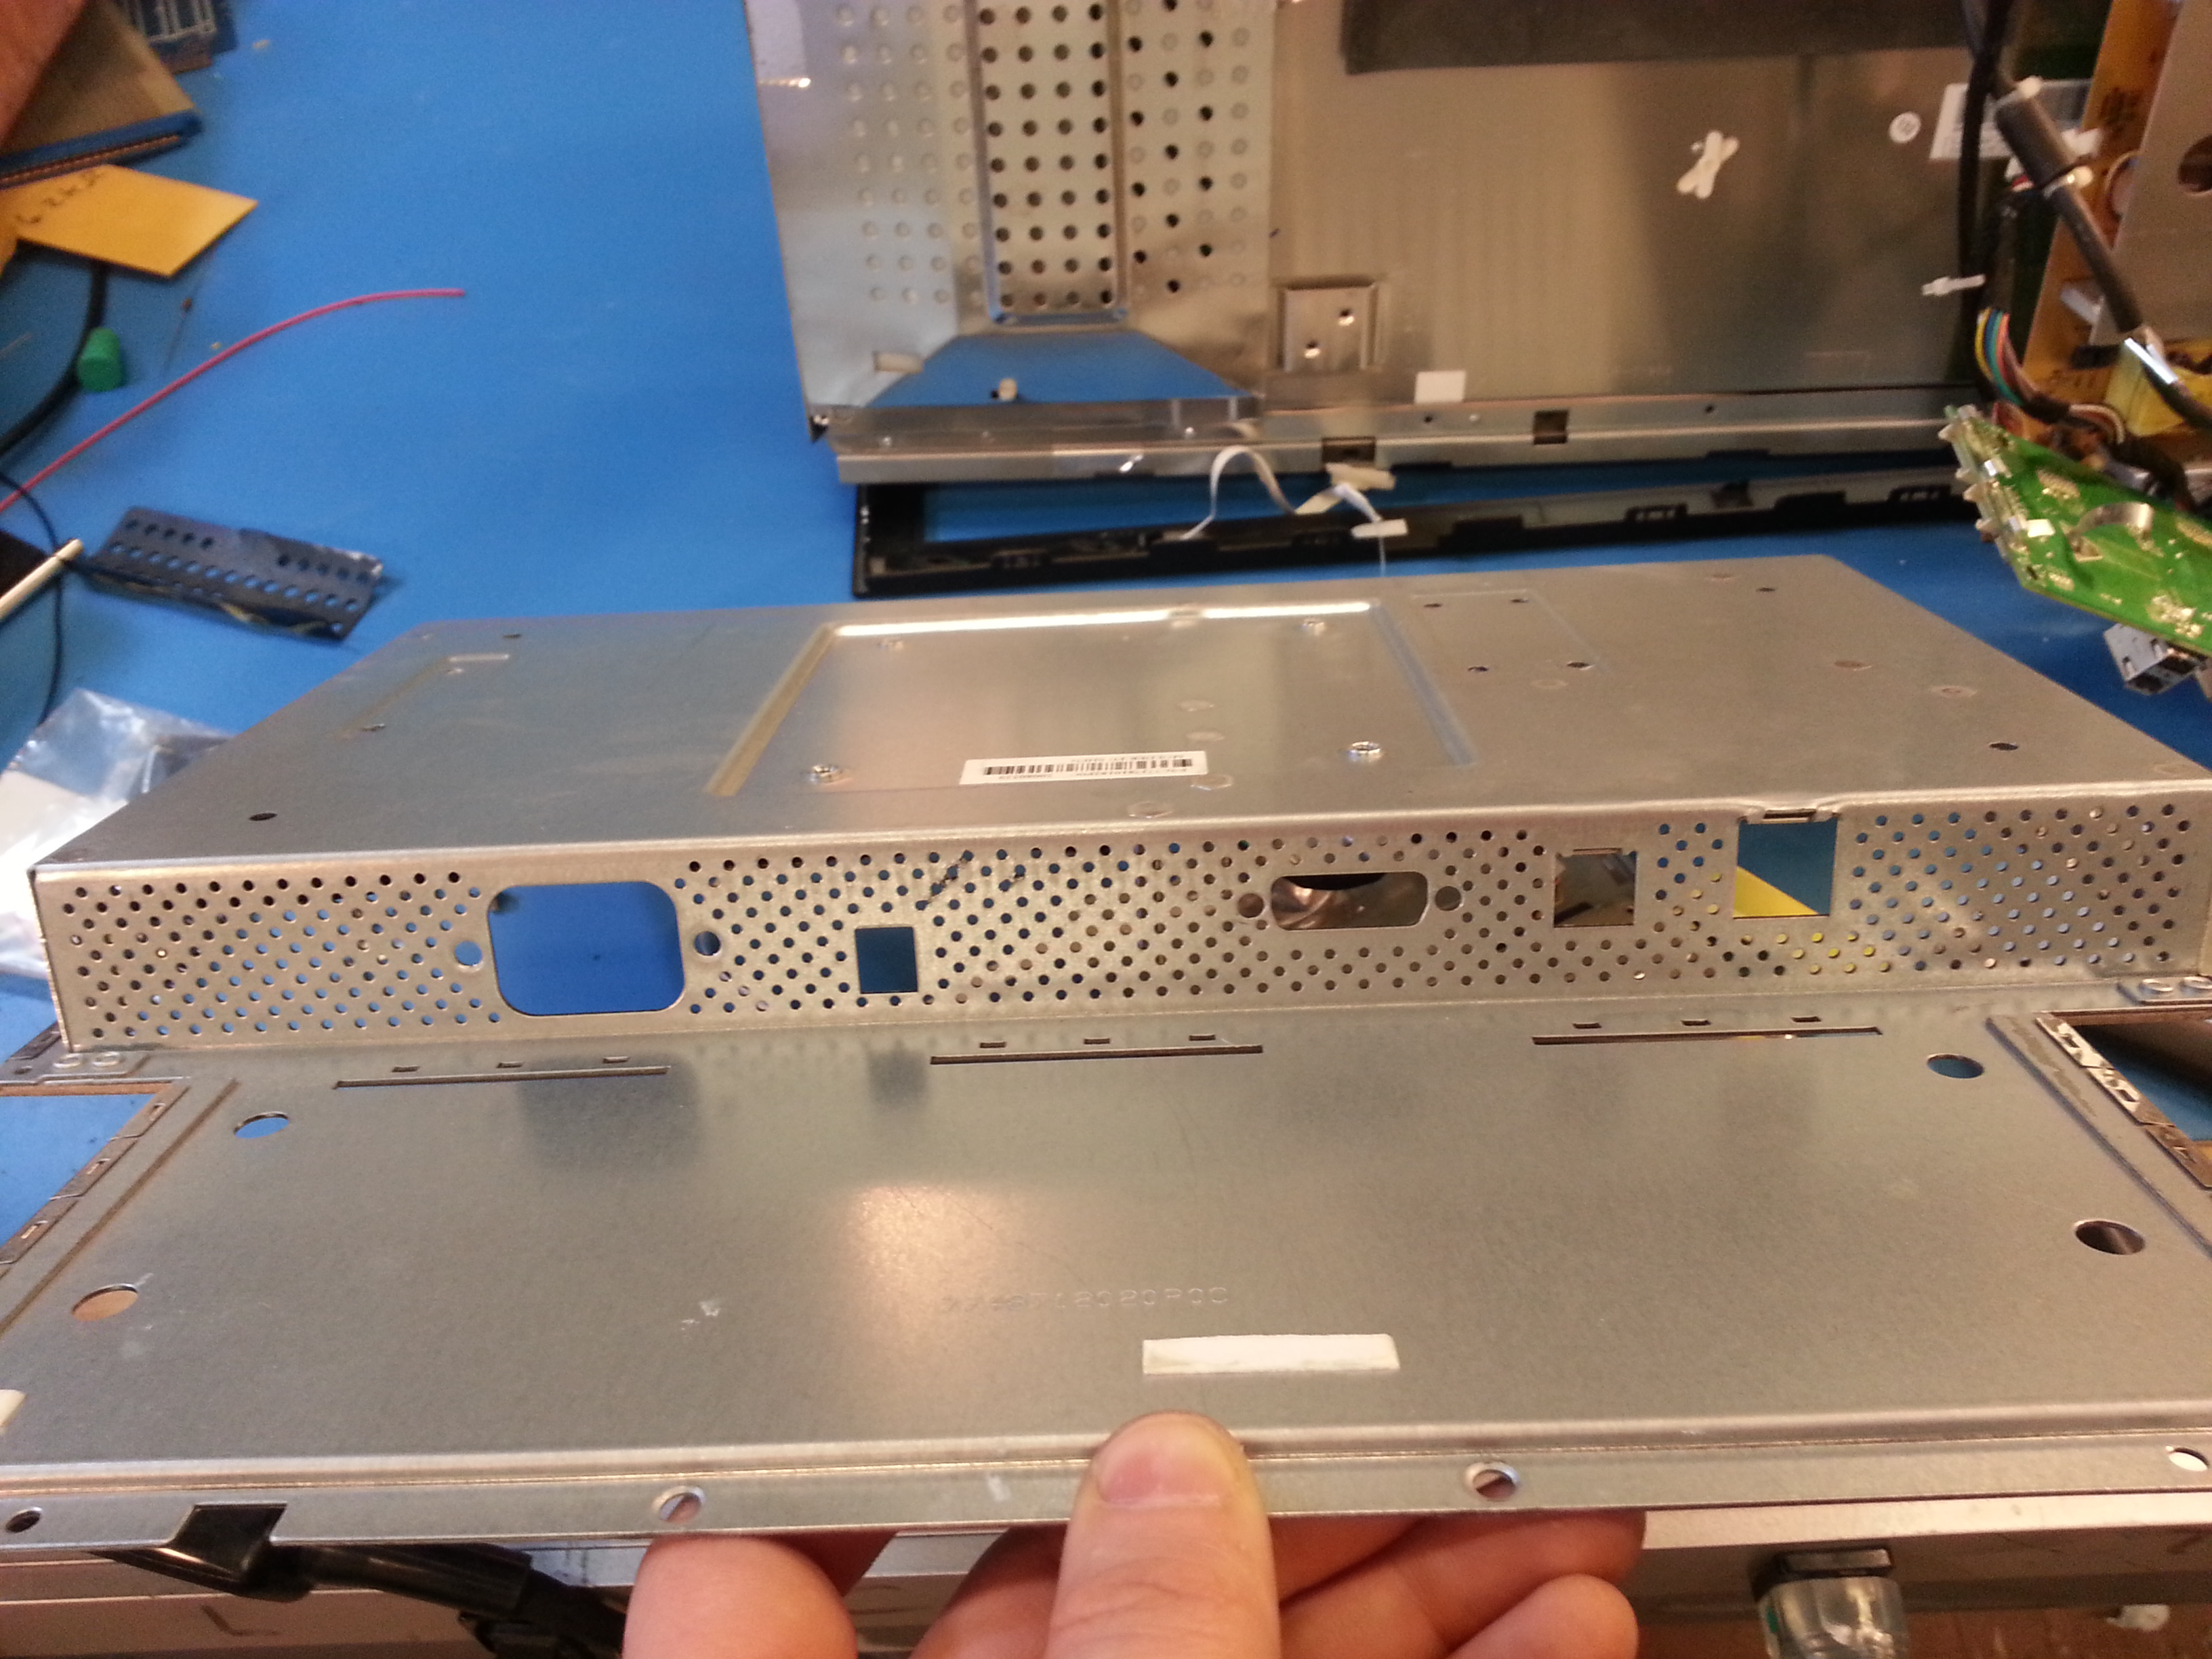
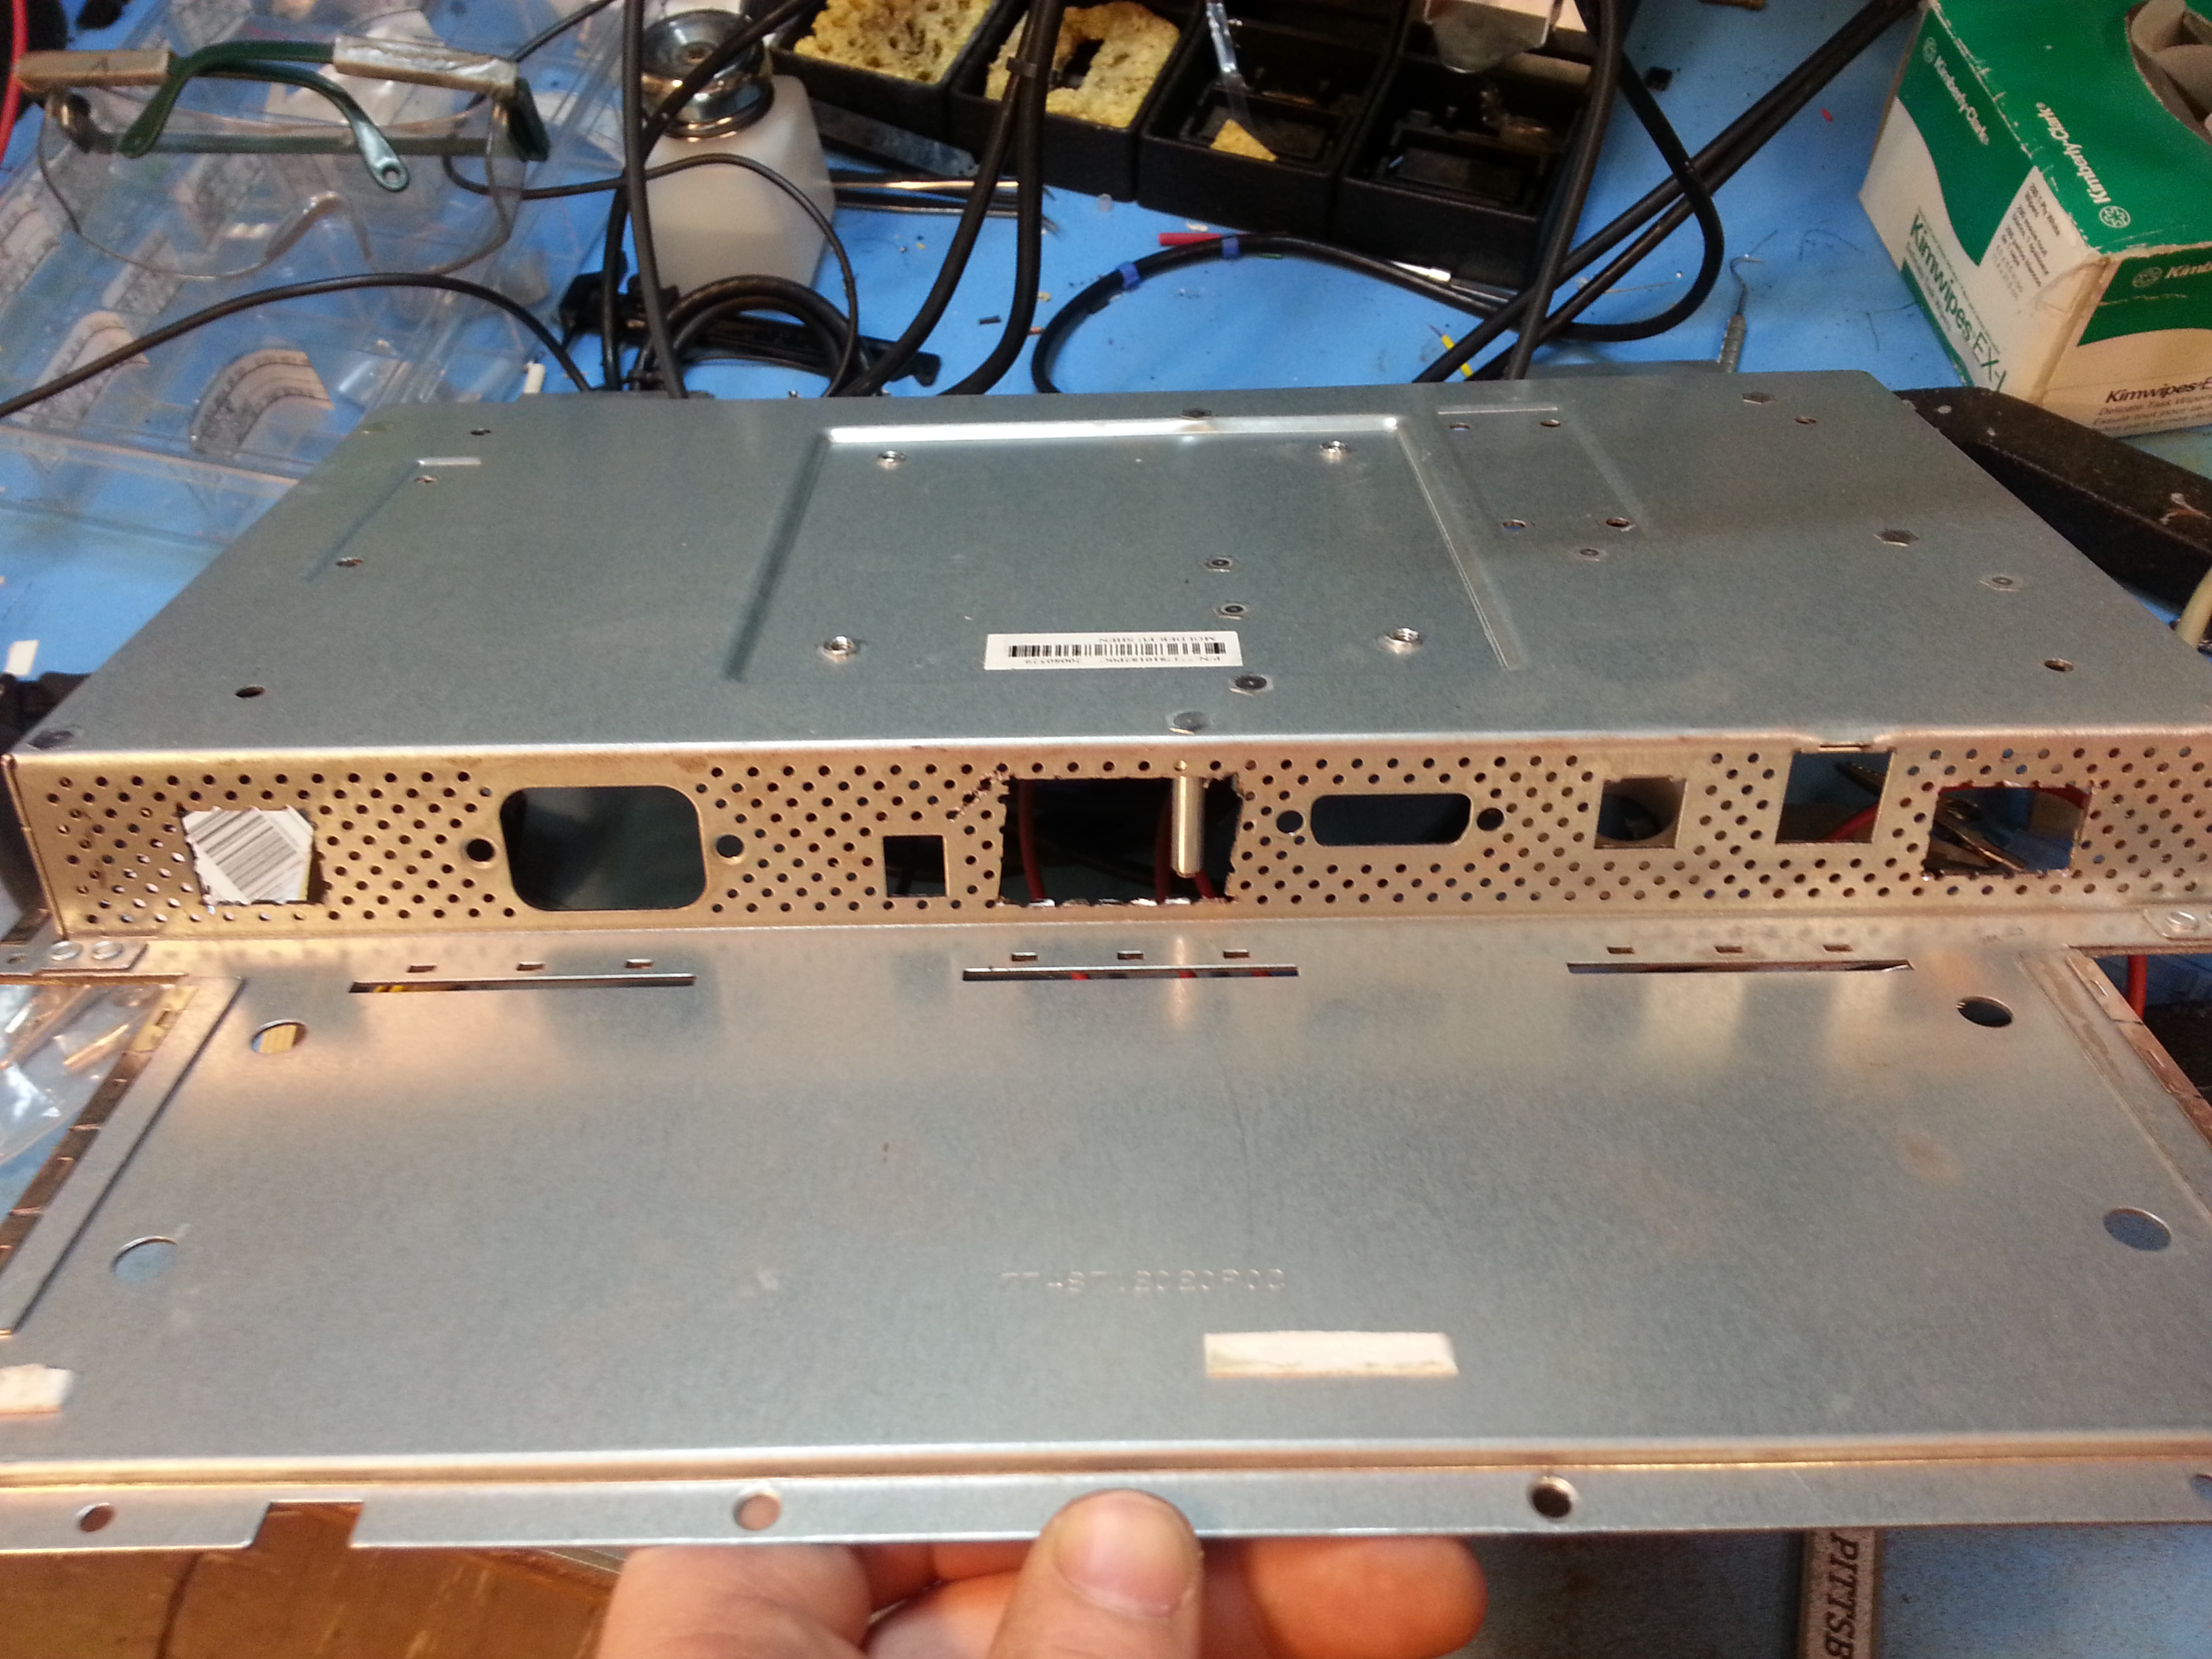
The inner back cover needs to be removed. Grab your tiny Phillips and go to town, that cover needs to get removed to make room for a ventilation channel. Using a sharp pair of dyes the vent hole is cut out. Note this can be done with a dremel just as well. 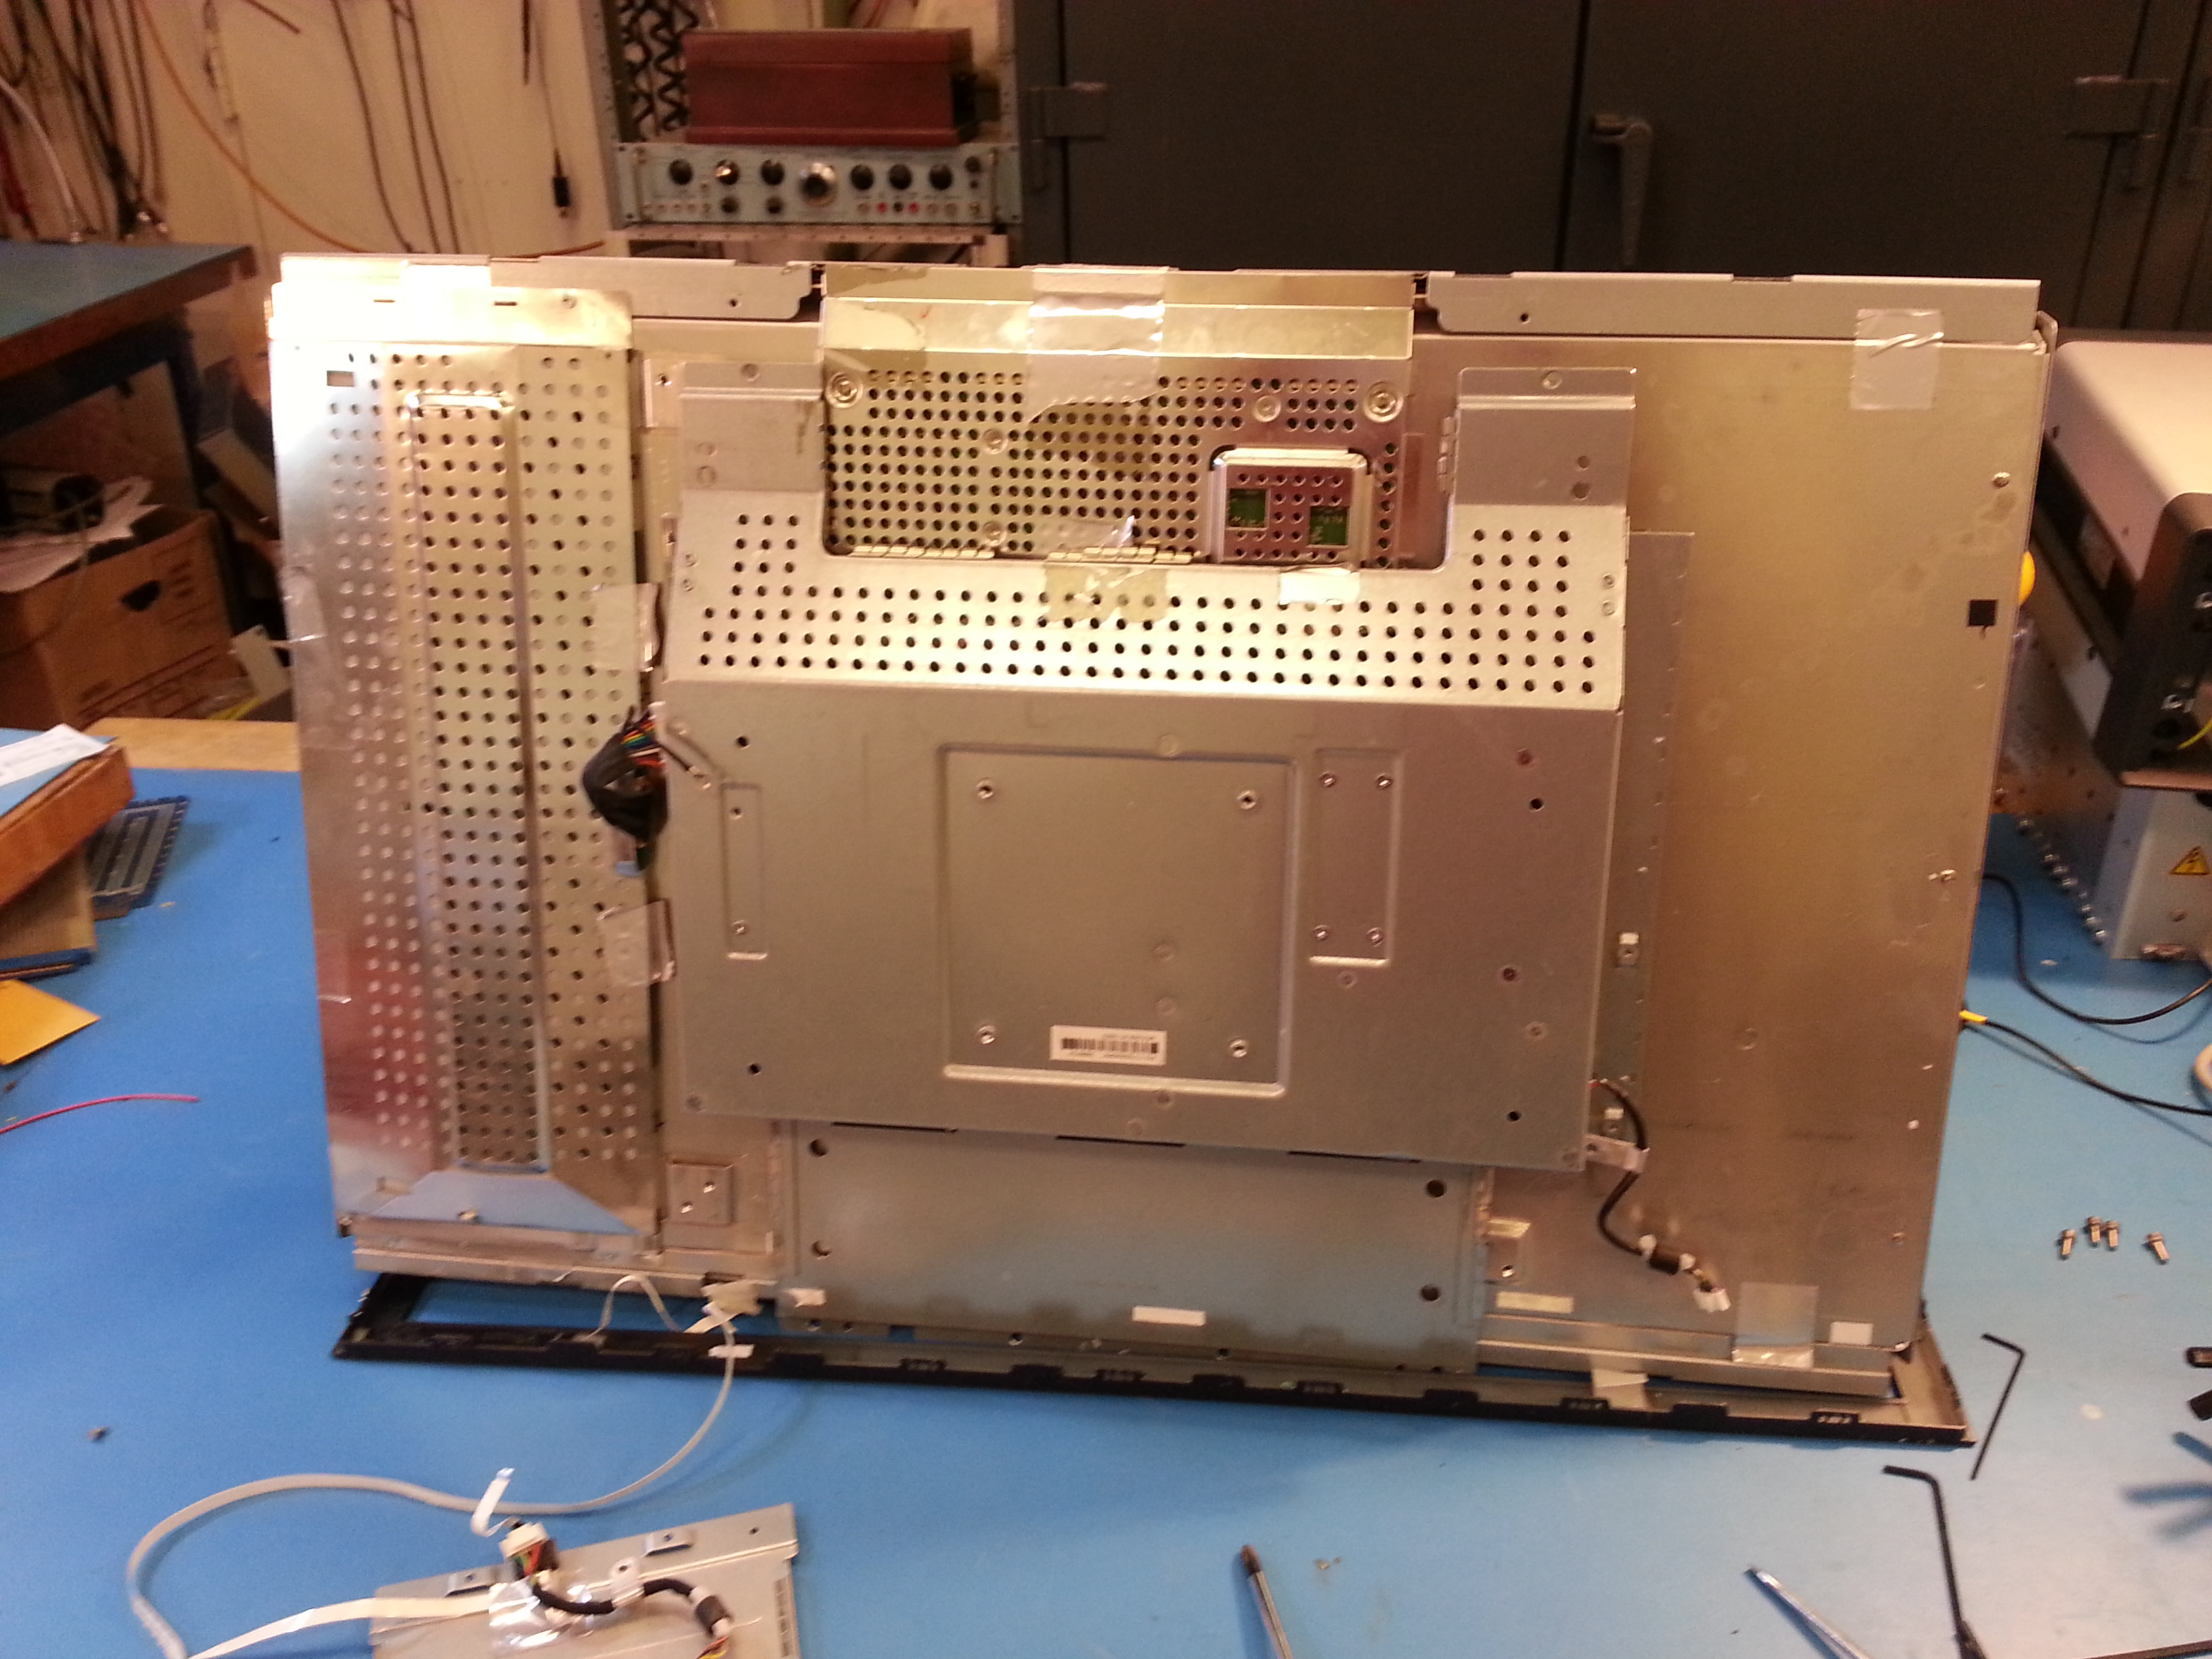
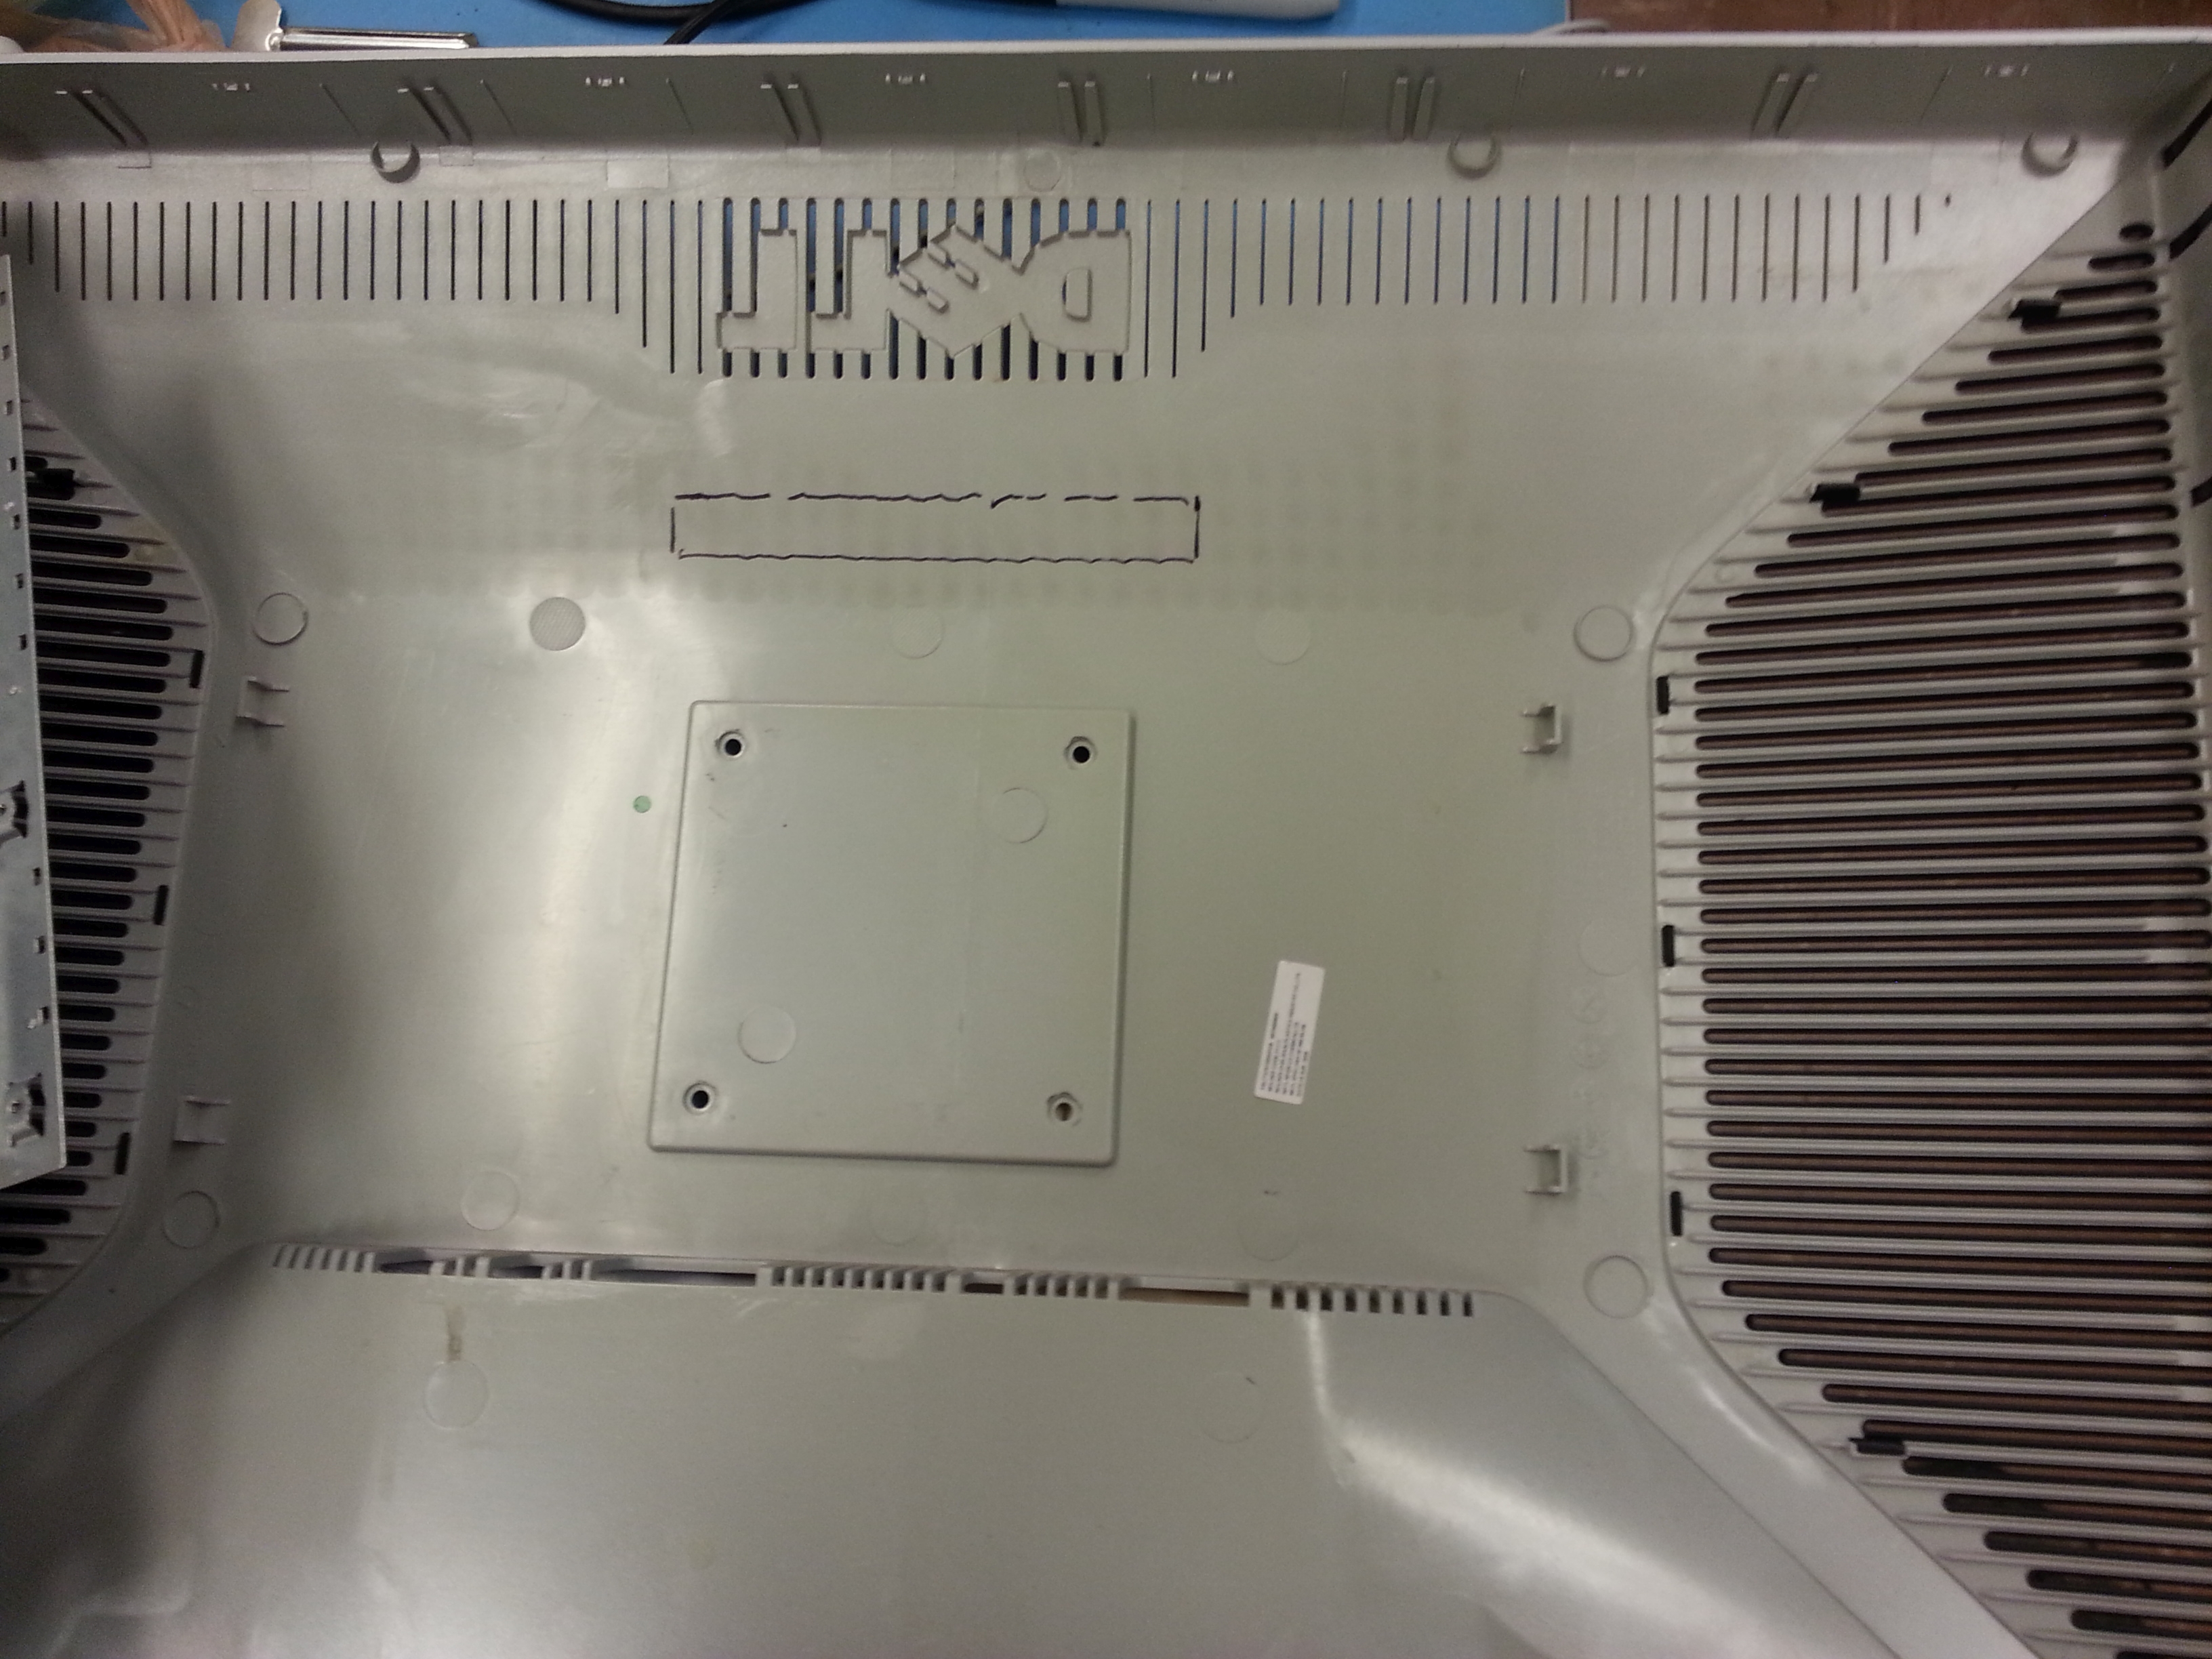
Use the cutout as a template on the rear cover. Holding the metal cutout to the back monitor cowling, trace the cutout for the vent hole using a marker. This will be the cut-line for the ventilation fans. 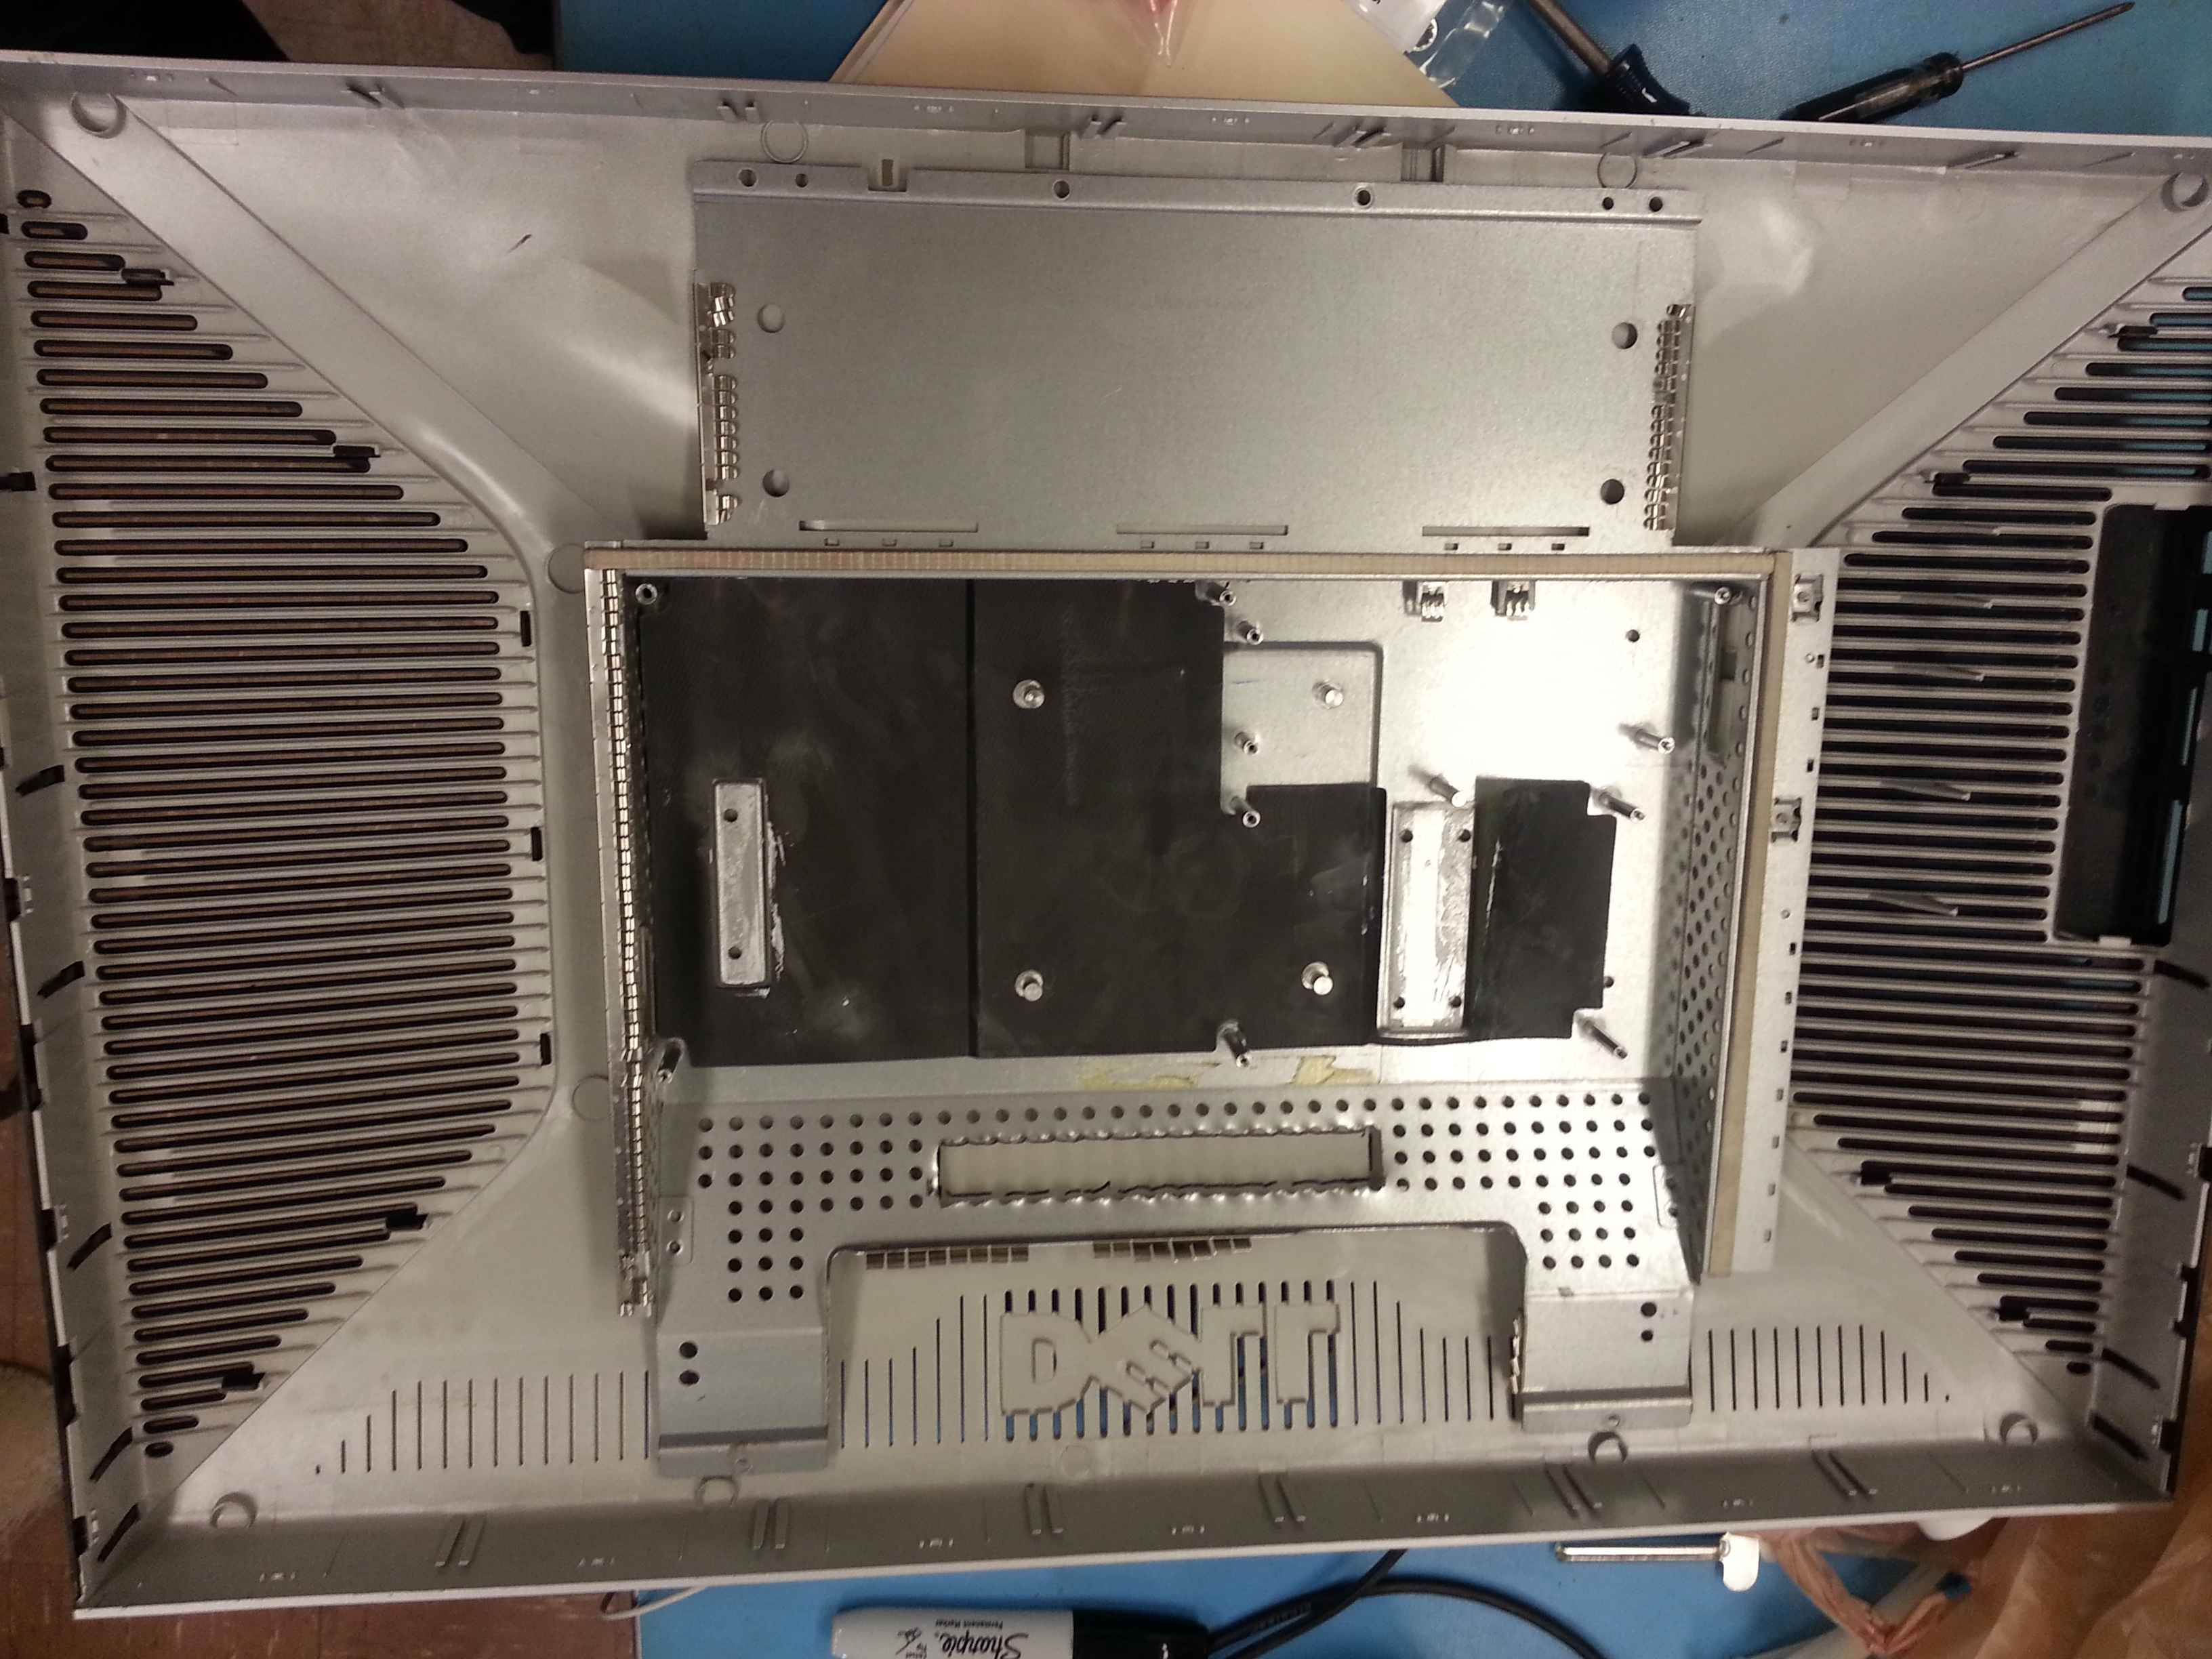
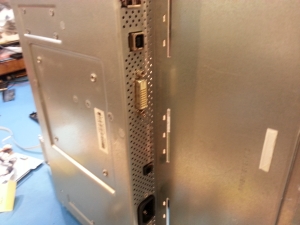
More Vents. Adding an exhaust vent without adding more space for an intake is silly, to do so we're going to need to open up this area. Remove the screws for the monitor connector (DVI). And pop out the cover panel.

Fire up the Dremel. First pass was kind of rough, but it opens up the intake path, allowing cooler air to force through in an easier fashion. If necessary, auxiliary fans can be added to assist the intakes. 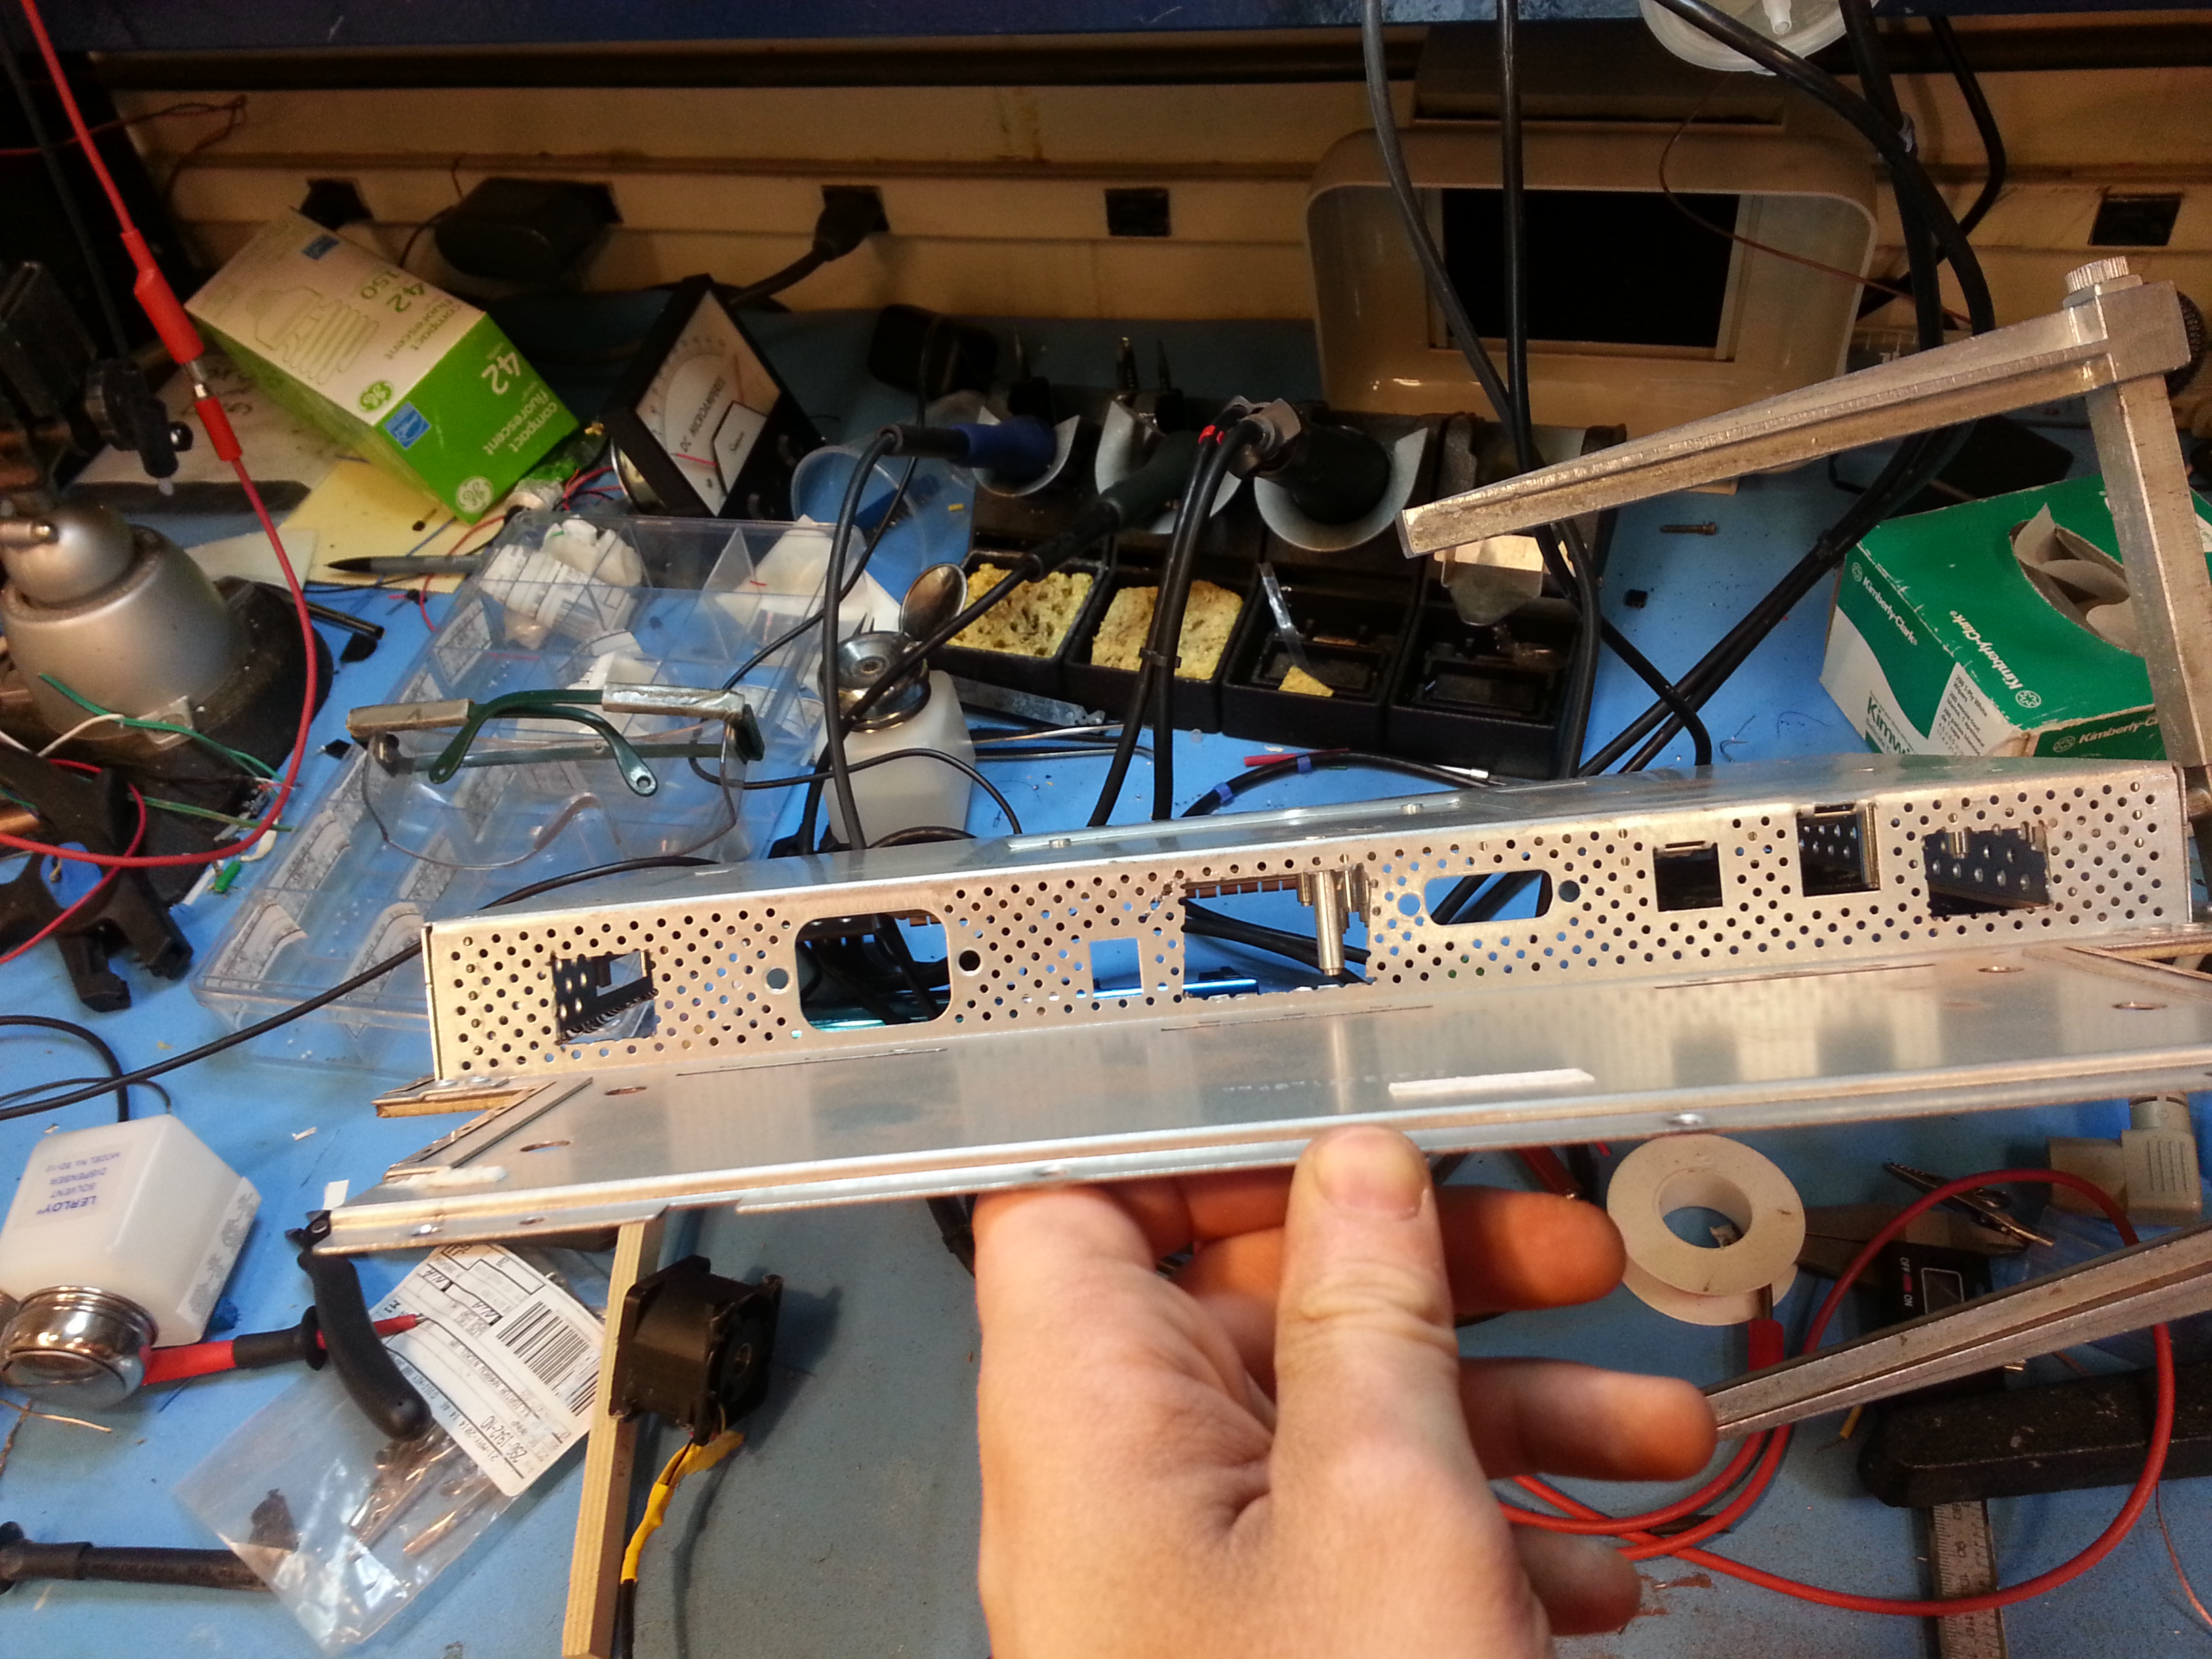
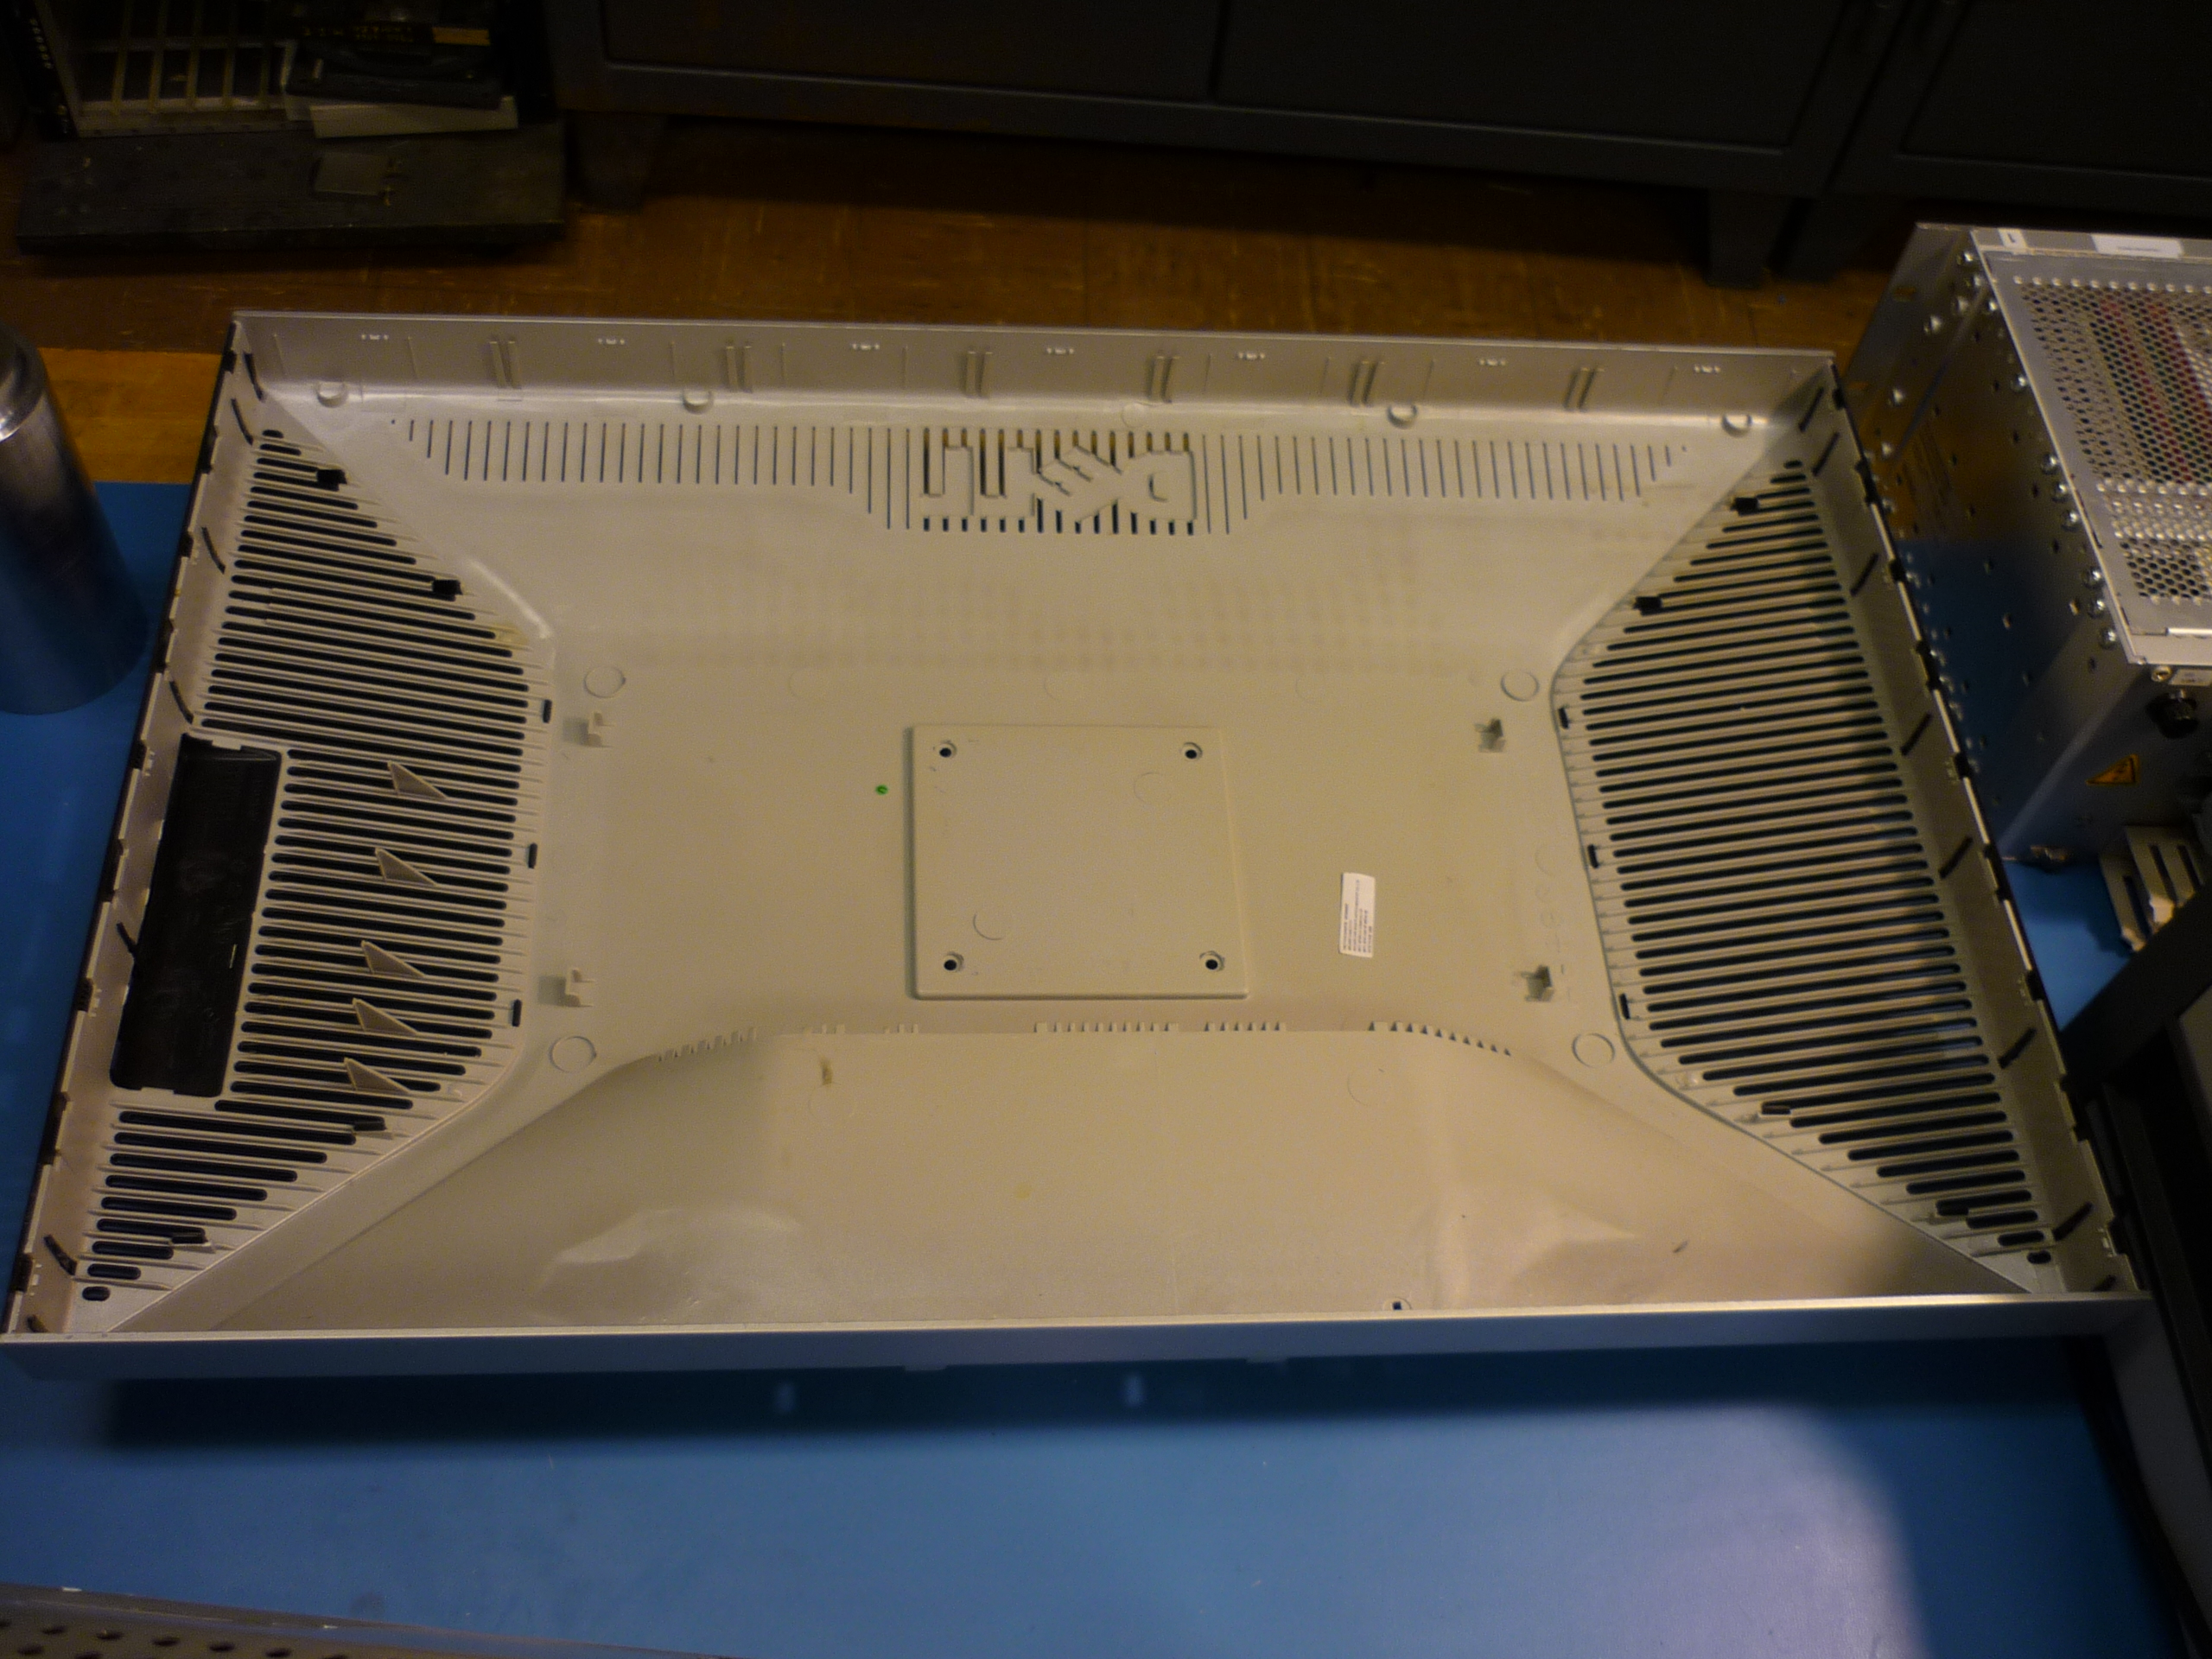
Putting everything back together. After machining away a large vent surface above and below the monitor mounts, remove all and any metal particulate that may have accumulated on the cover. Re-attach the cover via the philips screws and get ready to put everything. 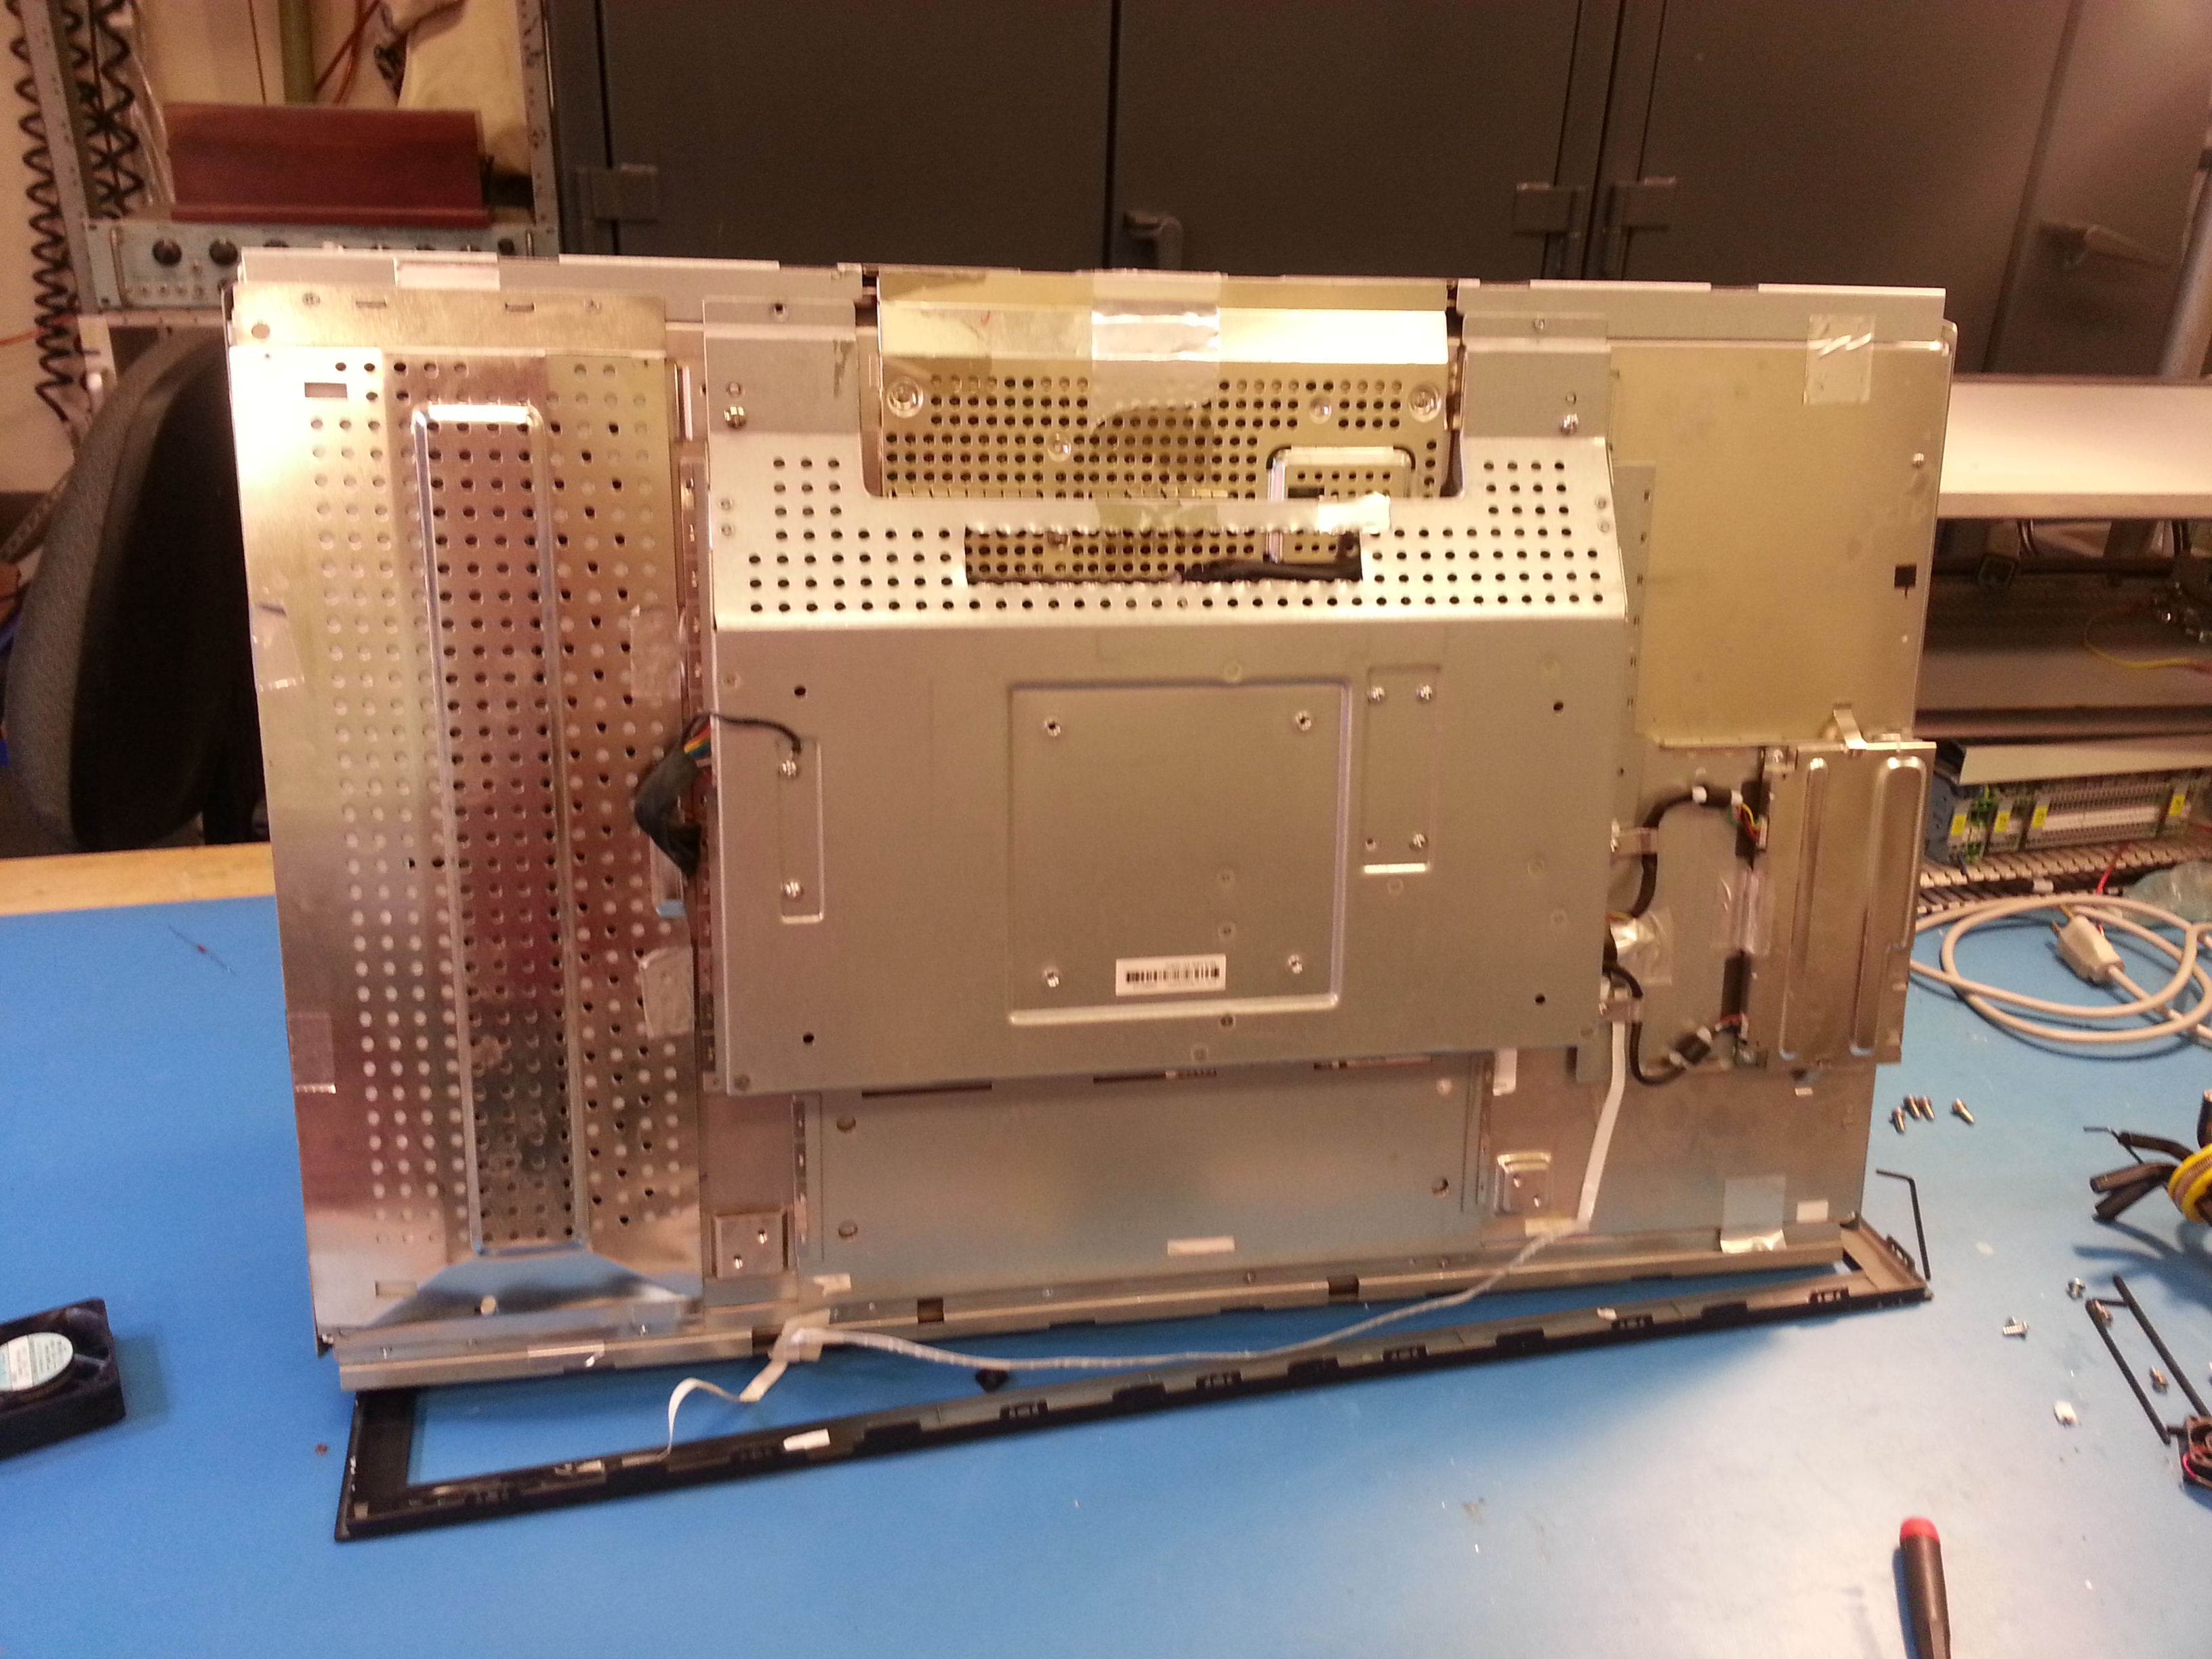
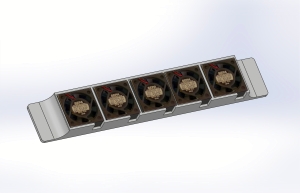
3D Printed Fan HolsterFans and 3D printers Ahoy. A colleague offered up a bag of small 5V 200mA fans for the cause of 'breathing' life back into the monitor. After some quick checks with a caliper, I created a model of the fan and modified the print for printing in smaller-sized printers (like the pp3pd UP! printer). 
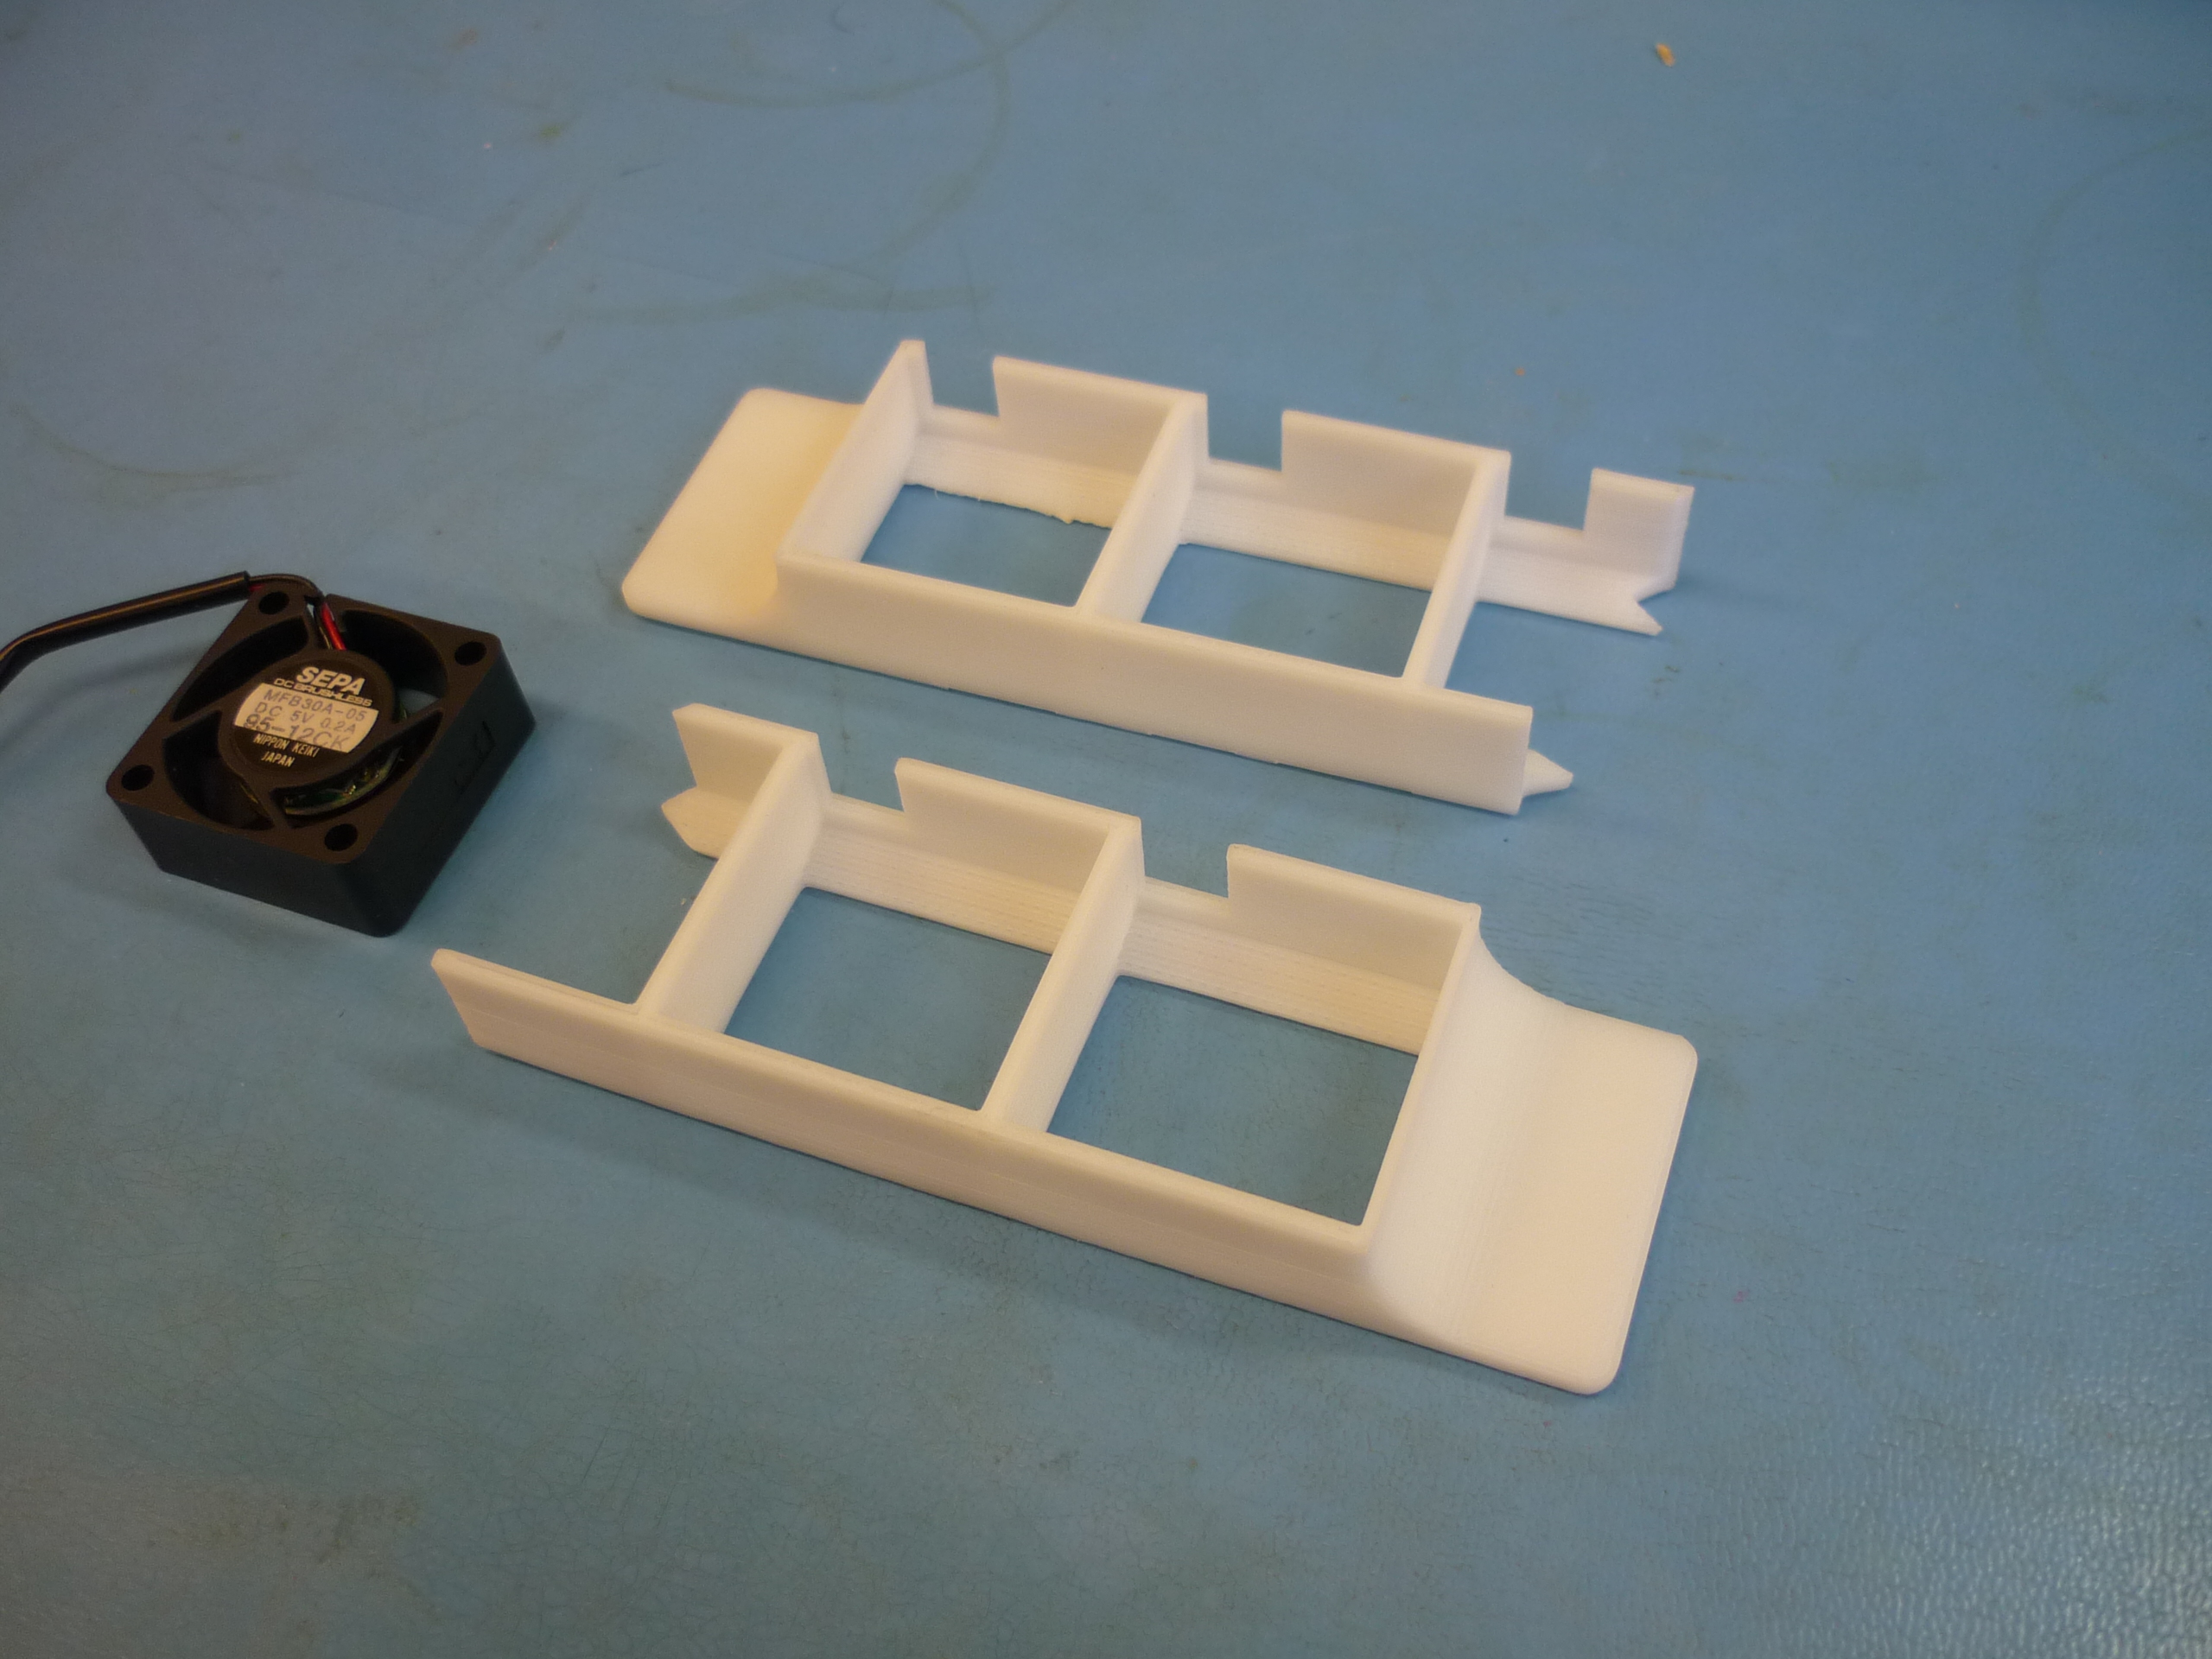
3D Model. Note the models for the fans are purposely oversized to compensate for glue/adhesive used for installing them. Photo decal from actual fan. [stl_full] [stl_part_a] [stl_part_b] [thingiverse] [parasolid] 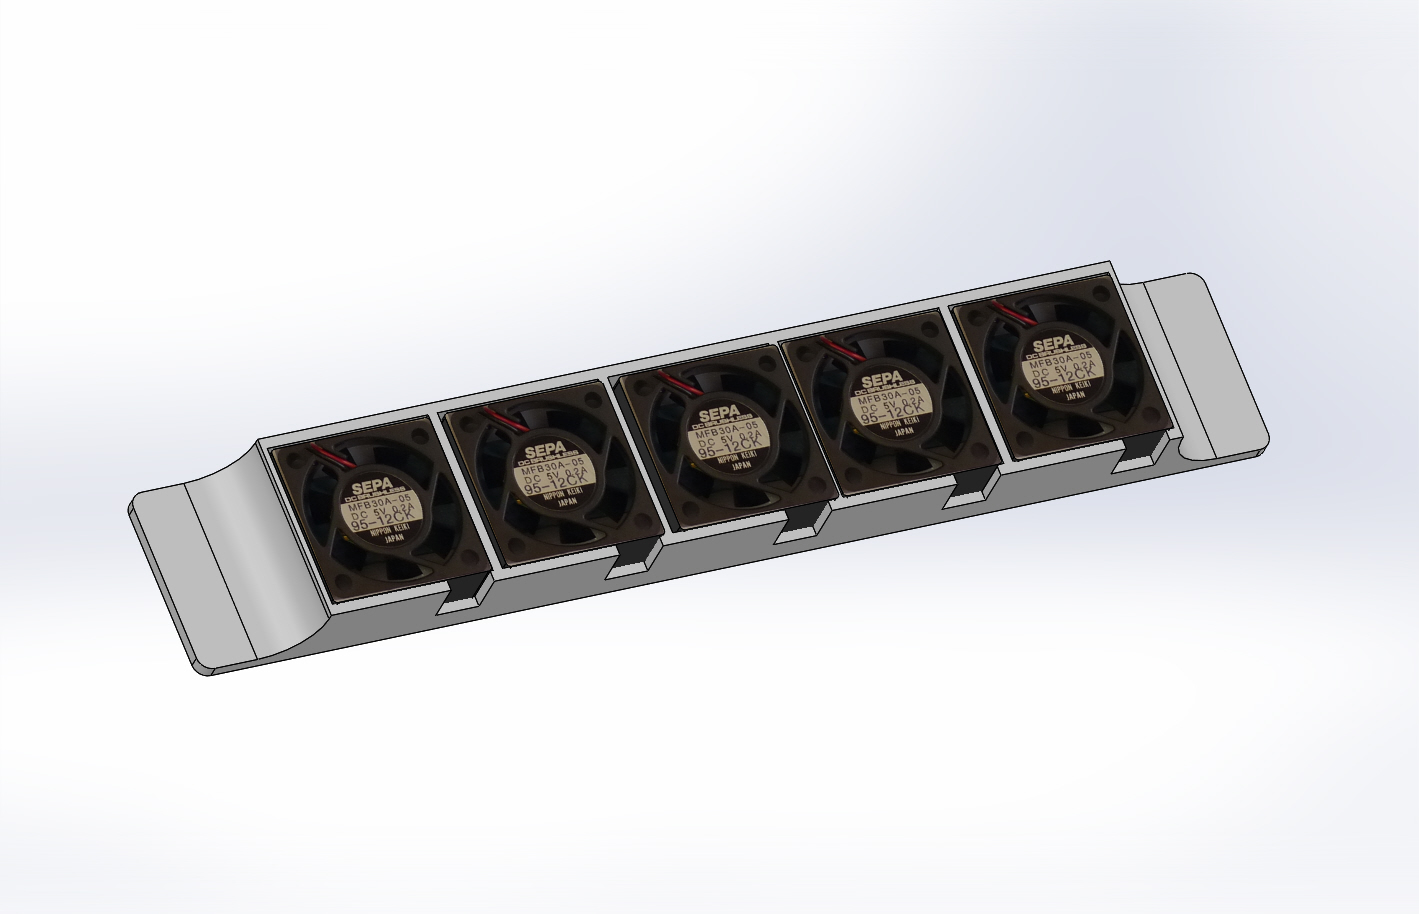
Gluing everything together with some acetone and super glue (cyano-acrylate). After a bit of pressure, time and humidity, the parts held together fairly well. Note the design outlet is the same size as the hole in the monitor assembly and ramps the fan size down into that spacing. 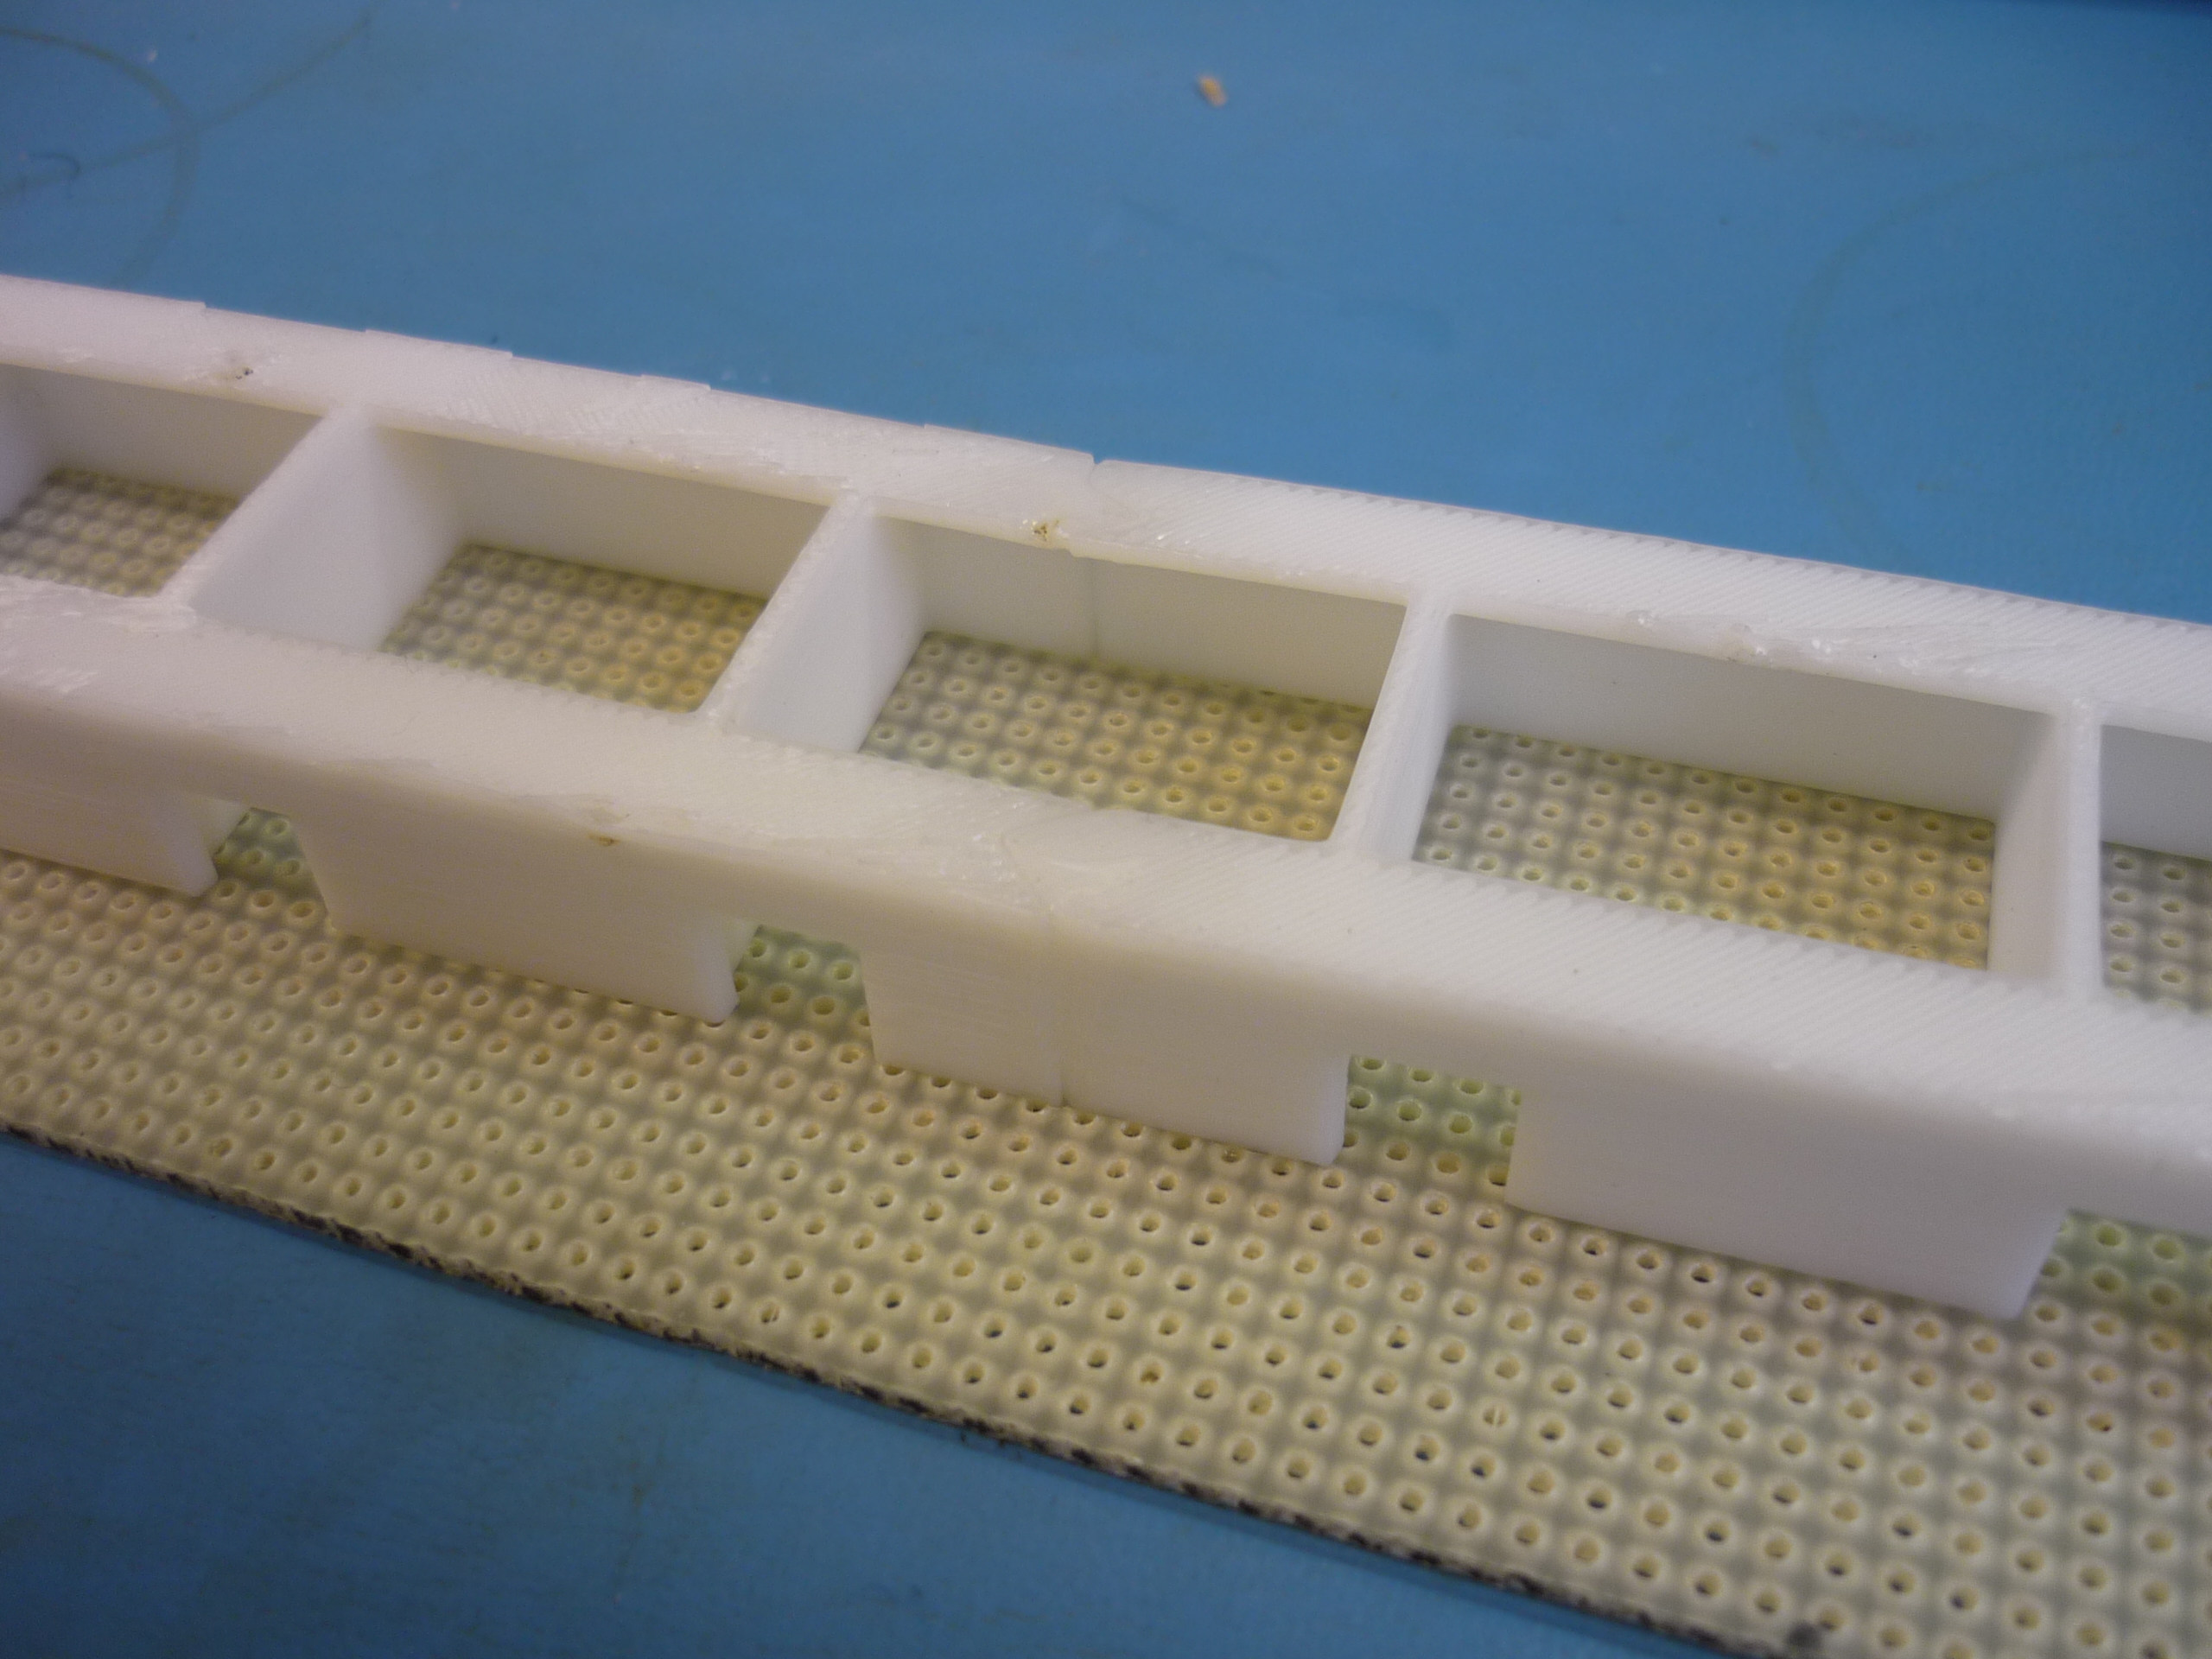

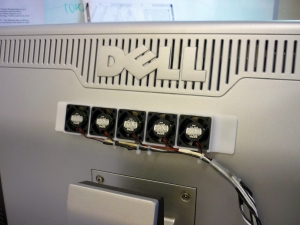
A snug fit for some fans. Thanks to a quick print on the Charles guan UP! printer everything came together excellently. 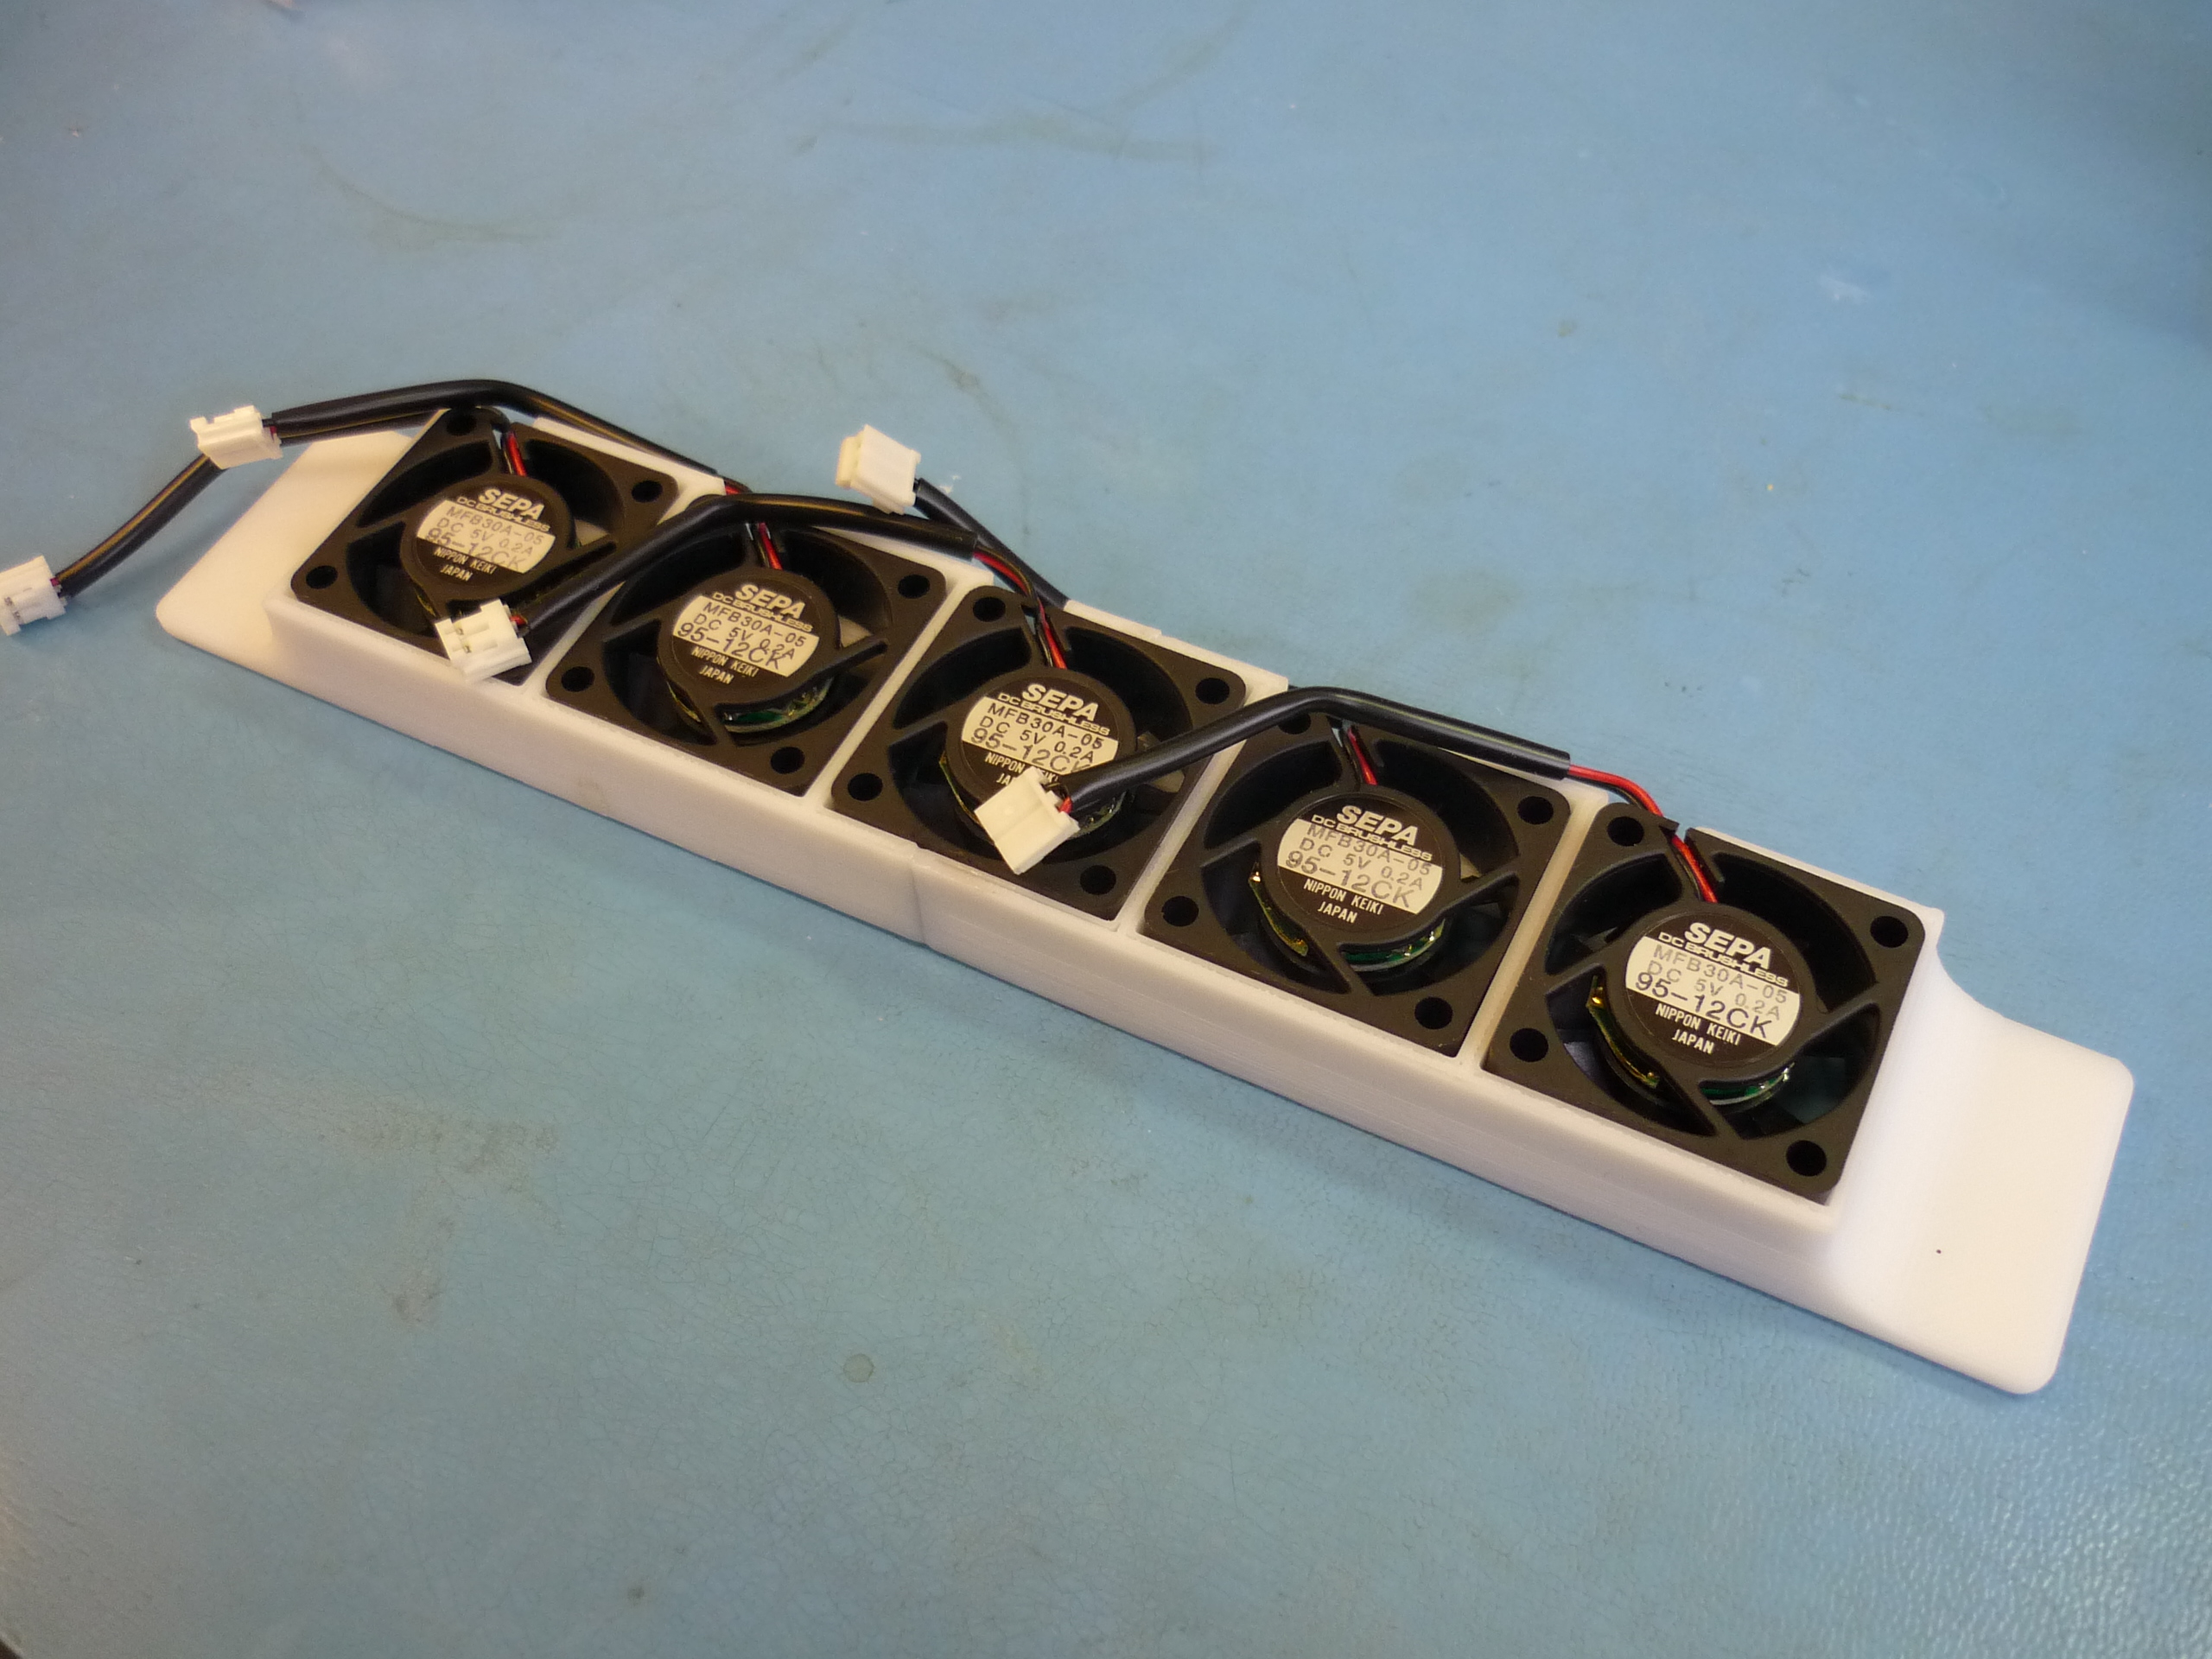
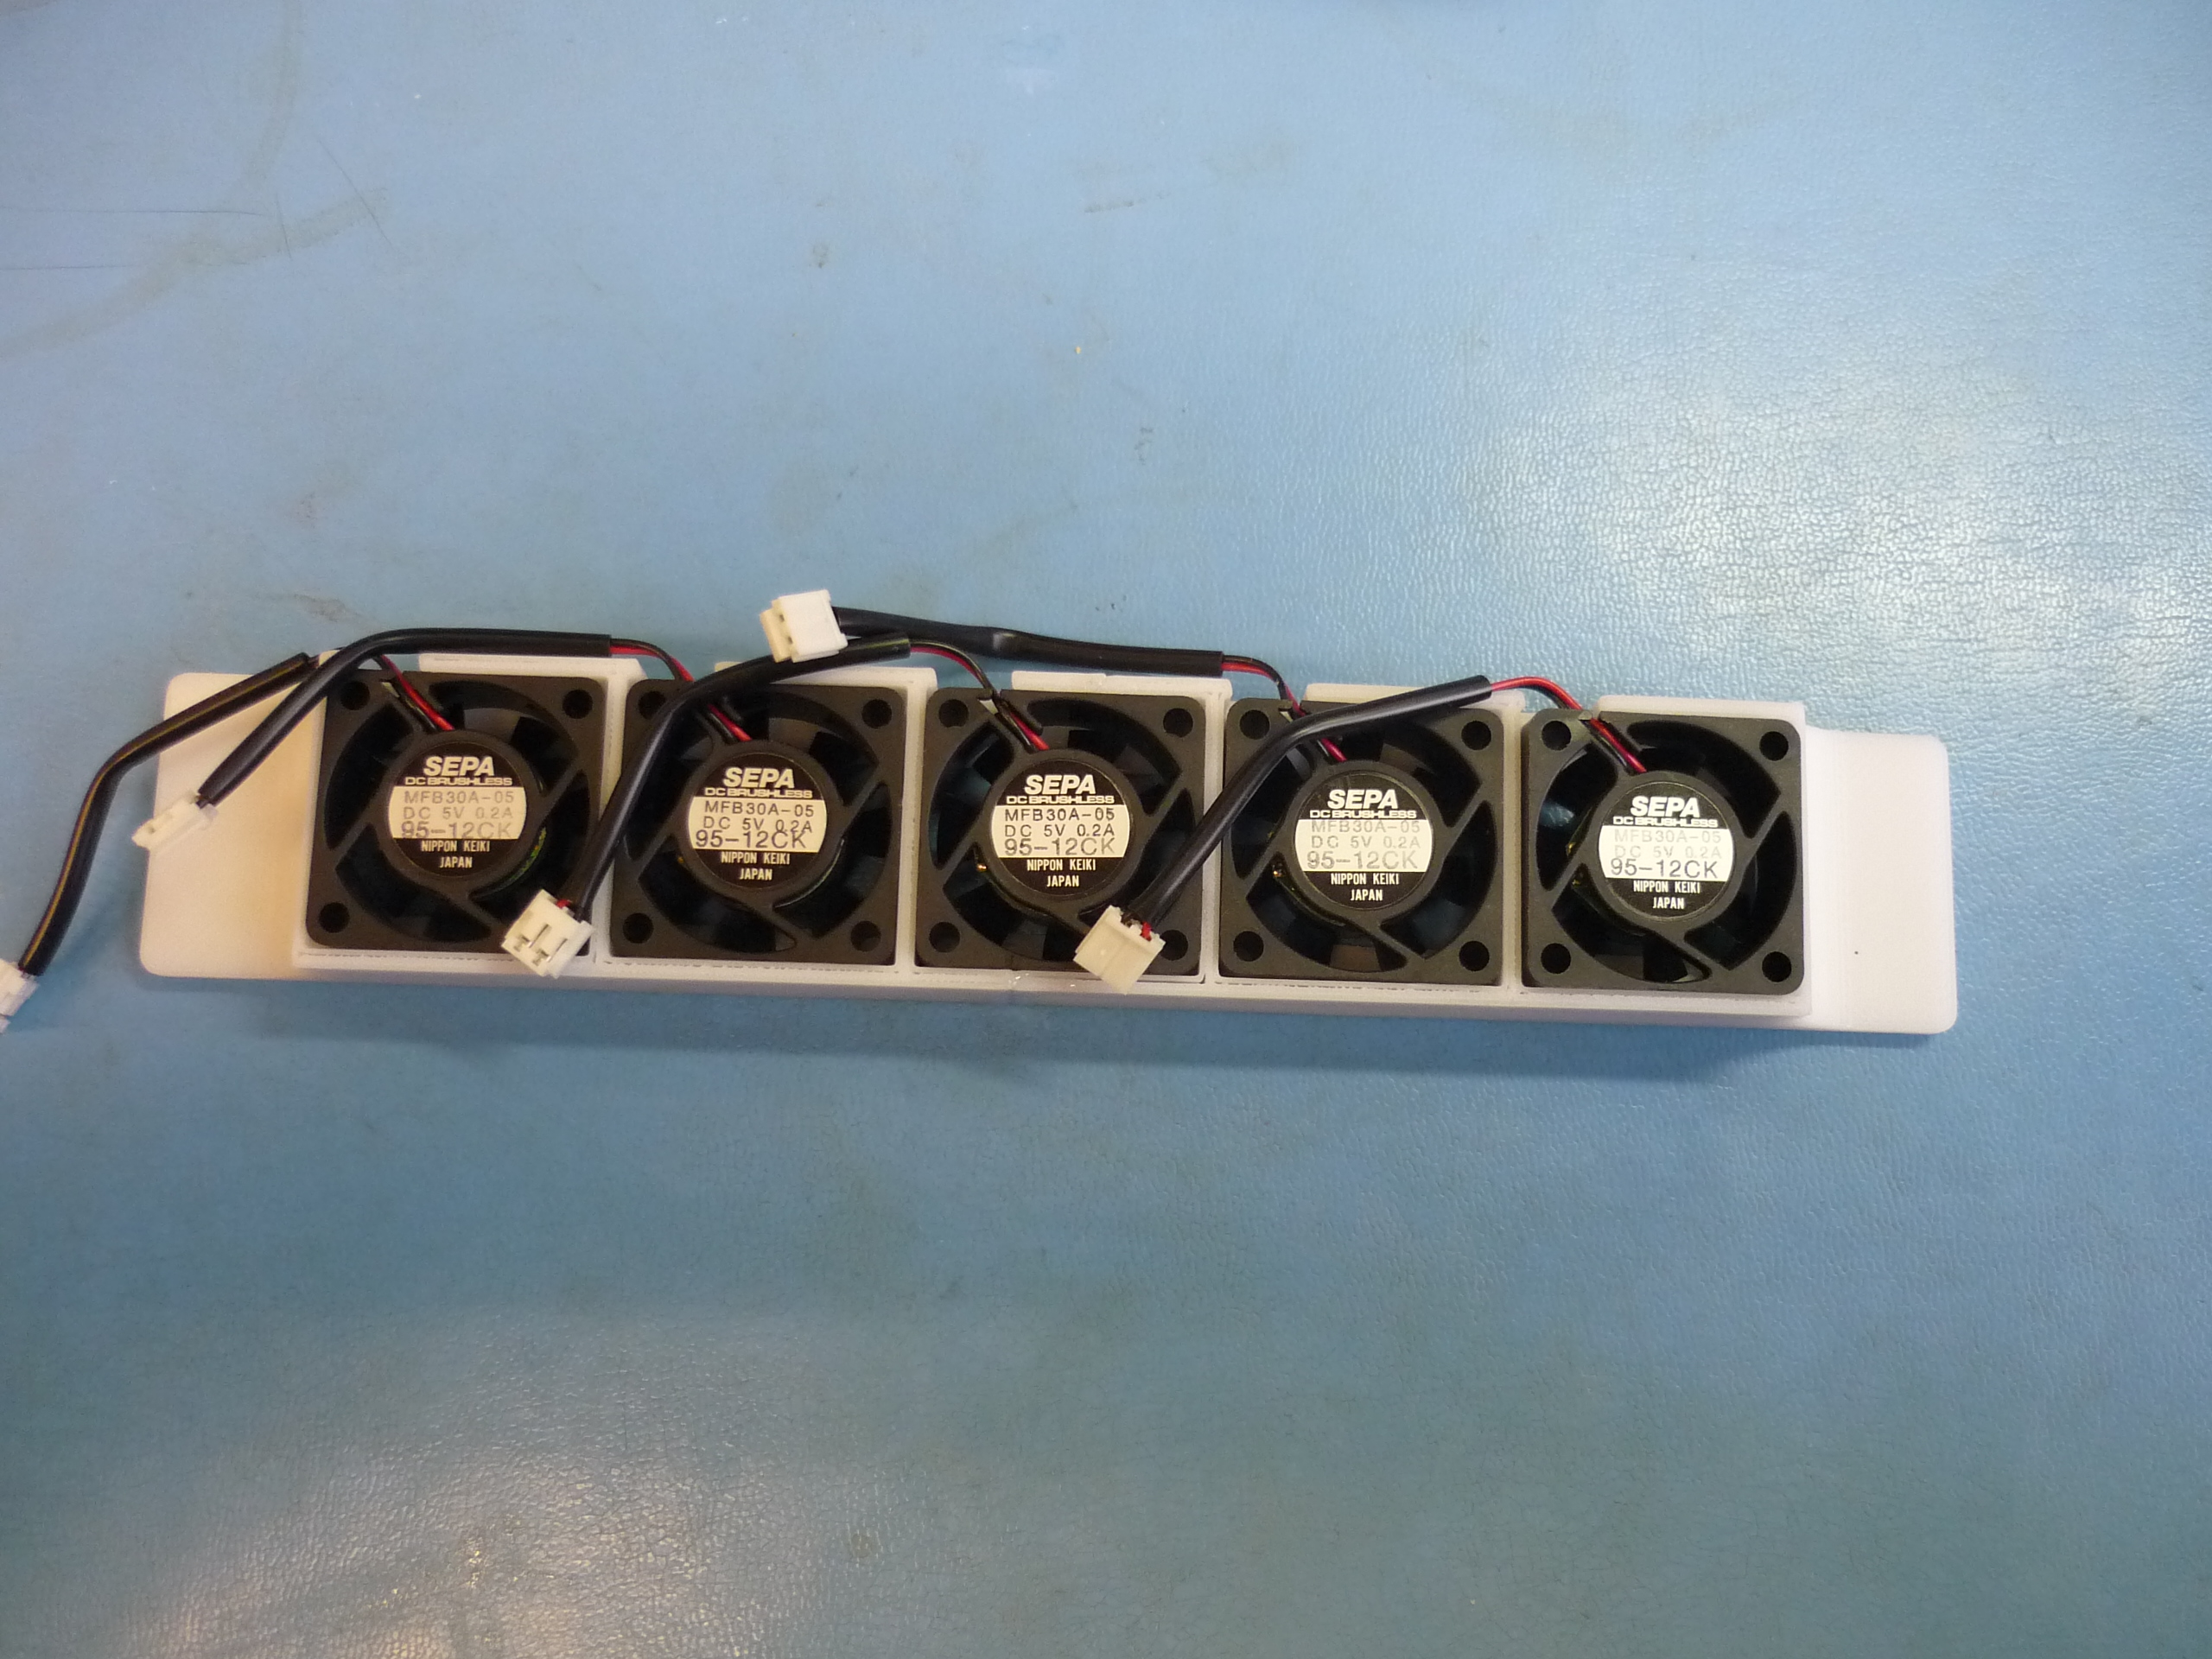
Stripping connectors off and tacking wire extension leads. The fans are wired with stranded ~26 gauge wire. I used 24 gauge silicone wire to extend the fans power wires to a central point and bussed them together. The whole setup is fed from an external 5V 2A wall supply. 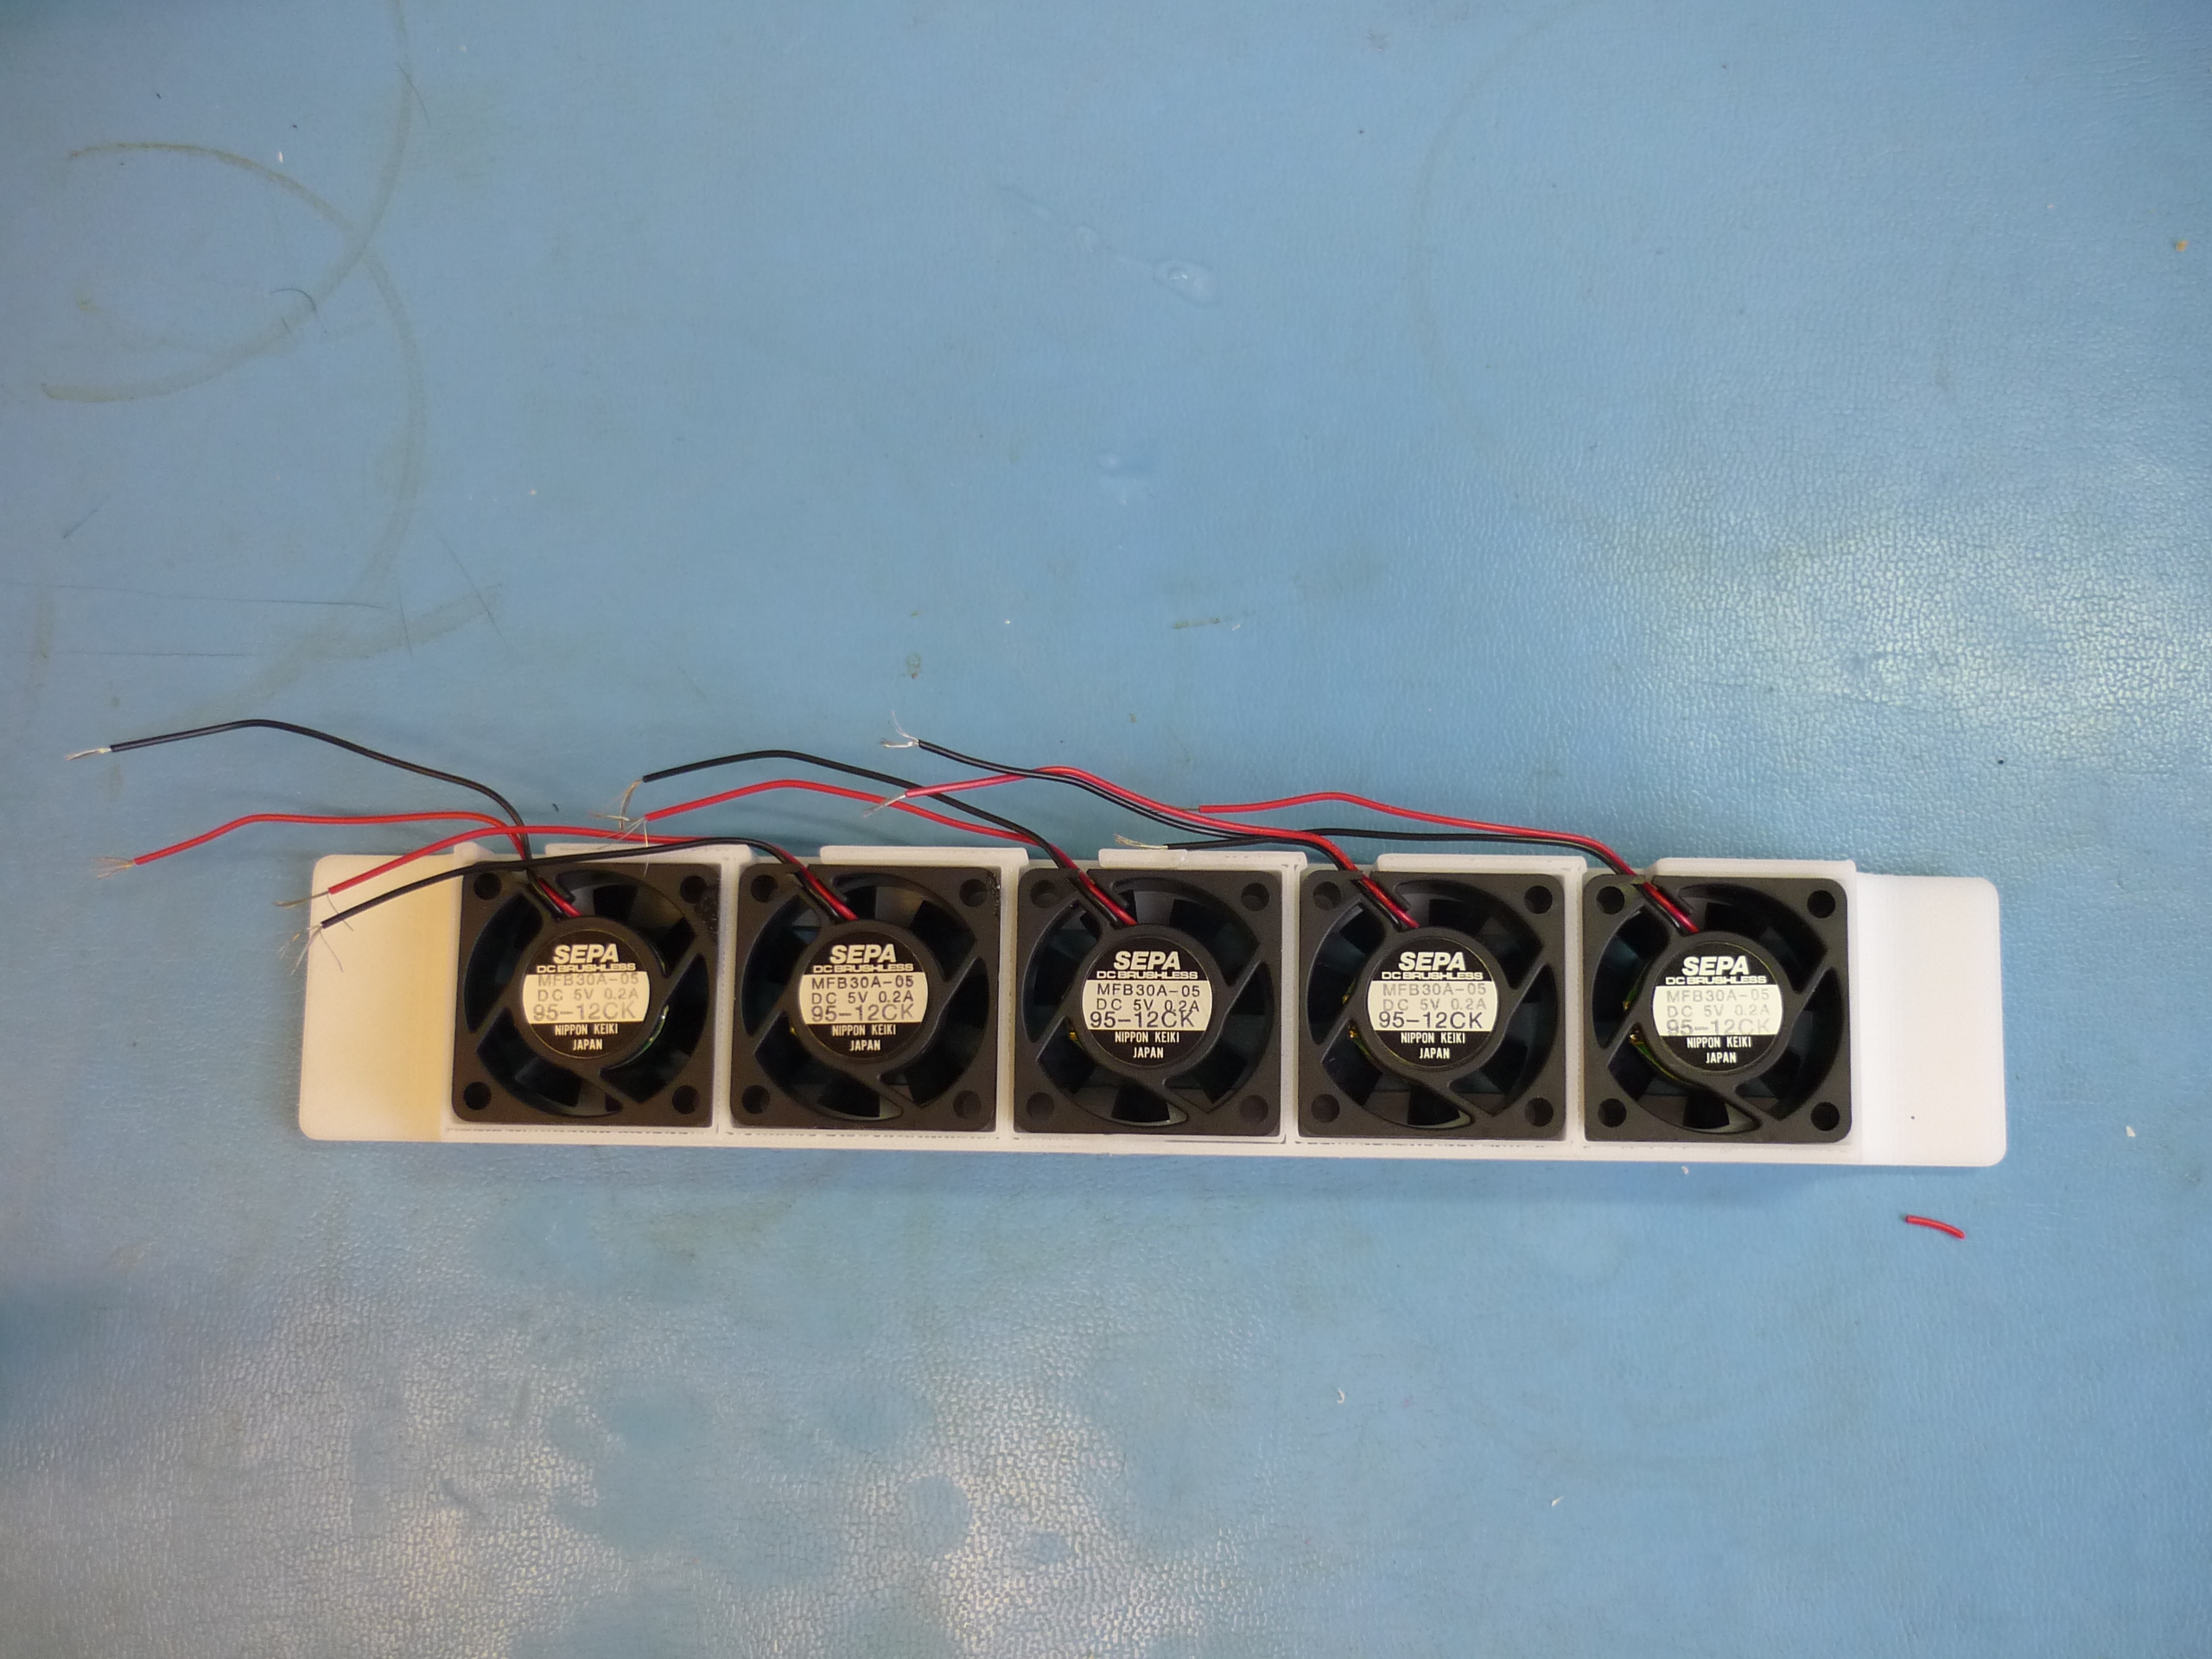

Some quick placement and superglue later... The filleted flat areas of the print are the main contact areas, I used off the shelf super glue to bond the print (ABS) to the monitor (ABS). A thin layer of RTV silicone was used on the top to relieve any force caused by the cable assembly over time. 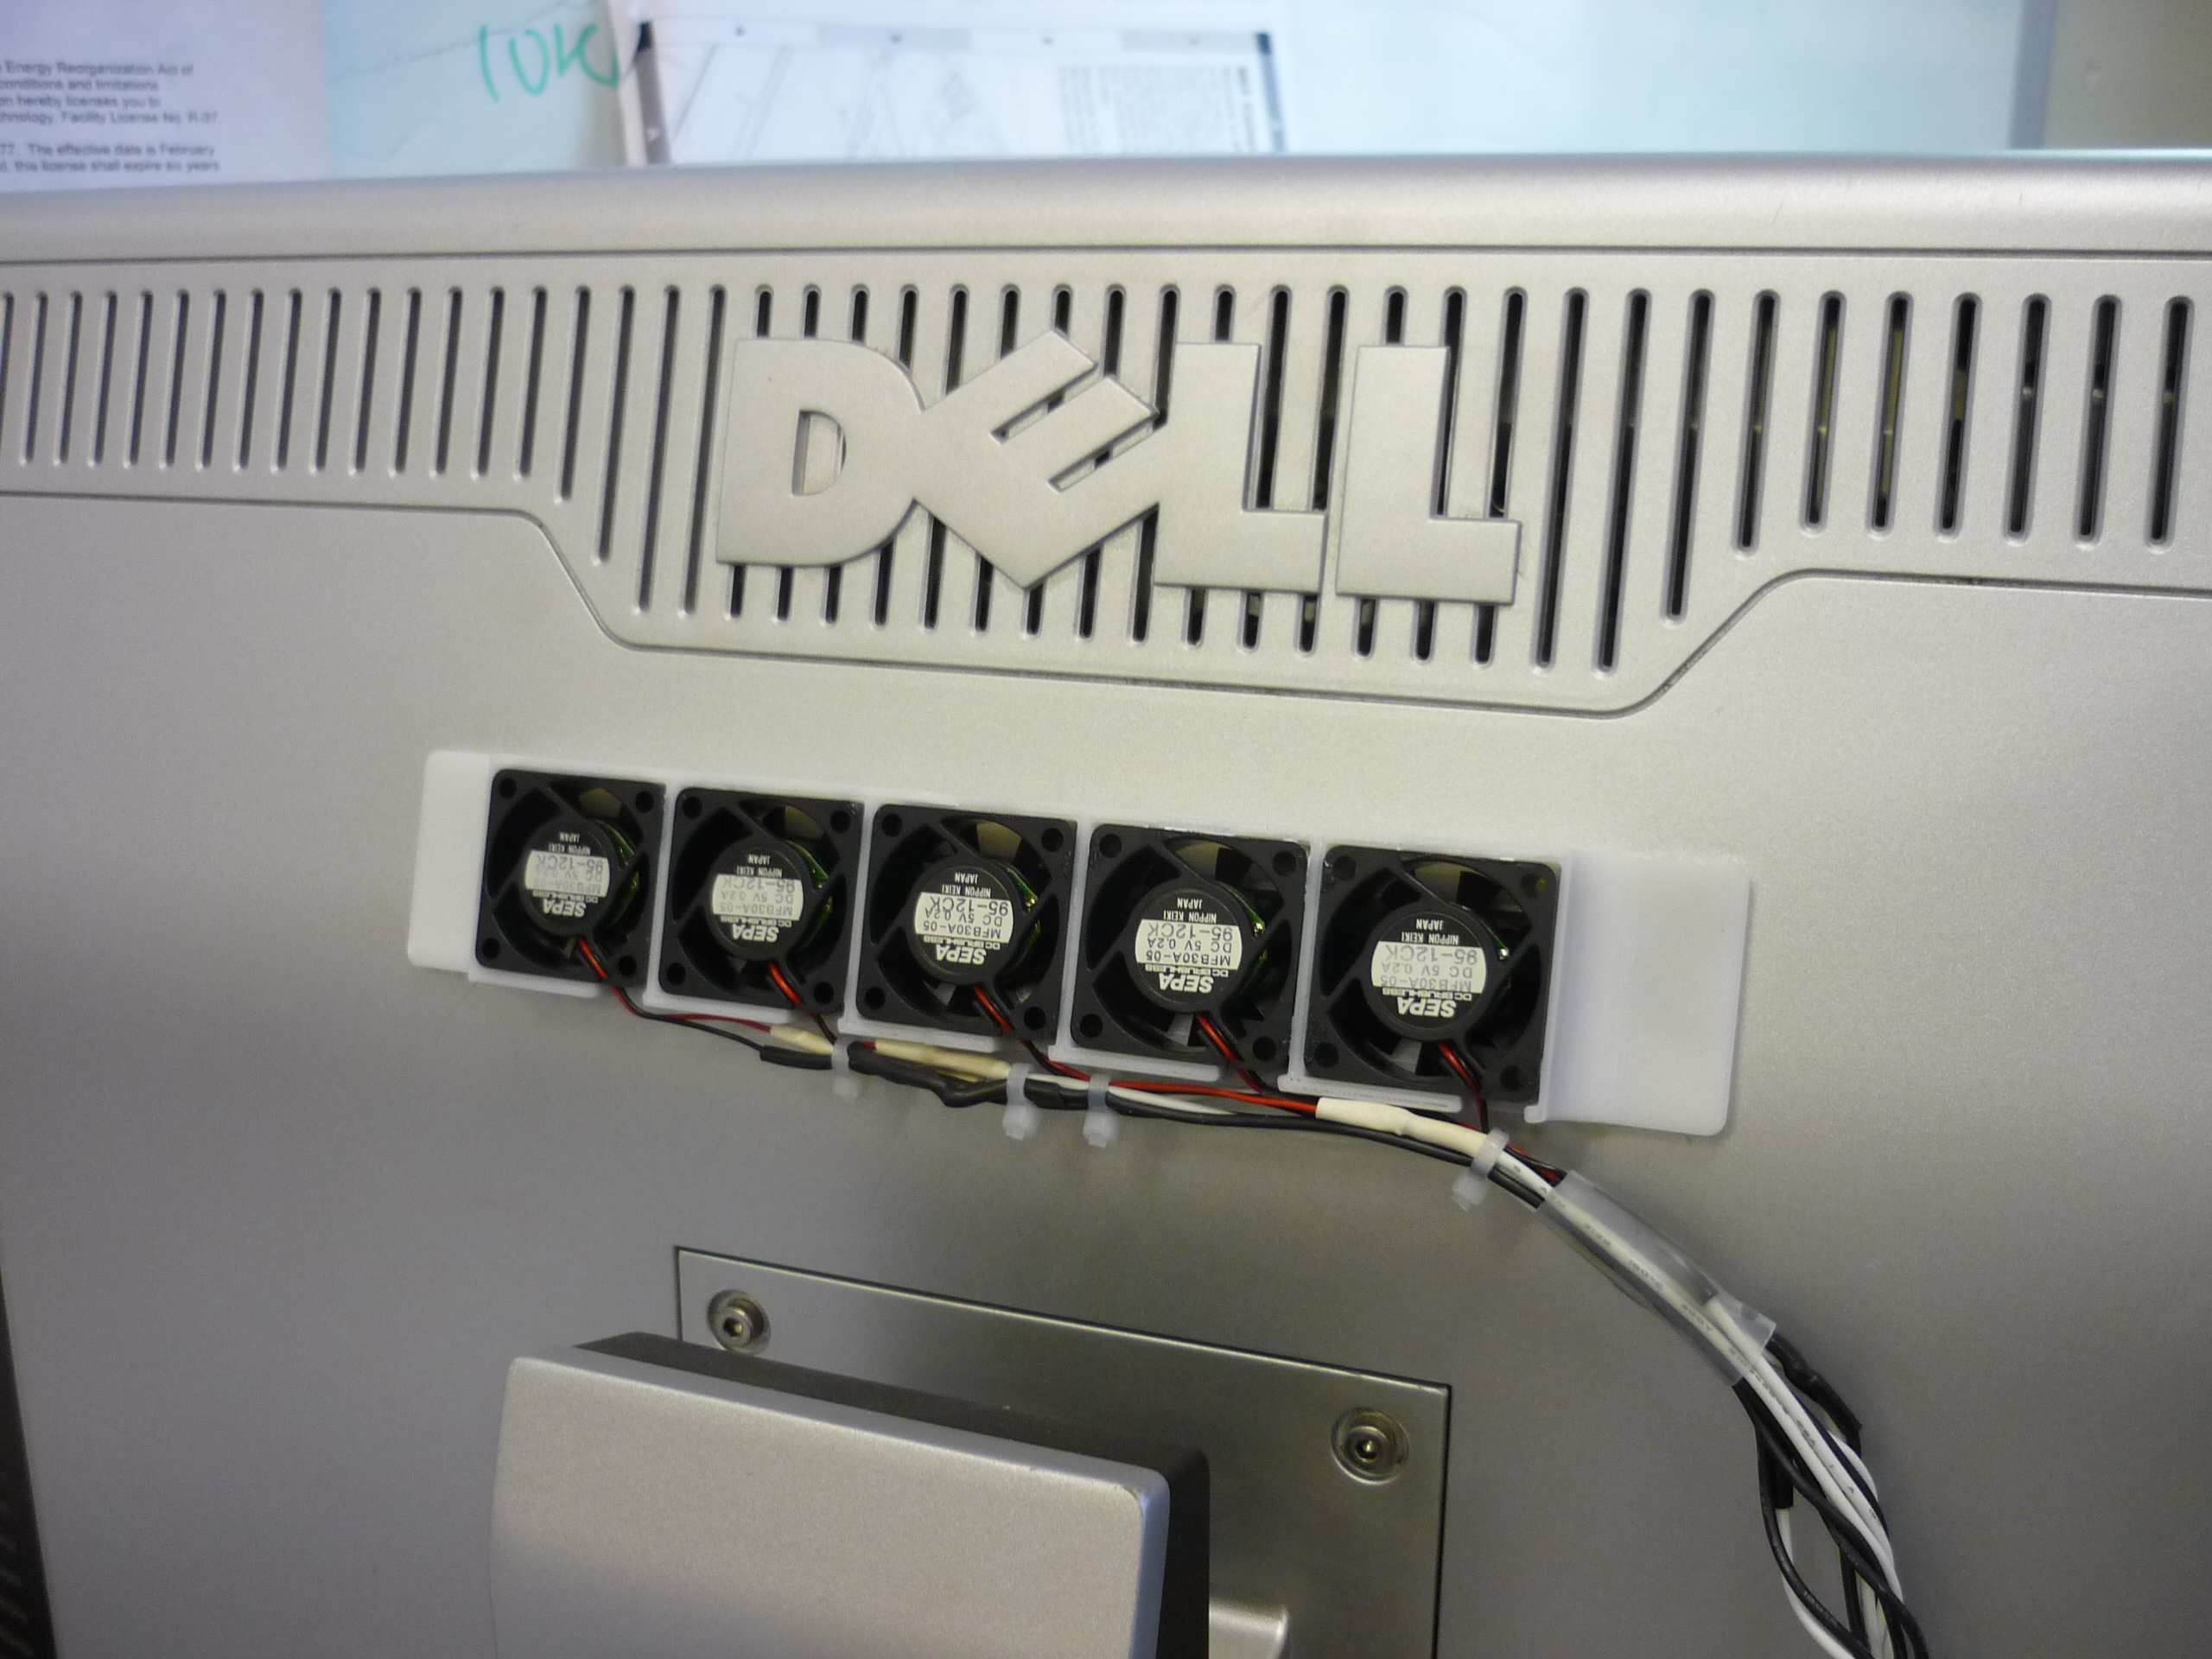

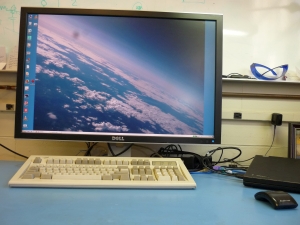
A happier monitor and an ancient keyboard. And now the Data: The monitor temperature measured fluke 93 thermocouple meter 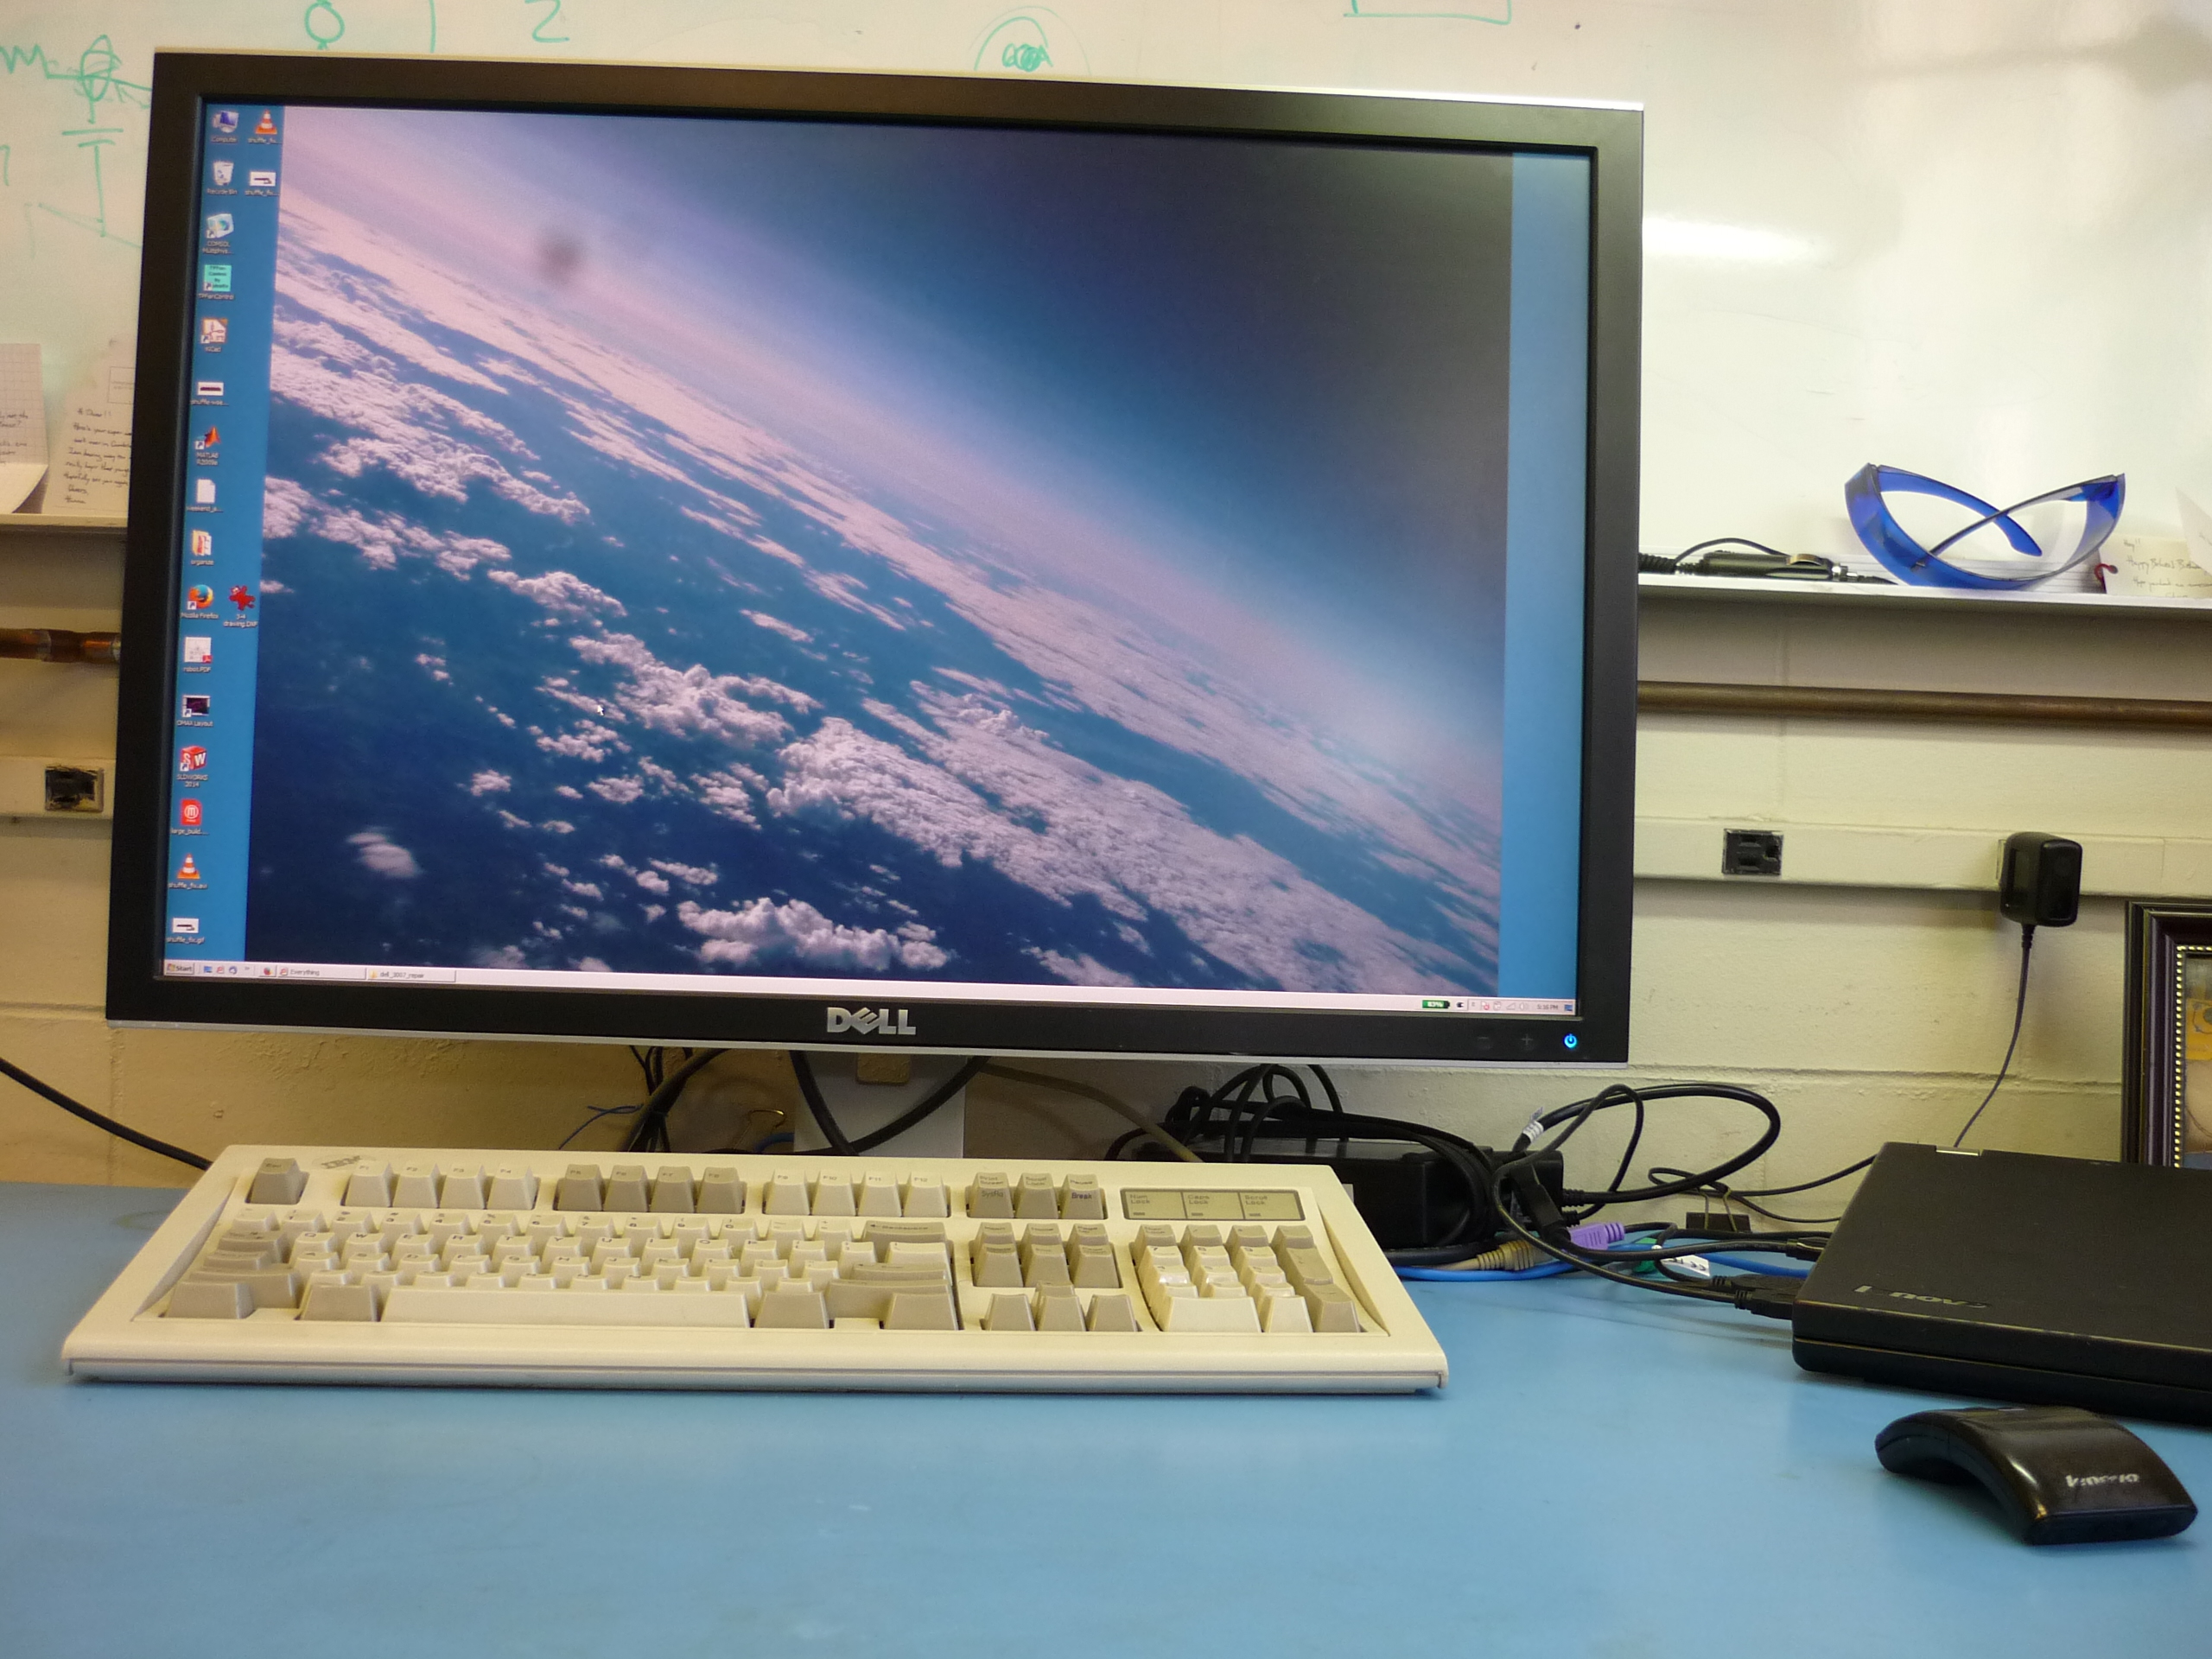
Have you noticed that there are no advertisements or ridiculous pop ups?
Want More?

|
Post your comments! |
|
Comment Box loading
|